Pants, Sewing Tutorials
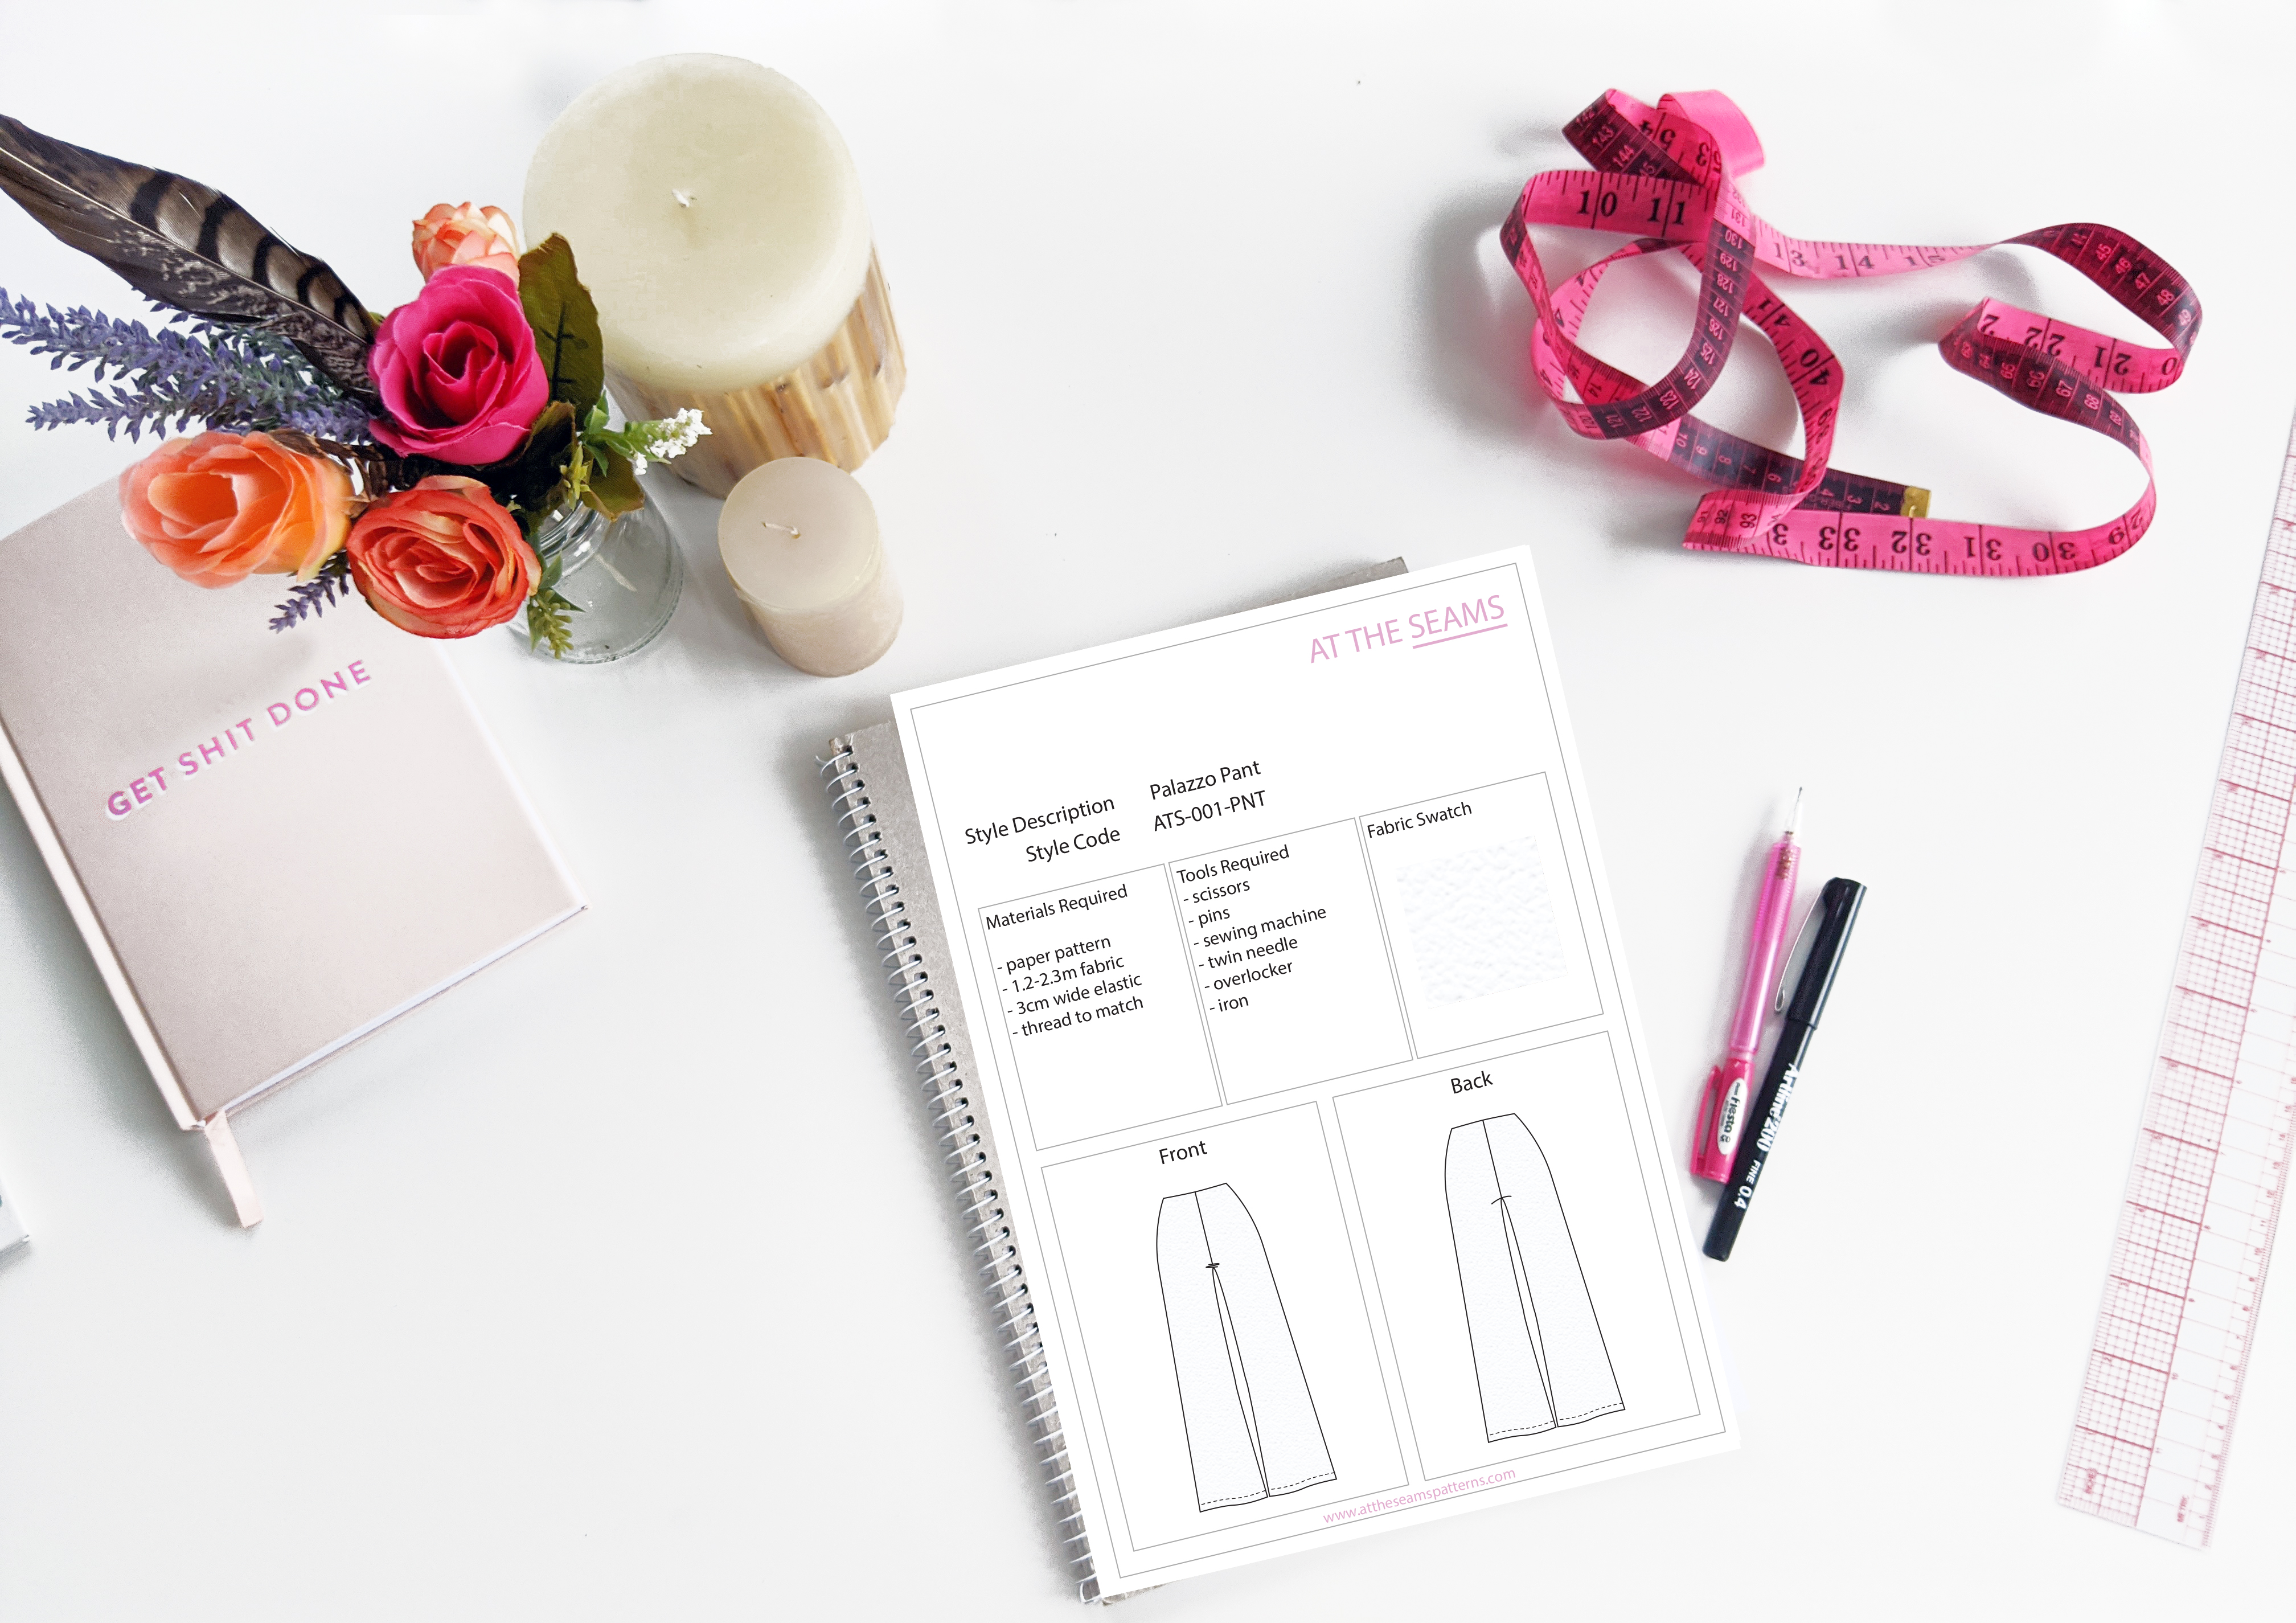
Sewing Tutorial: Riley Palazzo Pant
The Riley Palazzo Pant is a great style for a beginner sewer, there is minimal sewing and the design is quick to make. The pant features an elastic waist with no zippers or fastenings. This style is suitable for stretch fabrics only.
The fit is relaxed with a wide leg making them super comfortable to wear.
To begin you will need the following things
Materials
- Riley Palazzo Pant paper pattern, or if you prefer to shop on Etsy
- 1.5 – 2.3m fabric
- 3cm wide elastic
- cotton thread (enough to also thread your overlocker)
Tools
- scissors
- pins
- sewing machine with a single needle and twin needle foot
- overlocker
- iron
Tips
- Ensure your fabric is washed, dried, and pressed before you start cutting. There is nothing worse than washing your beautiful garment and it shrinks, or even more annoying the lining shrinks and the main doesn’t so it’s all pulled out and shape and is unwearable.
Step 1
Cut all pieces accurately on the correct grain, ensuring all notches are clipped.
Beginner tip* If you can afford to purchase a rotary cutter and cutting mat, I find this more accurate and time-efficient.
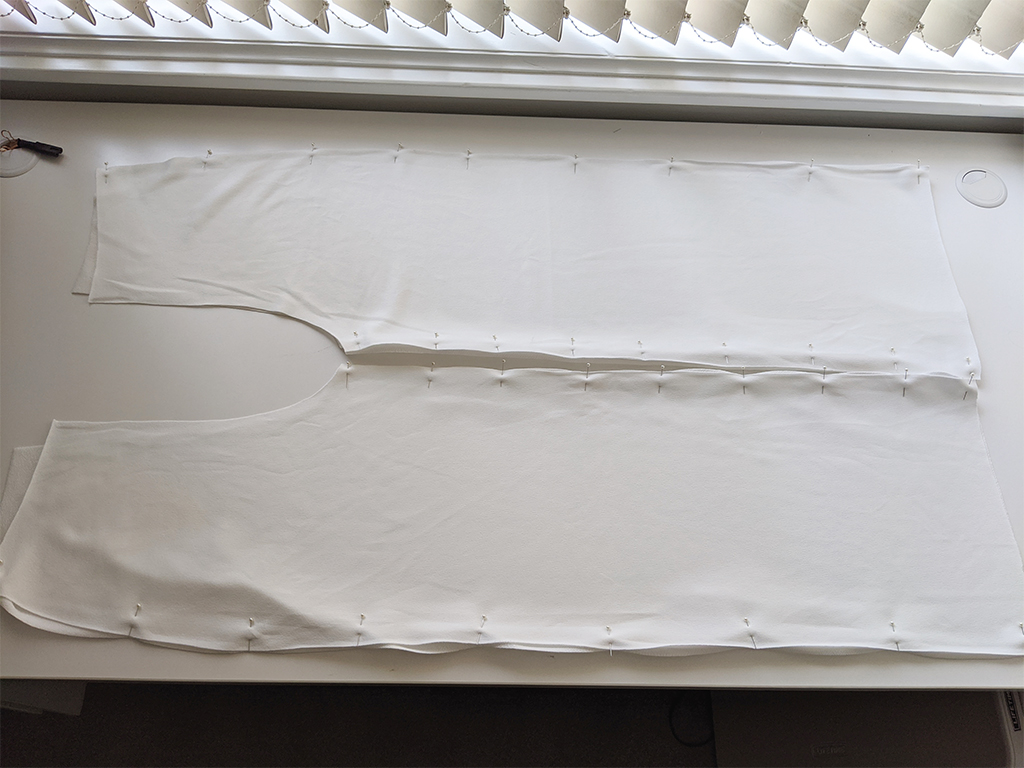
Step 2
Pin side seams and inseams together, then overlock with a 4 thread overlocker from the front side. Press seams back.
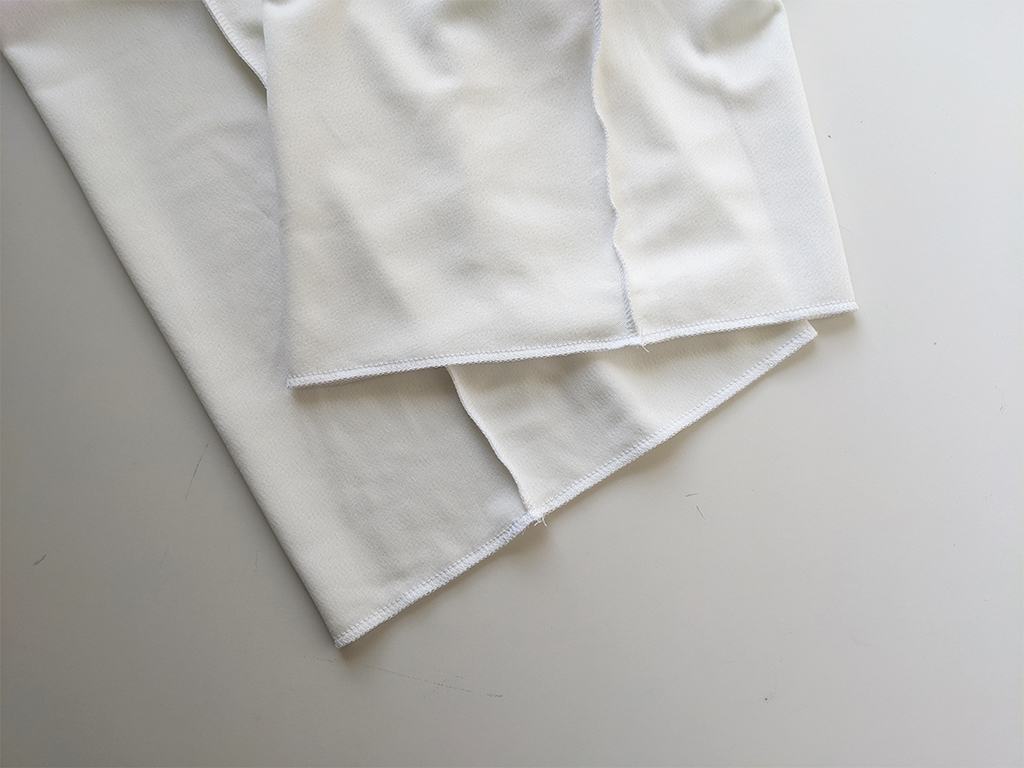
Step 3
Overlock the hem edge ensuring seam allowance is held backwards
Beginner tip* Take care not to stretch the fabric when you are sewing as it will pucker and become wavey.
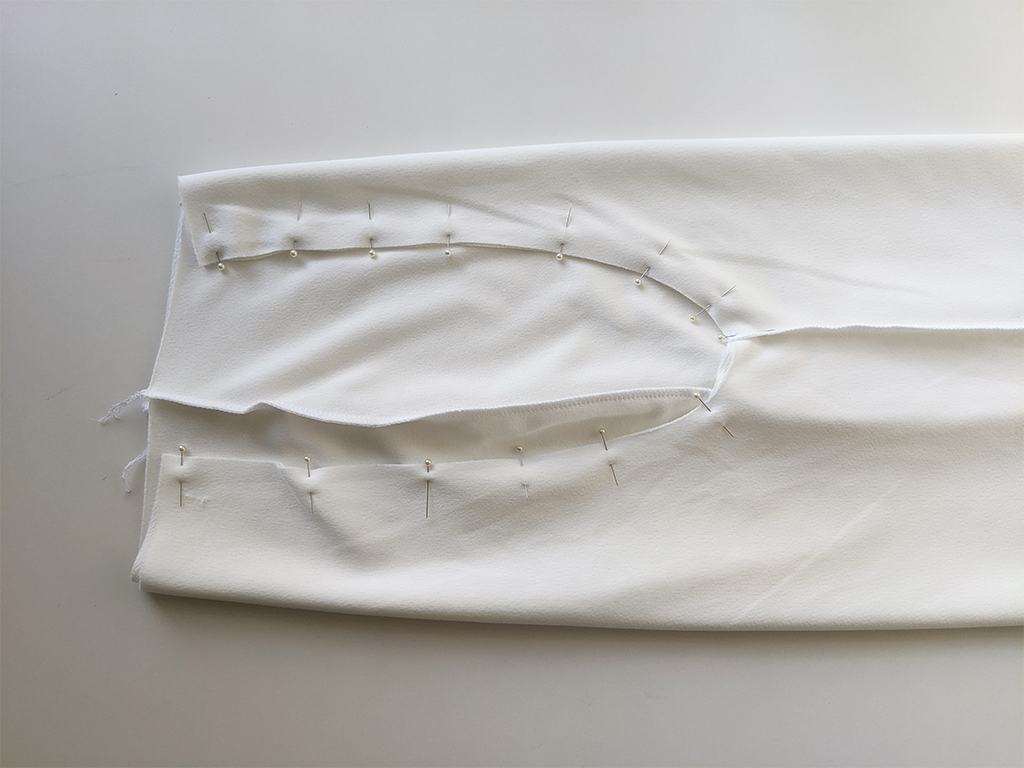
Step 4
Turn one leg inside out and keep the other the right way out and place one inside the other (right sides together) and pin. Sew together using your overlocker.
Beginner tip* When pinning your pieces together try and think about which side you will be sewing from and in which direction and place your pins in a way where they can be easily removed.
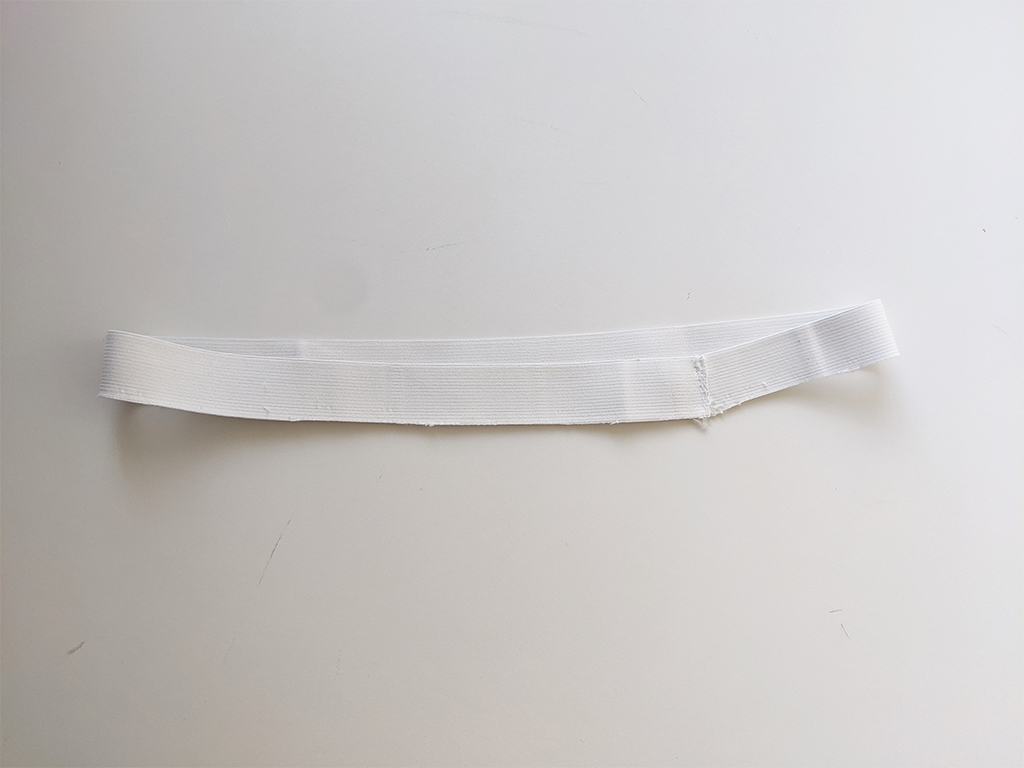
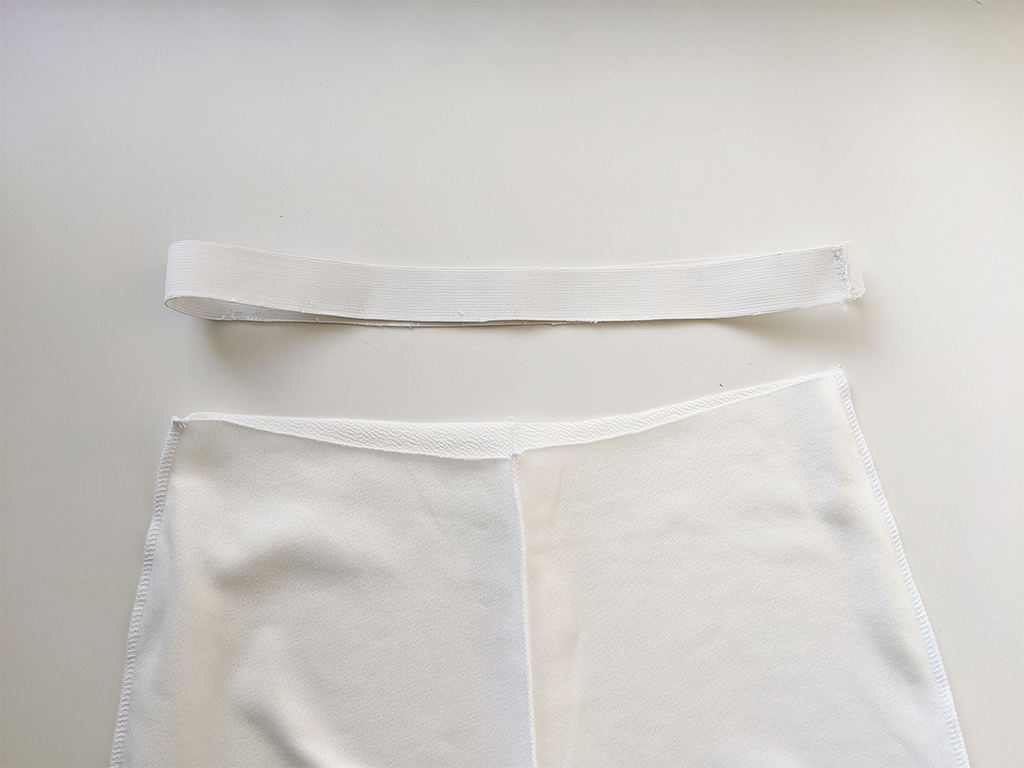
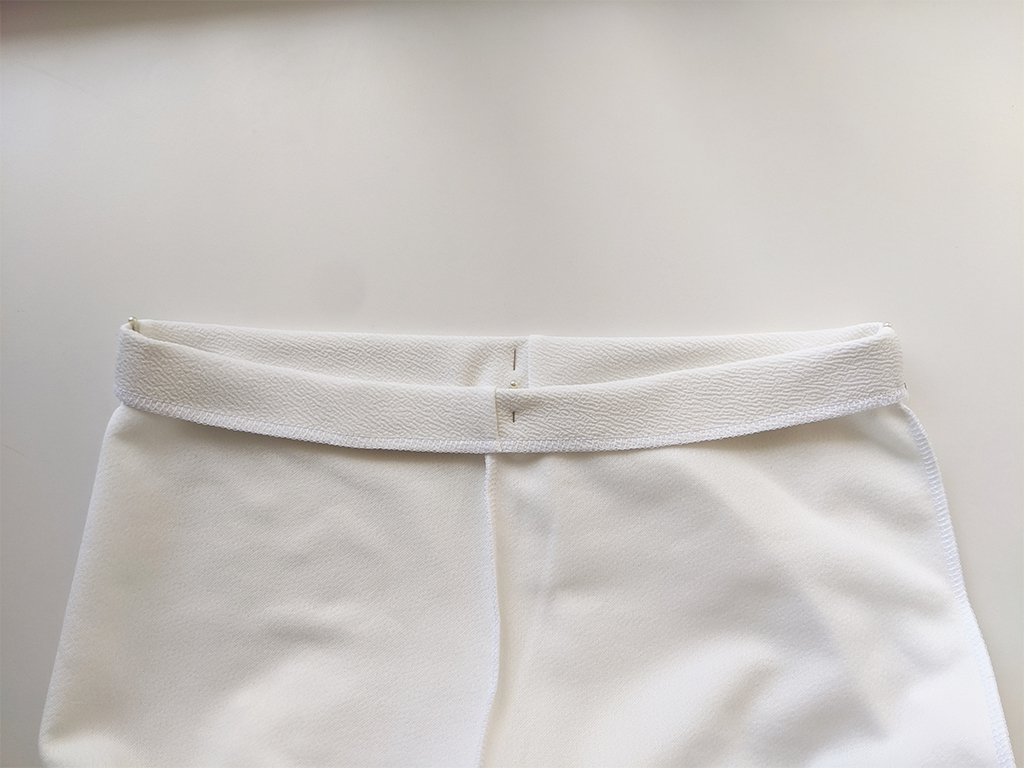
Step 5
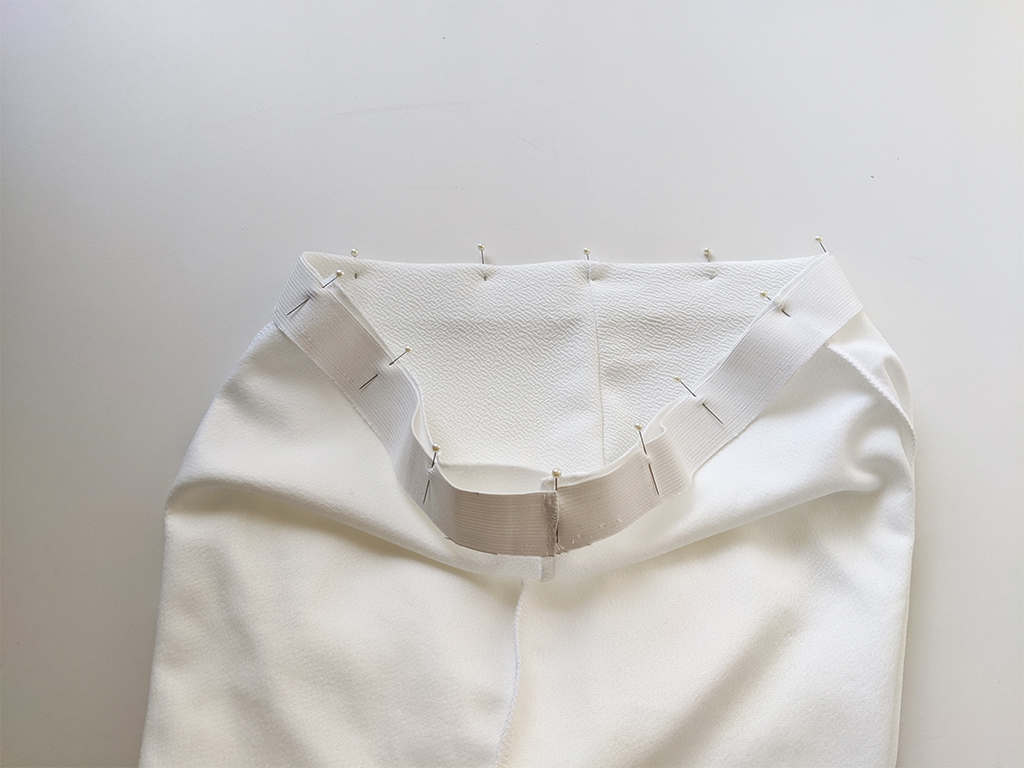
Cut elastic to match to the top edge of the pants and sew together at sides to make a circle. Overlock elastic to the top edge of the pant to the wrong side.
Also ensure you clip your corners or it will look bulky and messy when the garment is turned through.
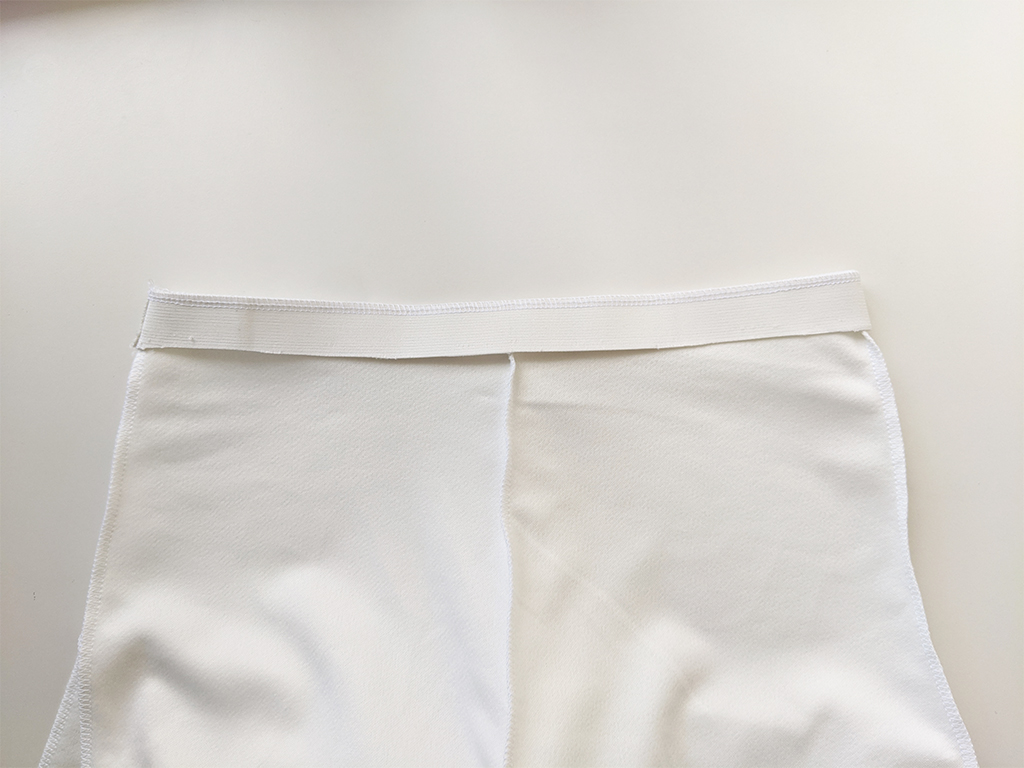
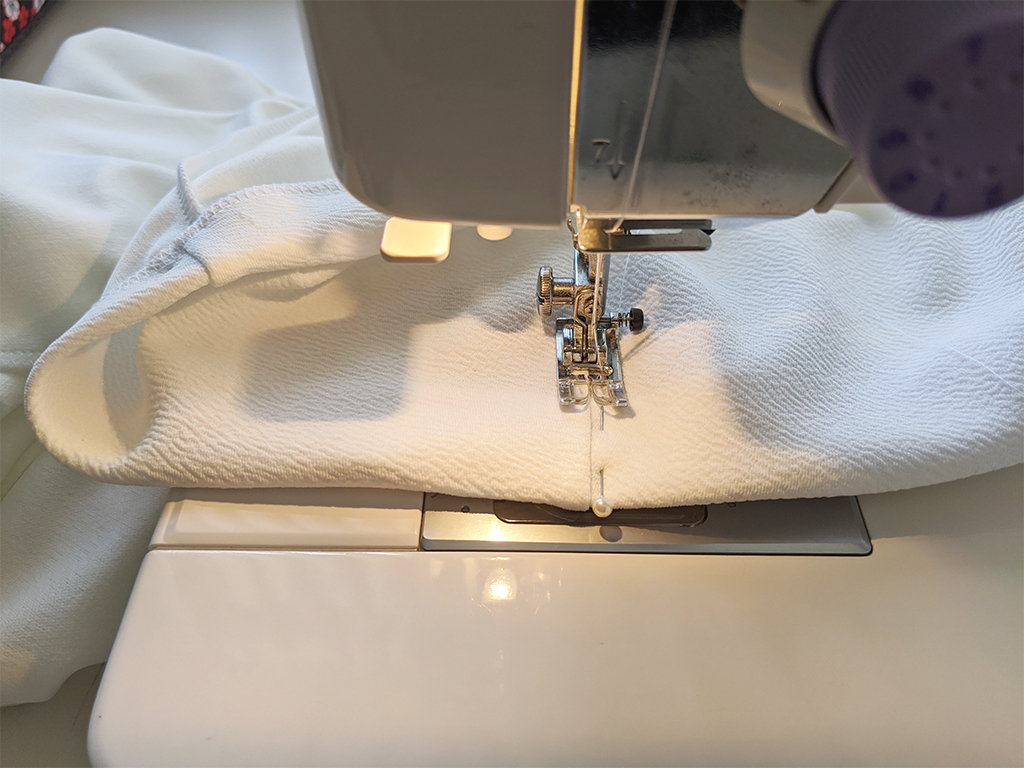
Step 6
Fold and then stitch down at in the ditch of the sides and front and back crotch seams.
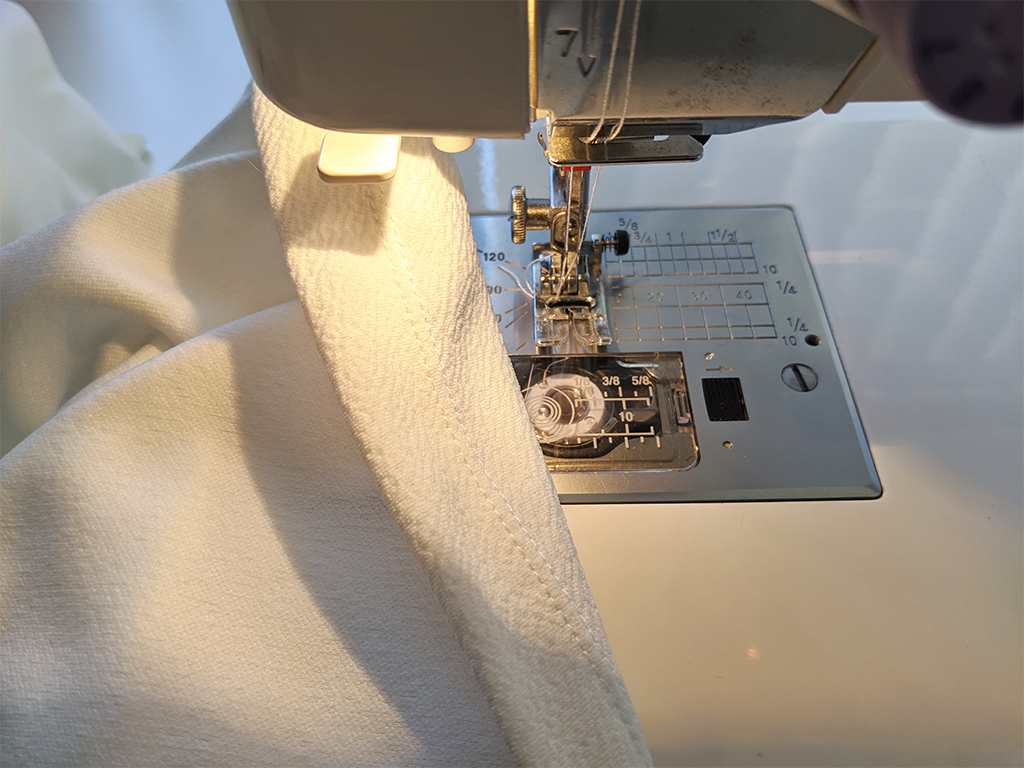
Step 7
Turn and stitch pant hem, using a twin needle finish, then press. (single needle can be used if you do not have a twin needle however it will restrict the stretch of the fabric and the stitching may break)
Your Riley Palazzo Pant are now complete. How did you go? Let me know in the comments below if you needed extra help.
I’d love to see your creations, either drop an image in the comments below or tag me on Instagram at @at_the_seams_patterns