Sewing Tutorials, Tops
Sewing Tutorial: Mia Open Back Crop Top
The Open Back Crop Top is a great basic top with a twist, this style is loose fitting with a cut-out detail on the back.
The top length is approximately 38cm from high strap point to hem and is designed to be a loose relaxed fit.
This style is sewn to be completely bagged out with lining and is a great style for a beginner sewer.
To begin you will need the following things
Materials
- Mia Open Back Crop Top paper pattern, or if you prefer to shop on Etsy
- 0.5m fabric
- 0.5m lining
- cotton thread
Tools
- sewing machine
- iron
- scissors
- pins
Tips
- Ensure your fabric is washed, dried, and pressed before you start cutting. There is nothing worse than washing your beautiful garment and it shrinks, or even more annoying the lining shrinks and the main doesn’t so it’s all pulled out and shape and is unwearable.
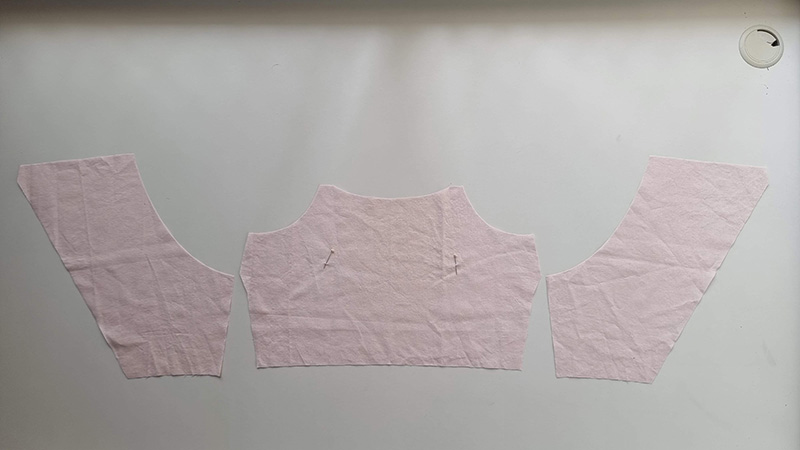
Step 1
Cut all main and lining pieces accurately on the correct grain, ensuring all notches are clipped. Please note seam allowance is marked on the pattern.
Beginner tip* It might help to pin the pattern pieces to your fabric once is cut out so you can easily work out what is what while you are sewing. Also take care not to over clip your notches, because we don’t want them running close to the seam allowance which will create holes in your garment.
Extra tip** If you can afford to purchase a rotary cutter and cutting mat, I find this more accurate and time-efficient.

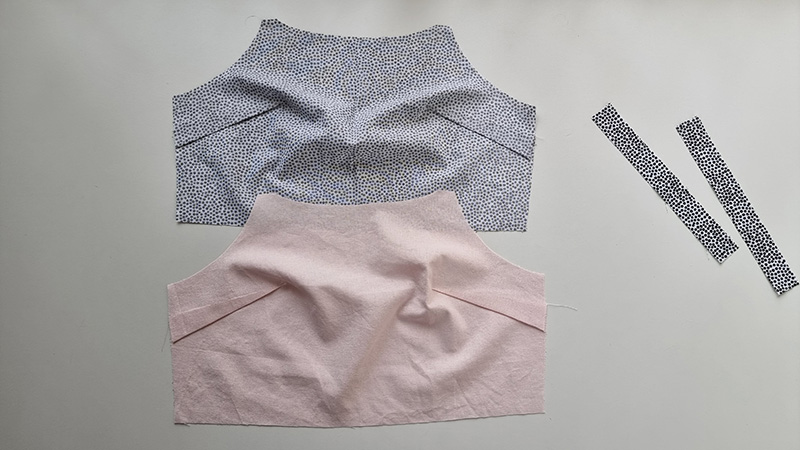
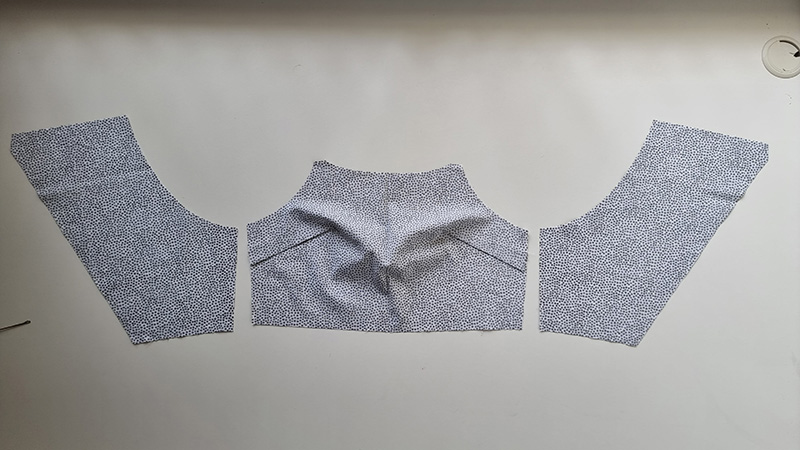
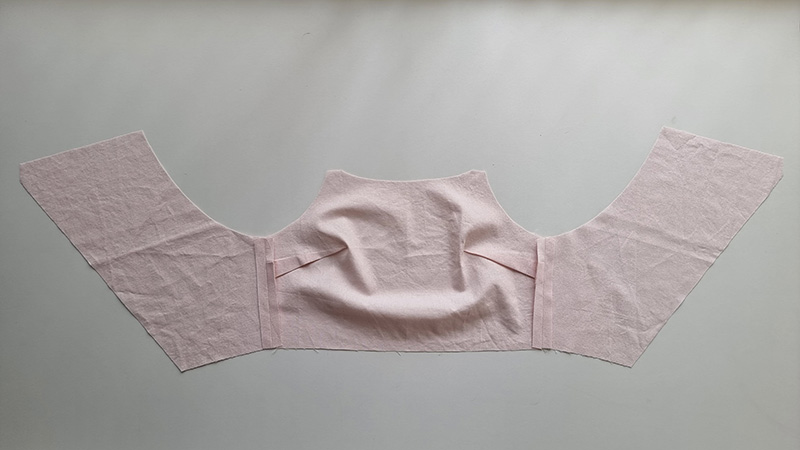
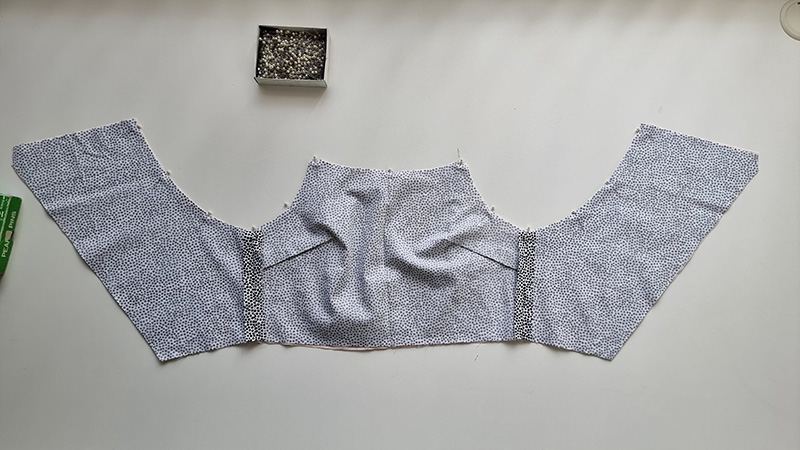
Step 2
Sew bust darts on main and lining of front bodice, press down.
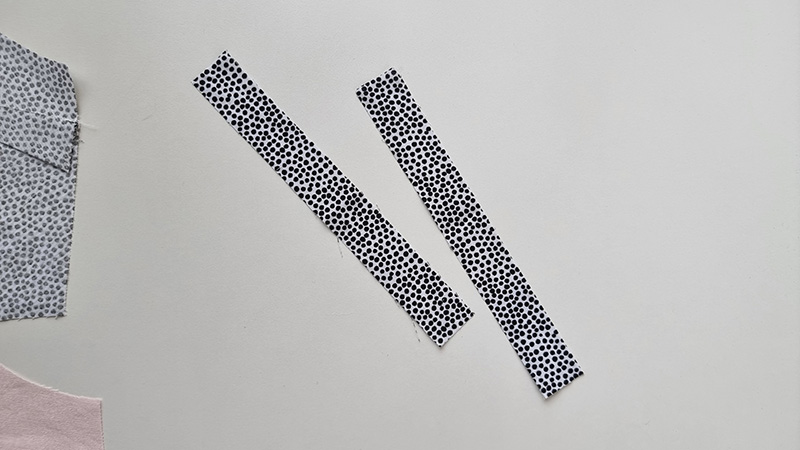
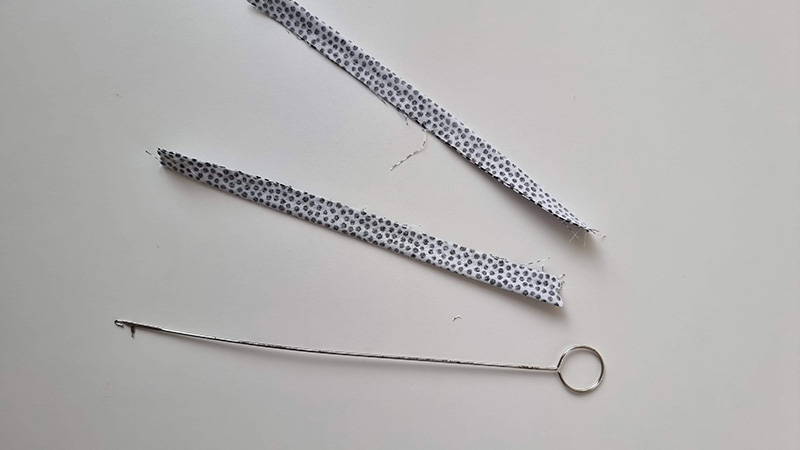
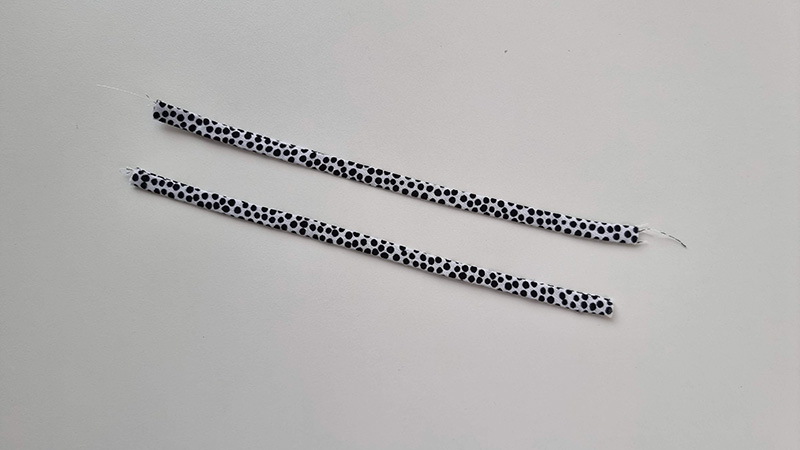
Step 3
Next, stitch straps by turning the fabric right sides together and stitching parallel to the fold line. Then turn through with a loop turner. Press, then top-stitch if desired.

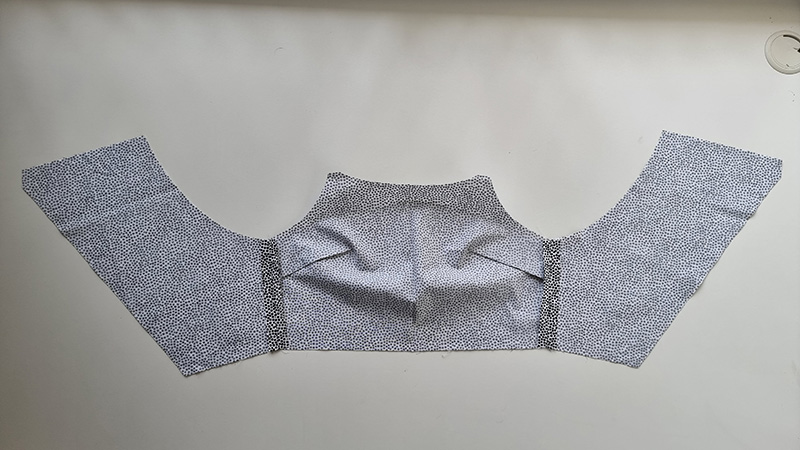
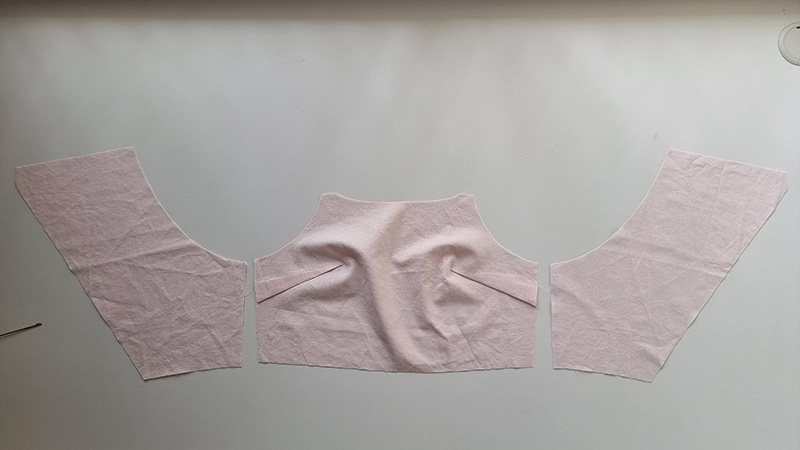
Step 4
Next pin the front and back pieces of your main fabric together at the side seams. Stitch closed and press the seam open. Repeat on the lining.
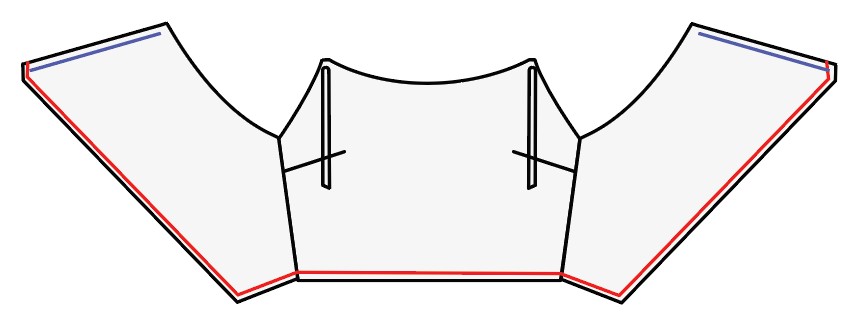
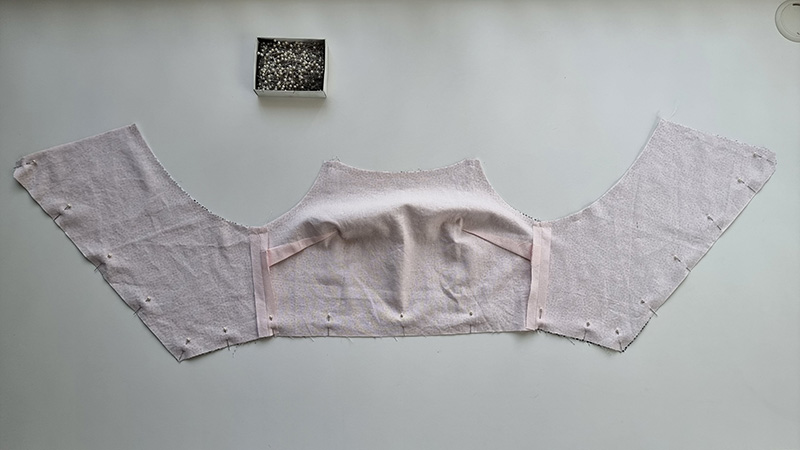
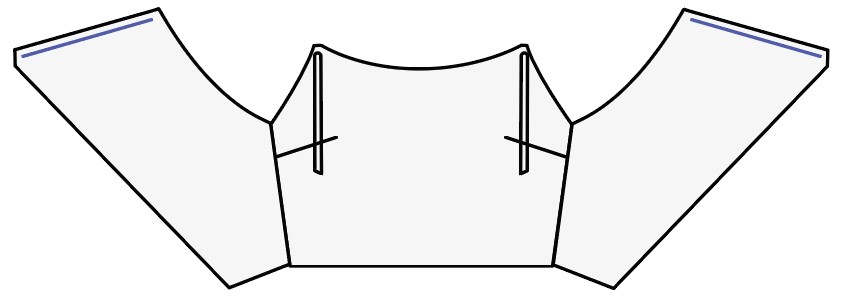
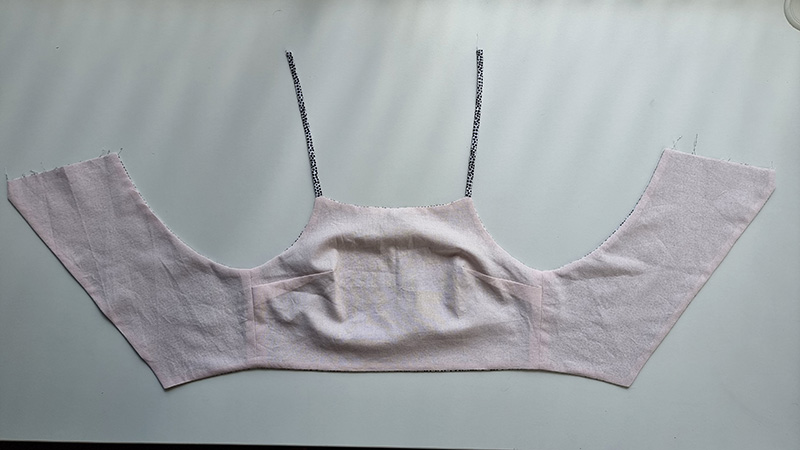
Step 5
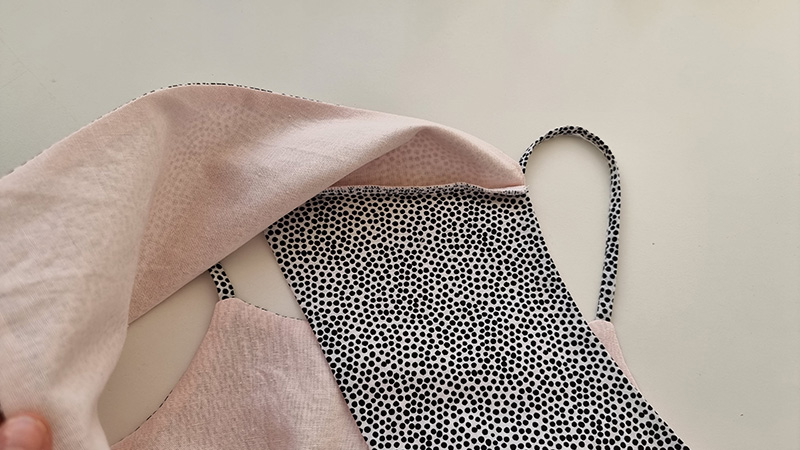
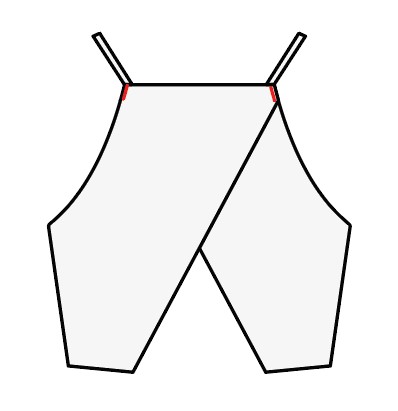
Place the lining on the table right side up, pin the straps in place, then place your main right side down so that right sides are together. Pin along the top edge (red line below) and stitch closed.
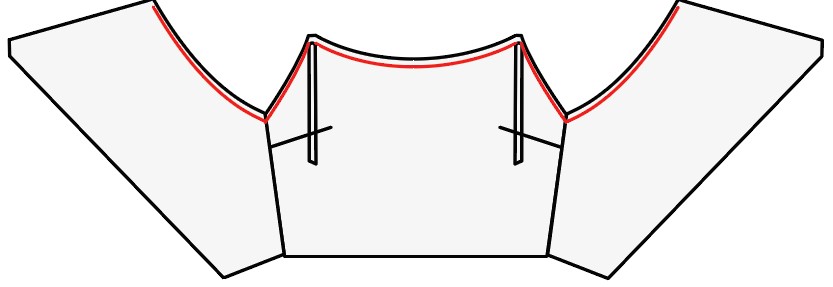
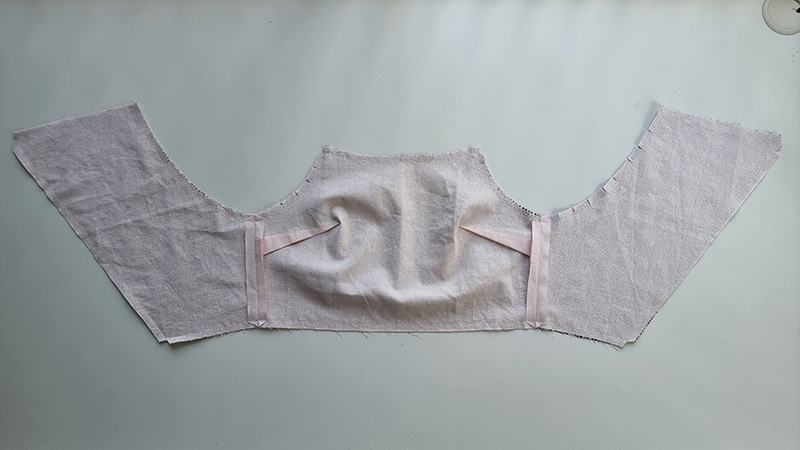
Step 6
Repeat the same for the bottom edge (along the red line) leaving the back neck open (blue line).
Step 7
Clip the seam allowance on all curved edges and corners.
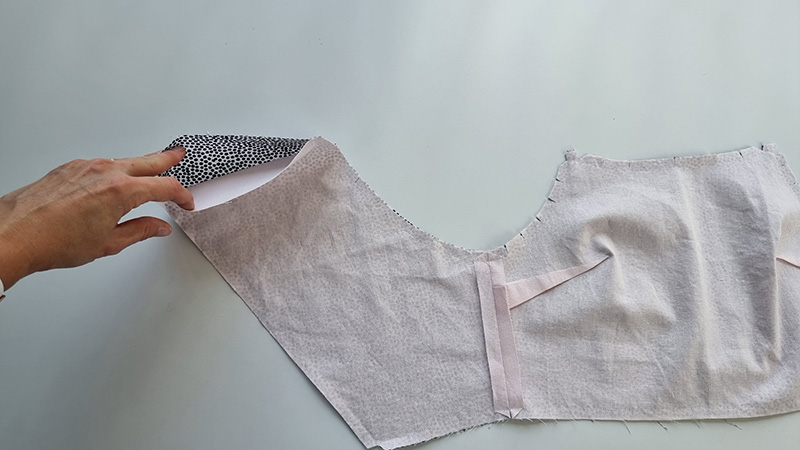
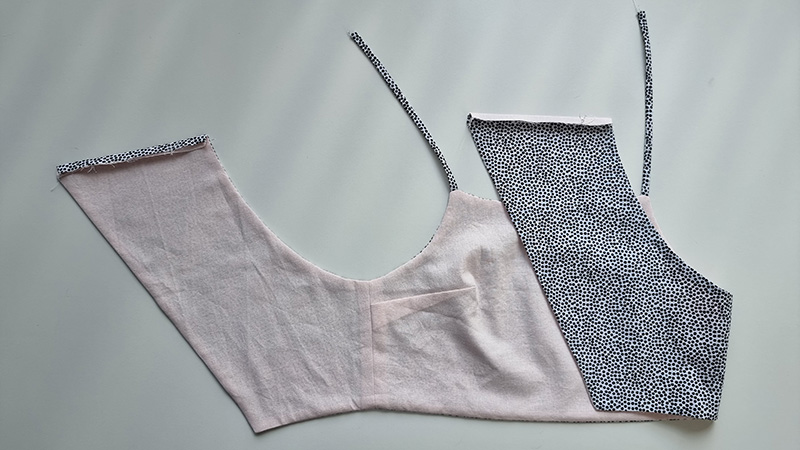
Step 8
Turn the garment right side out, through the back neck opening (blue line) Then press the top and bottom edges neatly.
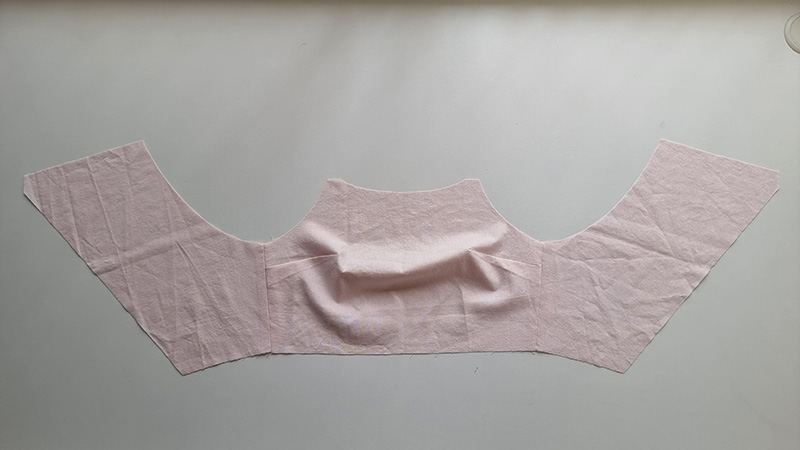
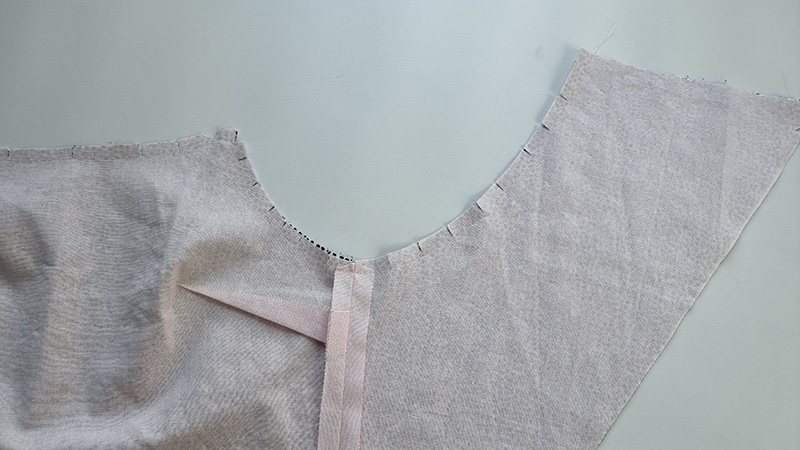
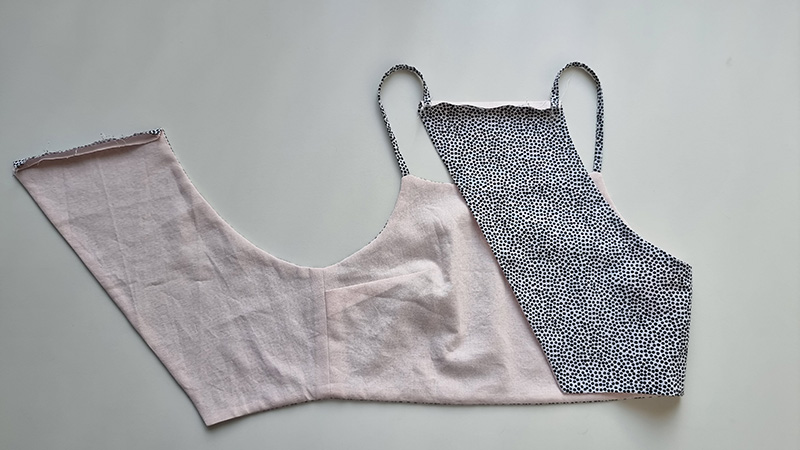
Step 9
Next fold and press the back neck seam allowance as shown. On the left press the seam allowance towards the lining, on the right press the seam allowance towards the main.
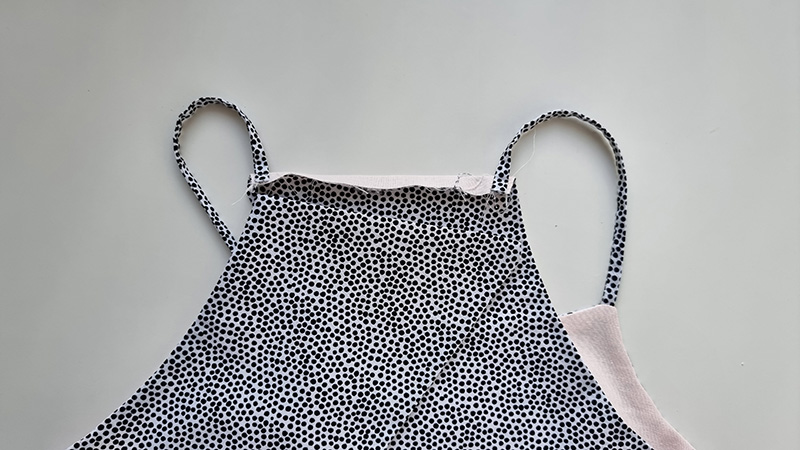
Step 10
Fold the straps over and pin to the right side as shown (ensure they are not twisted) Then stitch in place along the fold line.
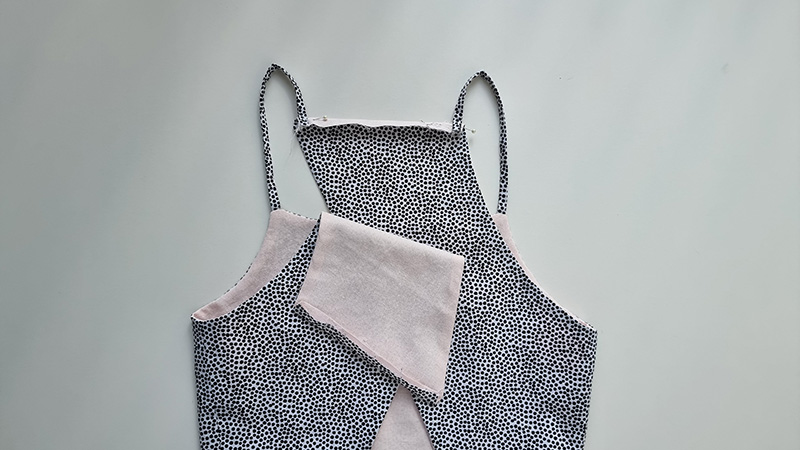
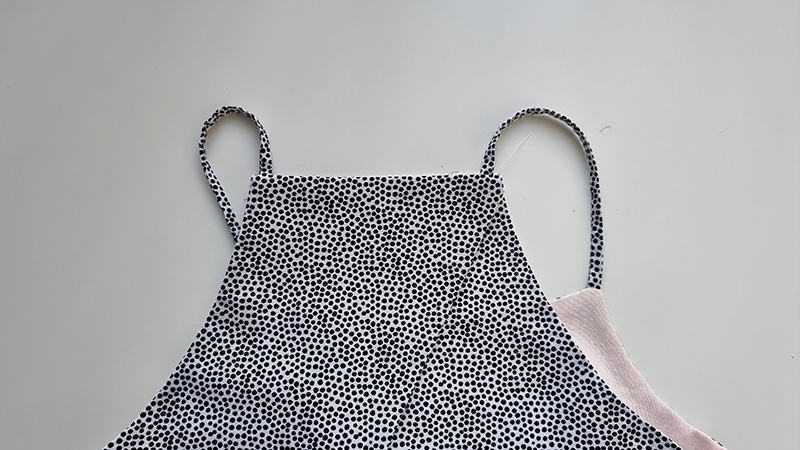
Step 11
Then fold the left side over and lay it in place.
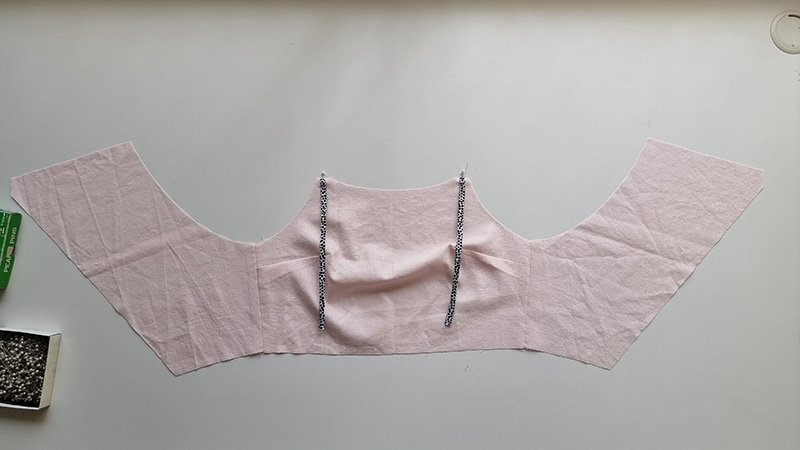
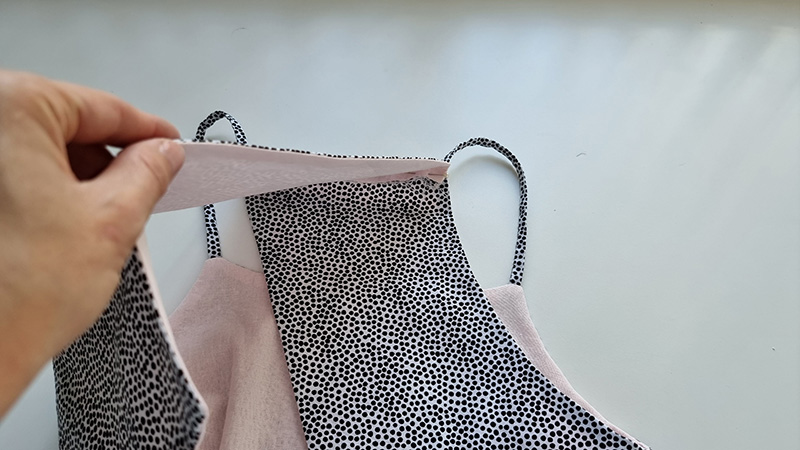
Step 12
Lift the left side up as shown and pin together, sew together with a straight stitch then overlock closed.
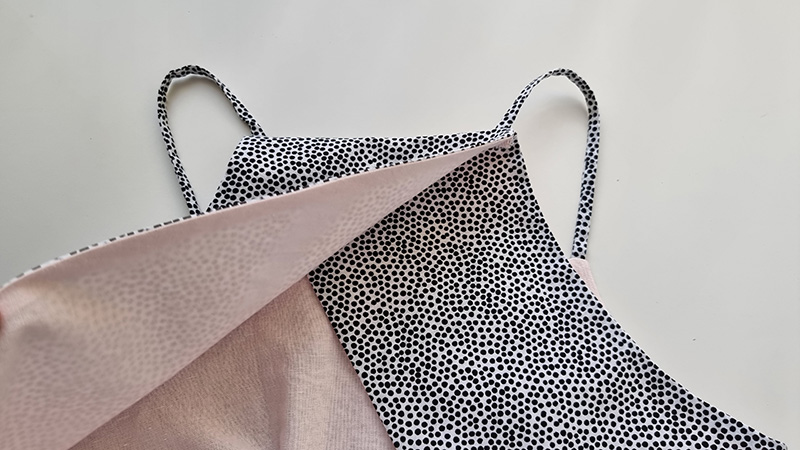
Step 13
Fold the garment right side out and hand stitch with an invisible stitch the top 1.5cm of the back
armhole down (red line) This can also be done with a machine stitch.
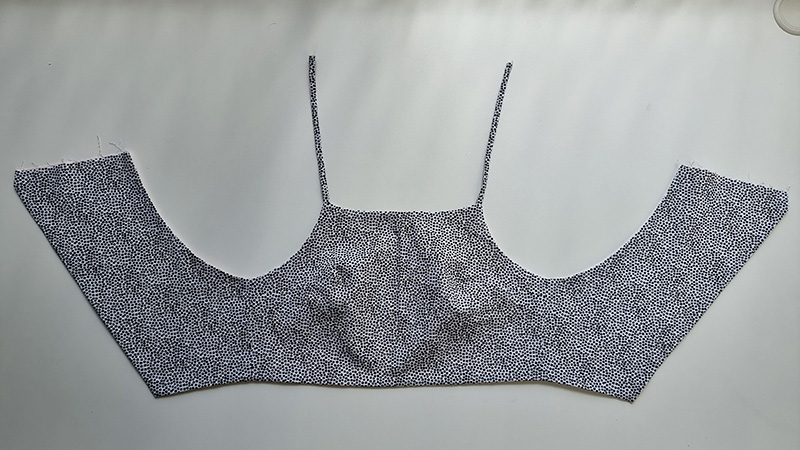
All done. I hope you love the Mia Open Back Crop Top.
Need a matching skirt to complete the look, try this maxi skirt tutorial or this mini skirt.
I’d love to see your creations, so please tag me on Instagram at @at_the_seams_patterns
x