Sewing Tutorials, Sleepwear
Sewing Tutorial: Chloe Sleepwear Long Sleeve Top
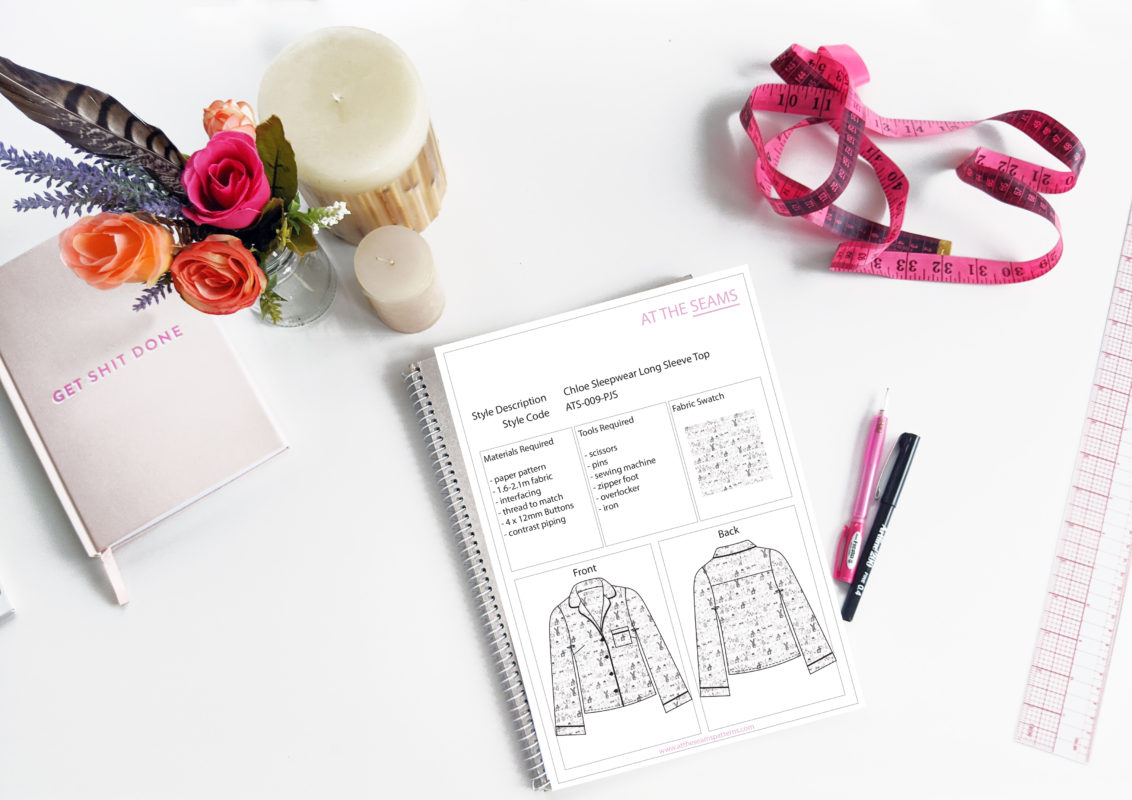
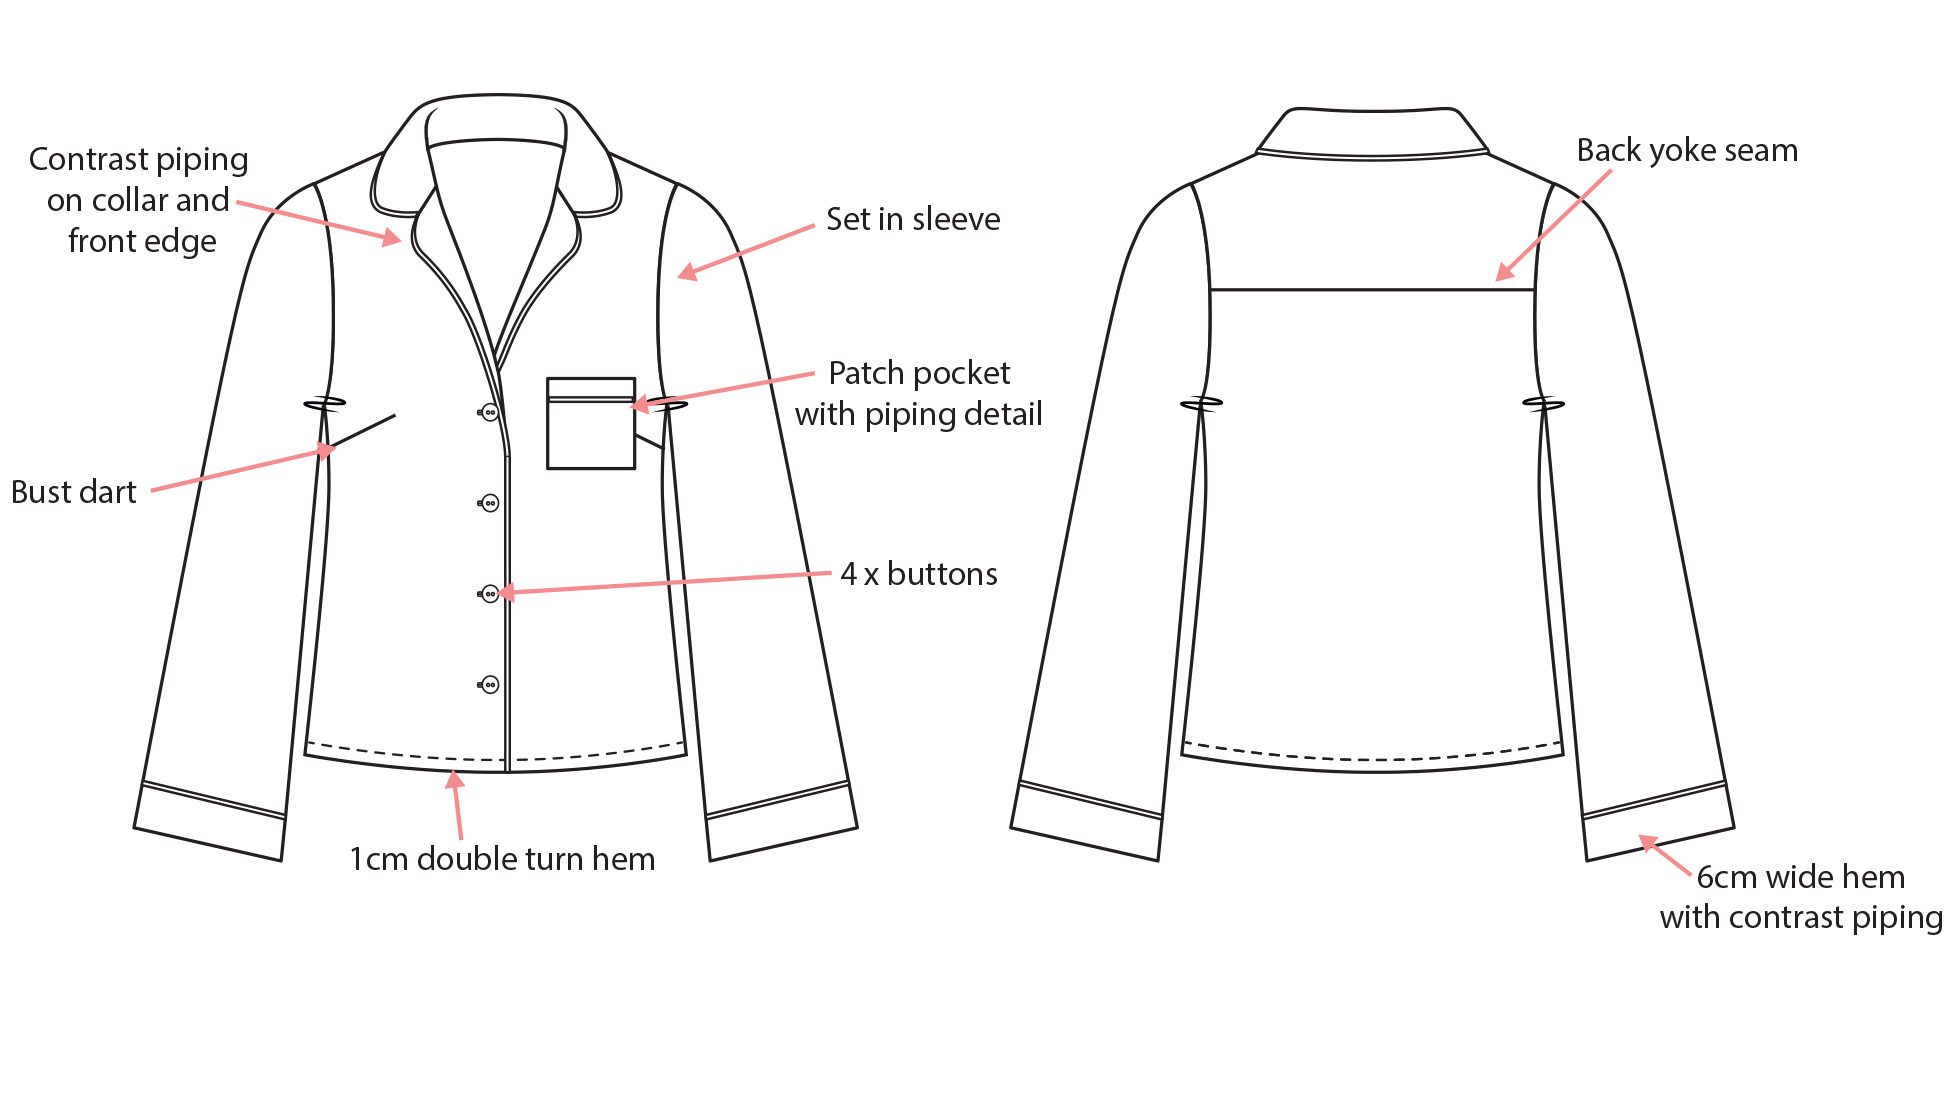
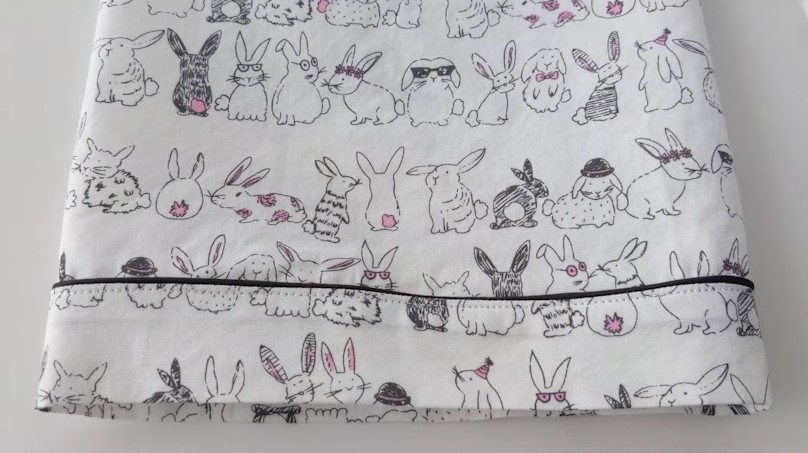
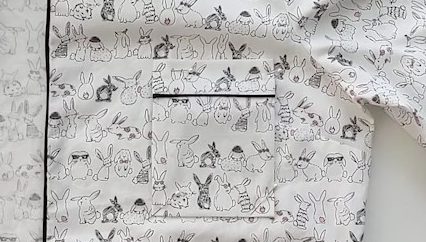
The Chloe Sleepwear Long Sleeve Top is a timeless and classic pyjama top that can be made up in silk, cotton, or flannelette. The top features a feminine rounded collar with piping detail. The piping detail carries across to the sleeve and patch pocket.
Suitable for more advanced sewers, this top requires some harder sewing skills, including a set in sleeve, collar, button and button holes, and piping.
To begin you will need the following things
Materials
- Chloe Sleepwear Long Sleeve Top paper pattern, or if you prefer to shop on Etsy
- 1.6-2.6m fabric
- 0.9m interfacing
- cotton thread (enough to also thread your overlocker)
- 4 x 12mm buttons
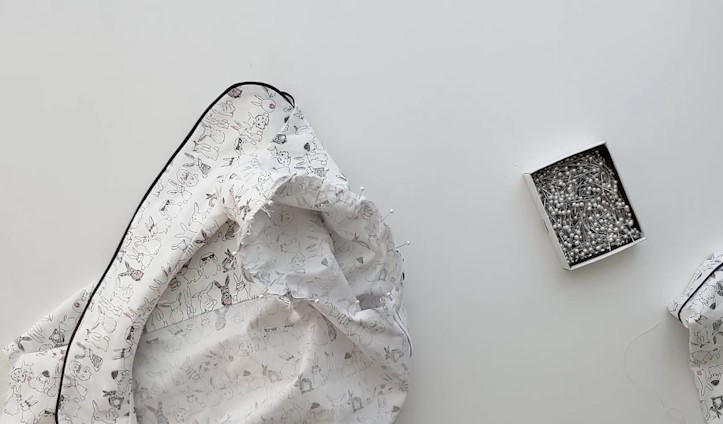
- contrast piping
Tools
- scissors
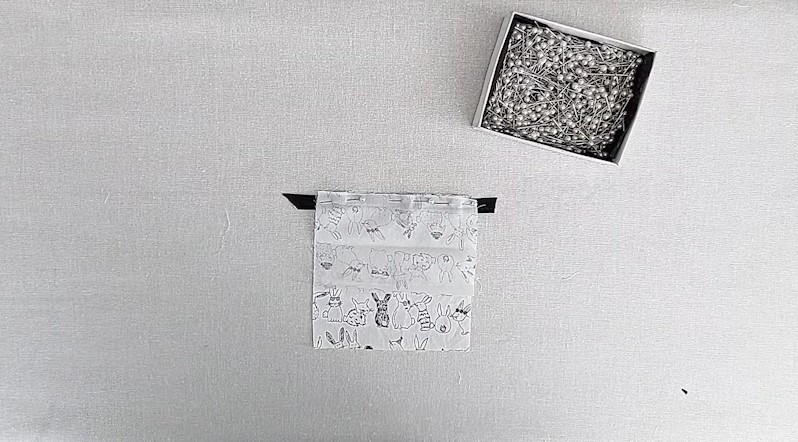
- pins
- sewing machine with a regular foot
- a zipper or invisible zipper foot can make sewing the piping easier
- overlocker
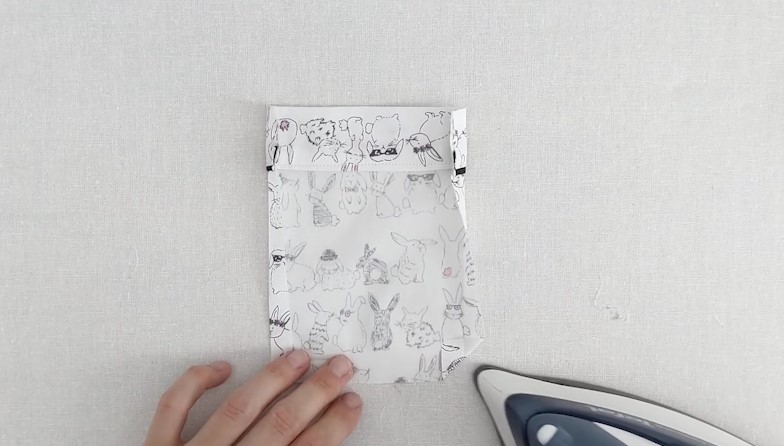
- iron
Tips
- I recommend that you chose a natural based fabric when making sleepwear, cotton or silks are ideal as they allow the skin to breathe more and you will sweat less.
- Ensure your fabric is washed, dried, and pressed before you start cutting. There is nothing worse than washing your beautiful garment and it shrinks.
If you prefer video instructions – please head over to youtube.
The below video is for the short sleeve version however all instructions are the same.
Sewing Instructions
Step 1
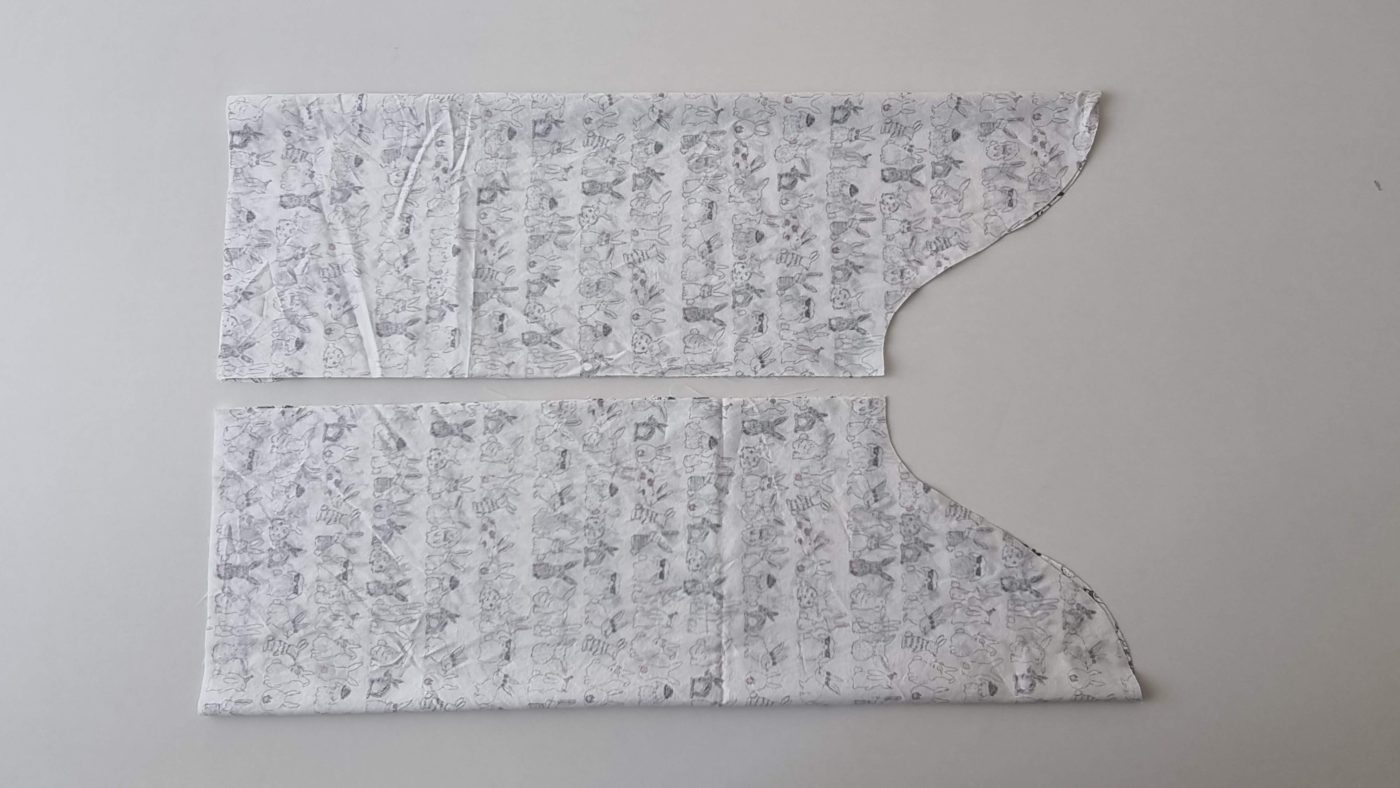
Cut all main and interfacing pieces accurately on the correct grain, ensuring all notches are clipped, and pattern markings have been transferred. Seam allowance is included and is marked on the pattern in a grey dashed line, it is also listed on page 2 of the booklet provided.
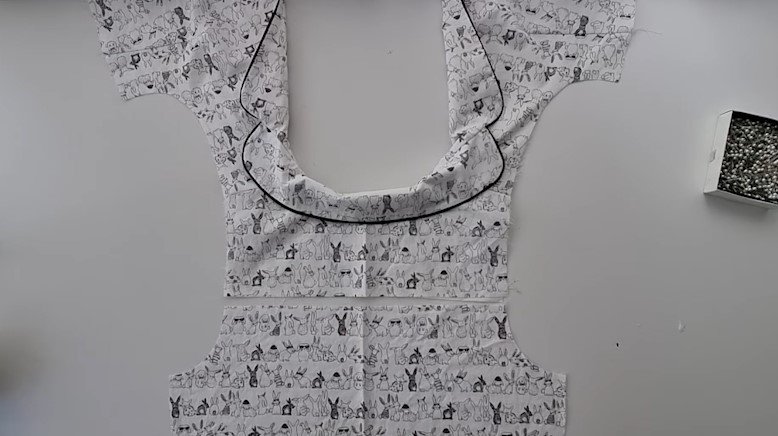
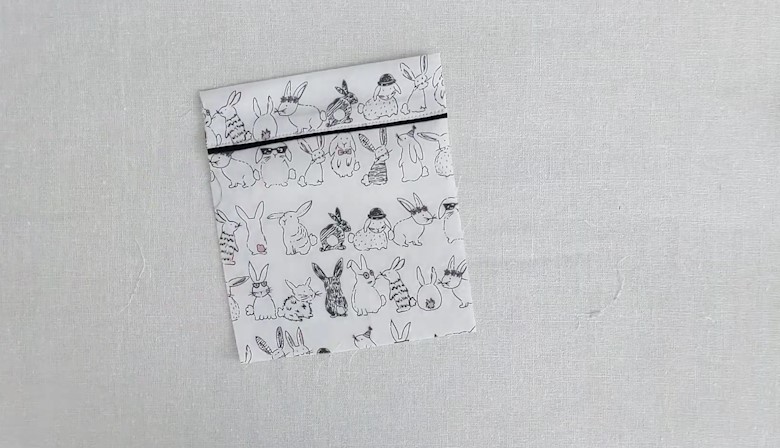
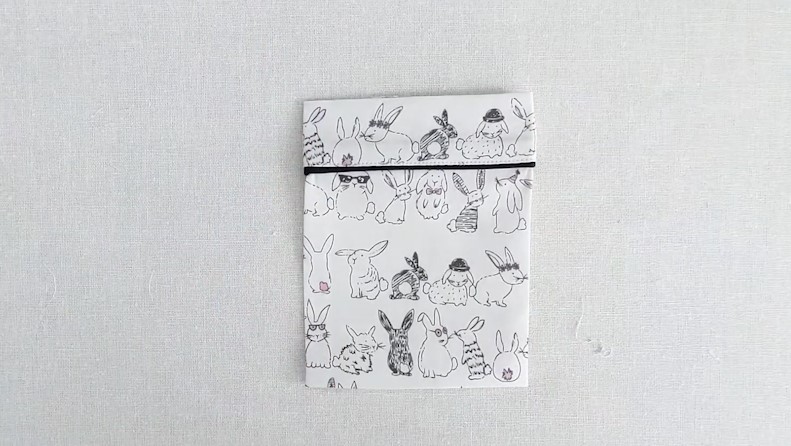
The Bodice & Collar
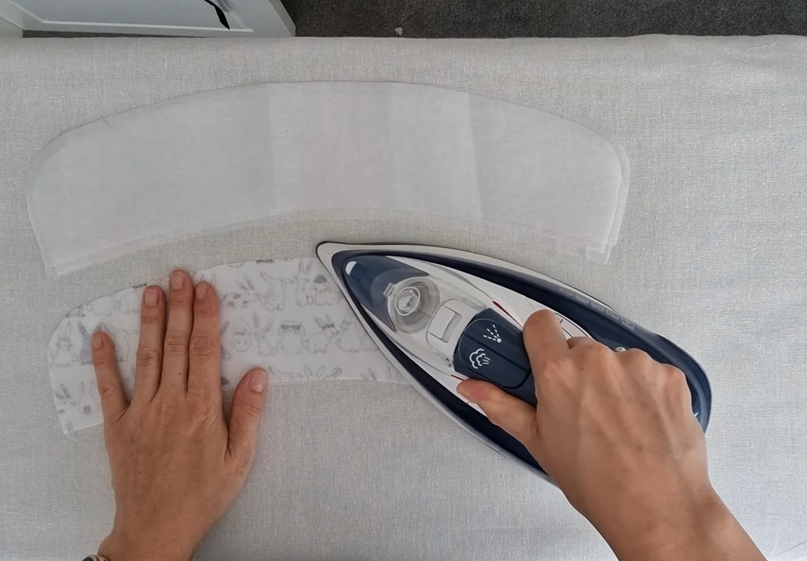
Step 2
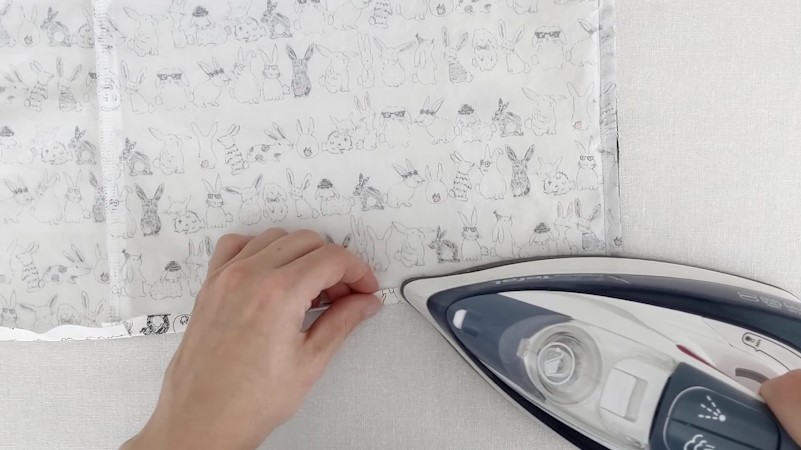
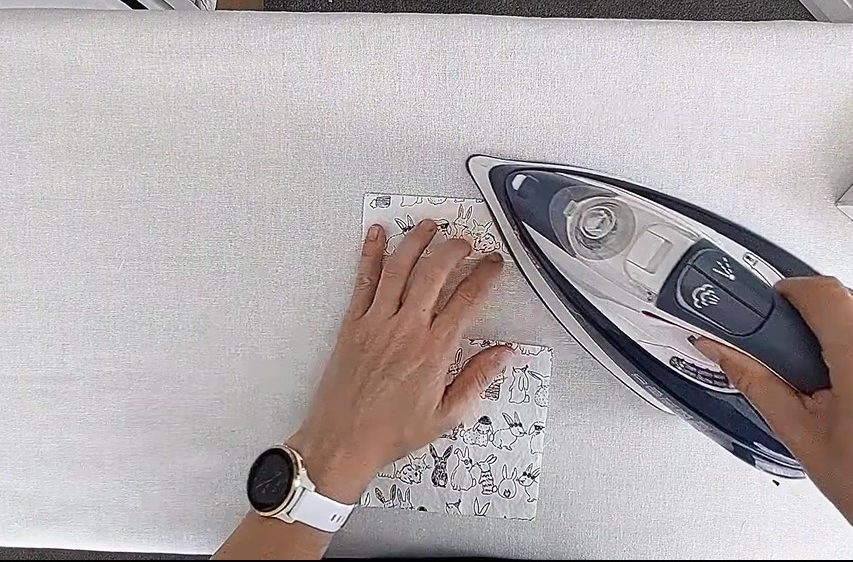
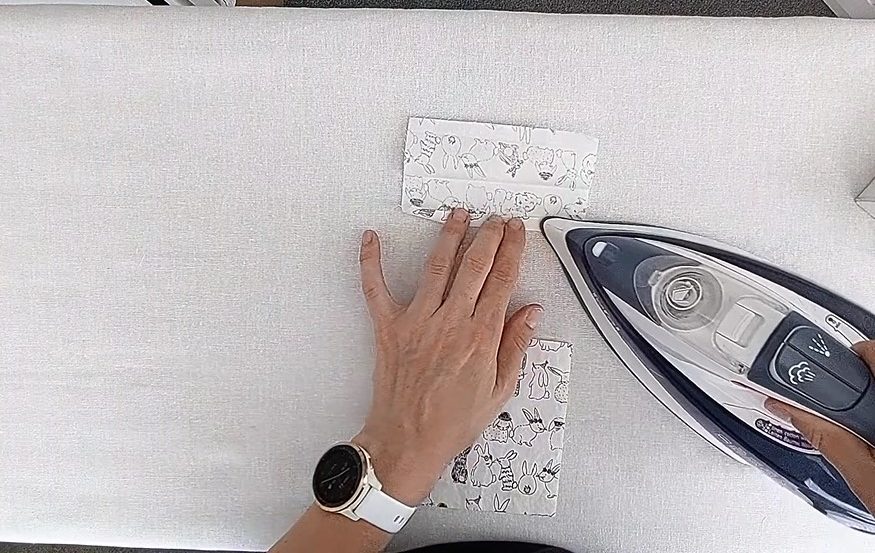
Heat press the interfacing to the front neck facing and collar pieces then set aside to cool.

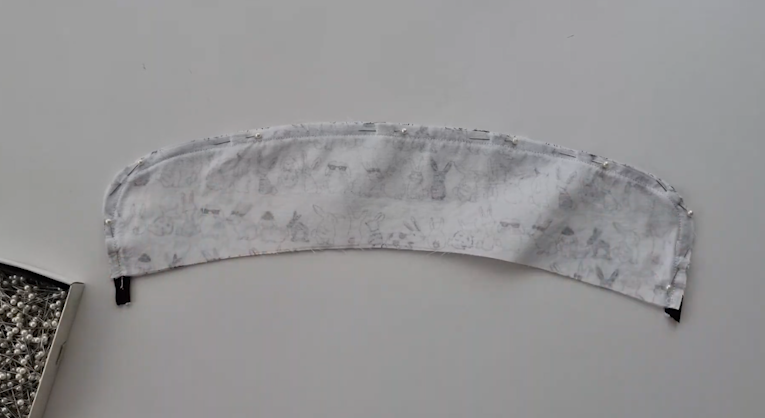
Step 3
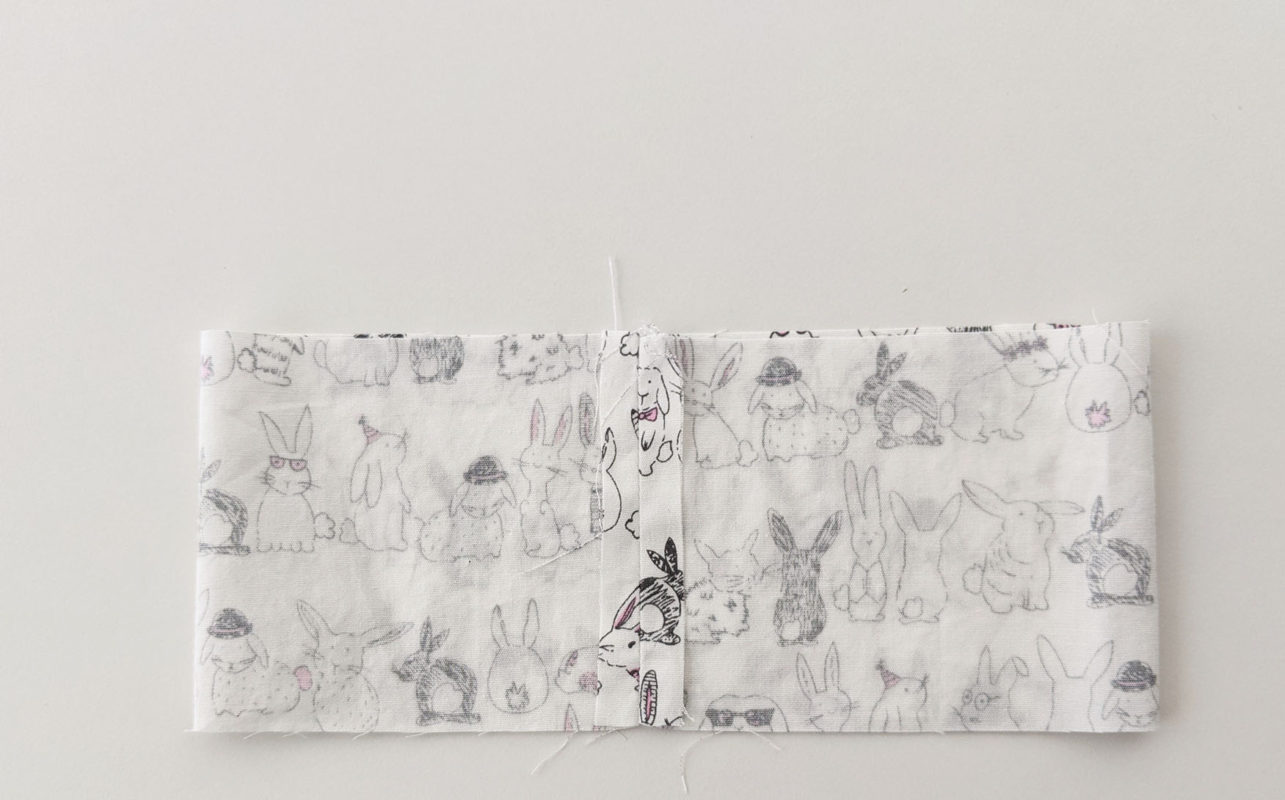
Taking one of the collar pieces, pin the piping along the outside edge of the collar, stitch to secure using a larger stitch and an 8mm seam allowance.
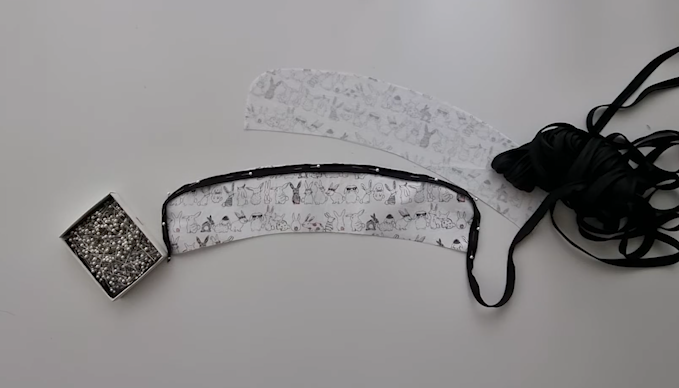
Step 4
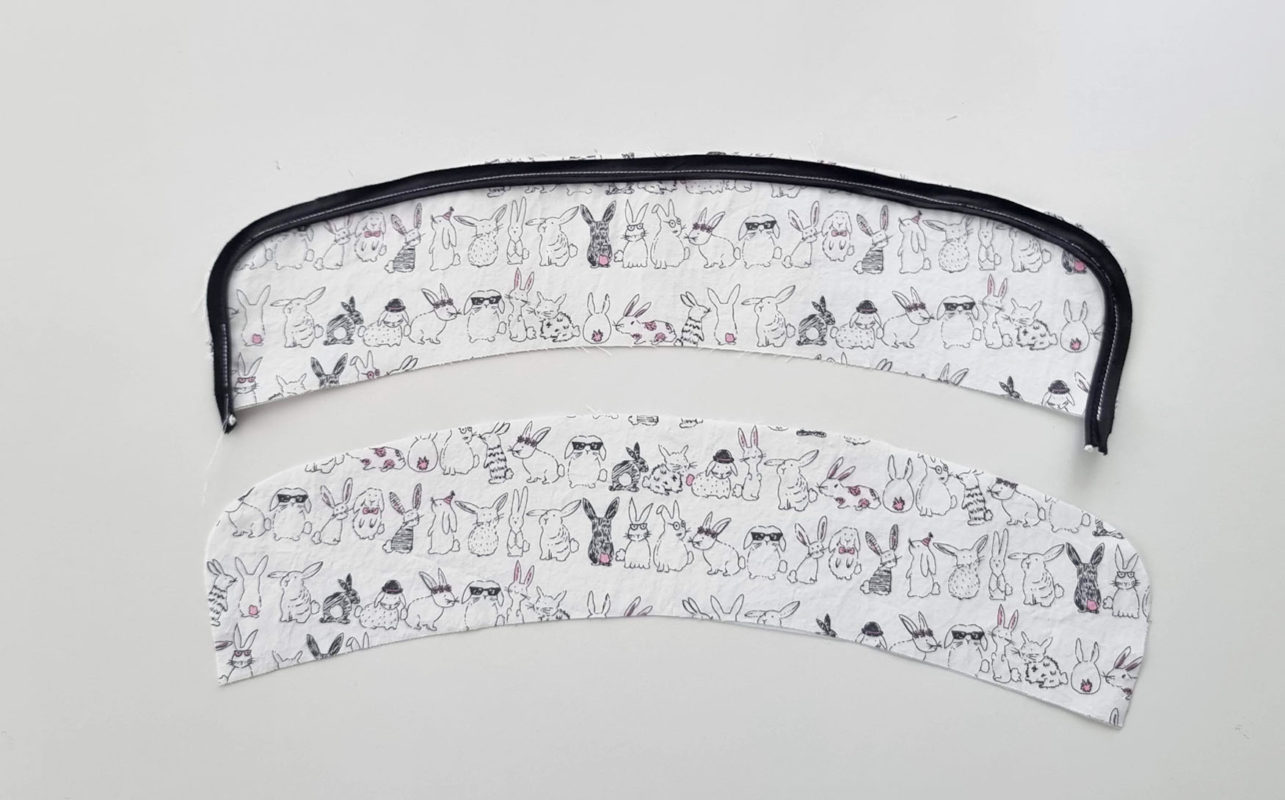
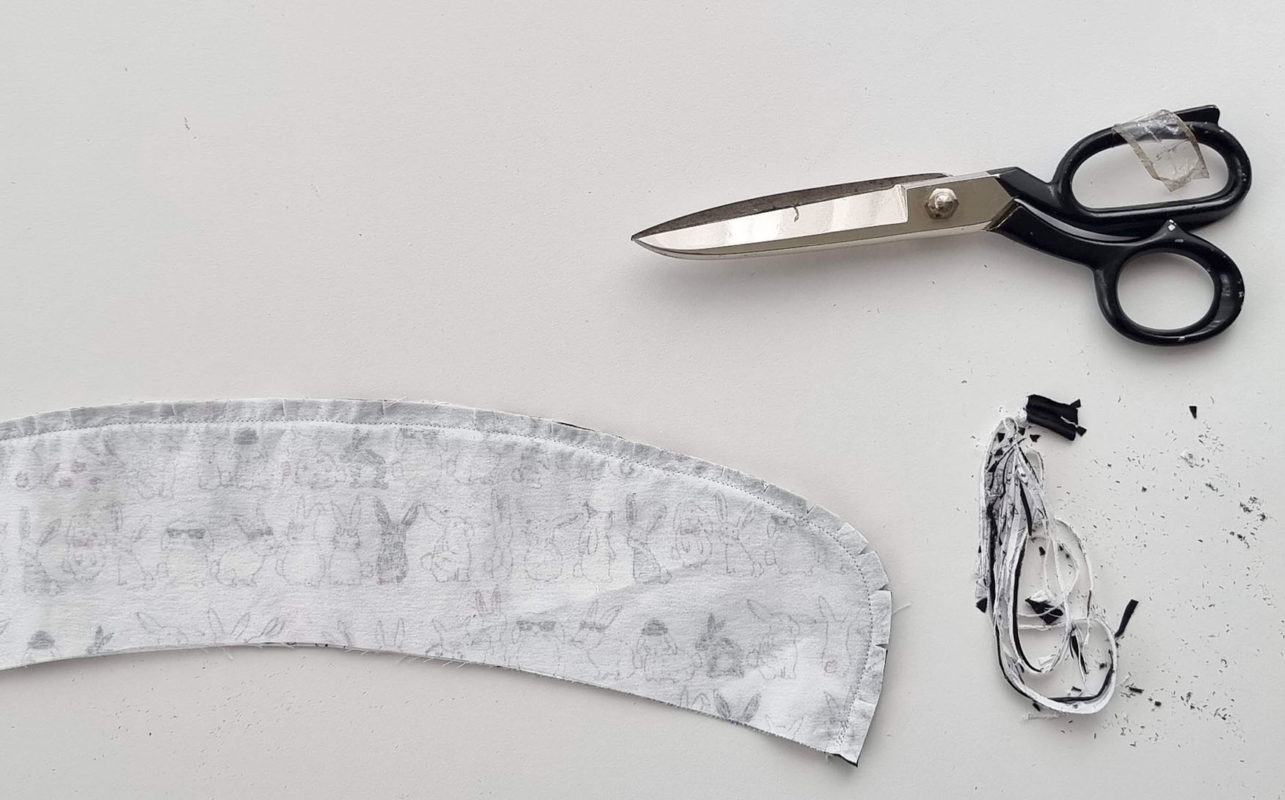
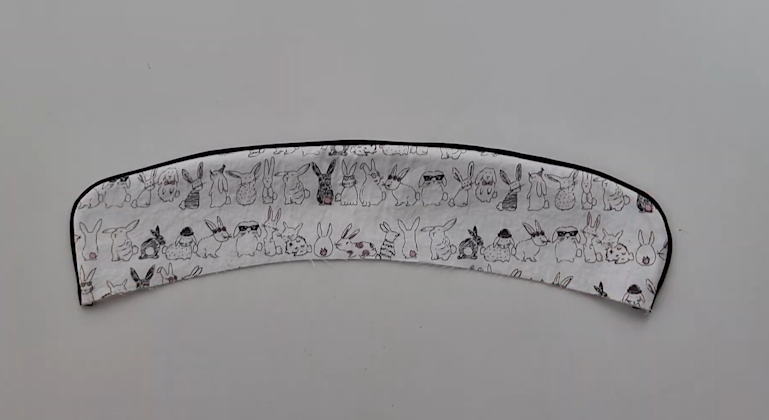
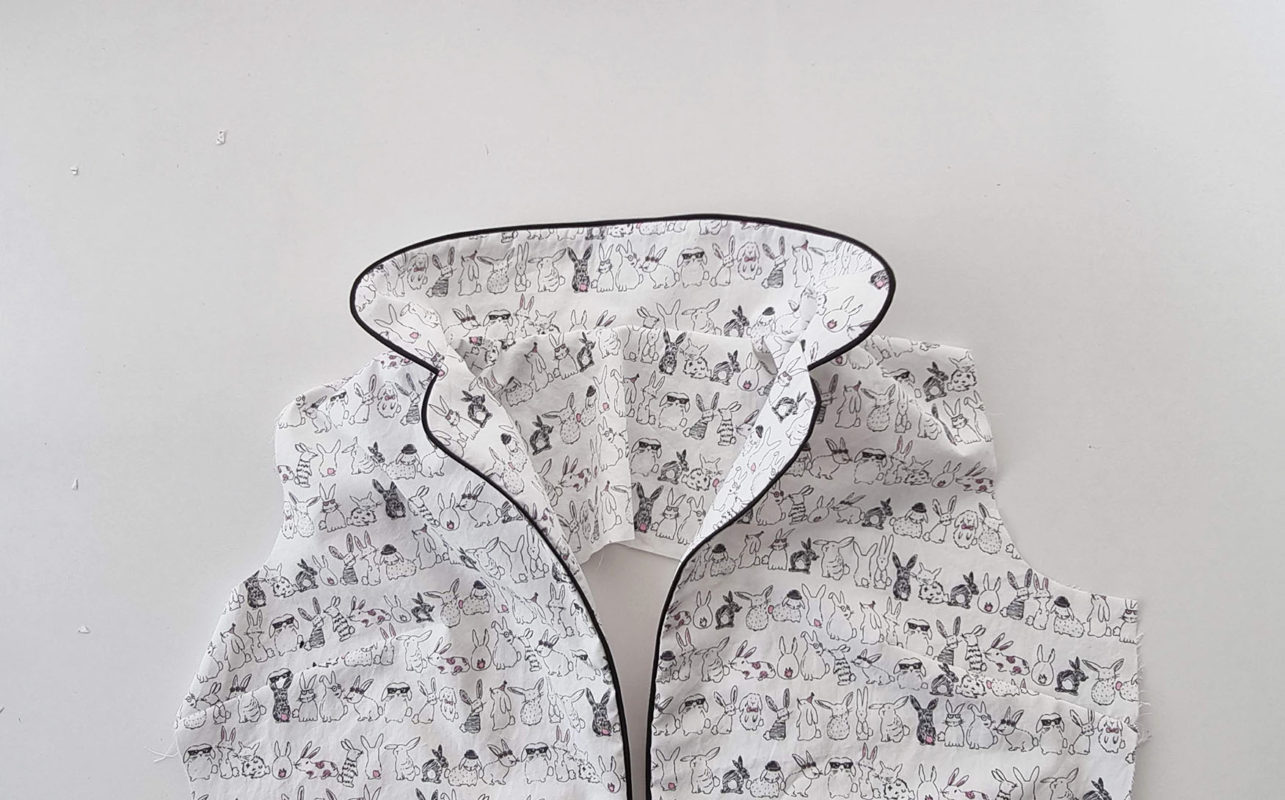
Then place the other collar piece on top, right sides together, pin along the outside edge, with the bias piping sandwiched in between. Sew along the outside edge using a 1cm seam allowance. Trim the seam allowance back to 5mm, then clip the curves and turn through. Press neatly and set aside.
Step 5
Next, the edges of the front neck facing needs to be finished. Overlock from the right side of the facing from the shoulder to the hem then set aside.
Step 6
On the front bodice, sew the bust darts on each side, and press the excess fabric down towards the waist.
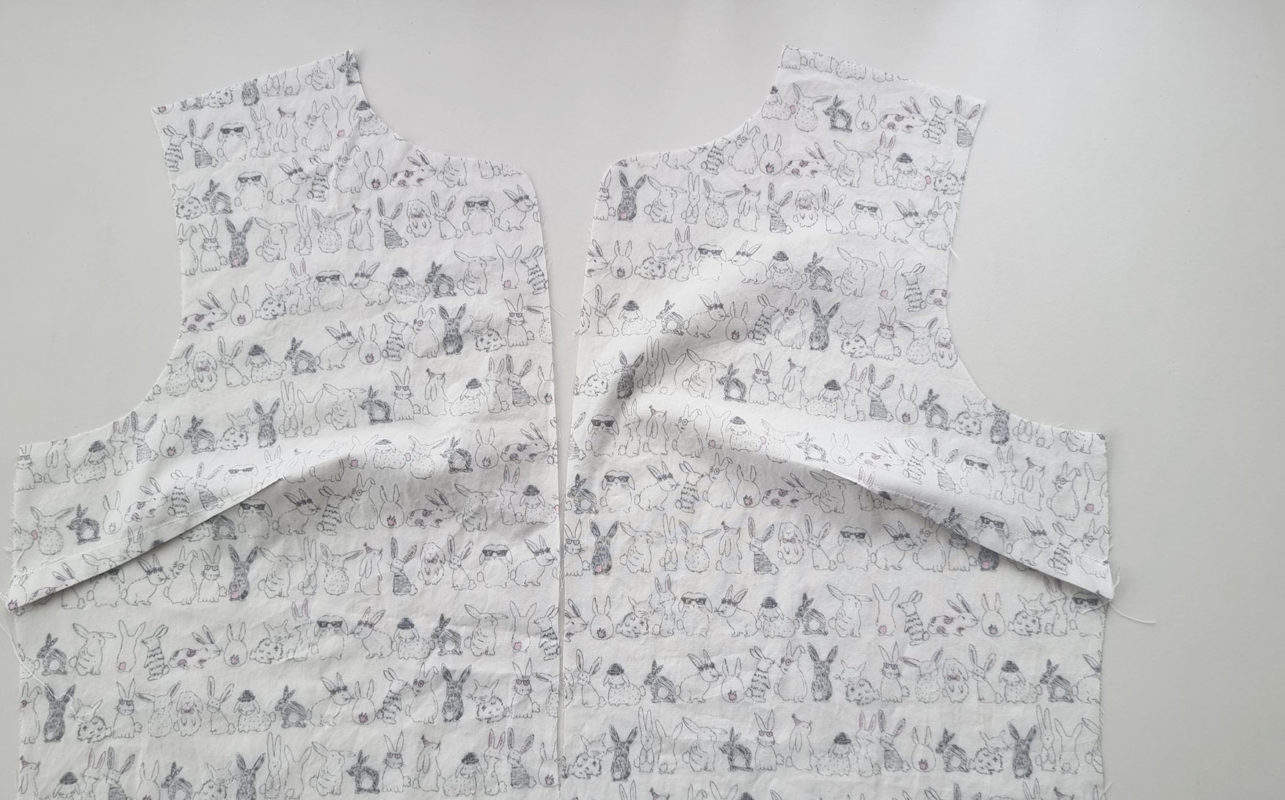
Step 7
Next, pin the shoulder seams of the front bodice pieces and the back yoke right sides together. Stitch closed with a 1cm seam allowance, then press the seam allowance open.

Step 8
Repeat step 7 with the 2nd back yoke and front facing pieces.
Step 9
Pin the piping along the front neck edge of the bodice from the hem to the notch point on the front neck. Stitch to secure using a larger stitch and an 8mm seam allowance. At the notch point on the neck – run the piping off the edge of the fabric.
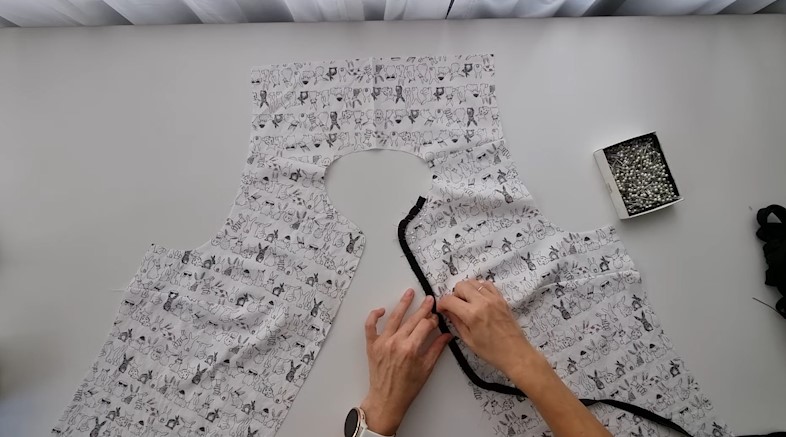
Step 10
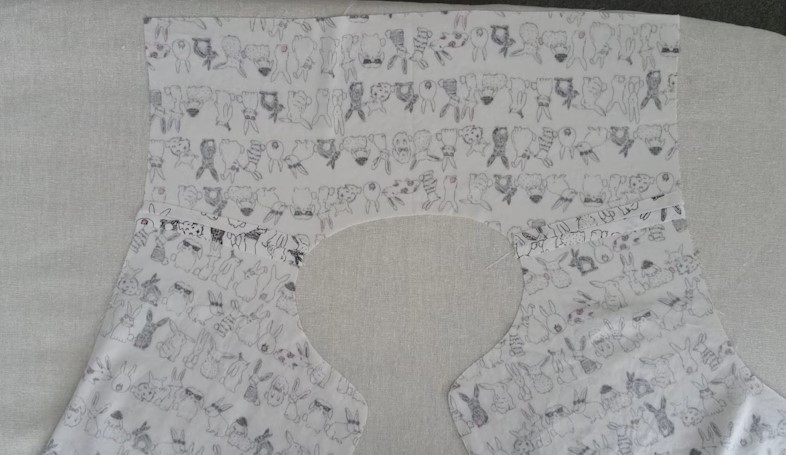
Then pin the collar to the neck edge. Use the collar notch, the shoulder seam notches and the center back notches to correctly place the collar. Take care not to stretch the neck edges – if using a light fabric, this edge can be stay stitched if needed.

Step 11
Place the facing piece down right sides together with the main and pin from the hem, along the center front, across the back neck, and down the other side. Then stitch closed with a 1cm seam allowance.
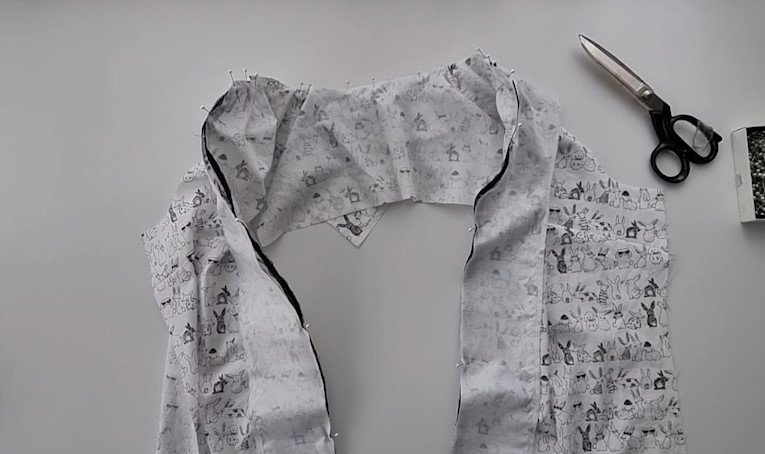
Step 12
Trim the seam allowance back to 6-7mm around the corners, then clip the curves, turn through and press well.
Step 13
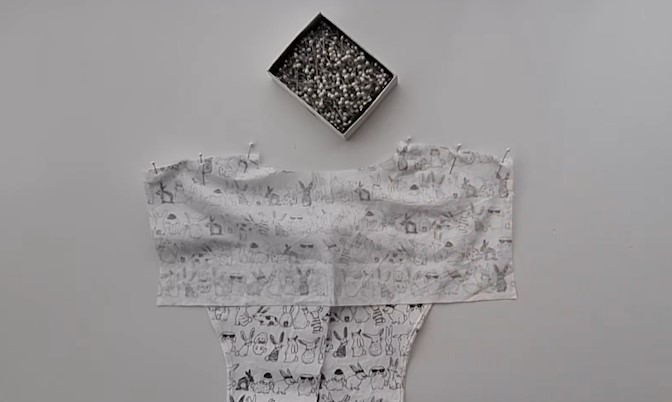
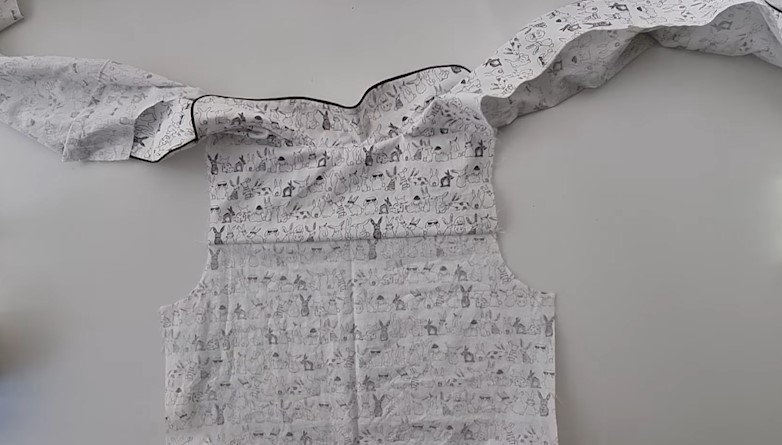
To attach the lower back bodice we are going to use the burrito method to encase the seam allowance. Start by pinning the lower bodice to the outer back yoke, right sides together. Then gently roll the back bodice up into the yoke and fold the inner yoke to pin to the other side. Stitch the seam closed with a 1cm seam allowance.

Step 14
Turn through so that the garment is the correct way out and press the back yoke seam. If done correctly all seam allowance should be hidden and will not need to be overlocked.
Step 15
Next pin side seams right sides together, stitch closed using a 1.5cm seam allowance, then overlock, and press the seam allowance towards the back.
There is extra seam allowance added here in case you need to make any sizing adjustments.
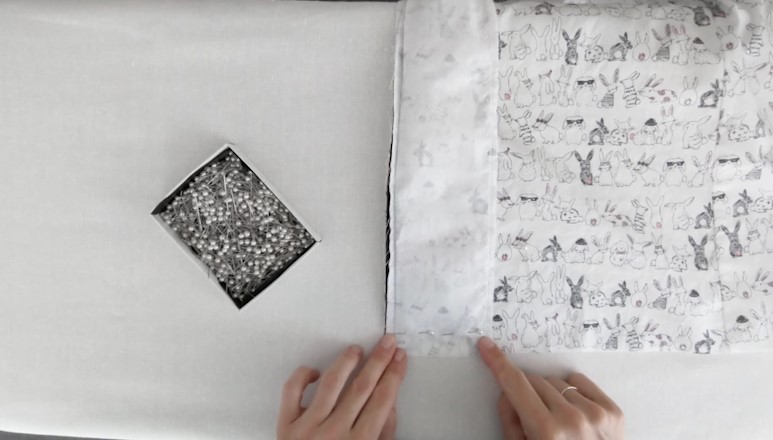
Hemming
Step 16
Turn the facing back onto the bodice so that the right sides are together and stitch together 2cm from the edge of the hem. Then cut off the corner.
Step 17
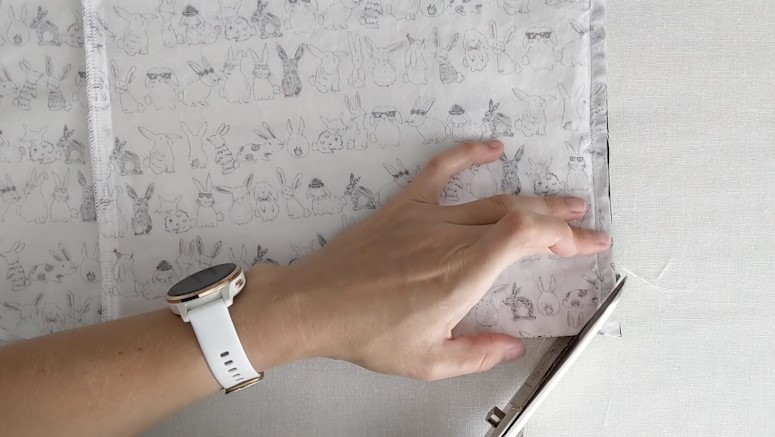
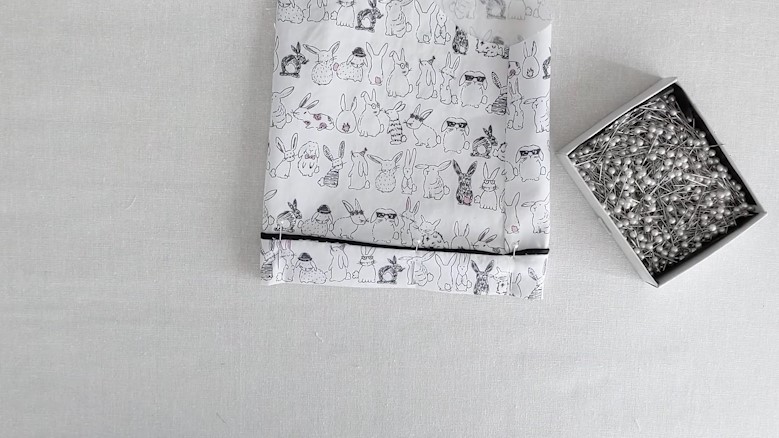
Double-fold the hem over and press to make a 1cm double-turn hem across the whole bottom edge of the garment.
Step 18
Turn the corner of the facing back the right way using a sharp object to ensure the corner is nice and sharp.

Step 19
Then top stitch the hem down.
The bodice can now be set aside to prepare the sleeves.
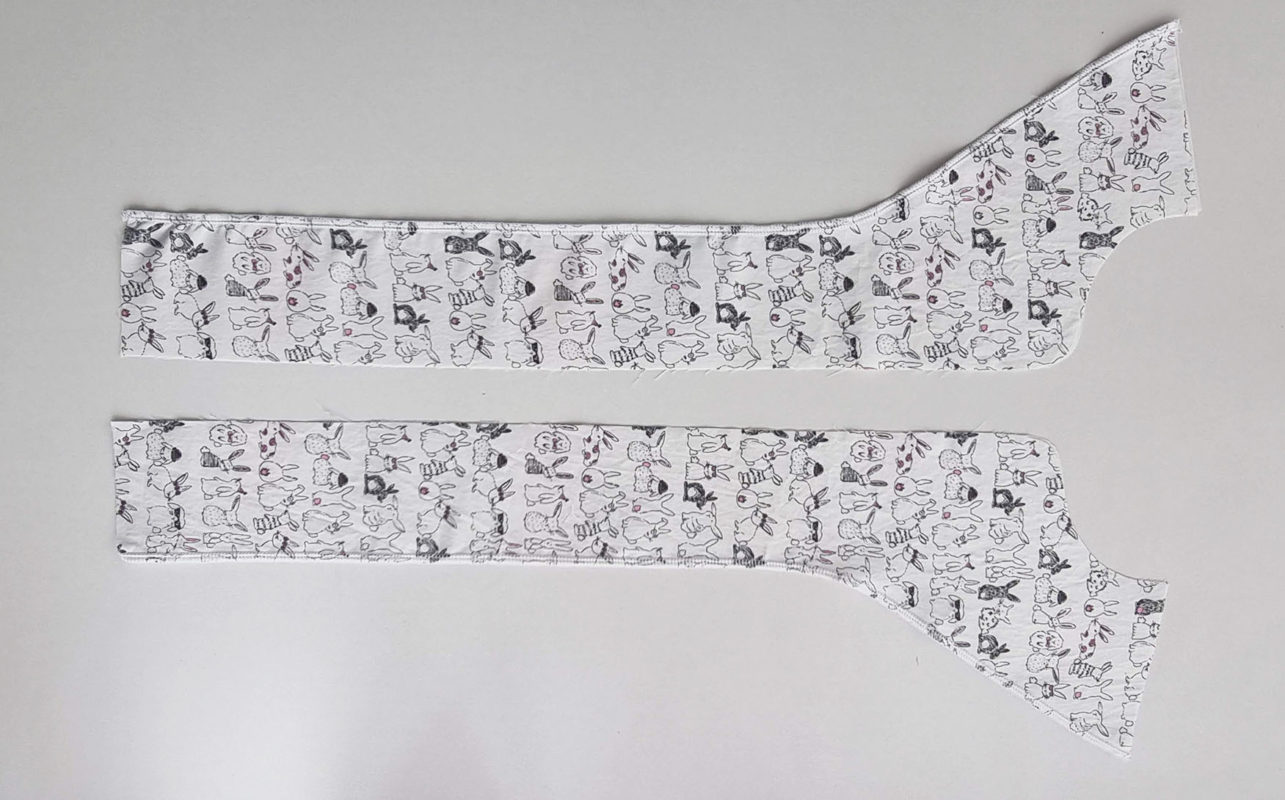
Sleeves
Step 20
Start by folding the sleeves right sides together and stitch the inseam closed with a 1.5cm seam allowance. Overlock to finish and press seam allowance towards the back of the sleeve.
Step 21
Fold the sleeve hem pieces right sides together and stitch the inseam closed with a 1cm seam allowance, press the seam allowance open (no need to overlock)
Step 22
Fold the sleeve hem in half long ways and press, then fold a 1cm seam allowance on the lower edge and press.

Step 23
Pin the piping to the lower edge of the sleeve and stitch in place using a larger stitch and an 8mm seam allowance. The overlap of the piping should be at the inseam so it is hidden when the garment is worn.

Step 24
Then place the sleeve hem on top of the sleeve right sides together, with the bias piping sandwiched in between, and stitch closed using a 1cm seam allowance. Press the seam allowance towards the sleeve hem taking care not to press out the folds created in step 22.

Step 25
Fold the hem so that the seam allowance is encased. Pin from the right side of the sleeve to hold in place, check the back to ensure it is folded neatly. Then top stitch from the right side of the sleeve 1-2mm below the piping to secure the back of the sleeve hem.
The sleeves are now ready to insert into the bodice.
Step 26
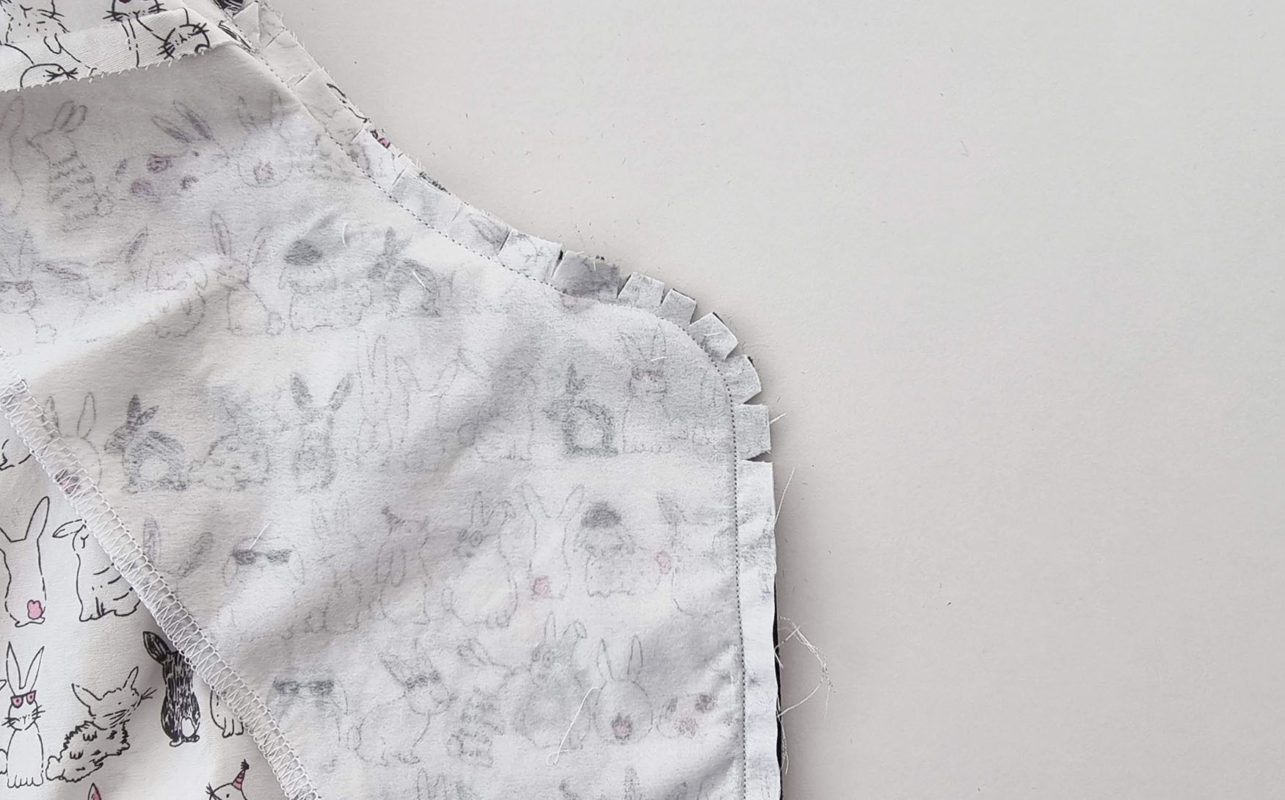
The sleeve head has 1.5-2cm excess that will need to be eased into the armhole. Run 2 rows of gathering stitch across the top of the sleeve head.
Step 27
Pin the sleeve into the armhole of the bodice, right sides together.
This step is easier if you turn the bodice inside out and keep the sleeve the correct way. Pin the bodice side seam and sleeve inseam together, then the shoulder seam and top sleeve head notch, then the front notches together, then the back notches. Then use the gathering threads to ease the sleeve head into the bodice. Add additional pins where you need them.
Step 28
Stitch closed with a 1cm seam allowance. Sewing from the side of the sleeve makes it easier to ensure you have no tucks when easing the sleeve head into the armhole.
Step 29
Overlock closed and press the seam allowance towards the sleeve.
Patch Pocket
To add the piping to the pocket it will be a similar finish to the sleeve hem.
Step 30
Fold the upper pocket in half and press, then fold the top edge 1cm seam allowance over and press.
Step 31
Place the lower and upper pocket right sides together along the piping edge with the bias piping sandwiched in between and stitch closed using a 1cm seam allowance. Press the seam allowance towards the upper pocket taking care not to press out the folds created previously.
Step 32
Then fold the upper pocket over to encase the seam allowance. Pin from the right side of the pocket to hold it in place, check the back to ensure it is folded neatly. Top stitch 1-2mm above the piping to secure the back edge of the pocket.
Step 33
Fold in the sides and bottom edge 1cm and press. Open out the corners and fold them back on a 45 degree angle. Then repress the side seams.
This reduces the bulk on the corners and ends up being much neater.

Step 34
Pin the pocket to the bodice using the markings provided on the pattern.
Step 35
Top stitch the pocket to the bodice 1-2mm from the pocket edge along the sides and bottom.
Buttons & Button Holes
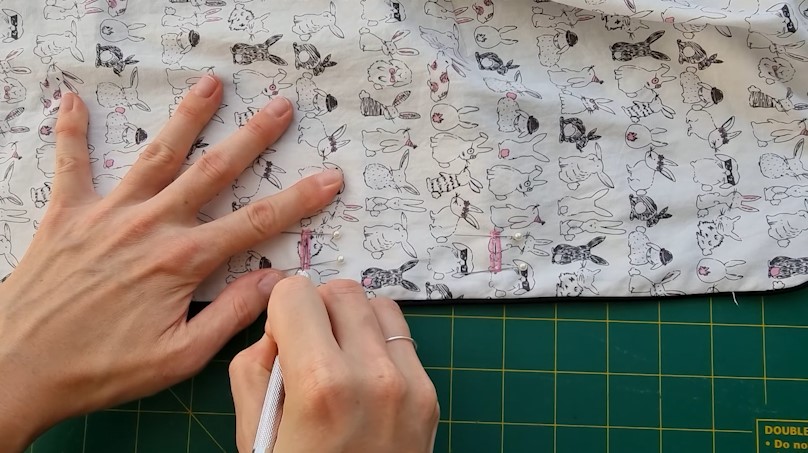
Step 36
The next step is to add the button holes. These will be on the wearers right-hand side. Each machine is different so I recommend doing a couple of test runs on some scrap fabric before putting them onto your actual garment. Be sure to use the same scrap fabric that your garment is made out of.
Step 37
Once the button holes are complete cut them open taking care not to slice through the end stitching.
Step 38
Lastly, attach the buttons to the wearers left-hand side.
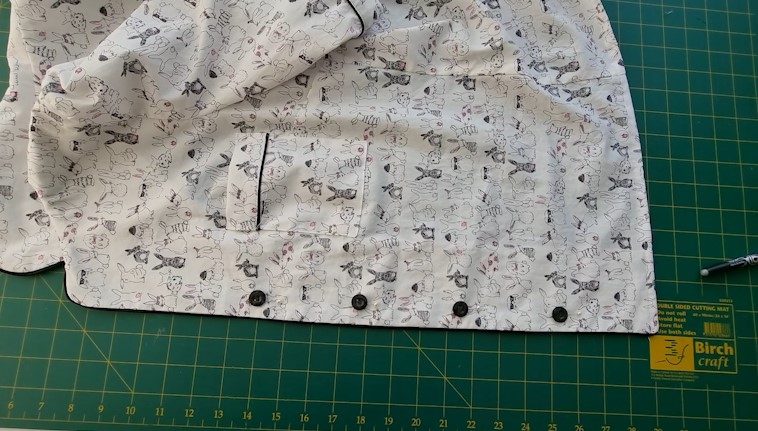
The Chloe Sleepwear Long Sleeve Top is now complete. Of course, there are matching pants for this top, you can find the Chloe Sleepwear Pant here.
I also have a couple more cute pyjama sets here.
I’d love to see your creations, you can tag me on Instagram at @at_the_seams_patterns