Dresses, Sewing Tutorials
Sewing Tutorial: Alice Babydoll Dress
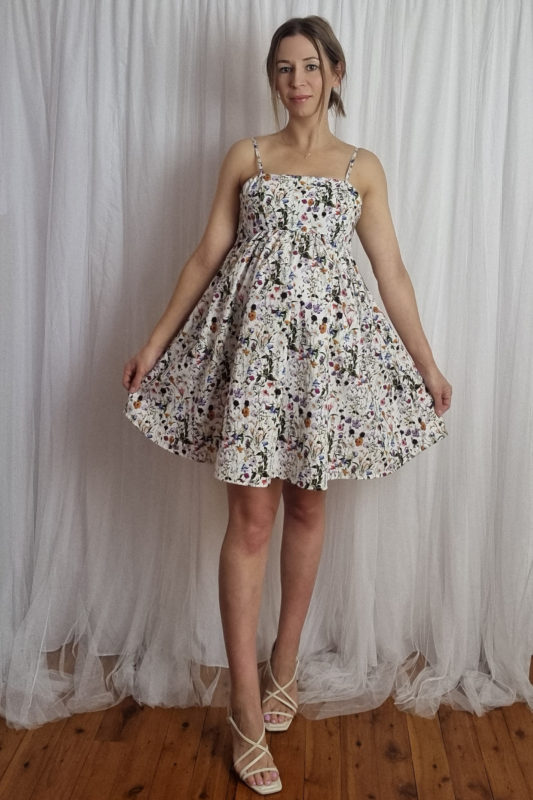

The Alice Babydoll Dress is a cute summer fun dress that you need for your next party. The dress has also been designed to double as a maternity dress much like the Marley Baby Doll Dress.
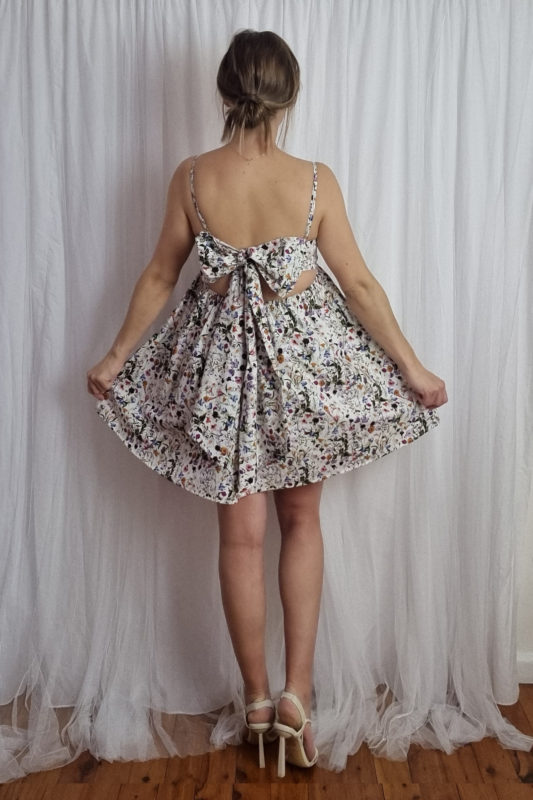
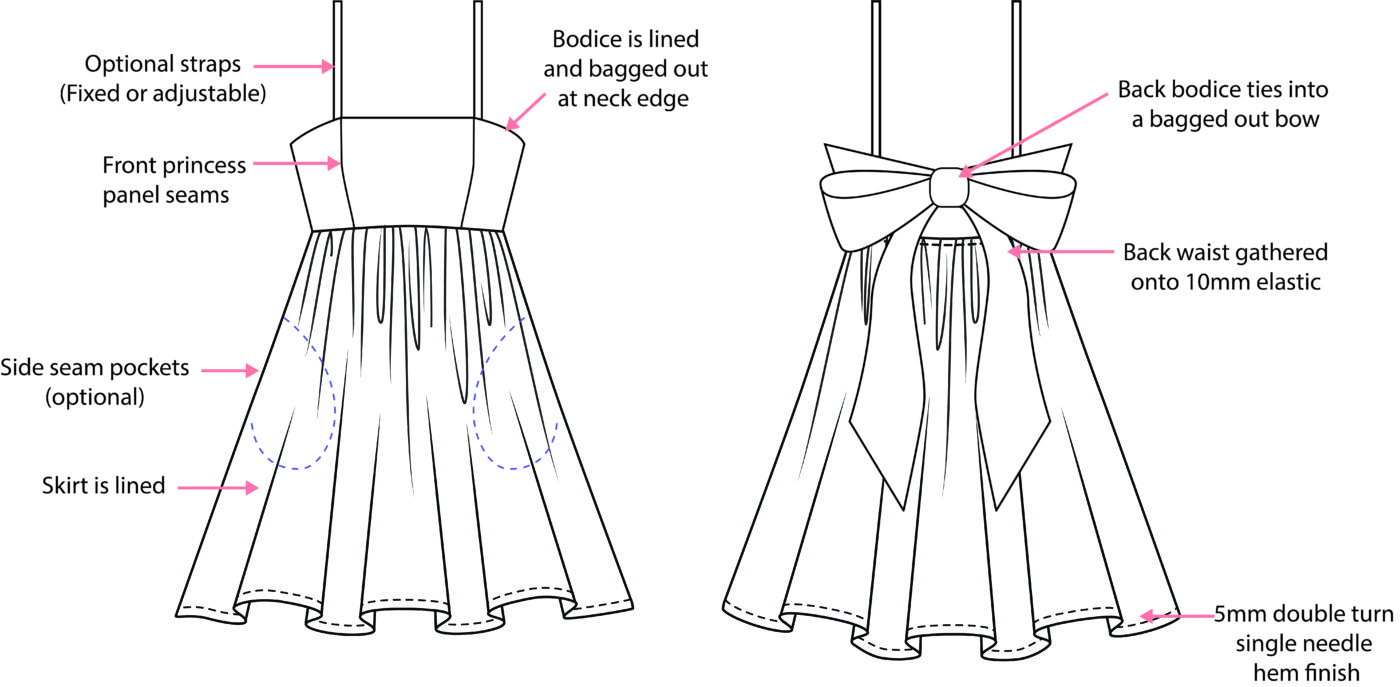
The style’s highlight feature is the tie-back bow at the back bodice. Also, the back of the skirt waist is elasticated to allow the style to be fully adjustable to make it the perfect dress for that growing bump. The pattern has 2 cut options for the front of the skirt so it can be sewn as either a normal dress or a maternity dress. The bodice and skirt are both fully lined, the skirt is a semi-circular gathered skirt with a 5mm rolled hem.
The dress also has optional side pockets and 2 cut options for the straps – fixed or adjustable depending on your sewing ability.
SEWING ABILITY
Advanced
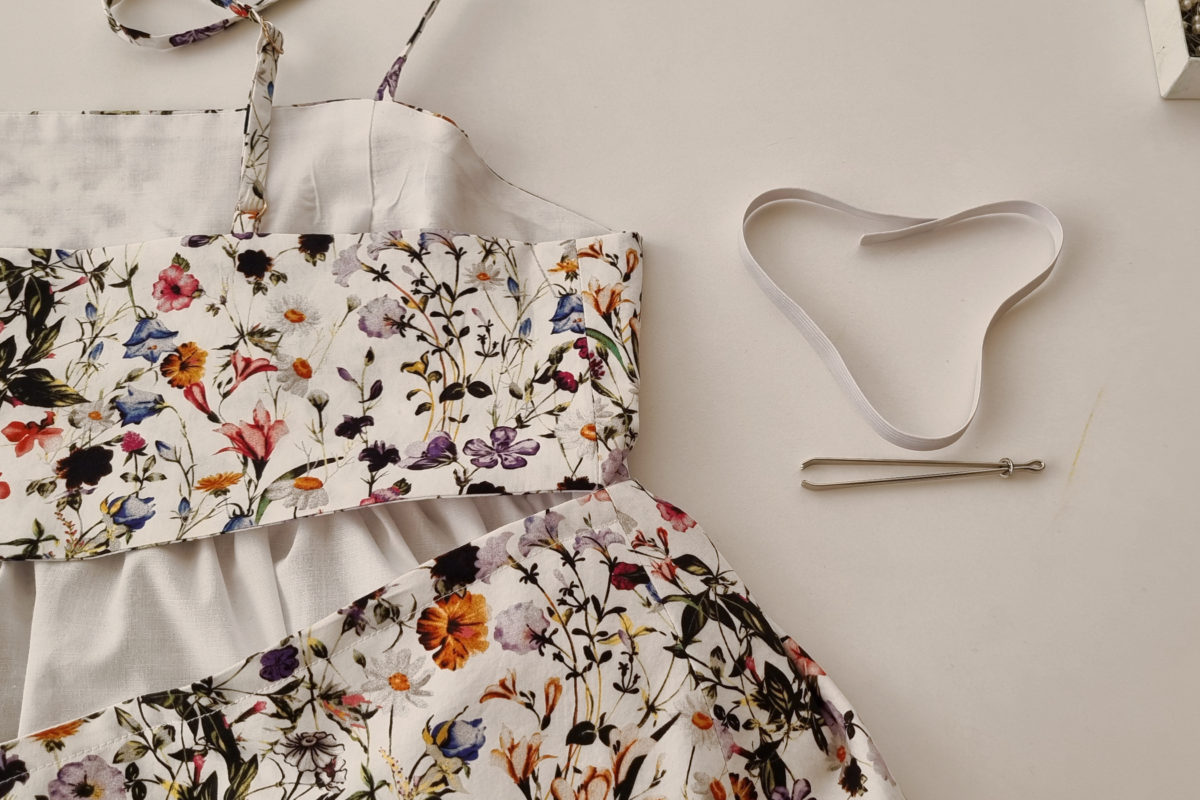
To begin you will need the following things
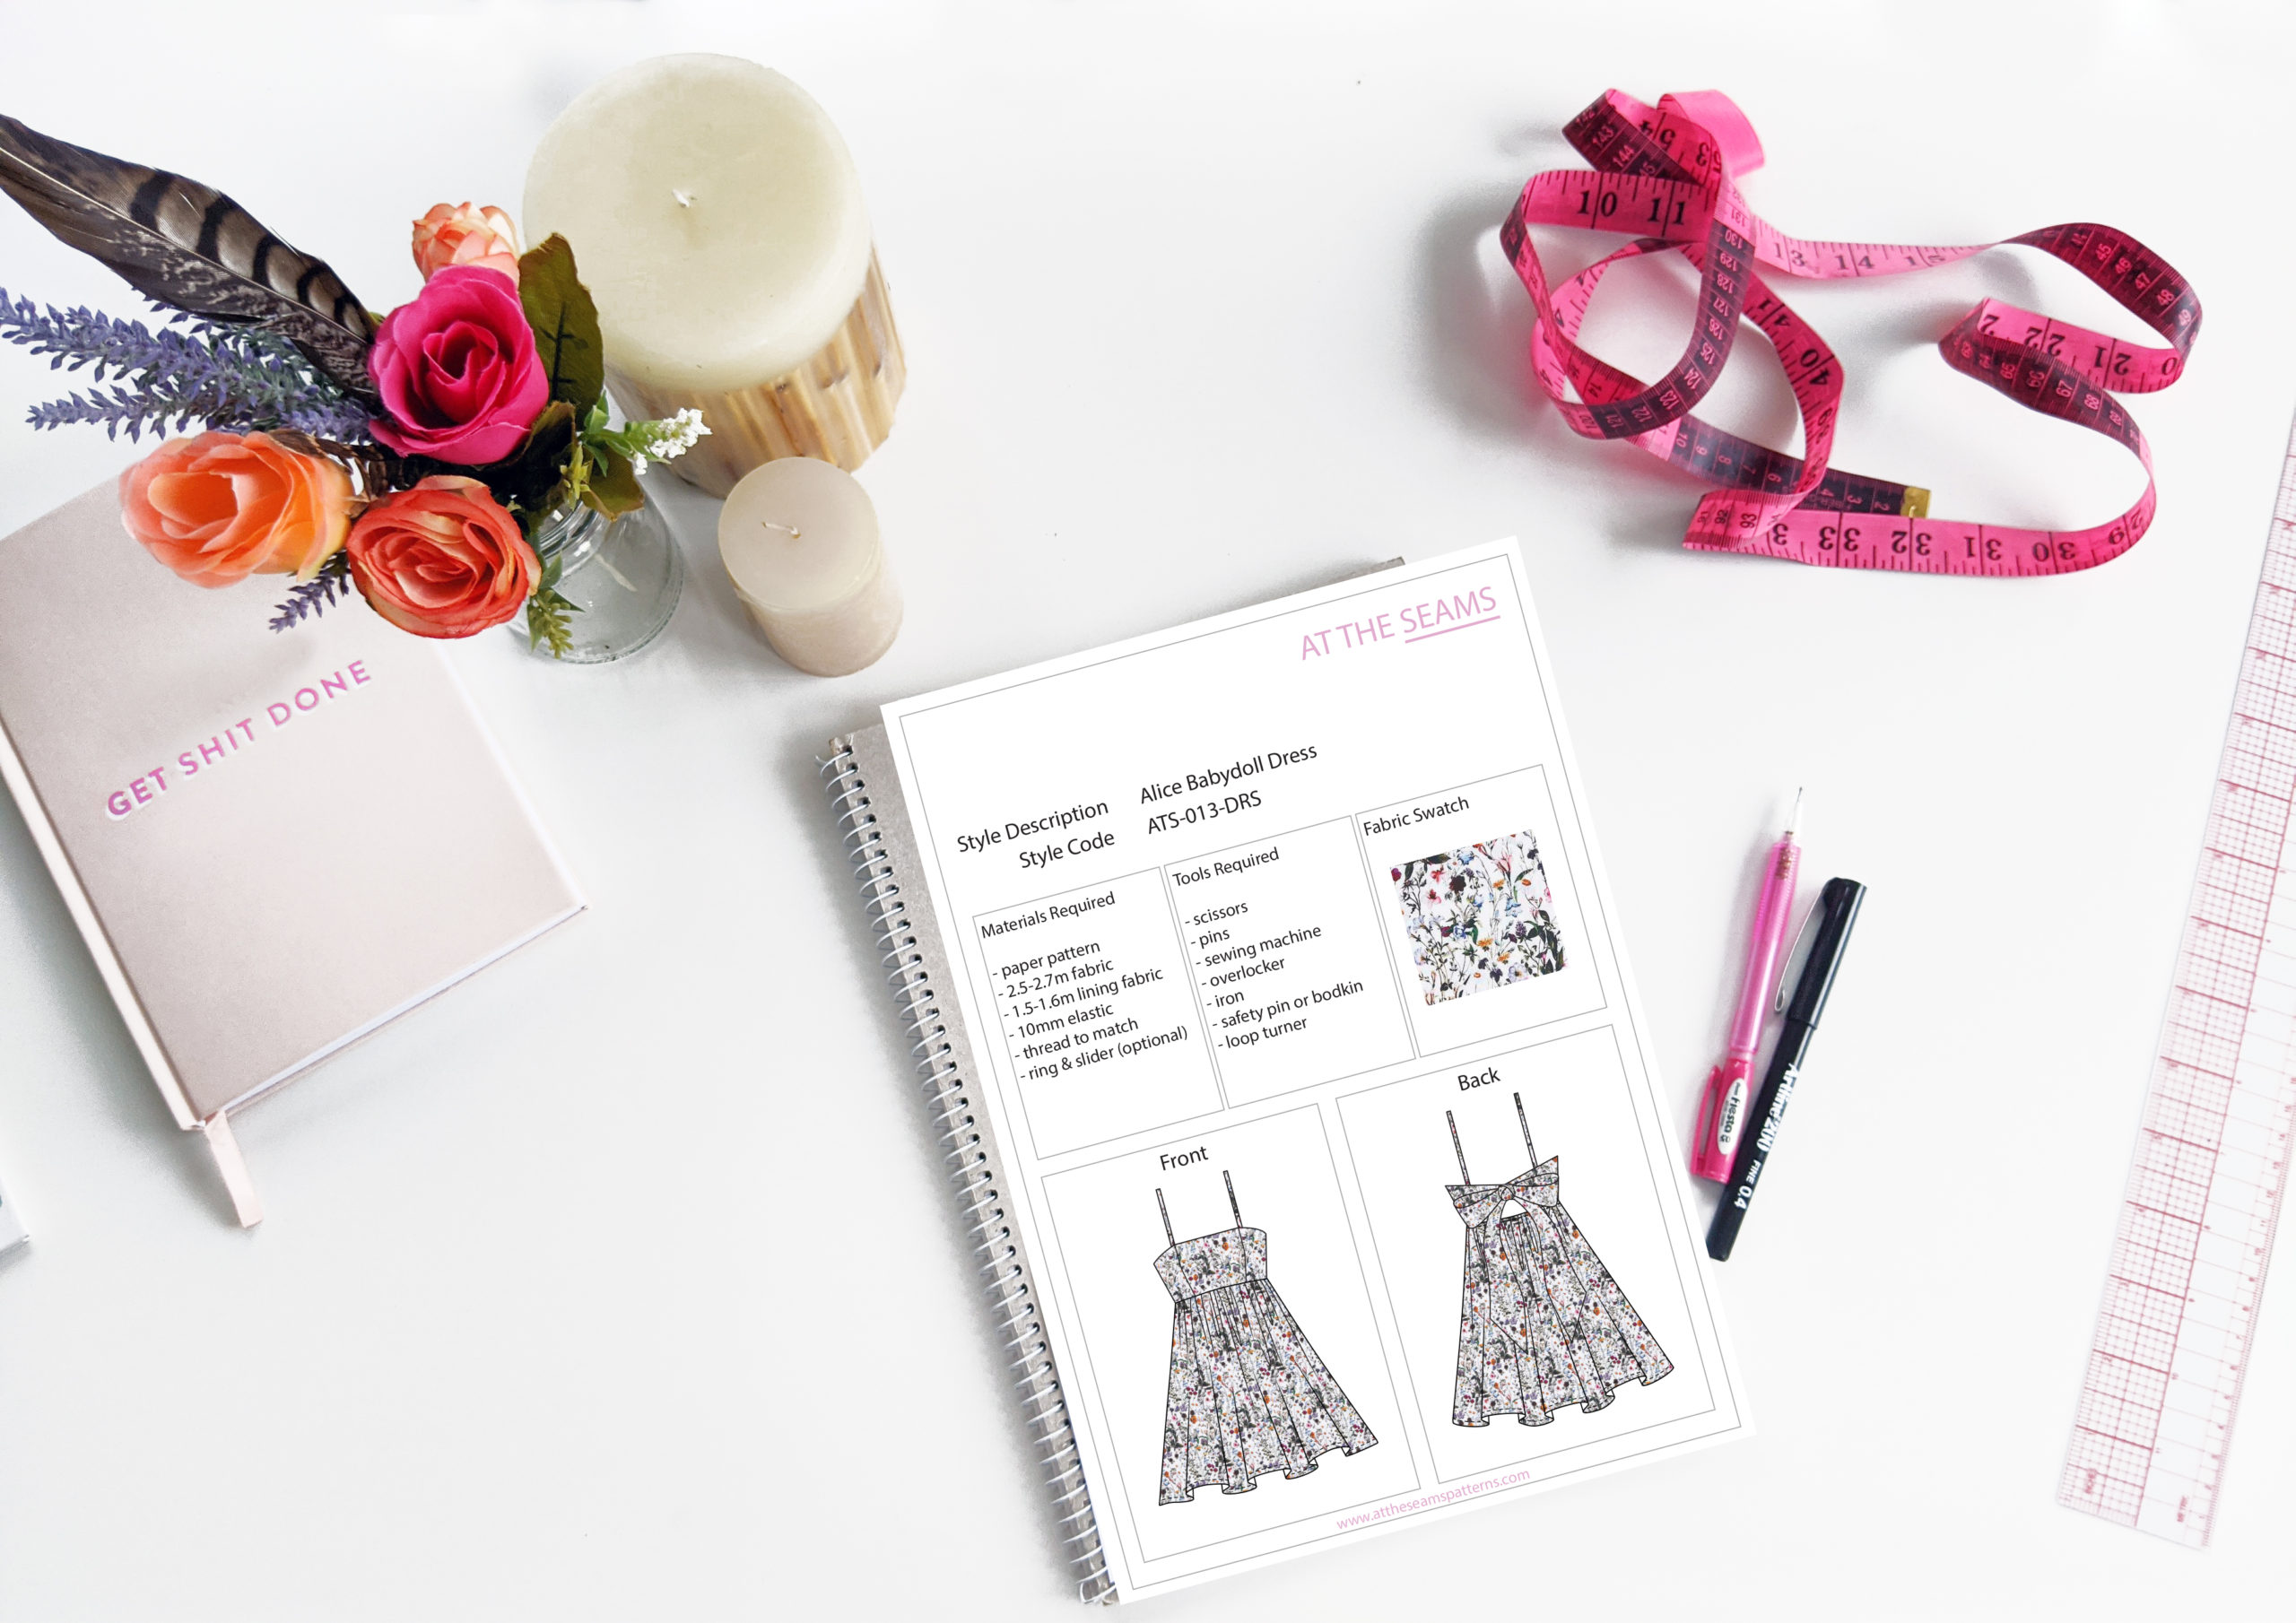
Materials
- Alice Babydoll Dress (size XS-5XL) paper pattern, or if you prefer to shop on Etsy
- Lining fabric
- 10mm elastic
- cotton thread (enough to also thread your overlocker)
- Ring and slider (optional)
Tools
- scissors
- pins
- sewing machine with a regular foot
- overlocker
- iron
- safety pin or bodkin
- rouleau turner
Tips
- Ensure your fabric is washed, dried, and pressed before you start cutting. There is nothing worse than washing your beautiful garment and it shrinks, or even more annoying the lining shrinks and the main doesn’t so it’s all pulled out and shape and is unwearable.
If you prefer video instructions – please head over to youtube.
Sewing Instructions
Step 1
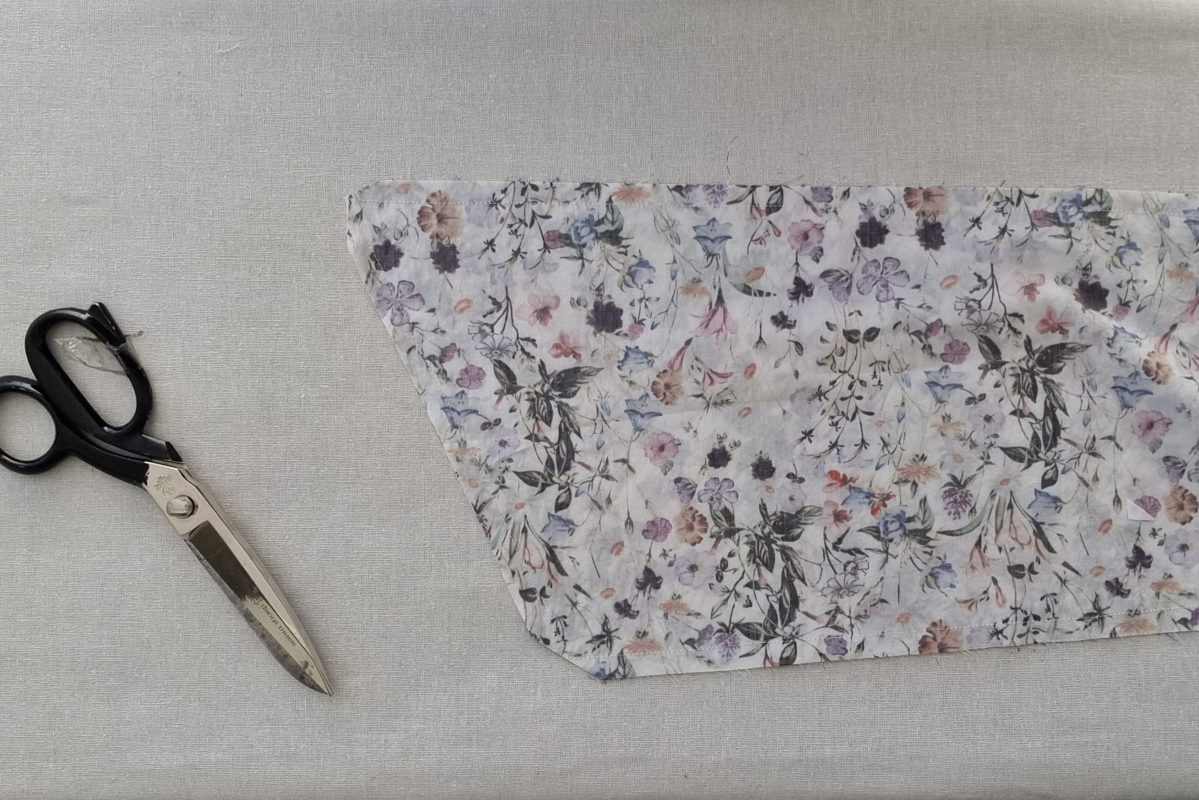
Cut all main and lining pieces accurately on the correct grain, ensuring all notches are clipped. Be sure to clip the CF of the bodice hem and the CF of the skirt waist. Please note all seam allowance is marked on the pattern and is also listed on page 2 of the booklet provided.
Beginner tip* If you can afford to purchase a rotary cutter and cutting mat, I find this more accurate and time-efficient.
STRAPS
STRAPS – Straps are optional, if wanting to make the dress strapless, skip to step 3.
Step 2
Option A – Fixed Strap
Fold the strap pieces right sides together and stitch closed with a 7mm seam allowance. Trim the seam allowance back to 5mm and turn the straps through with a rouleau turner. Then press flat.
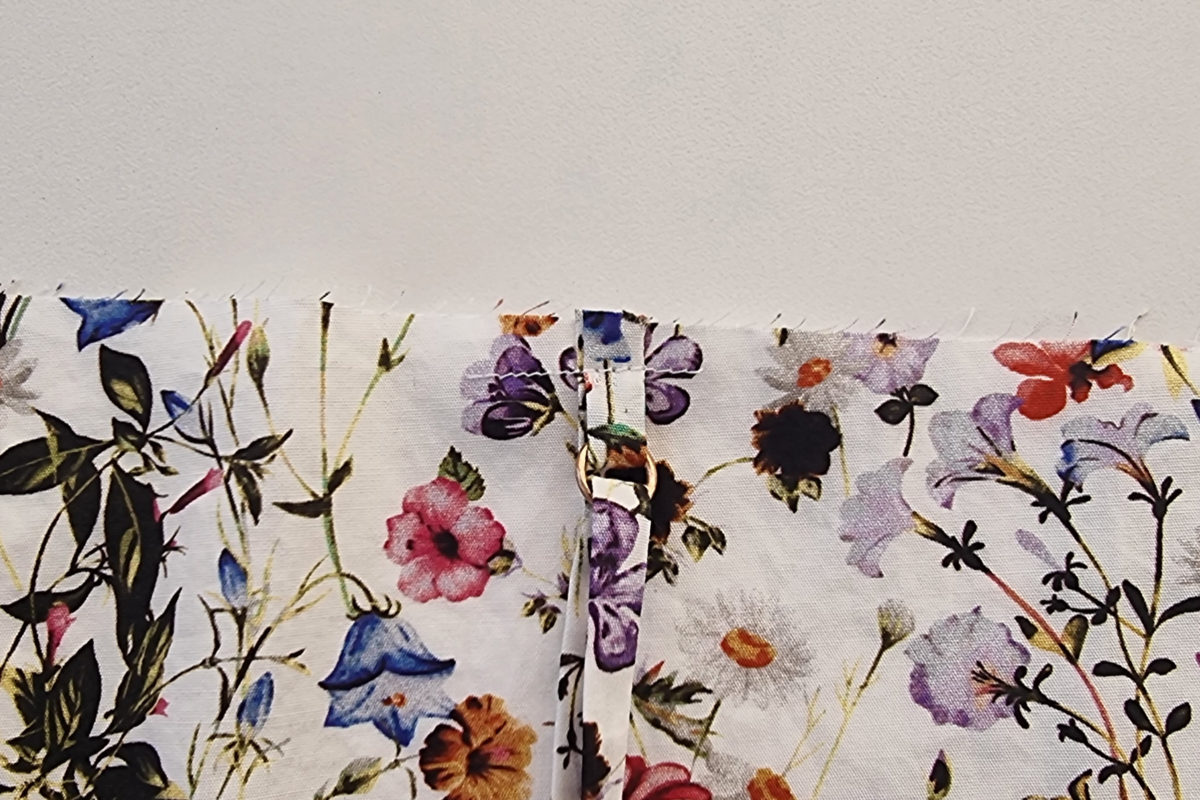
Option B – Adjustable Strap
If you wish to make the straps adjustable, please visit this link below:
BODICE
Step 3
Take the main fabric pieces of the front bodice and pin the front panel seams right side together and stitch closed using a 1cm seam allowance. Press seam allowance inwards.
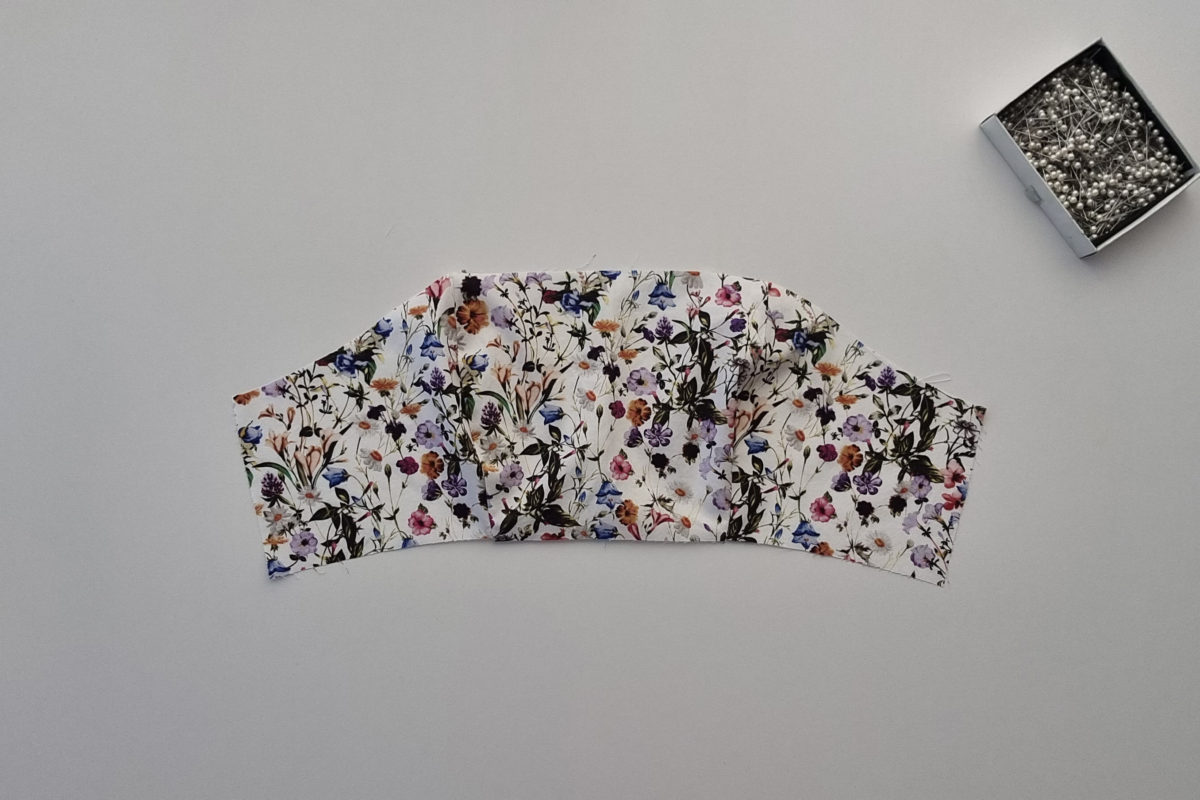
Step 4
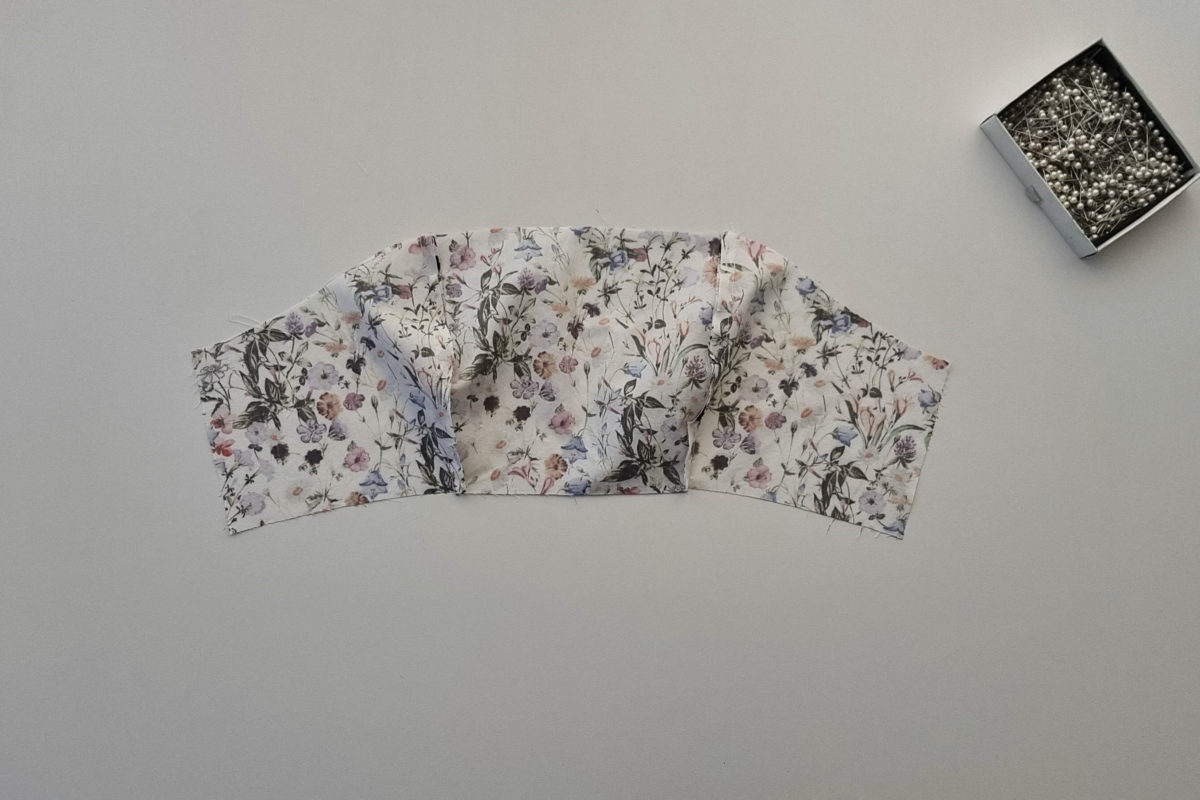
Then pin side seams right sides together and stitch closed with a 1.5cm seam allowance leaving a 1cm gap at the bottom edge. Press the seam allowance open.
Beginner tip* to ensure this is accurate I recommend marking this on your fabric before sewing.
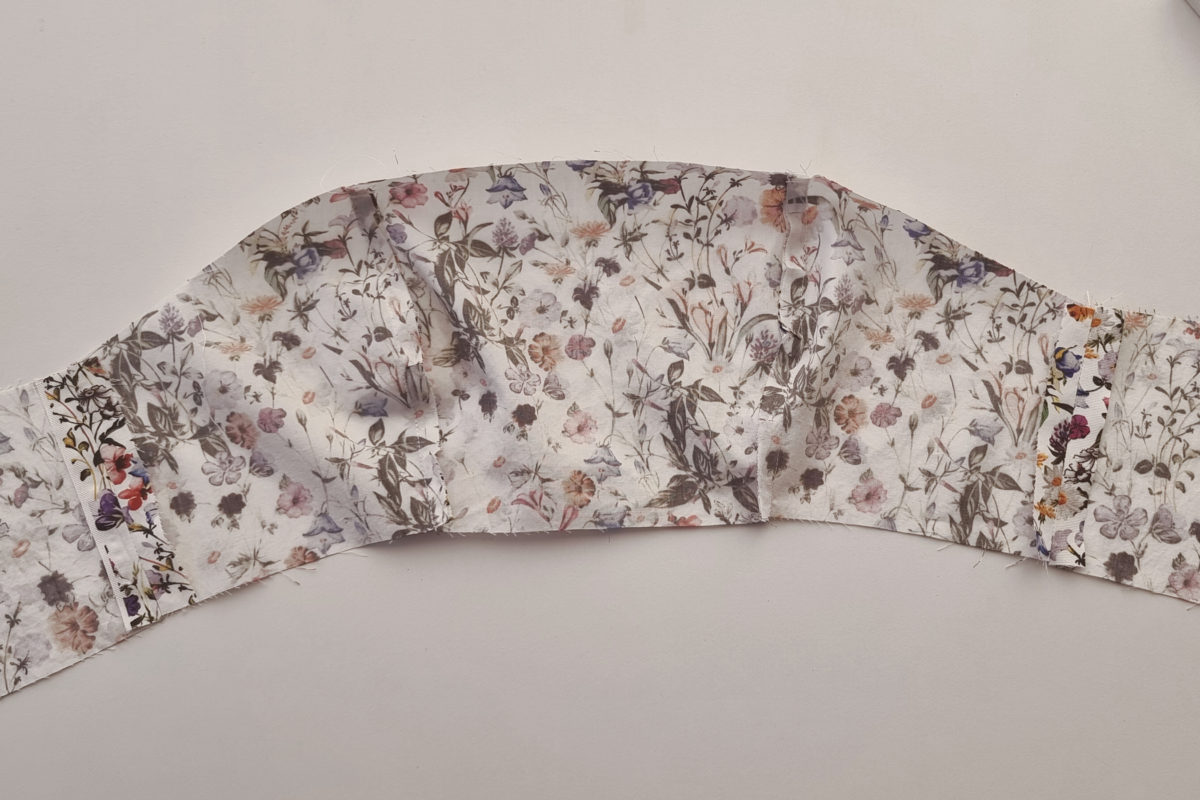
Step 5
Repeat the above steps but on the lining fabric pieces.

If making the dress strapless – skip steps 6 & 7
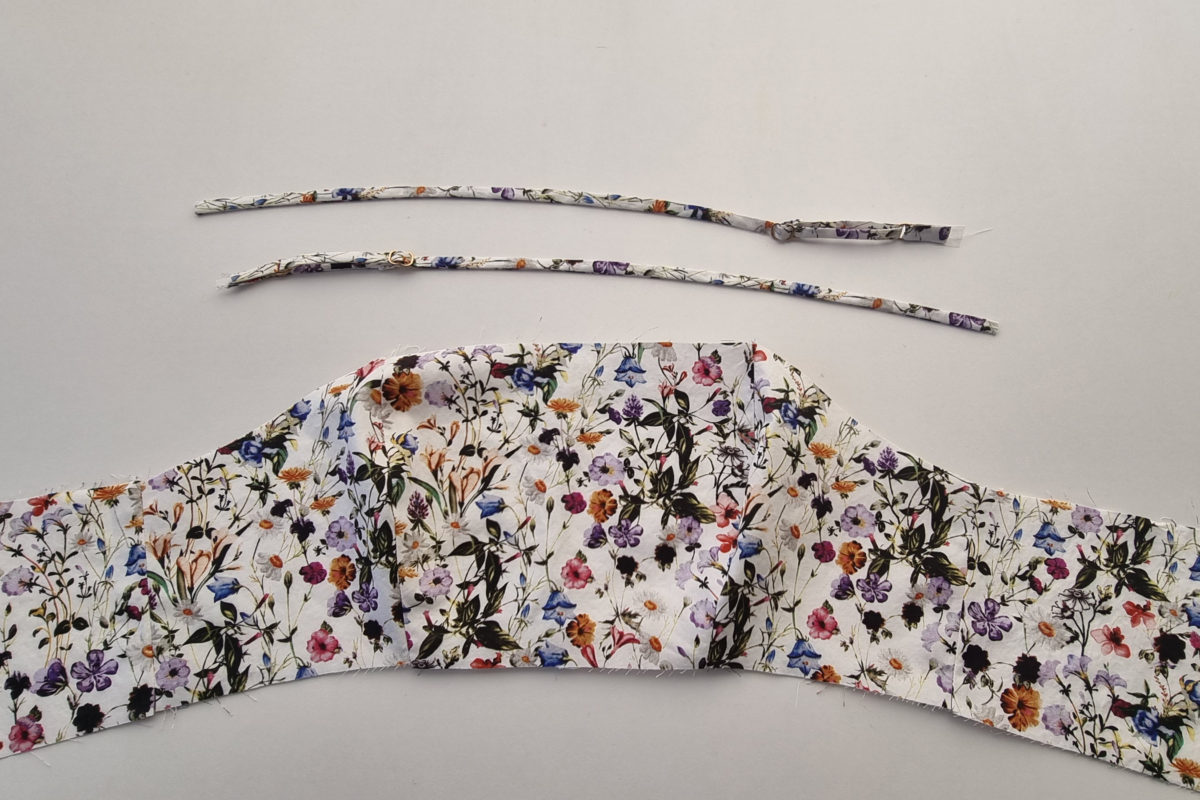
Step 6
Next, pin the straps to the main of the bodice. On the front, pin them at the panel seam, and on the back use the notch on the pattern for placement. Stitch/Baste in place to hold.
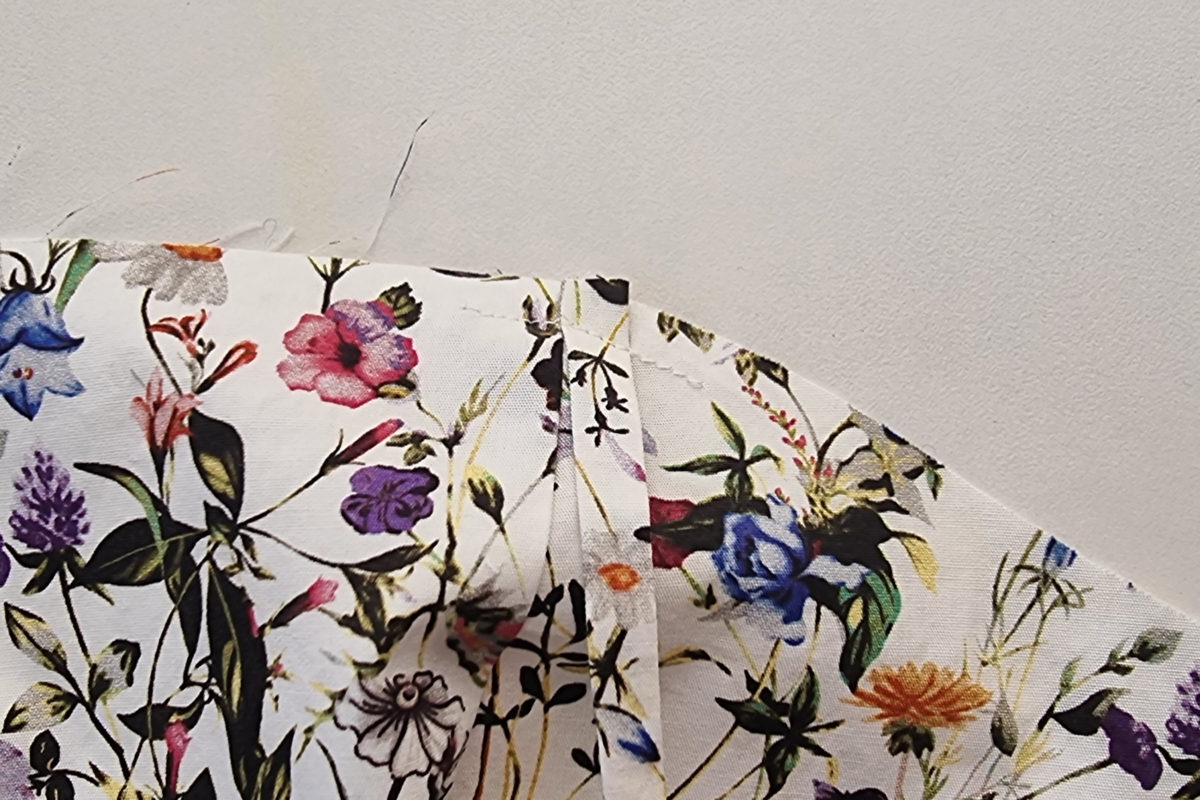
Step 7
Check that the straps sit correctly and are not twisted.
Step 8
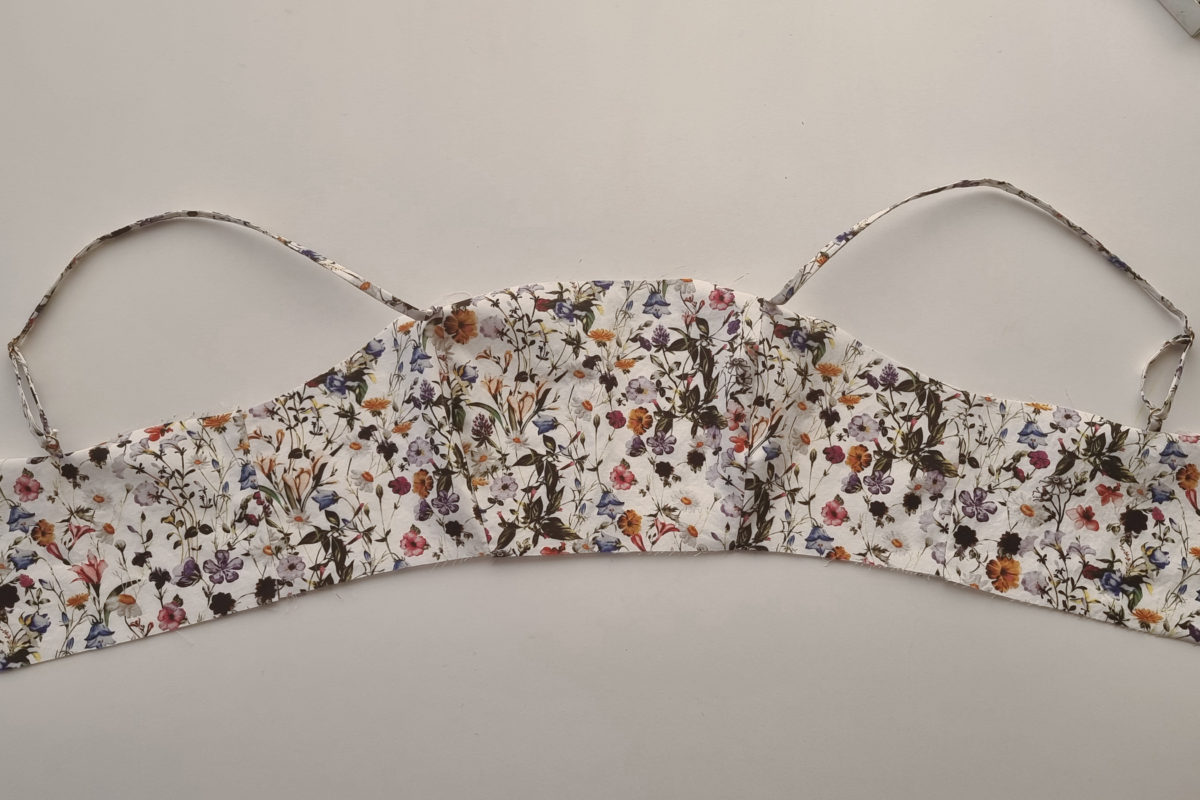
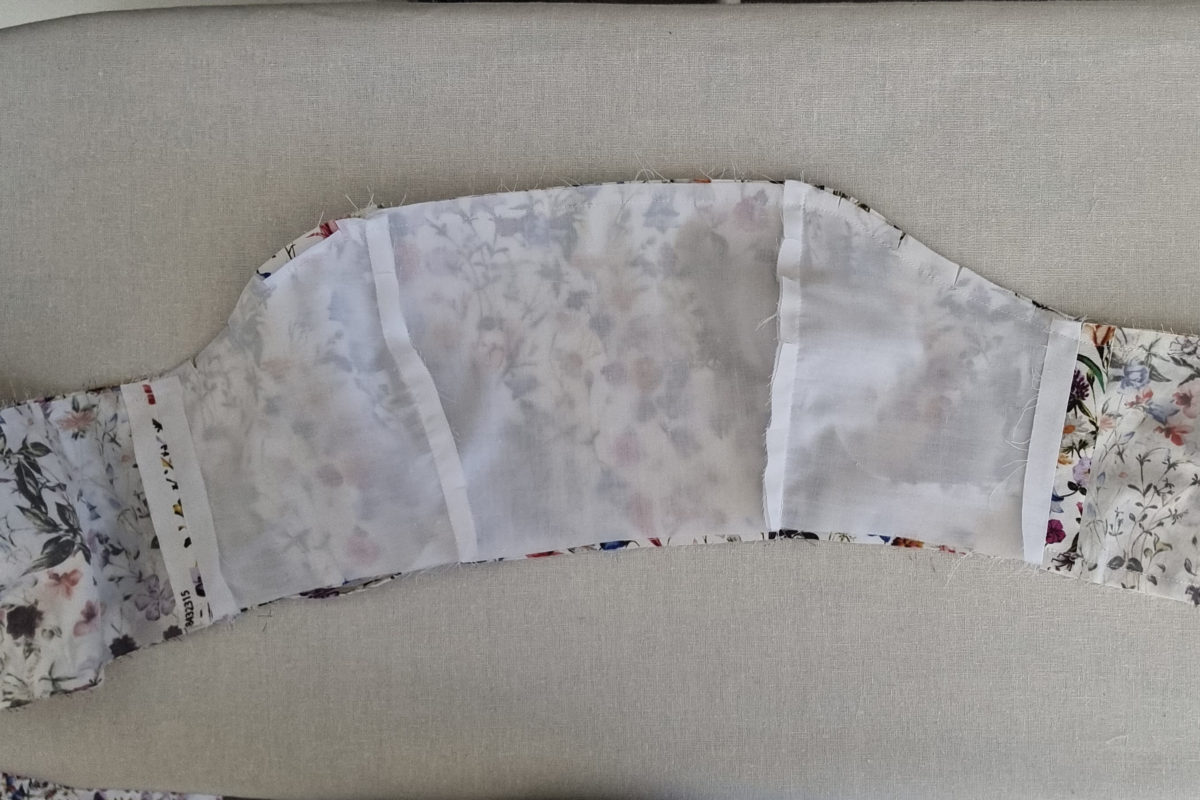
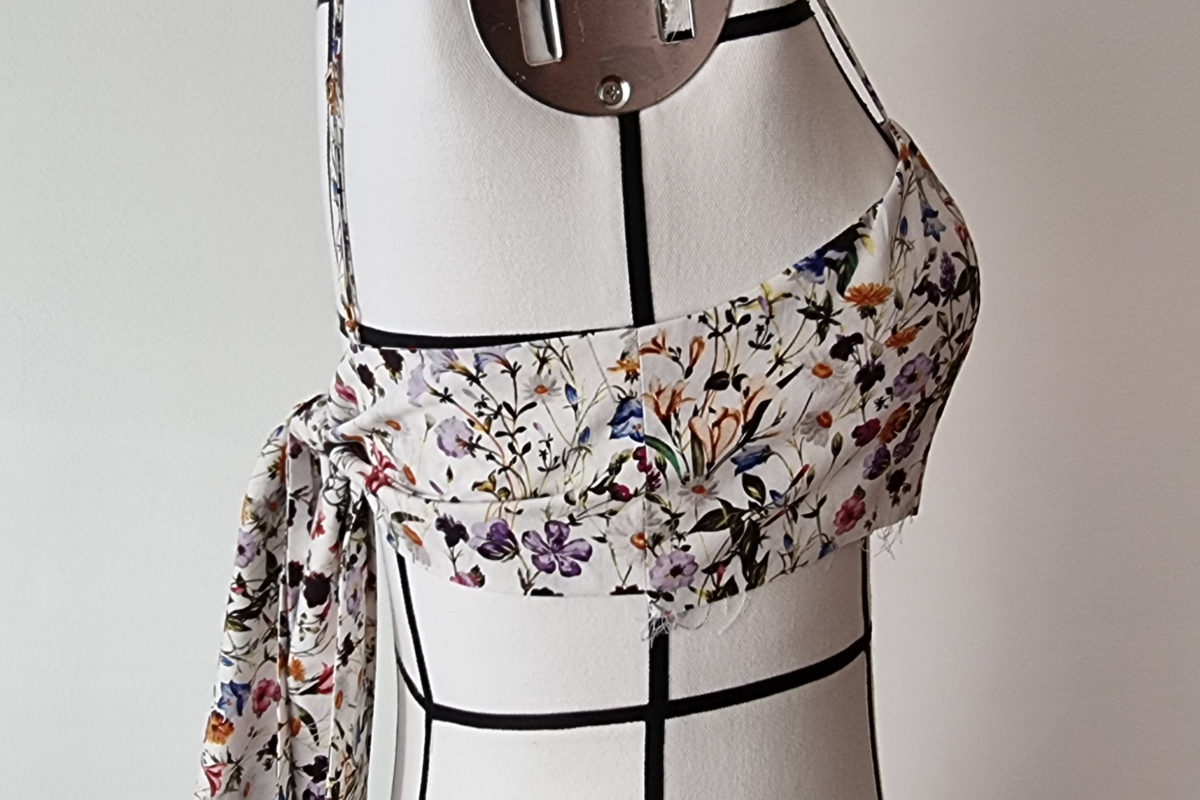
Place the bodice main and lining right sides together and pin along the top neck edge, and along both back ties. Do not pin the lower front bodice edge. Ensure that panel seams and side seams match.
Step 9
Stitch closed with a 1cm seam allowance. Take care to ensure that your stitching starts and stops exactly on the side seams.
Step 10
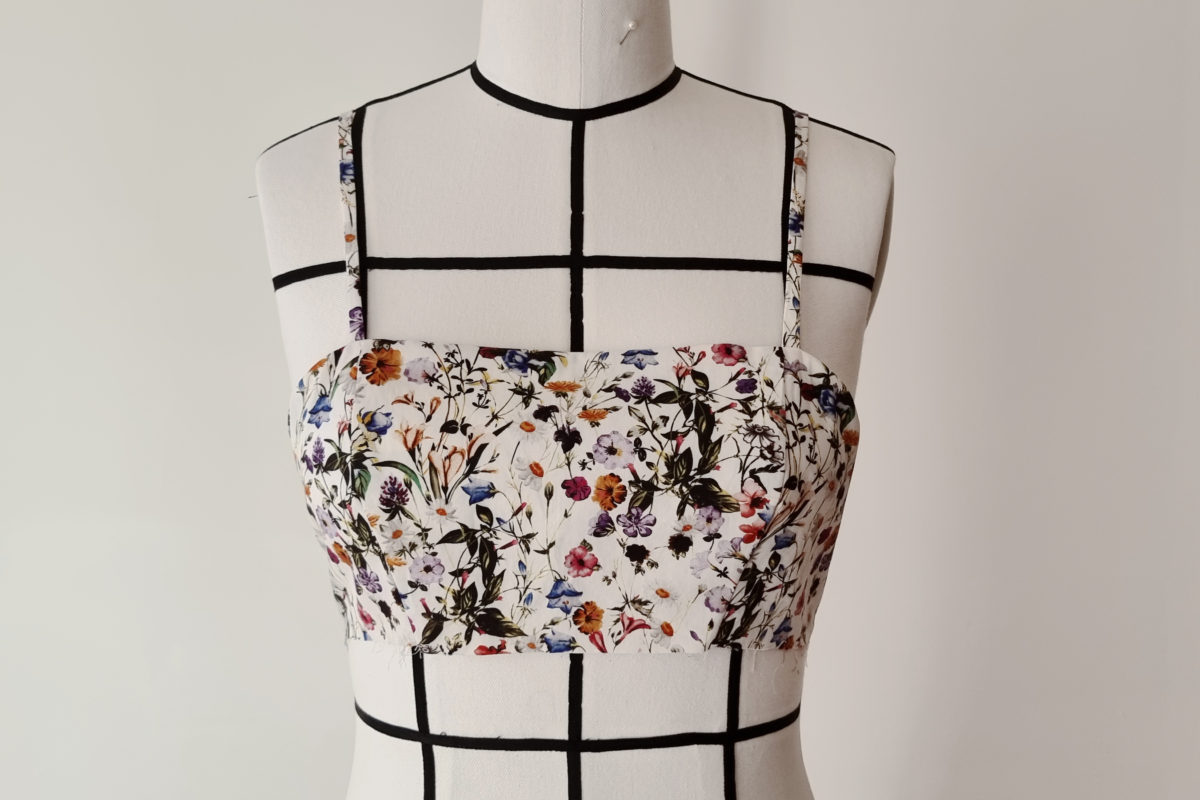
Then clip the corners and curves and turn through. Use a sharp object to get the corners nice and square. Then press flat. The front hem will be left open.
SKIRT
(if not using pockets skip to step 14B)
Step 11
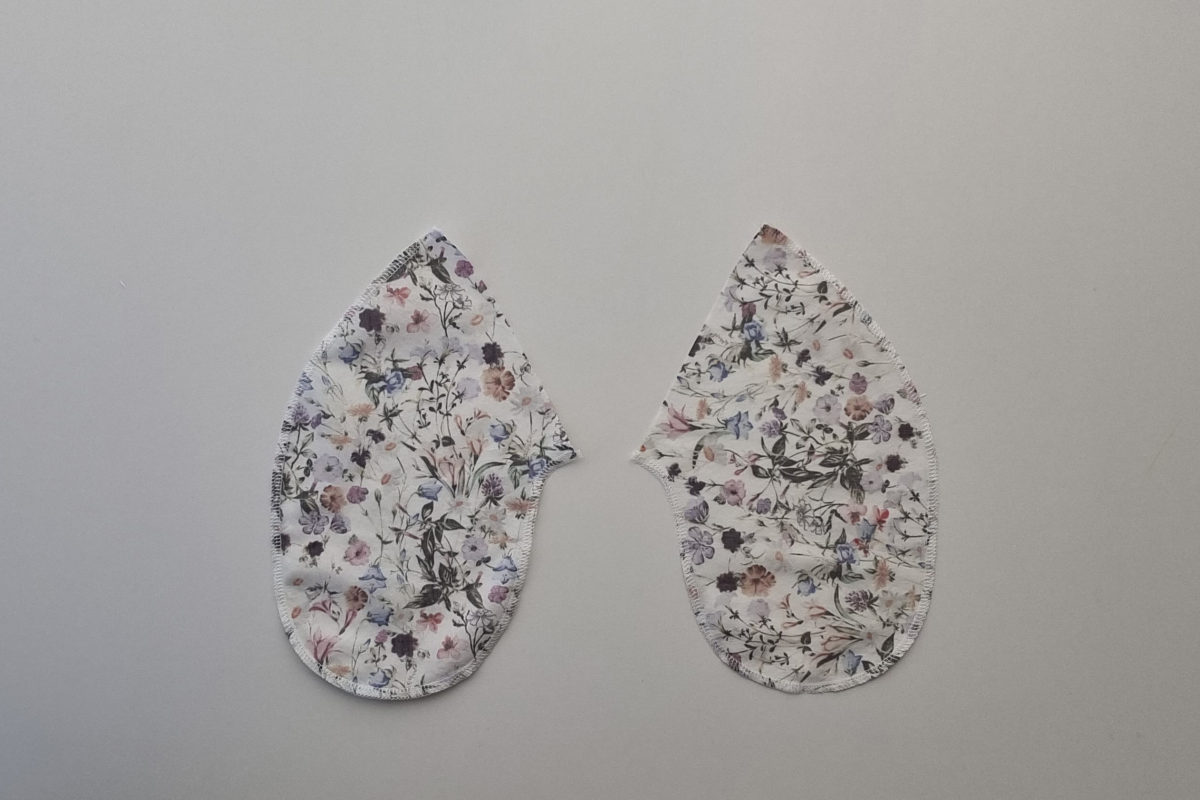
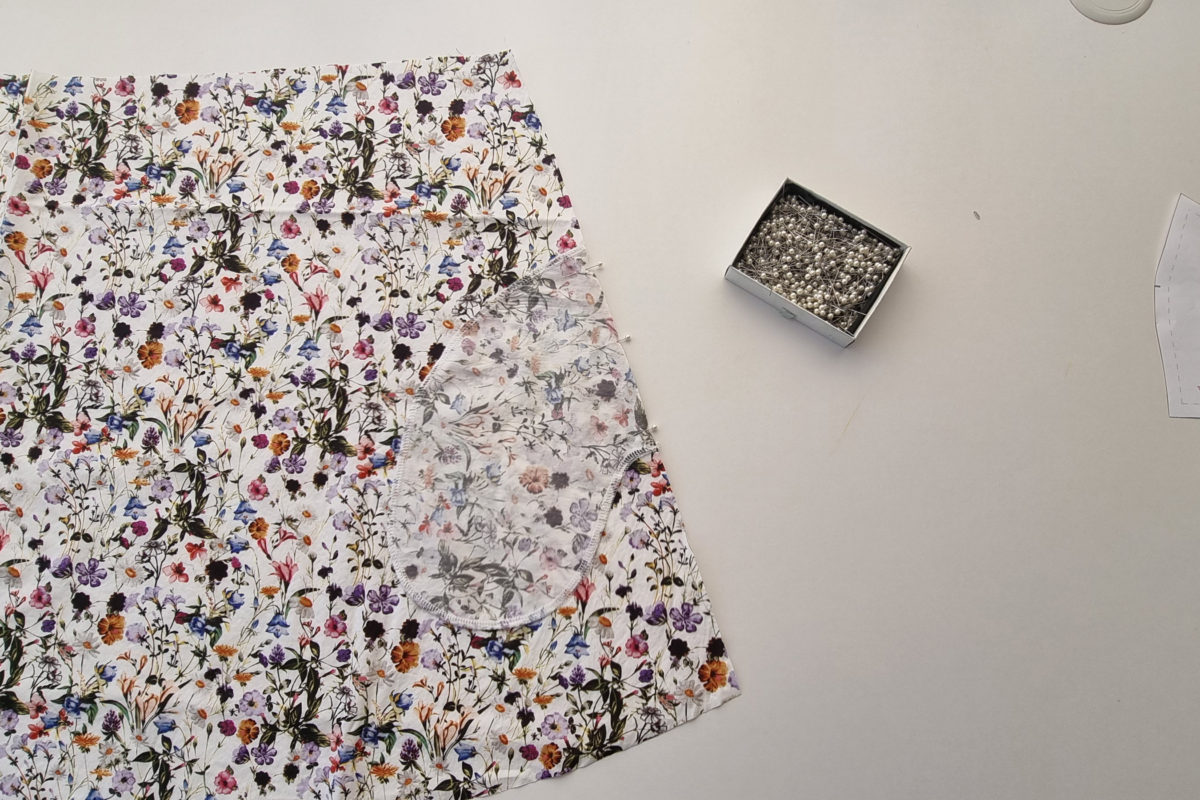
Overlock the edges of the pocket bags separately from the wrong side of the fabric.
Step 12
Picking up the main fabric front and back skirt pieces. Pin the pockets to the side seams of the front and back skirt right sides together using the notches on the pattern as a placement guide. Stitch closed with a 1.5cm seam allowance. Press the seam allowance towards the pocket and understitch.

Step 13
Overlock the side seams of the front and back skirt separately.
Step 14
Then pin the front and back skirt side seams right sides together. Stitch closed from top to bottom stopping at the pocket opening to sew around the edge of the pocket bag then continue down the rest of the side seam. The seam allowance on the side seam is 1.5cm, seam allowance on the pocket is 1cm. Press the seam allowance and pocket bag towards the front.
Step 14B – Without Pockets
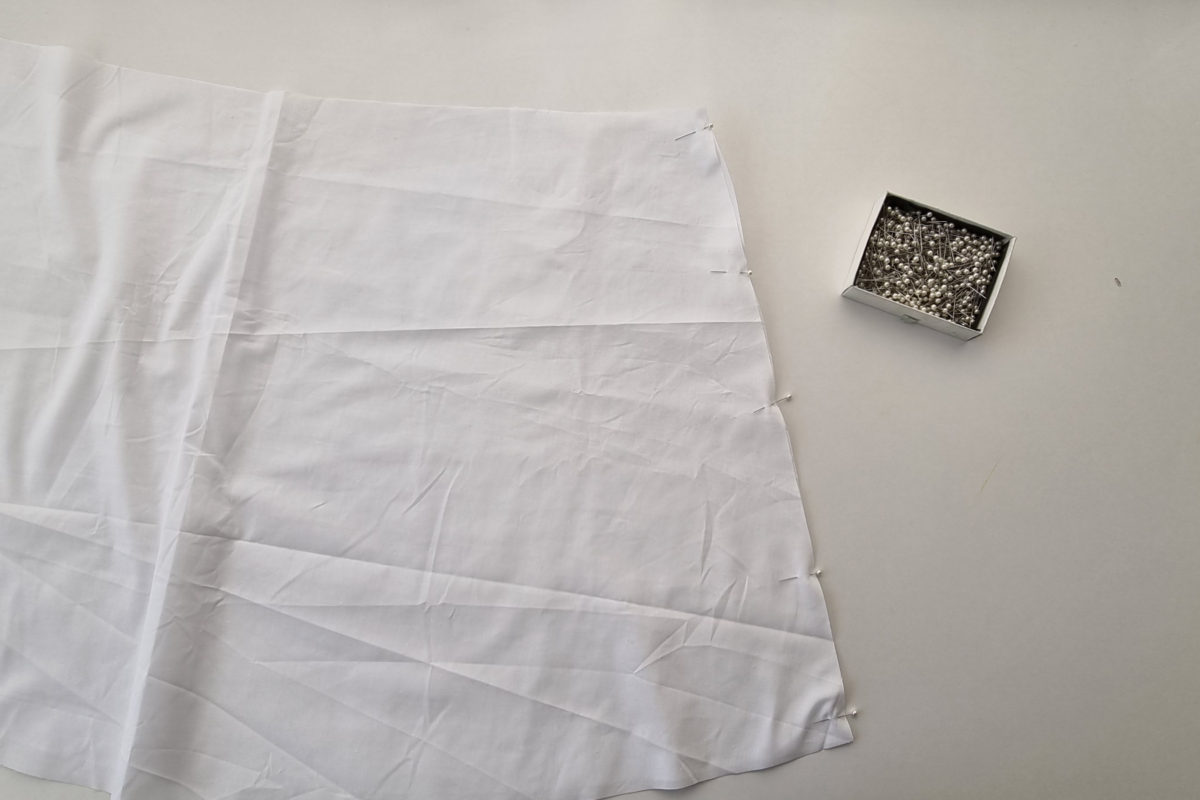
Pin the front and back skirt side seams right sides together. Stitch closed from top to bottom with a 1.5cm seam allowance then overlocked closed and press the seam allowance towards the back.
Step 15
Moving onto the skirt lining. Pin the front and back skirt side seams right sides together. Stitch closed with a 1.5cm seam allowance. Overlock closed then press the seam allowance towards the back.
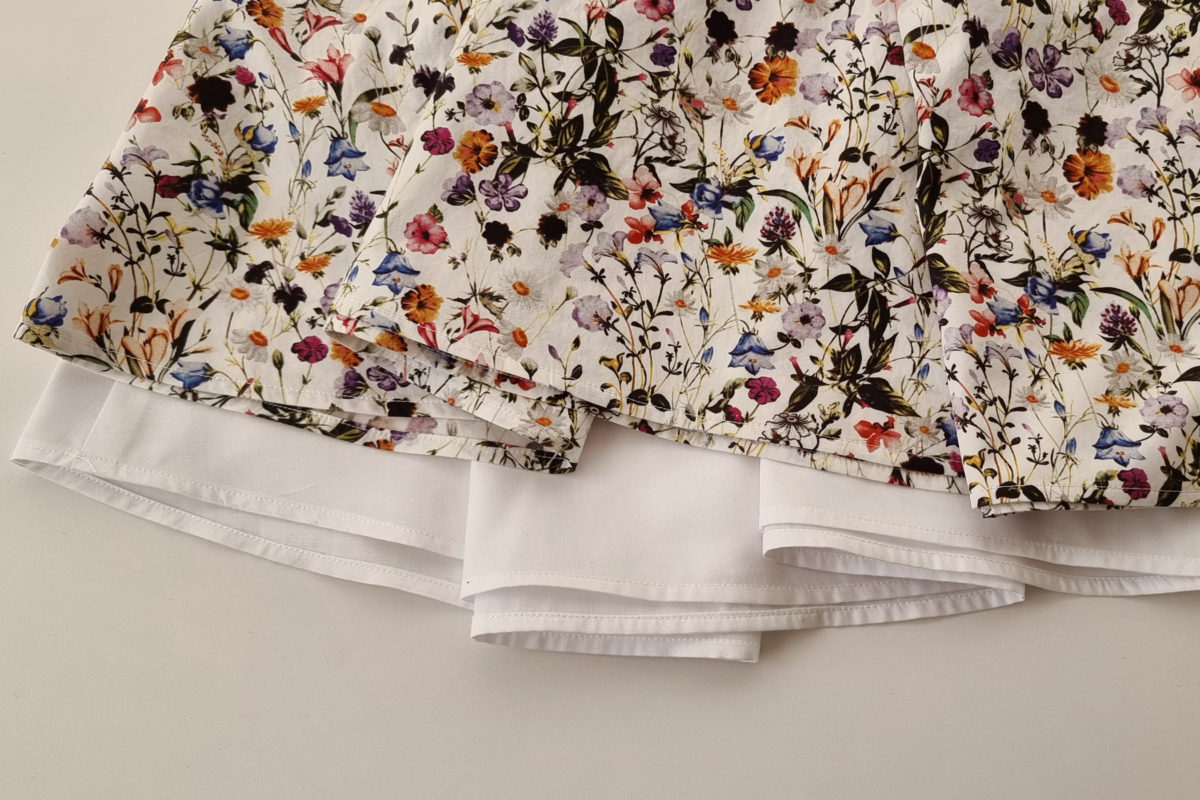
Step 16
Hem both the main skirt and the skirt lining with a 5mm double-turn single needle stitch.
Step 17
Stitch 2 rows of gathering thread across the top edge of the front of the skirt on both the main and the lining.

If you need extra help with gathering, please see the more in-depth gathering tutorial here.
Step 18
Place the skirt main and lining right sides together. Place the bodice in between ensuring the right side of the bodice is facing the main fabric of the skirt.
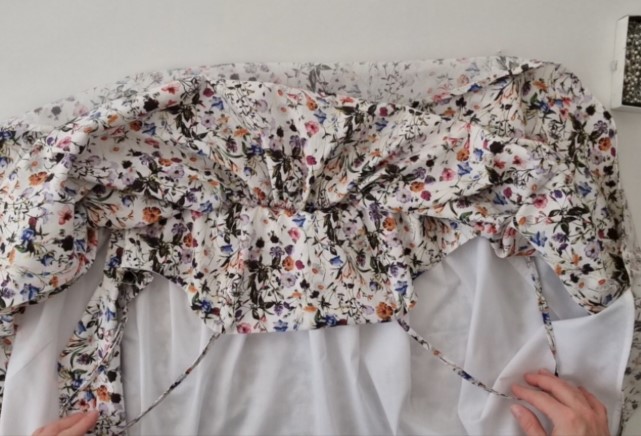
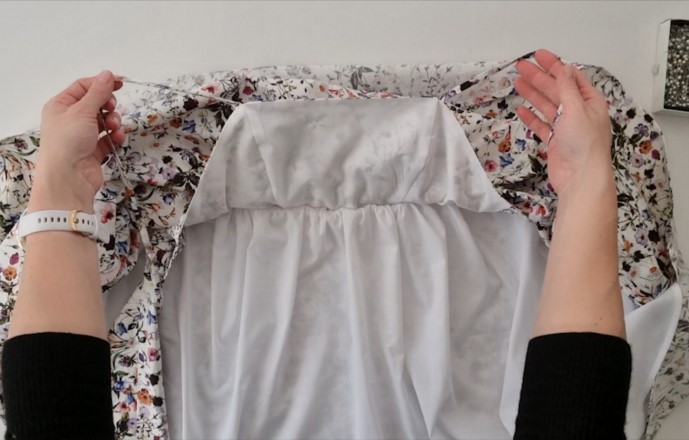
Step 19
Gather the top of the front skirt main and lining to fit the bodice. Take care to use the notches provided to ensure the gathers are distributed evenly in the right areas.
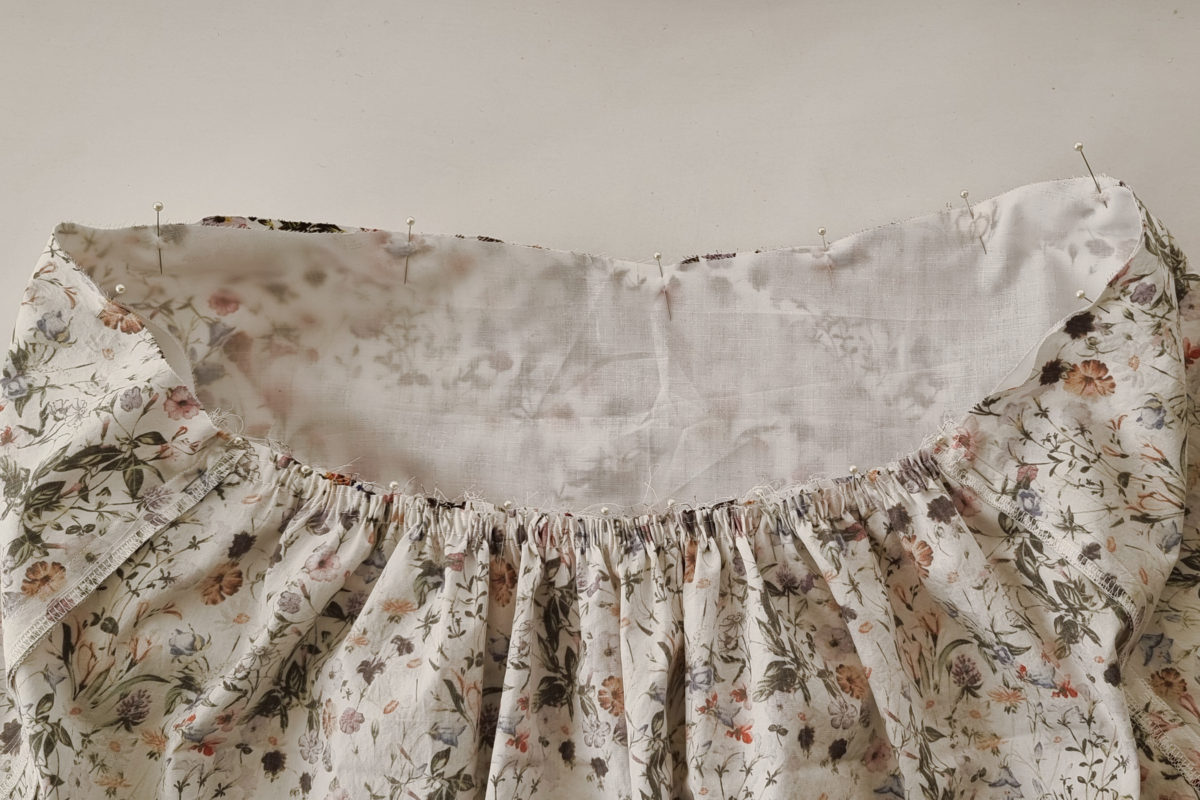
Step 20
Then pin the top edge of the skirt closed along the front and back waist edges. Then stitch closed with a 1cm seam allowance.
NOTE: only the front of the bodice will be inserted into the waist seam.
Step 21
Gently remove the gathering threads from the front skirt. Take care not to unpick the seam stitching.
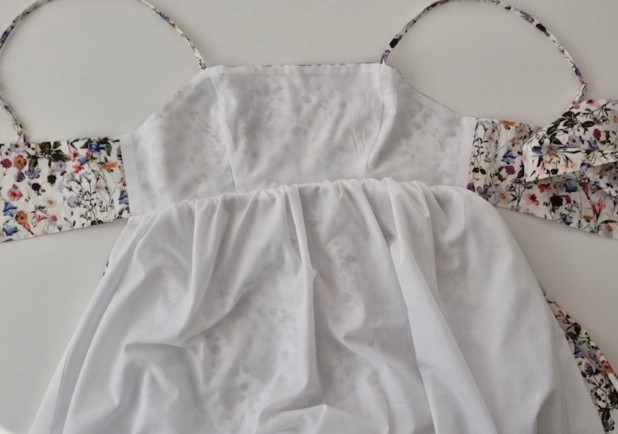
Step 22
Fold the garment the correct way and press the waist seam flat. The seam allowance should be enclosed between the skirt main and lining.
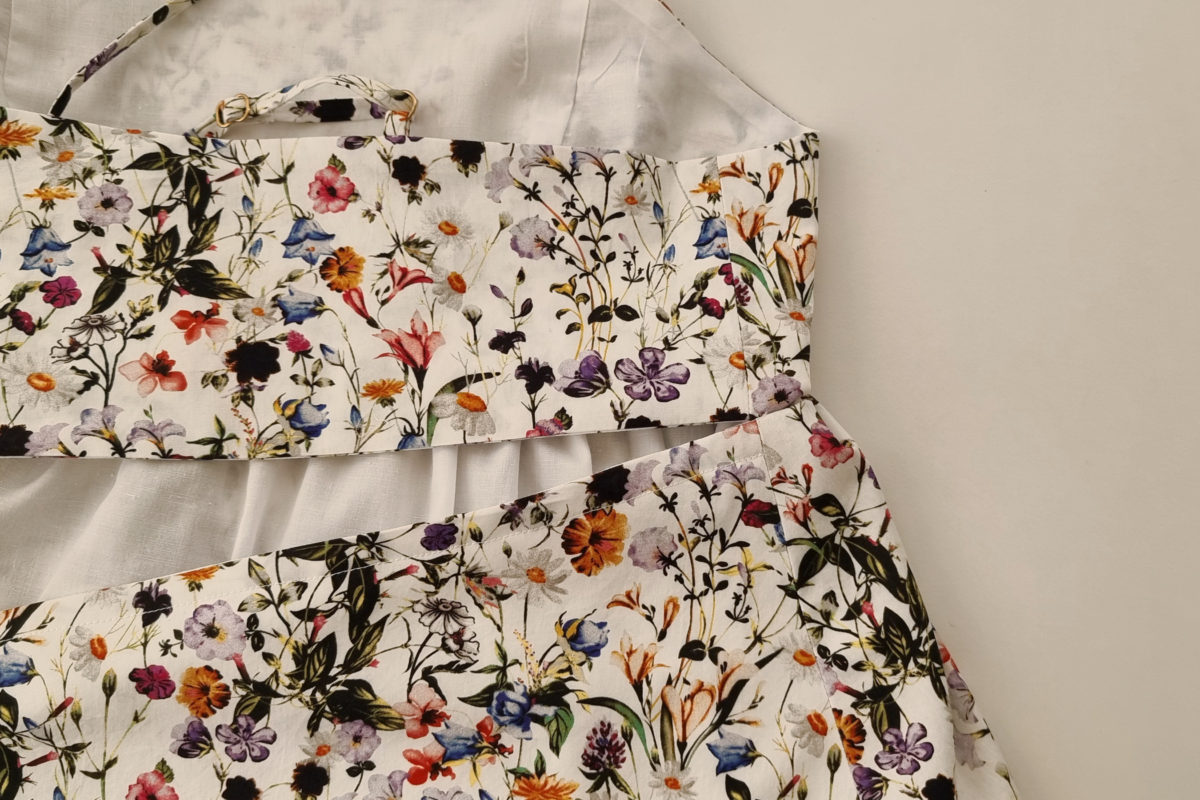
Step 23
Then add a top stitch across the back waist of the skirt, 10mm from the top edge. The top stitching will start and stop at the side seams. This will make your back waist elastic casing.
Step 24
Using a safety pin or bodkin, thread the 10mm elastic through the casing and stitch at the side seams to secure. Stitch in the ‘ditch’ of the side seam to ensure the stitching is invisible.
The Alice Babydoll Dress is now complete. Please feel free to contact me if you need any extra help.
Want to make this style in plus size? The same instructions can be used and the pattern can be found here.
I’d love to see your creations, tag me on Instagram at @at_the_seams_patterns
x