Sewing Tutorials, Skirts
Sewing Tutorial: Marilyn Mini Skirt
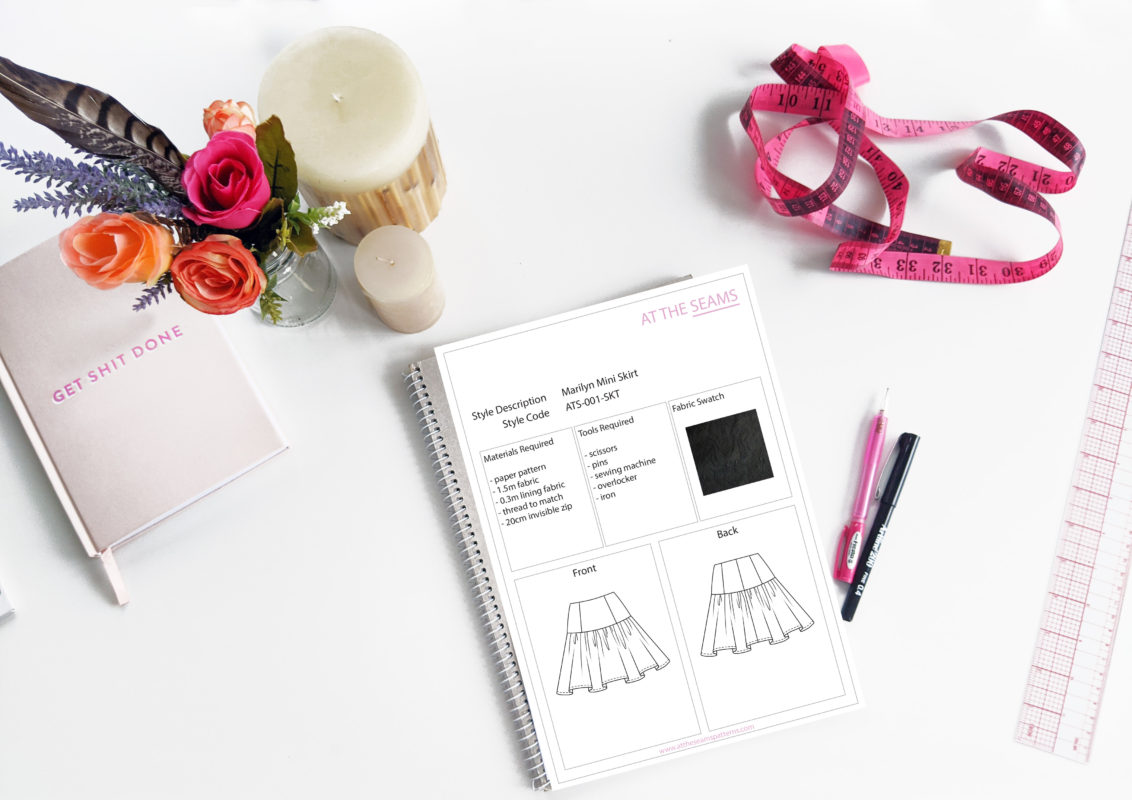
The Marilyn Mini Skirt is a cute fitted mini skirt that flares out from the hips. A typical girlie shape with a bit of an edge. The skirt yoke is lined and the frill is circular cut. The opening is an invisible center back zipper.
Don’t be afraid to ask questions in the comments below if you need. I’m here to help. So let’s get started.
To begin you will need the following things
Materials
- Marilyn Mini Skirt XS-5XL paper pattern, or if you prefer to shop on Etsy
- 1.3-1.7m fabric
- 0.2-0.4m lining fabric
- 20-22cm Invisible zipper
- cotton thread (enough to also thread your overlocker)
Tools
- scissors or rotary cutter & mat
- pins
- sewing machine with a regular & invisible zipper foot
- overlocker
- iron
Tips
- Ensure your fabric is washed, dried, and pressed before you start cutting. There is nothing worse than washing your beautiful garment and it shrinks, or even more annoying the lining shrinks and the main doesn’t so it’s all pulled out and shape and is unwearable.
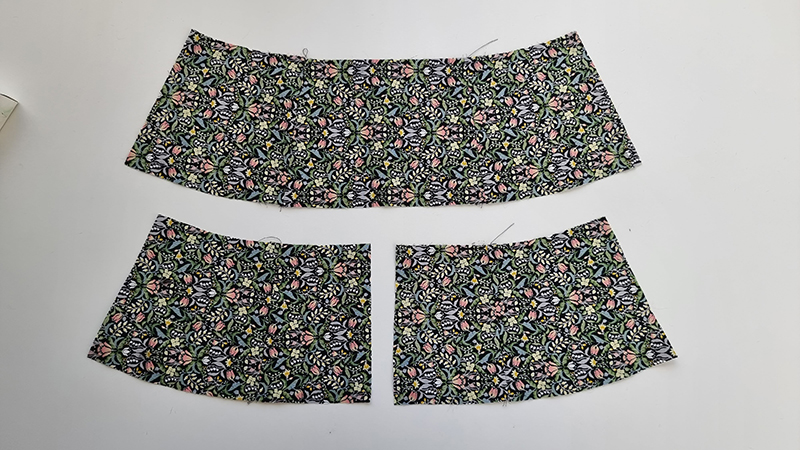
Step 1
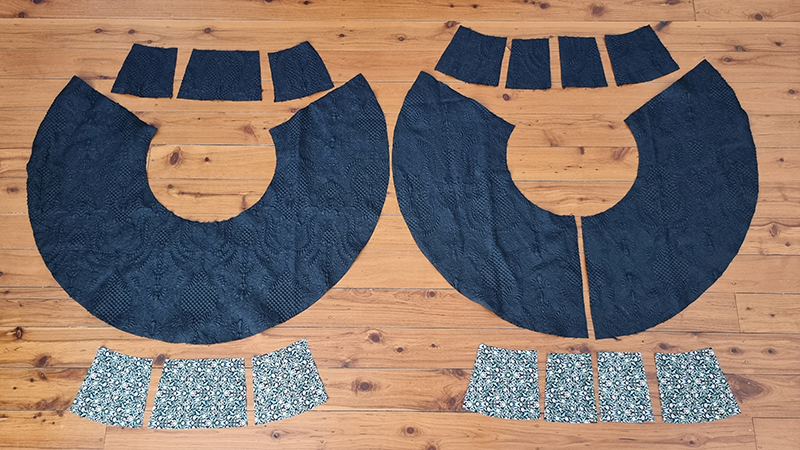
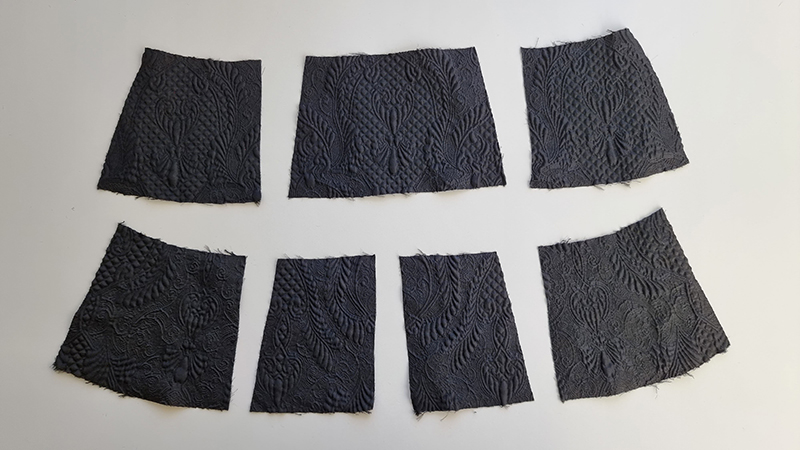
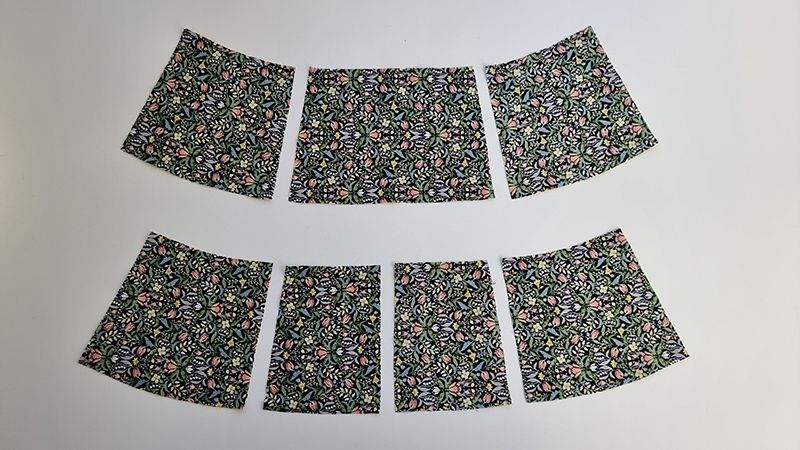
Cut all main and lining pieces accurately on the correct grain, ensuring all notches are clipped. Please note seam allowance is marked on the pattern in a Grey dashed line and is also listed below:
All seams (excluding the yoke side seam) – 1cm / 0.4”
Yoke main & lining side seam – 1.5cm / 0.6”
Hem – 1cm / 0.4”
Beginner tip* If you can afford to purchase a rotary cutter and cutting mat, I find this more accurate and time-efficient.
Step 2
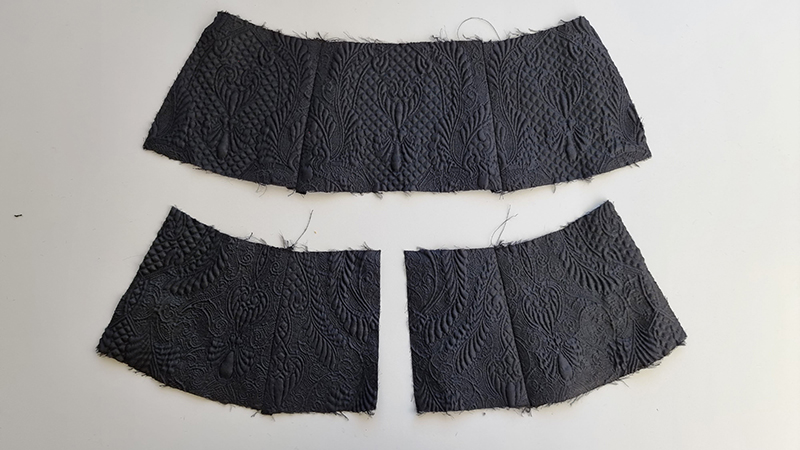
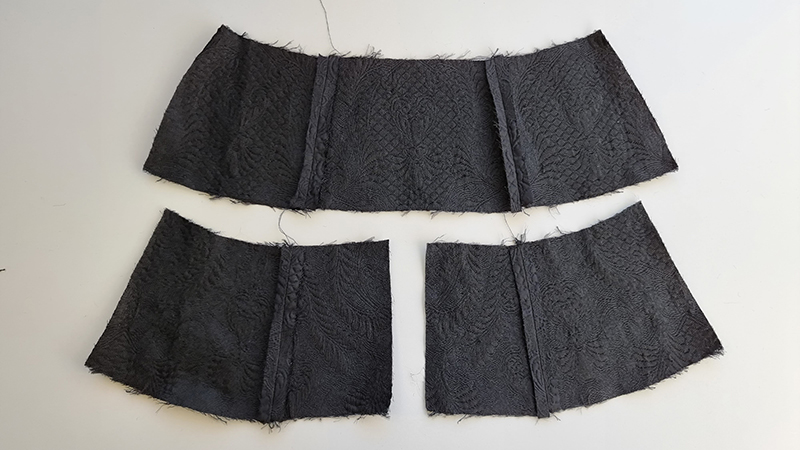
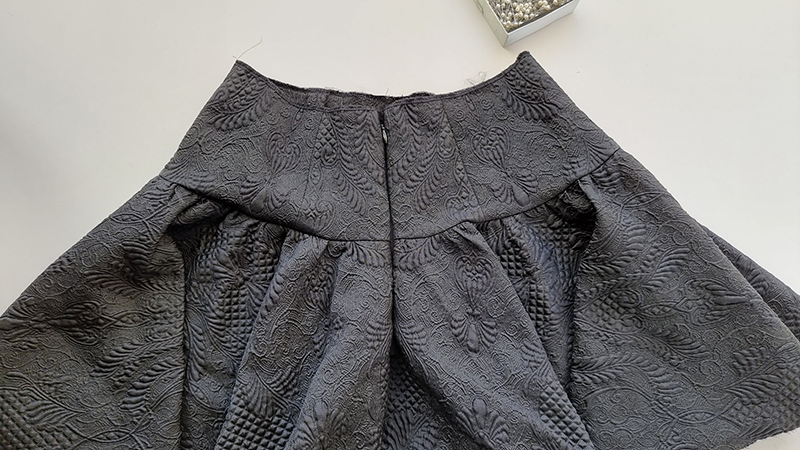
Pin skirt yoke front and back panel seams right sides together on the main pieces, stitch closed and press the seam allowance open.
(These edges may need to be overlocked if you are using a fabric that frays easily, however, these seams will be concealed once the skirt is finished) Do not sew the back seam or side seams closed.
Step 3
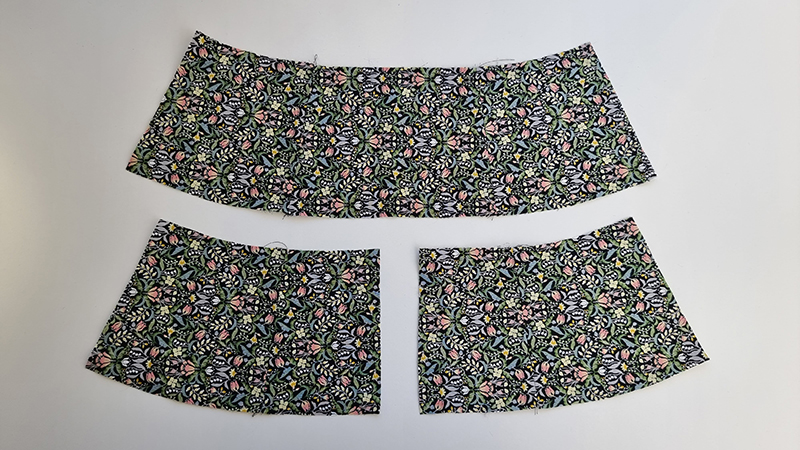
Repeat step 2 on the lining pieces.
Step 4
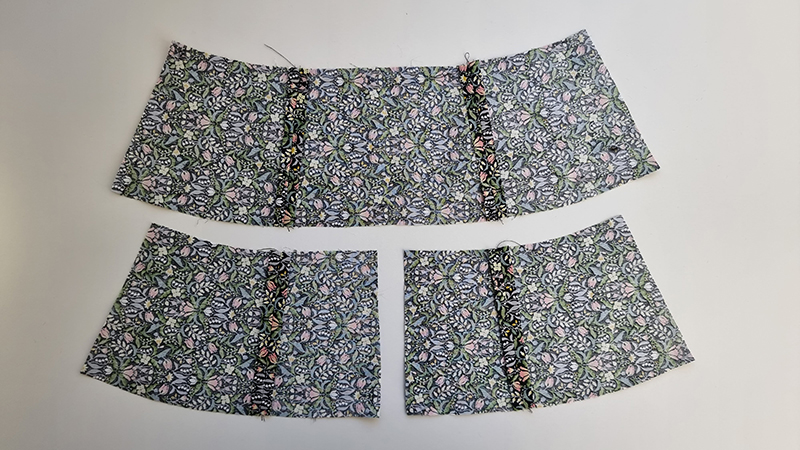
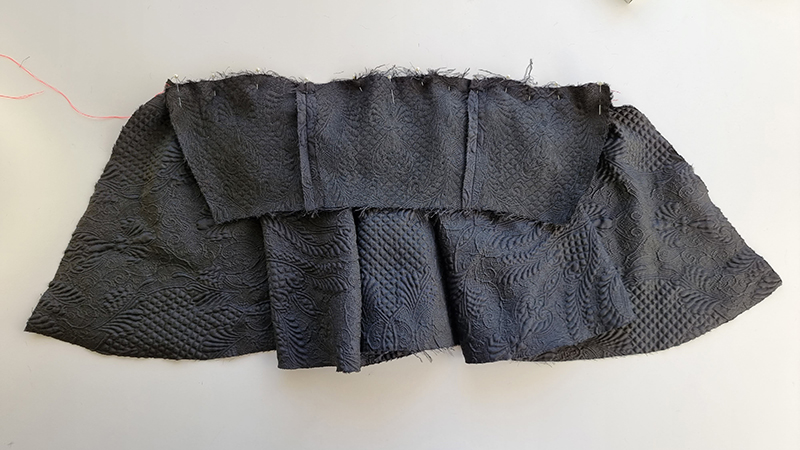
Next run 2 rows of gathering stitches across the top edges of the front frill and top edge of the back frills.
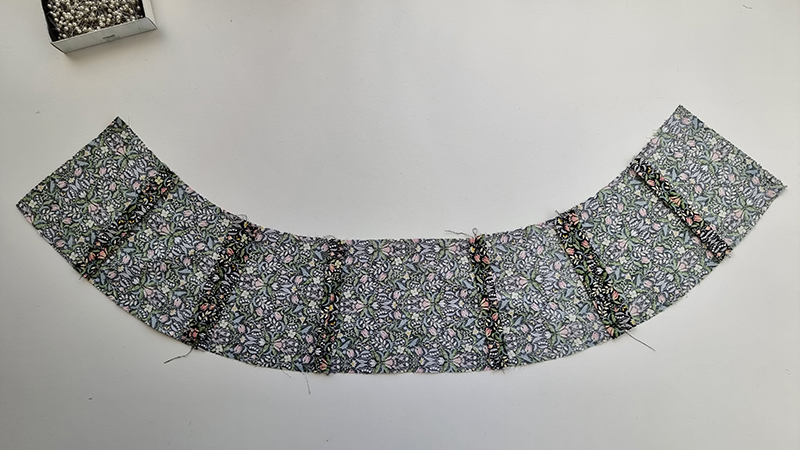
Step 5
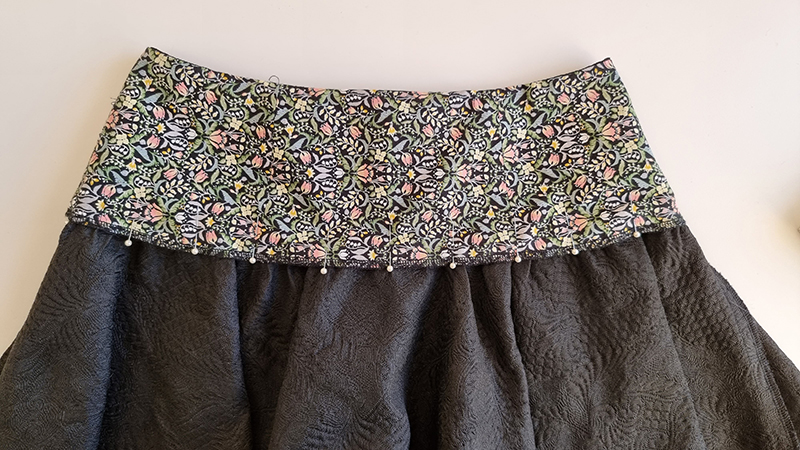
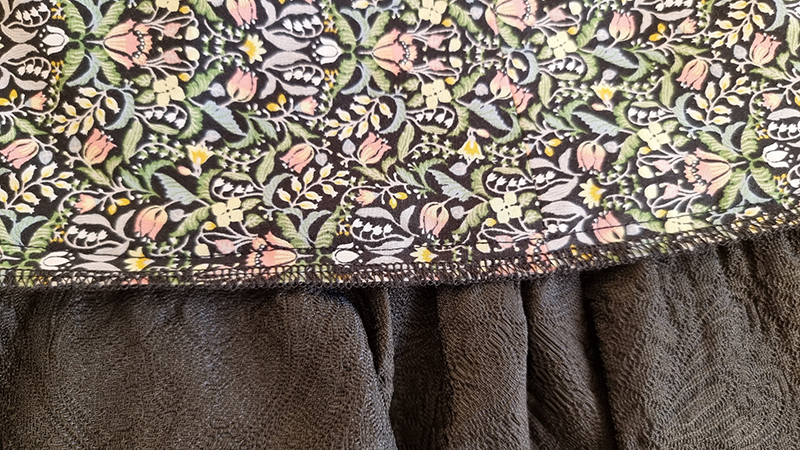
Pin the frills to the yoke of the skirt, gather the skirt to fit the yoke, then stitch closed, then overlock and press the seam allowance towards the waist. Remove the gathering thread.
If you need extra help with gathering, please see the in-depth gathering tutorial here.
Step 6
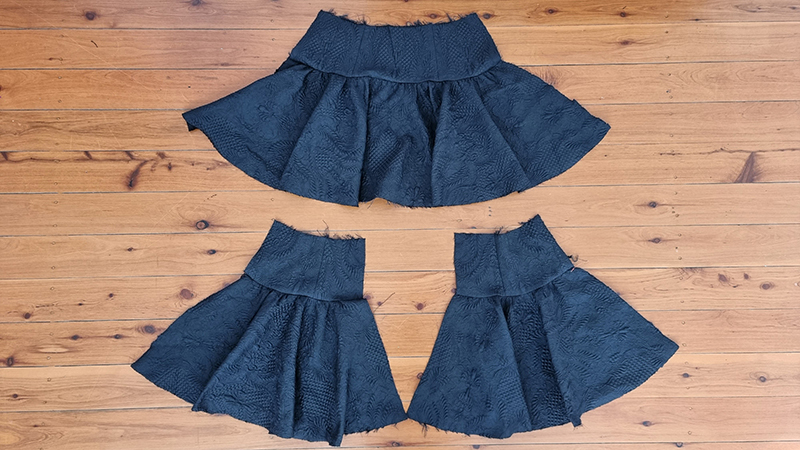
Then pin the skirt side seams right sides together on the main fabric, stitch, then overlock closed. Press the seam allowance backward.
Step 7
On the yoke lining, pin side seams right sides together and stitch closed, press seam allowance open.

Step 8
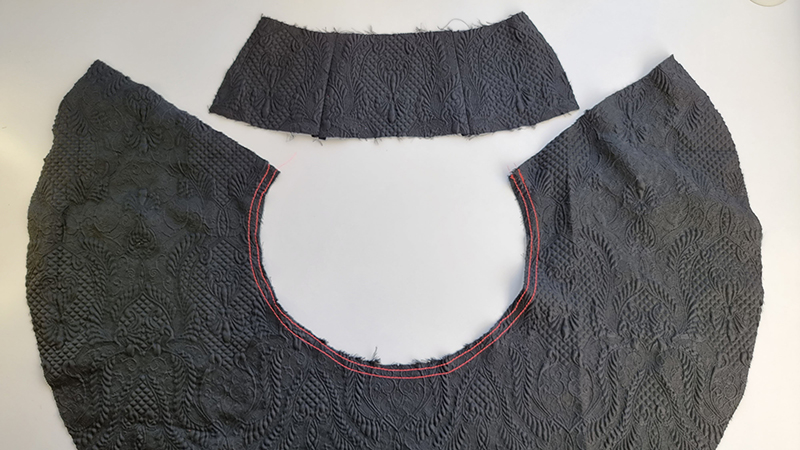
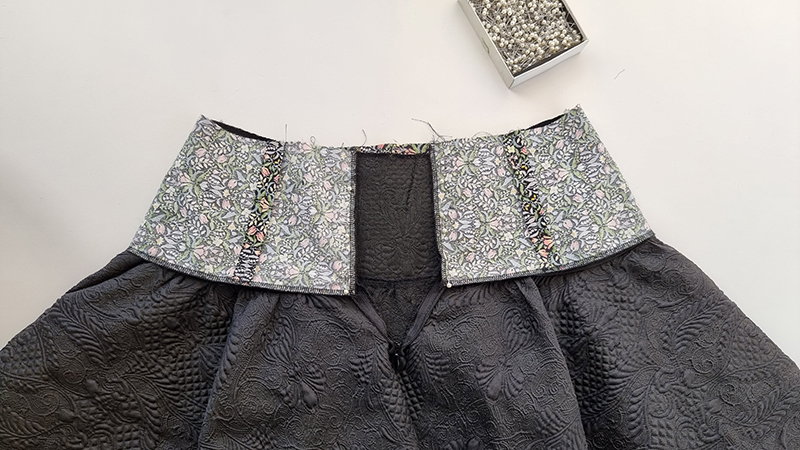
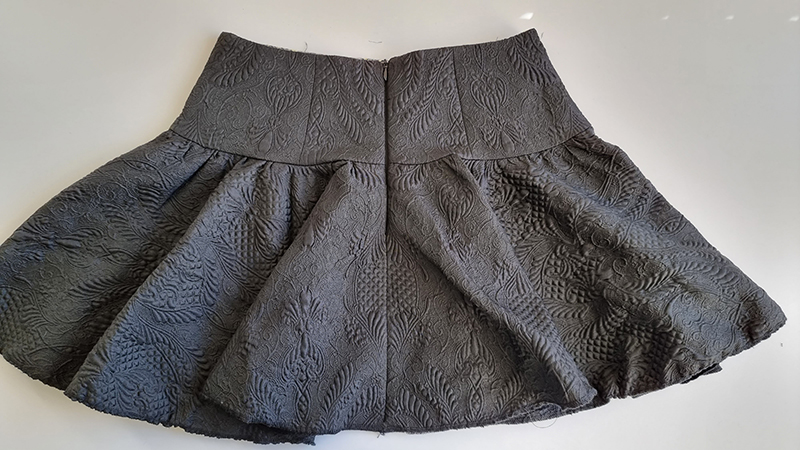
Then overlock the center back seam edges of the skirt from the right side of the fabric separately. (Do not sew the back seam closed)
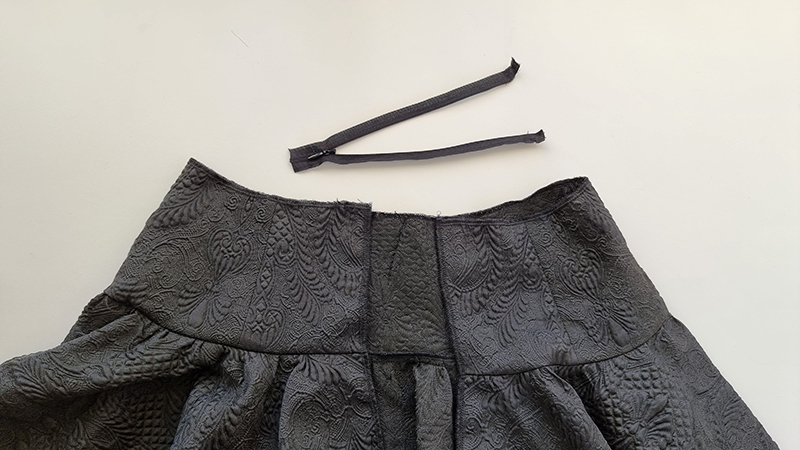
Step 9
Overlock the lining center back seam edges and also the hem of the lining, both from the right side of the fabric.
Step 10
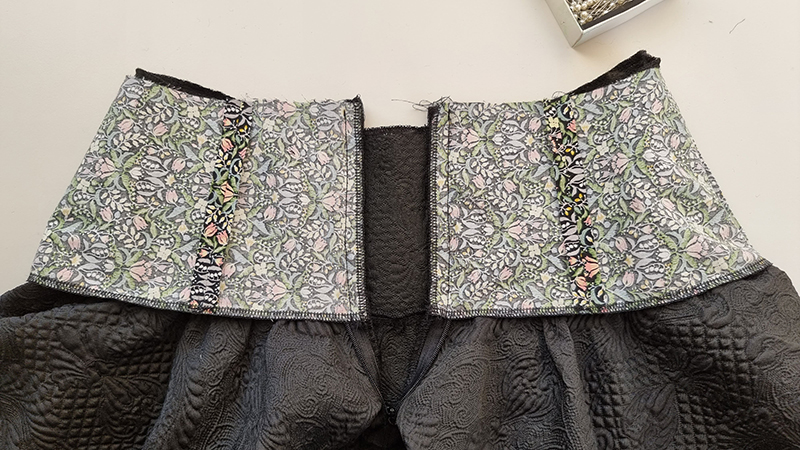
Next insert the invisible zipper into the center back seam, and attach the zipper to the main fabric first.
If you need extra help sewing the invisible zipper, there is a more in-depth tutorial here.
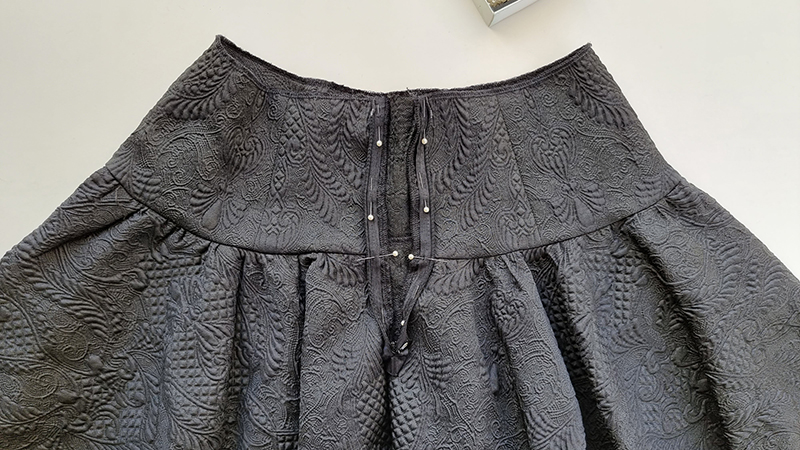
Step 11
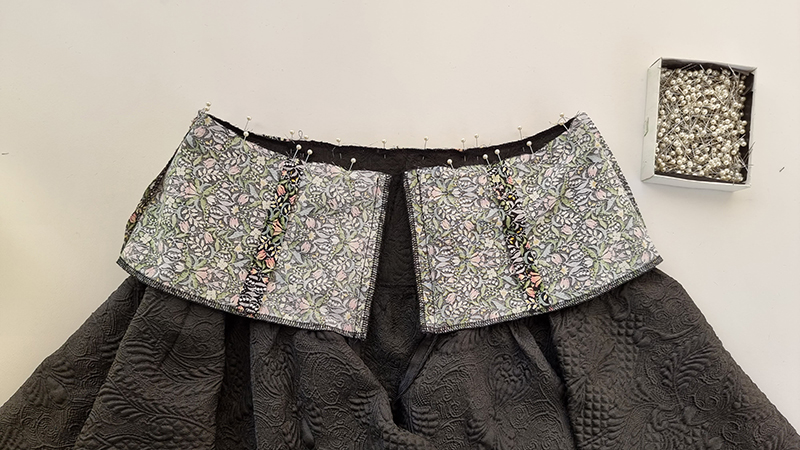
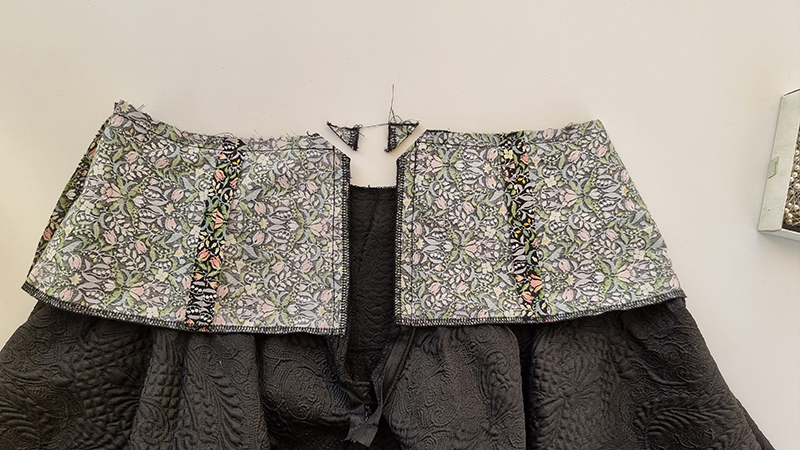
Place the skirt yoke lining on top of the skirt right side down, so the zipper is sandwiched between the main and lining. Stitch the lining to the zipper.
Step 12
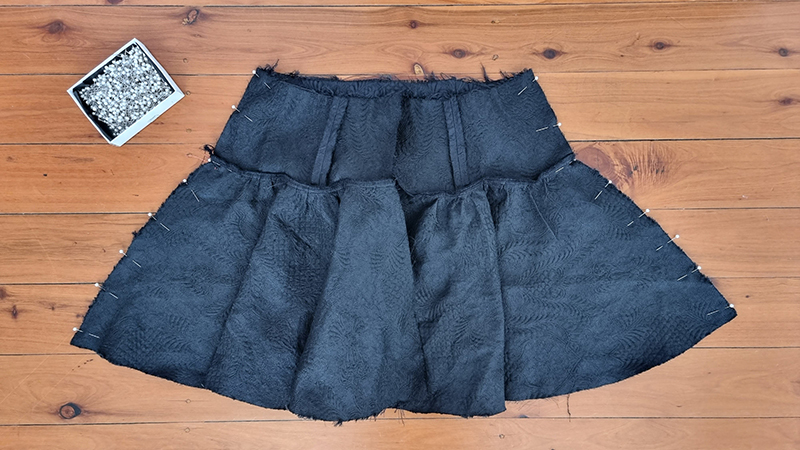
Pin the main and lining together across the waist edge of the skirt (this will still be right sides together)
Then stitch closed. Clip the corner across the top of the zipper and turn the yoke through.
Step 13
Pin the bottom of the center back seam closed from the hem to the bottom of the zipper, then stitch closed. (A zipper foot will help you get closer to the bottom of the zipper) Then press the seam allowance open.
The zipper should now be nicely bagged out between the main and the lining.
Step 14
To hold the skirt lining down, pin the lining to the main and stitch in the ditch of the skirt yoke seam from the front of the garment.
Step 15
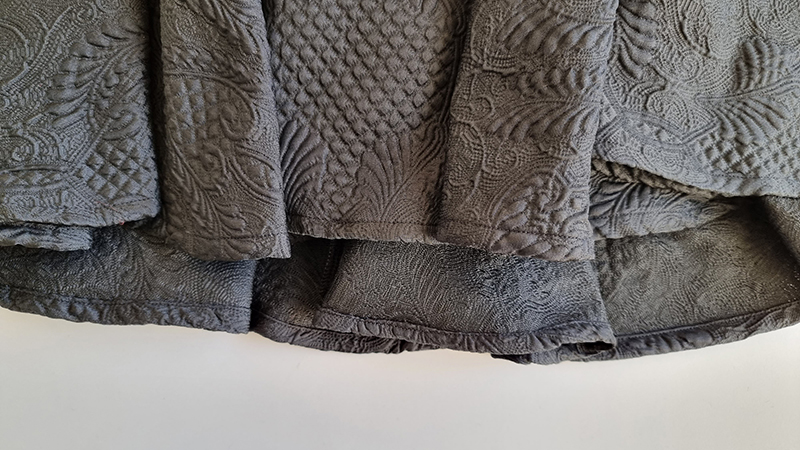
Overlock the bottom of the skirt hem, then fold over twice, press then stitch down.
If sewing a hem on a curved edge is a little above your ability, this tutorial may help
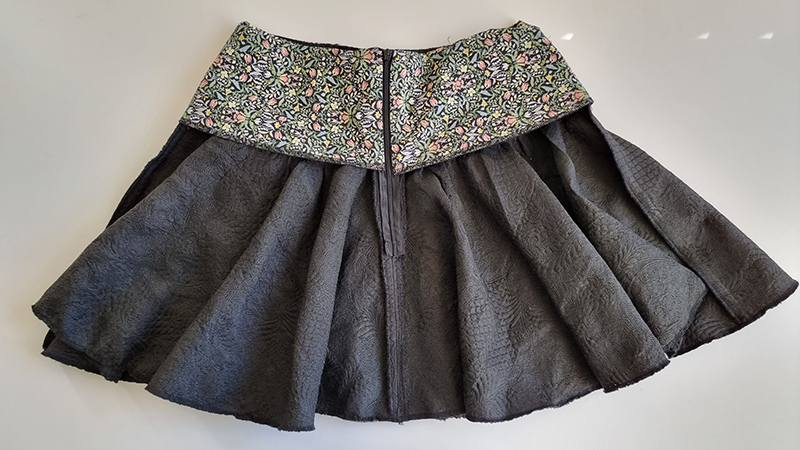
The Marilyn Mini Skirt is now complete.
If you need a cute top or two to wear with your new pants I would recommend the Olivia Sweetheart Bustier for a beginner sewer or The Willow Corset Bustier for a more advanced sewer. We also have a number of other skirt patterns available for purchase here.
I’d love to see your creations, tag me on Instagram at @at_the_seams_patterns
x