Sewing Tutorials, Tops
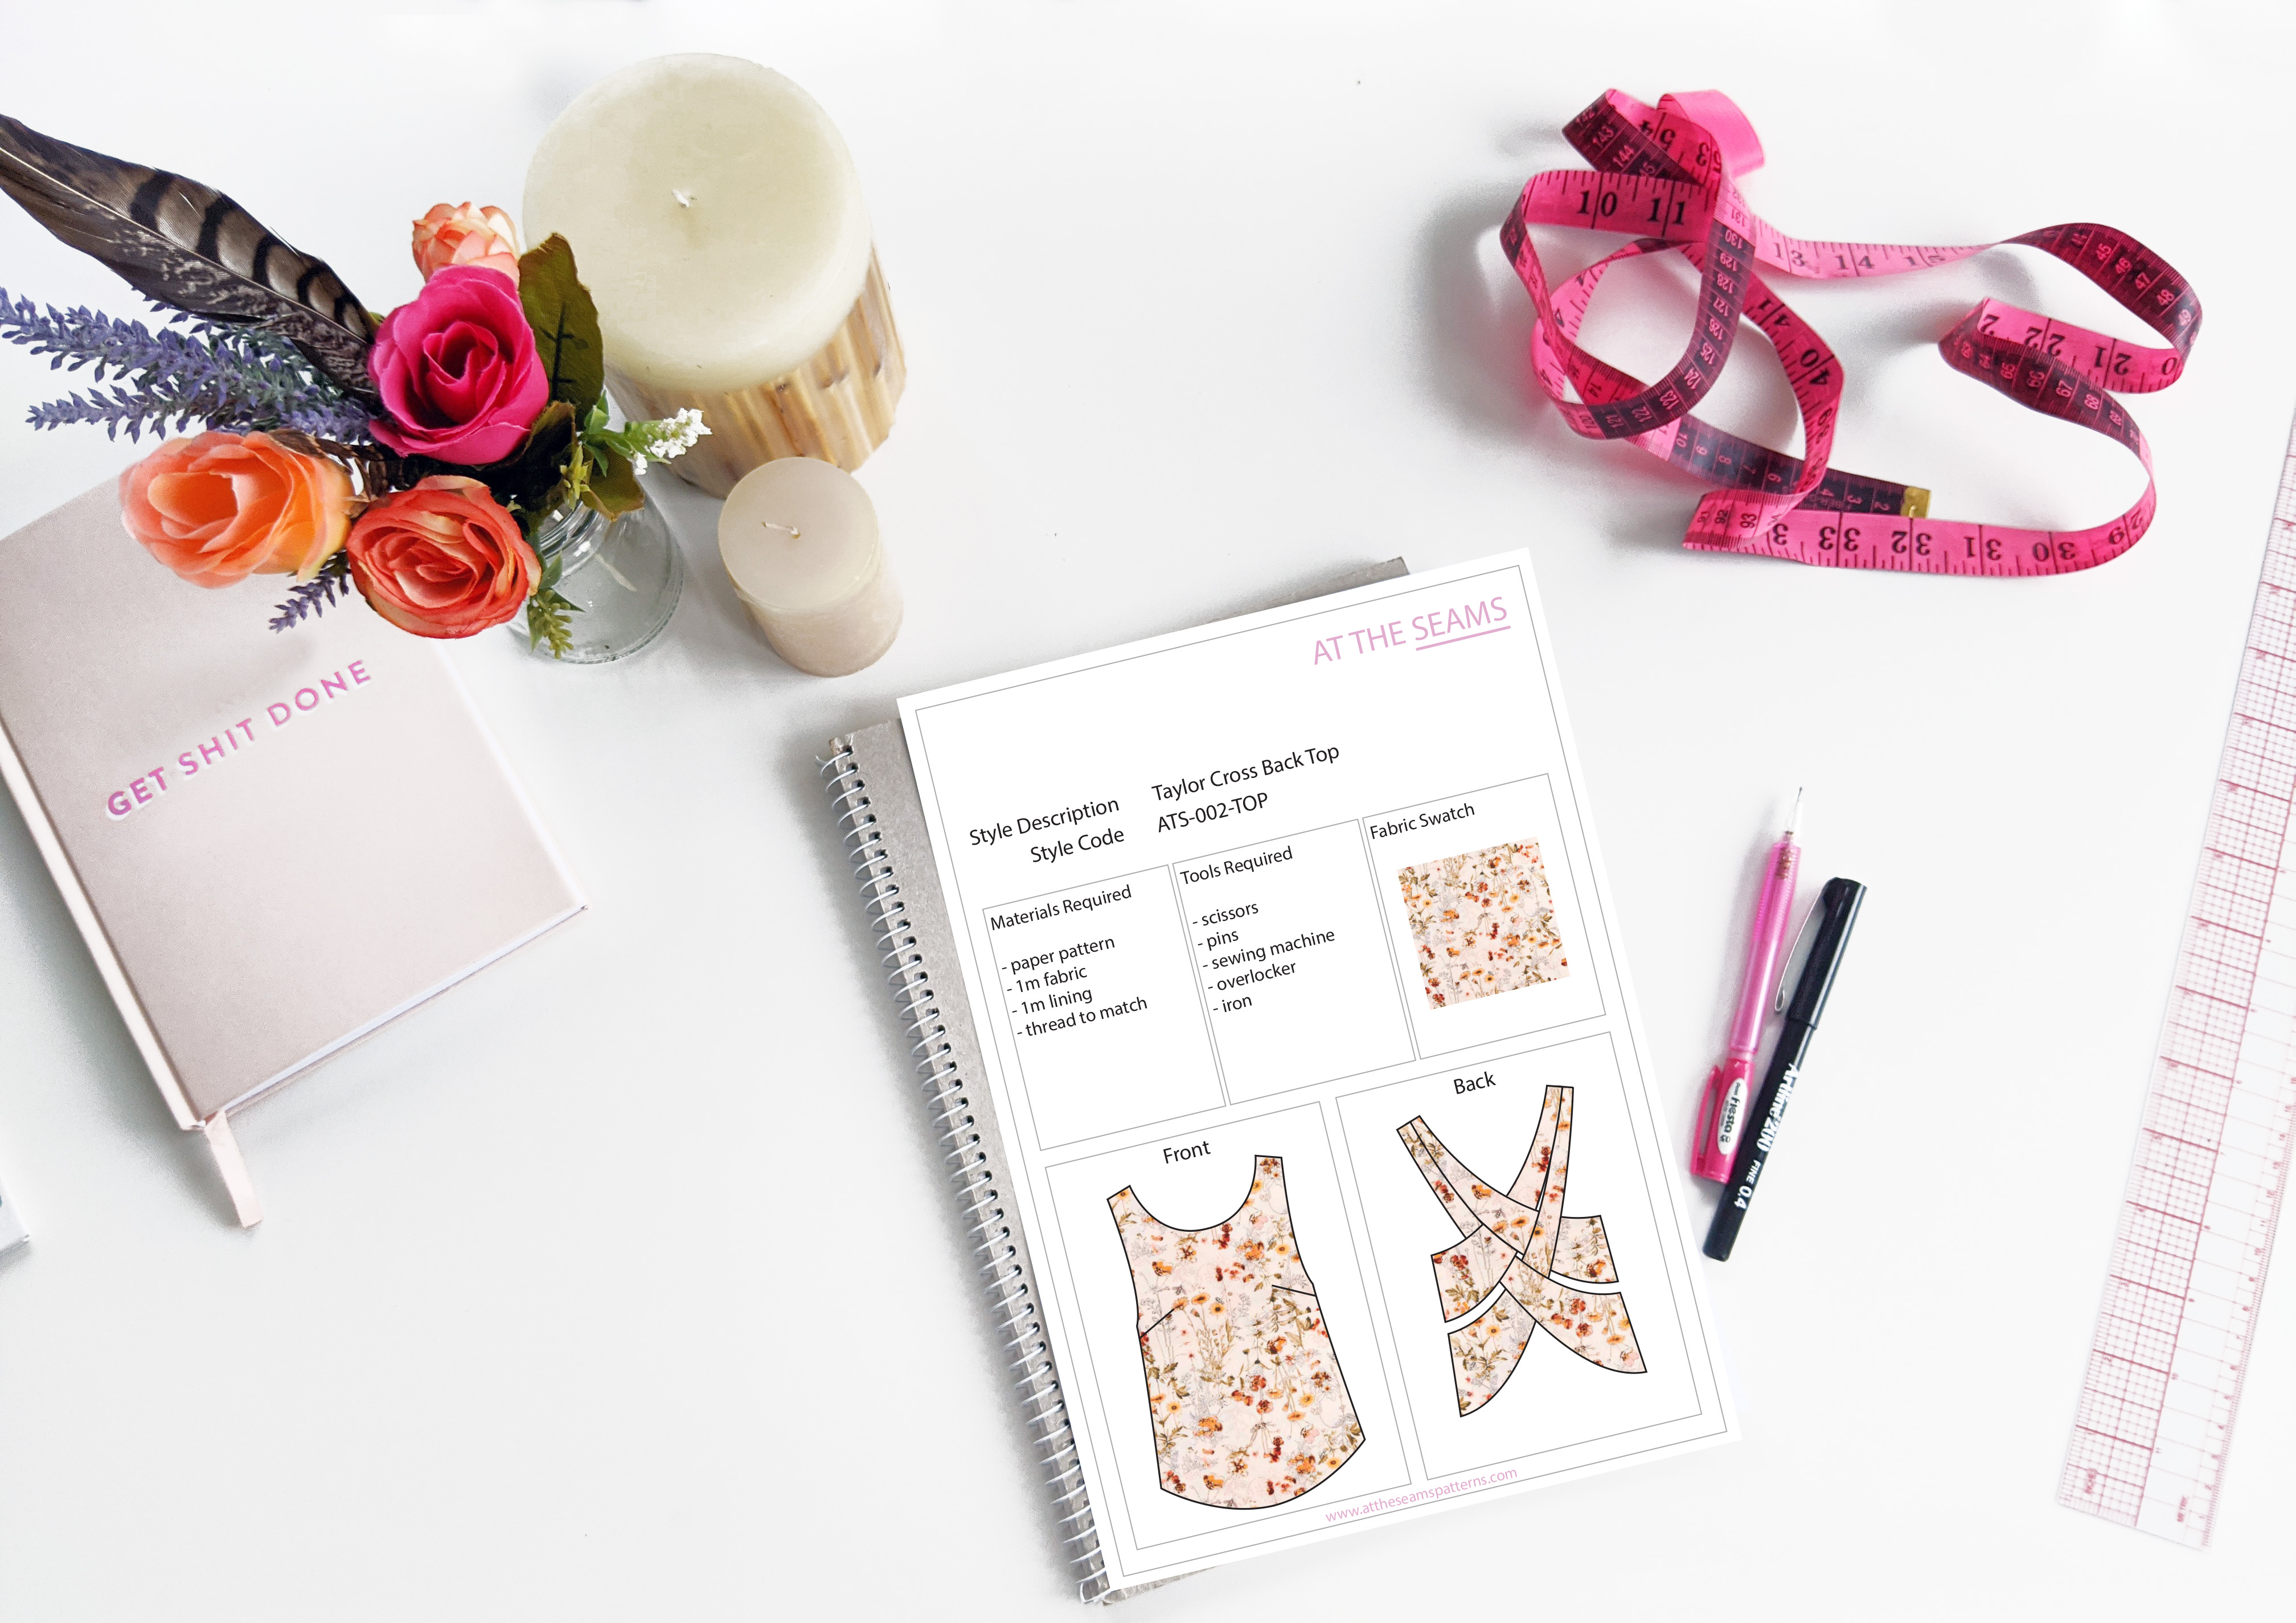
Sewing Tutorial: Taylor Cross Back Top
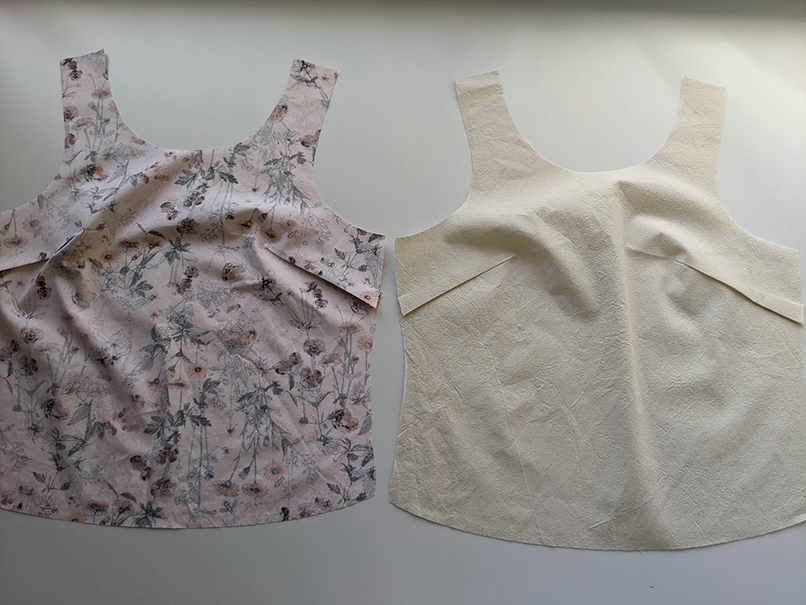
The Taylor Cross Back Top is another basic with a twist, the point of difference is in the cross back detail. The style is fully lined, the back pieces, as well as the neck and armholes, are bagged out with the lining leaving a clean finish. The style is loose-fitting and finishes on the hip. It’s great for a beginner sewer and it does not require any extra trims.
Also, don’t be afraid to ask questions in the comments below if you need. I’m here to help. So let’s get started.
To begin you will need the following things
Materials
- Taylor Cross Back Top paper pattern, or if you prefer to shop on Etsy
- 0.8-1m fabric
- 0.8-1m lining
- cotton thread
Tools
- scissors
- pins
- sewing machine
- overlocker
- iron
Tips
- Ensure your fabric is washed, dried, and pressed before you start cutting. For instance, there is nothing worse than washing your beautiful garment and it shrinks, or even more annoying the lining shrinks and the main doesn’t so your garment is all pulled out of shape and is unwearable.
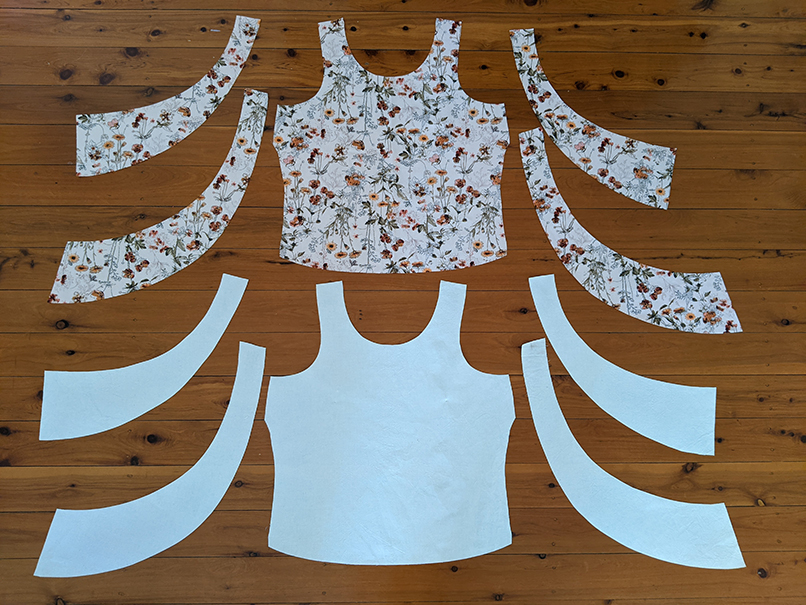
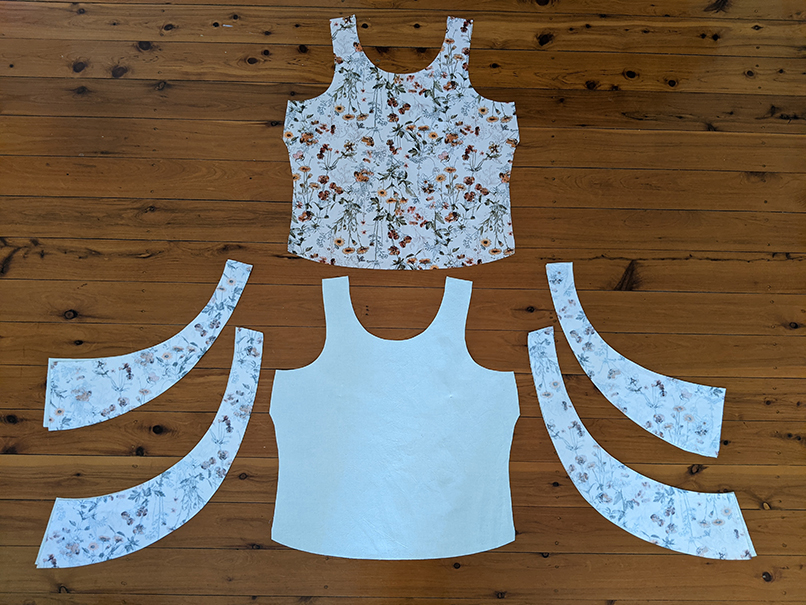
Step 1
Cut all main and lining pieces accurately on the correct grain, ensuring all notches are clipped. Seam allowances are marked on the pattern.
Beginner tip* If you can afford to purchase a rotary cutter and cutting mat, I find this more accurate and time-efficient.
Step 2
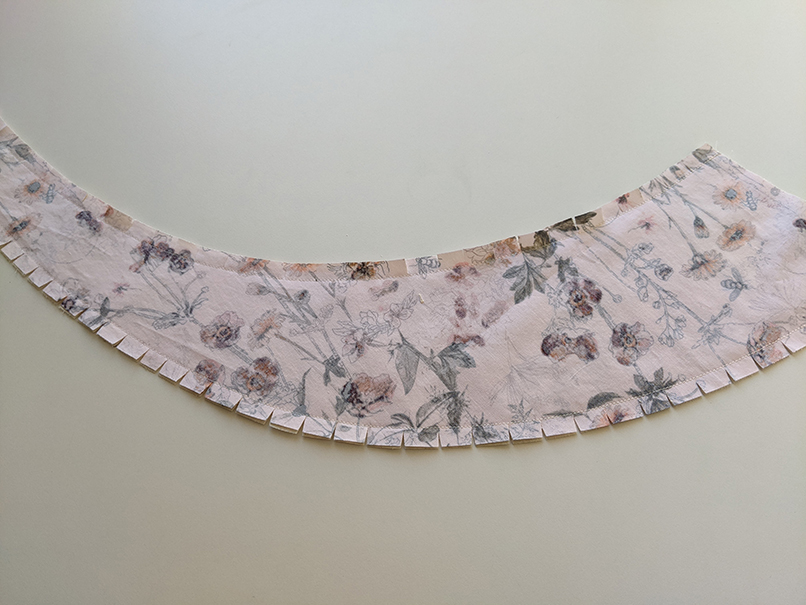
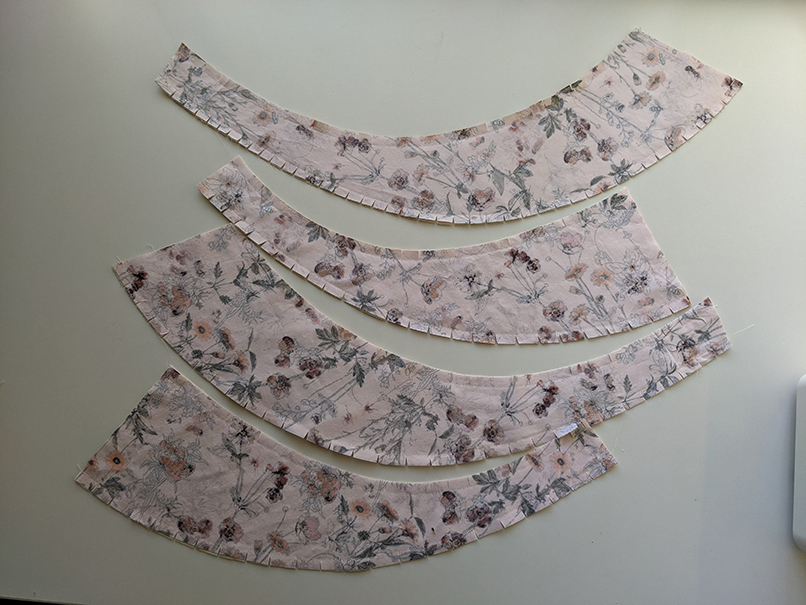
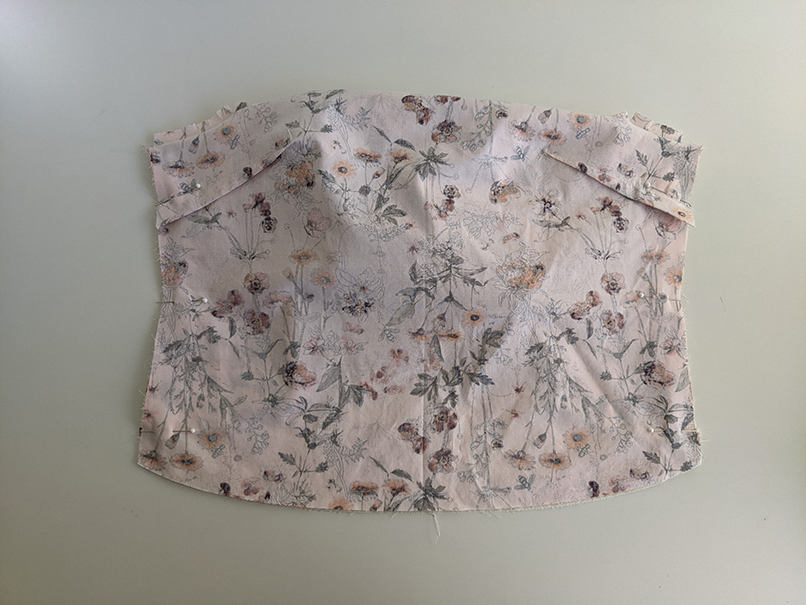
Take back bodice pieces of main and lining and place them right sides together.
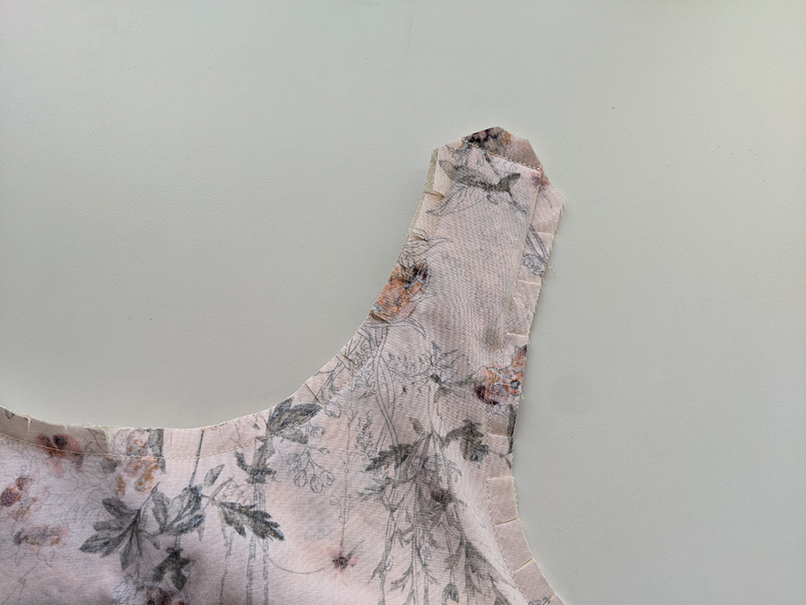
Step 3
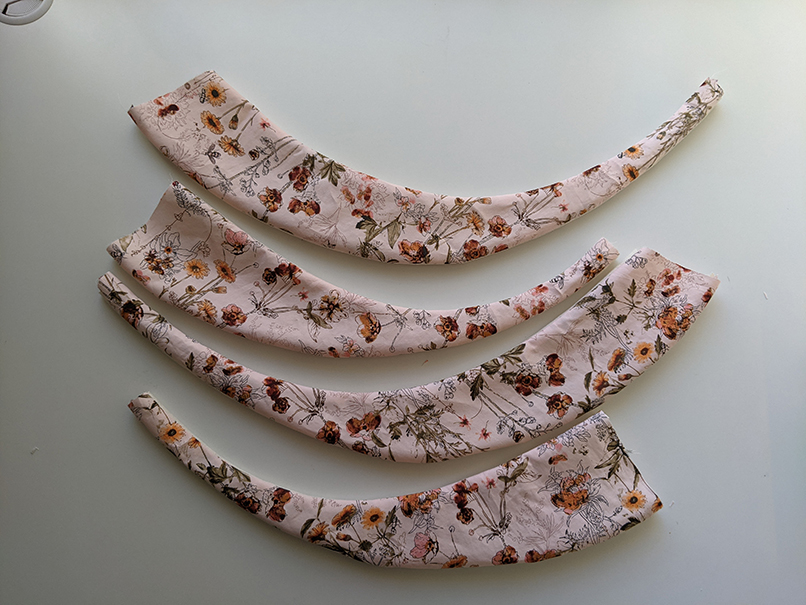
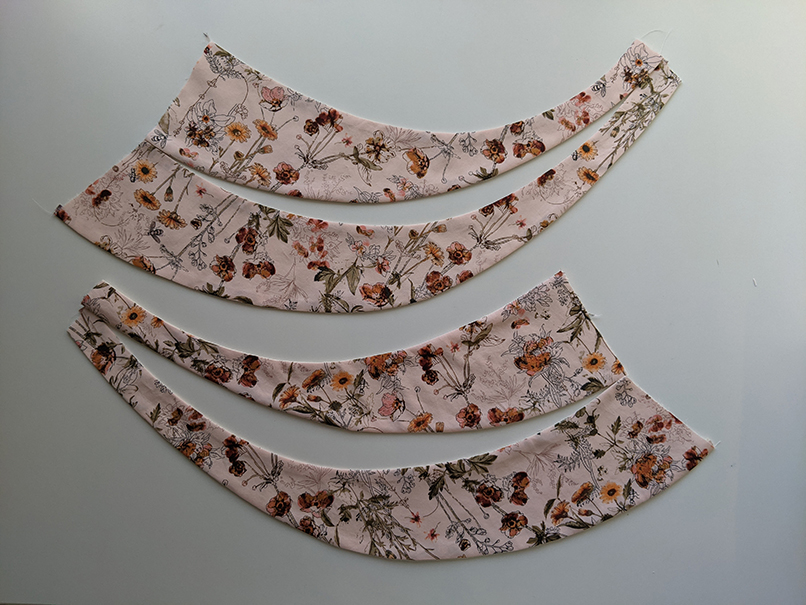
Sew along the top and bottom edges of all 4 pieces, leave the ends open. Clip the curves then turn each piece through and press.
Beginner tip* Do not skip pressing, pressing ensures your garment gives a neat professional finish to your garment and will ensure it sits nice and flat on the body.

Step 4
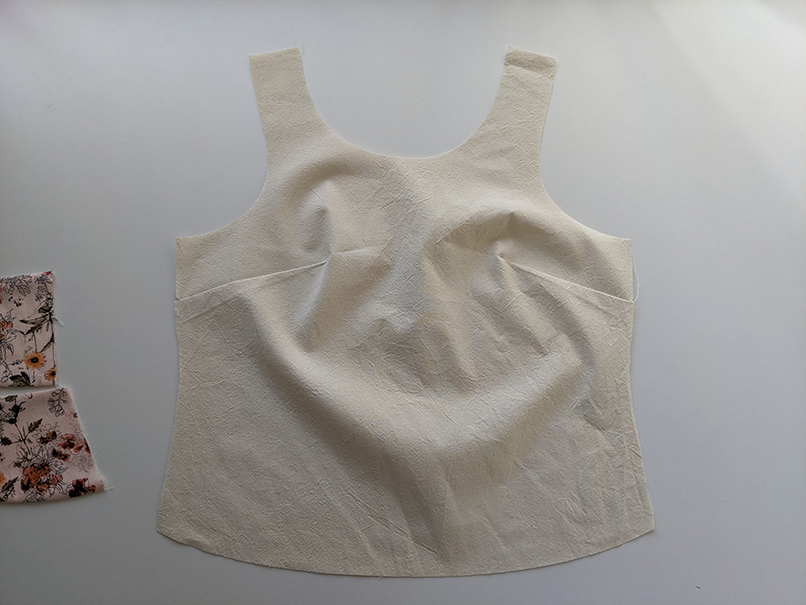
Sew bust darts of main and lining, press seam allowance downwards.
Beginner tip* If needed you can draw the dart lines onto the fabric with dressmaker’s chalk to ensure you sew a neat straight dart.
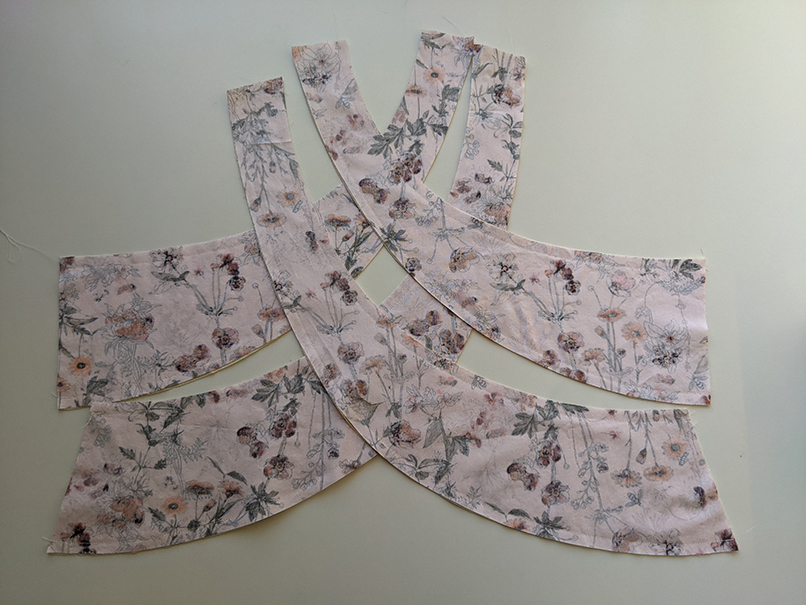
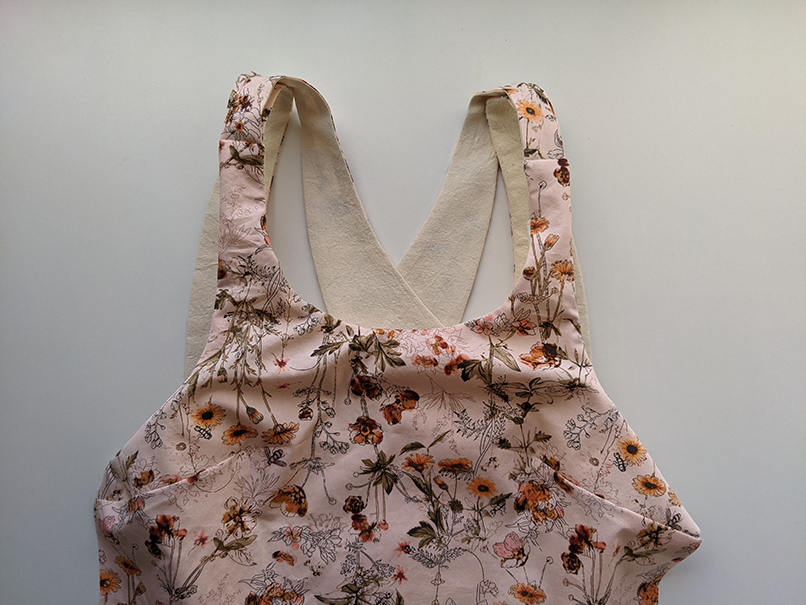
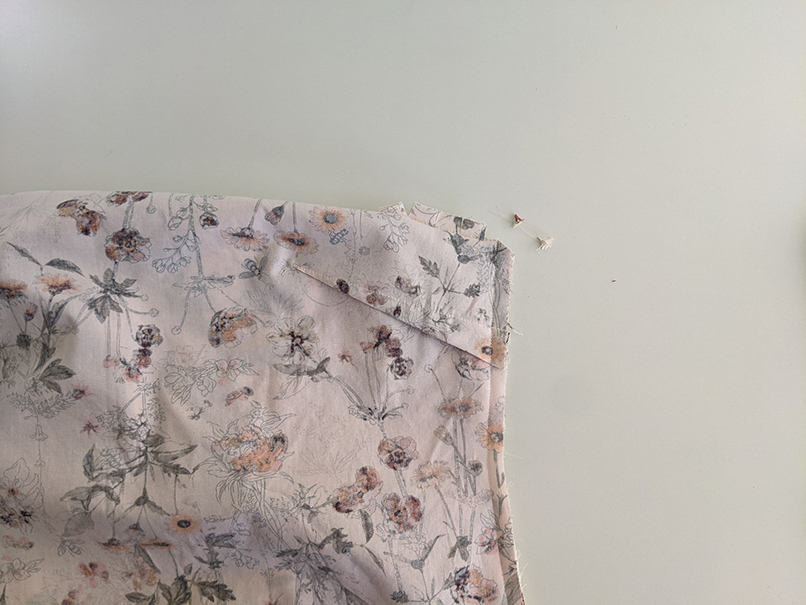
Step 5
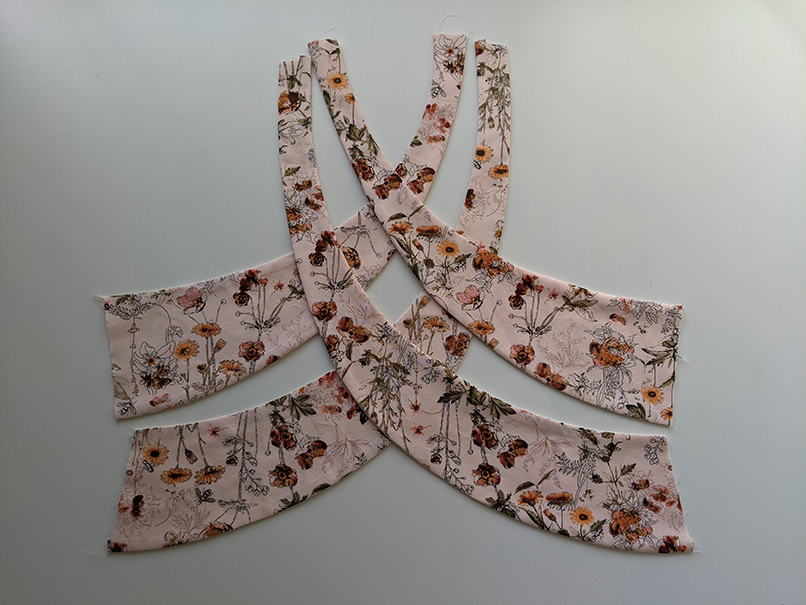
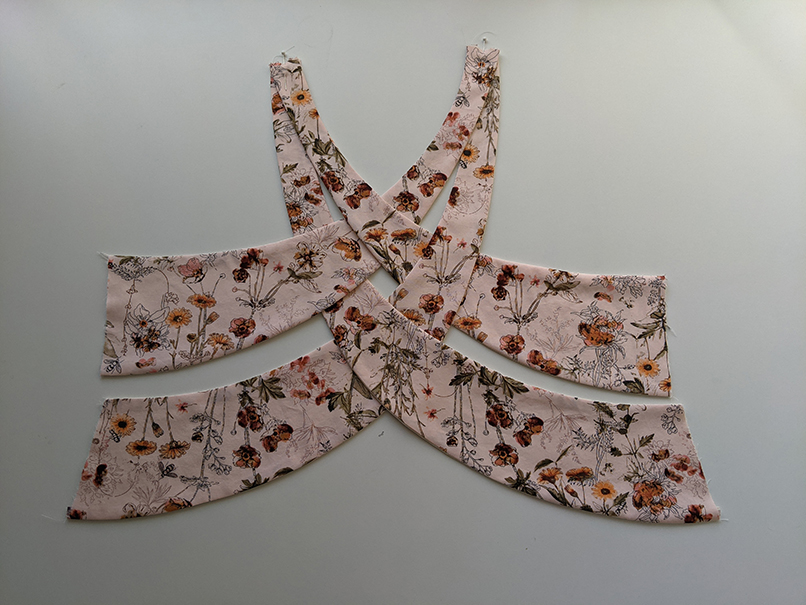
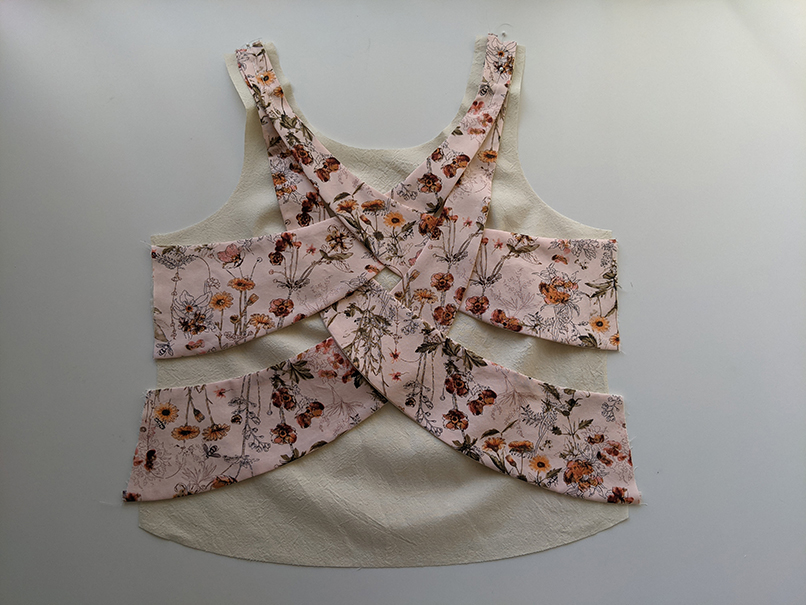
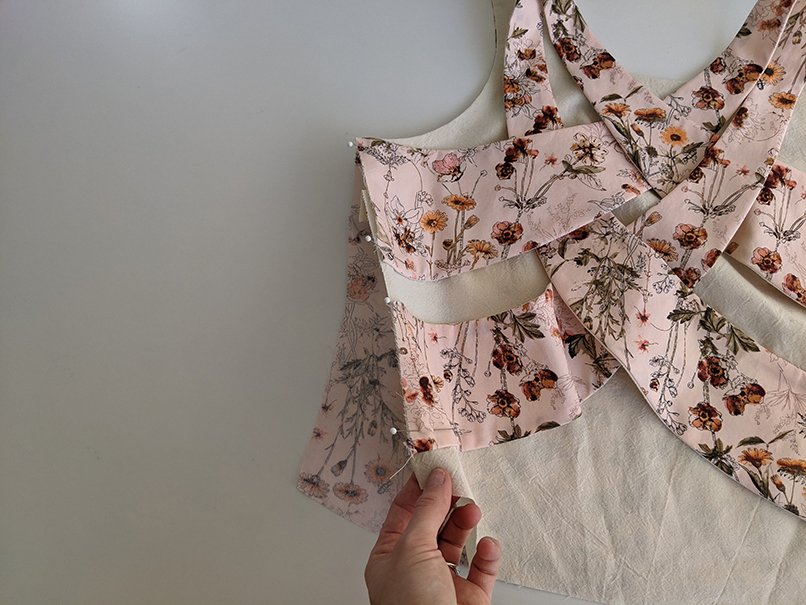
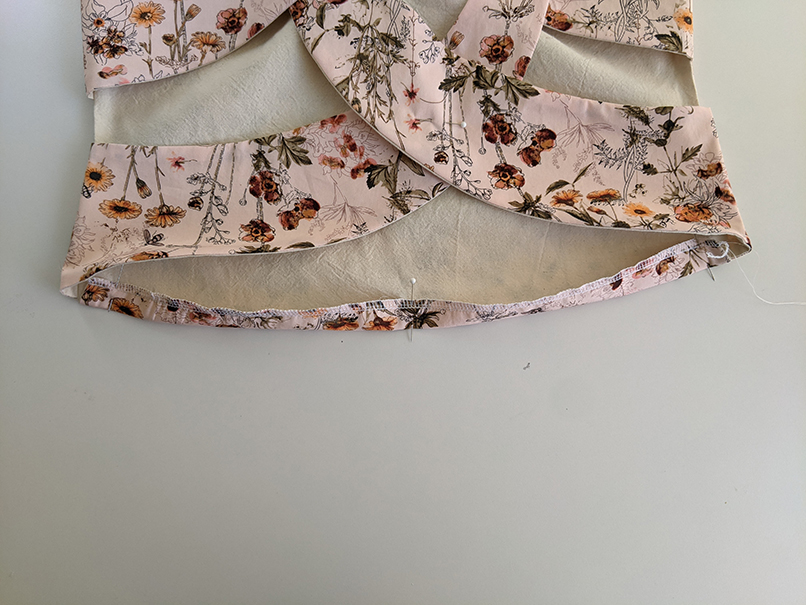
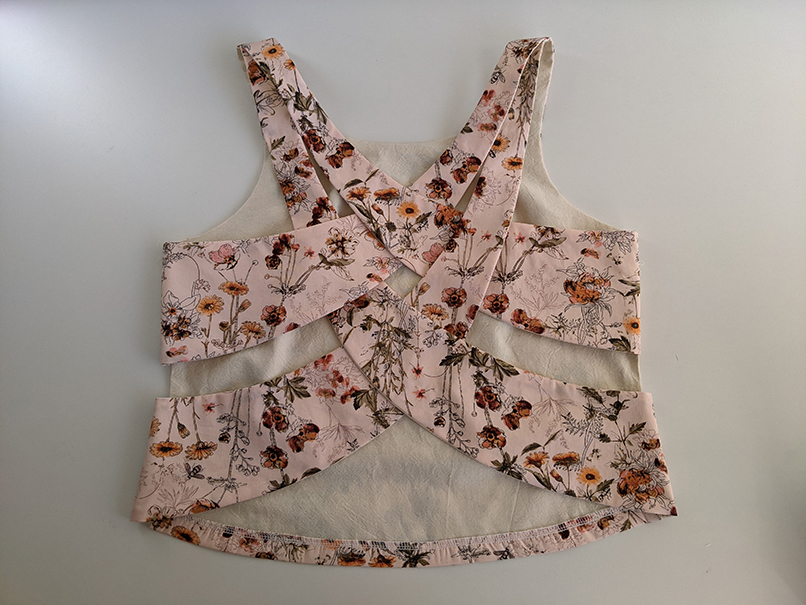
Take the back pieces and lay them down, weaving them as shown below. Pin together at the shoulder seams and where they overlap in the middle to hold in place.
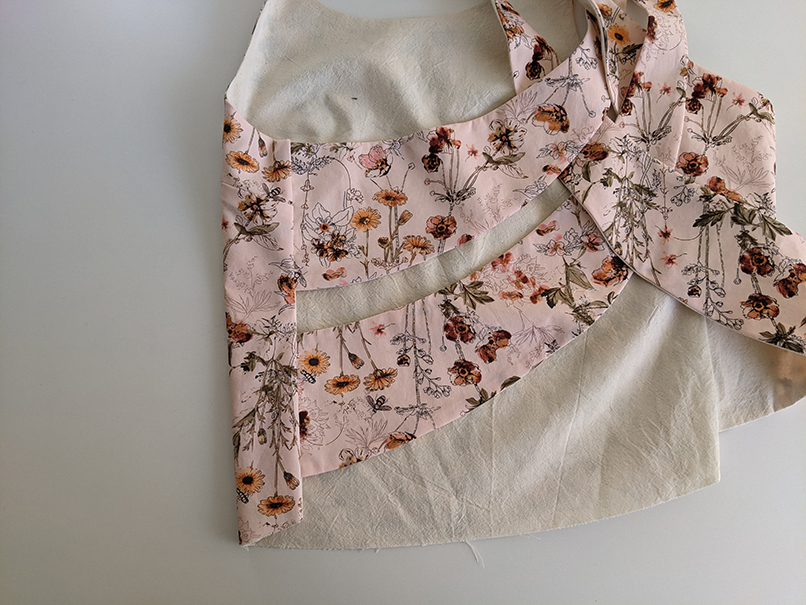
Step 6
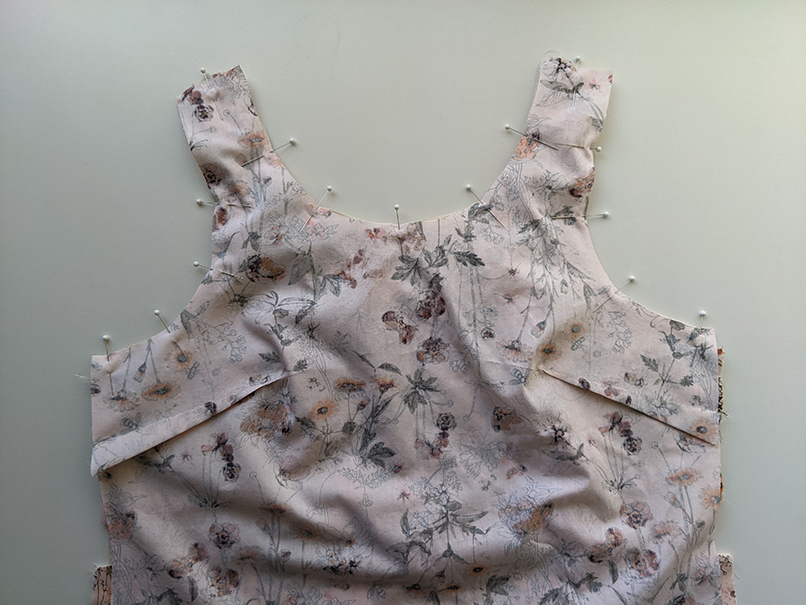
Then lay your lining piece down right side up, then your back pieces right side up, then the front bodice right side down. Pin together along the armhole, shoulder and neck edge.
Step 7
Stitch along the front armhole, across the shoulder, around the front neck to the other shoulder then back down the other armhole. Take care not to sew over the back bodice when sewing down the neck and armhole edges, the back pieces should be caught at the shoulder only.
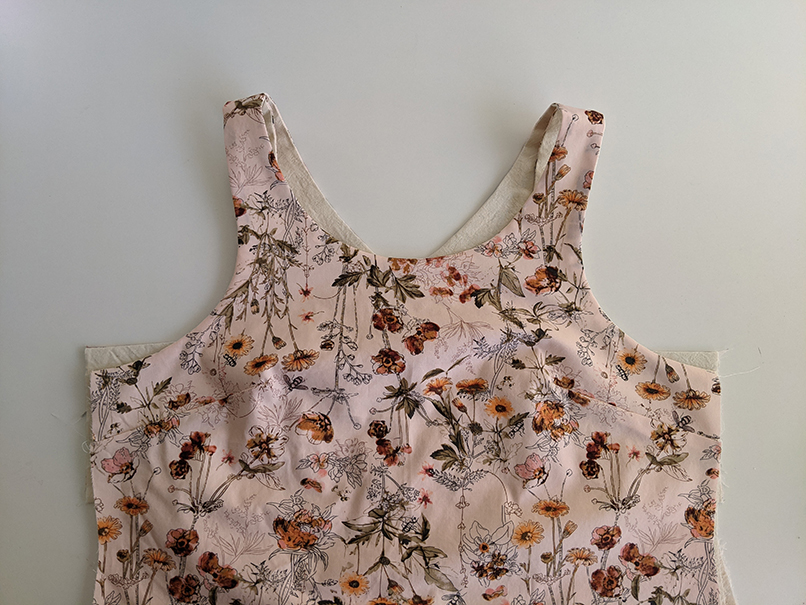
Step 8
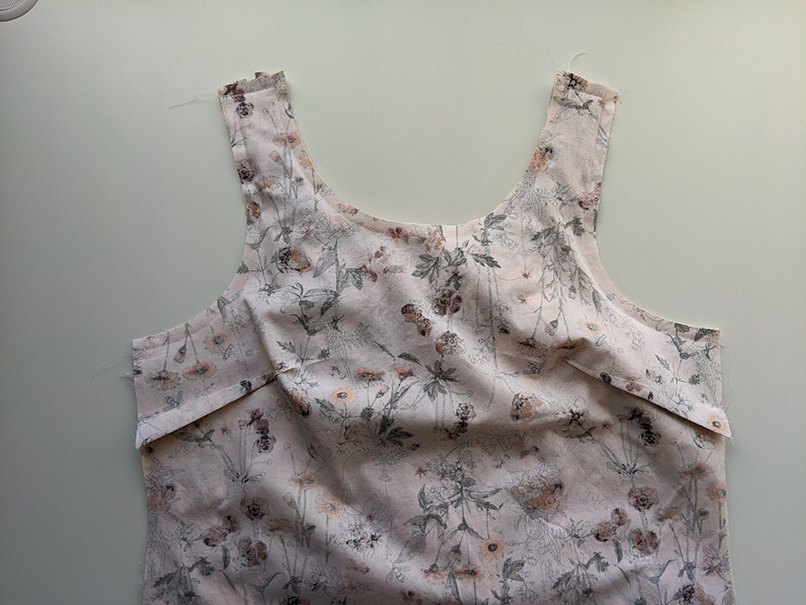
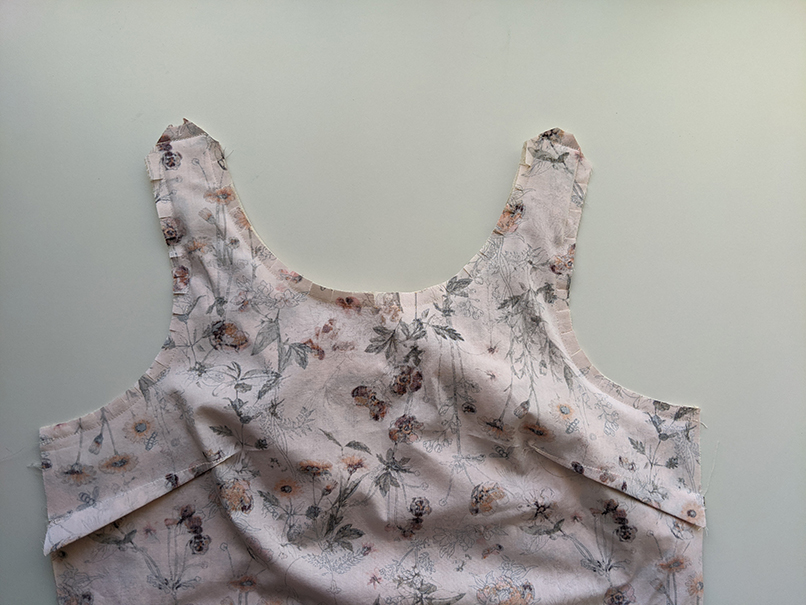
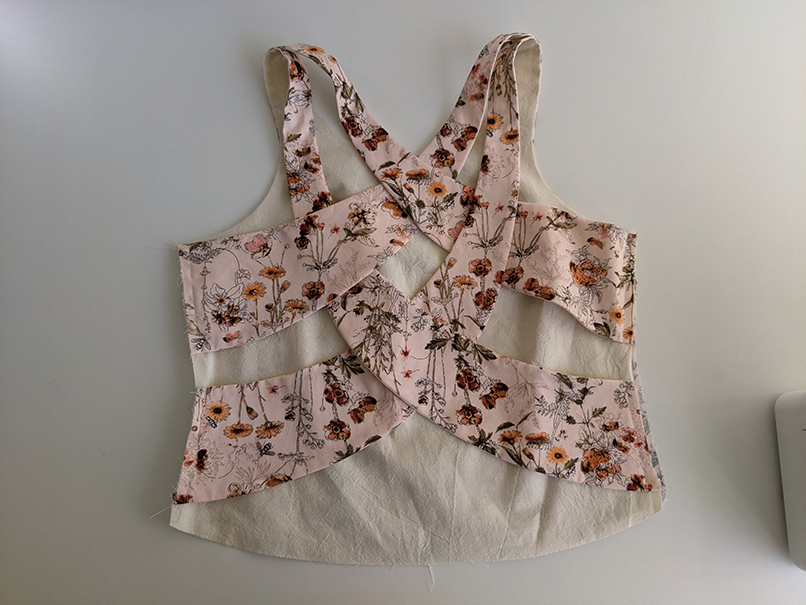
Clip the armhole and neck edges as well as the corners off the shoulders and turn through, press well.
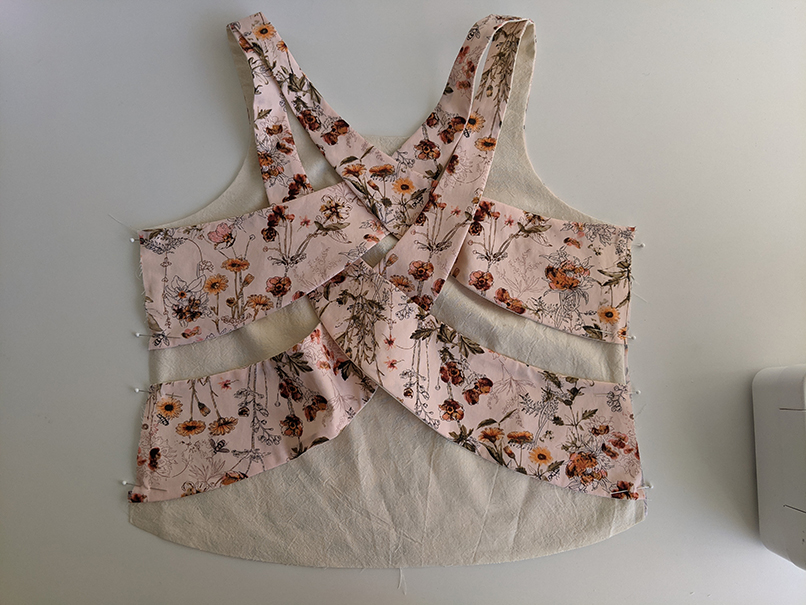
Step 9
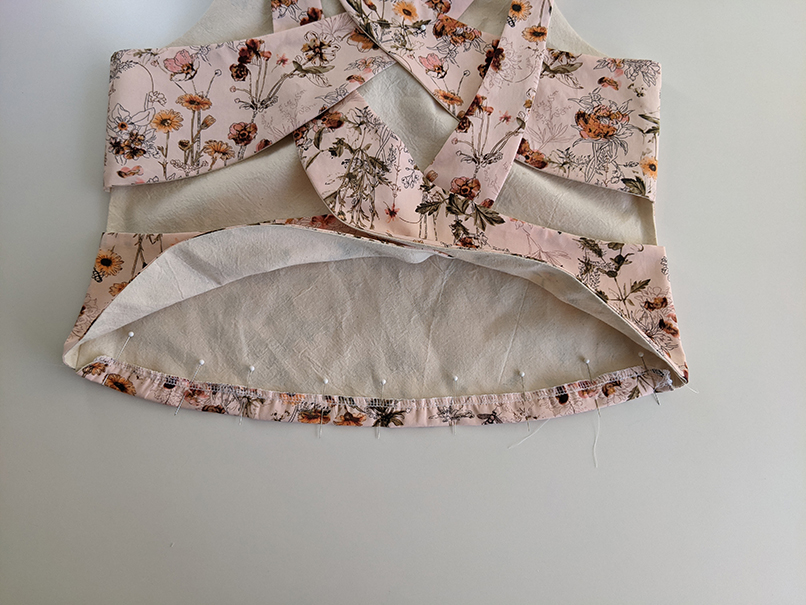
Turn the garment over and pin the back bodice to the lining only. There should be a 3cm gap at the side seam between the top and bottom pieces.
Step 10
Then fold the front bodice up and over the shoulder and onto the back so that the right sides are together and repin the side seams together.
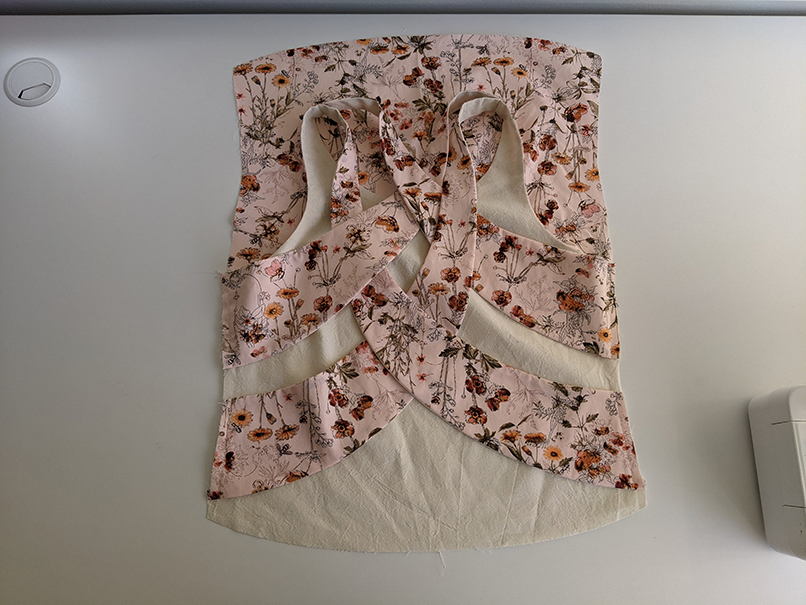
Step 11
Stitch down the side seam, clip the corner at the underarm, turn through, and press.
Step 12
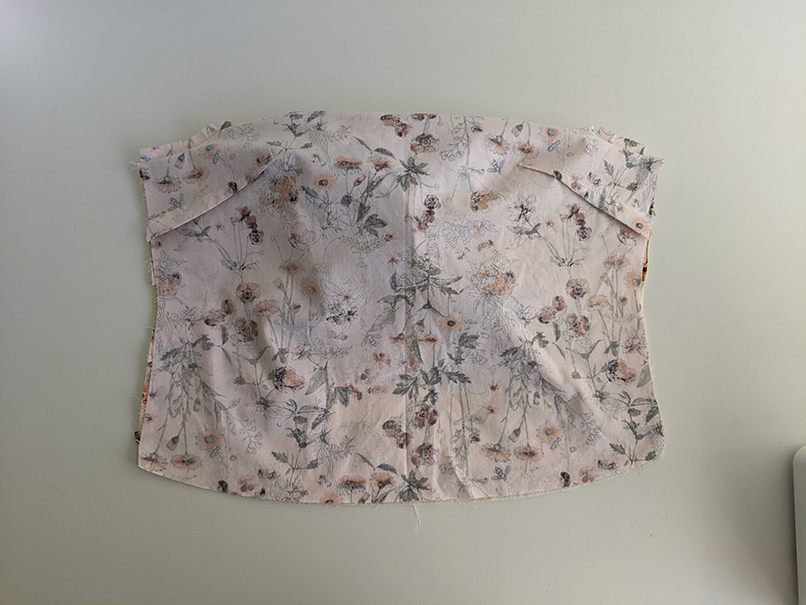
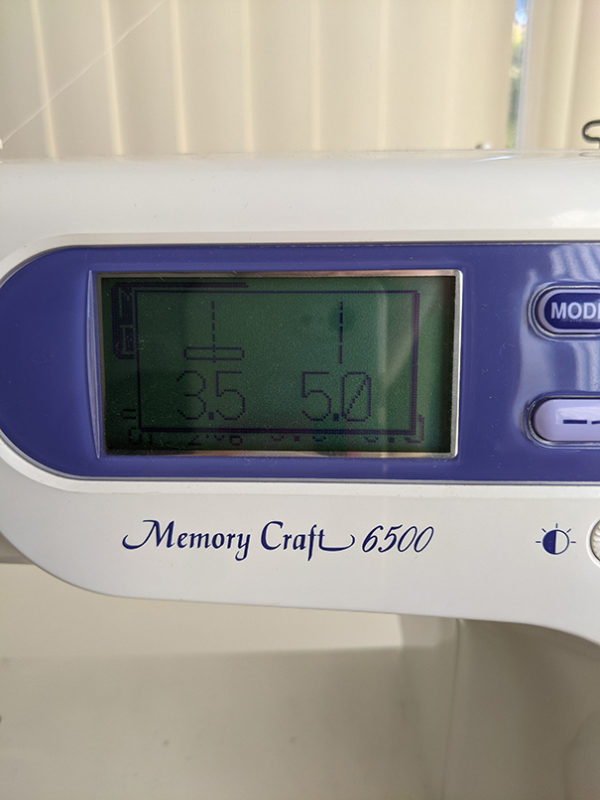
Overlock the main and lining edges together of the front hem. Then run an easing stitch (the longest stitch your machine has) along the hem edge.
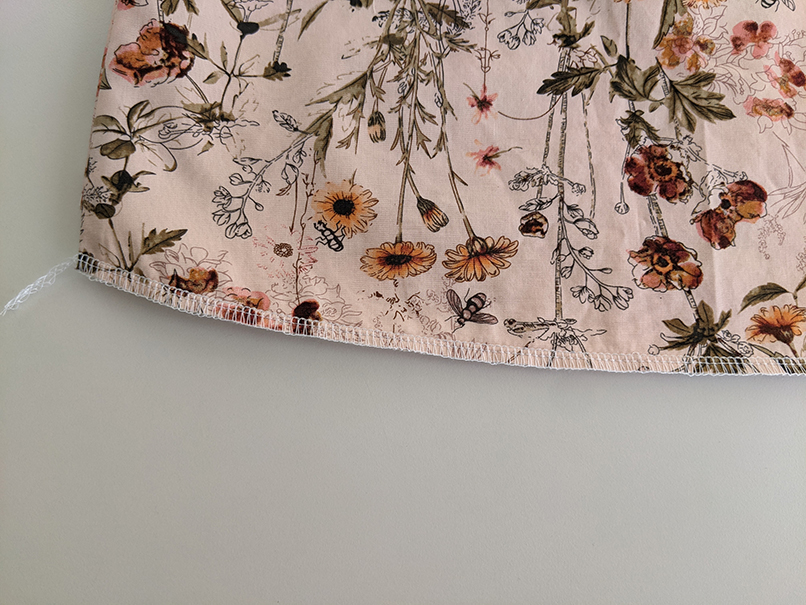
Step 13
Pin the hem up at the side seam and center front, then use the easing thread to gather the hem seam allowance so that it sits nice and flat. Press and hem the garment.
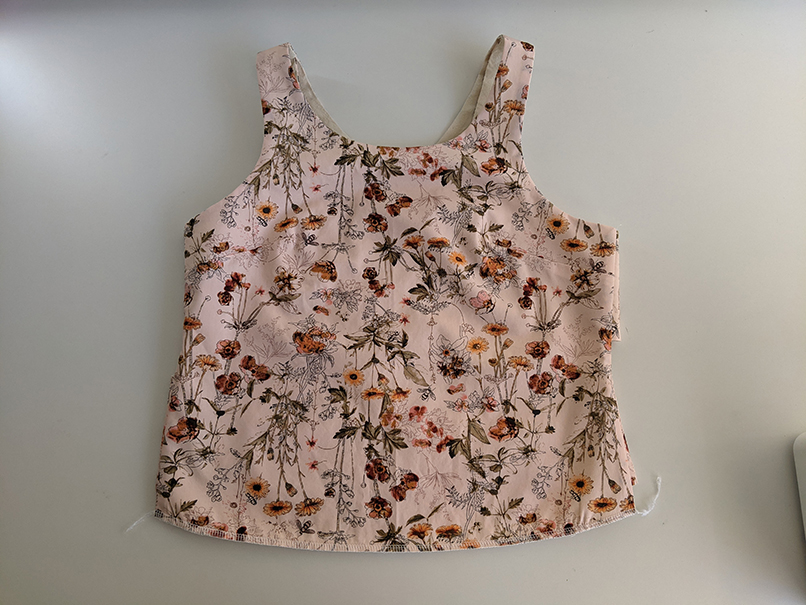
The Taylor Cross Back Top is now complete. How did you go? Let me know in the comments below.
Don’t have an overlocker? I have a number of other top patterns that don’t need an overlocker available for purchase here and here.
x x