Sewing Tutorials, Skirts
Sewing Tutorial: Lexi Pleated Mini Skirt
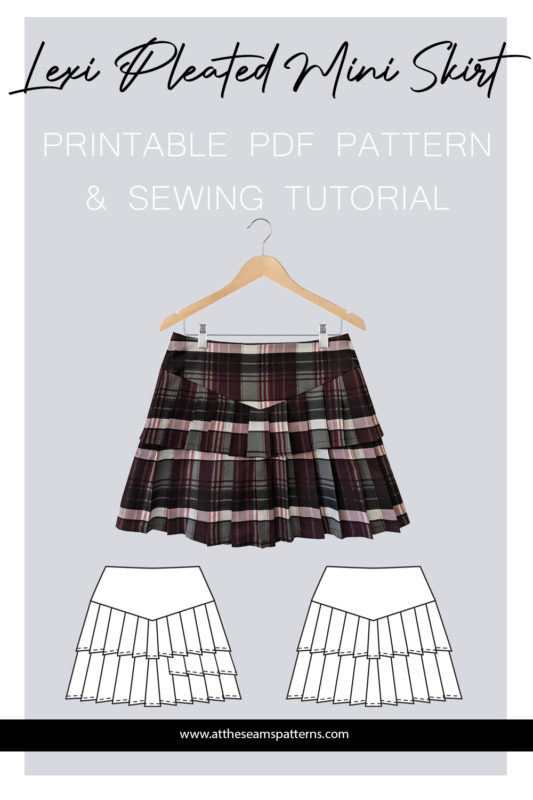
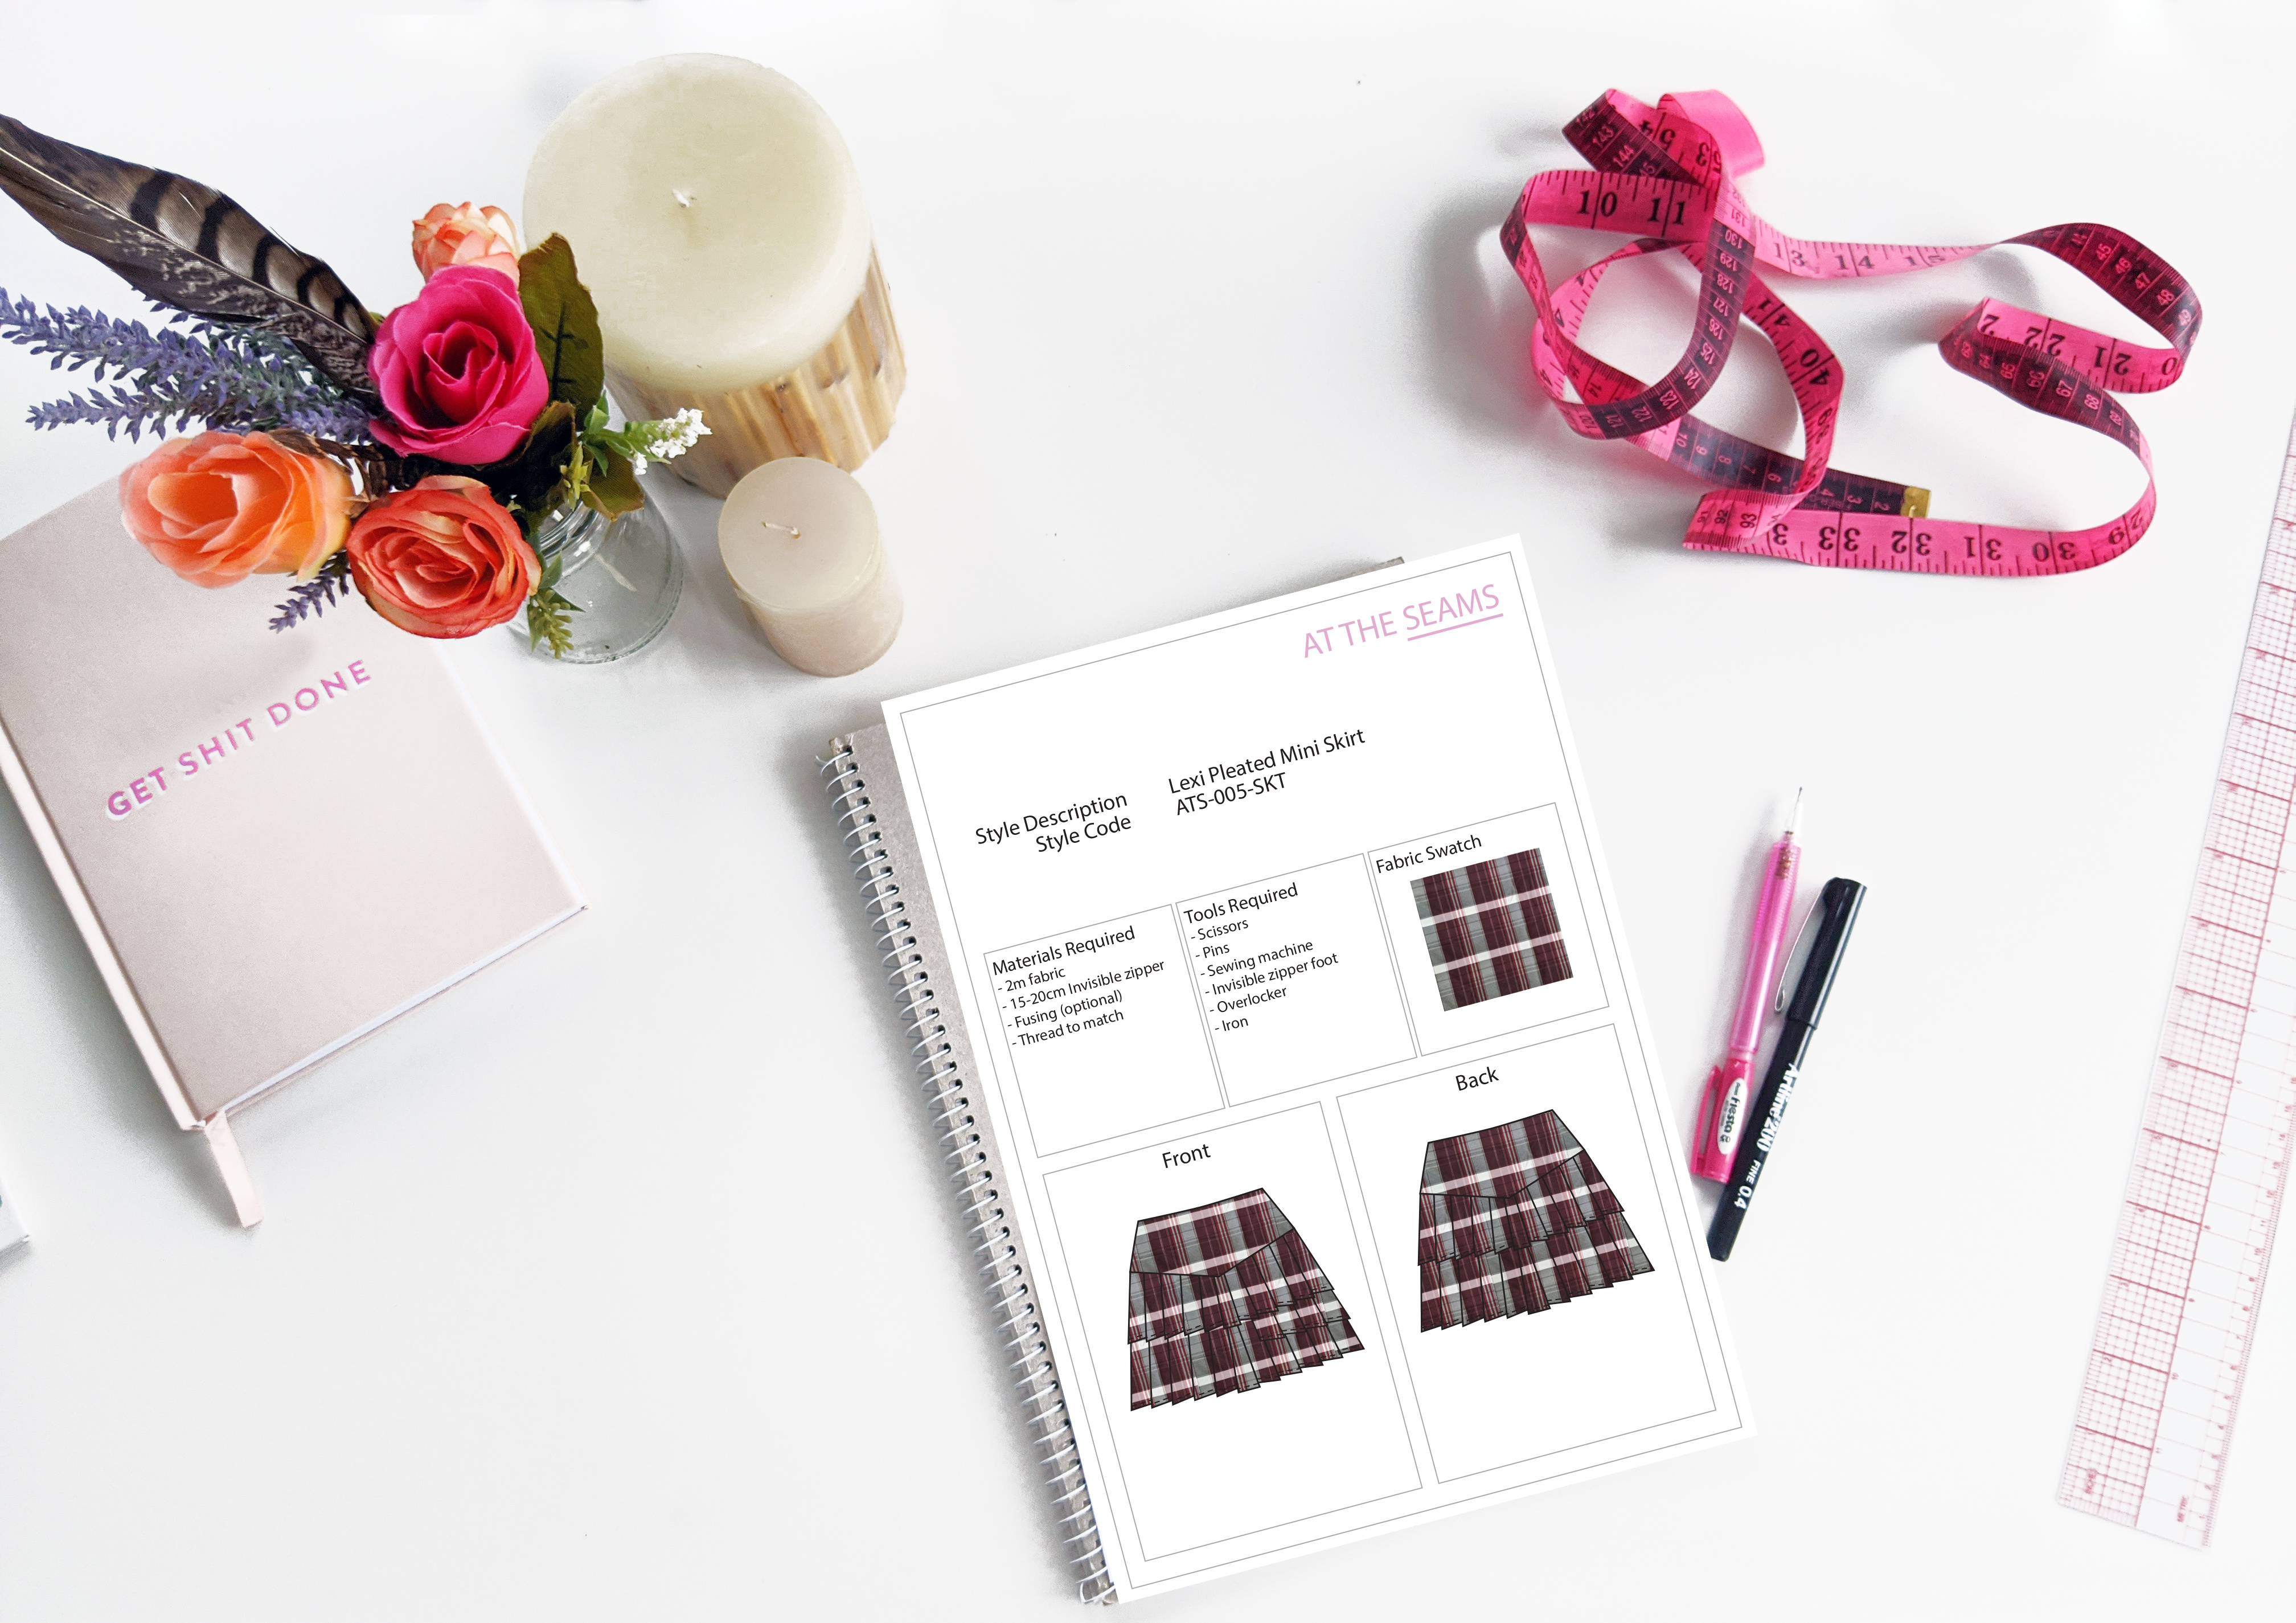
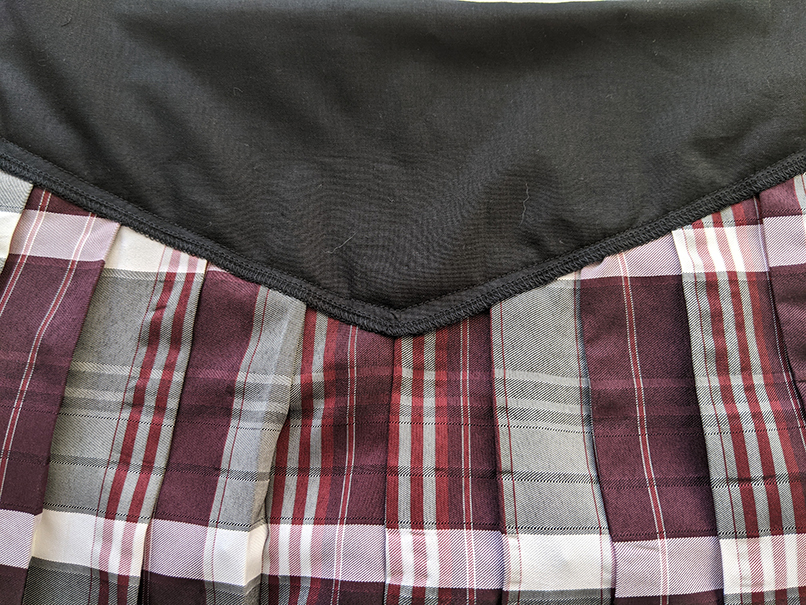
The Lexi Pleated Mini Skirt is inspired by the tennis skirt of the 90s. It is high-waisted and extra short. It features 3 asymmetrical layers on the front and 2 layers on the back with a shaped waistband. The fastening is a side seam invisible zipper.
This skirt does not have a lining, the top edge is finished with a self-fabric facing.
SEWING ABILITY
Beginner/Intermediate
Don’t be afraid to ask questions in the comments below if you need. I’m here to help. So let’s get started.
To begin you will need the following things
Materials
- Lexi Pleated Mini Skirt paper pattern
- 2m fabric
- 0.1m lightweight fusing (optional)
- 15-20cm Invisible zipper
- cotton thread (enough to also thread your overlocker)
Tools
- scissors
- pins
- sewing machine
- overlocker
- iron
Tips
- Ensure your fabric is washed, dried and pressed before you start cutting. There is nothing worse than washing your beautiful garment and it shrinks, or even more annoying the lining shrinks and the main doesn’t so it’s all pulled out and shape and is unwearable.
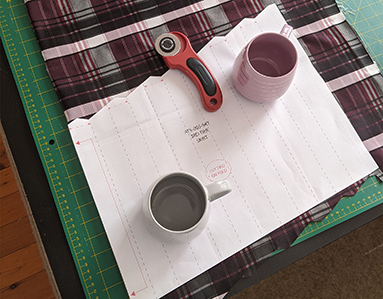
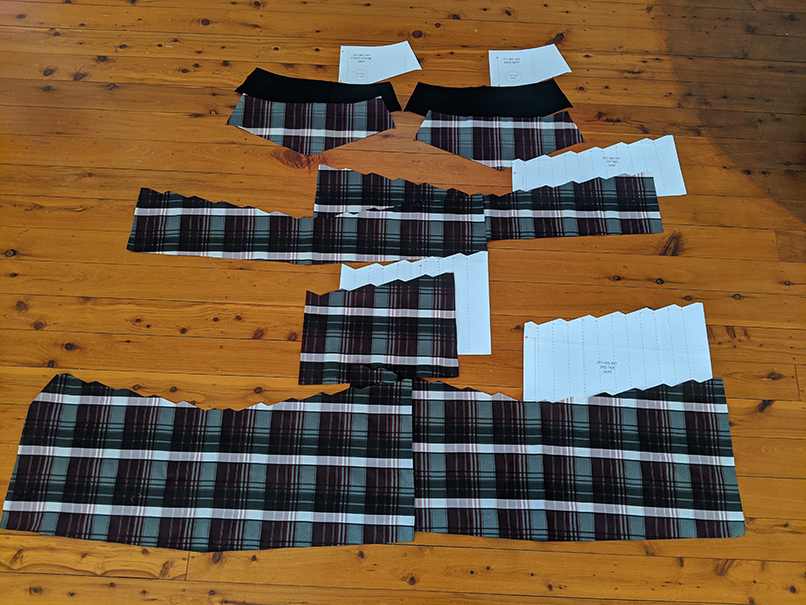
Step 1
Cut all main and lining pieces accurately on the correct grain, ensuring all notches are clipped. Seam allowances are marked on the pattern excluding them hem which is 1cm.
Beginner tip* If you can afford to purchase a rotary cutter and cutting mat, I find this more accurate and time-efficient.
Step 2
Fuse main fabric of waistband to interfacing (optional).
Beginner tip* Double check your interfacing is facing the correct way or you will glue it straight to your iron. Believe me, I’ve done it and it’s a pain to clean.
Step 3
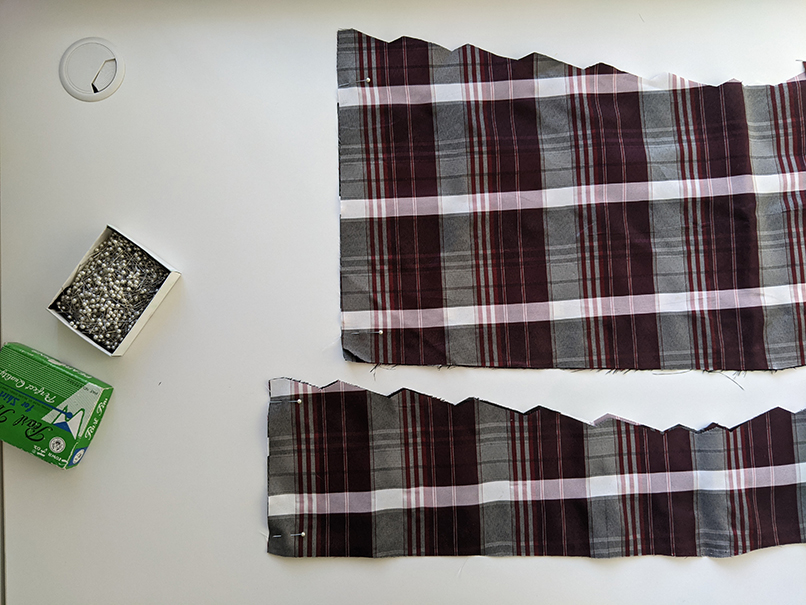
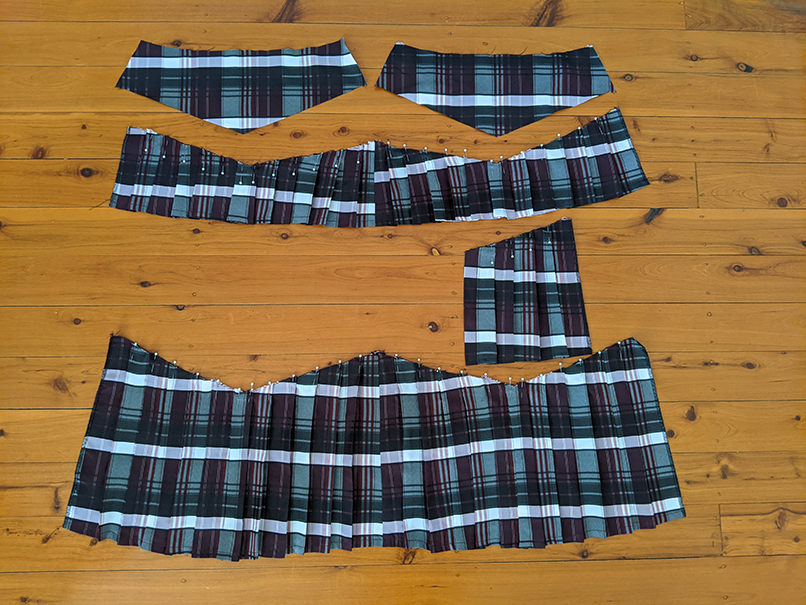
Pin and sew right side seams together of 1st and 3rd tiers, then overlock closed and press back.
Step 4
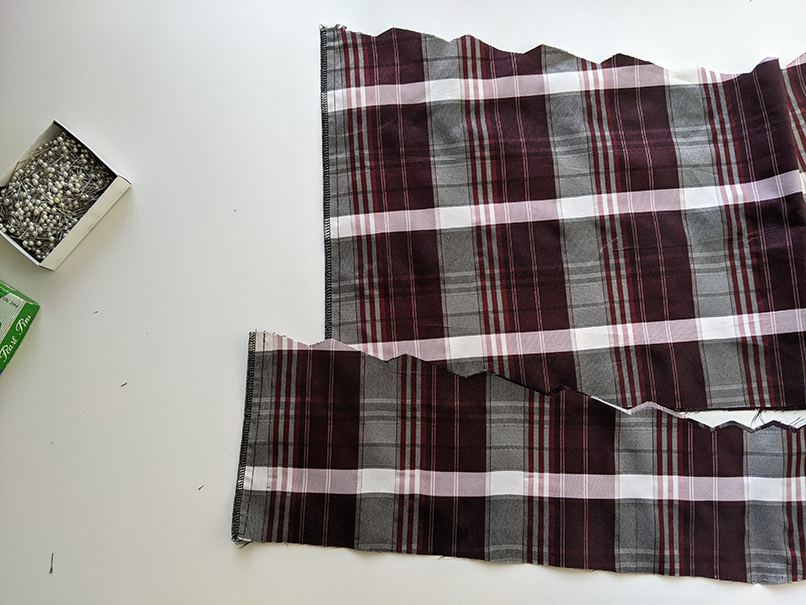
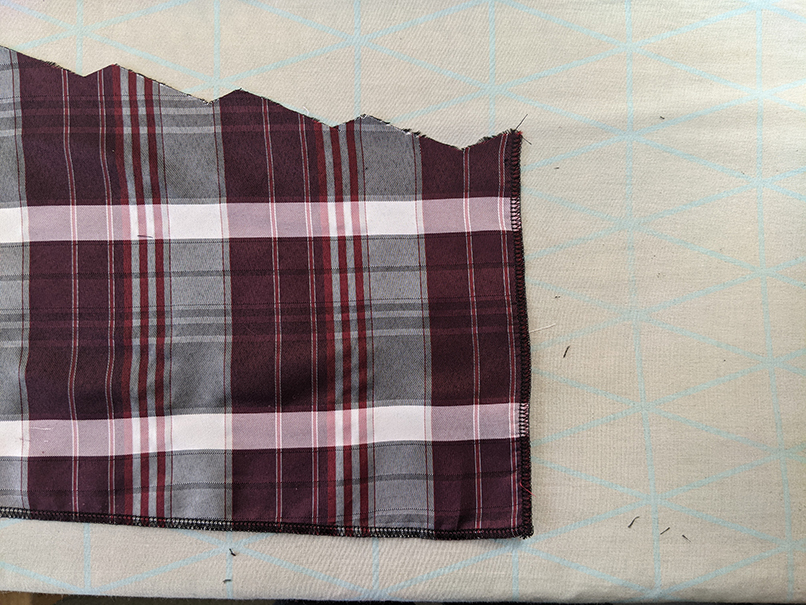
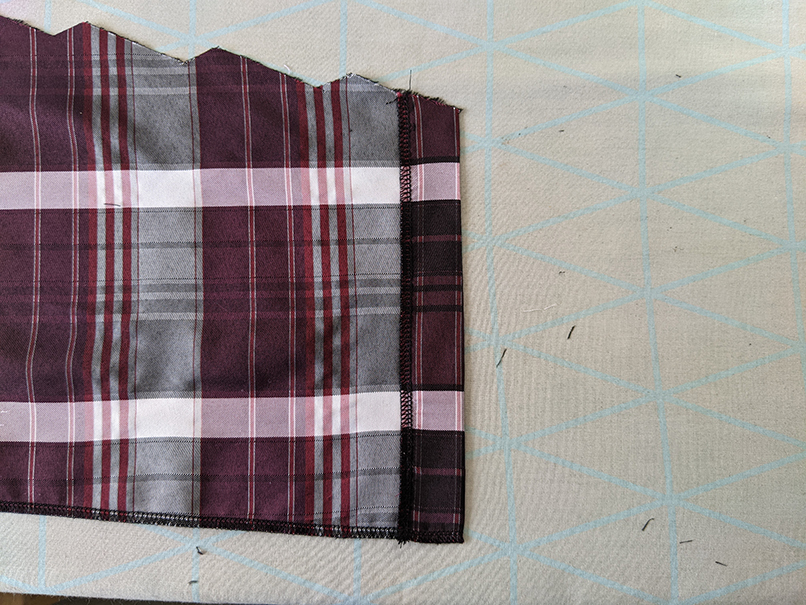
Then from the right side of the fabric, overlock the left side seam edges and the hem of the 1st and 3rd tiers.
Step 5
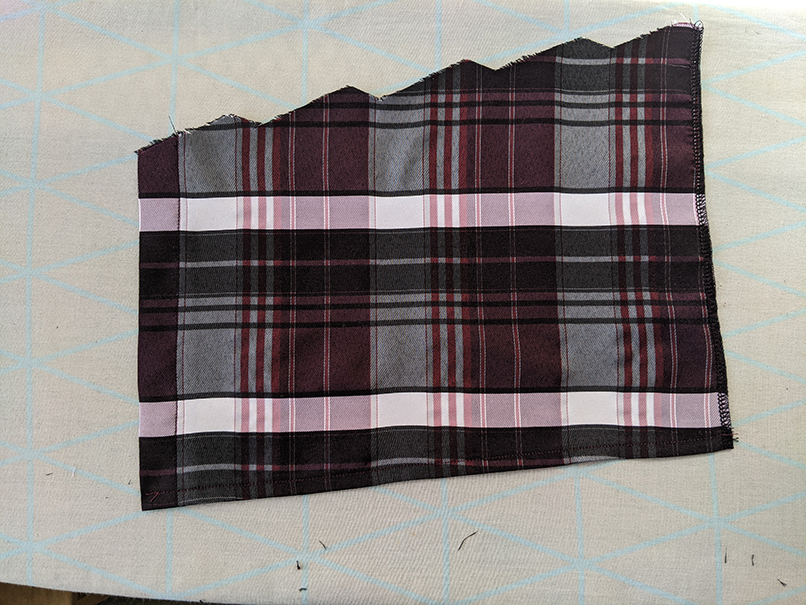
Then overlock all edges of the 2nd tier excluding the top edge from the right side of the fabric.
Step 6
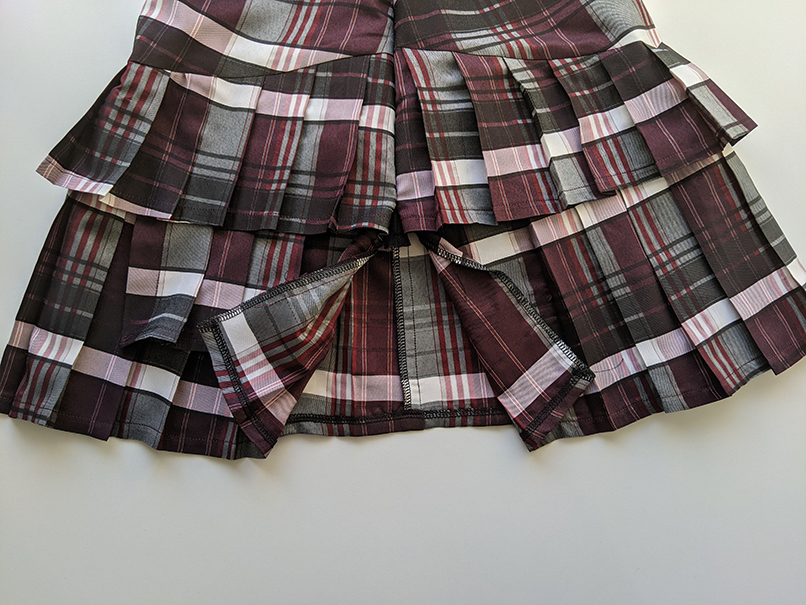
Taking the 2nd tier, fold the center edge back and stitch down. Then hem the bottom edge using a 1cm seam allowance.
Step 7
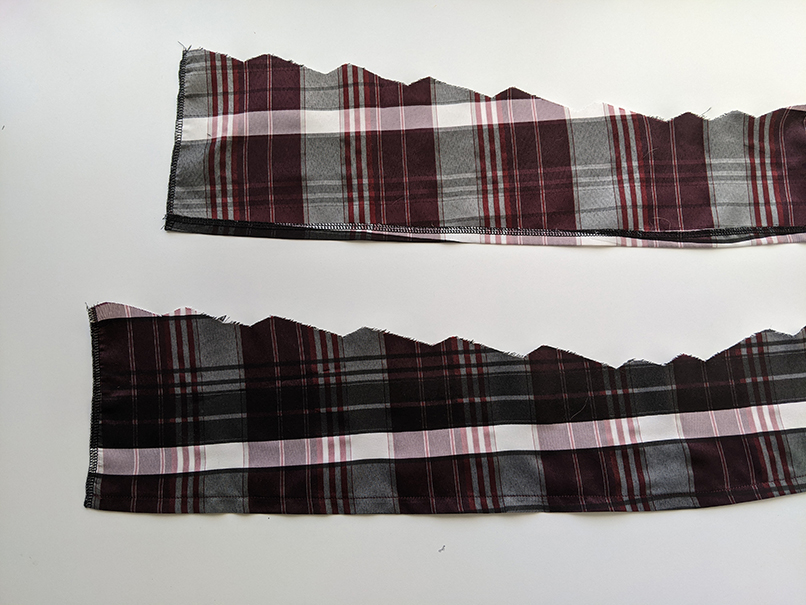
Then hem the bottom edges of the 1st and 3rd tiers using a 1cm seam allowance.
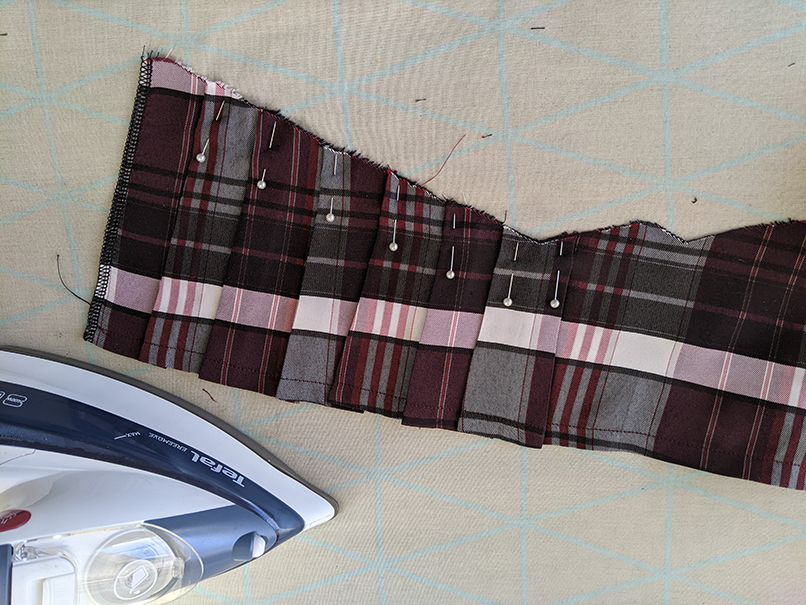
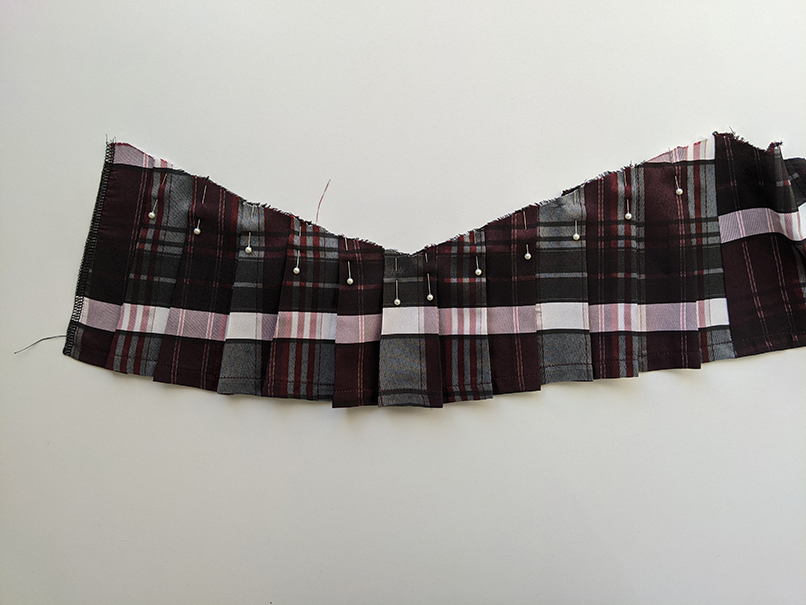
Step 8
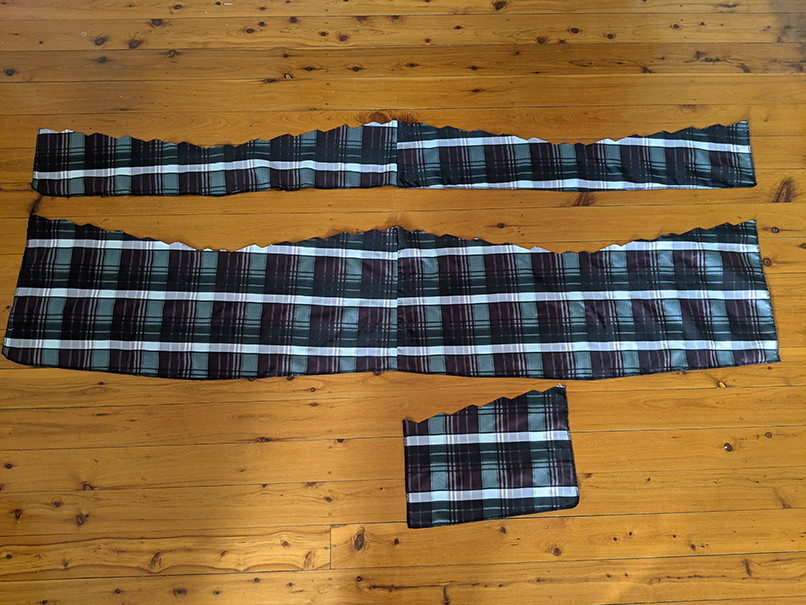
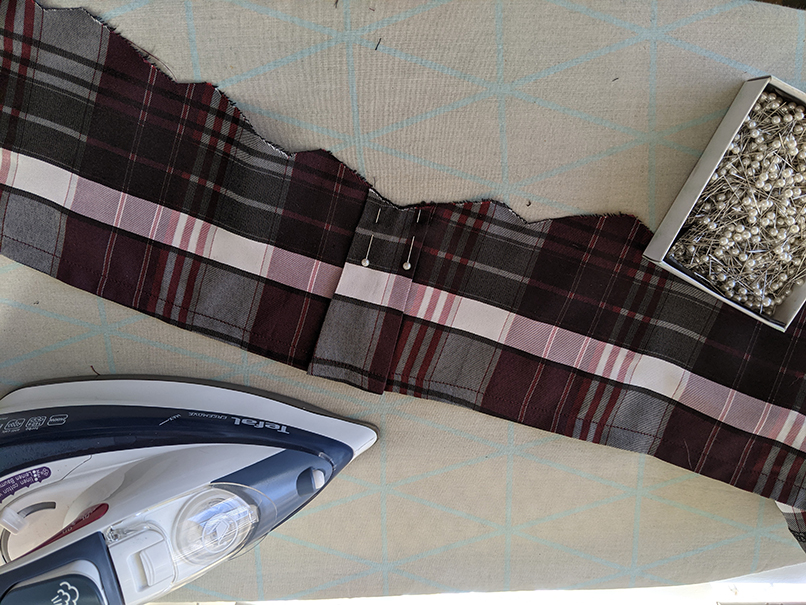
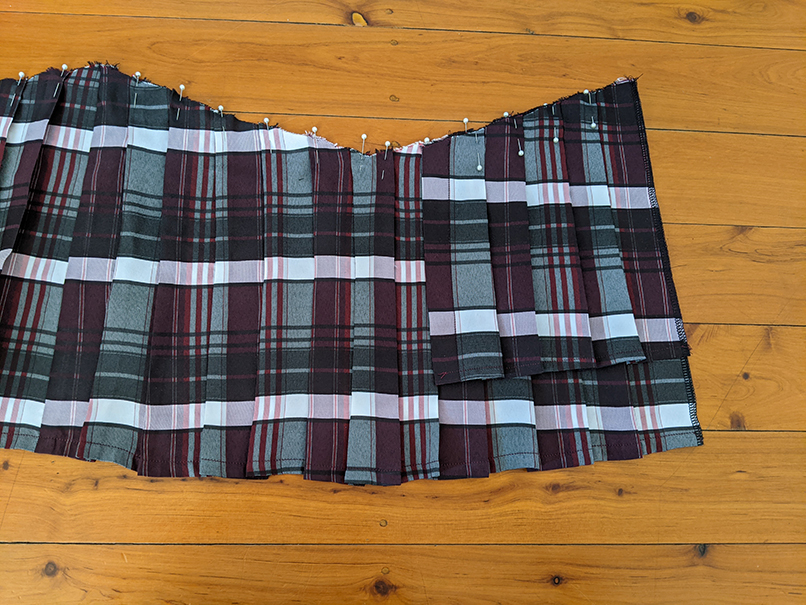
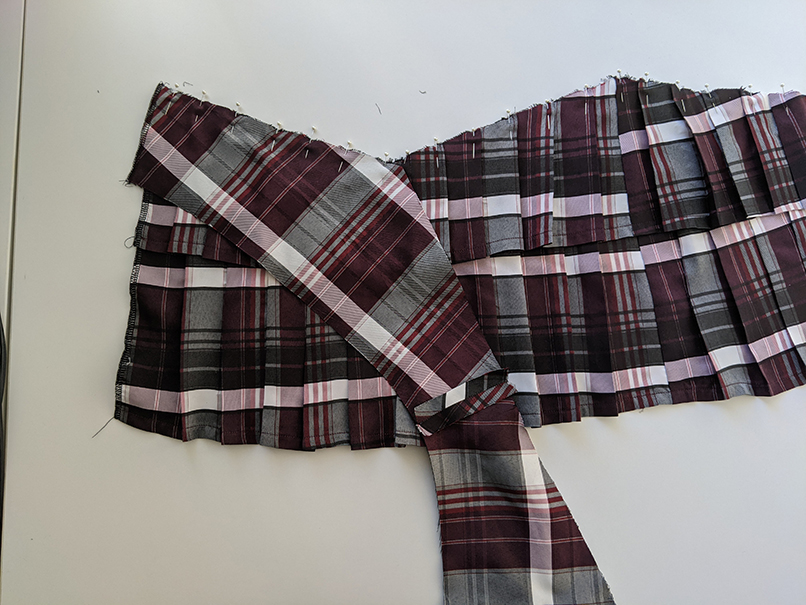
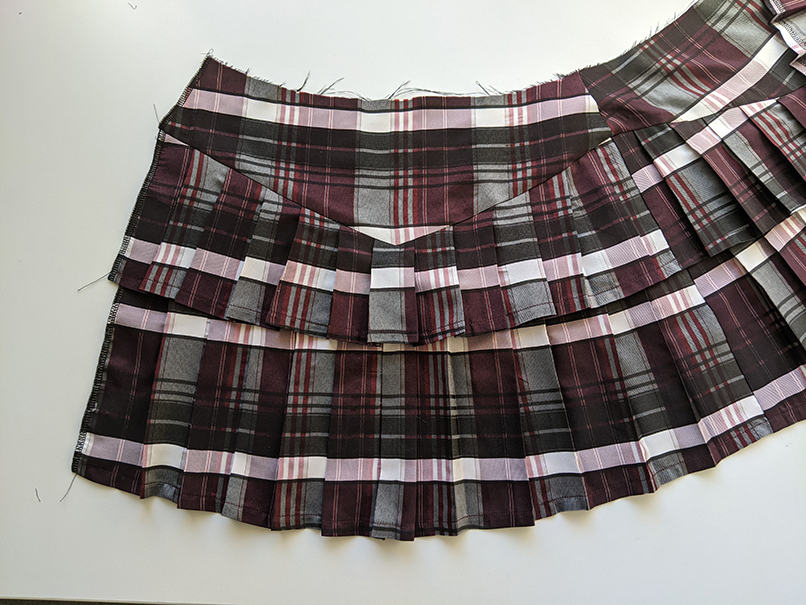
Starting from the center of the 1st tier, fold and press the pleats. Repeat until all 3 tiers are done.
Beginner tip* Practice folding on your paper pattern so you get used to which way to fold the pleats.
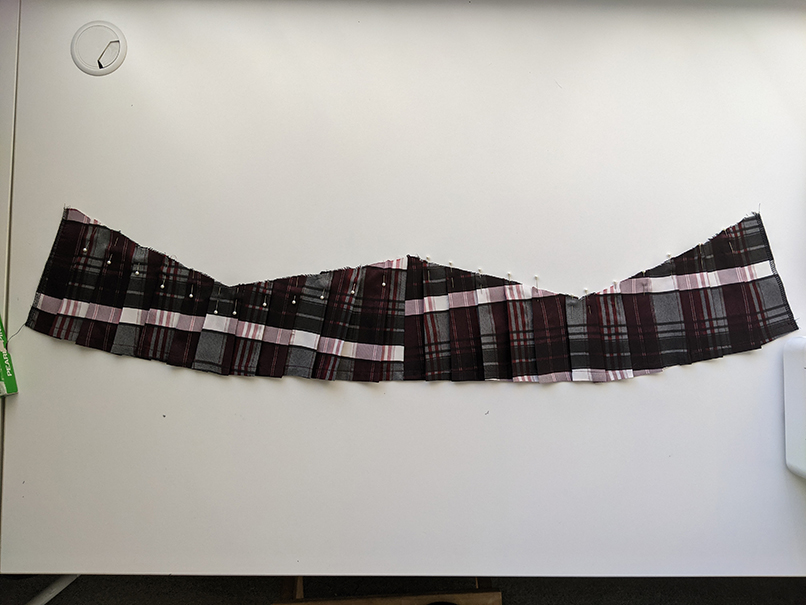
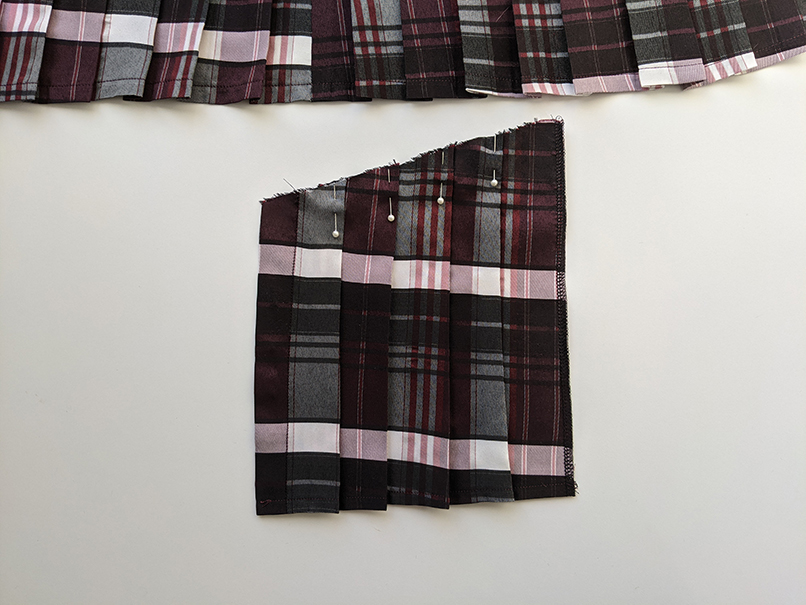
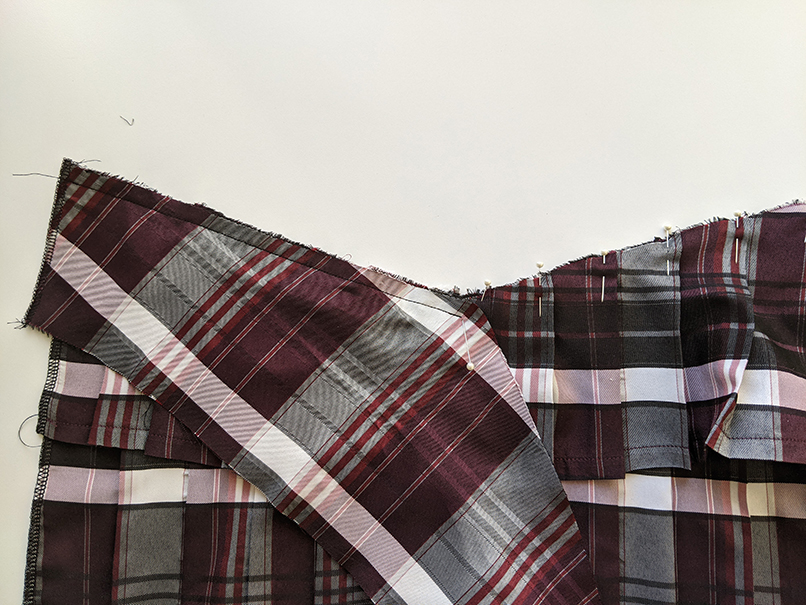
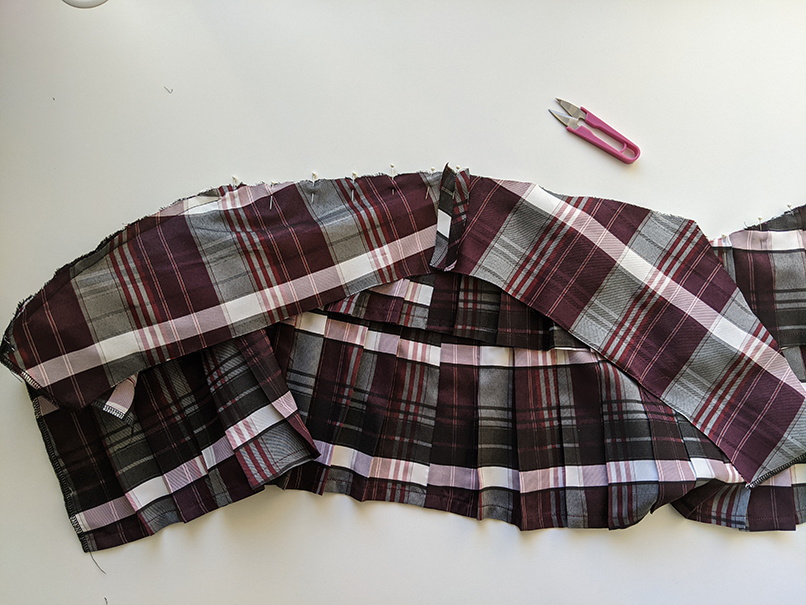
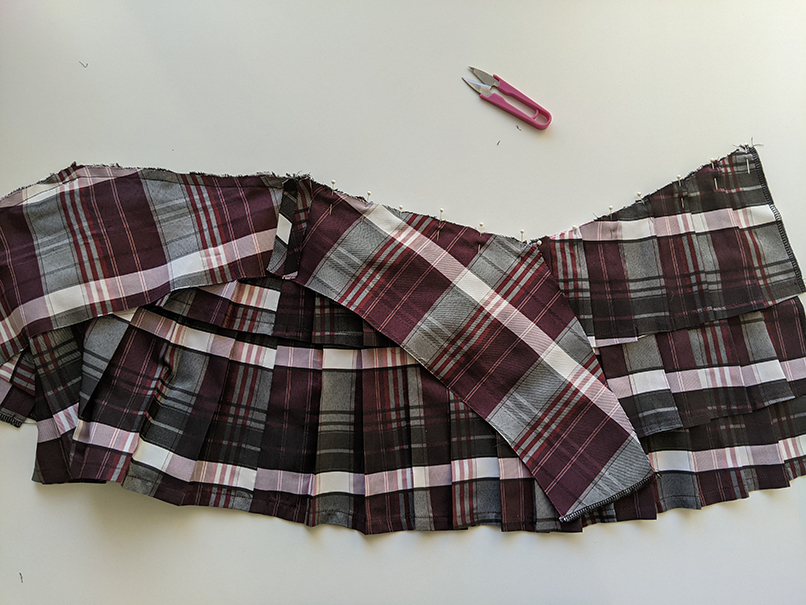
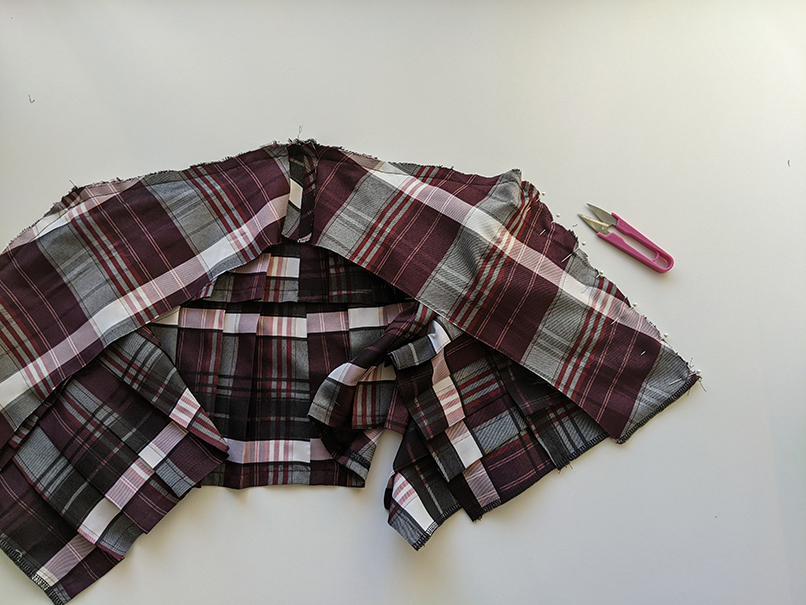
Step 9
Next, lay the tiers down and layer them starting with the 3rd tier on the bottom. Then pin and stay stitch them together along the top edge.
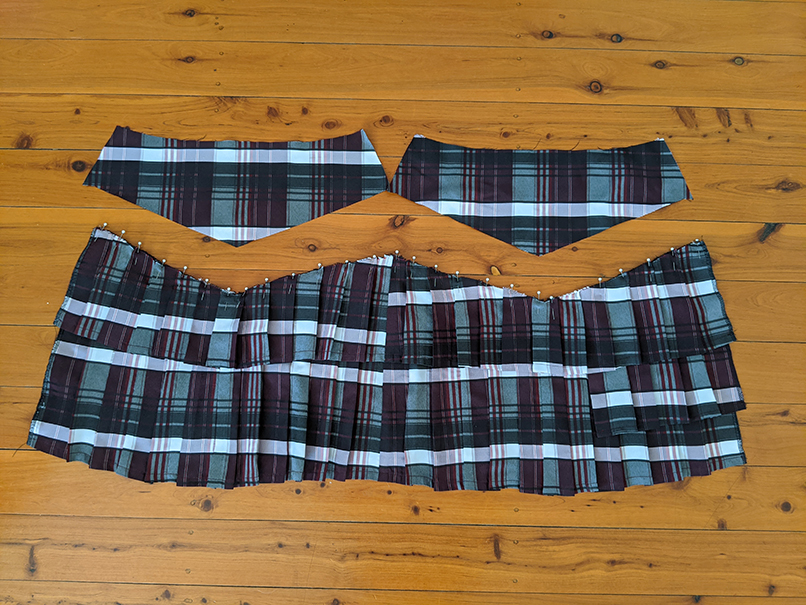
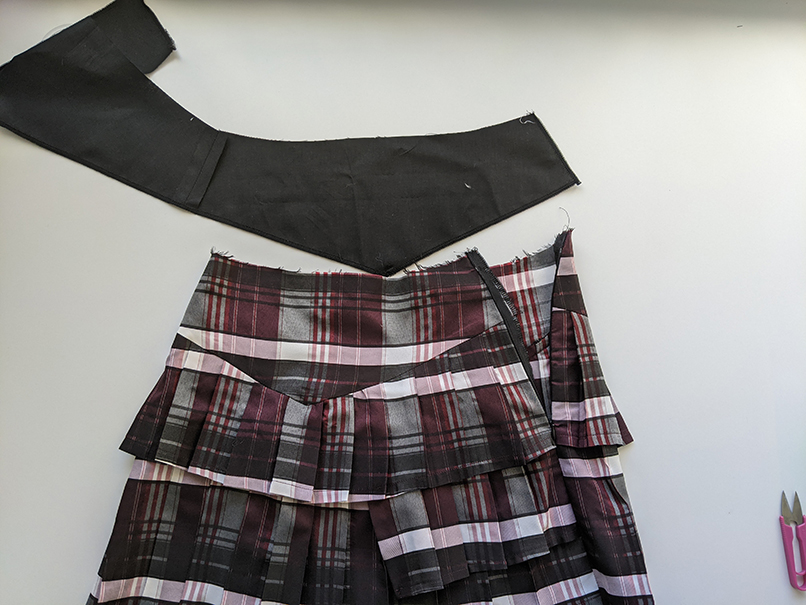
Step 10
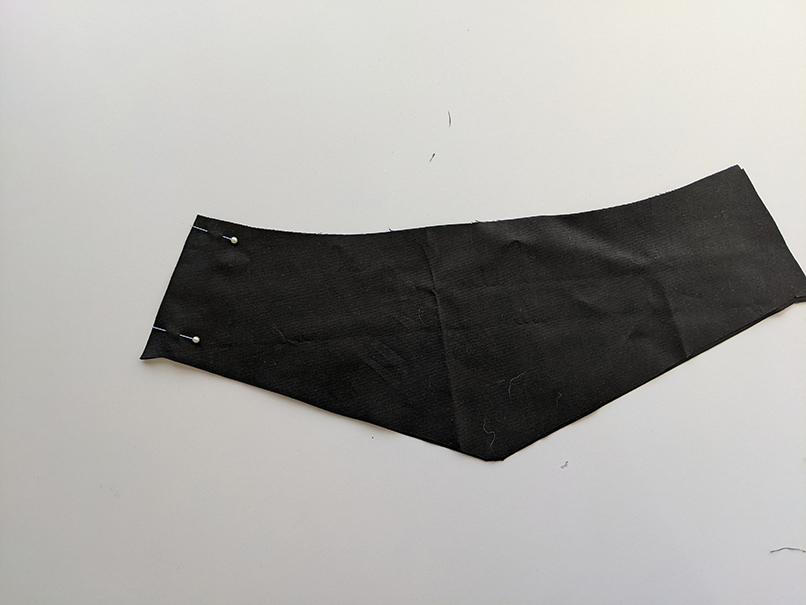
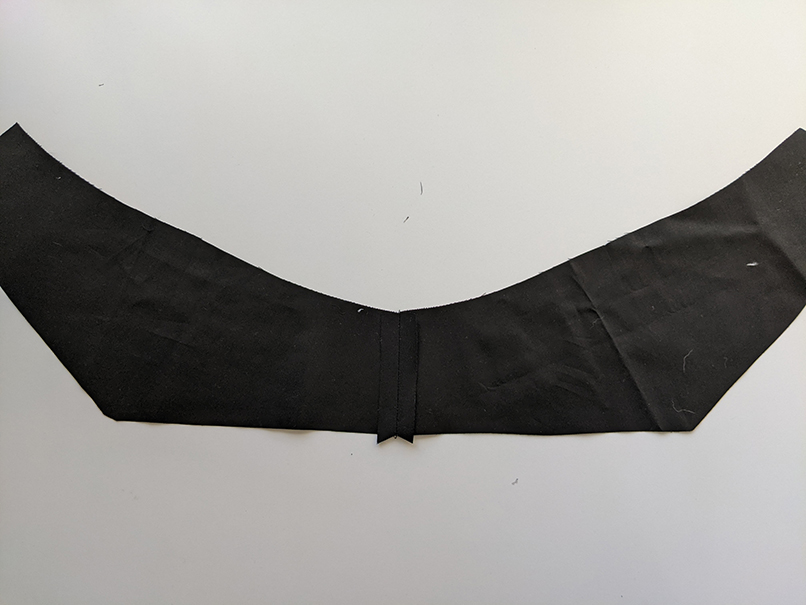
Taking the front and back yokes, pin and sew right side seams together, then press open. Then overlock the sides and bottom edges from the right side of the fabric.
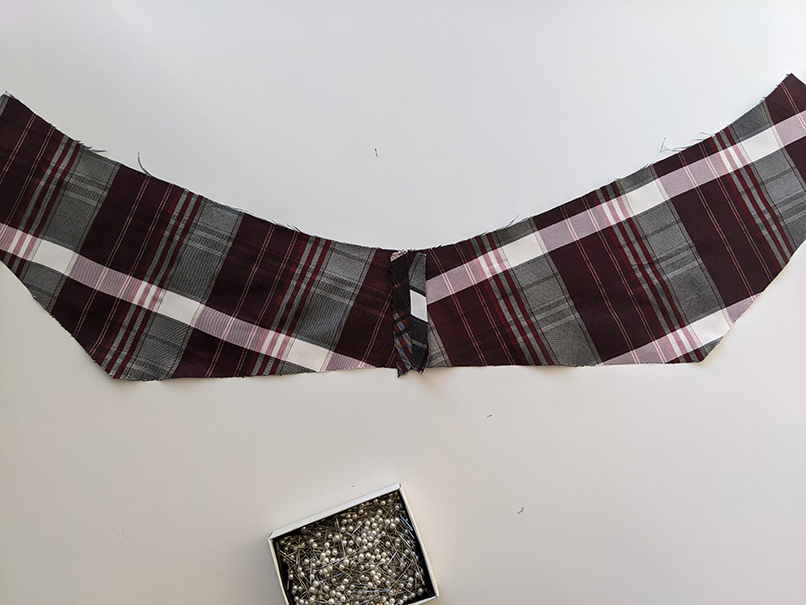
Step 11
Now attach the yoke to the skirt tiers. (not the facing, leave this aside) Press the seam upwards after attaching. This can be topstitched if desired.
Beginner tip* This part is easier if you work attaching one side at a time and clipping the corners as you how to allow for the fabric to be sewn together at the right angle.

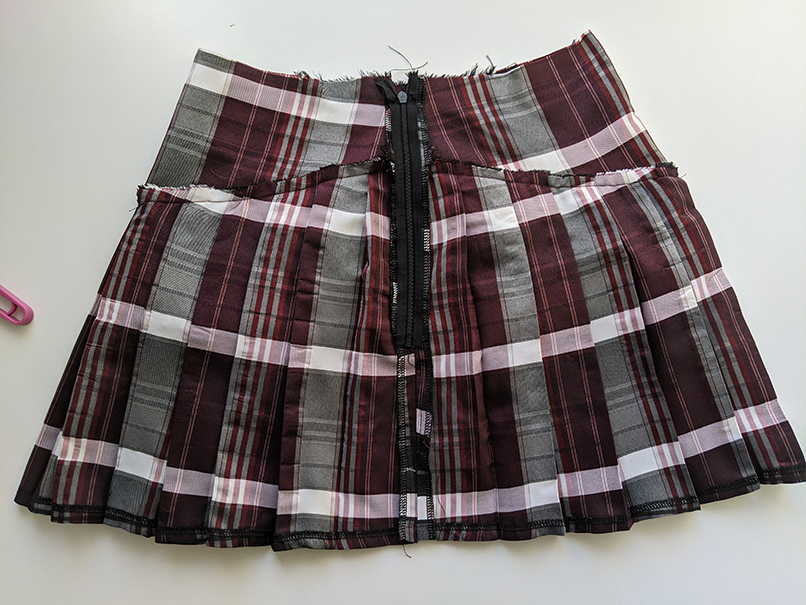
Step 12
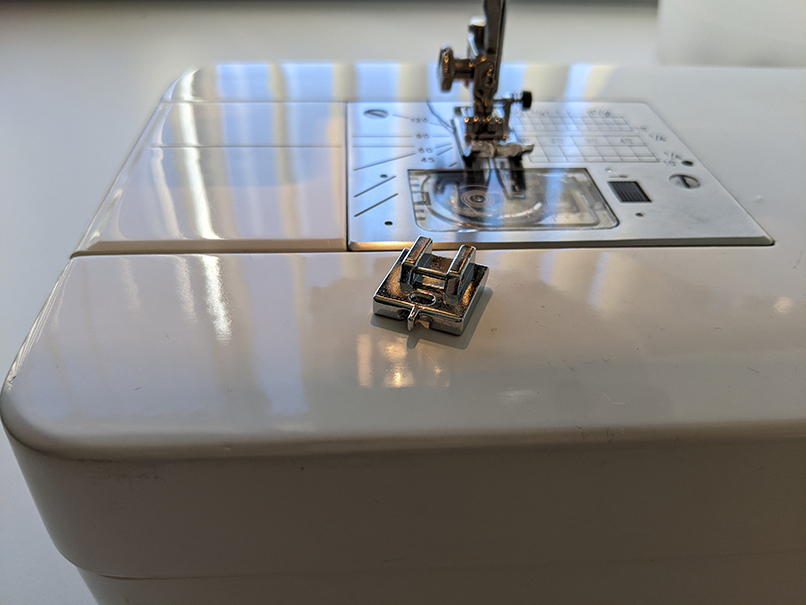
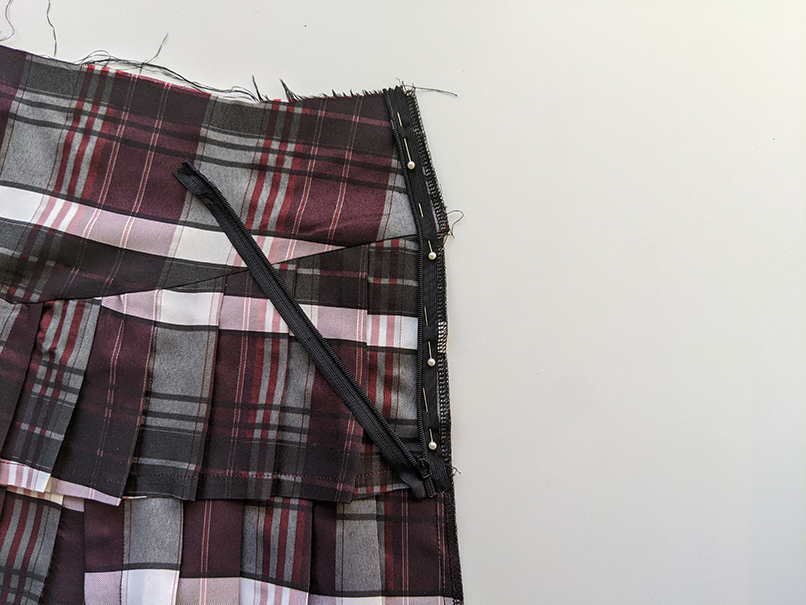
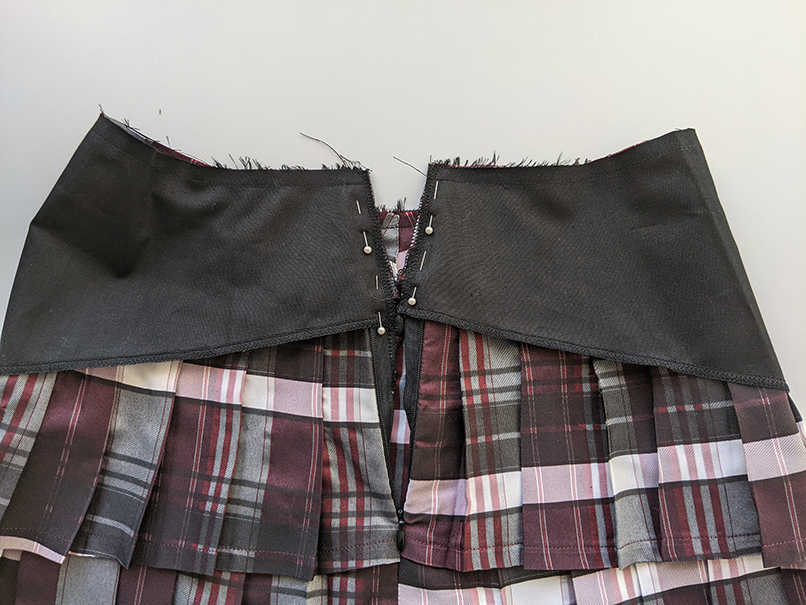
Then insert the invisible zipper into the open side seam using an invisible zipper foot.
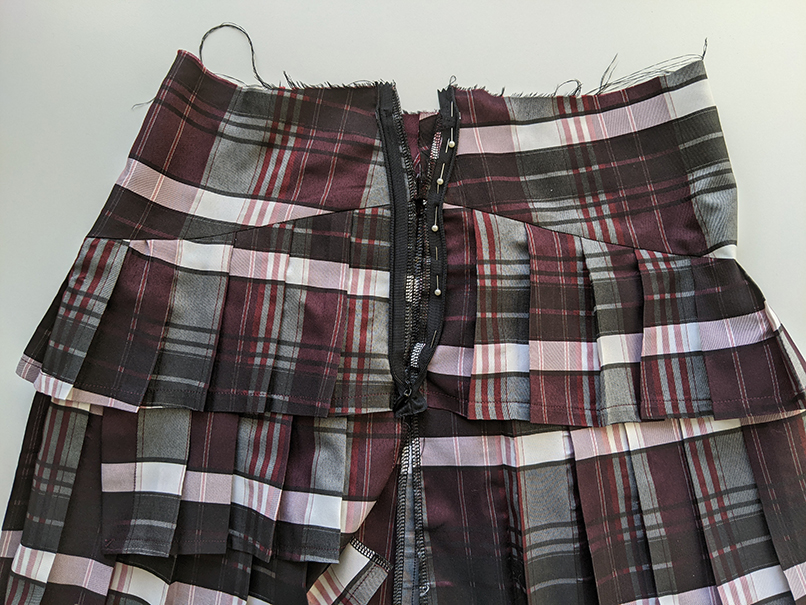
Step 13
Then sew the bottom of the side seam together below the zipper, then press open.
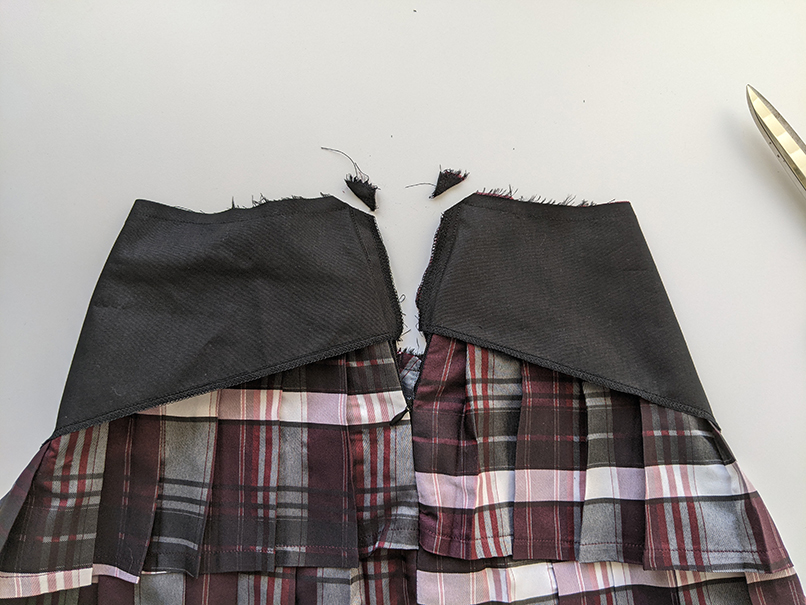
Step 14
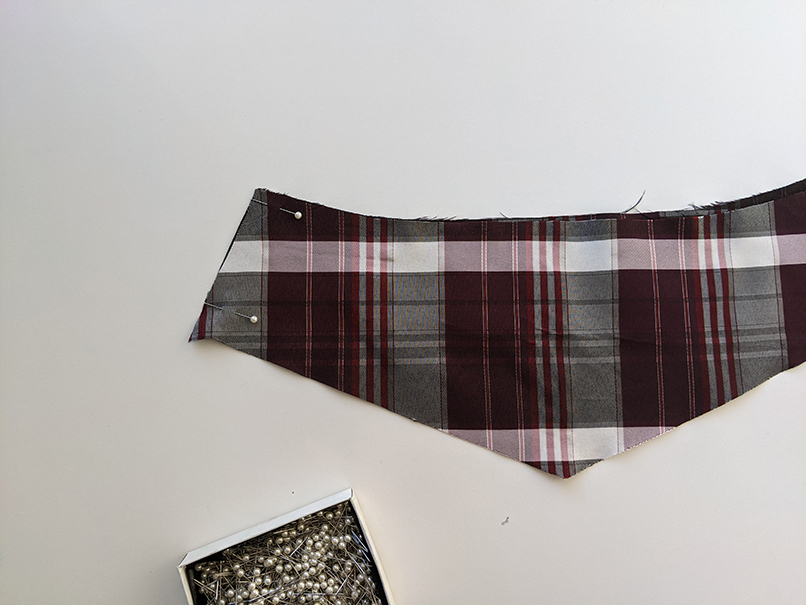
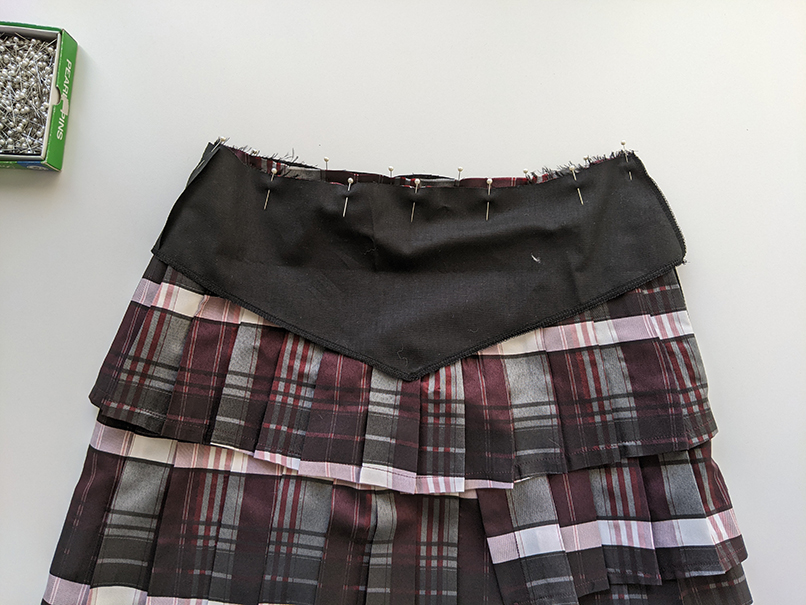
Lay the skirt right side out and pin the facing to the skirt along the top edge right sides together. Sew to secure.
Step 15
Then pin the facing to the zipper and stitch using a normal zipper foot.
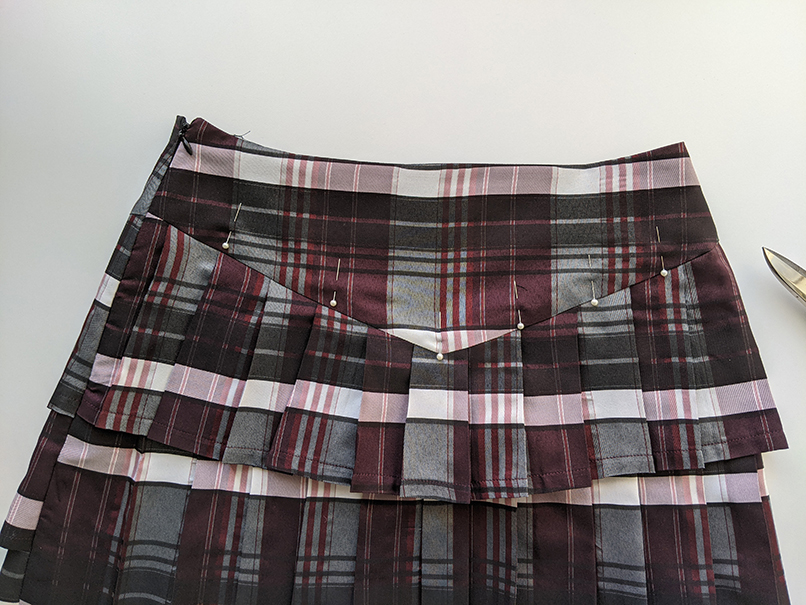
Step 16
Clip the corners and along the waist seam then turn through and pin stitch the seam allowance to the facing.
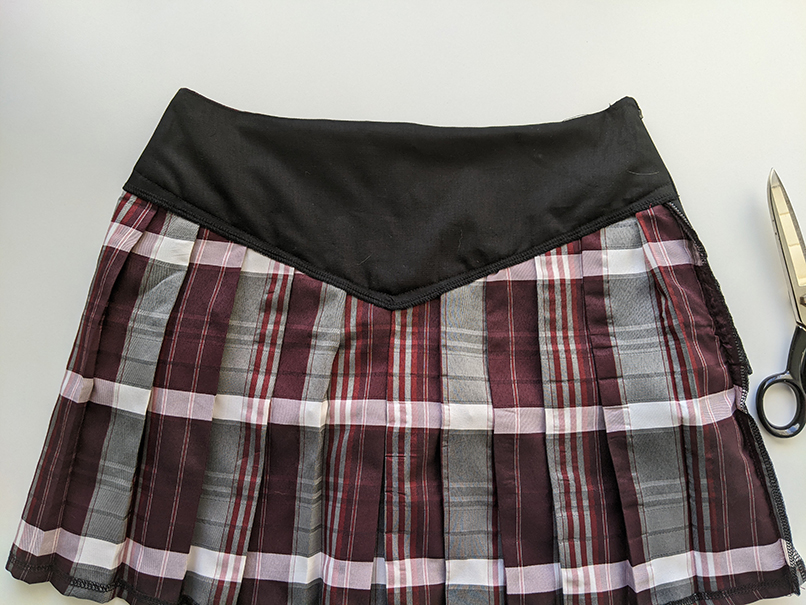
Step 17
Ensuring the facing is pressed neatly inside the garment, pin it in place to hold and sew in the ditch of the yoke seam to hold the facing in place.
The Lexi Pleated Mini Skirt is complete. How did you go? Let me know in the comments below where if you struggled or needed extra help.
We also have a number of other skirt patterns available for purchase here along with tutorials here.
x