Pants, Sewing Tutorials
Sewing Tutorial: Fitted Wide-Leg Pant without Pockets
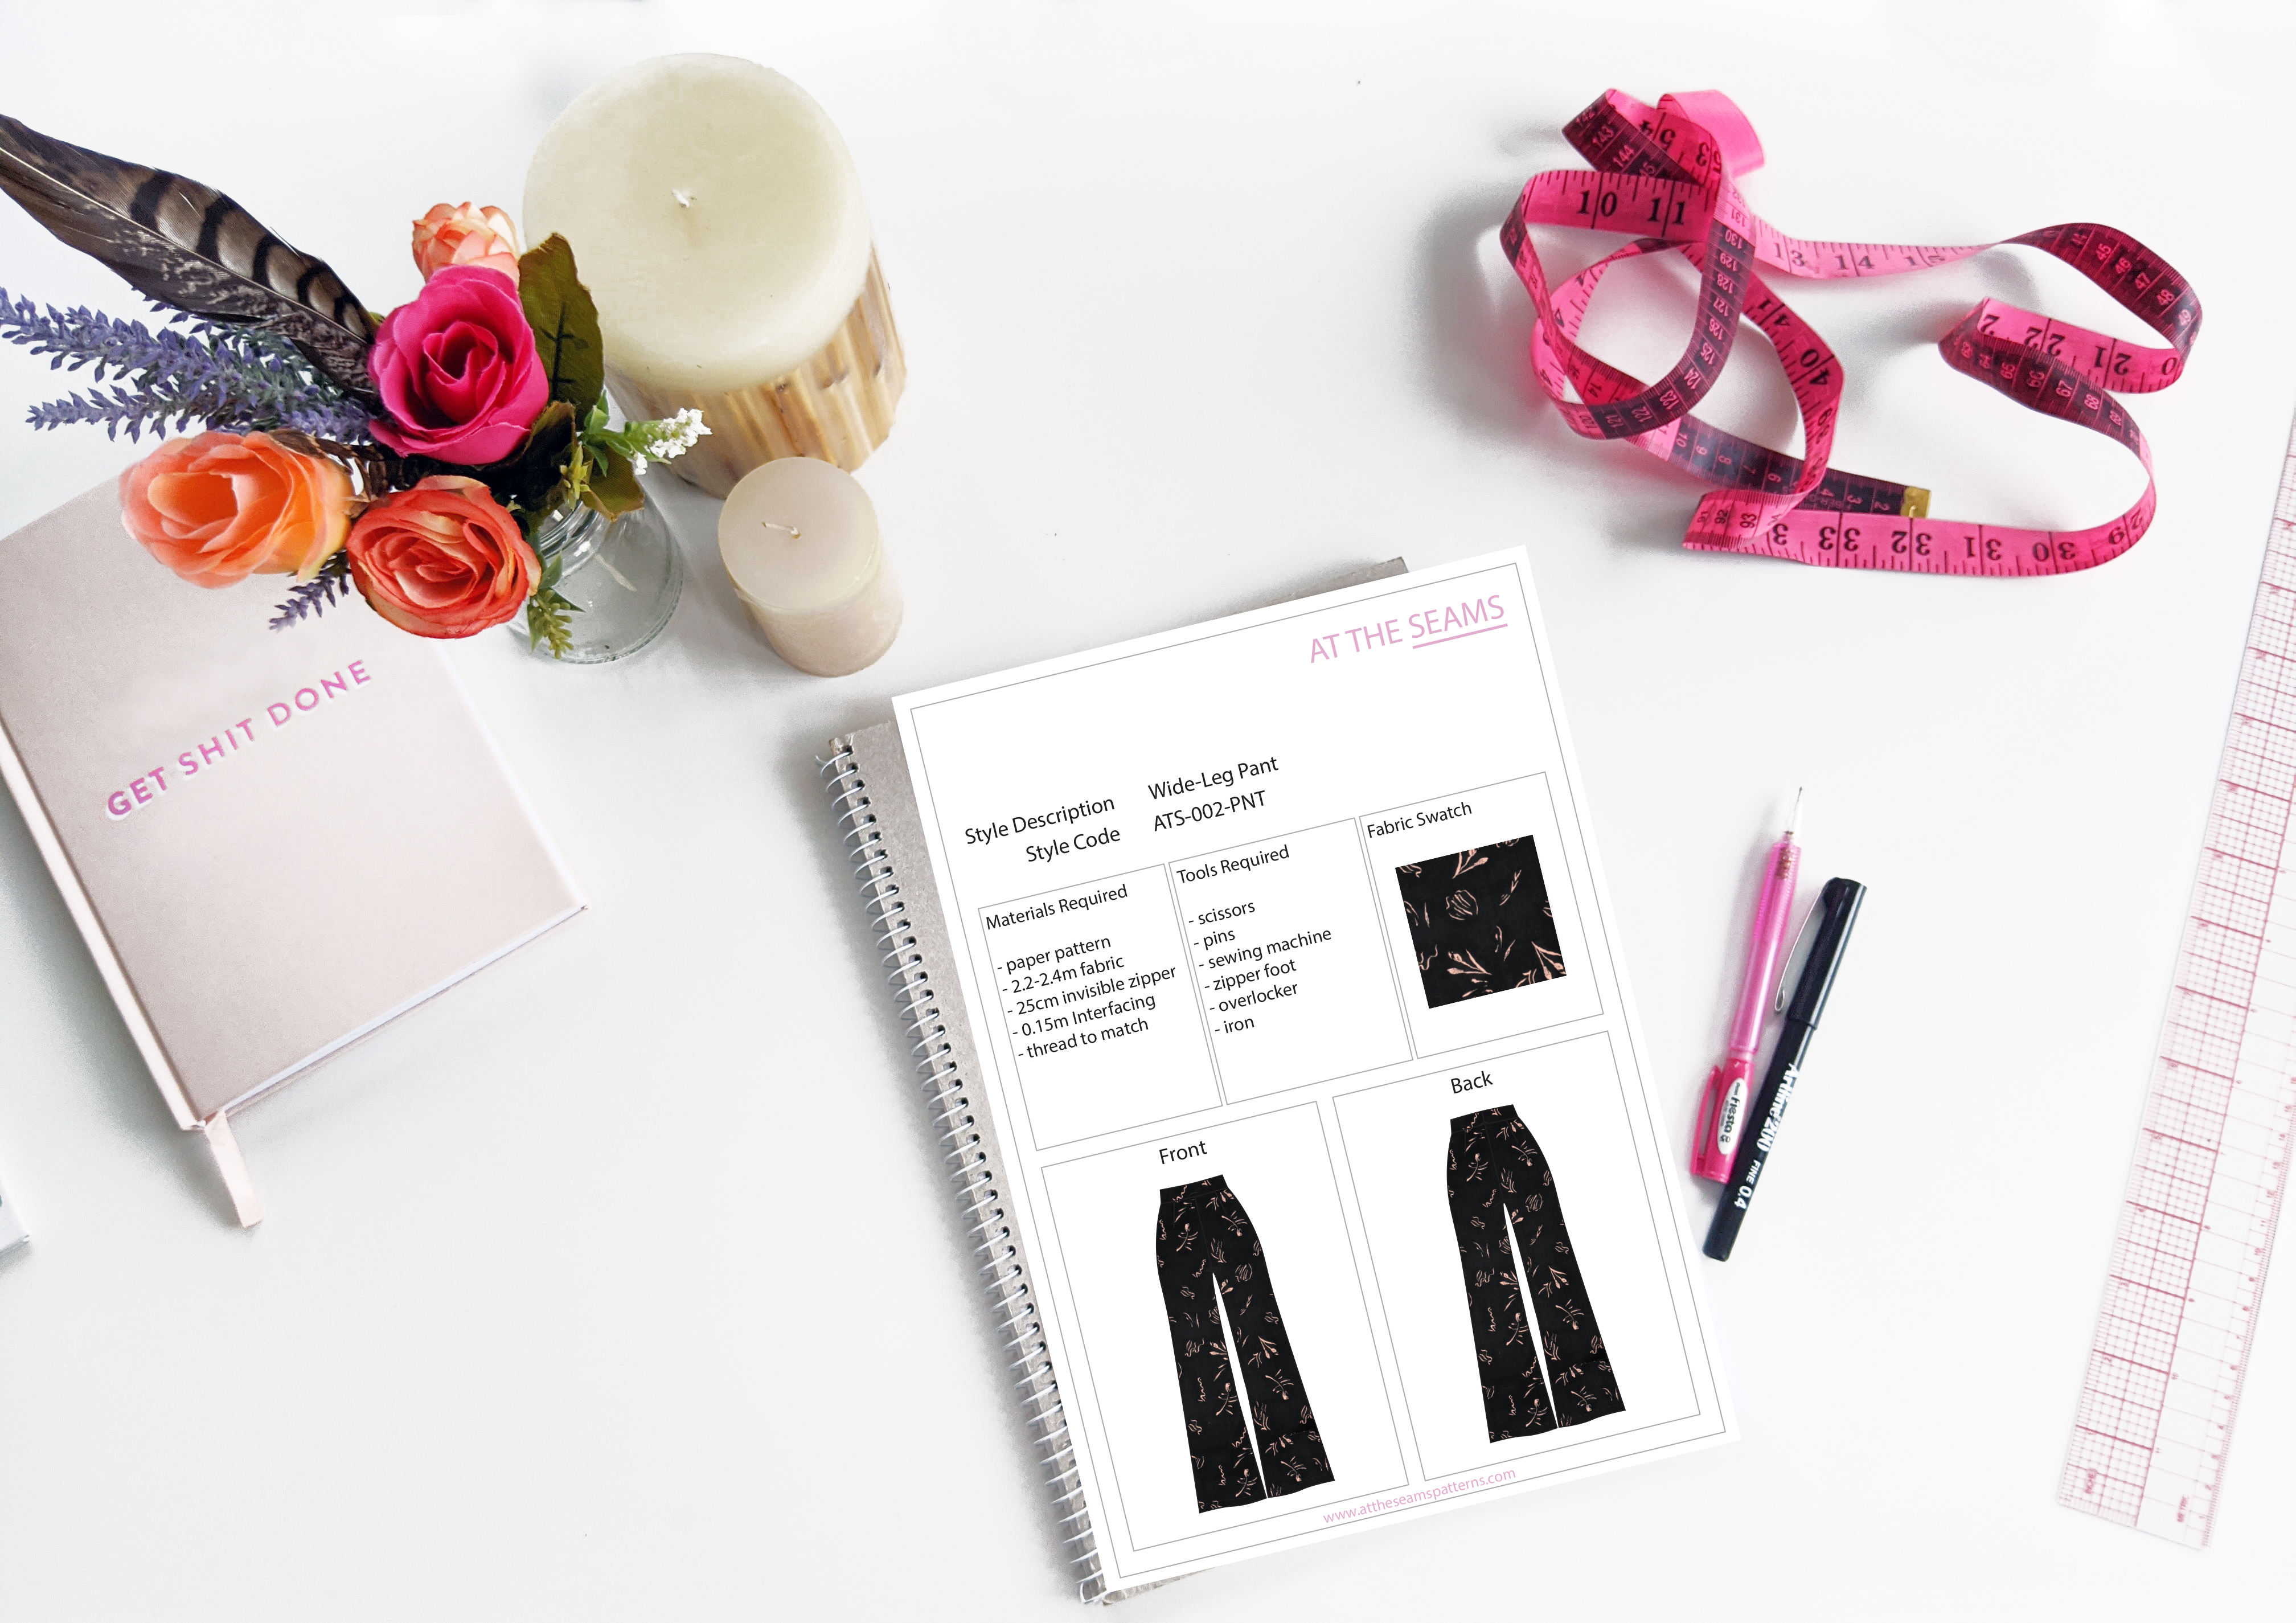
The Harper Wide-Leg Pant is a great style for a beginner to intermediate sewer, as pockets are optional. For sewing instructions with the pocket, please click here.
This style is high-waisted with a long wide wide-leg. The waistband is 4cm wide and fitted to the body. Opening is an invisible center back zipper.
To begin you will need the following things
Materials
- Harper Wide-Leg Pant paper pattern, or if you prefer to shop on Etsy
- 2.2 – 2.4m fabric
- 25cm long invisible zipper
- 0.15m Interfacing
- cotton thread (enough to also thread your overlocker)
Tools
- scissors
- pins
- sewing machine with a single needle and invisible zipper foot
- overlocker
- iron
Tips
- Ensure your fabric is washed, dried, and pressed before you start cutting. There is nothing worse than washing your beautiful garment and it shrinks, or even more annoying the lining shrinks and the main doesn’t so it’s all pulled out and shape and is unwearable.
- Also as this style is unlined, ensure that you check your fabric is not see-through.
- If using a printed fabric be sure to check if your fabric is a 1 way or 2 way print.
Step 1
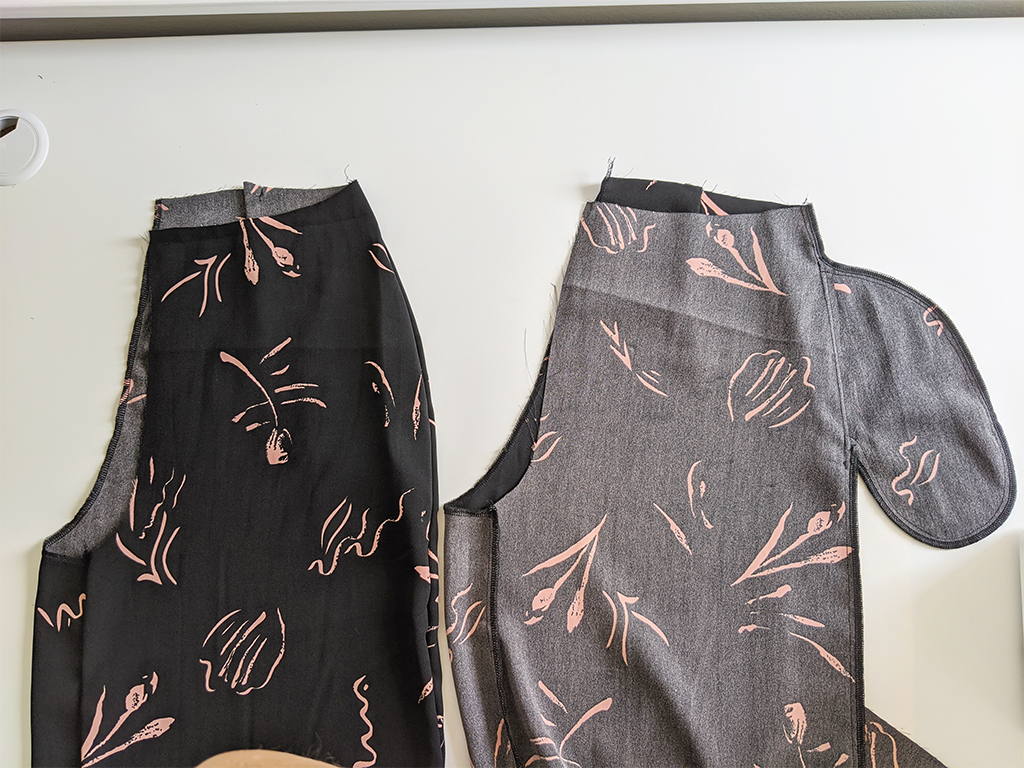
Cut all main pieces (excluding waistband and pockets) accurately on the correct grain, ensuring all notches are clipped.
Beginner tip* If you can afford to purchase a rotary cutter and cutting mat, I find this more accurate and time-efficient.
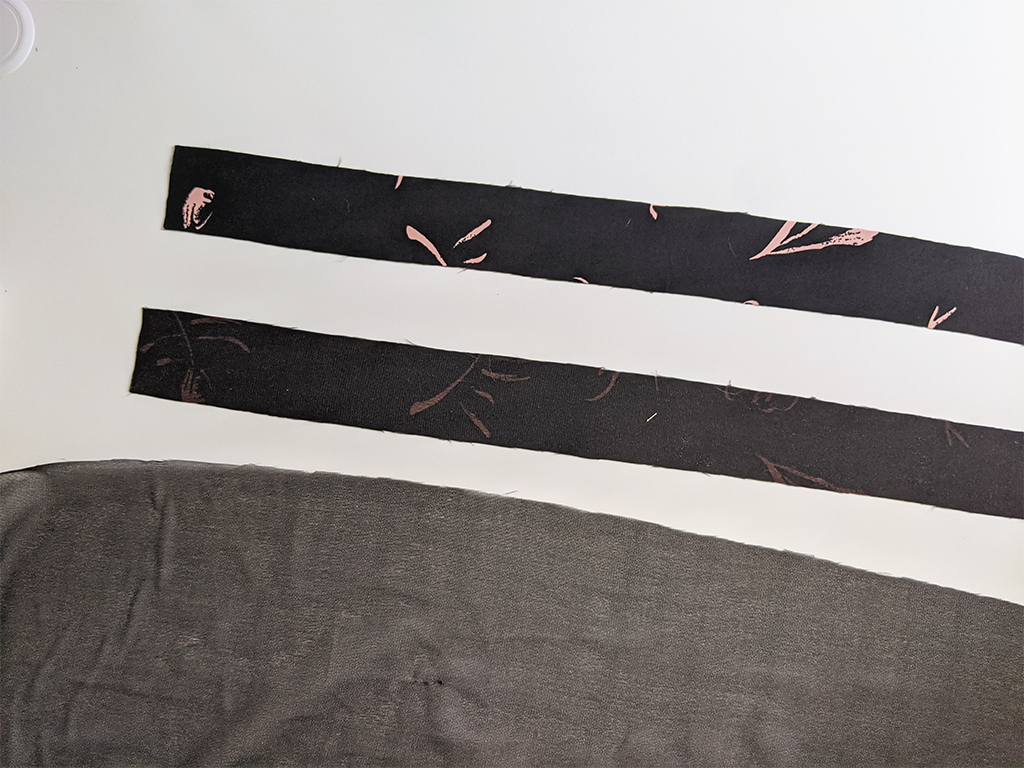
Step 2
Cut enough interfacing to cover 2 x waistband. Fuse to main fabric, then cut waistband on the correct grain, ensuring all notches are clipped.
Beginner tip* Interfacing can come in both white and black colour ways. Please use the correct colour. Using white on darker colours can alter the outer appearance of the fabric and can ruin the over all look of your garment.
Light colours – Use white interfacing
Dark colours – Use black interfacing
Step 3
Sew back waist darts, press inwards.
Beginner tip* If needed you can draw the dart lines onto the fabric with dressmaker’s chalk to ensure you sew a neat straight dart.
Step 4
Sew side seams closed from top to bottom, overlock closed.
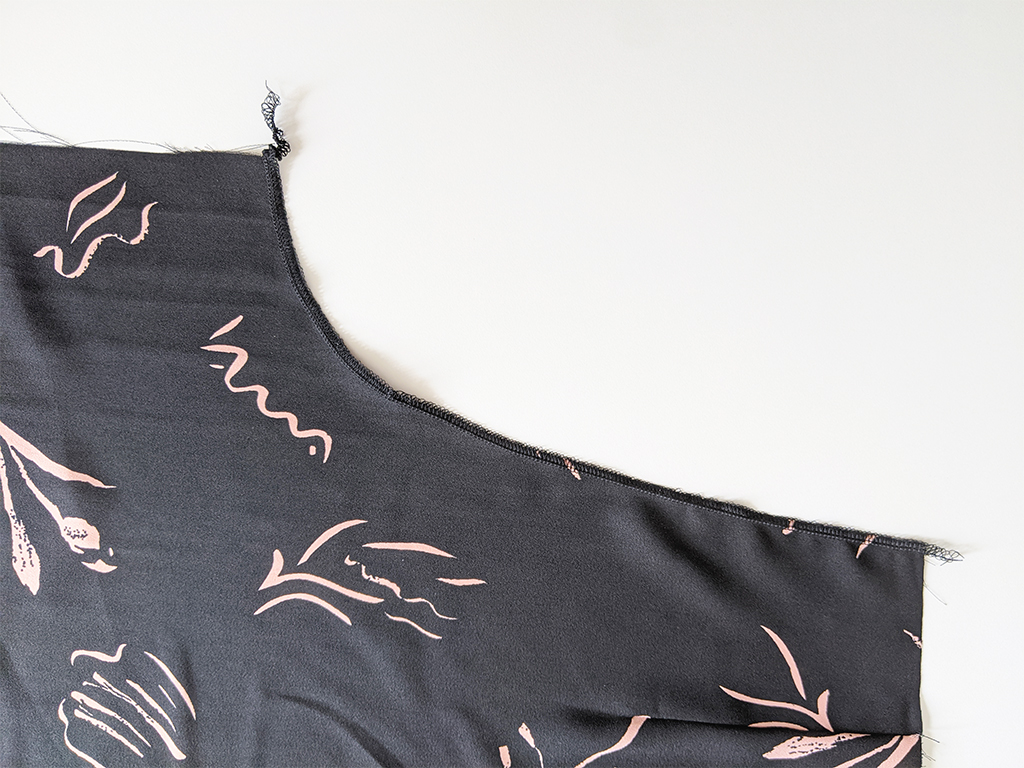
Step 5
Overlock both back rise edges separately.
Step 6
Sew inseams closed from top to bottom, overlock closed and press back
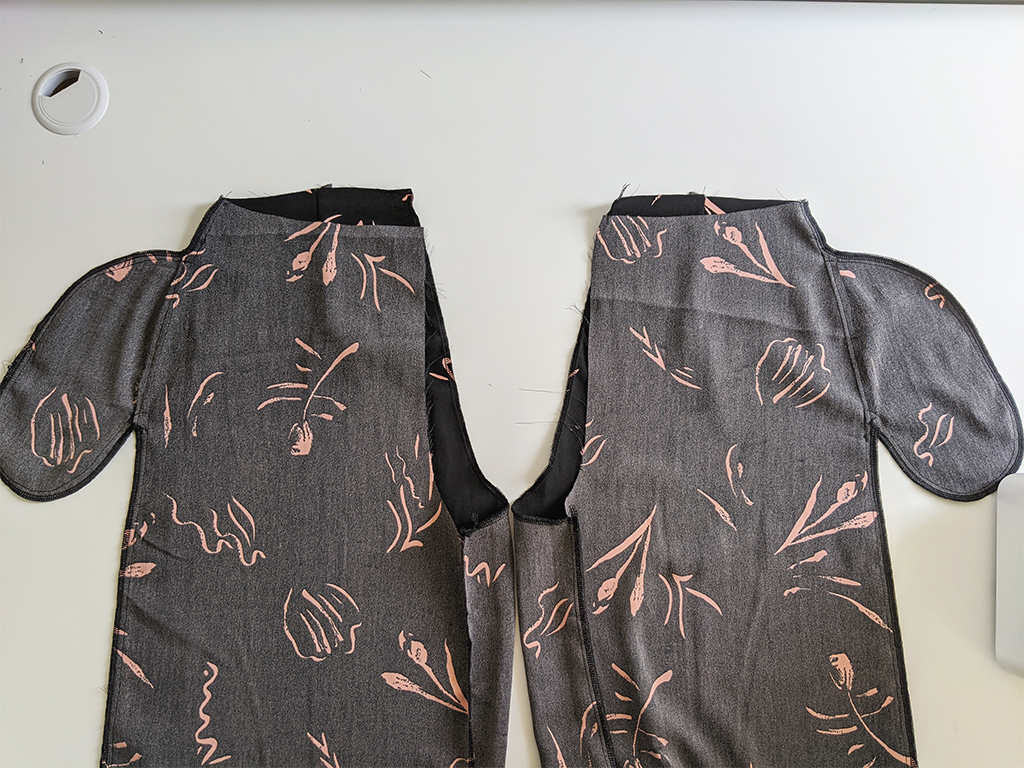
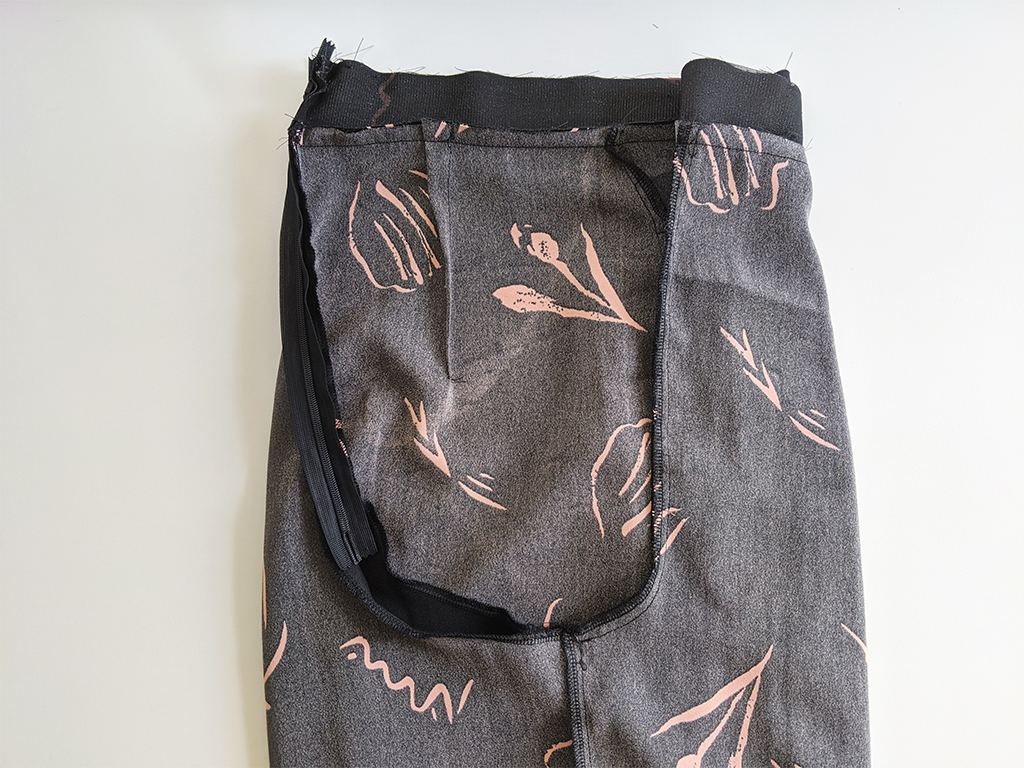
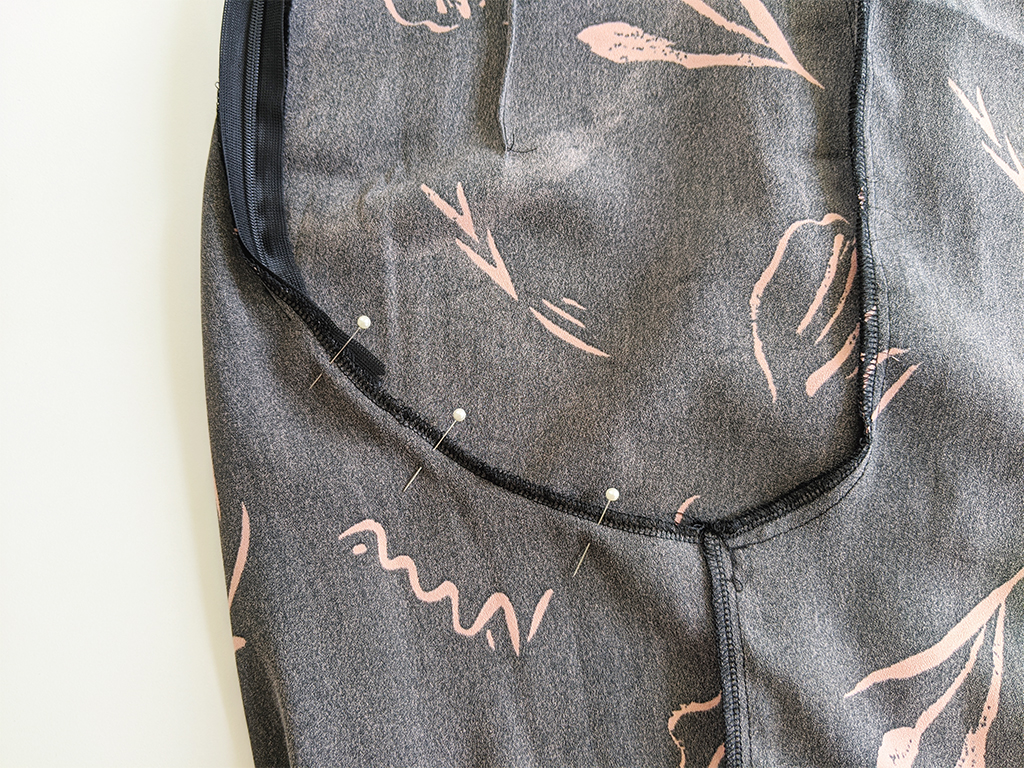
Step 7
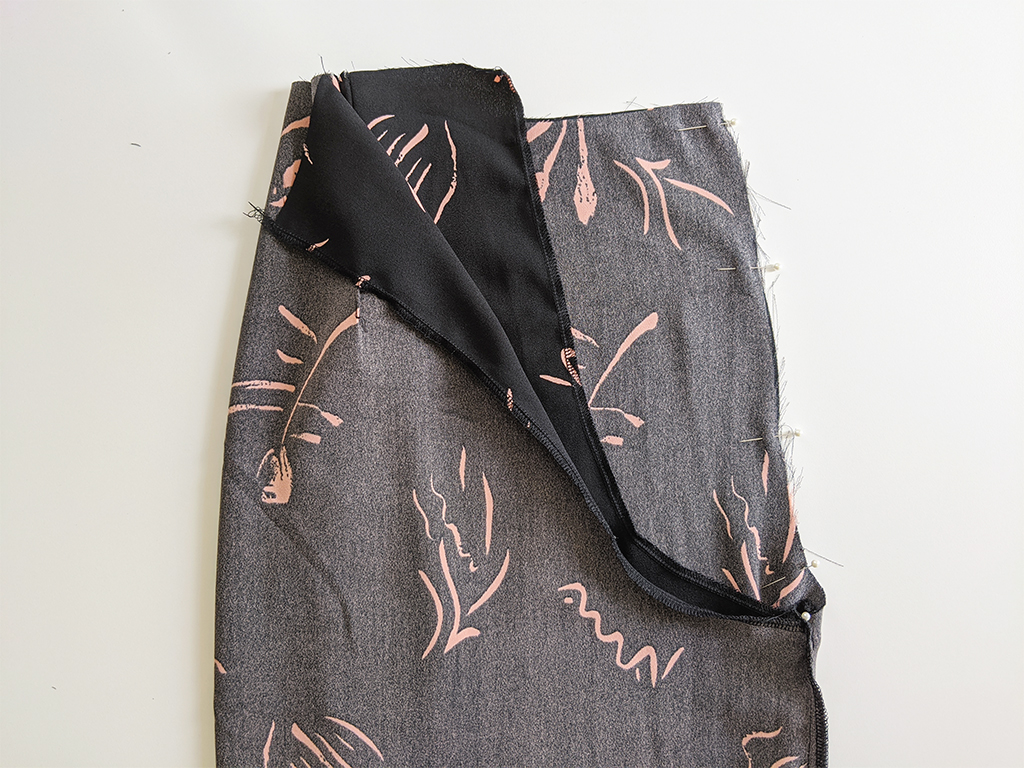
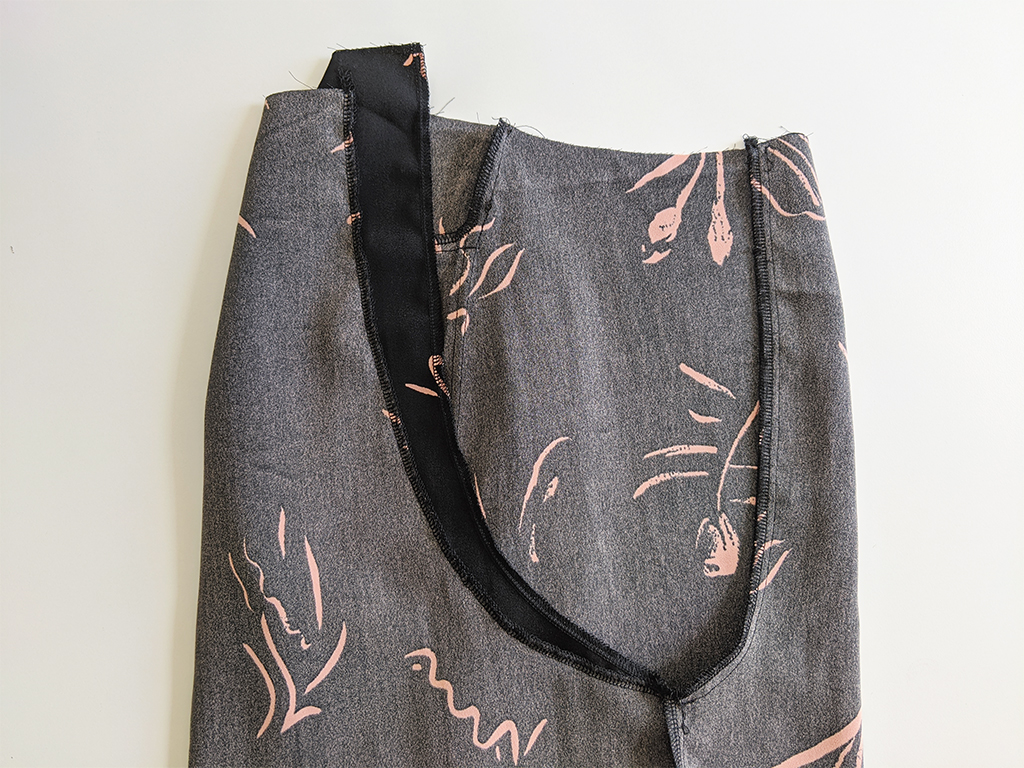
Turn one leg inside out and keep the other the right way out and place one inside the other (right sides together) and pin. Sew front rise together and overlock from front waist to inseam (leave back rise open).
Step 8
Then attach the front of the waistband to the top of the pants.
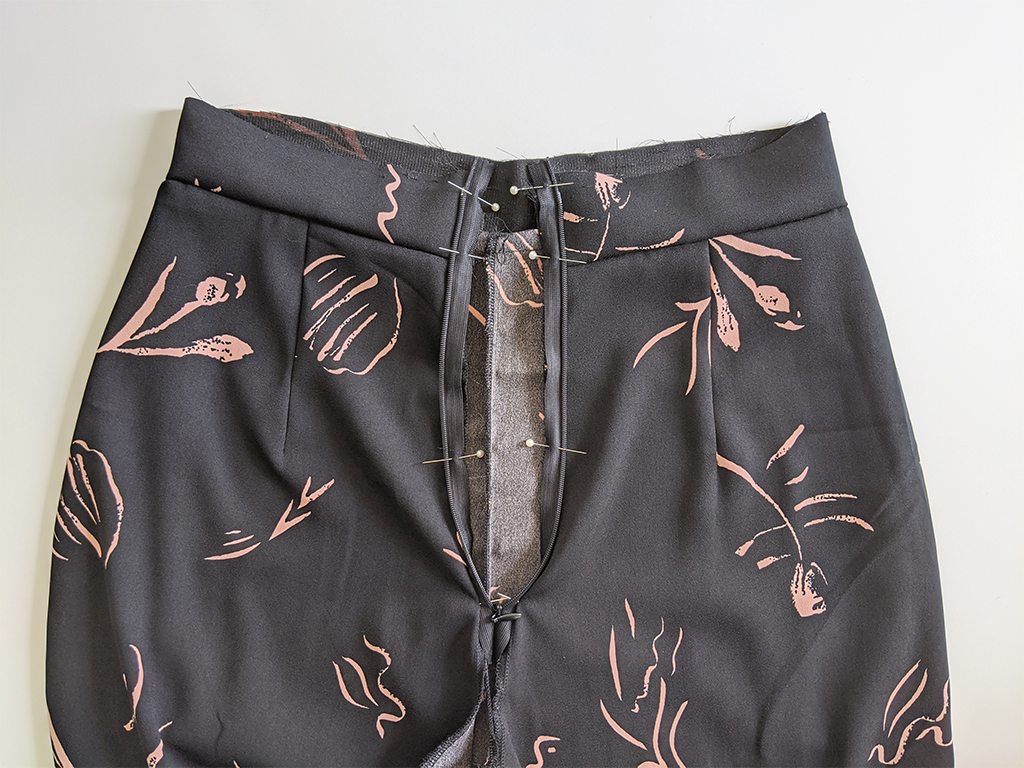
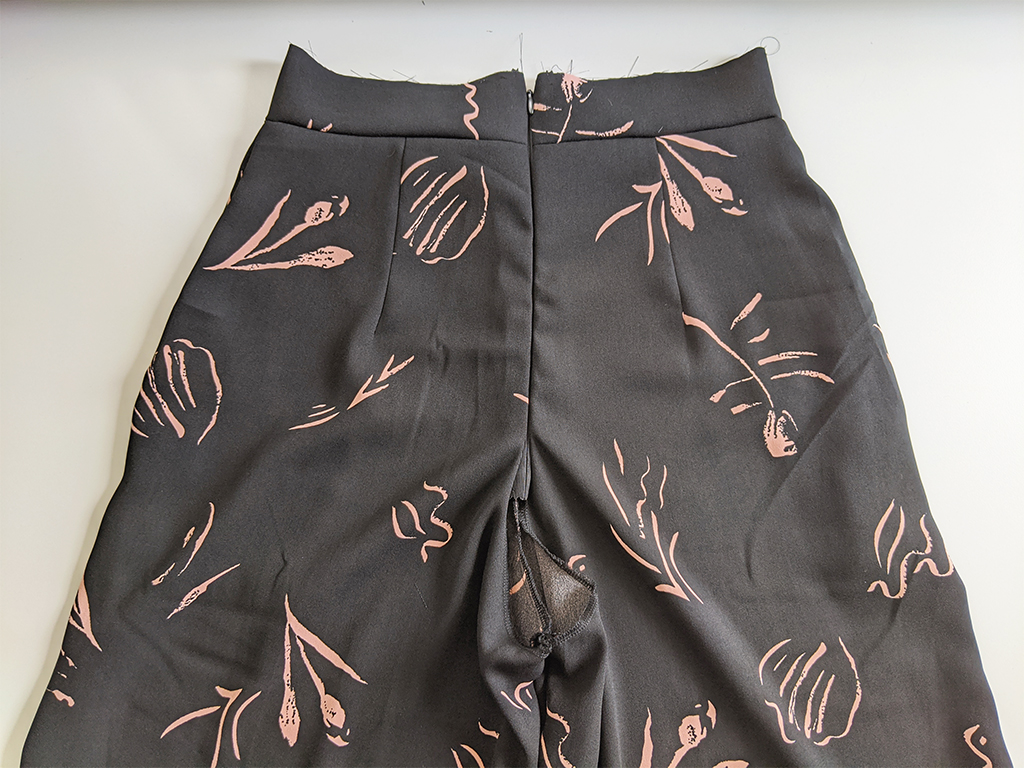
Step 9
Attach invisible zipper into CB seam, then sew back rise closed from crotch point to the bottom of the zipper.
Step 10
Attach top edges of waistband together and press flat.
Step 11
Overlock bottom edge of the inside waistband.
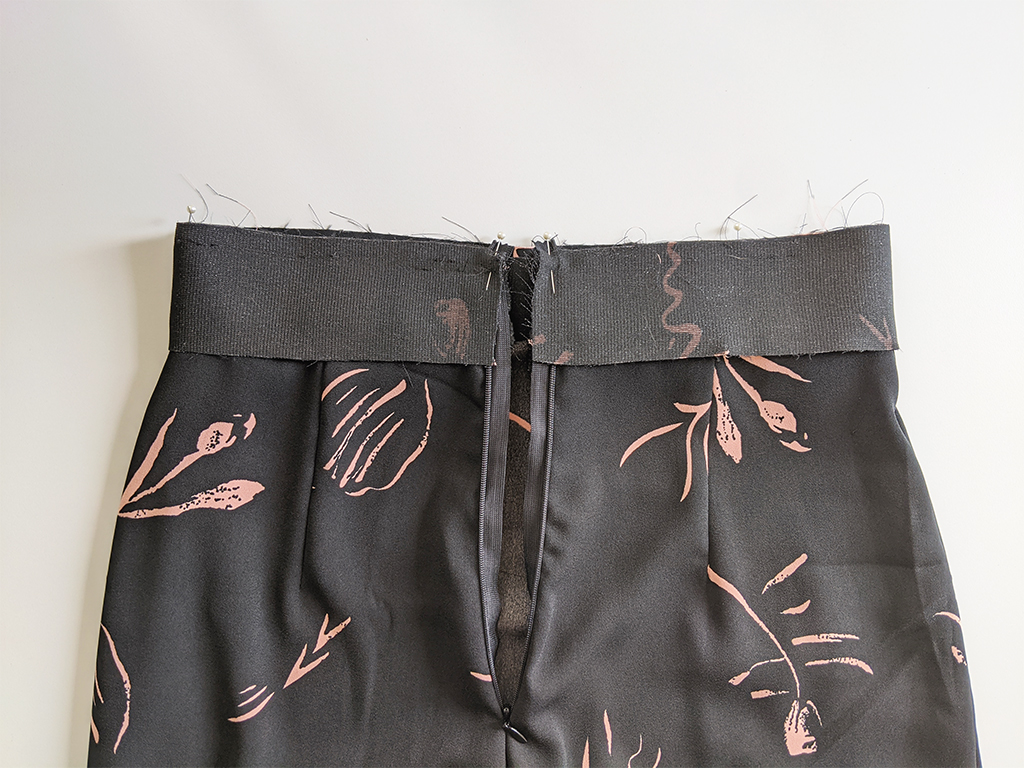
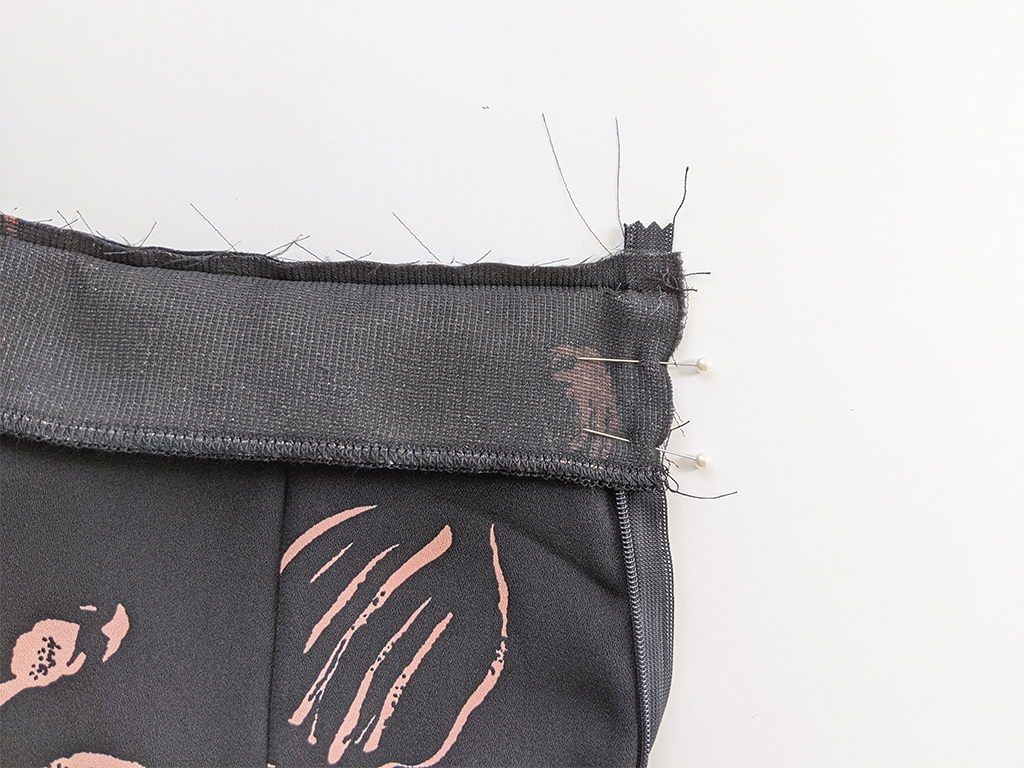
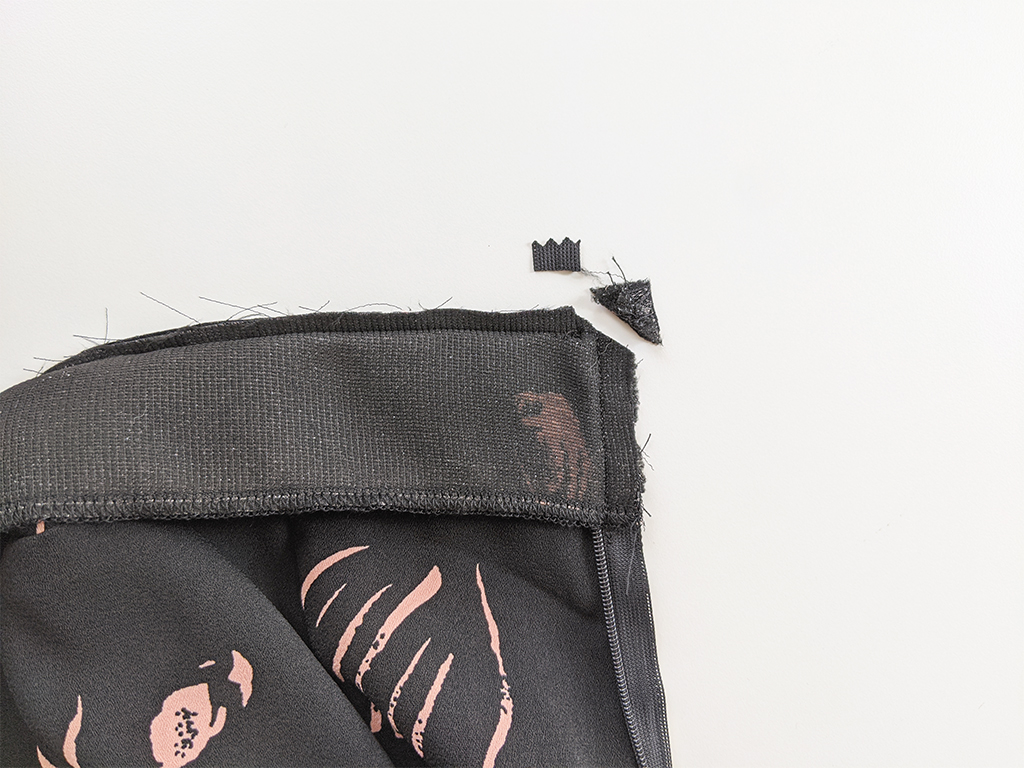
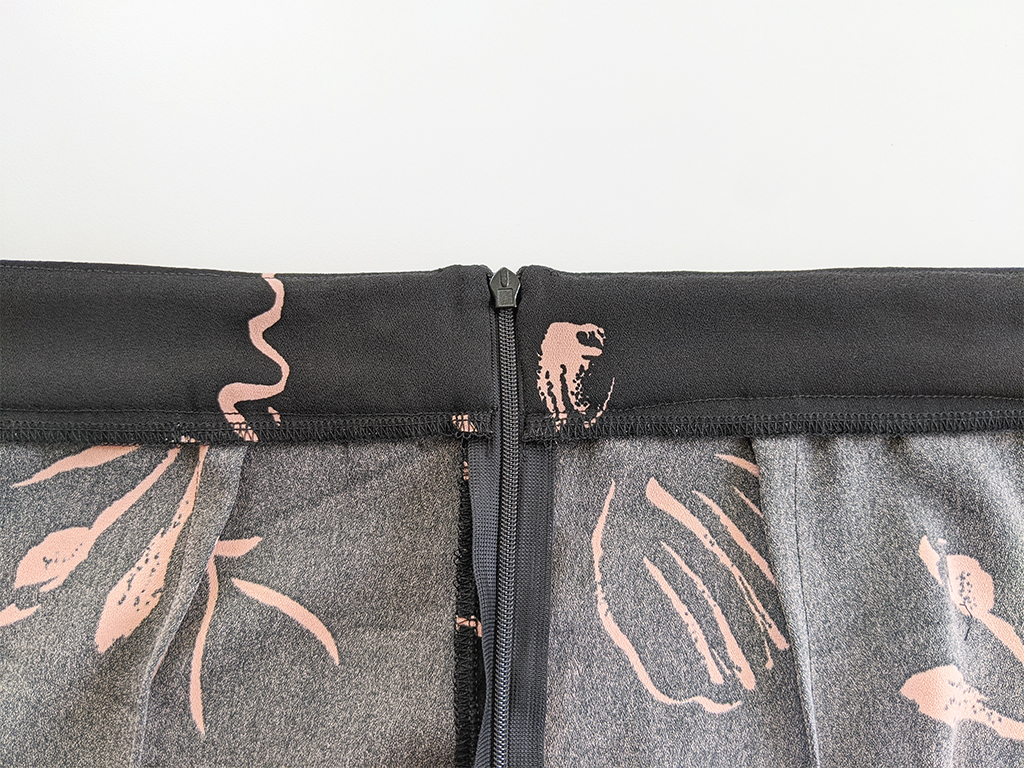
Step 12
Turn waistband over so that right sides are together and sew the inside waistband to the zipper. Clip the corners, turn though and press.
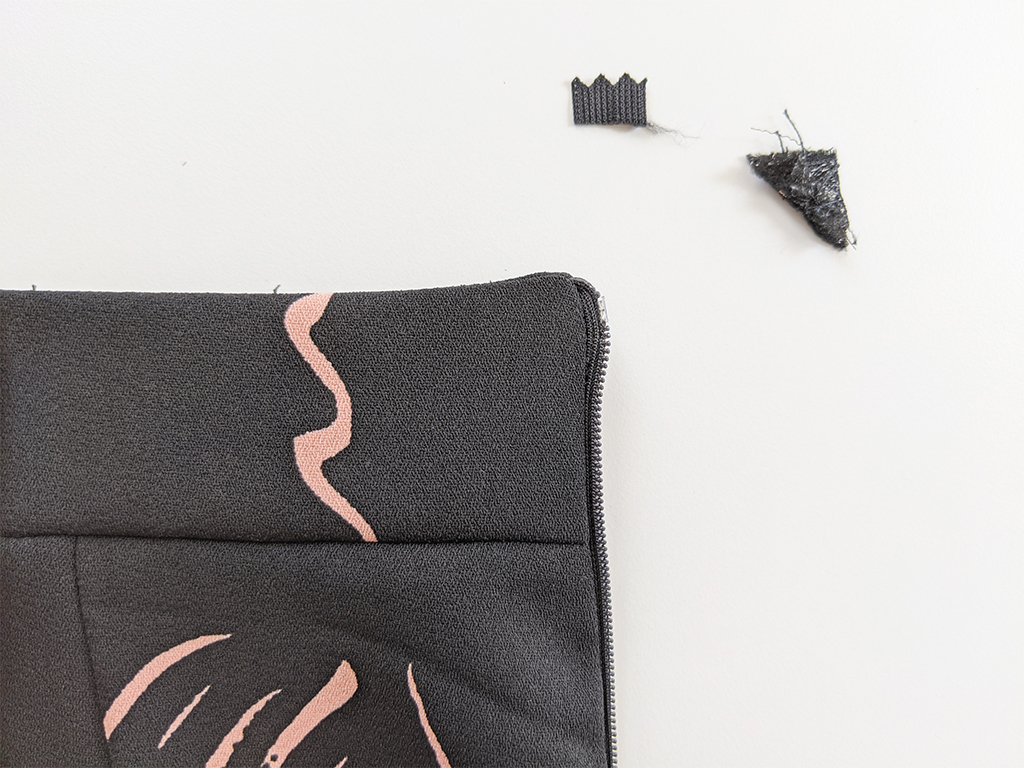
Step 13
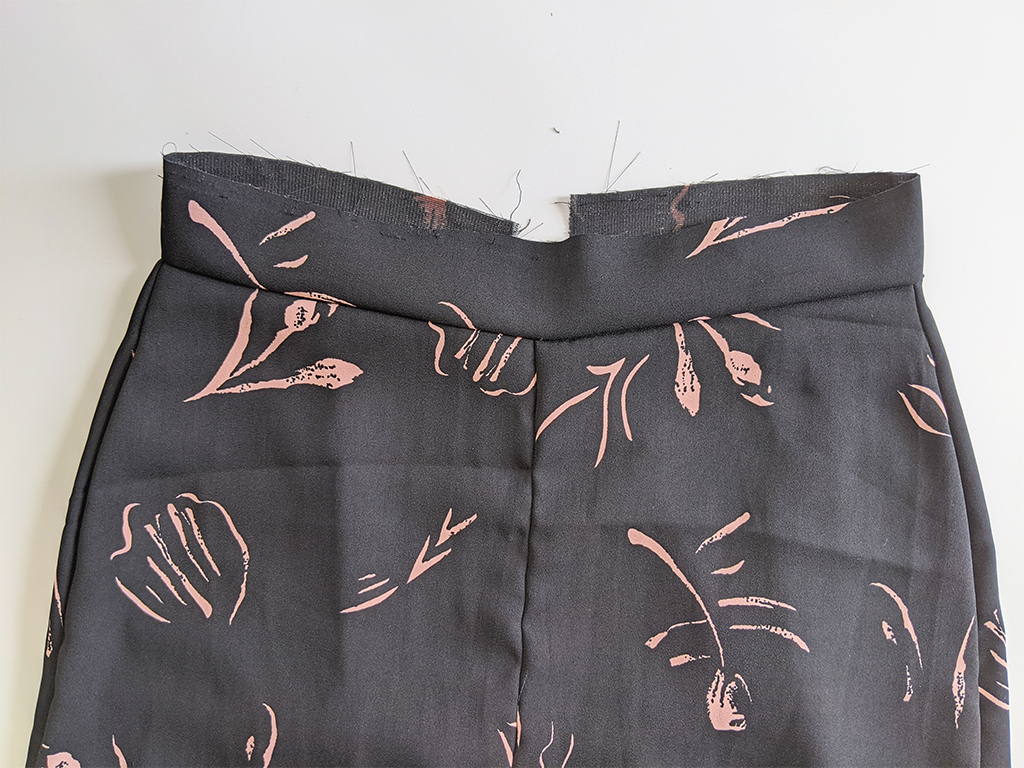
Press waistband flat ensuring the waist seam allowance is pressed upwards.
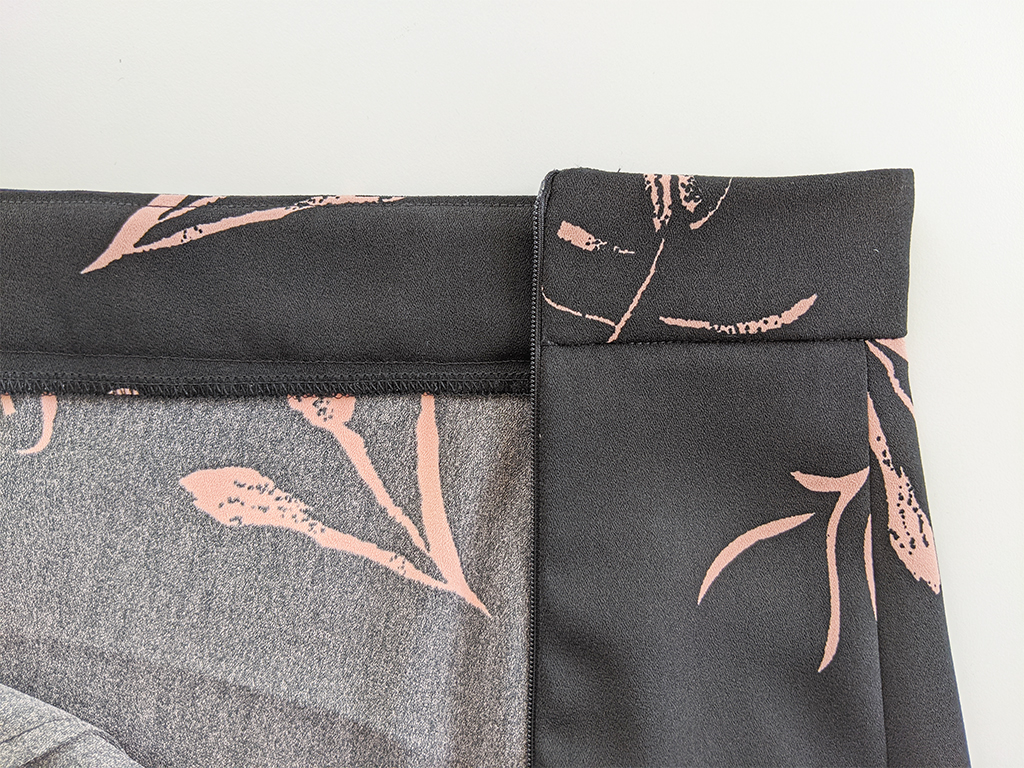
Step 14
Stitch the back of the waistband to the front by stitching in the ditch of the waistband seam from the right side of the garment.

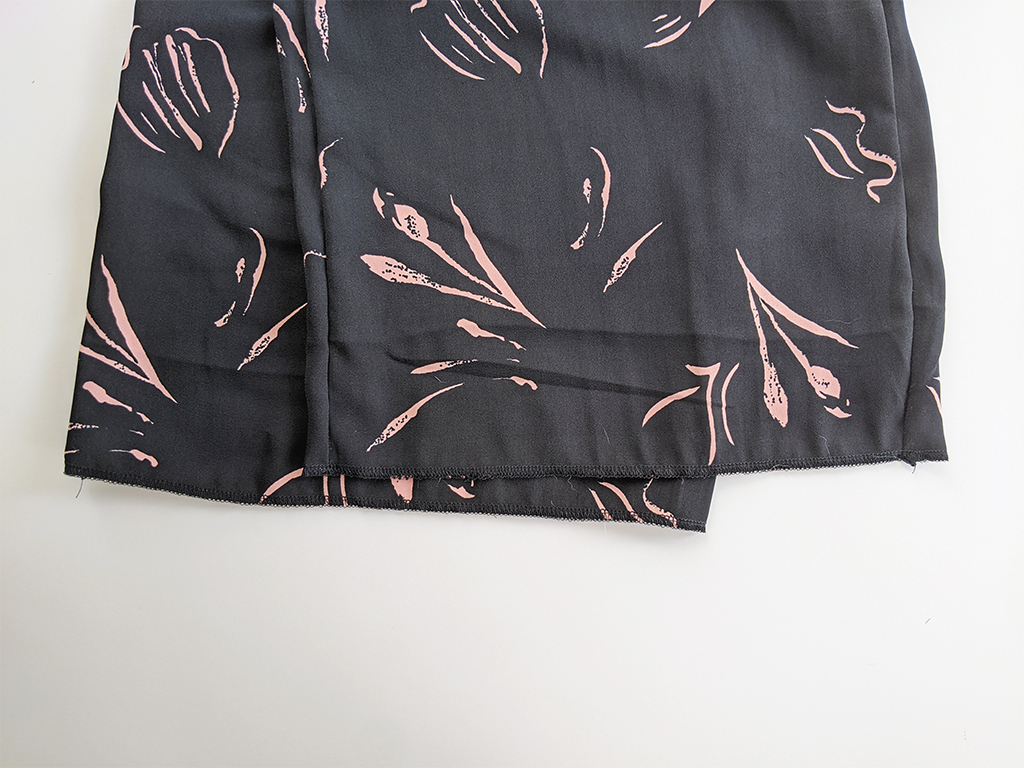
Step 15
Overlock pant hem, turn and single needle stitch then press.

Your Wide-Leg Pant project is now complete. How did you go? Let me know in the comments below if you needed extra help.
If you are looking for an easier pant tutorial, the stretch palazzo pant is beginner friendly with minimal sewing.
I’d love to see your creations, either drop an image in the comments below or tag me on Instagram at @at_the_seams_patterns