Dresses, Sewing Tutorials
Sewing Tutorial: Luna Tie Waist Dress
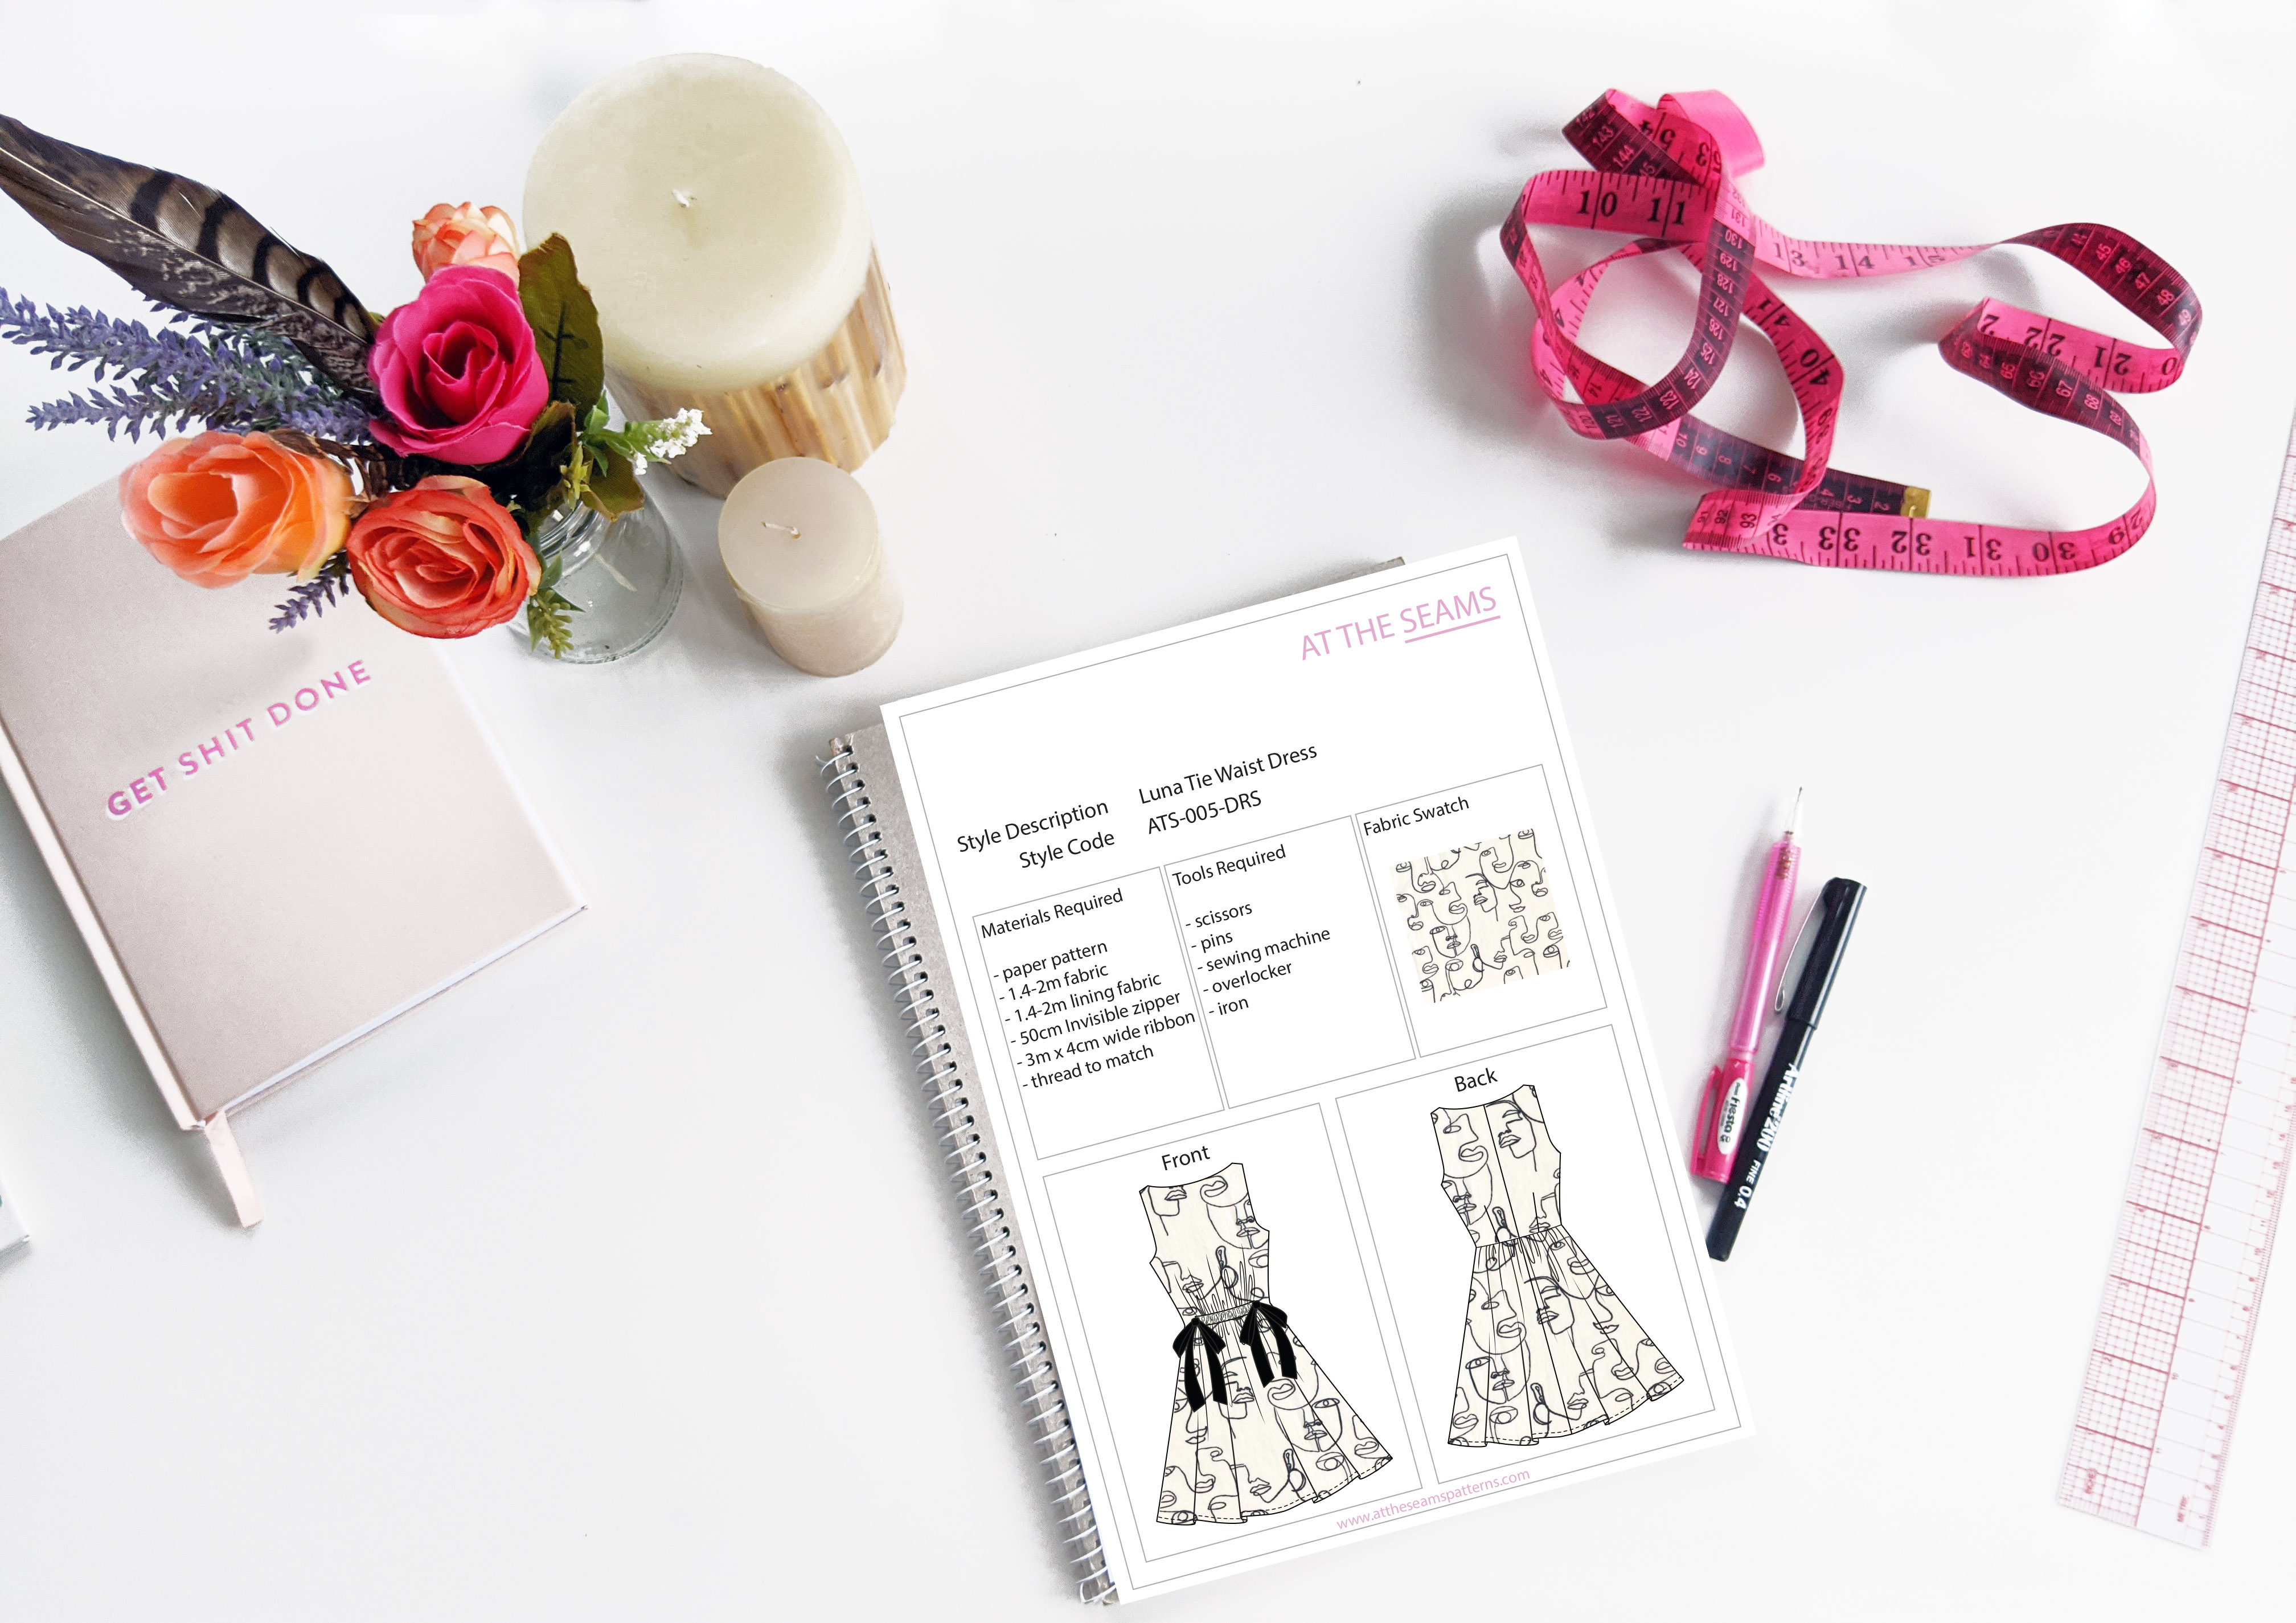
The Luna Tie Waist Dress is a classic basic with a twist. The style features a wide high neck and semi-fitted bodice. The back skirt is gathered into a fixed waist edge while the front has a functional casing that allows the wearer to pull the dress in at the waist to their desired look. The bows that tie on the waist are the garment’s star feature. The neck and armholes are bagged out with either lining or a facing depending on the weight of your fabric. The dress closes with a center-back invisible zipper.
SEWING ABILITY
Advanced
Don’t be afraid to ask questions in the comments below if you need. I’m here to help. So let’s get started.
To begin you will need the following things
Materials
- Luna Tie Waist Dress (size XS-XL) paper pattern, or if you prefer to shop on Etsy
- Main fabric
- Lining fabric
- 50cm Invisible zipper
- 3m x 4cm wide ribbon
- cotton thread (enough to also thread your overlocker)
Tools
- scissors
- pins
- sewing machine with a regular and invisible zipper foot
- overlocker
- iron
Tips
- Ensure your fabric is washed, dried, and pressed before you start cutting. There is nothing worse than washing your beautiful garment and it shrinks, or even more annoying the lining shrinks and the main doesn’t so it’s all pulled out and shape and is unwearable.
Step 1
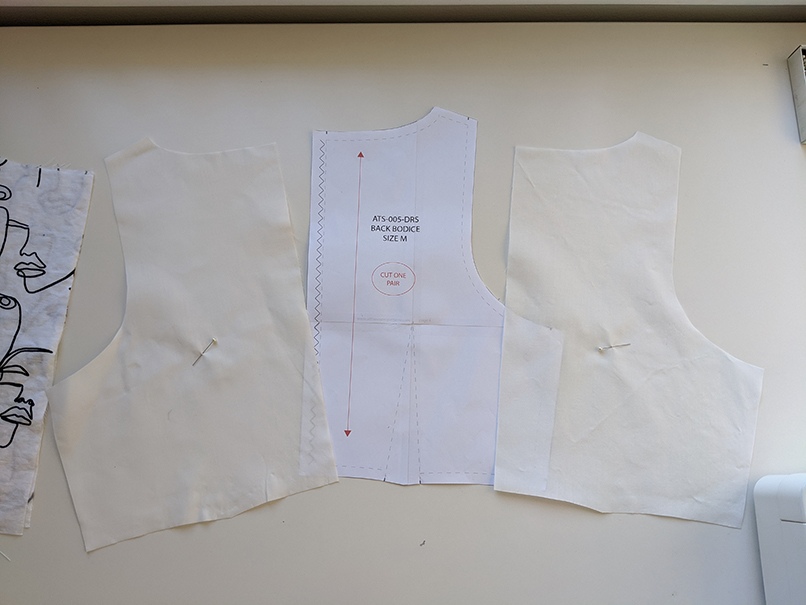
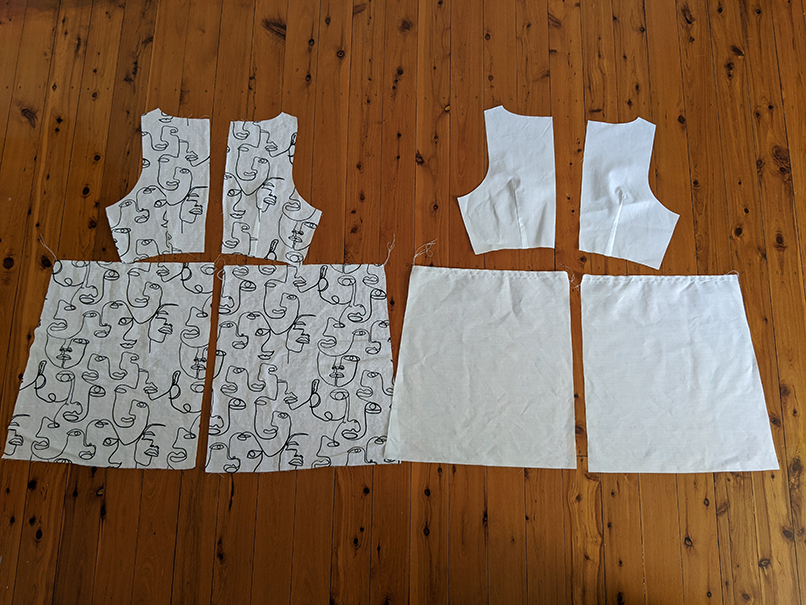
Cut all main and lining pieces accurately on the correct grain, ensuring all notches are clipped. Please note all seam allowance is marked on the pattern.
Beginner tip* If you can afford to purchase a rotary cutter and cutting mat, I find this more accurate and time-efficient.
Step 2
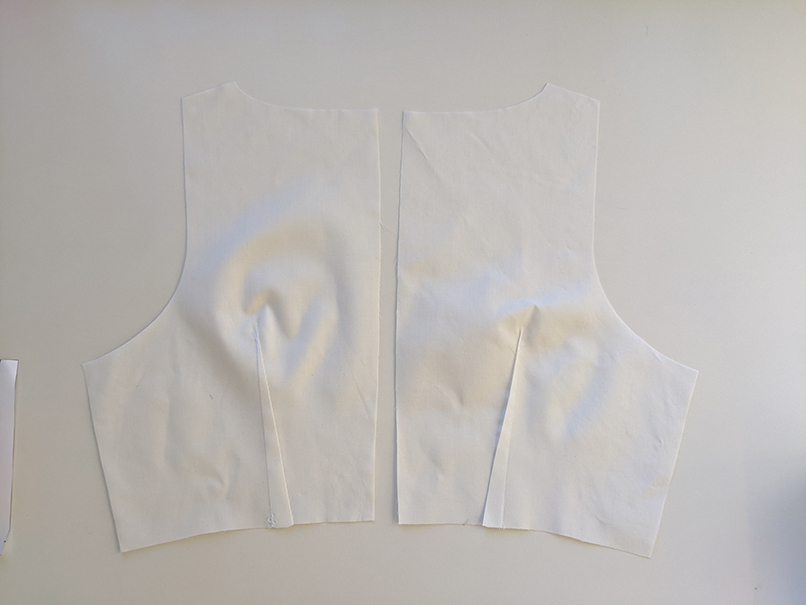
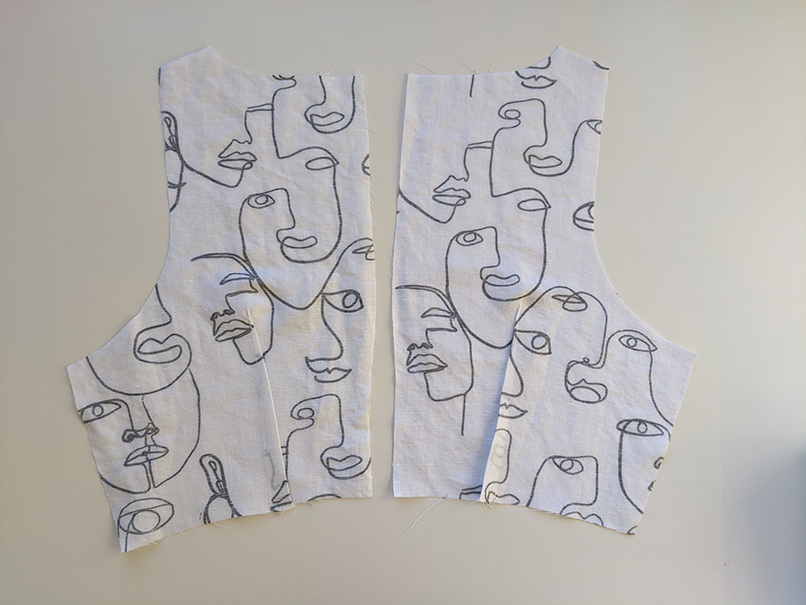
Mark and sew back waist darts on main and lining, press darts inwards.
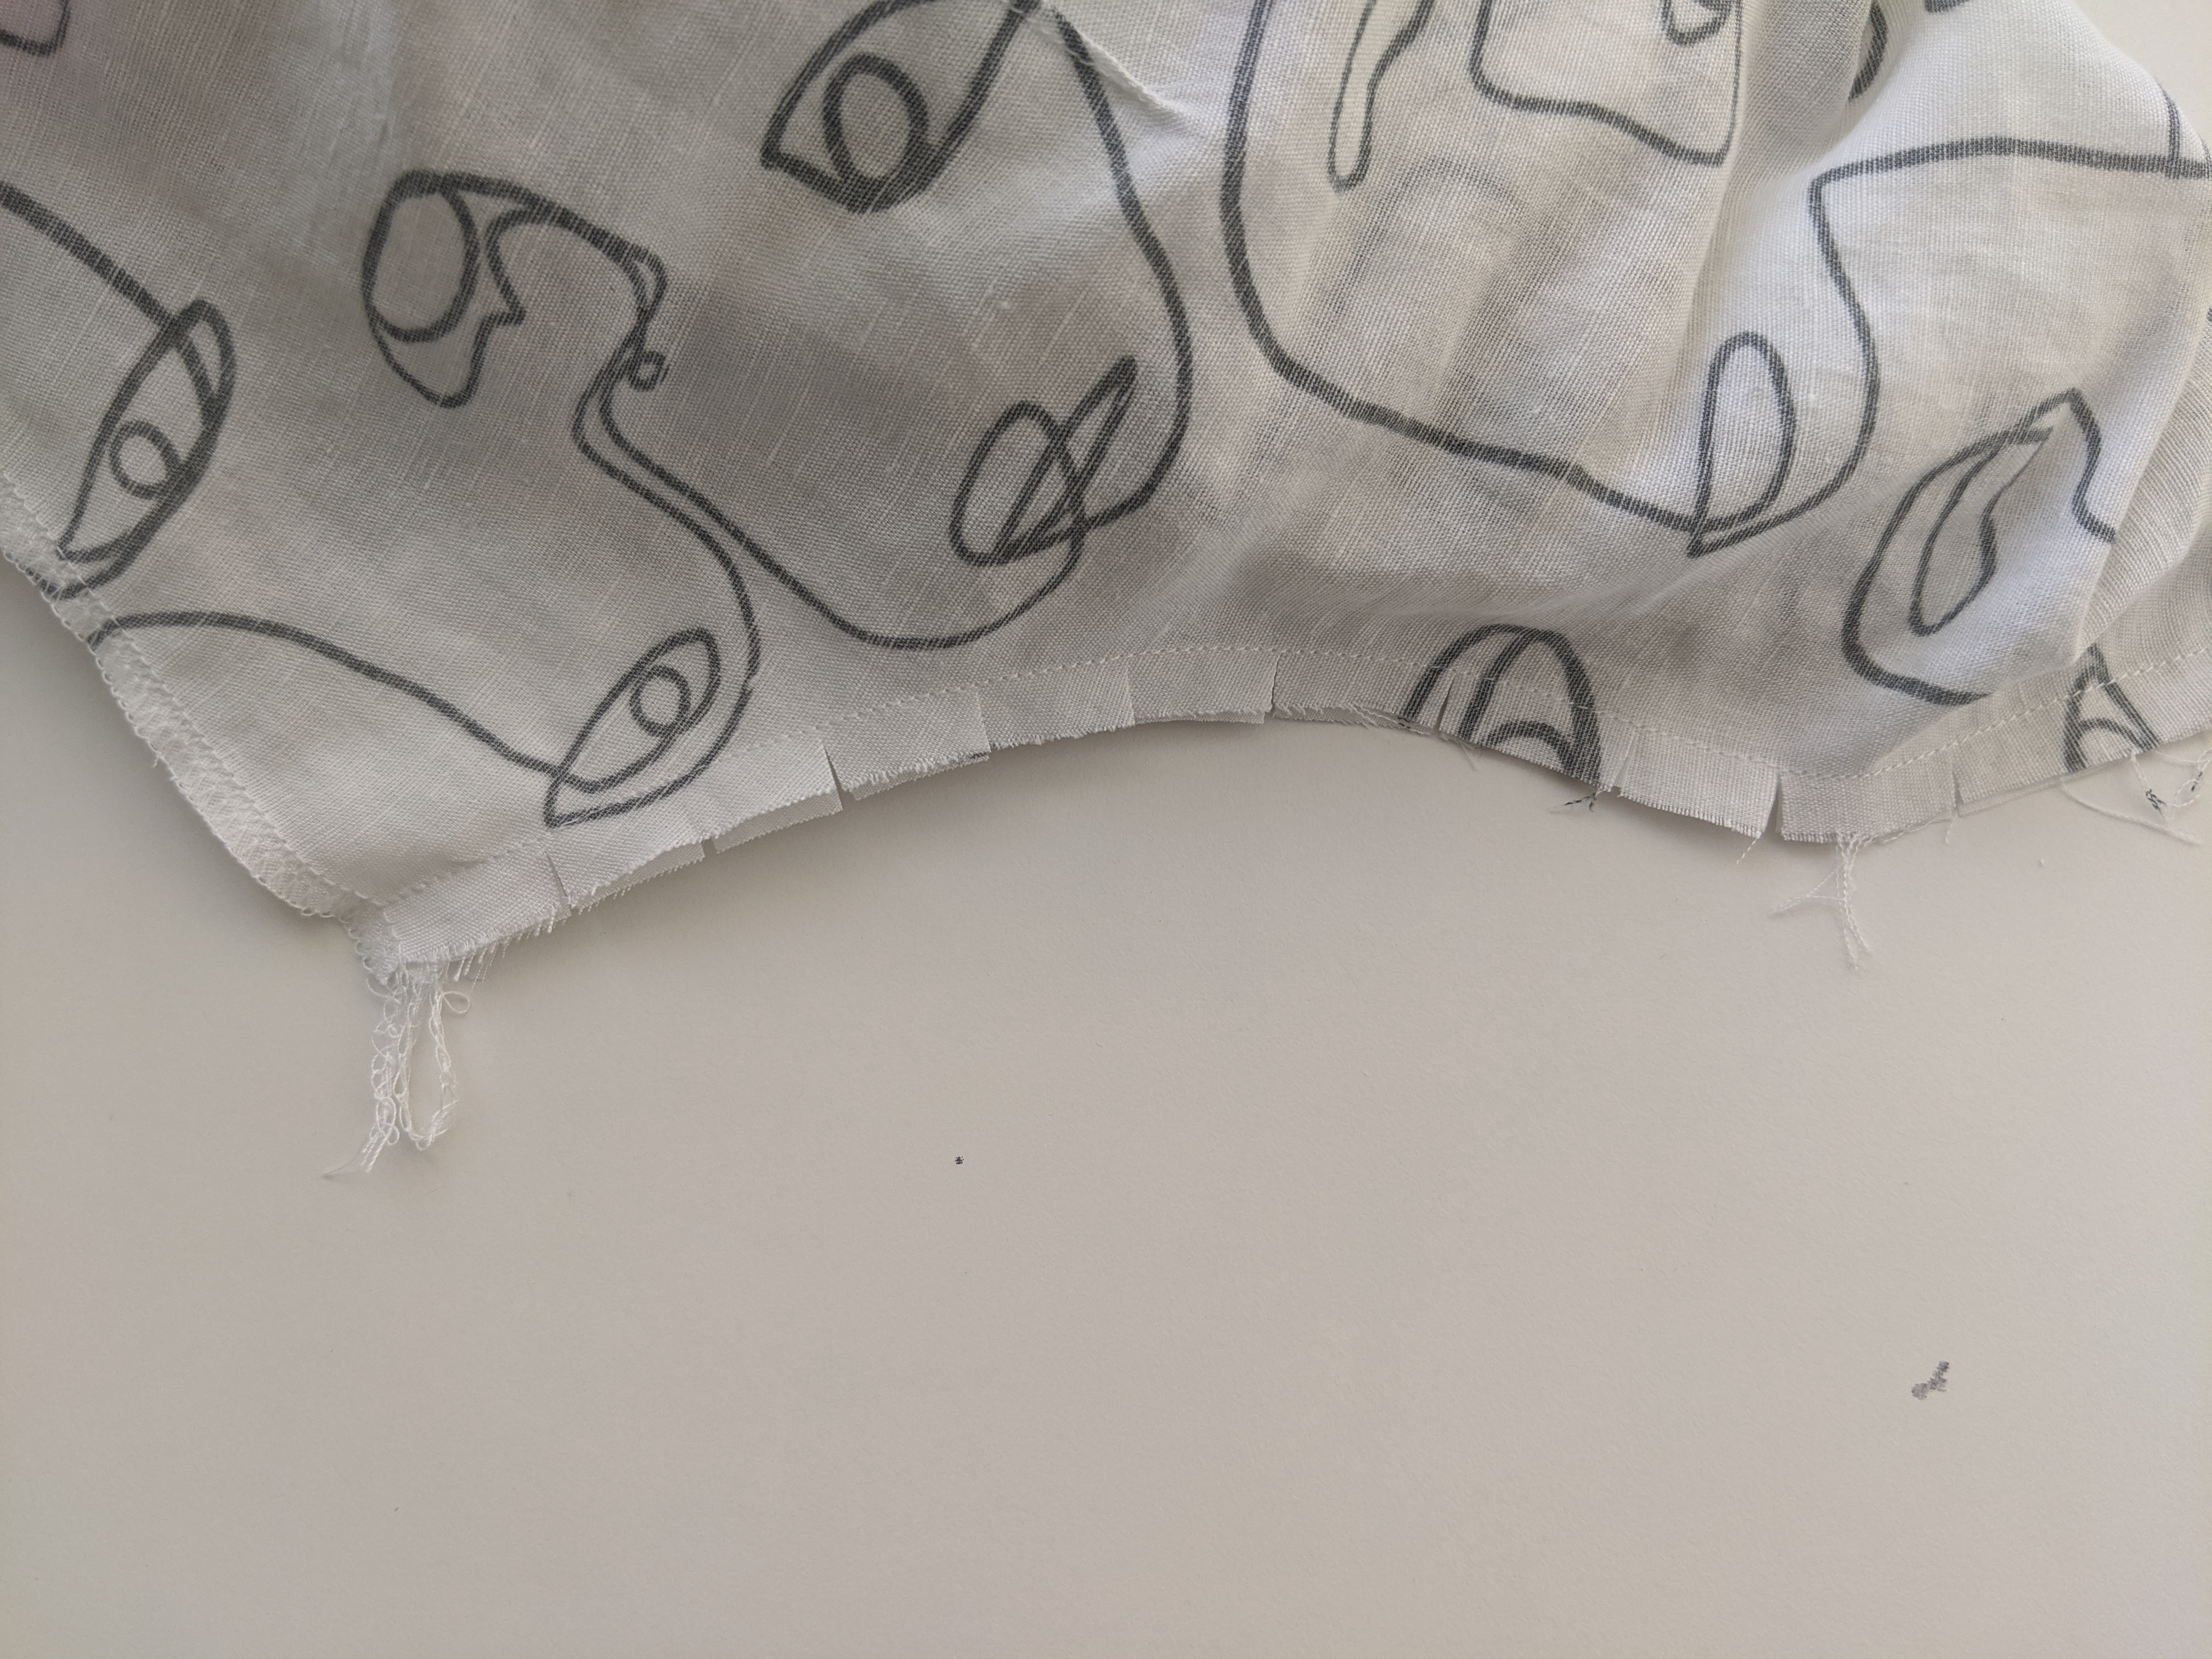
Step 3
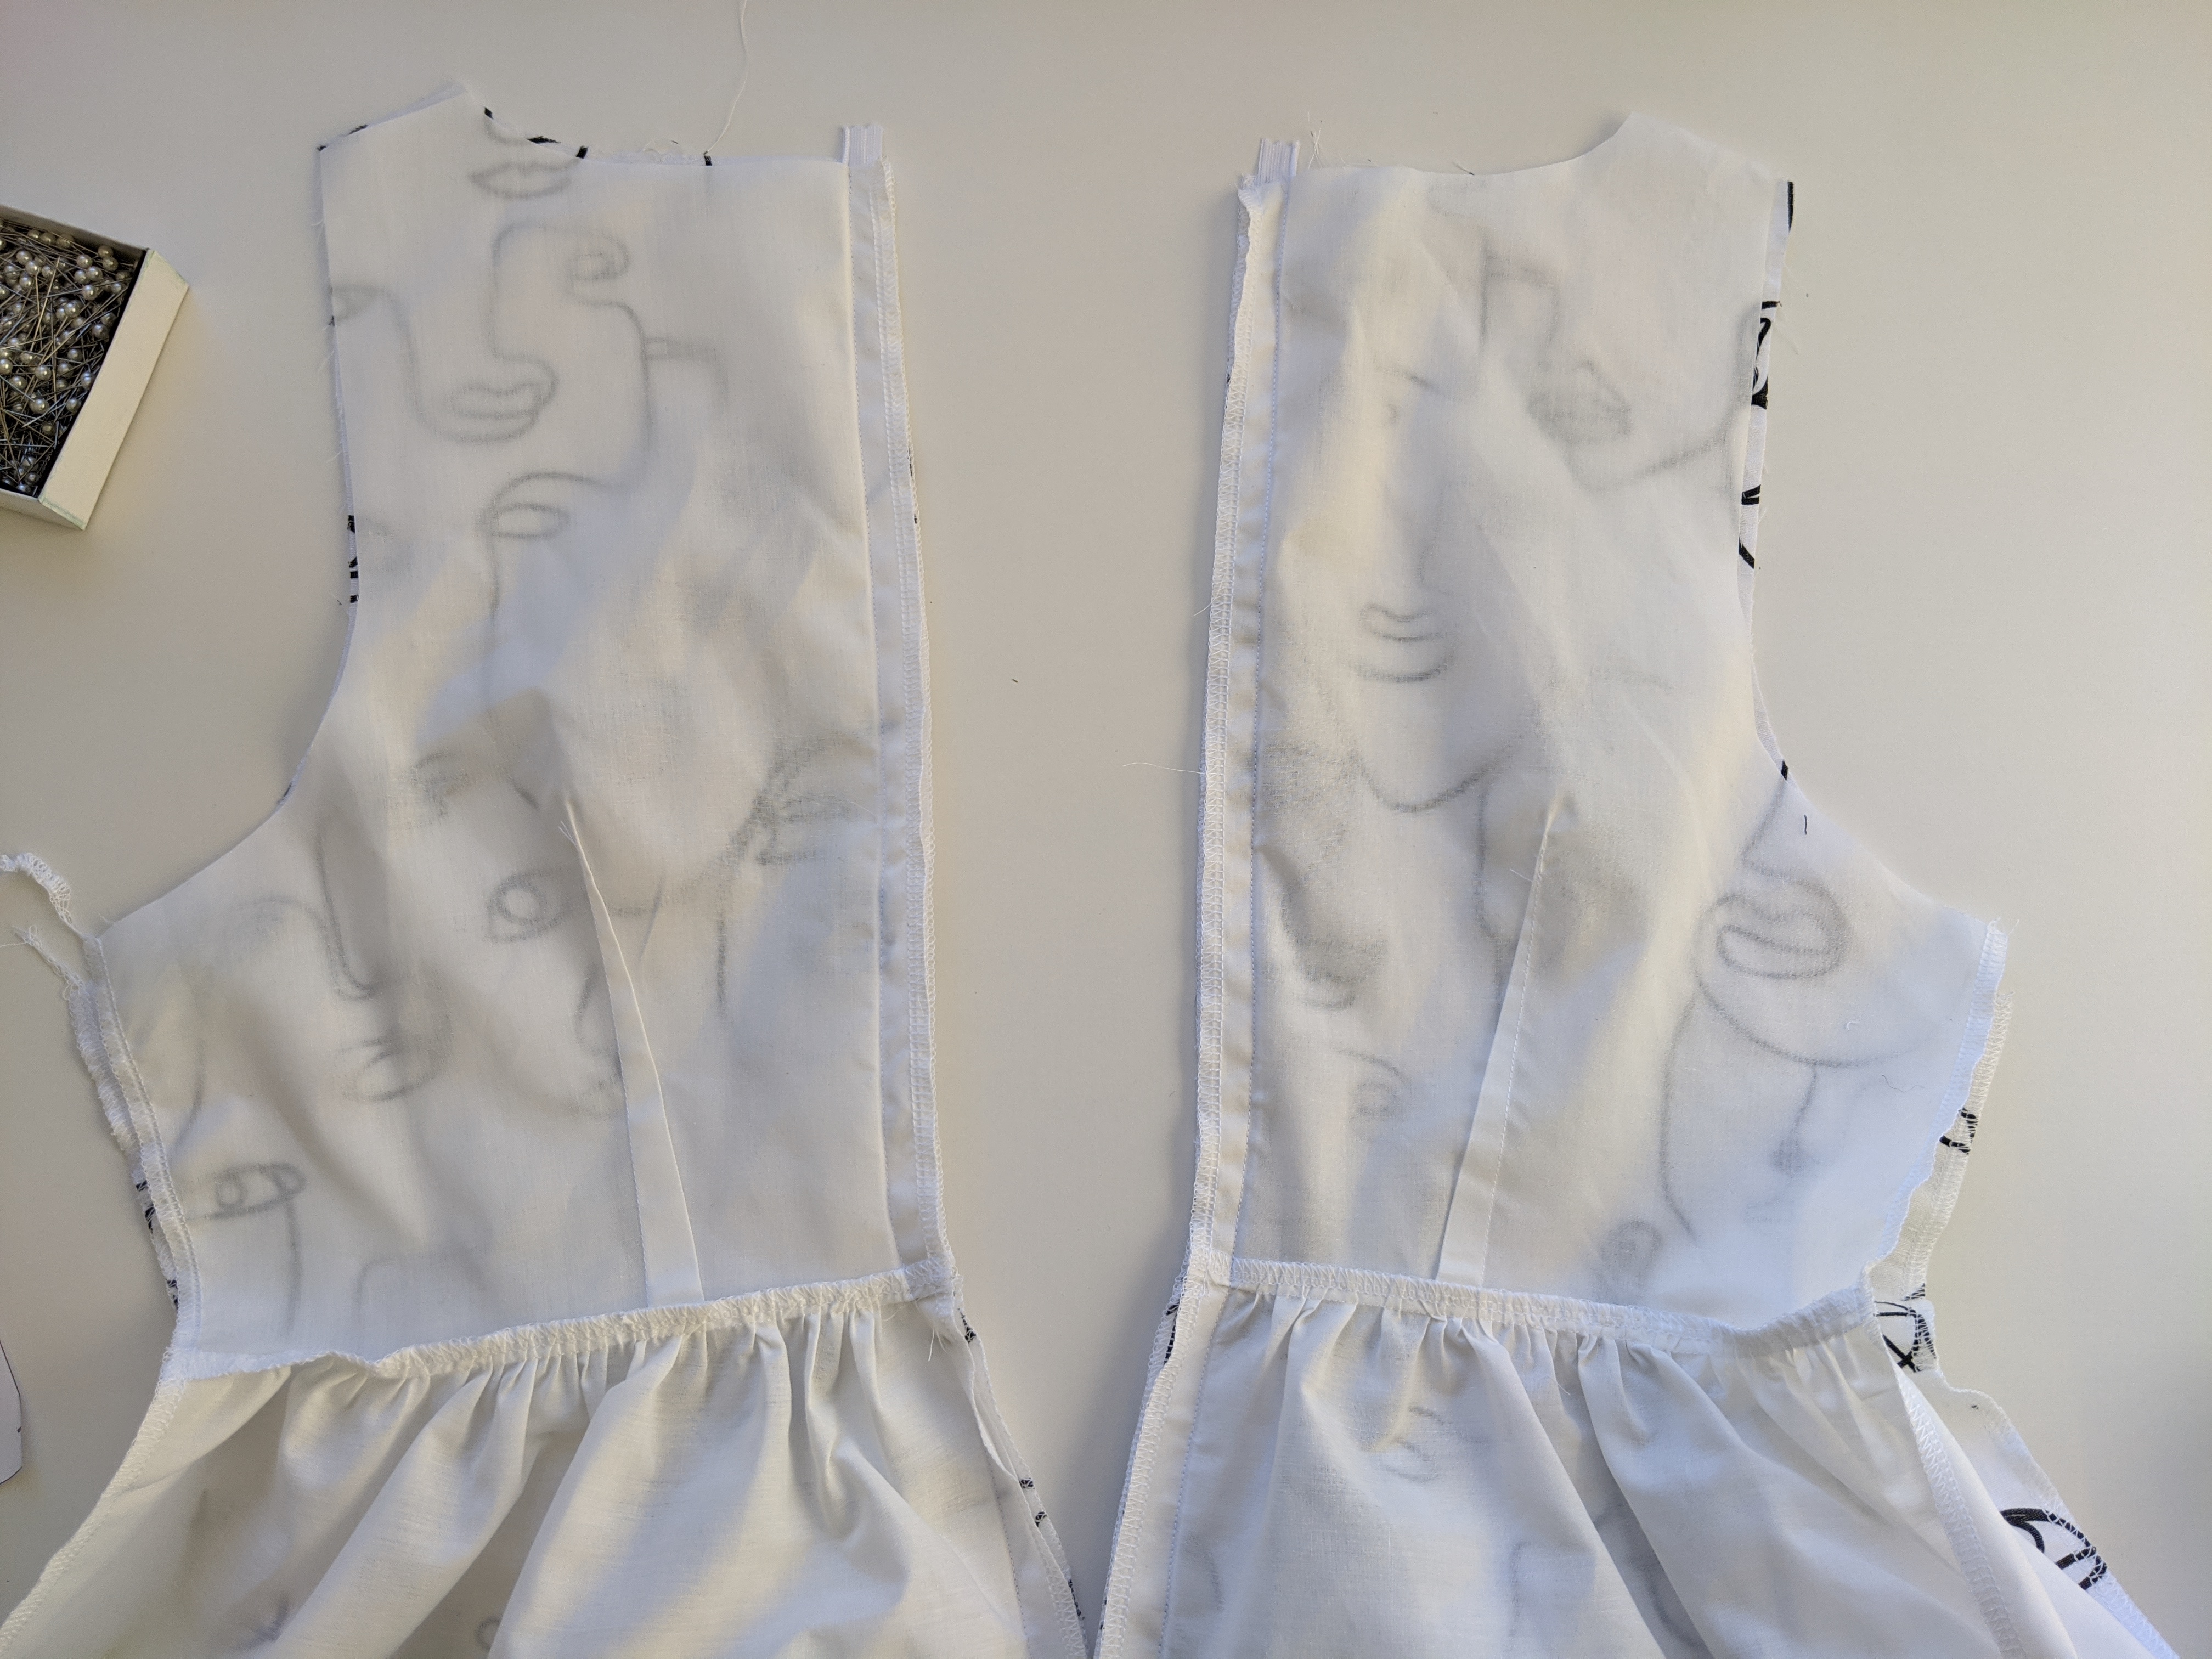
Take the back skirt pieces and run a gathering stitch across the top edge of the main and lining pieces.
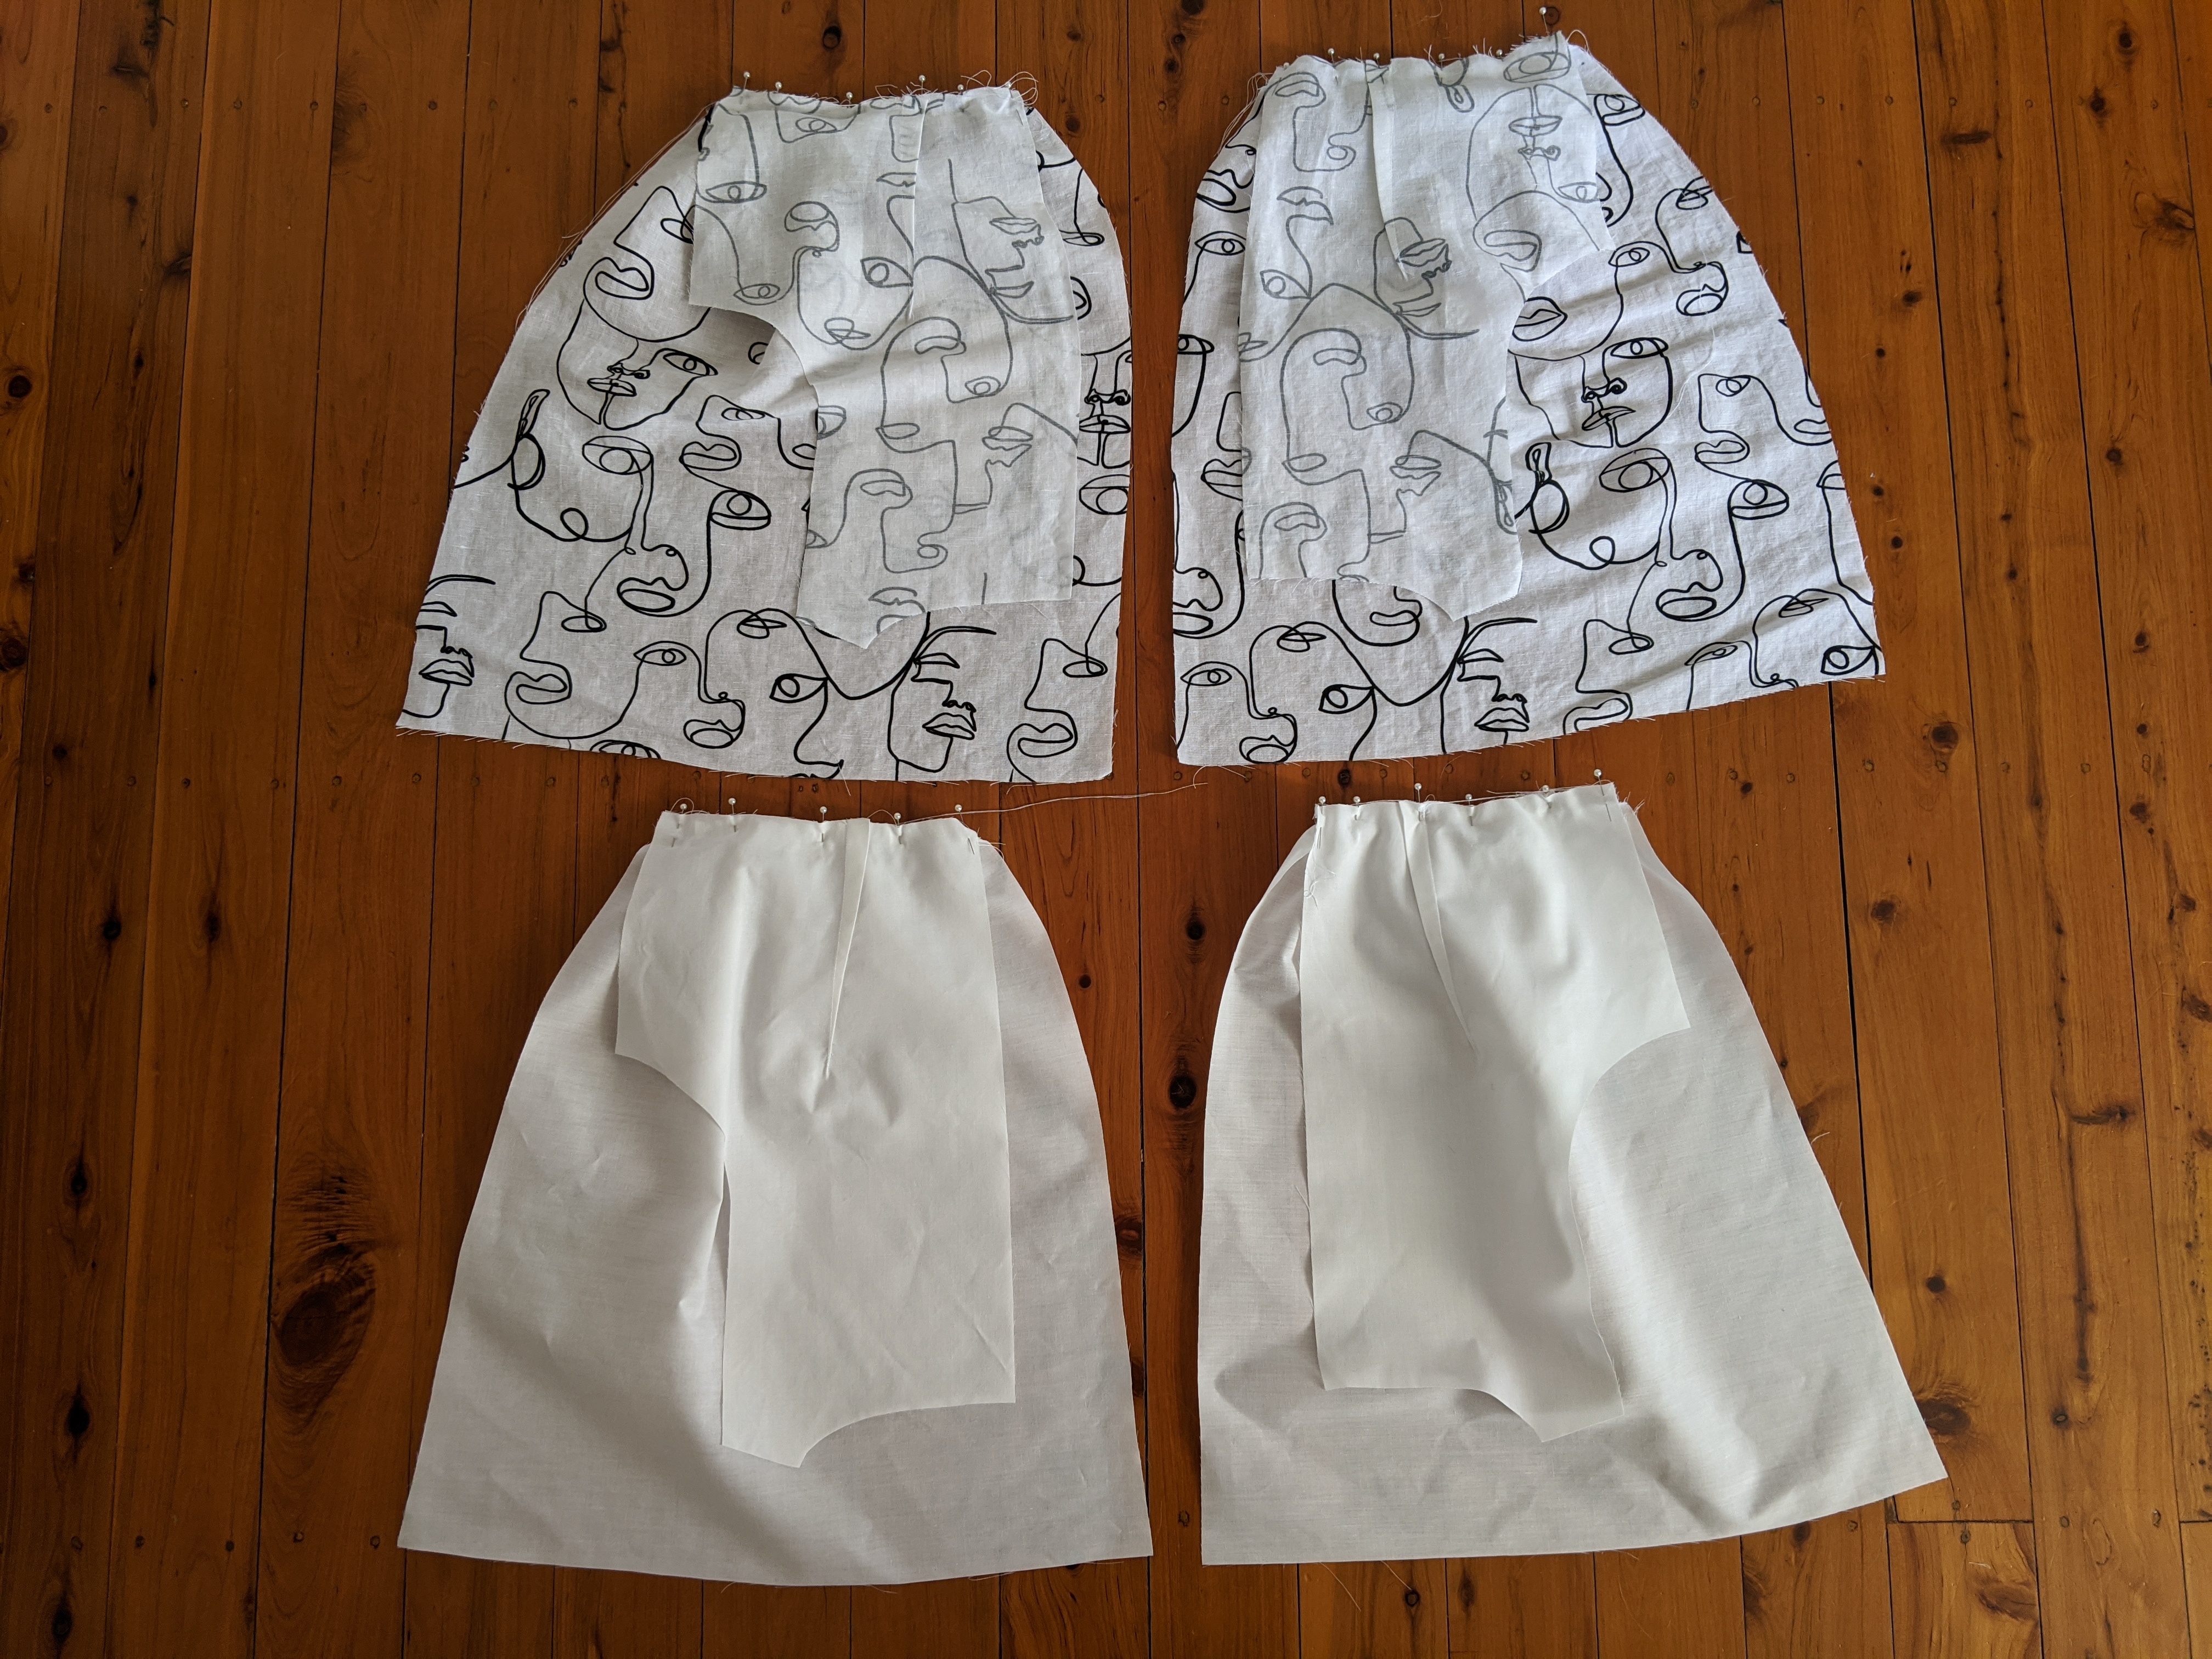
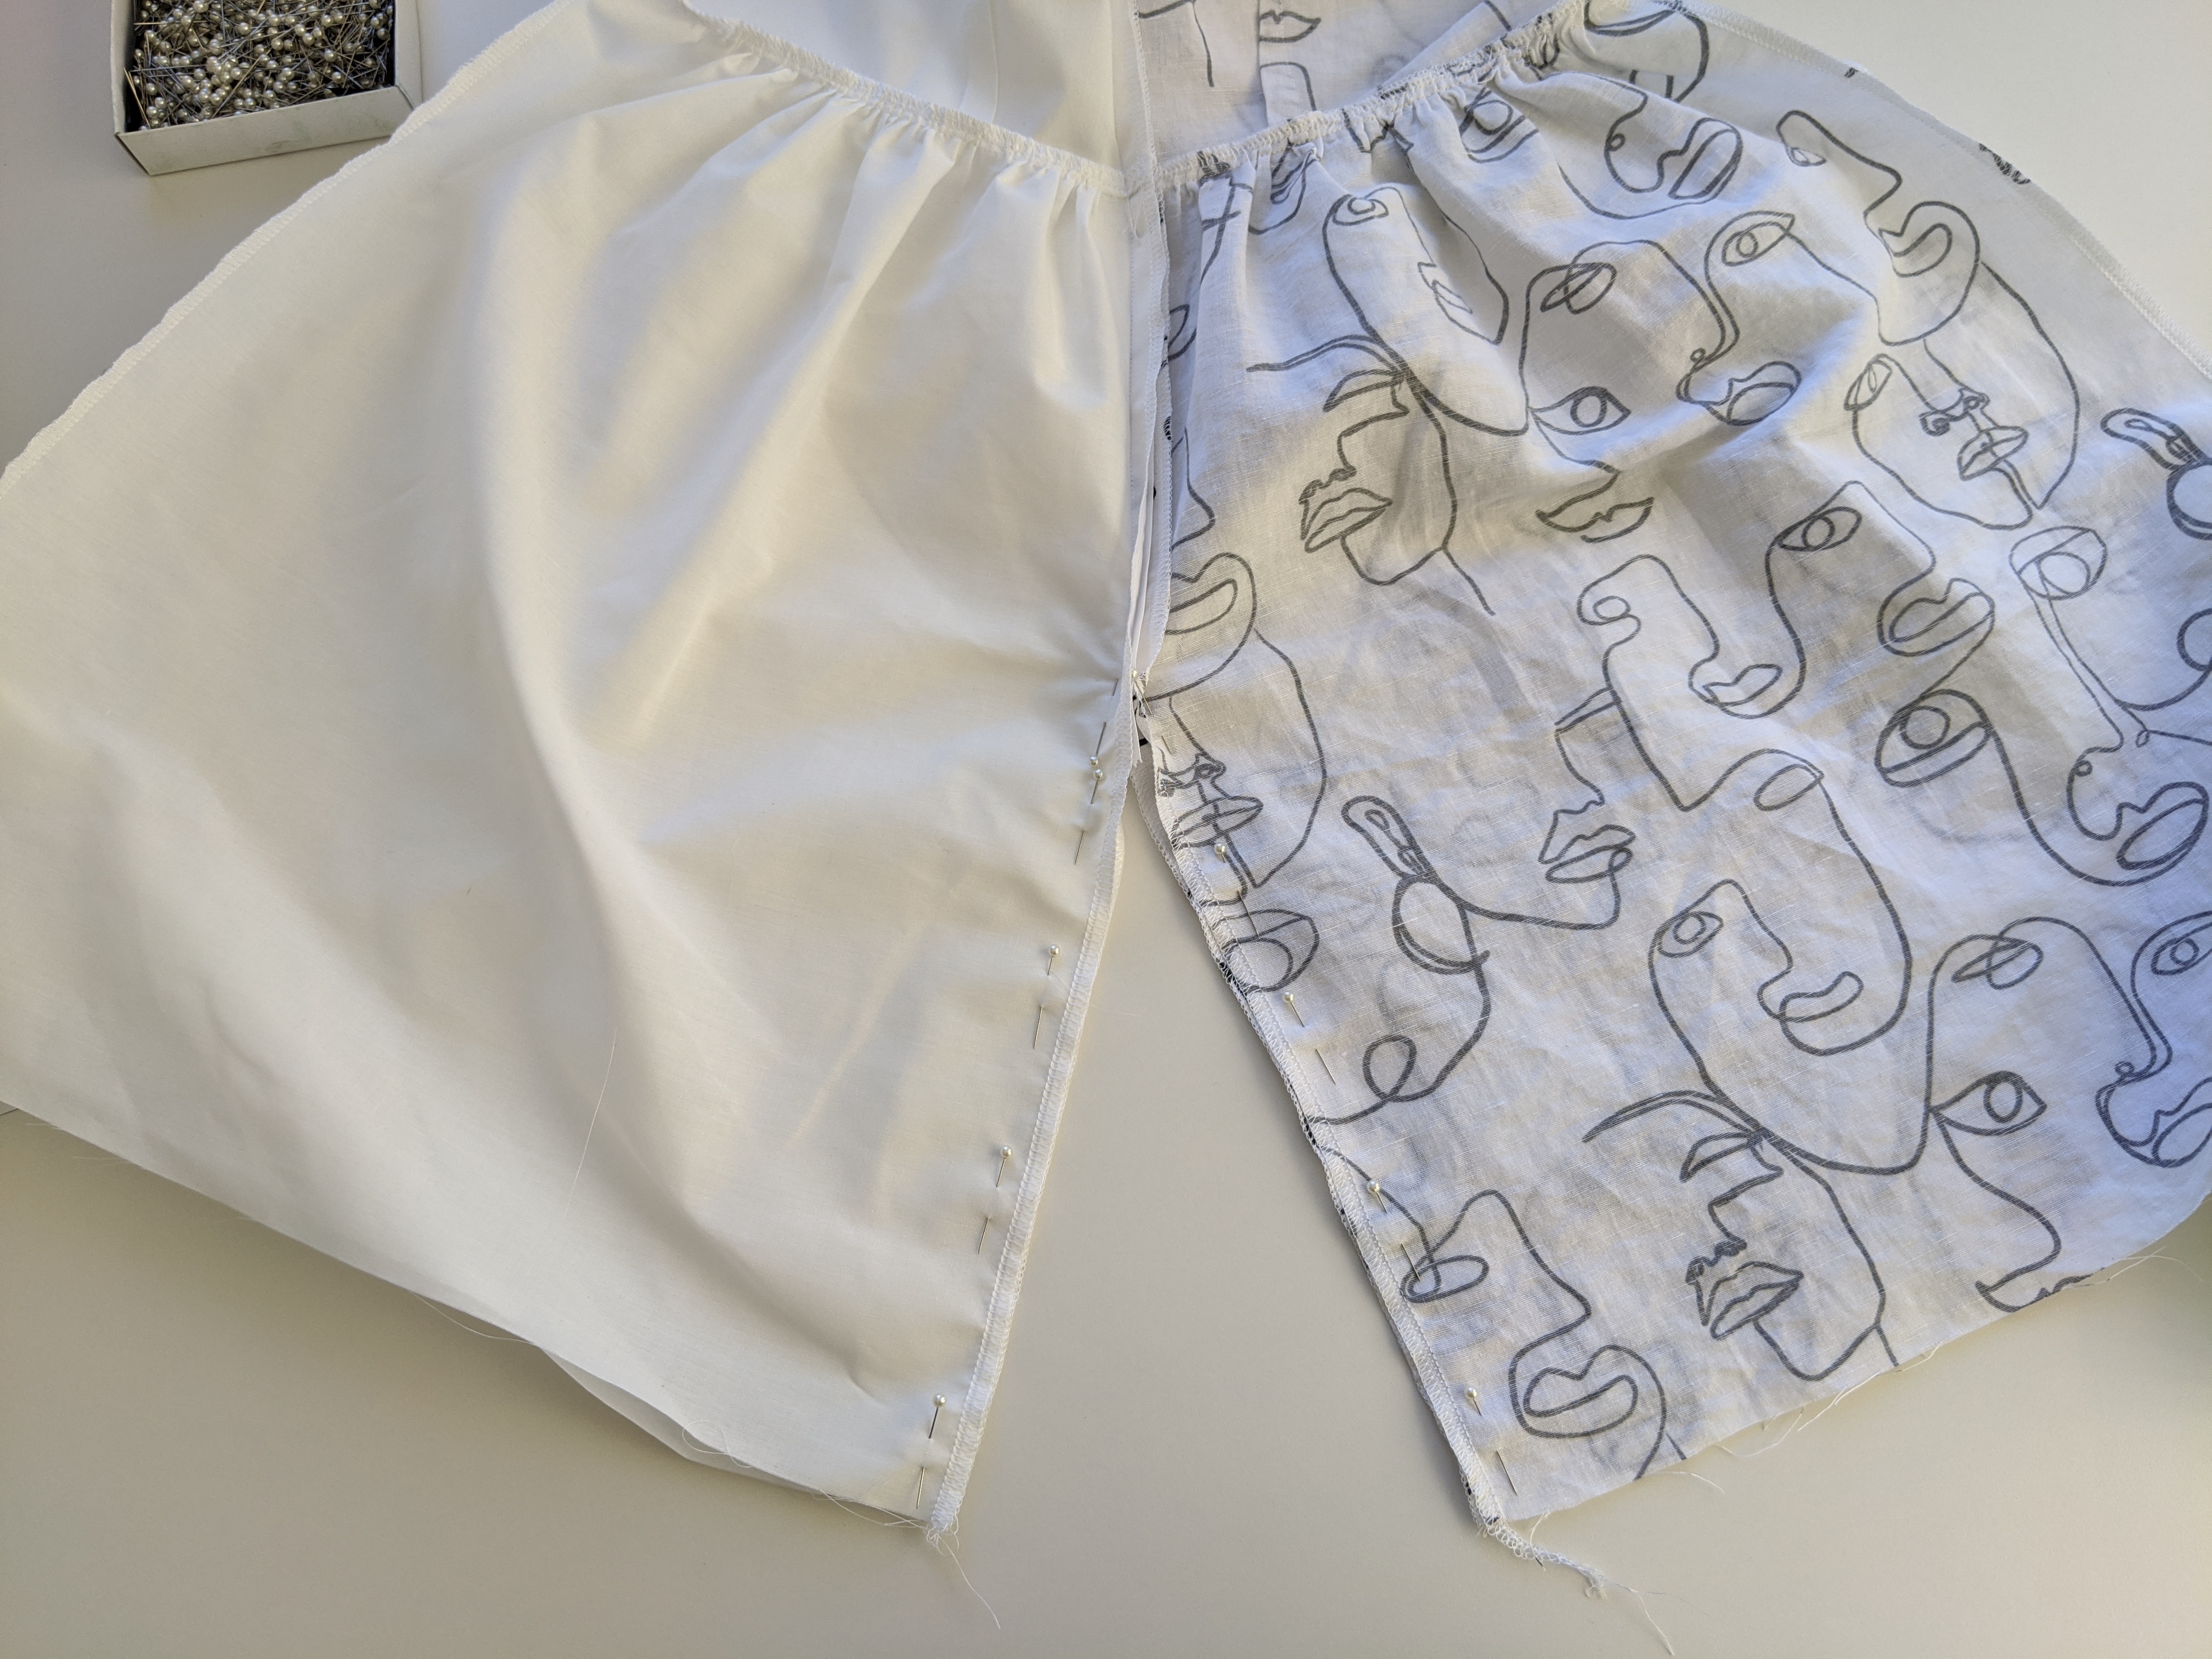
Step 4
Pin the back bodice to the top of the back skirt at the waist, right sides together and use the gathering stitch to gather the skirt to fit the waist of the bodice.
If you need extra help with gathering, please see the more in-depth gathering tutorial here.
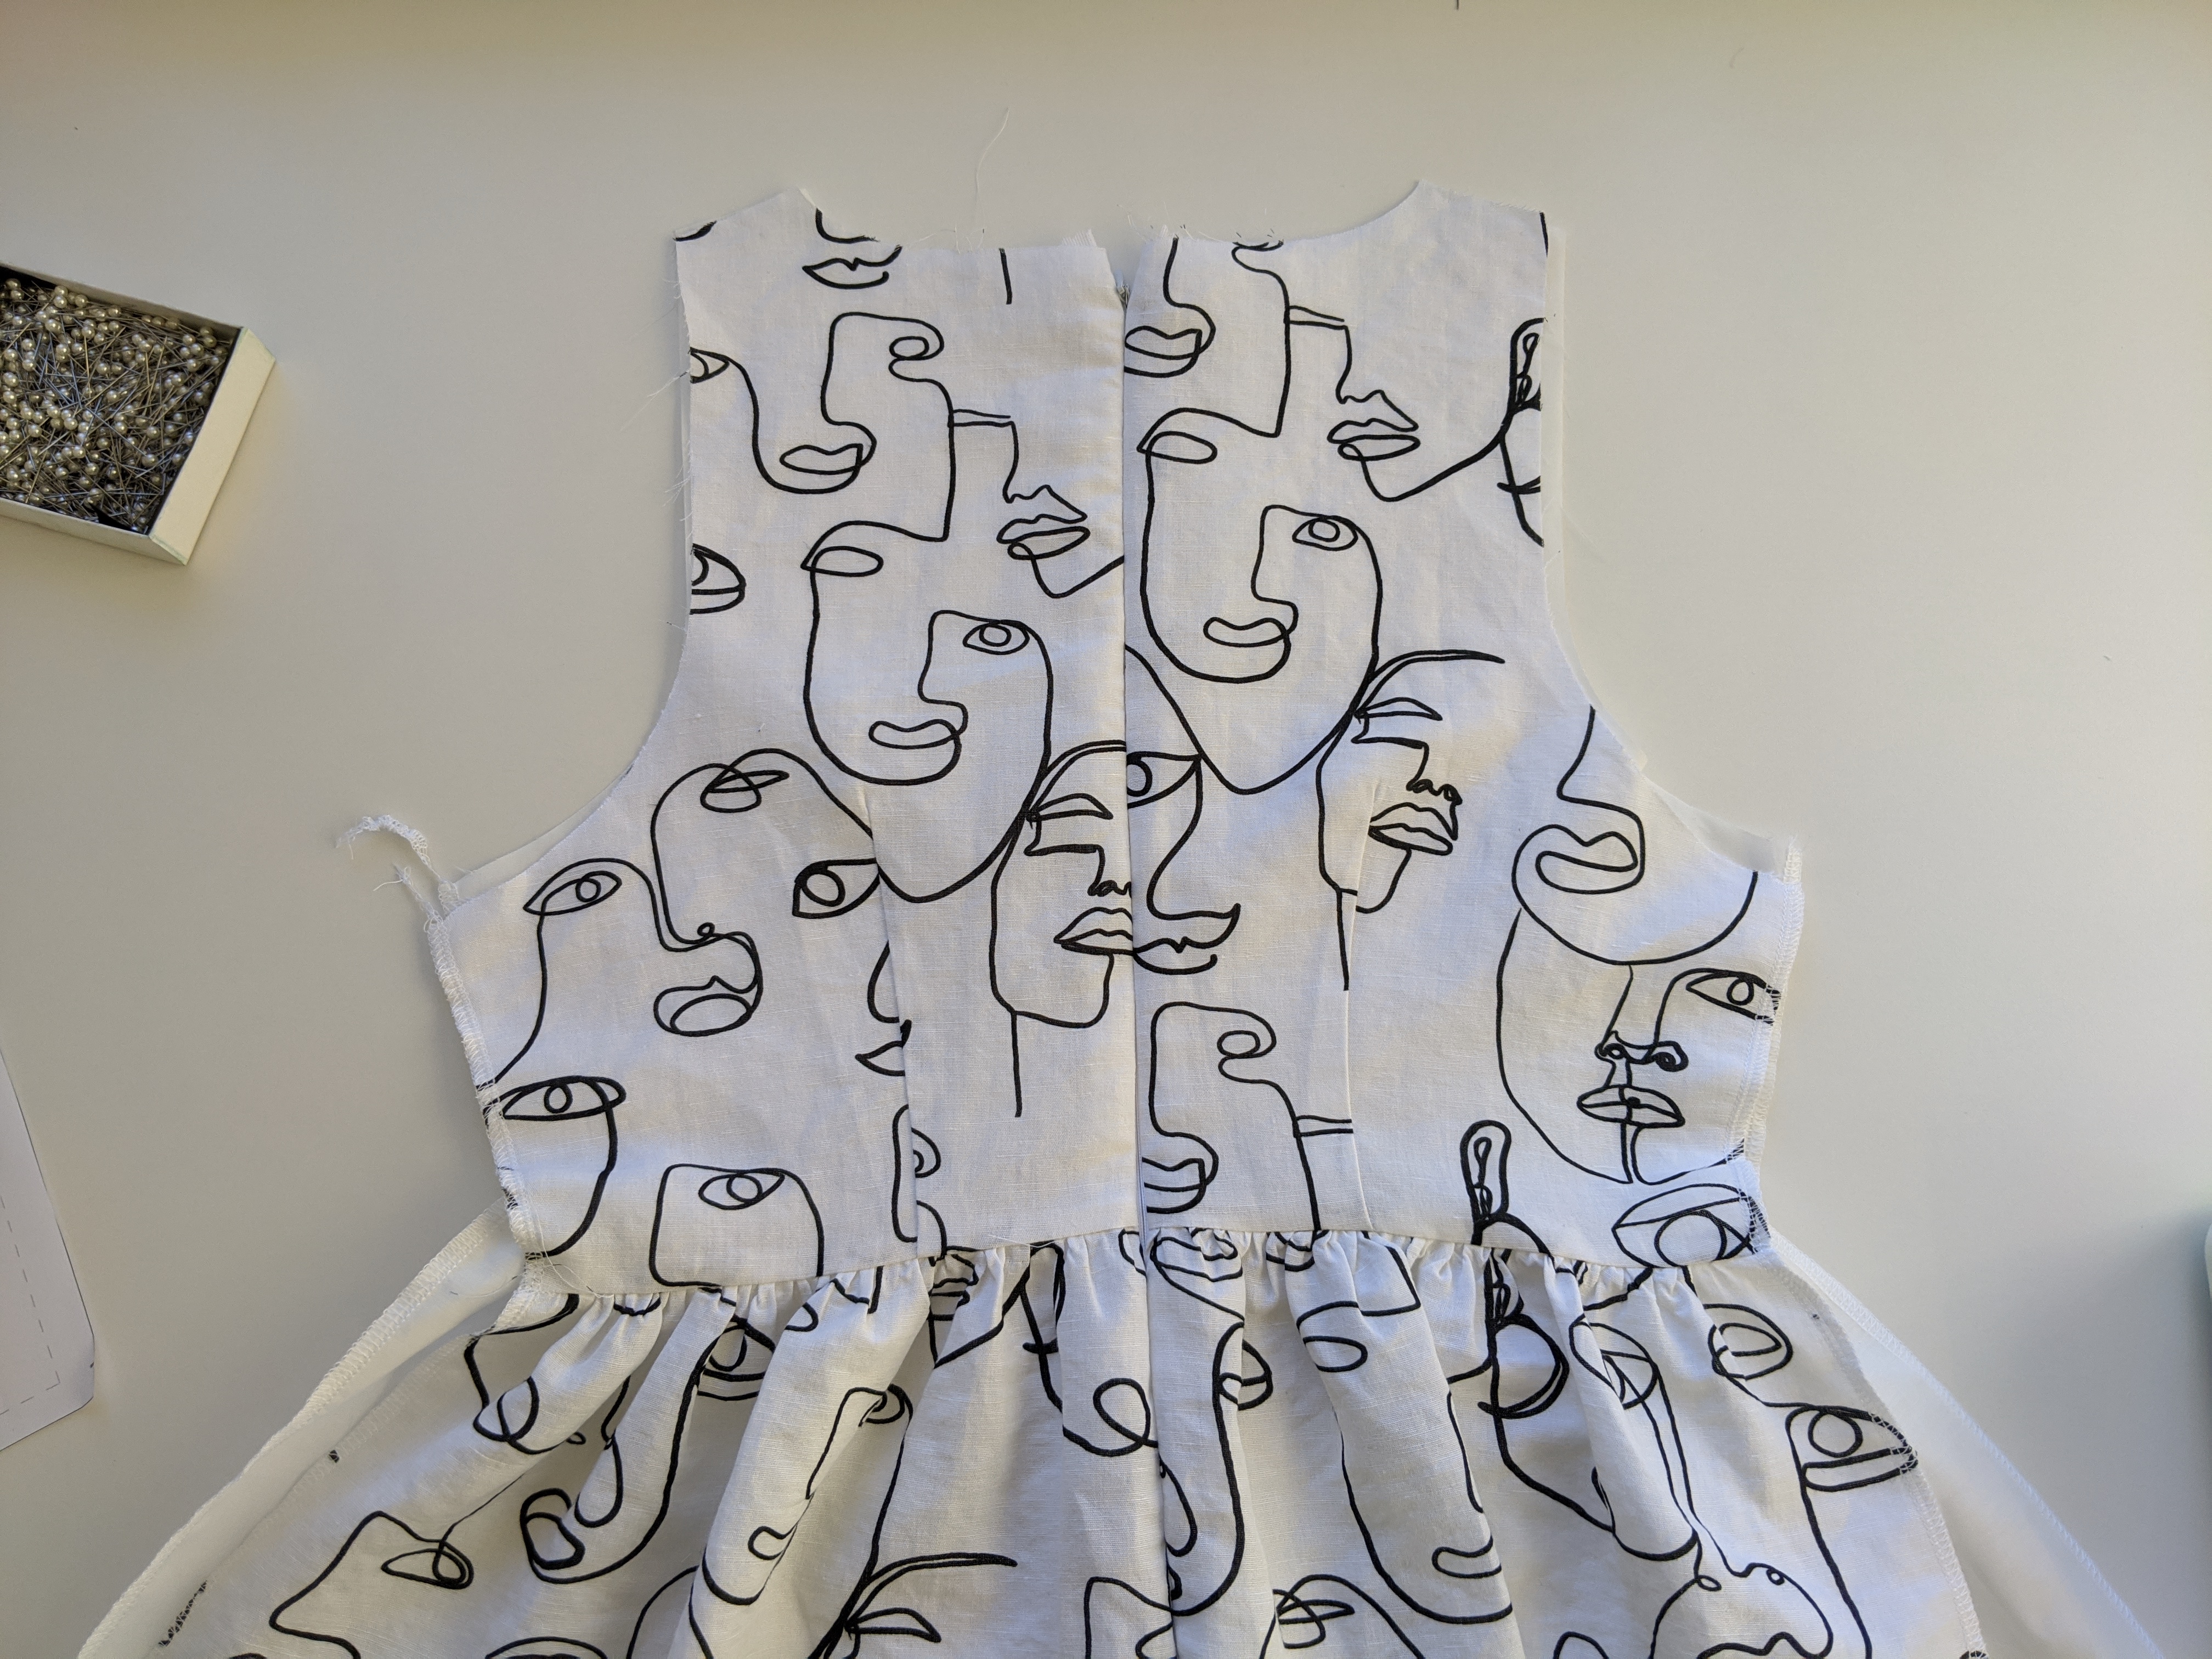
Step 5
Sew the seam together, then overlock closed and press the seam upwards.
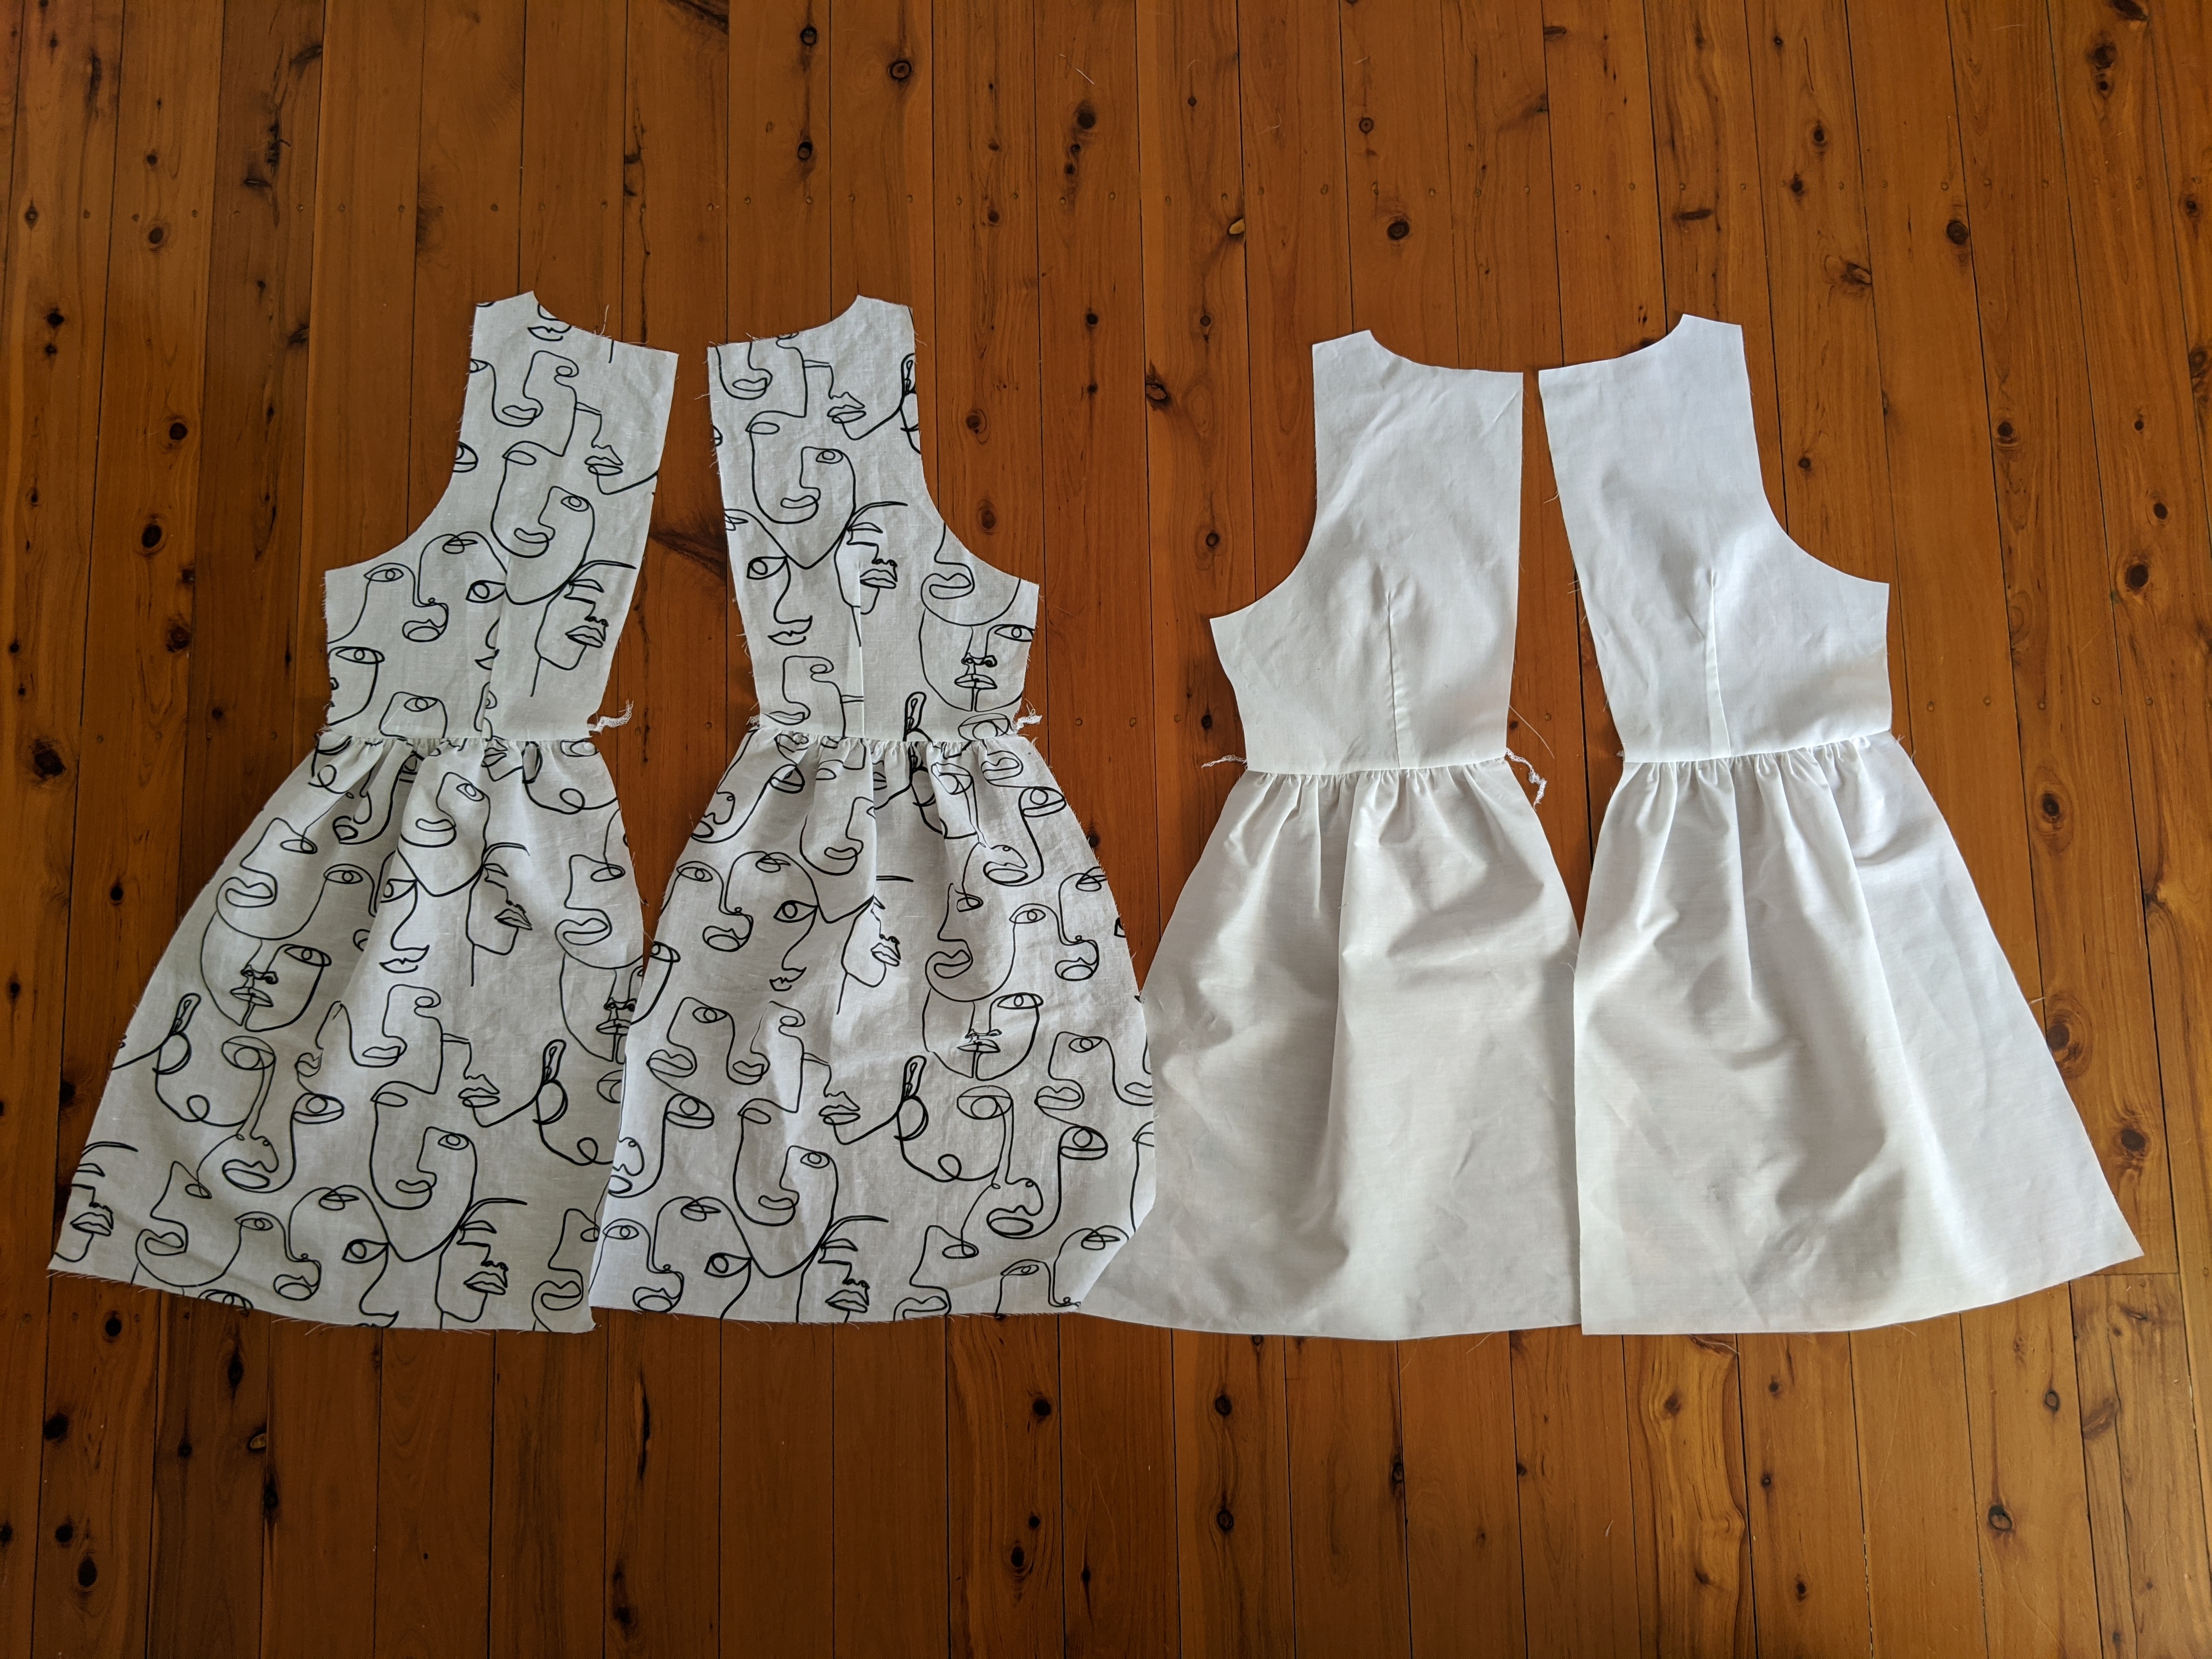
Step 6
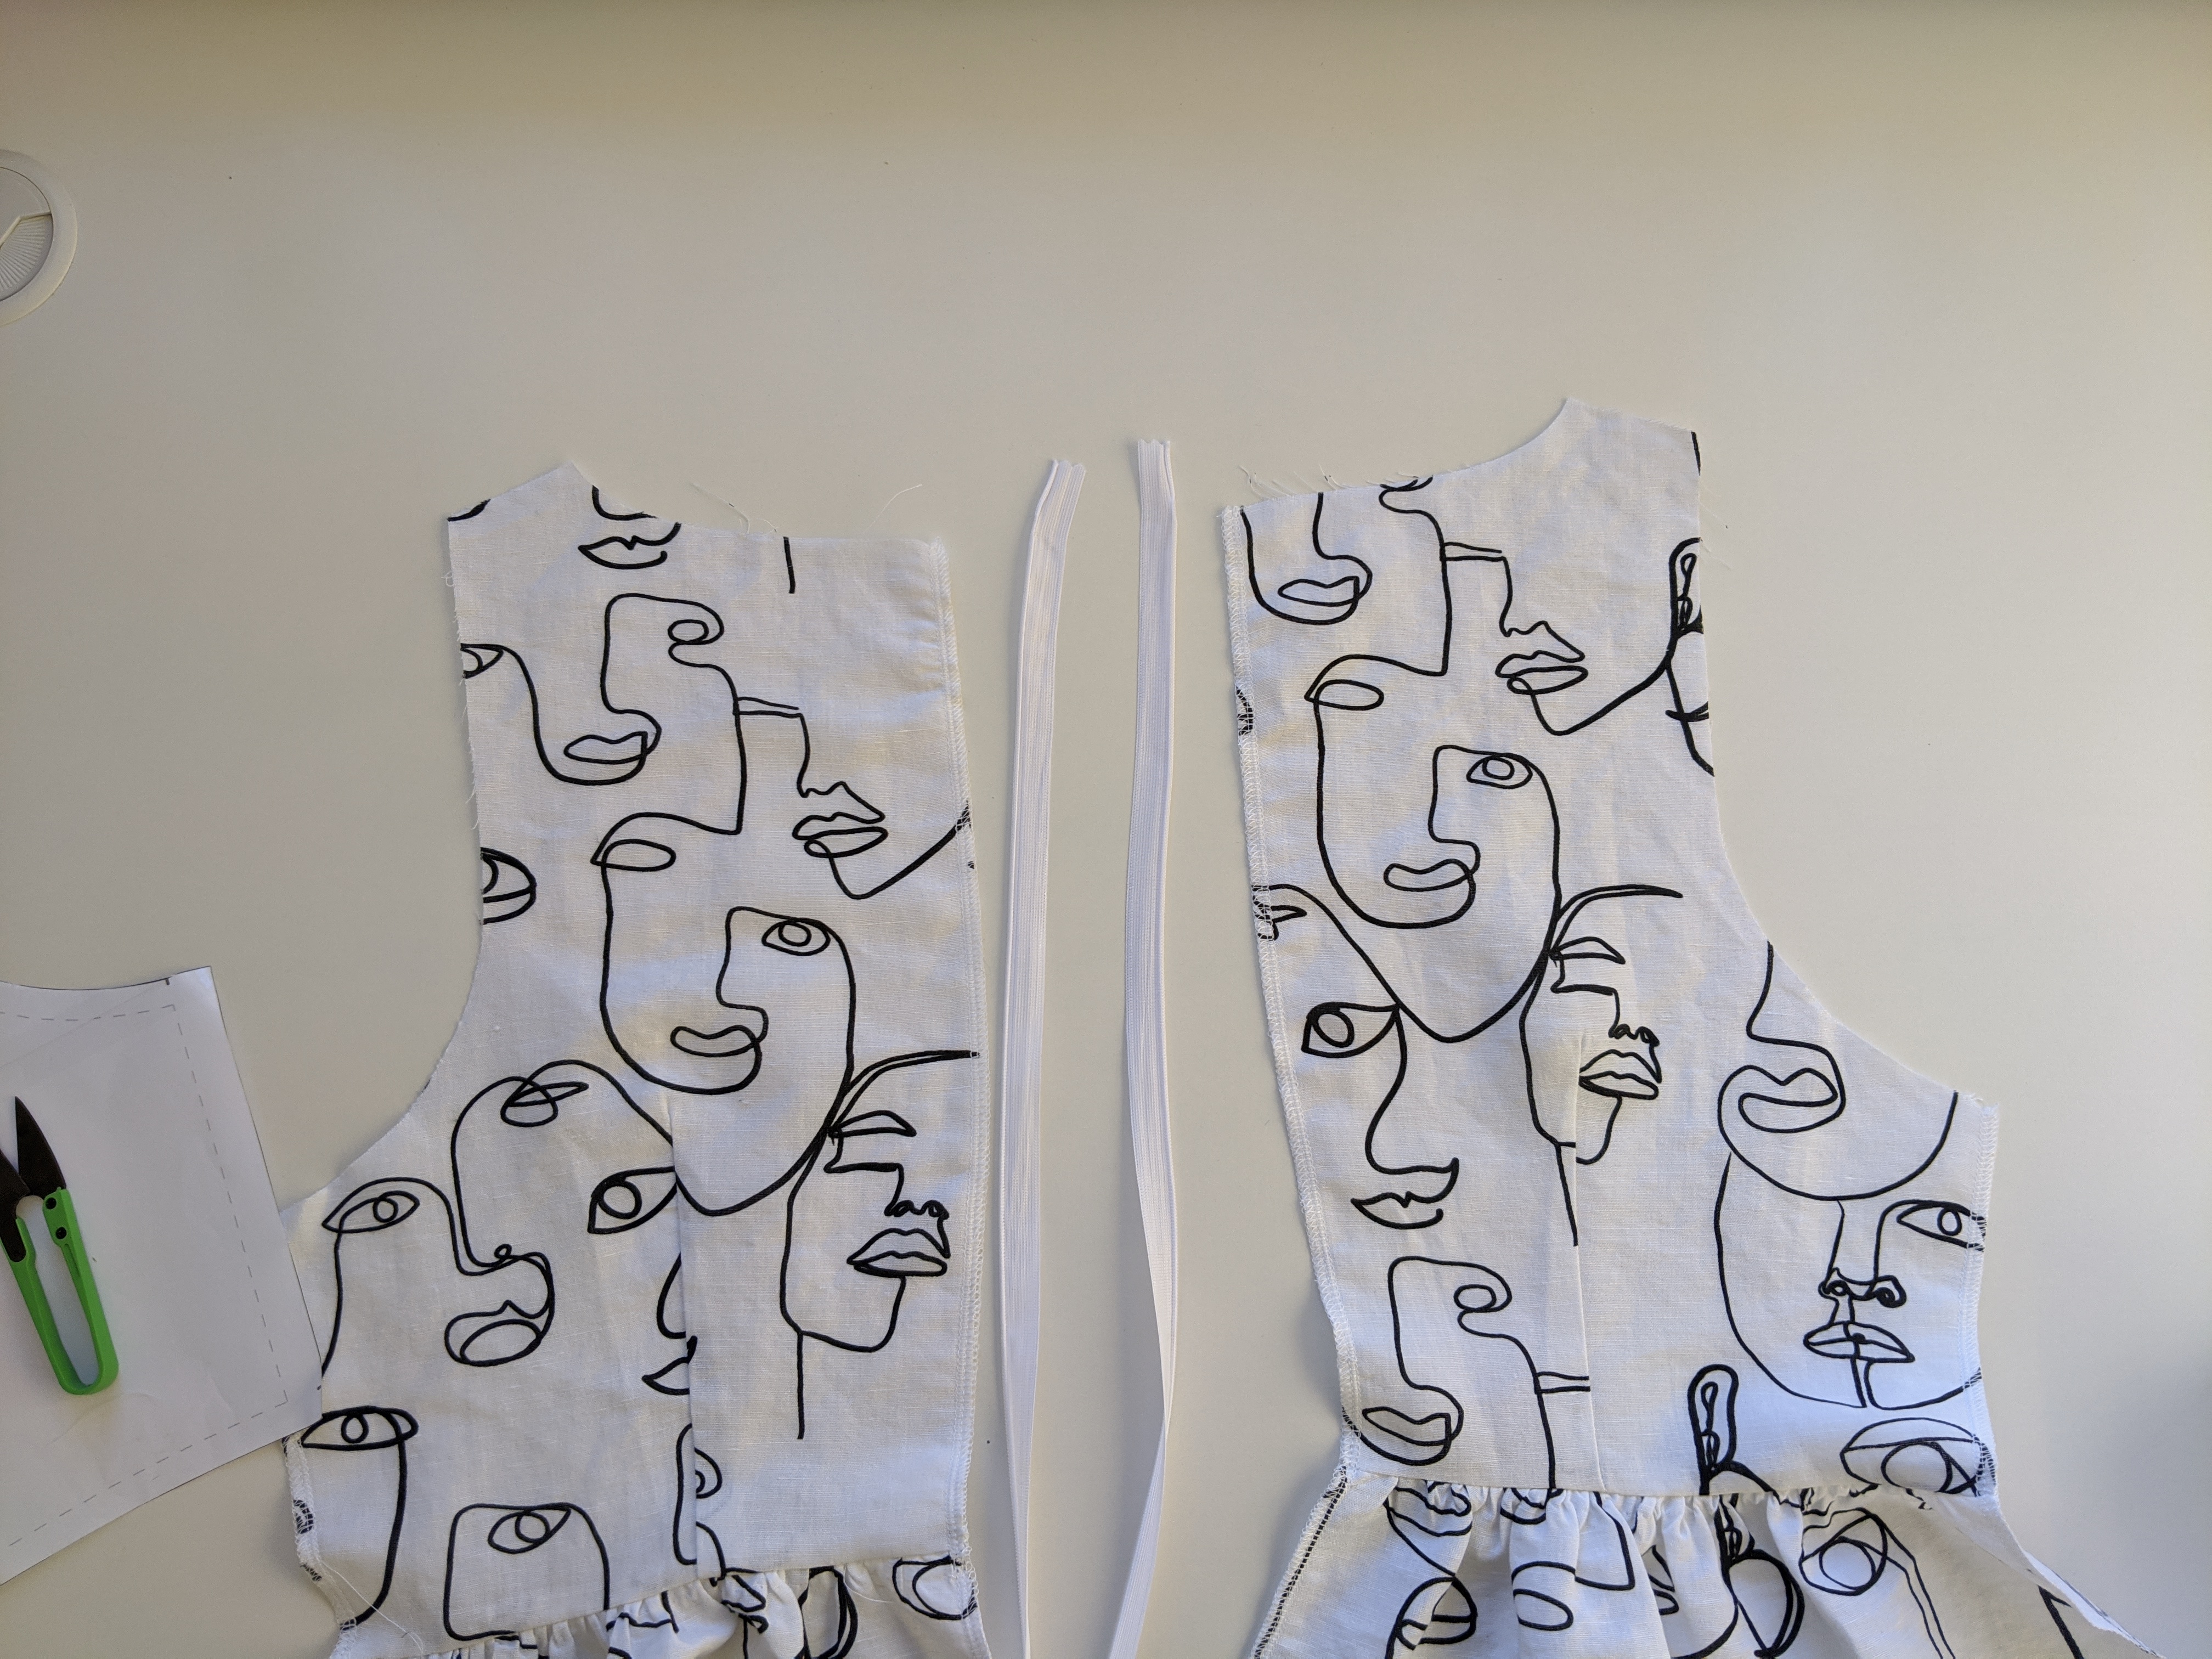
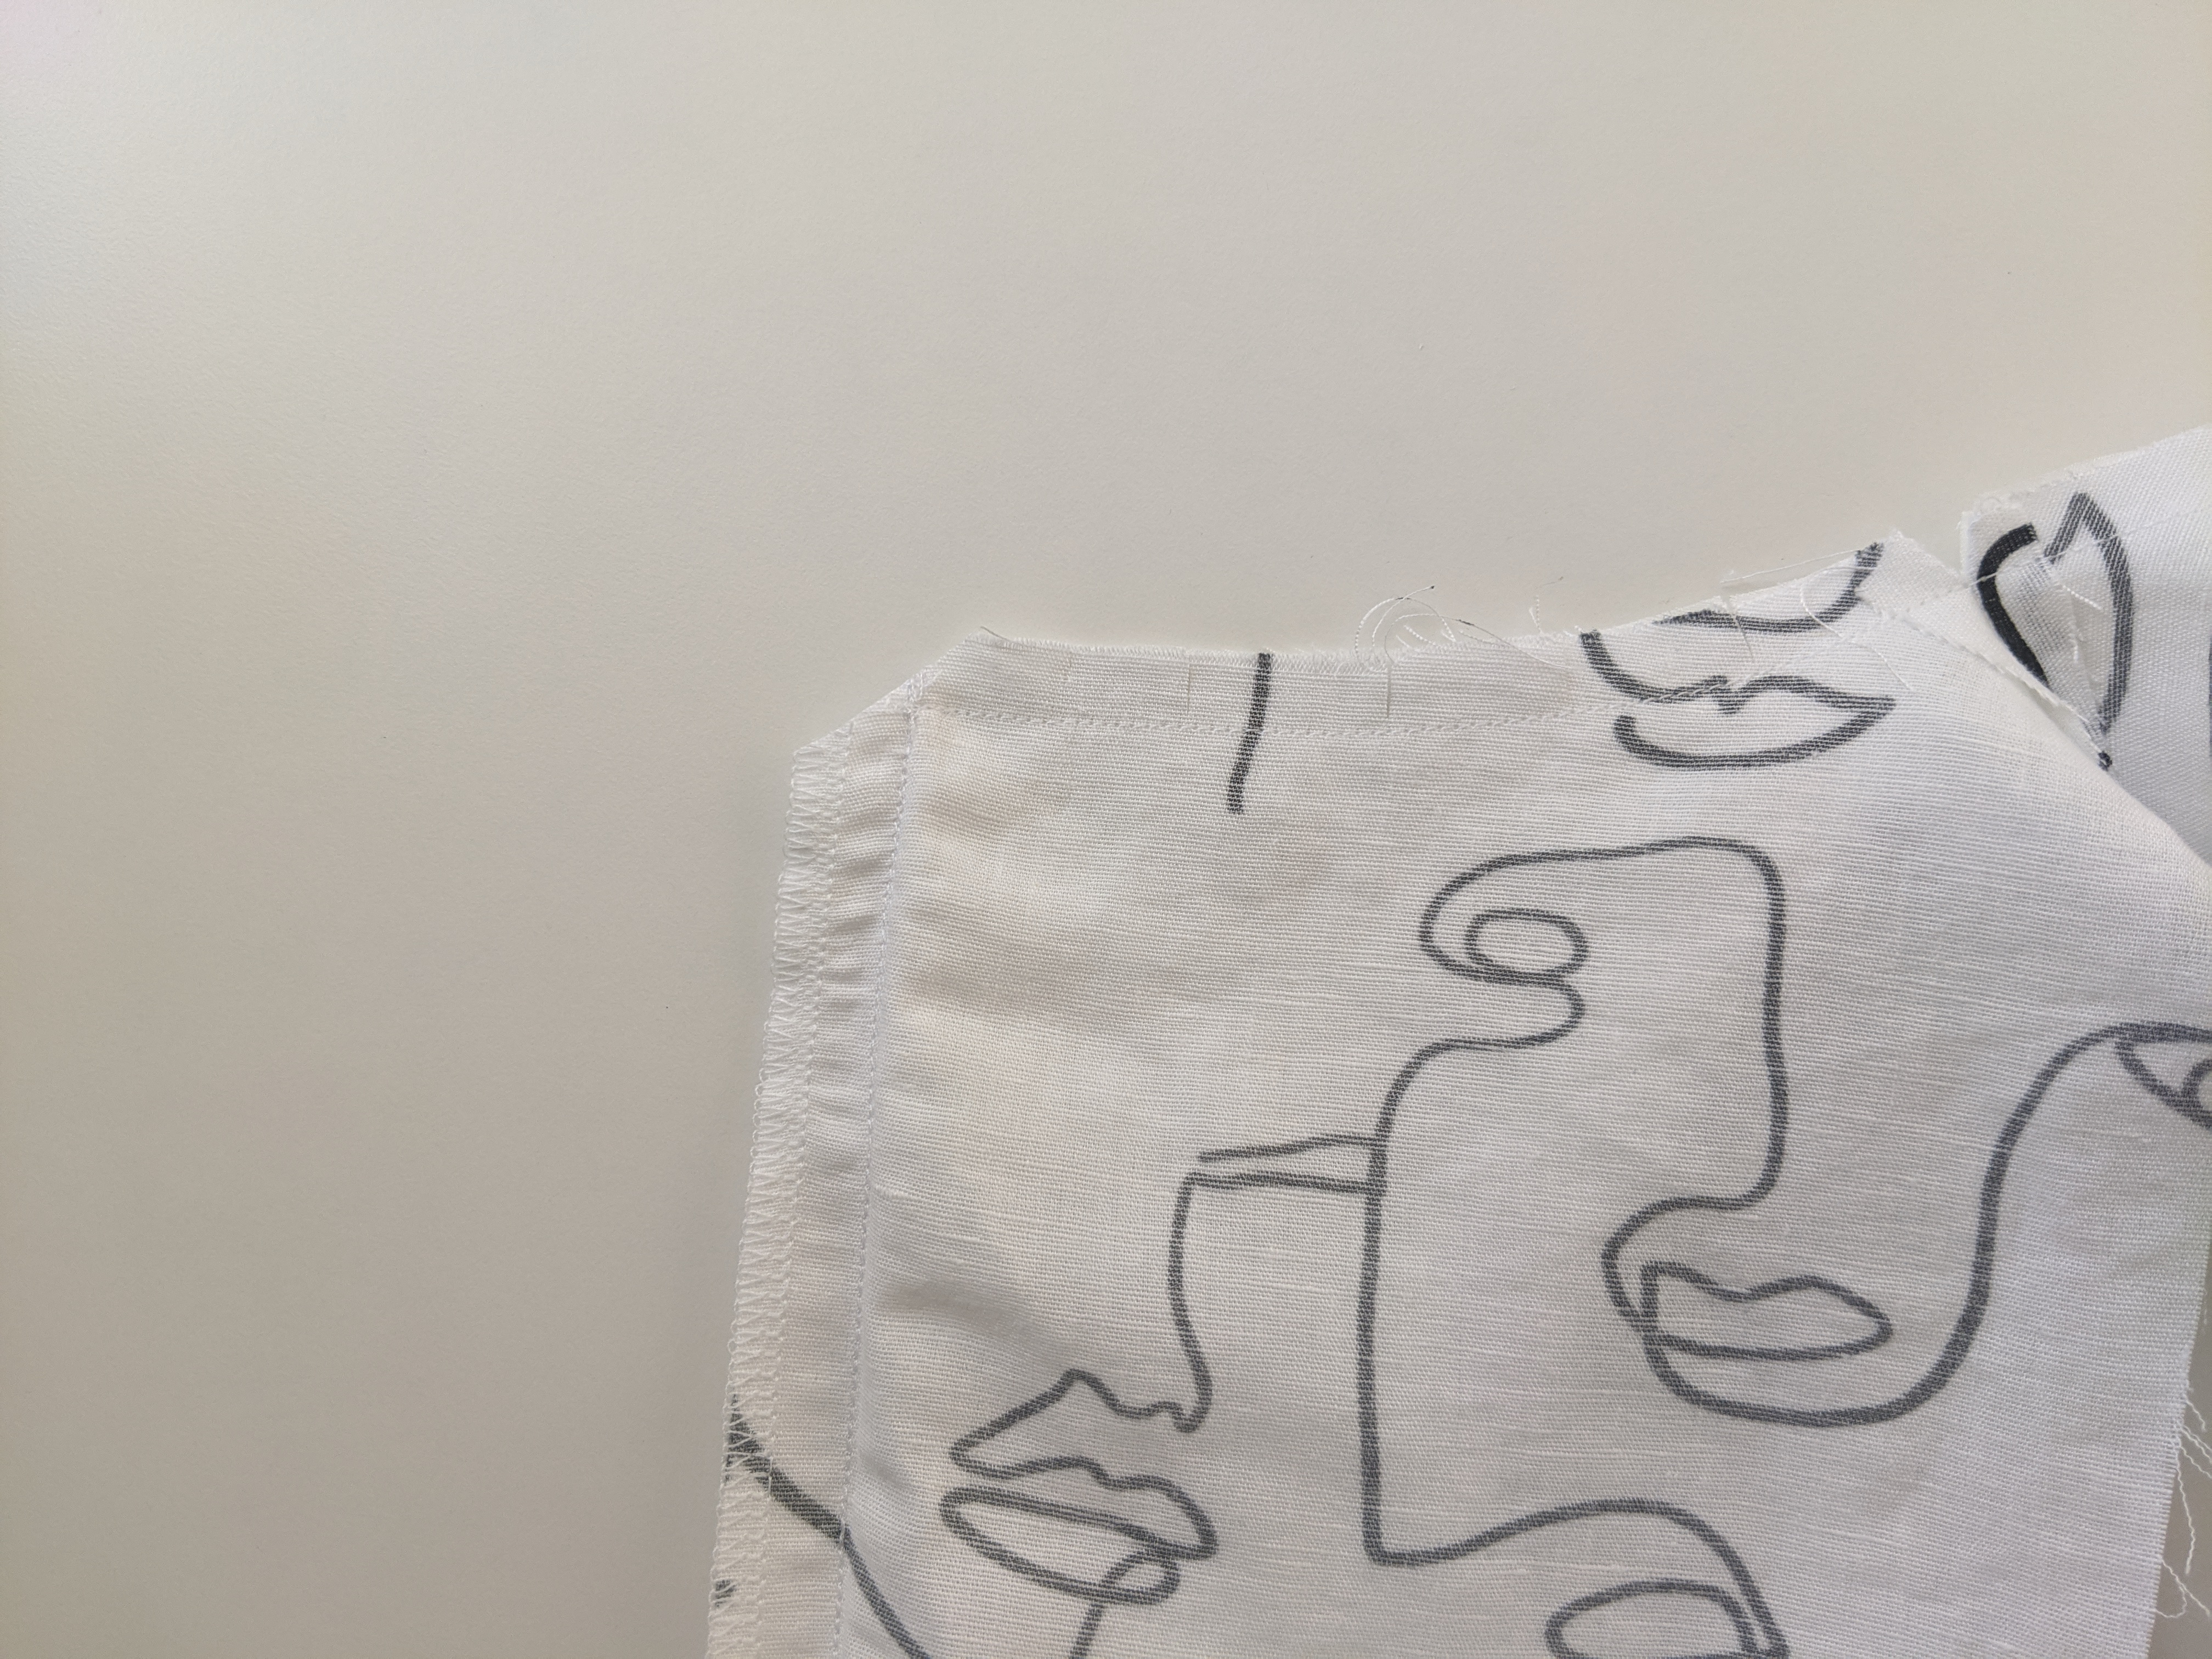
Using your overlocker, finish the edges of the center back and side seams of both the front and back of the garment. (note these are all to be finished separately and not together)
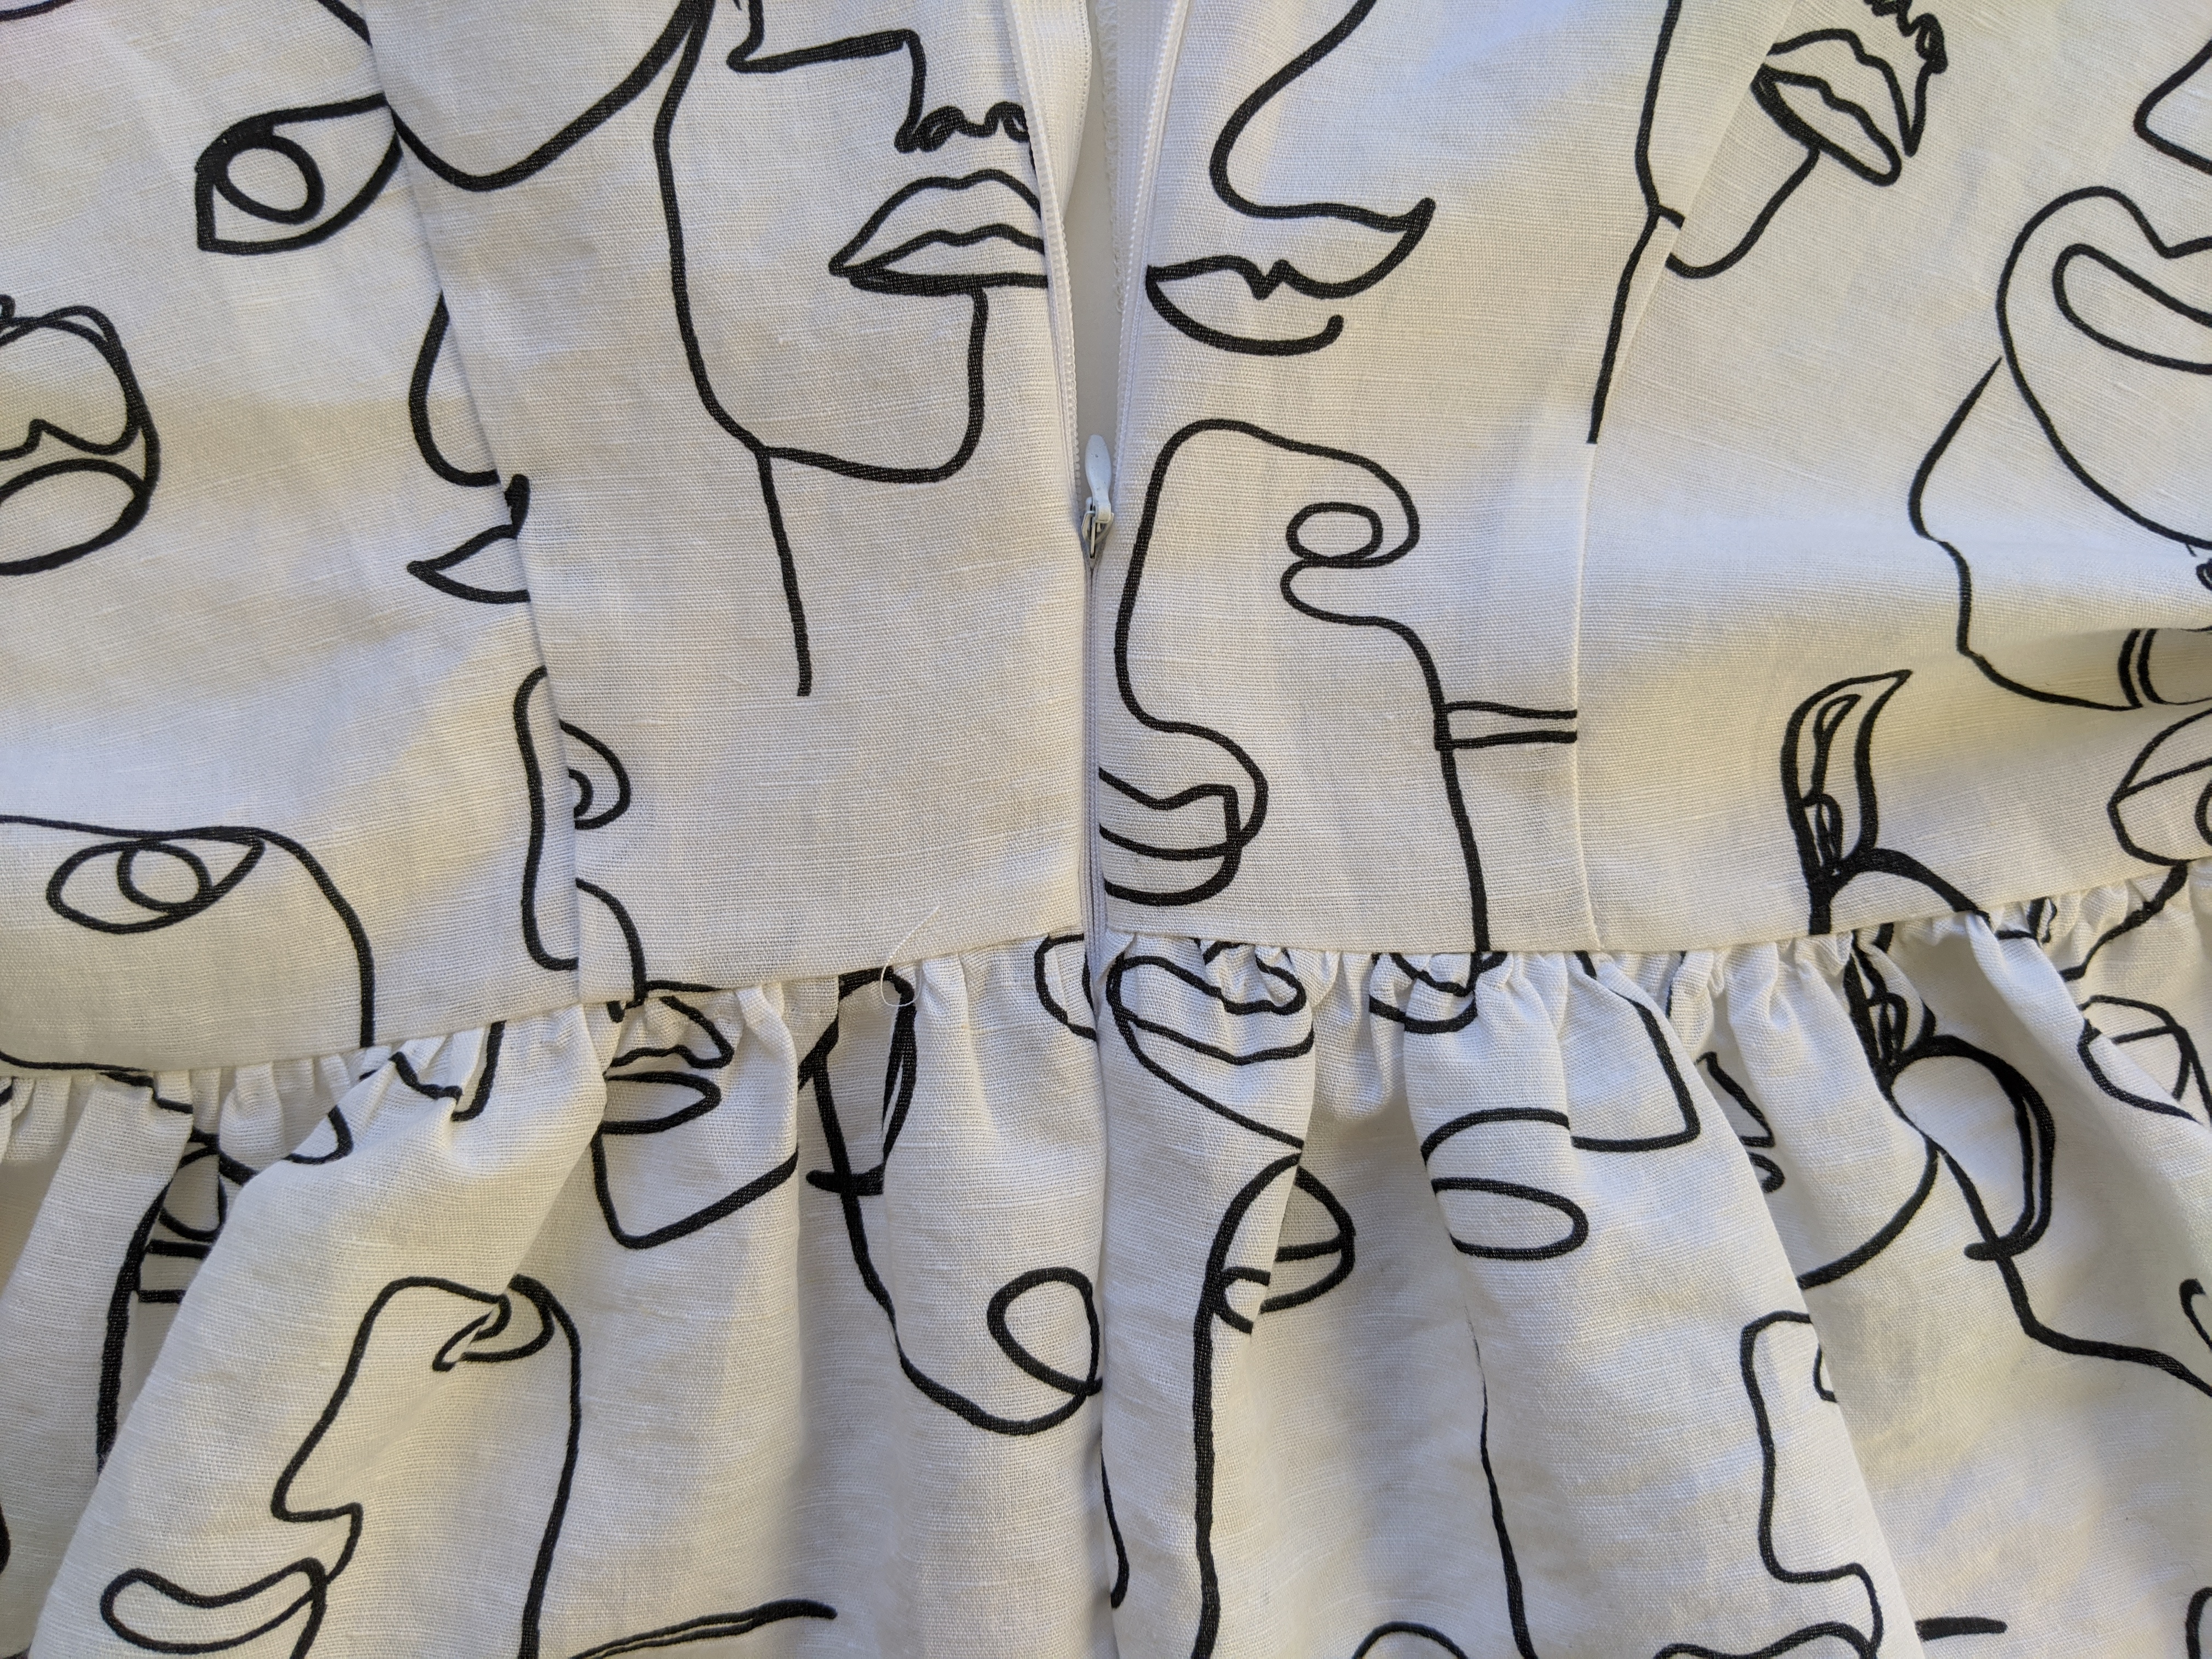
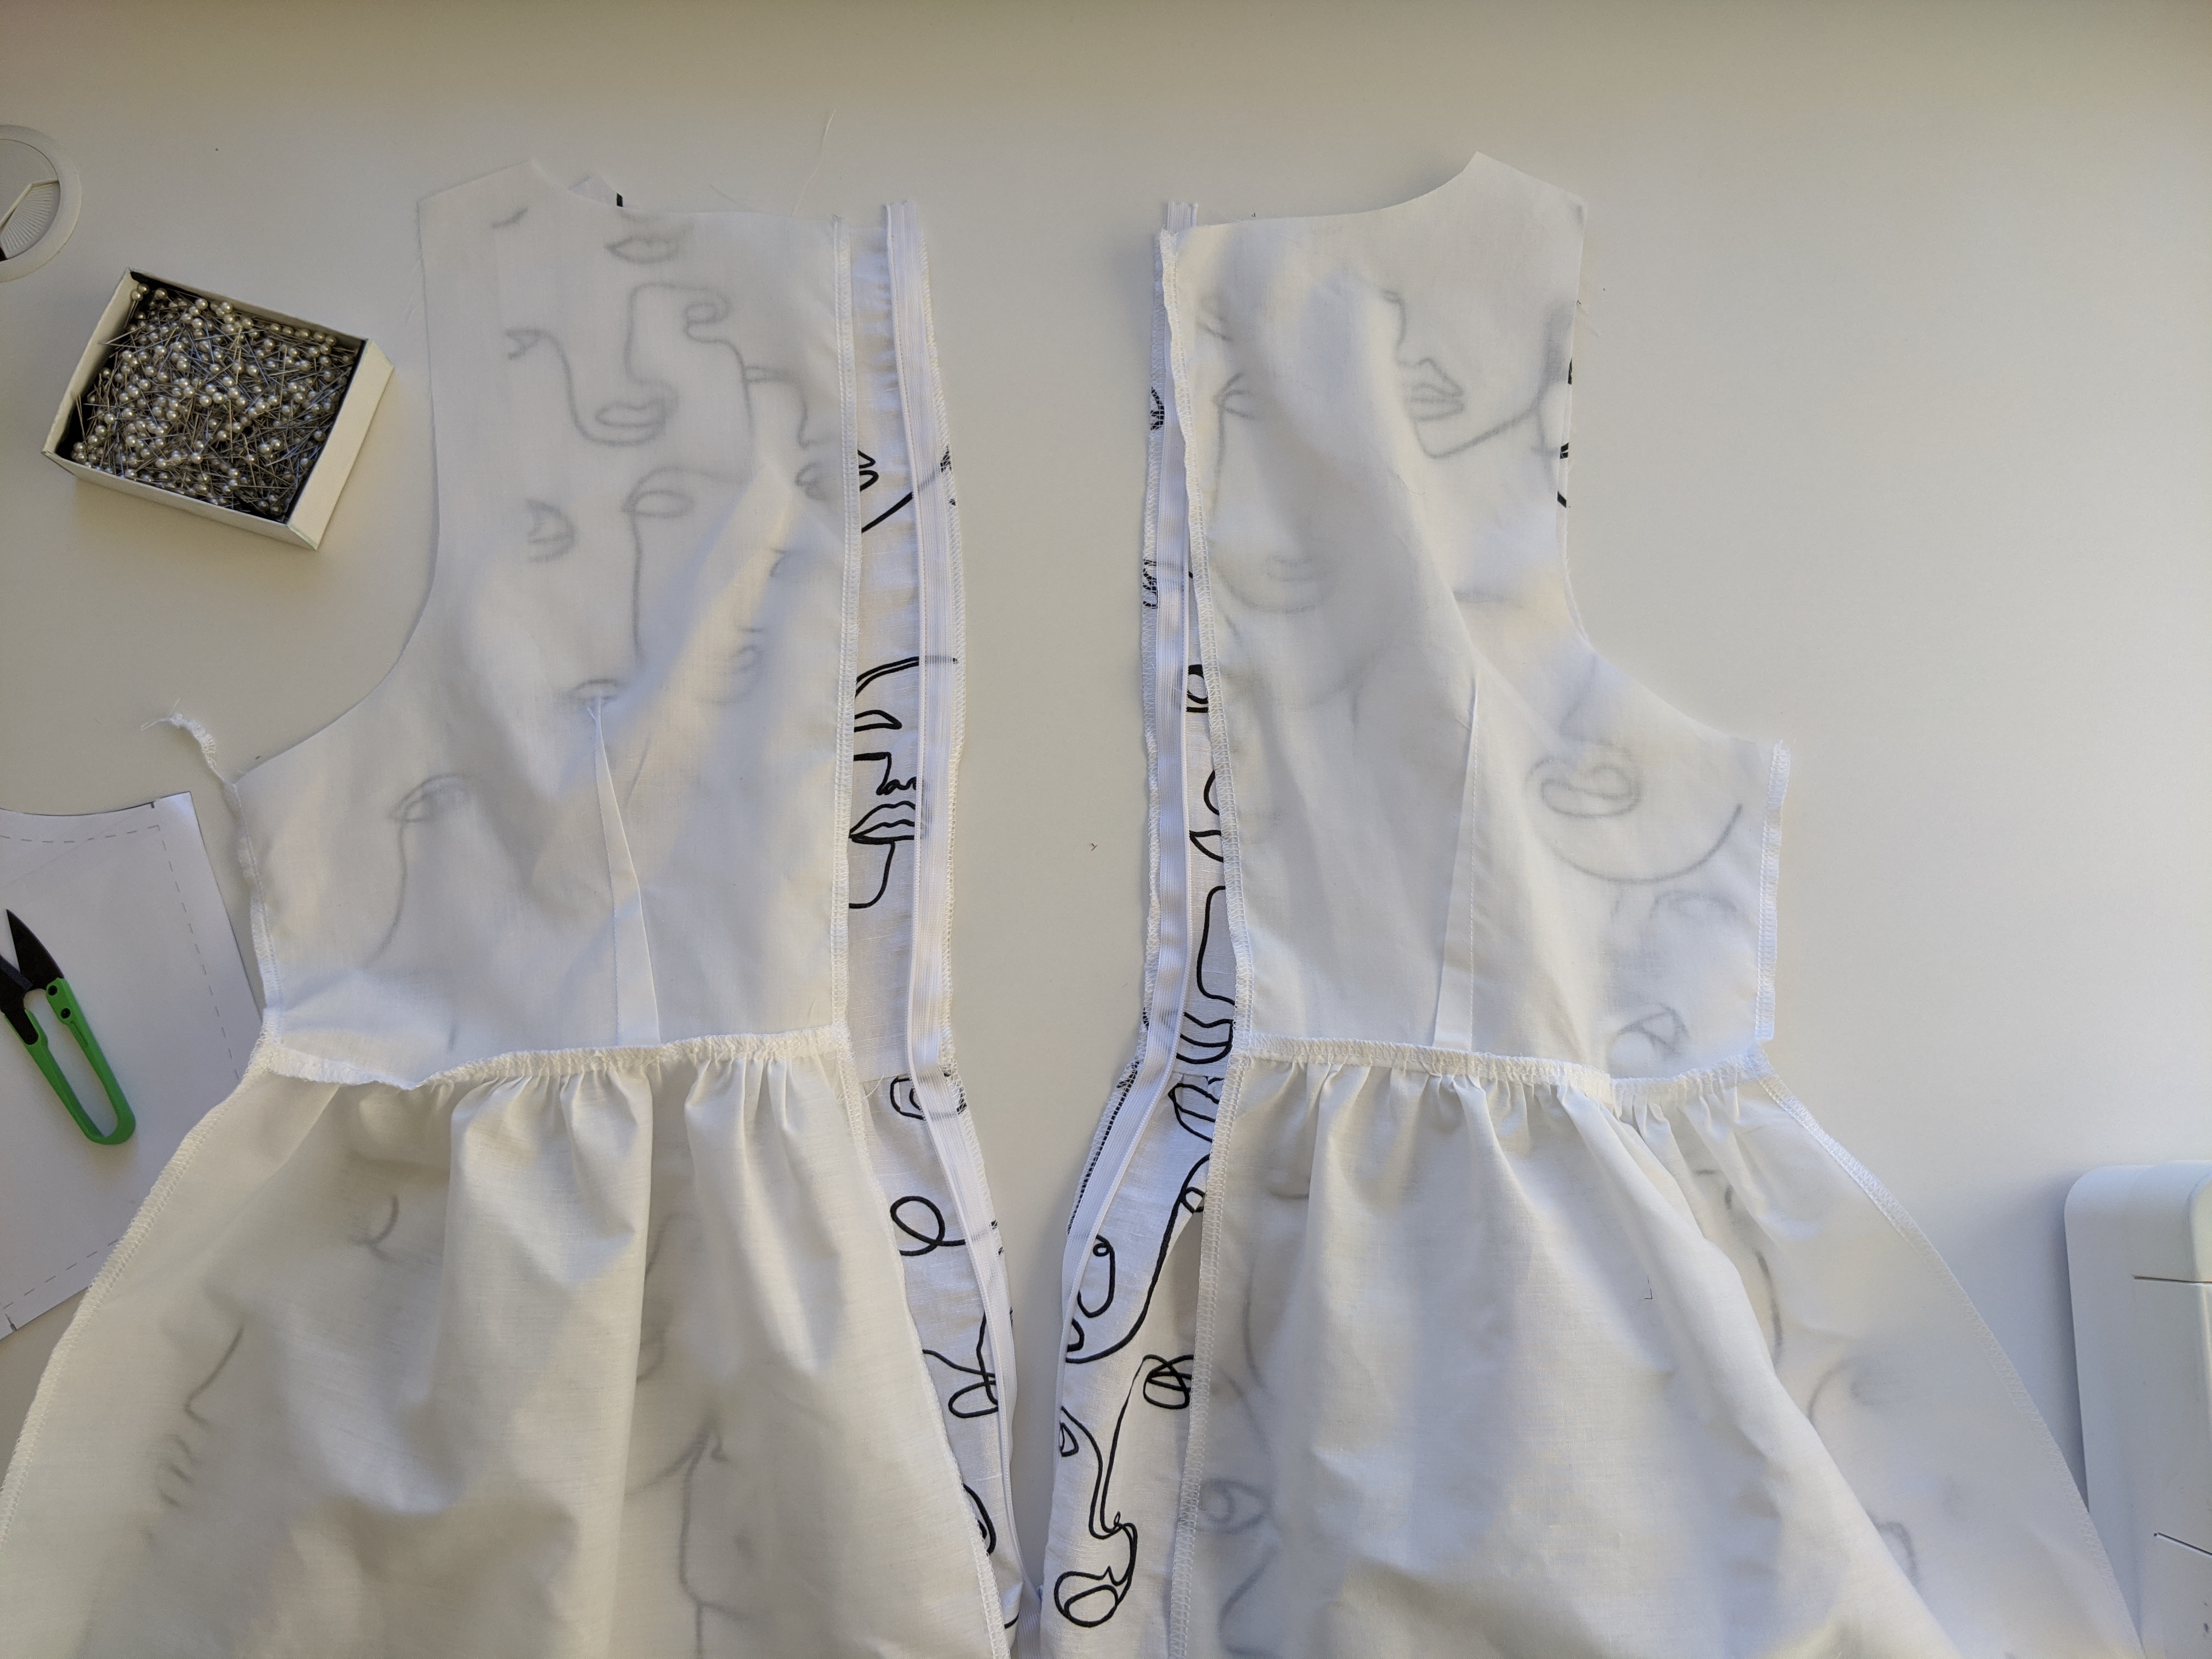
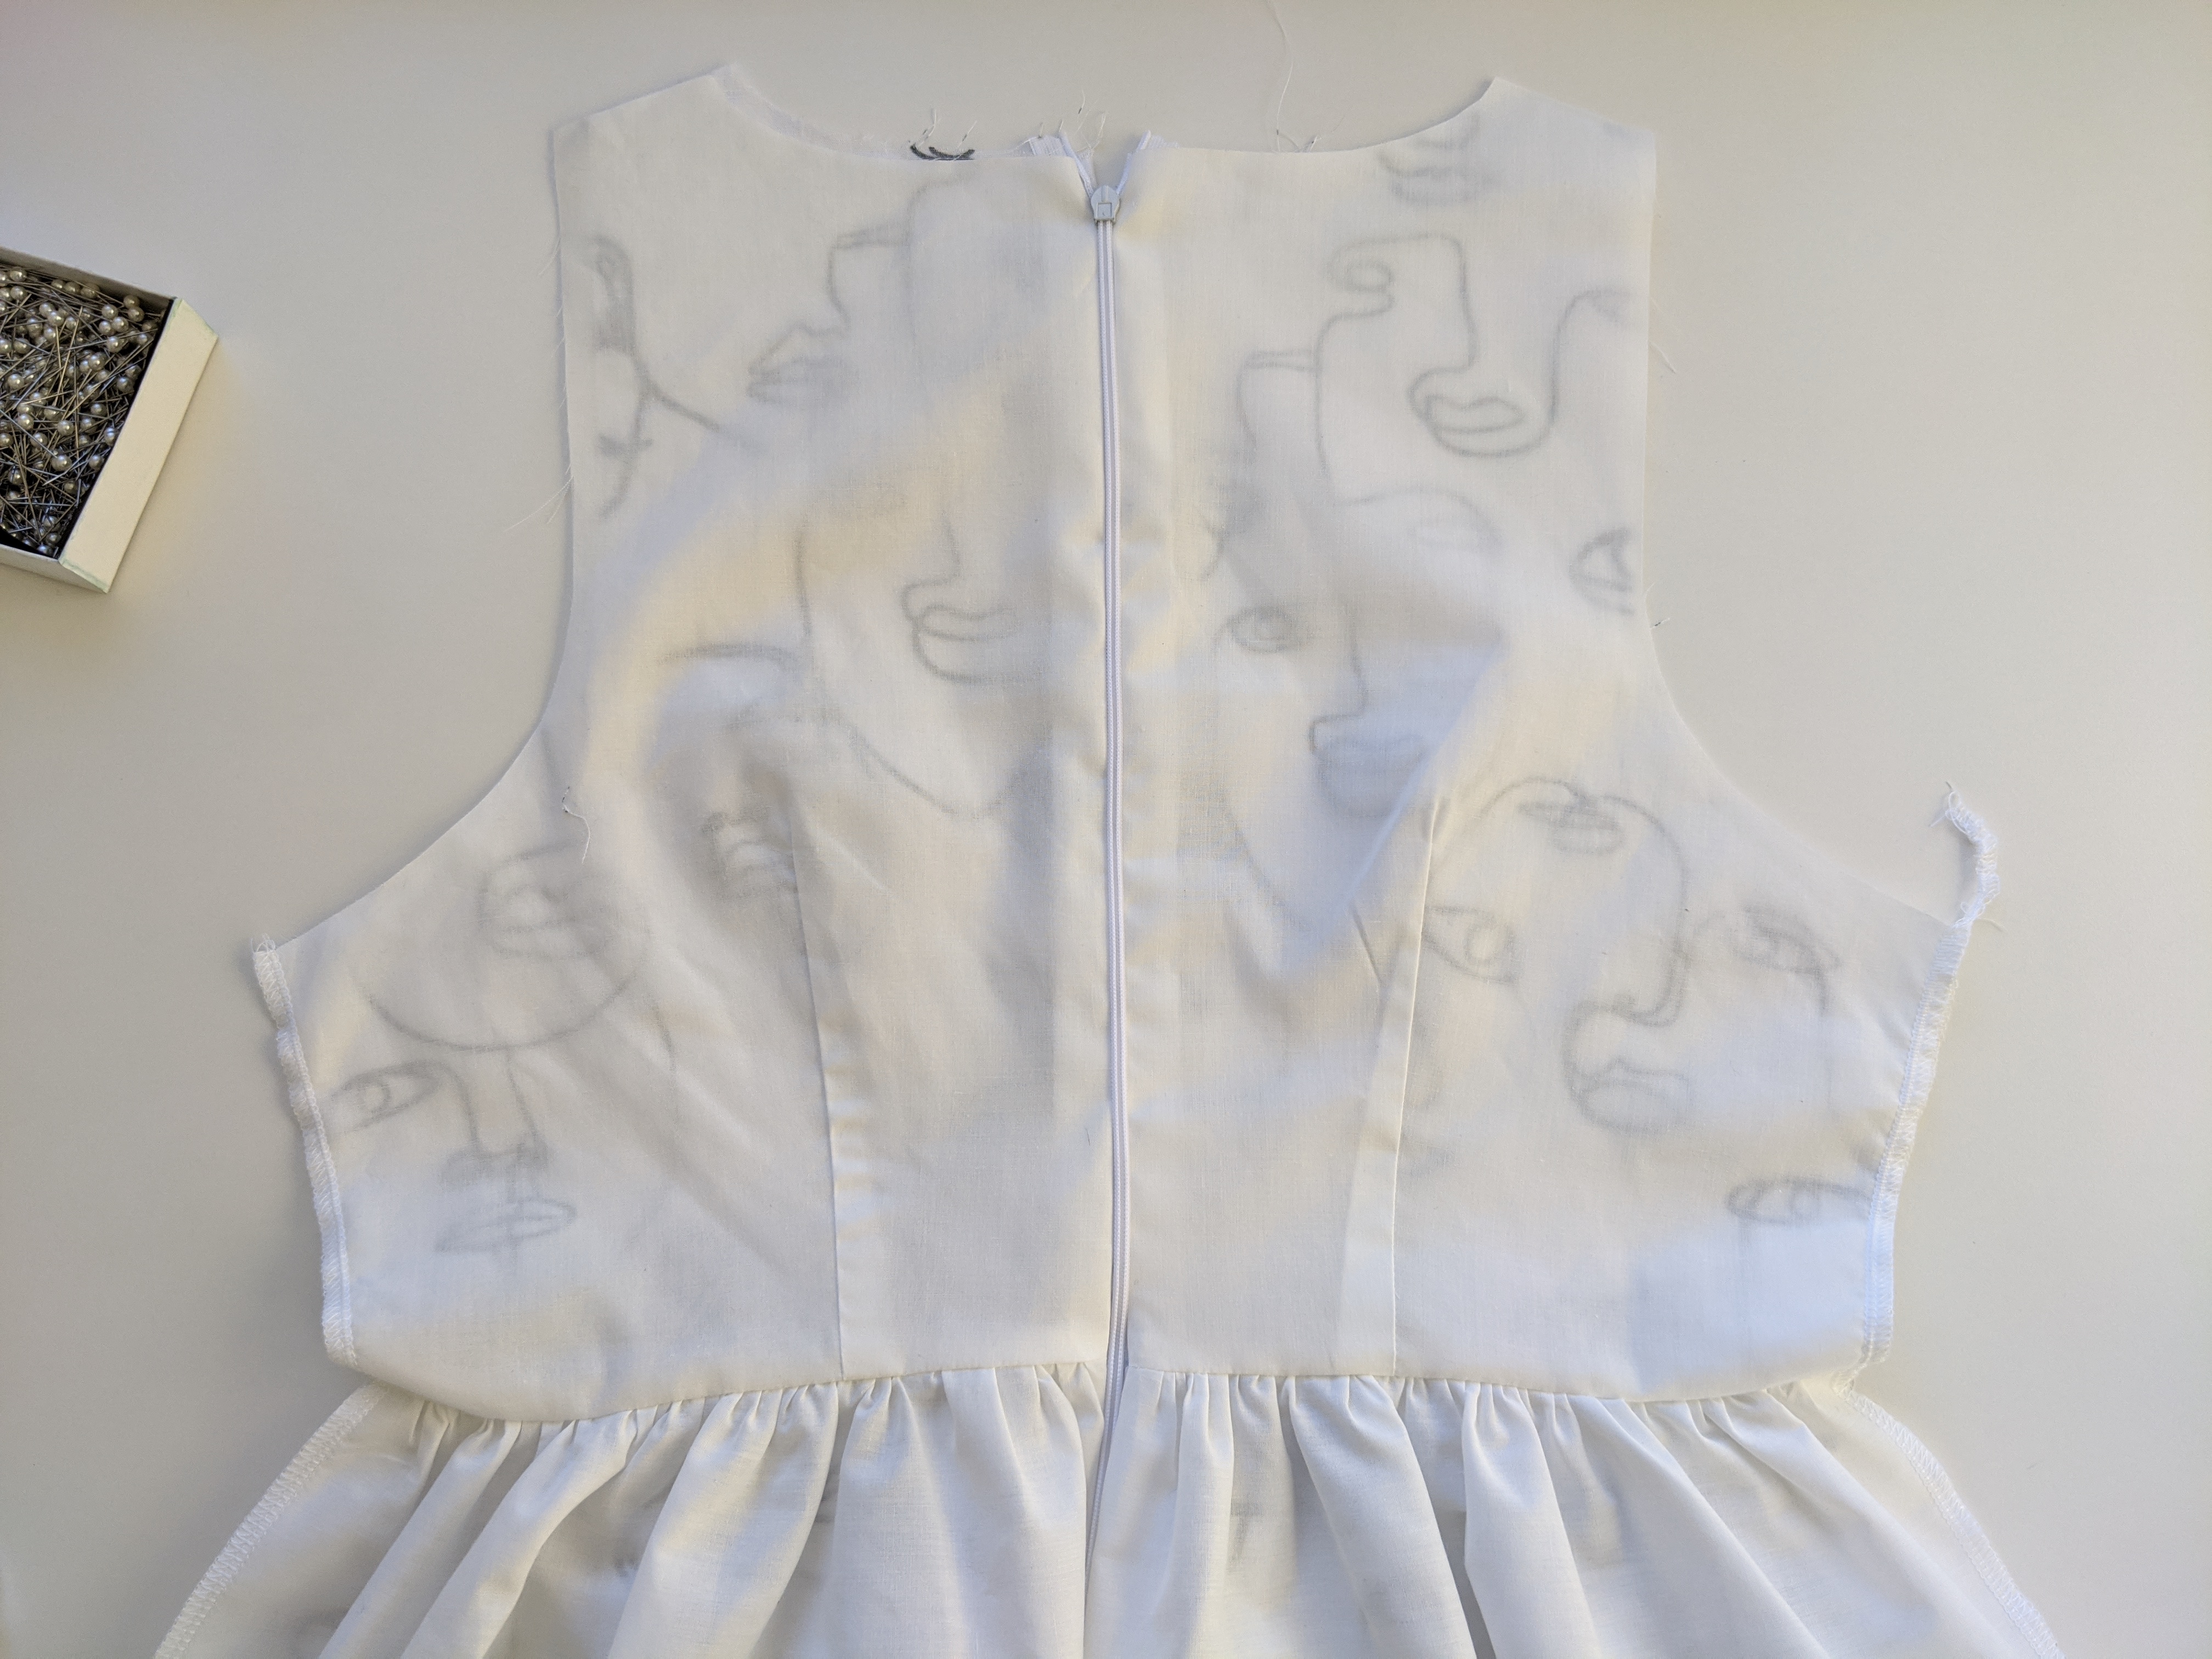
Step 7
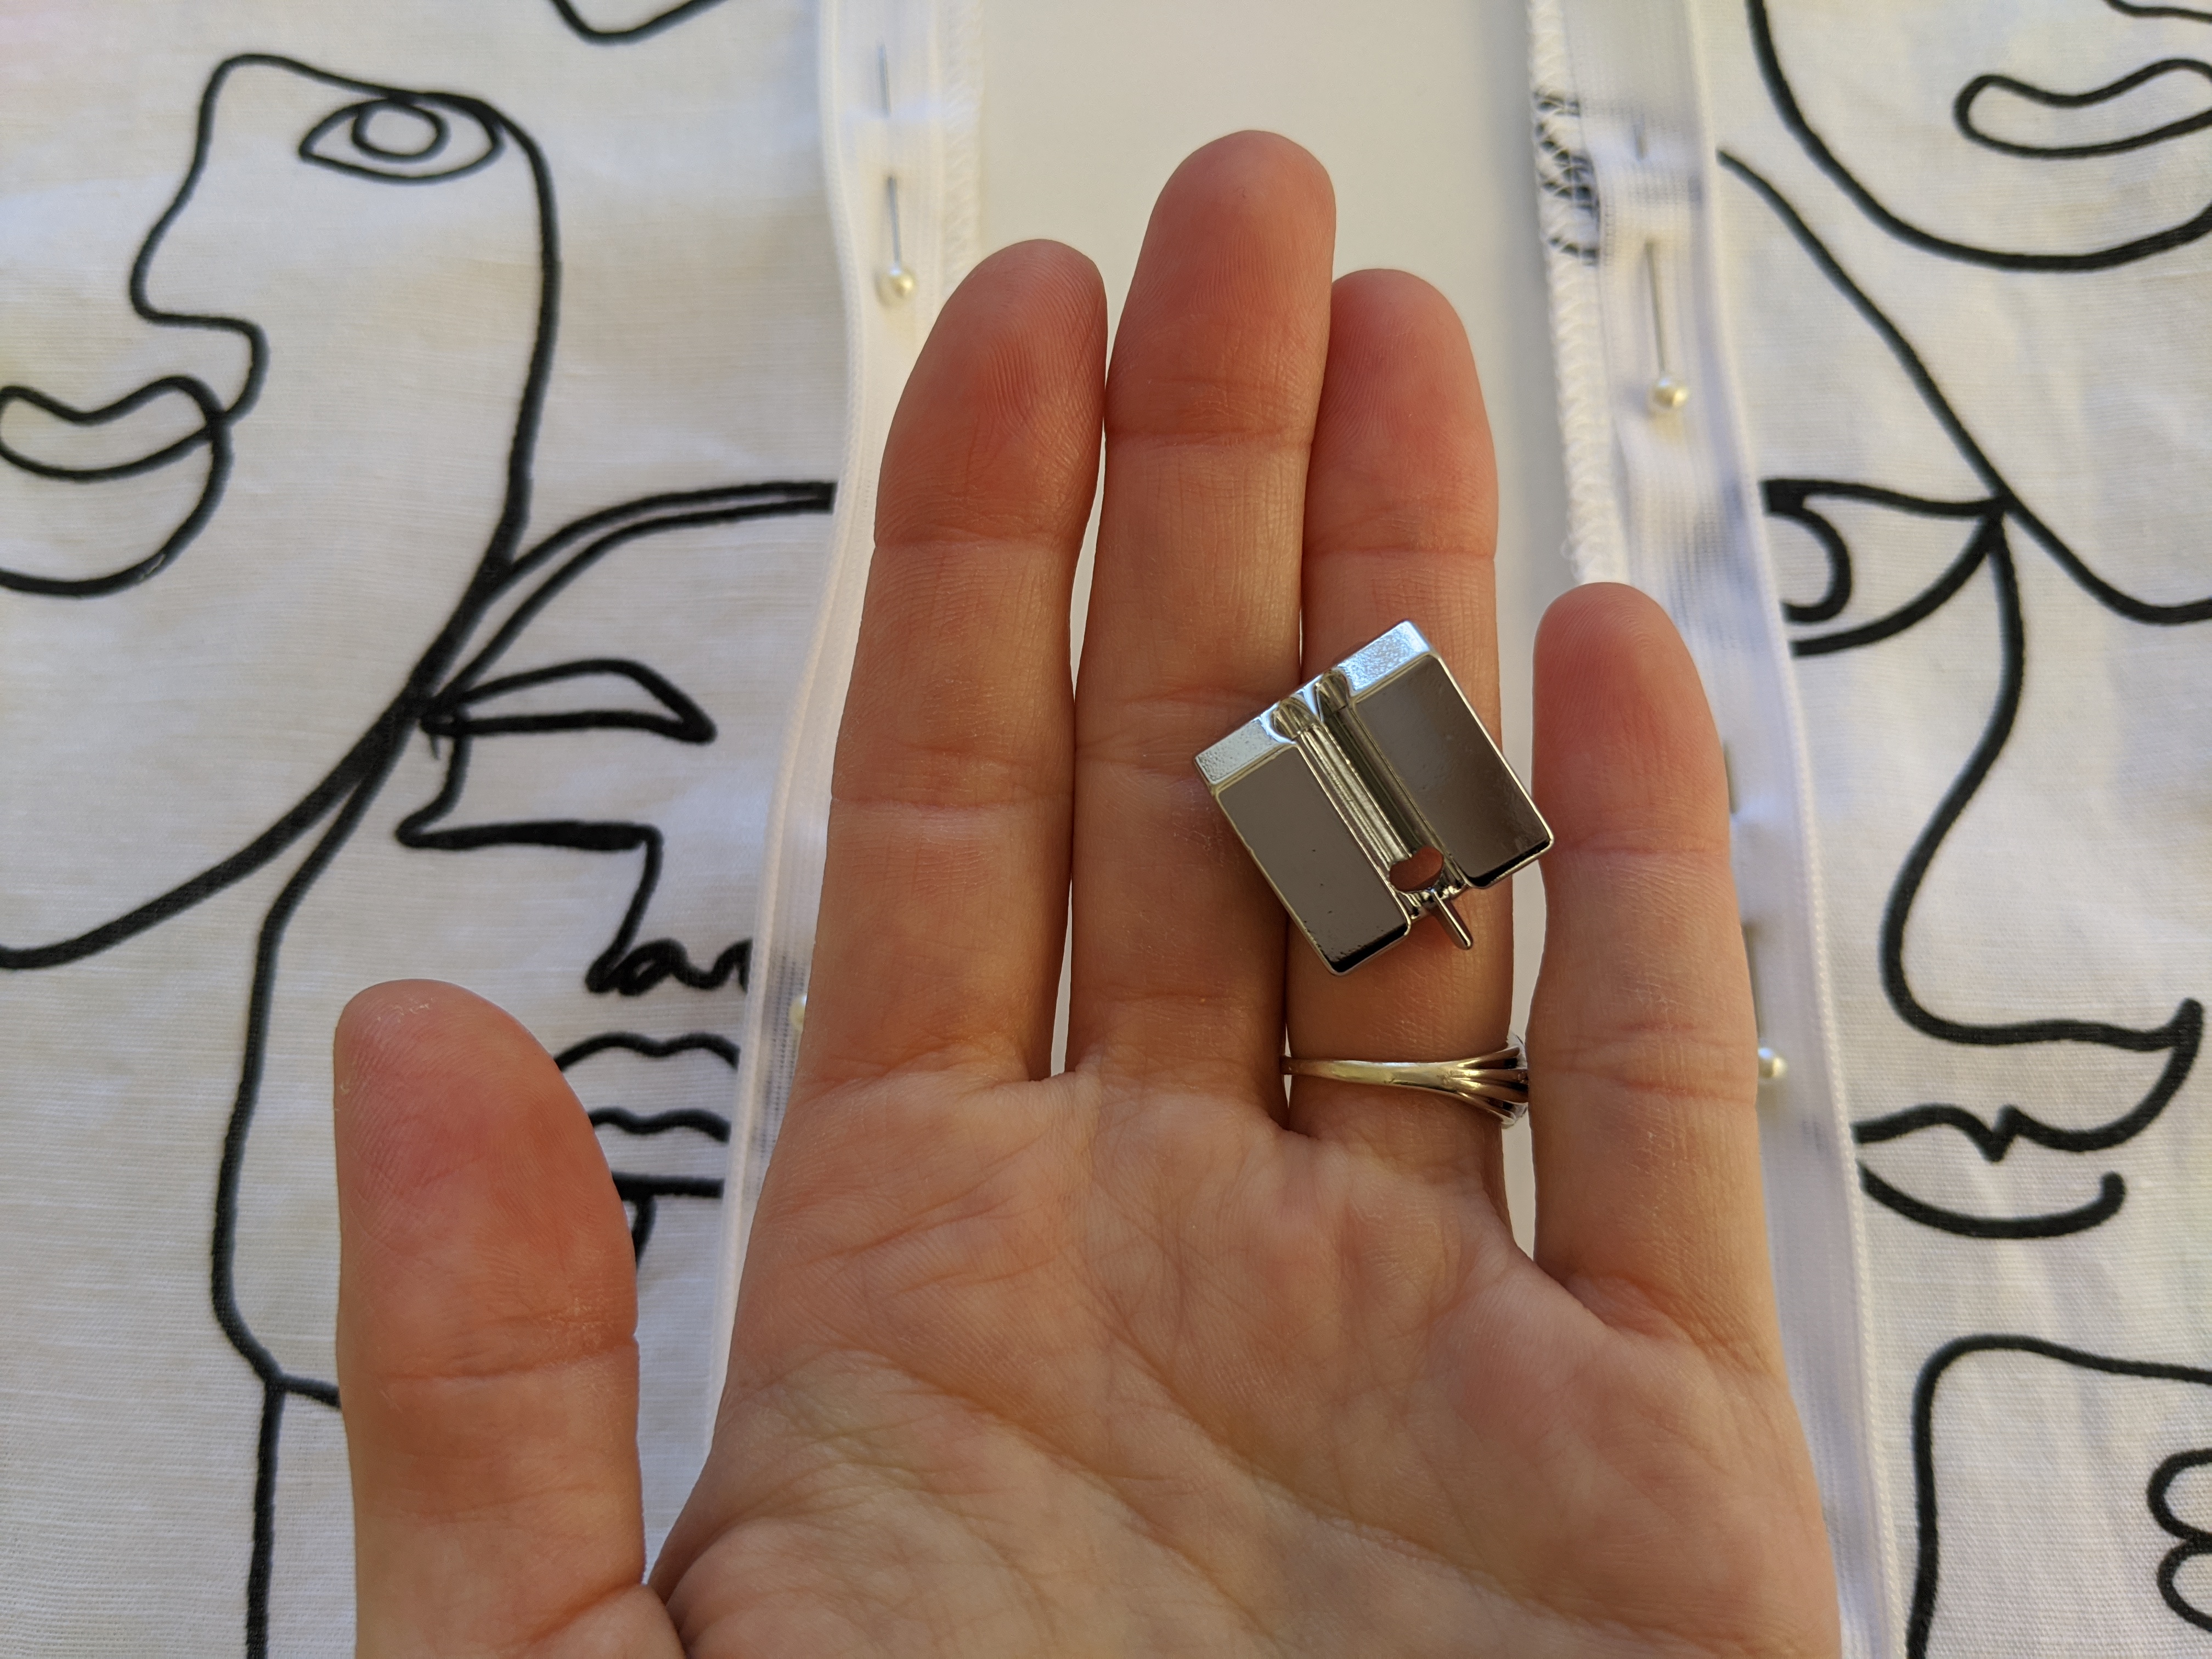
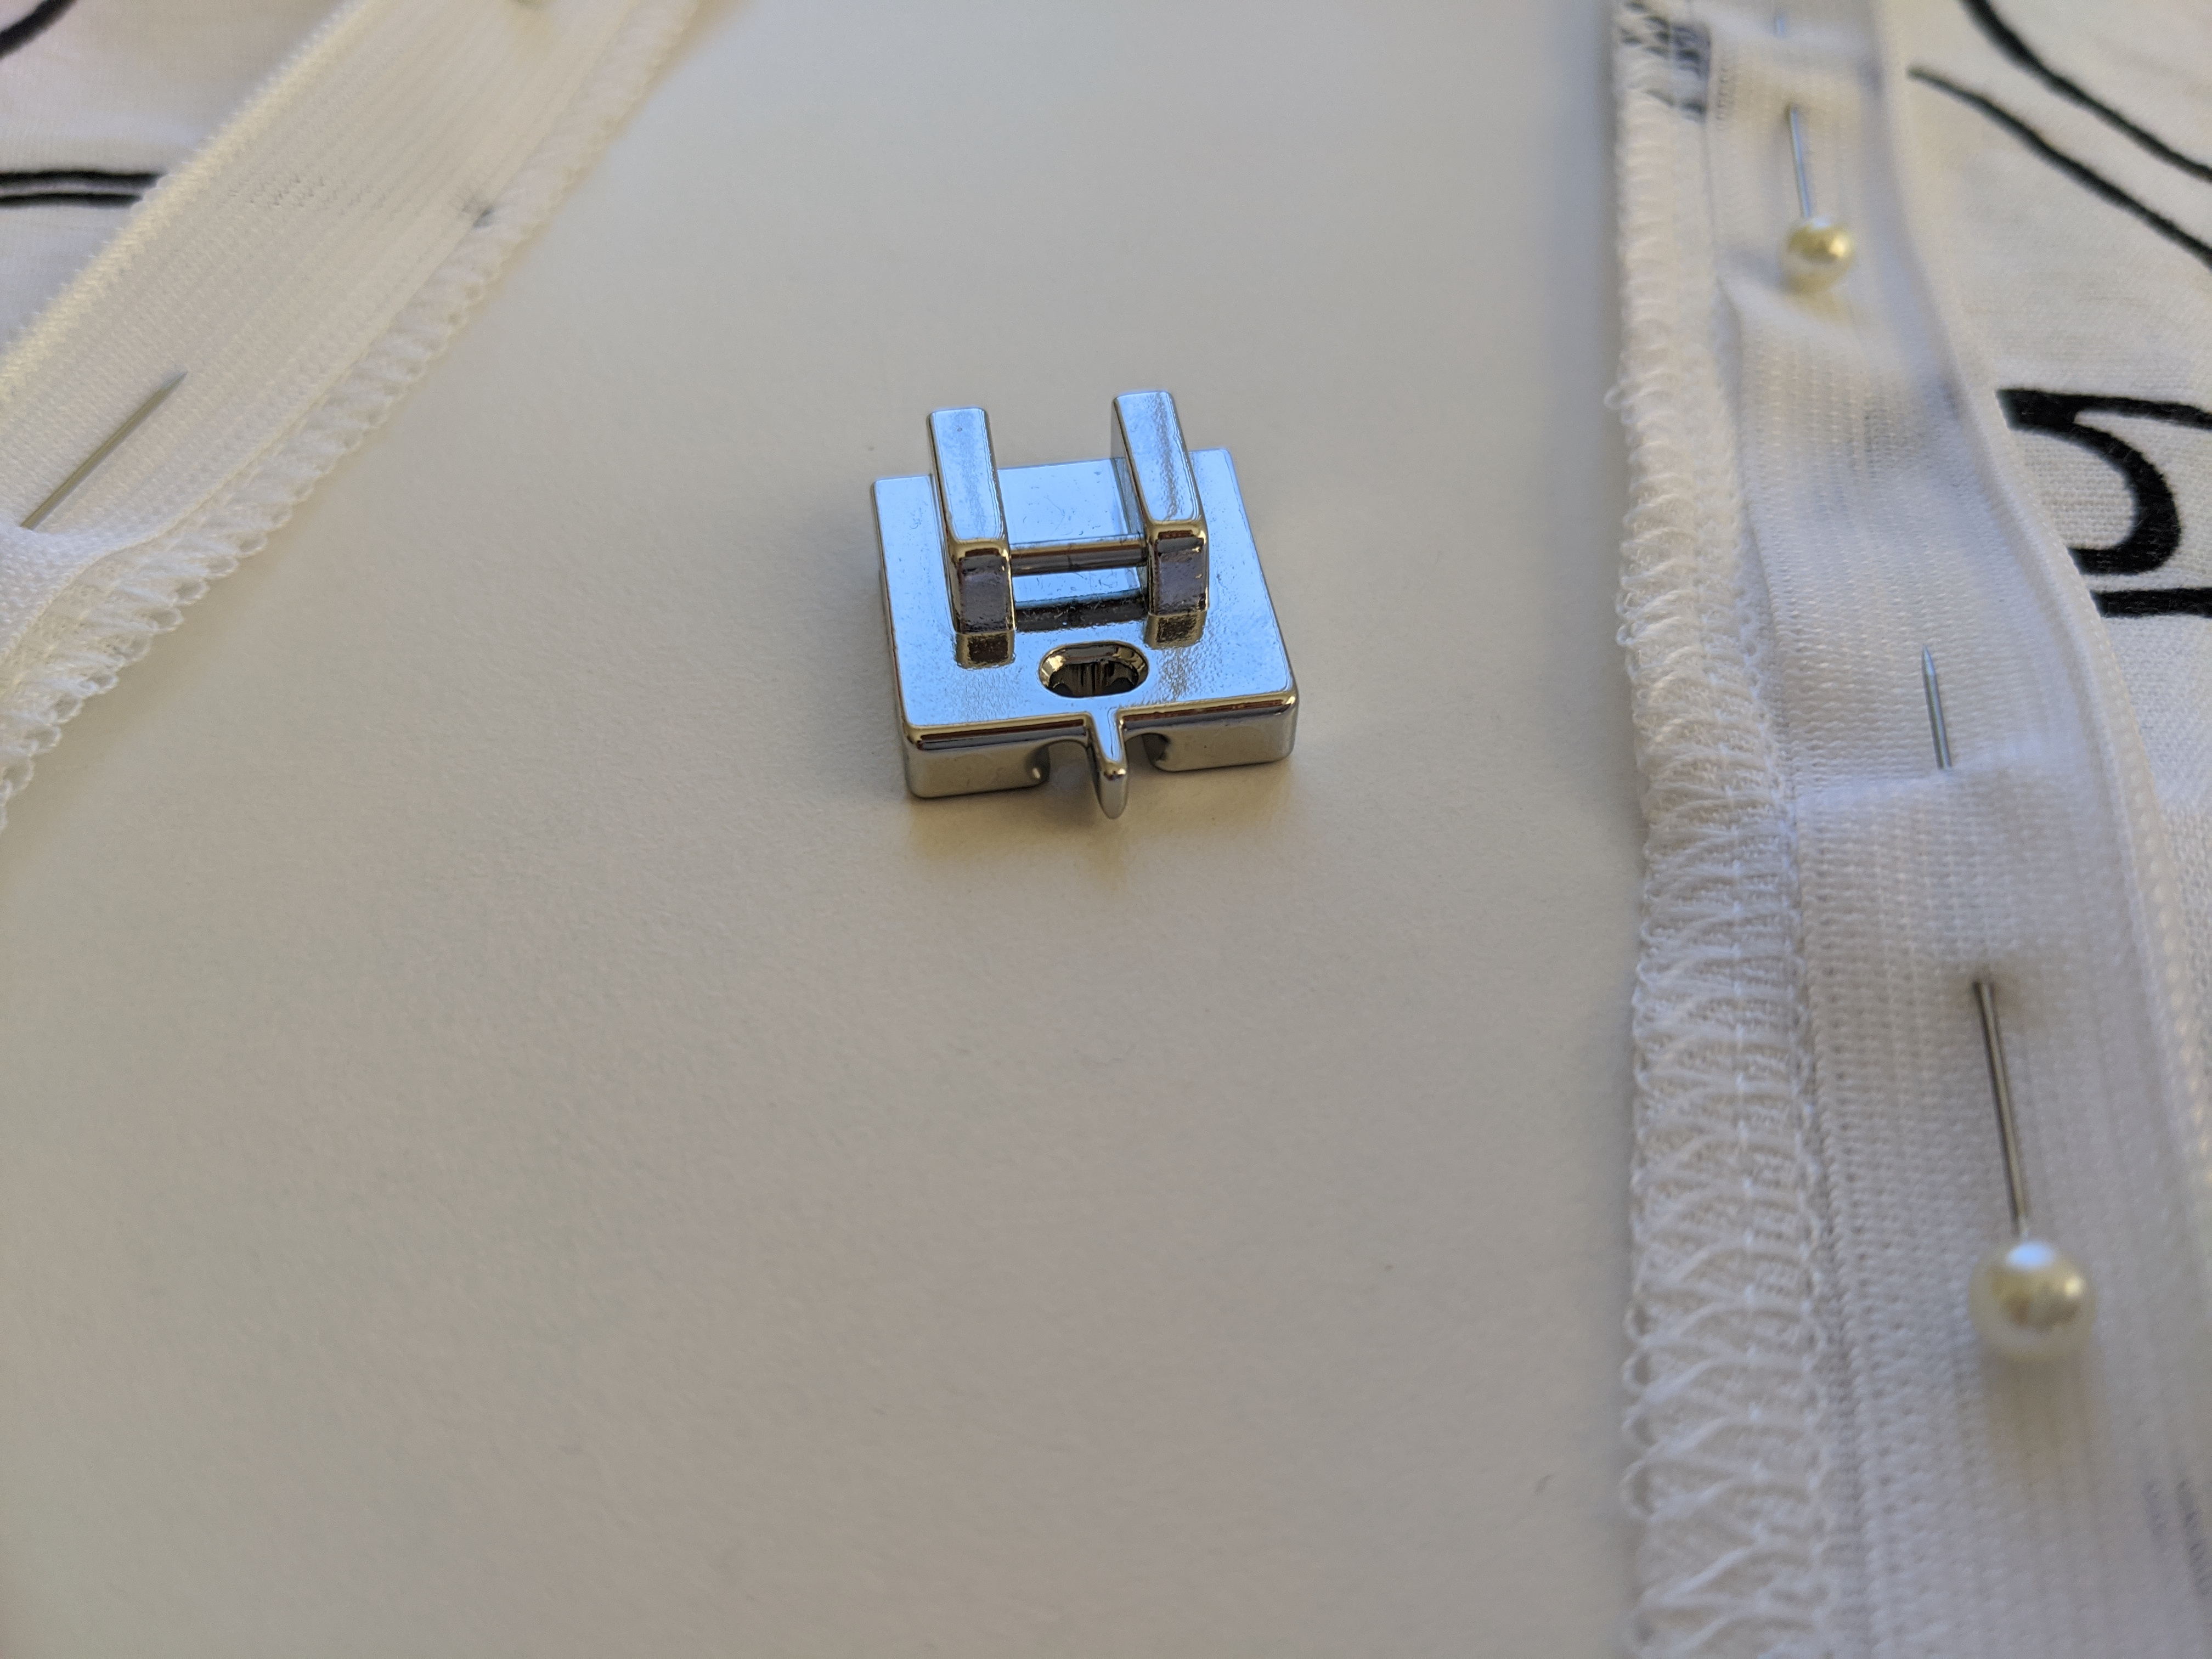
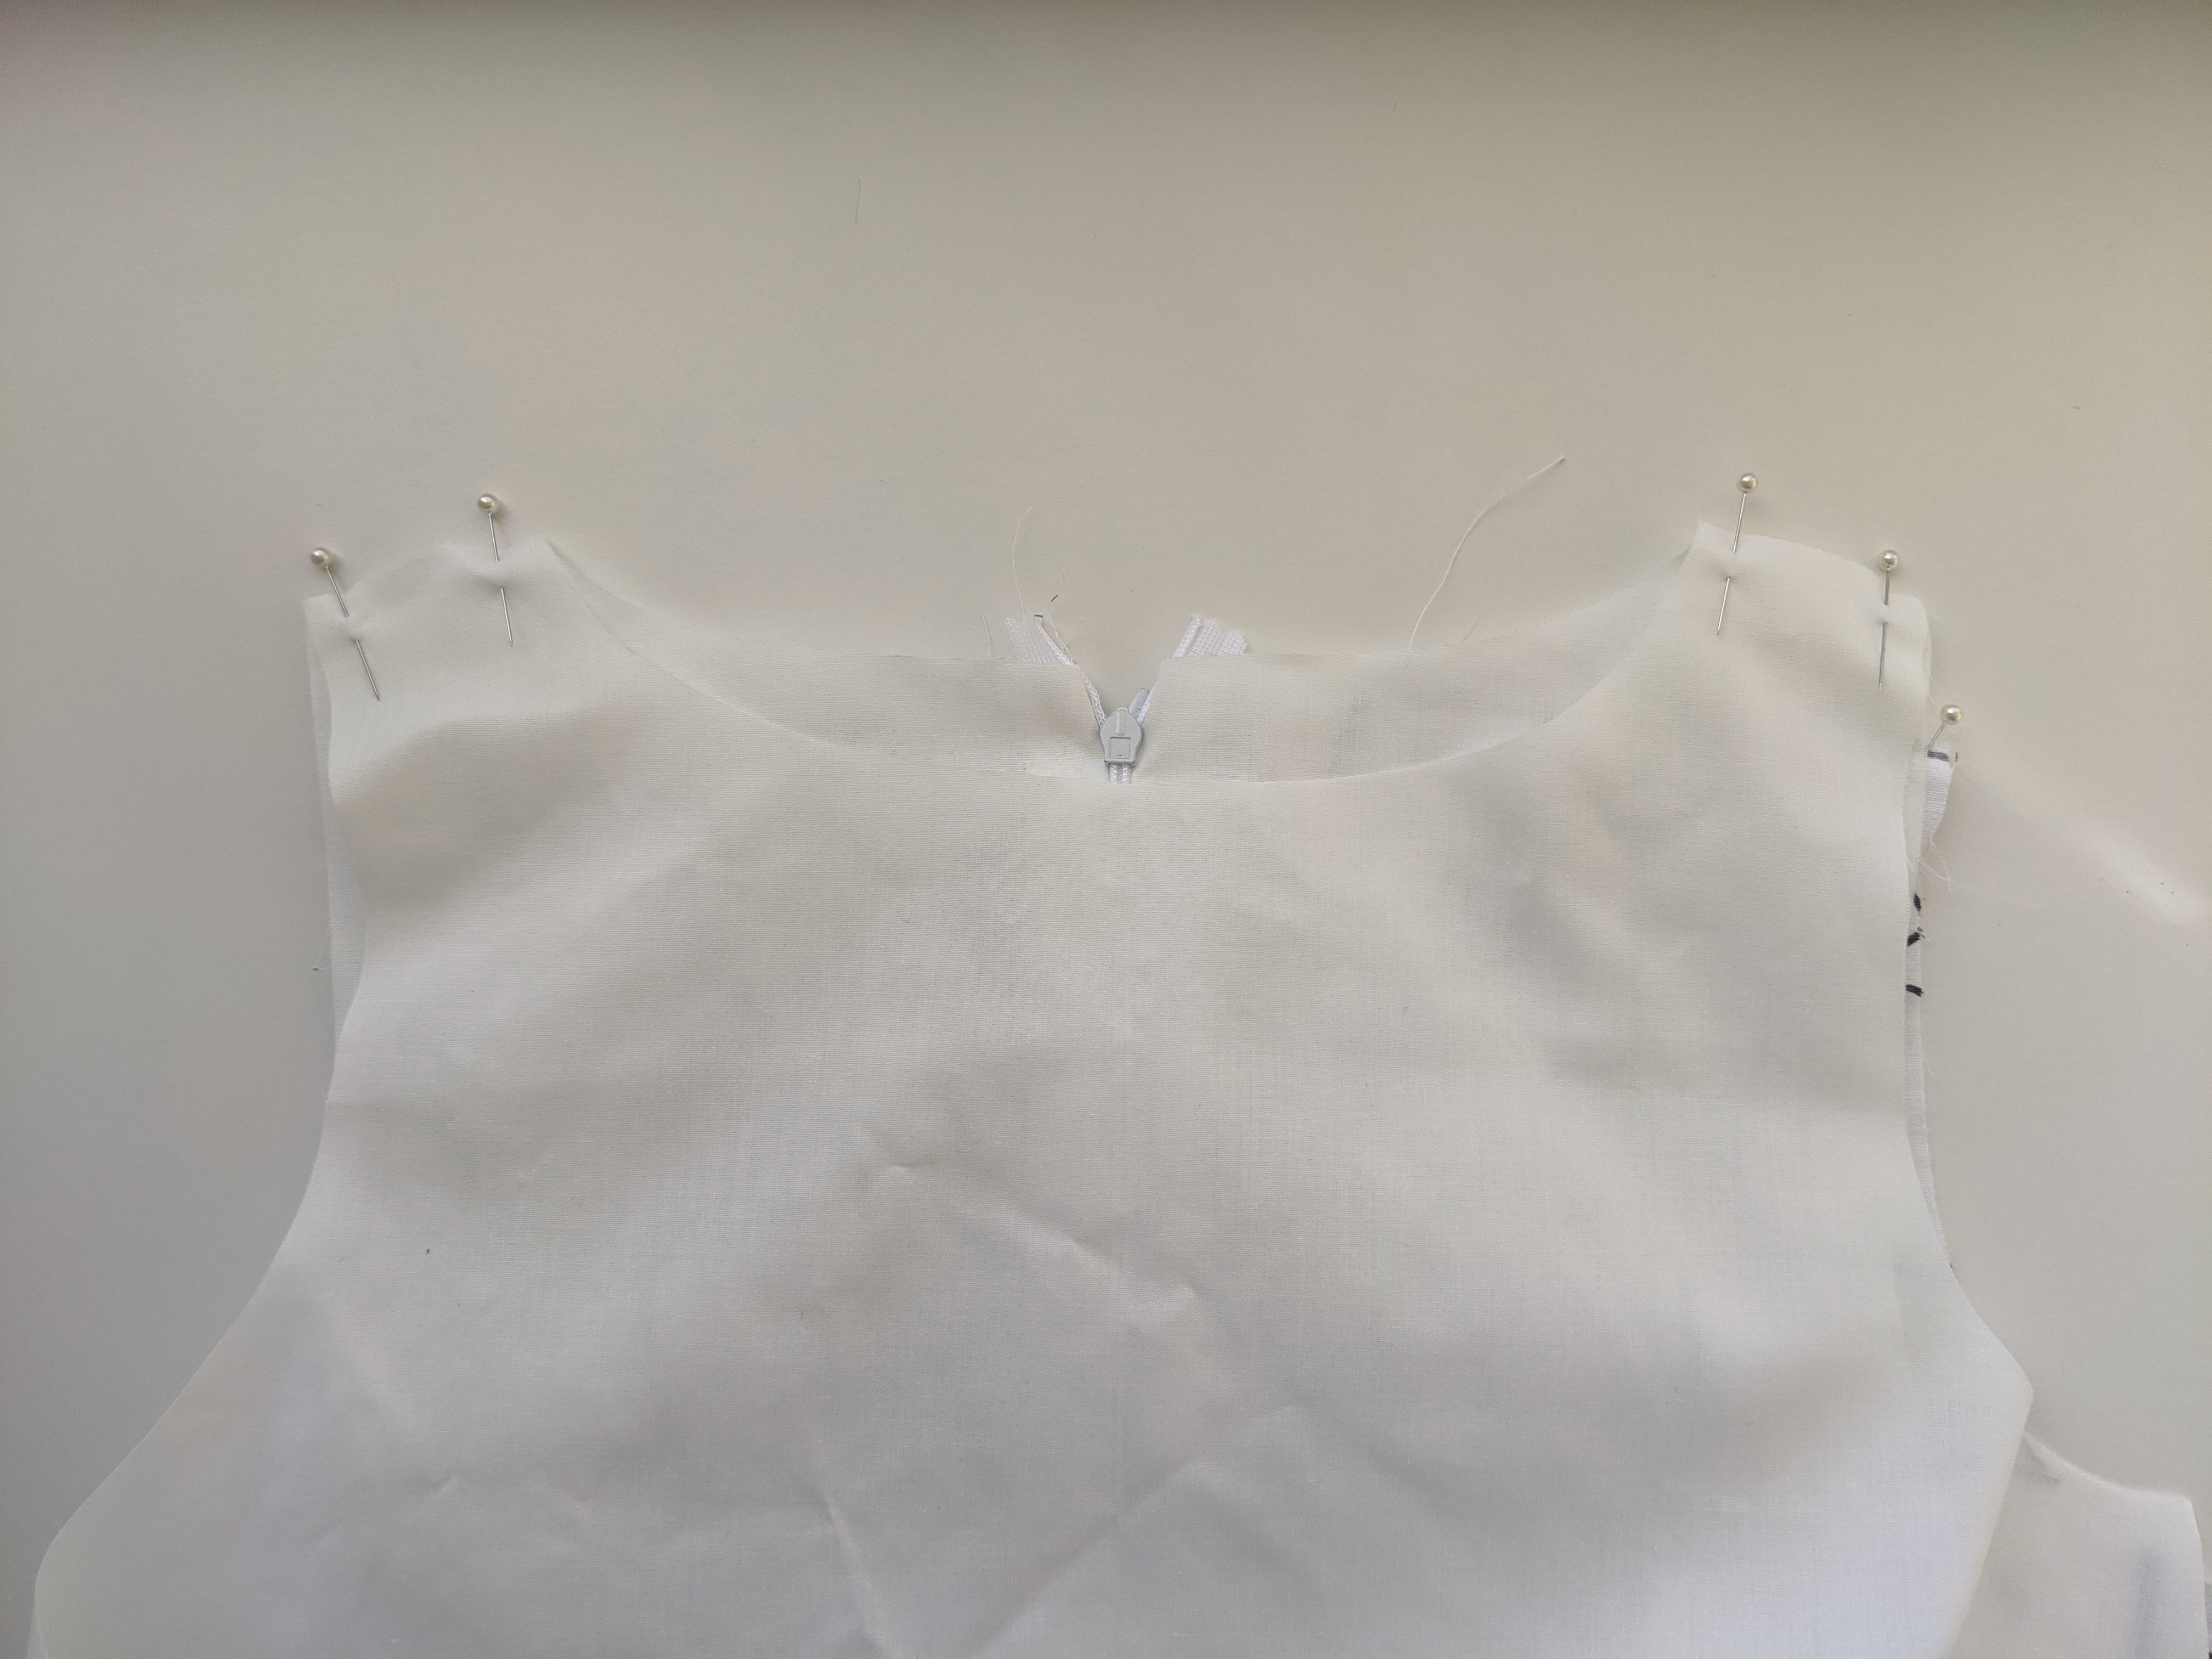
Next insert the zipper into the center back seam of the dress. Unzip the zipper and press it open. Pin the zipper to the main of the dress ensuring the waist seam is even on each side. Using an invisible zipper foot, sew the zipper to the dress.

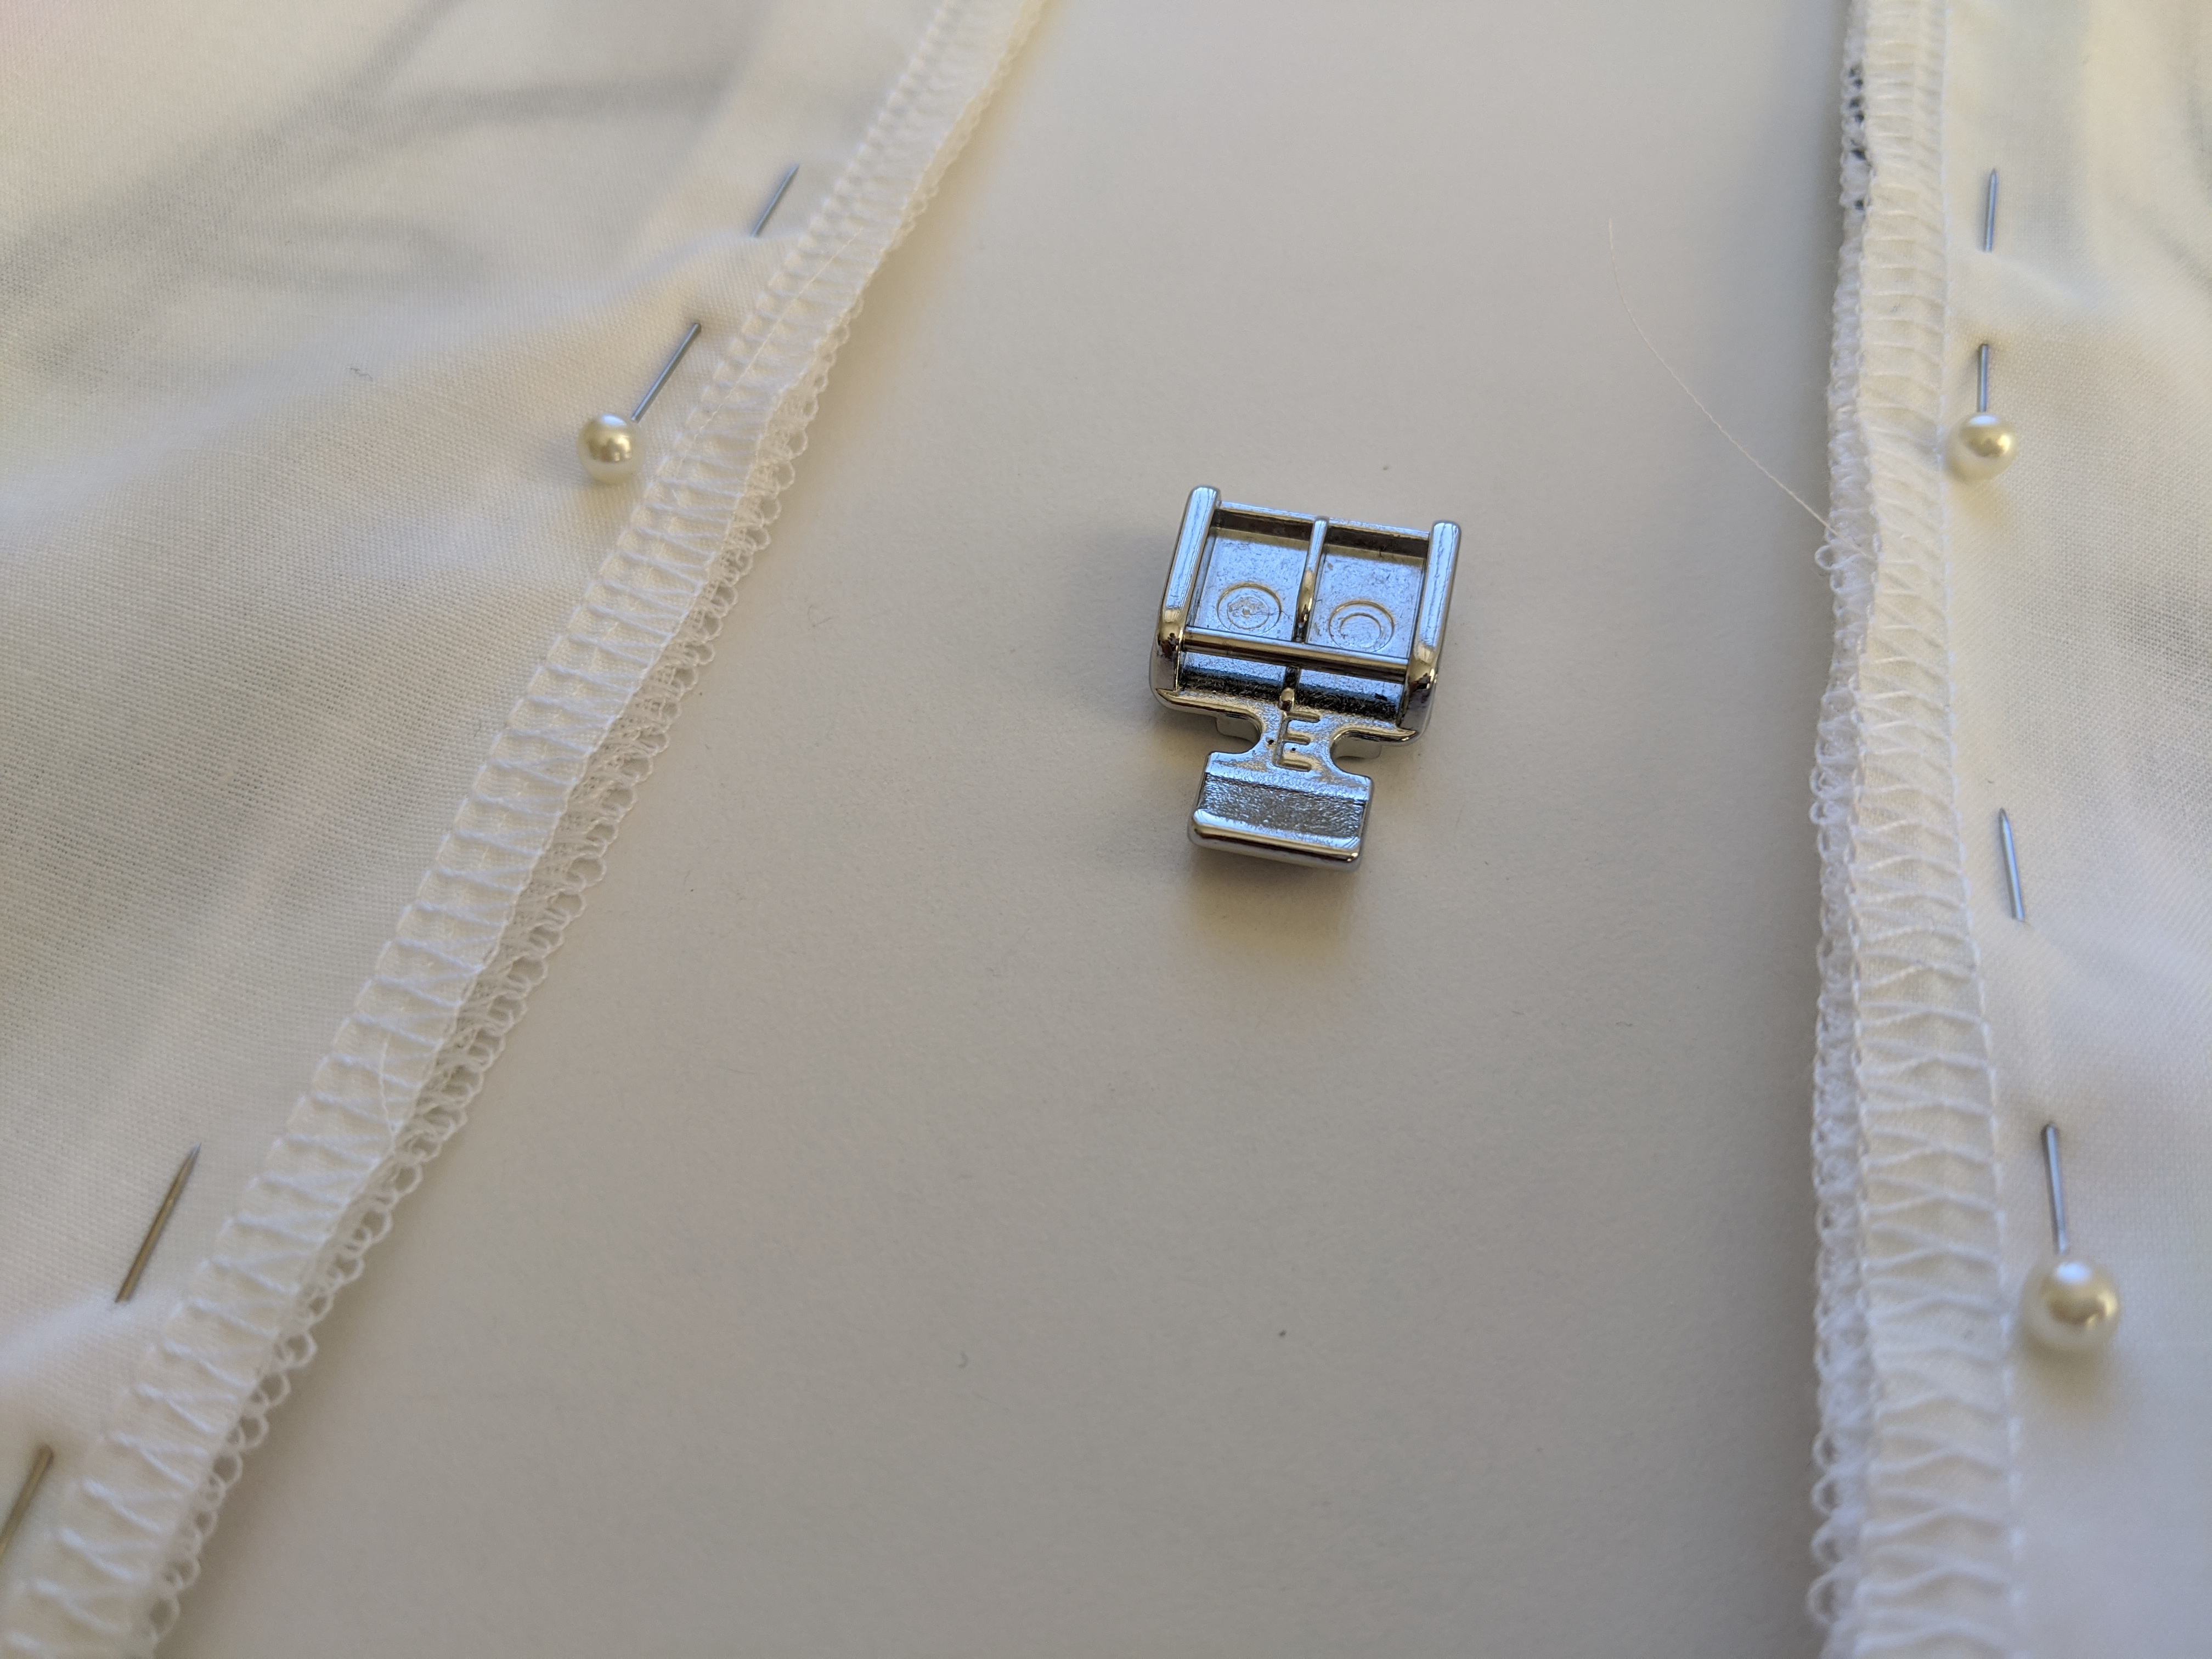
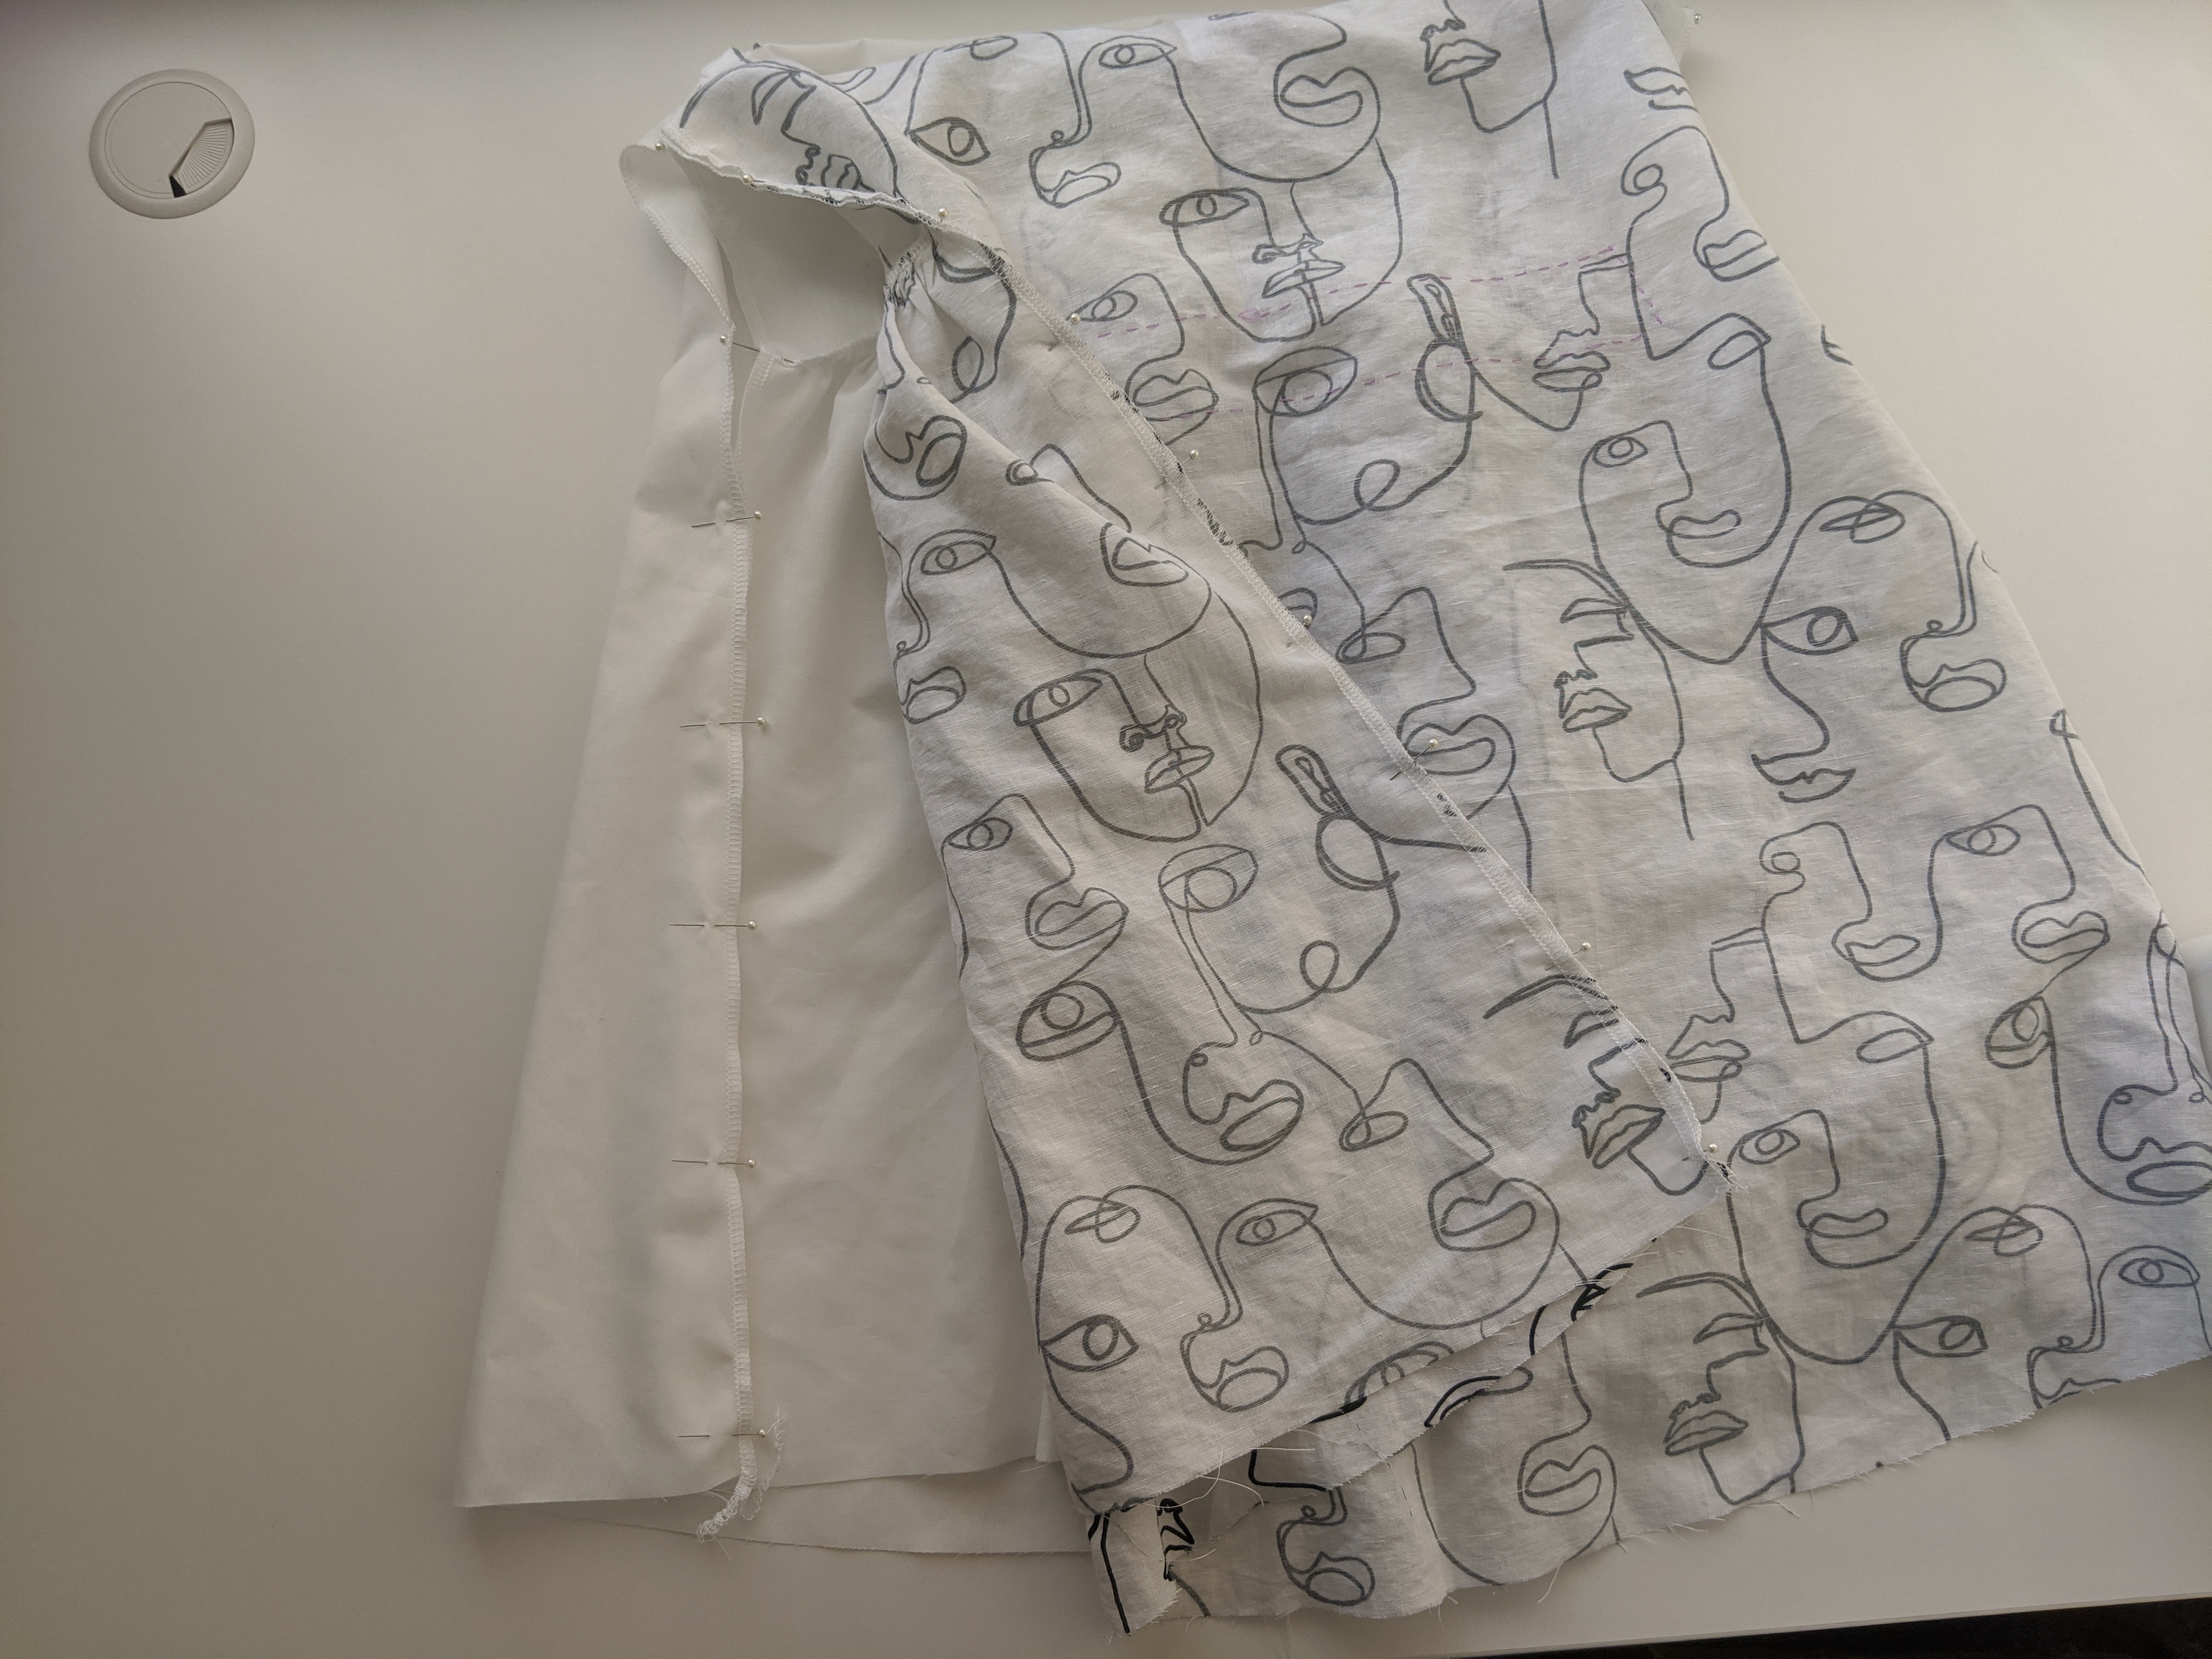
Step 8
Then attach the lining to the zipper right sides together with the main fabric, sandwiching the zipper between the fabric. Using a standard zipper foot, sew the lining to the zipper. (this bags out the zipper between the main and lining and gives a neater finish)
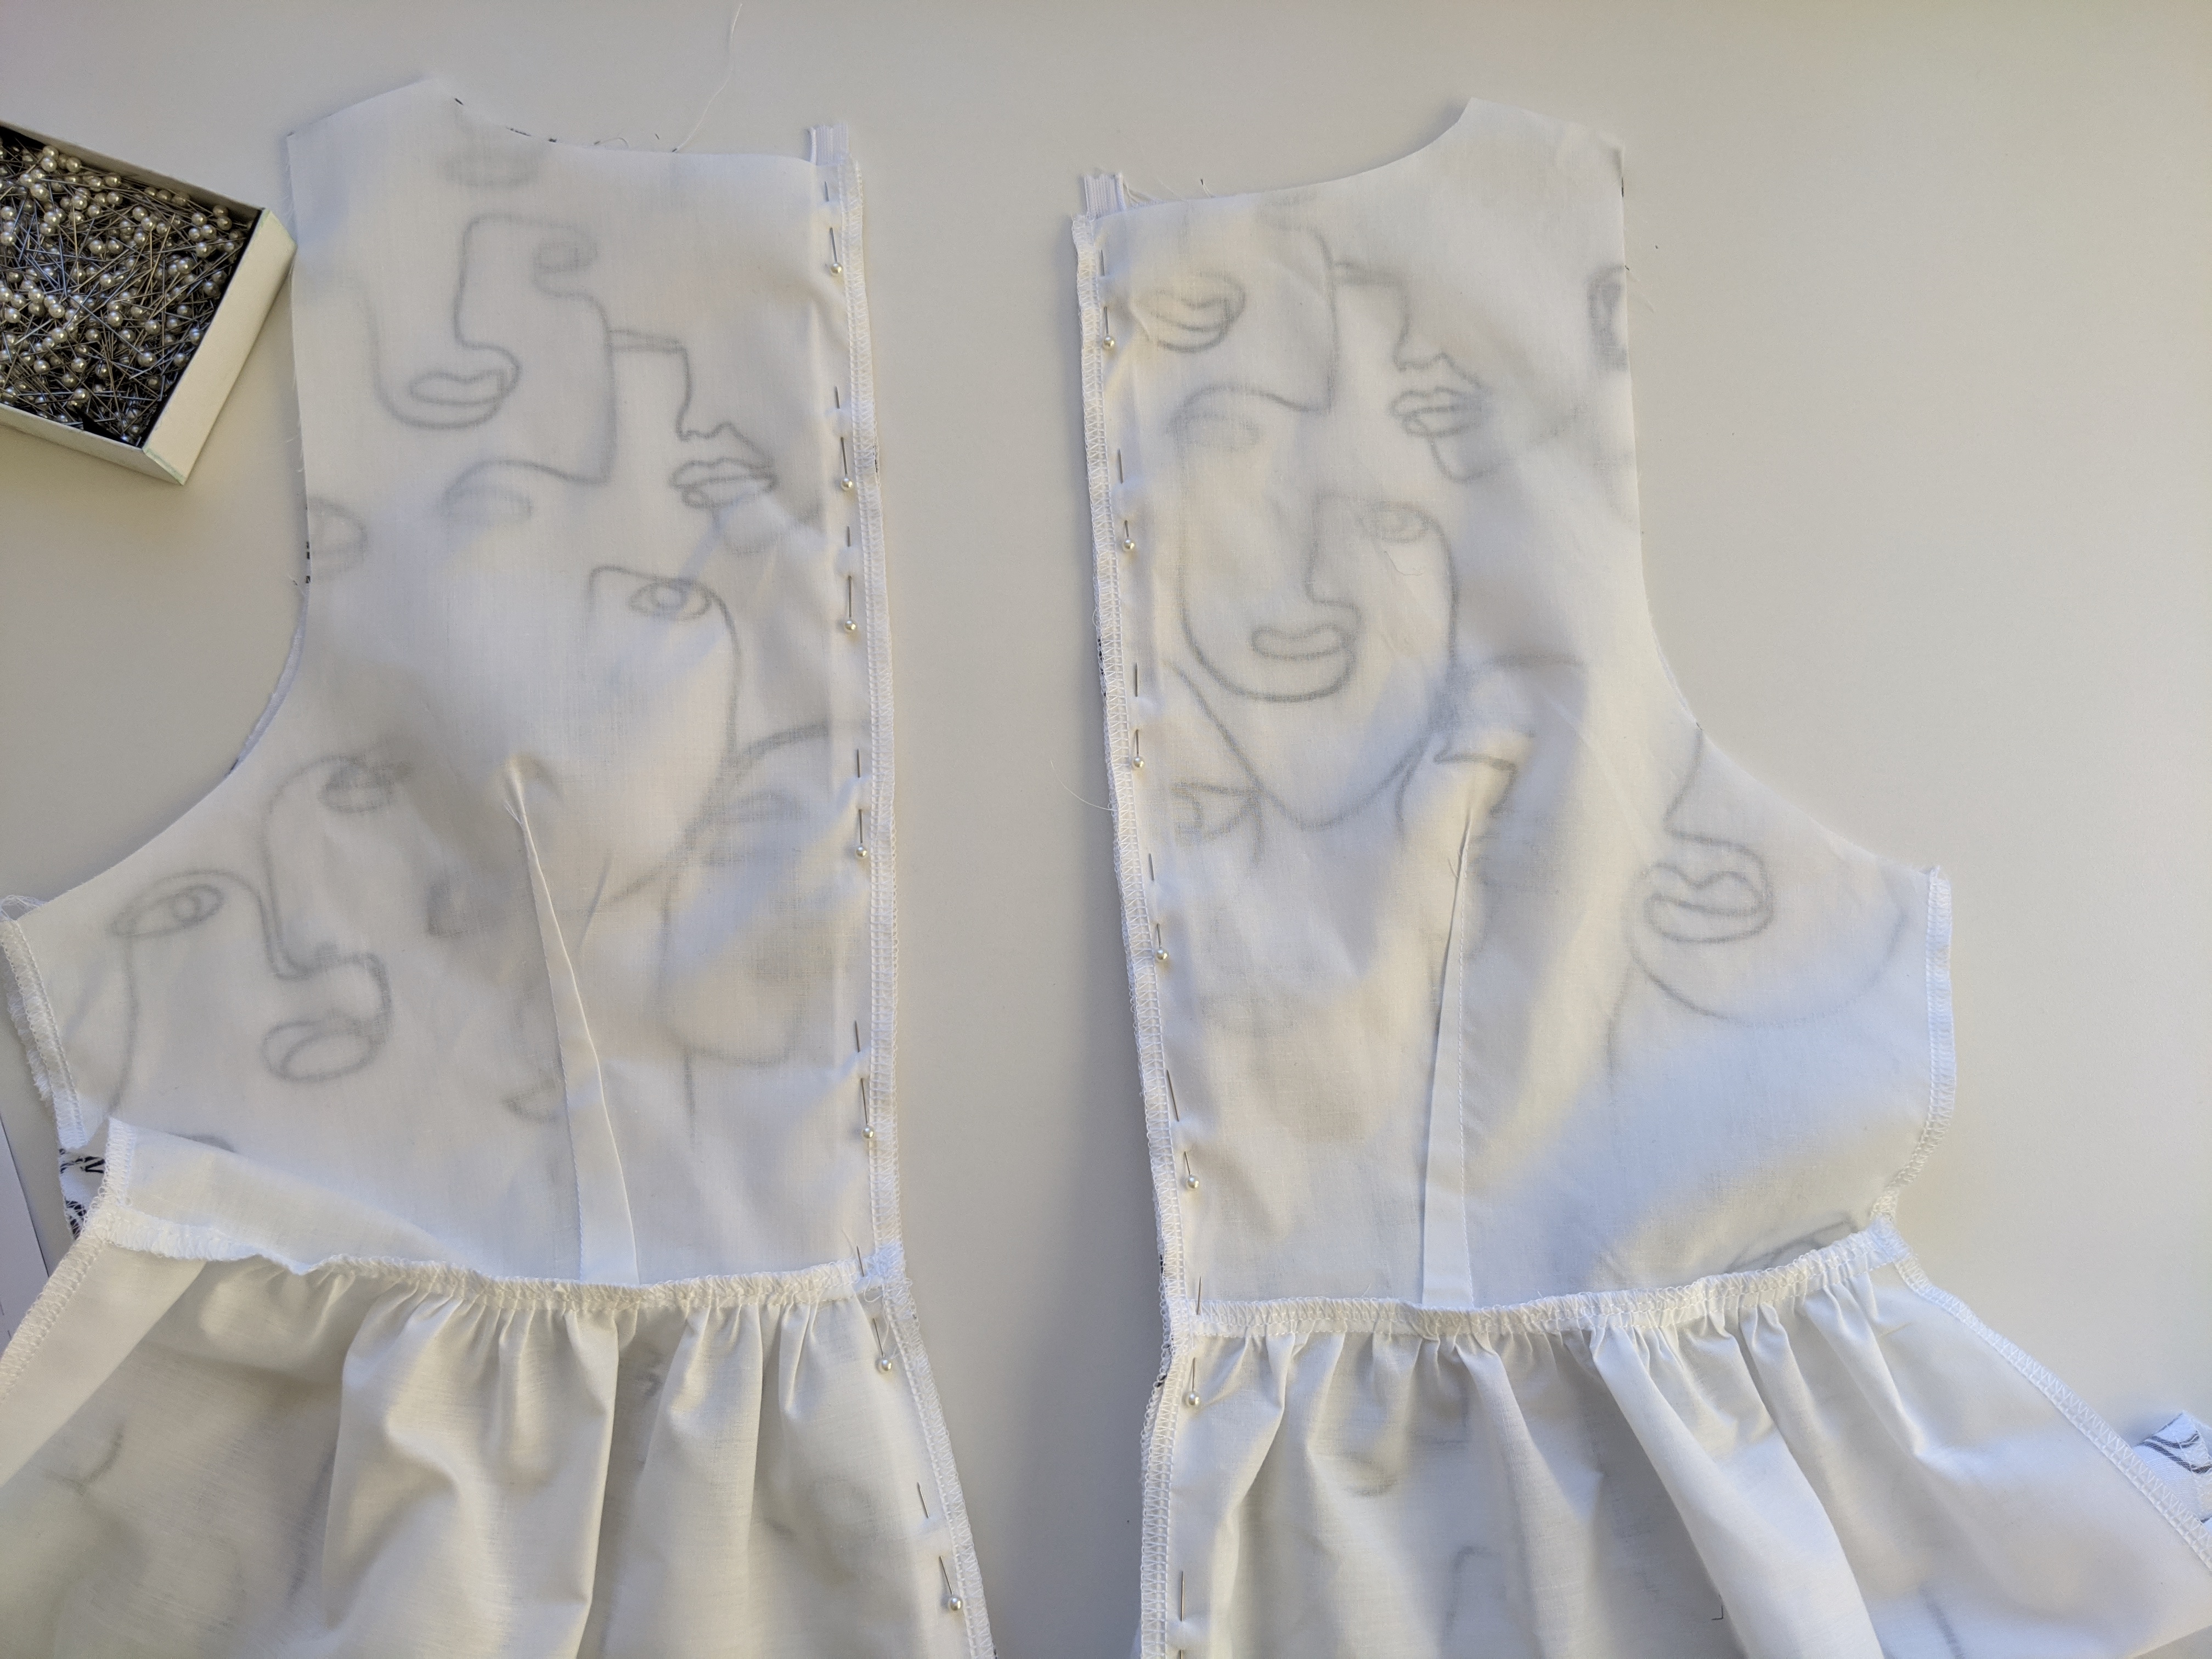
Step 9
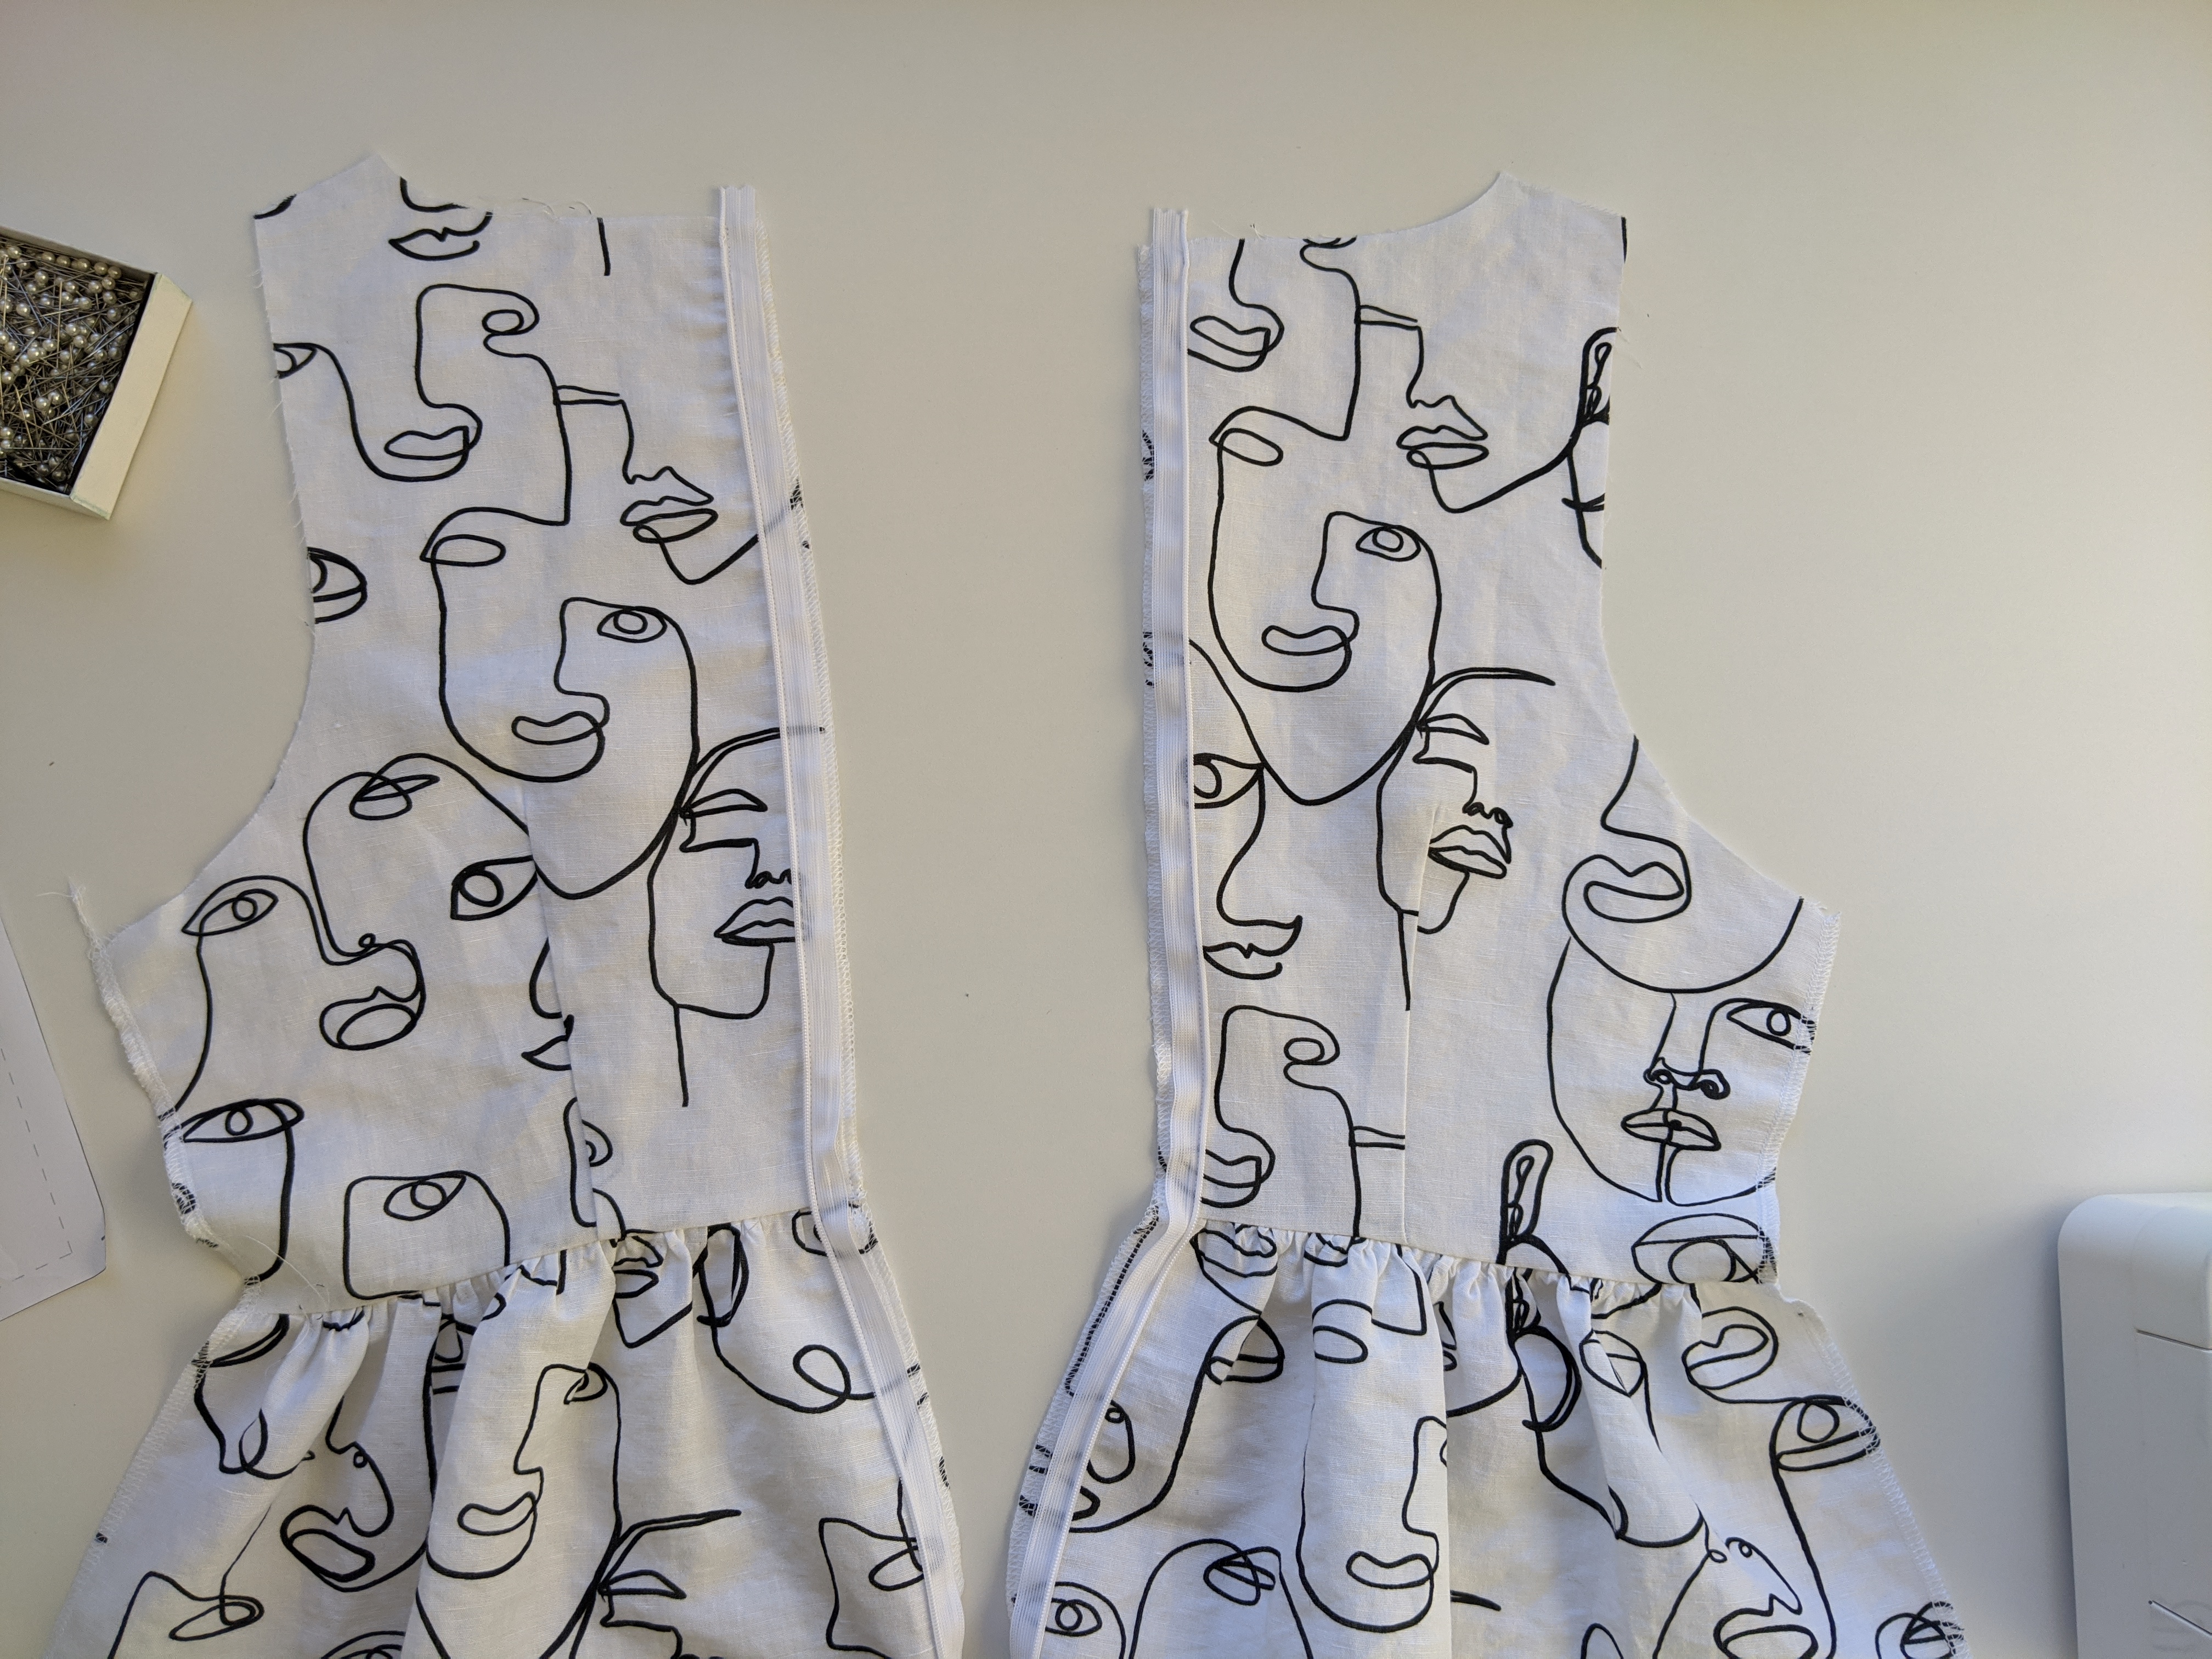
Keeping the standard zipper foot on your machine, pin the center back seam of the main right sides together, repeat on the lining.
Then stitch closed to meet the bottom of the zipper stitching. Then press center back seams open.
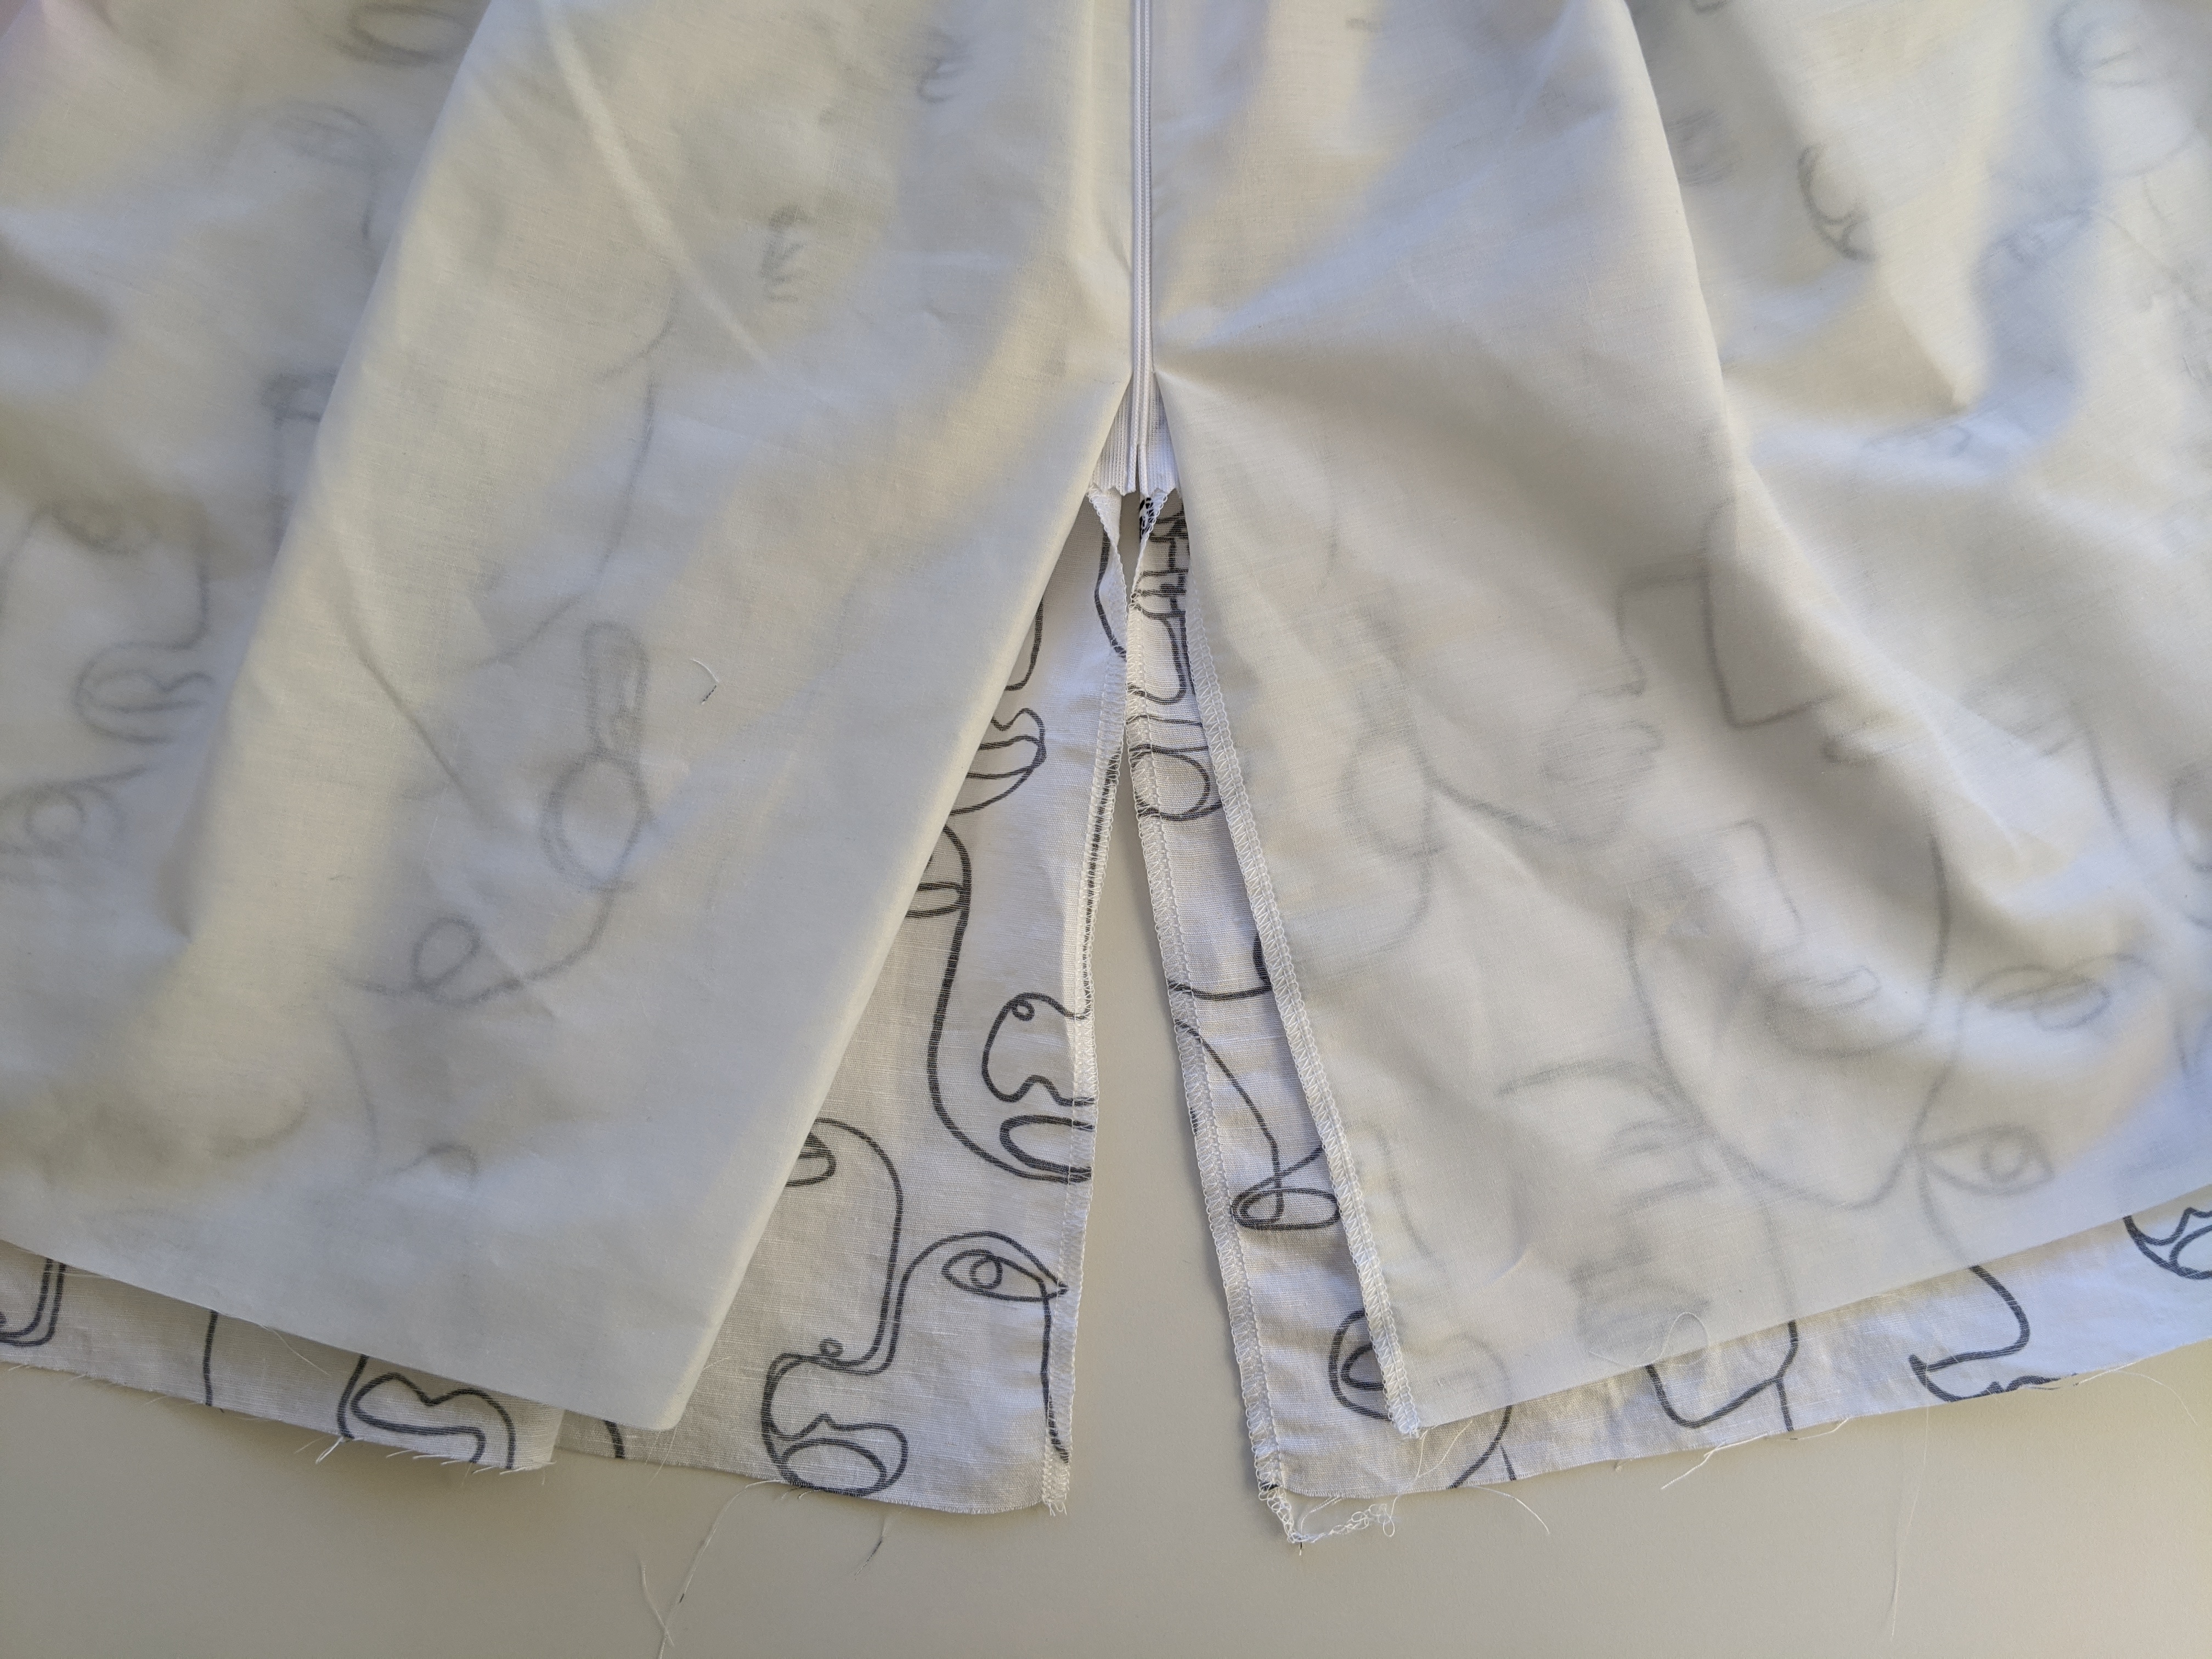

If you need extra help sewing the invisible zipper, there is a more in-depth tutorial here.
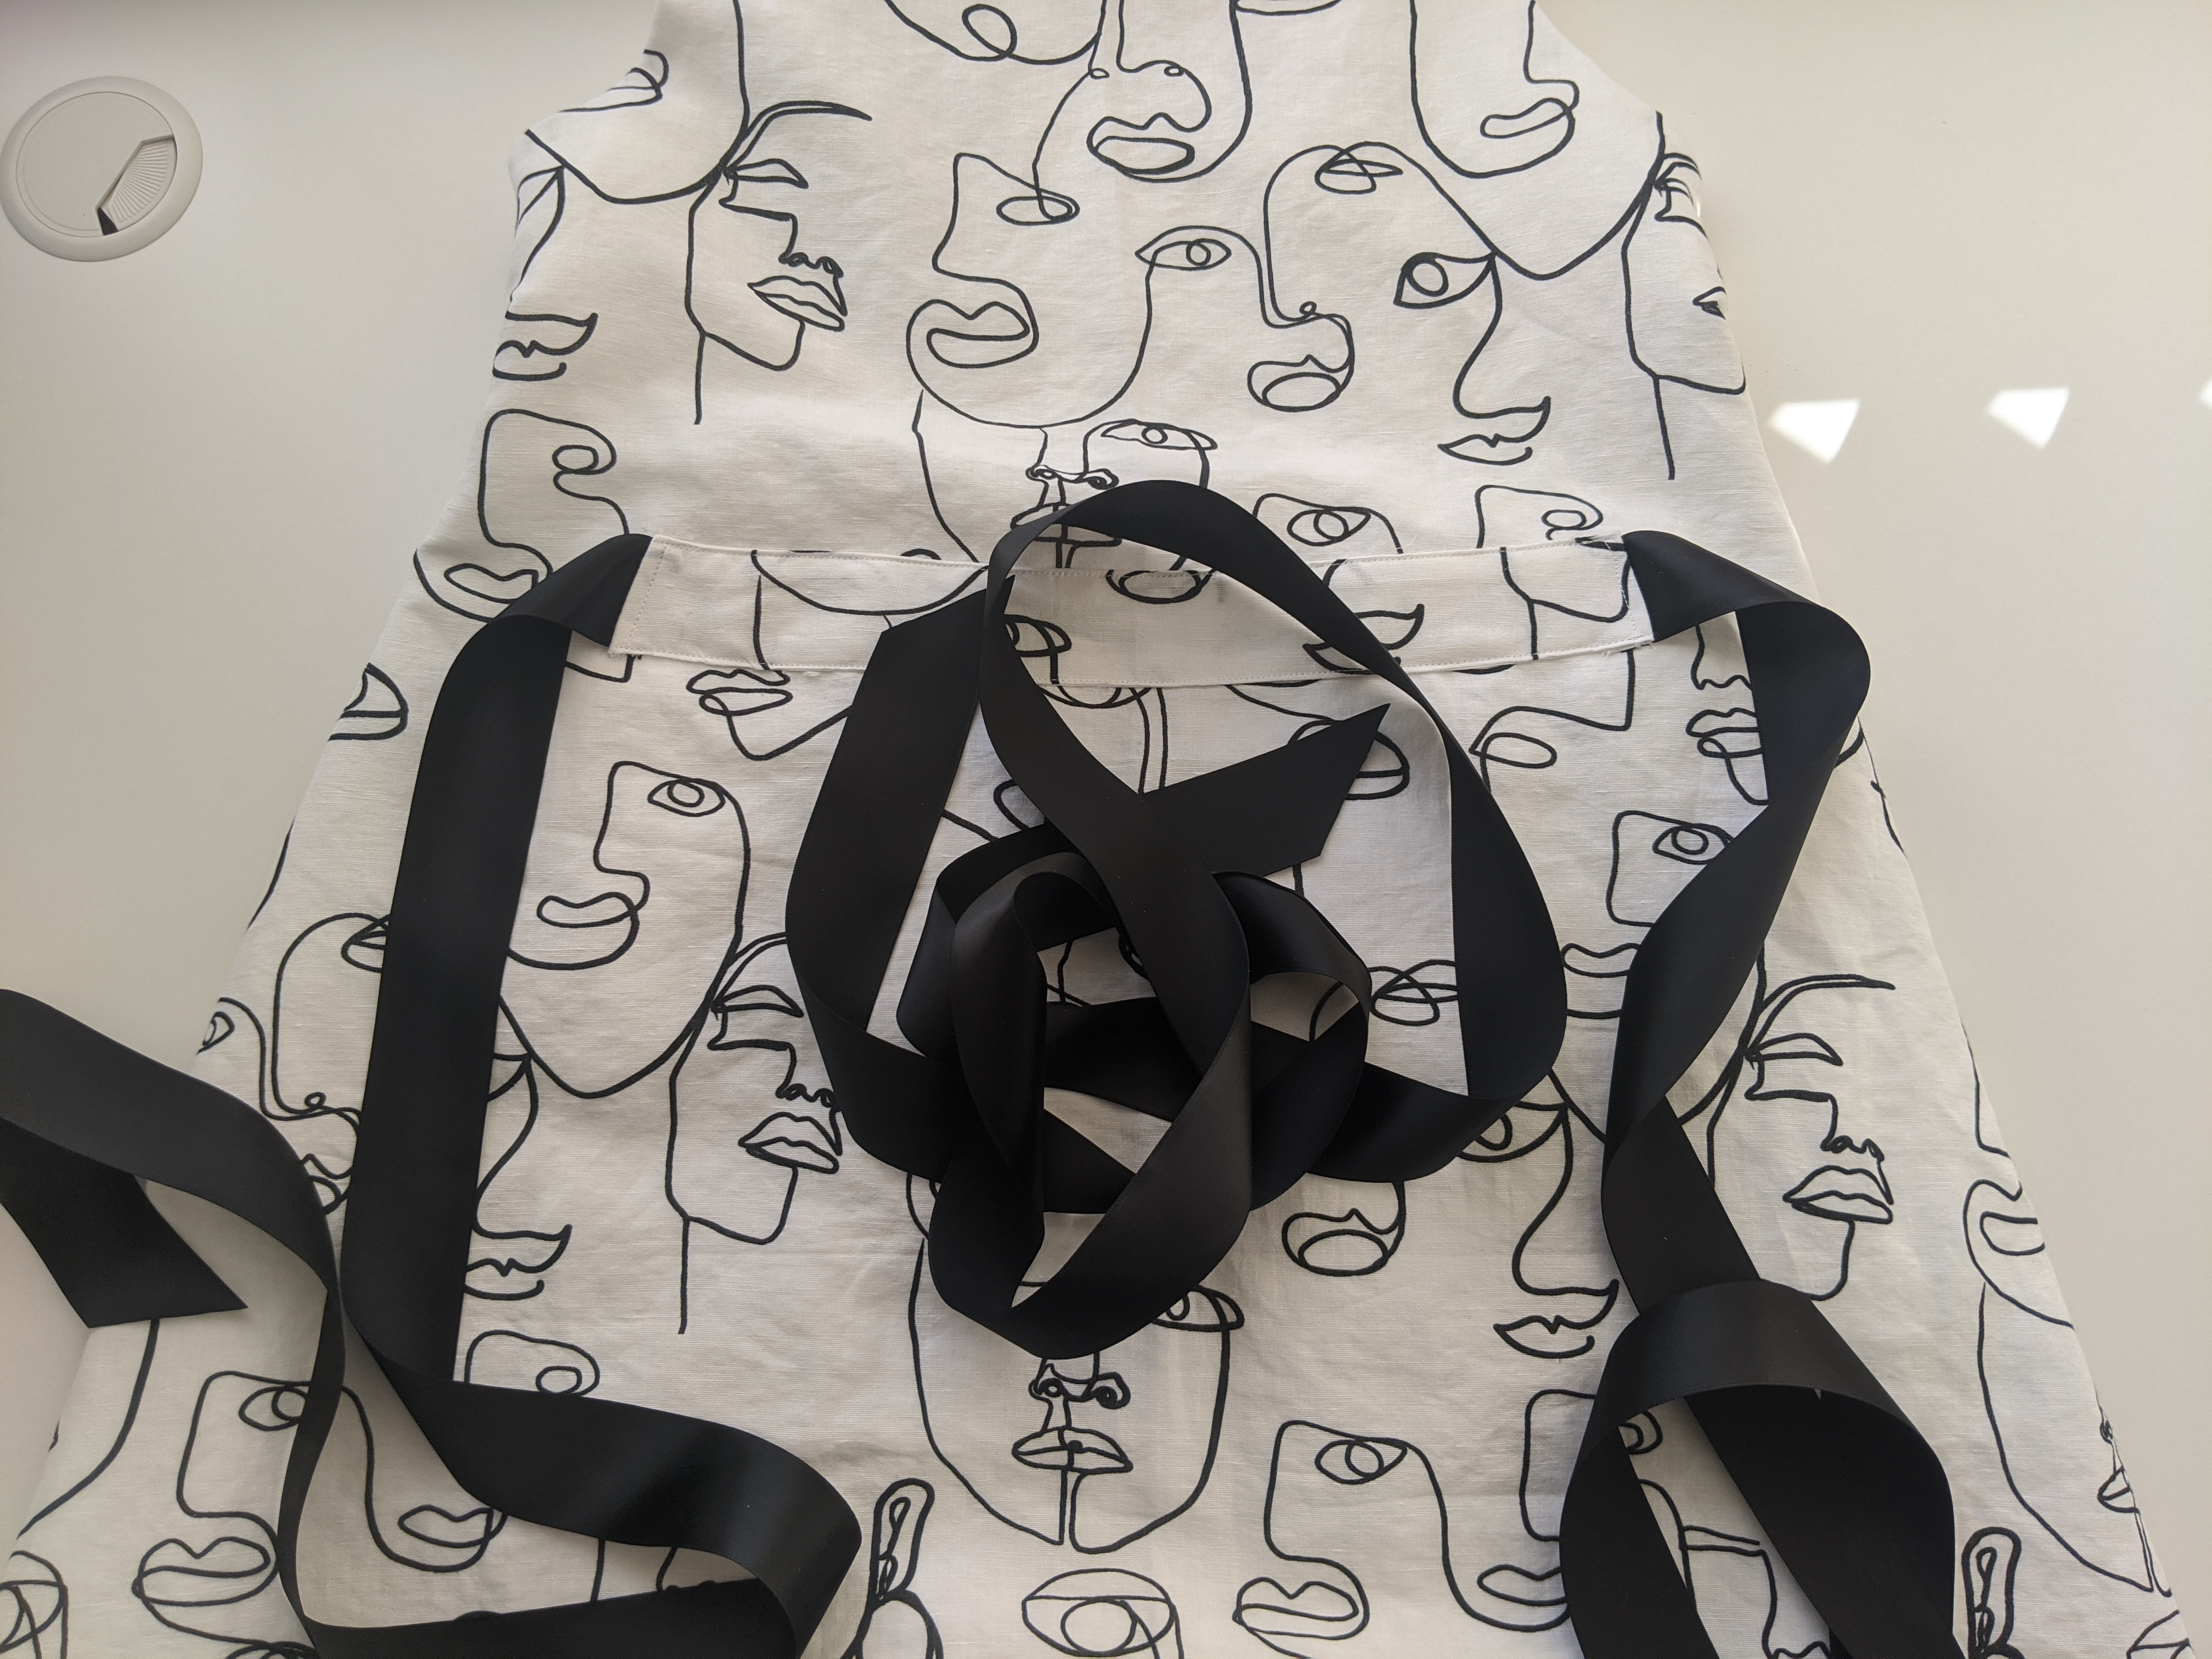
Step 10
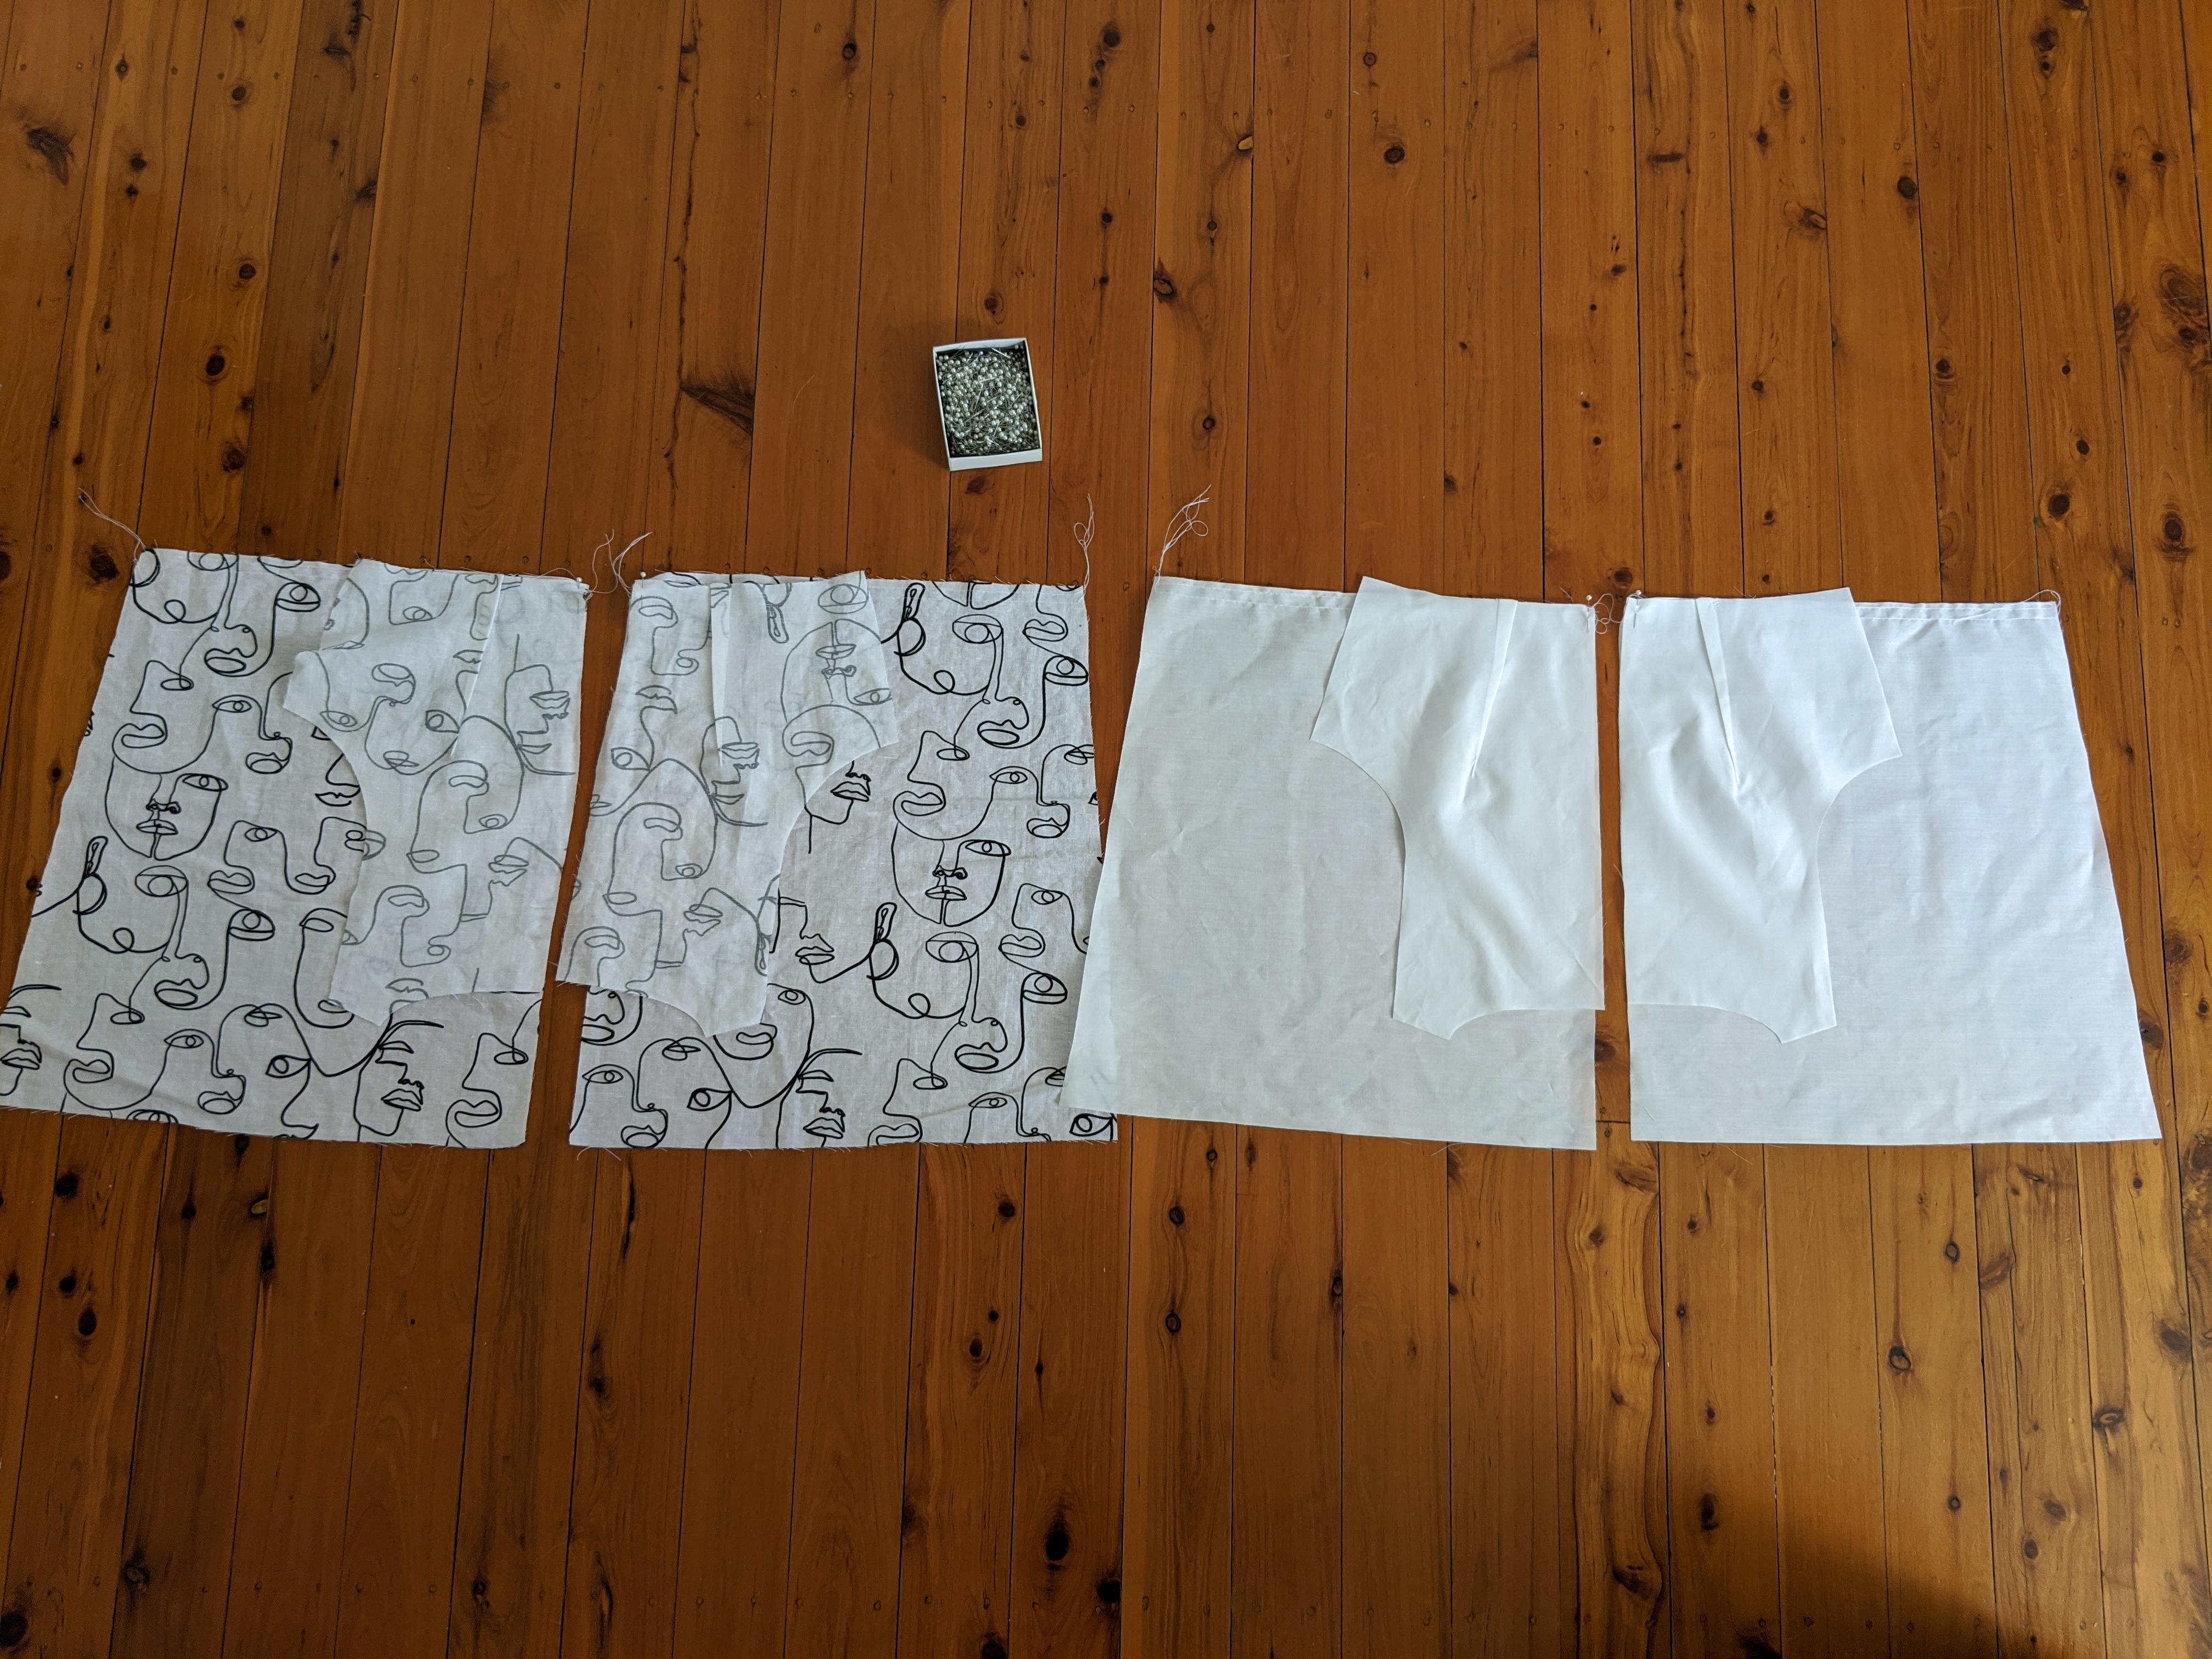
Next we are going to prepare the front casing.
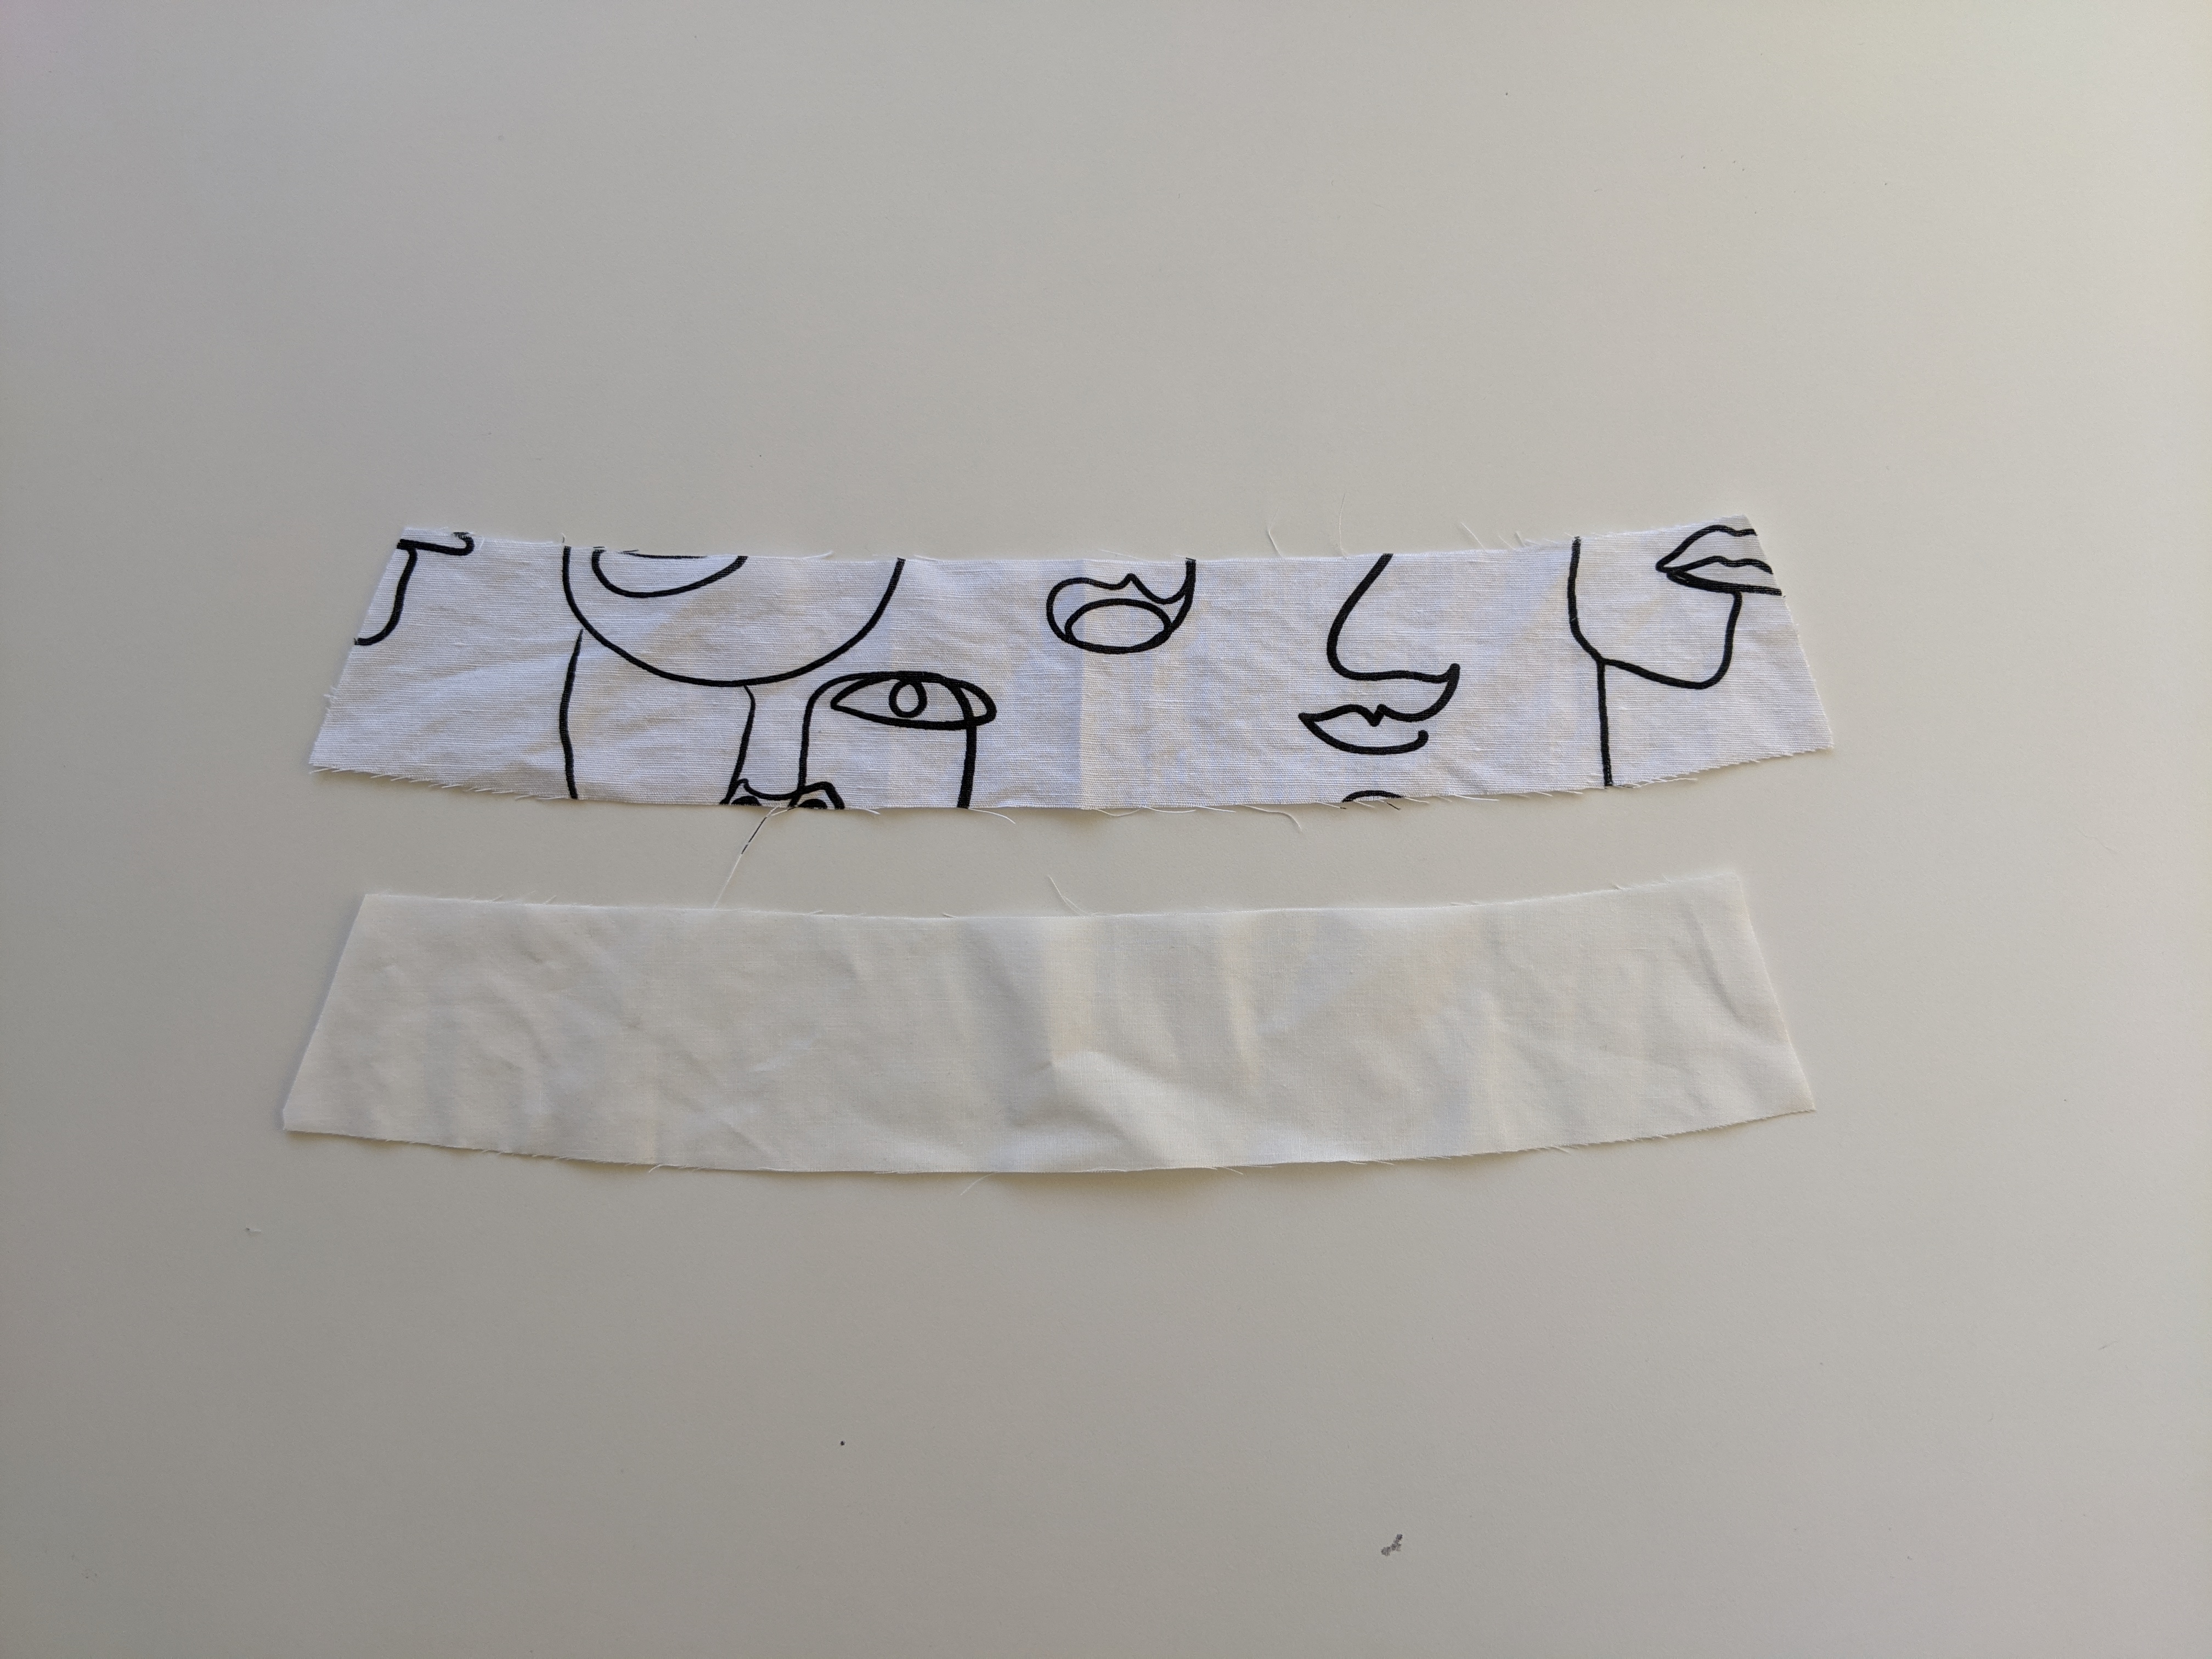
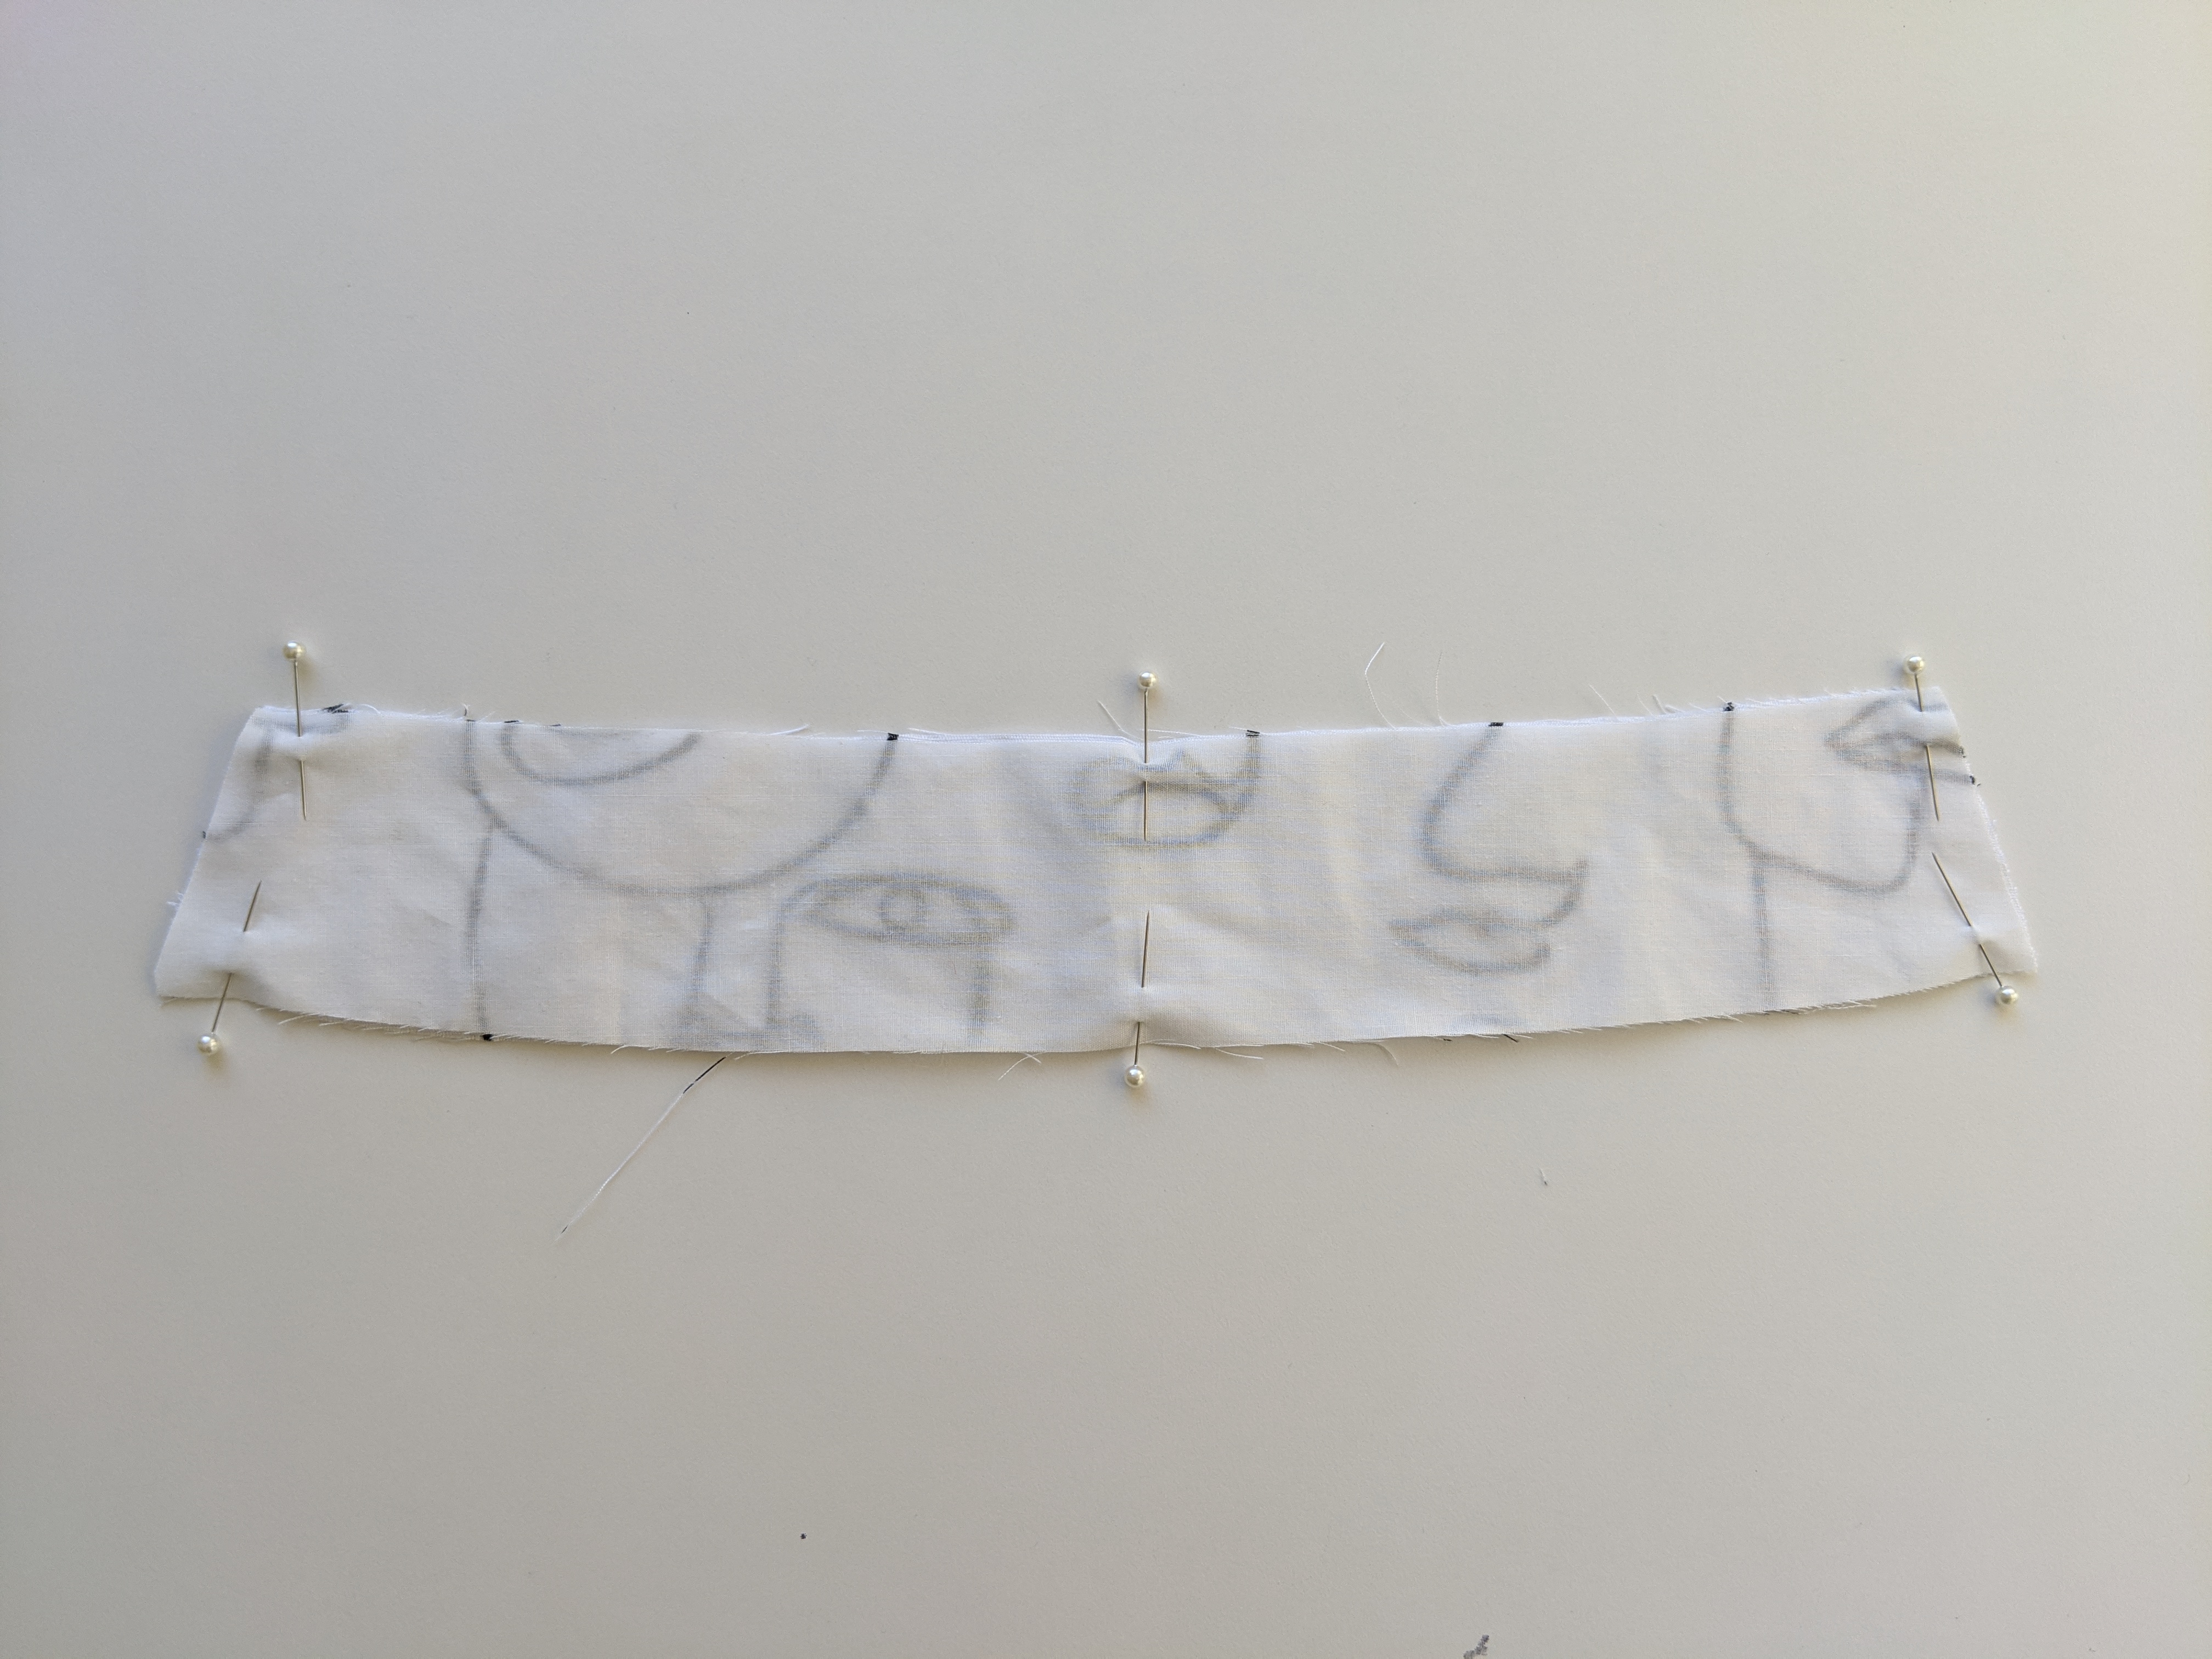
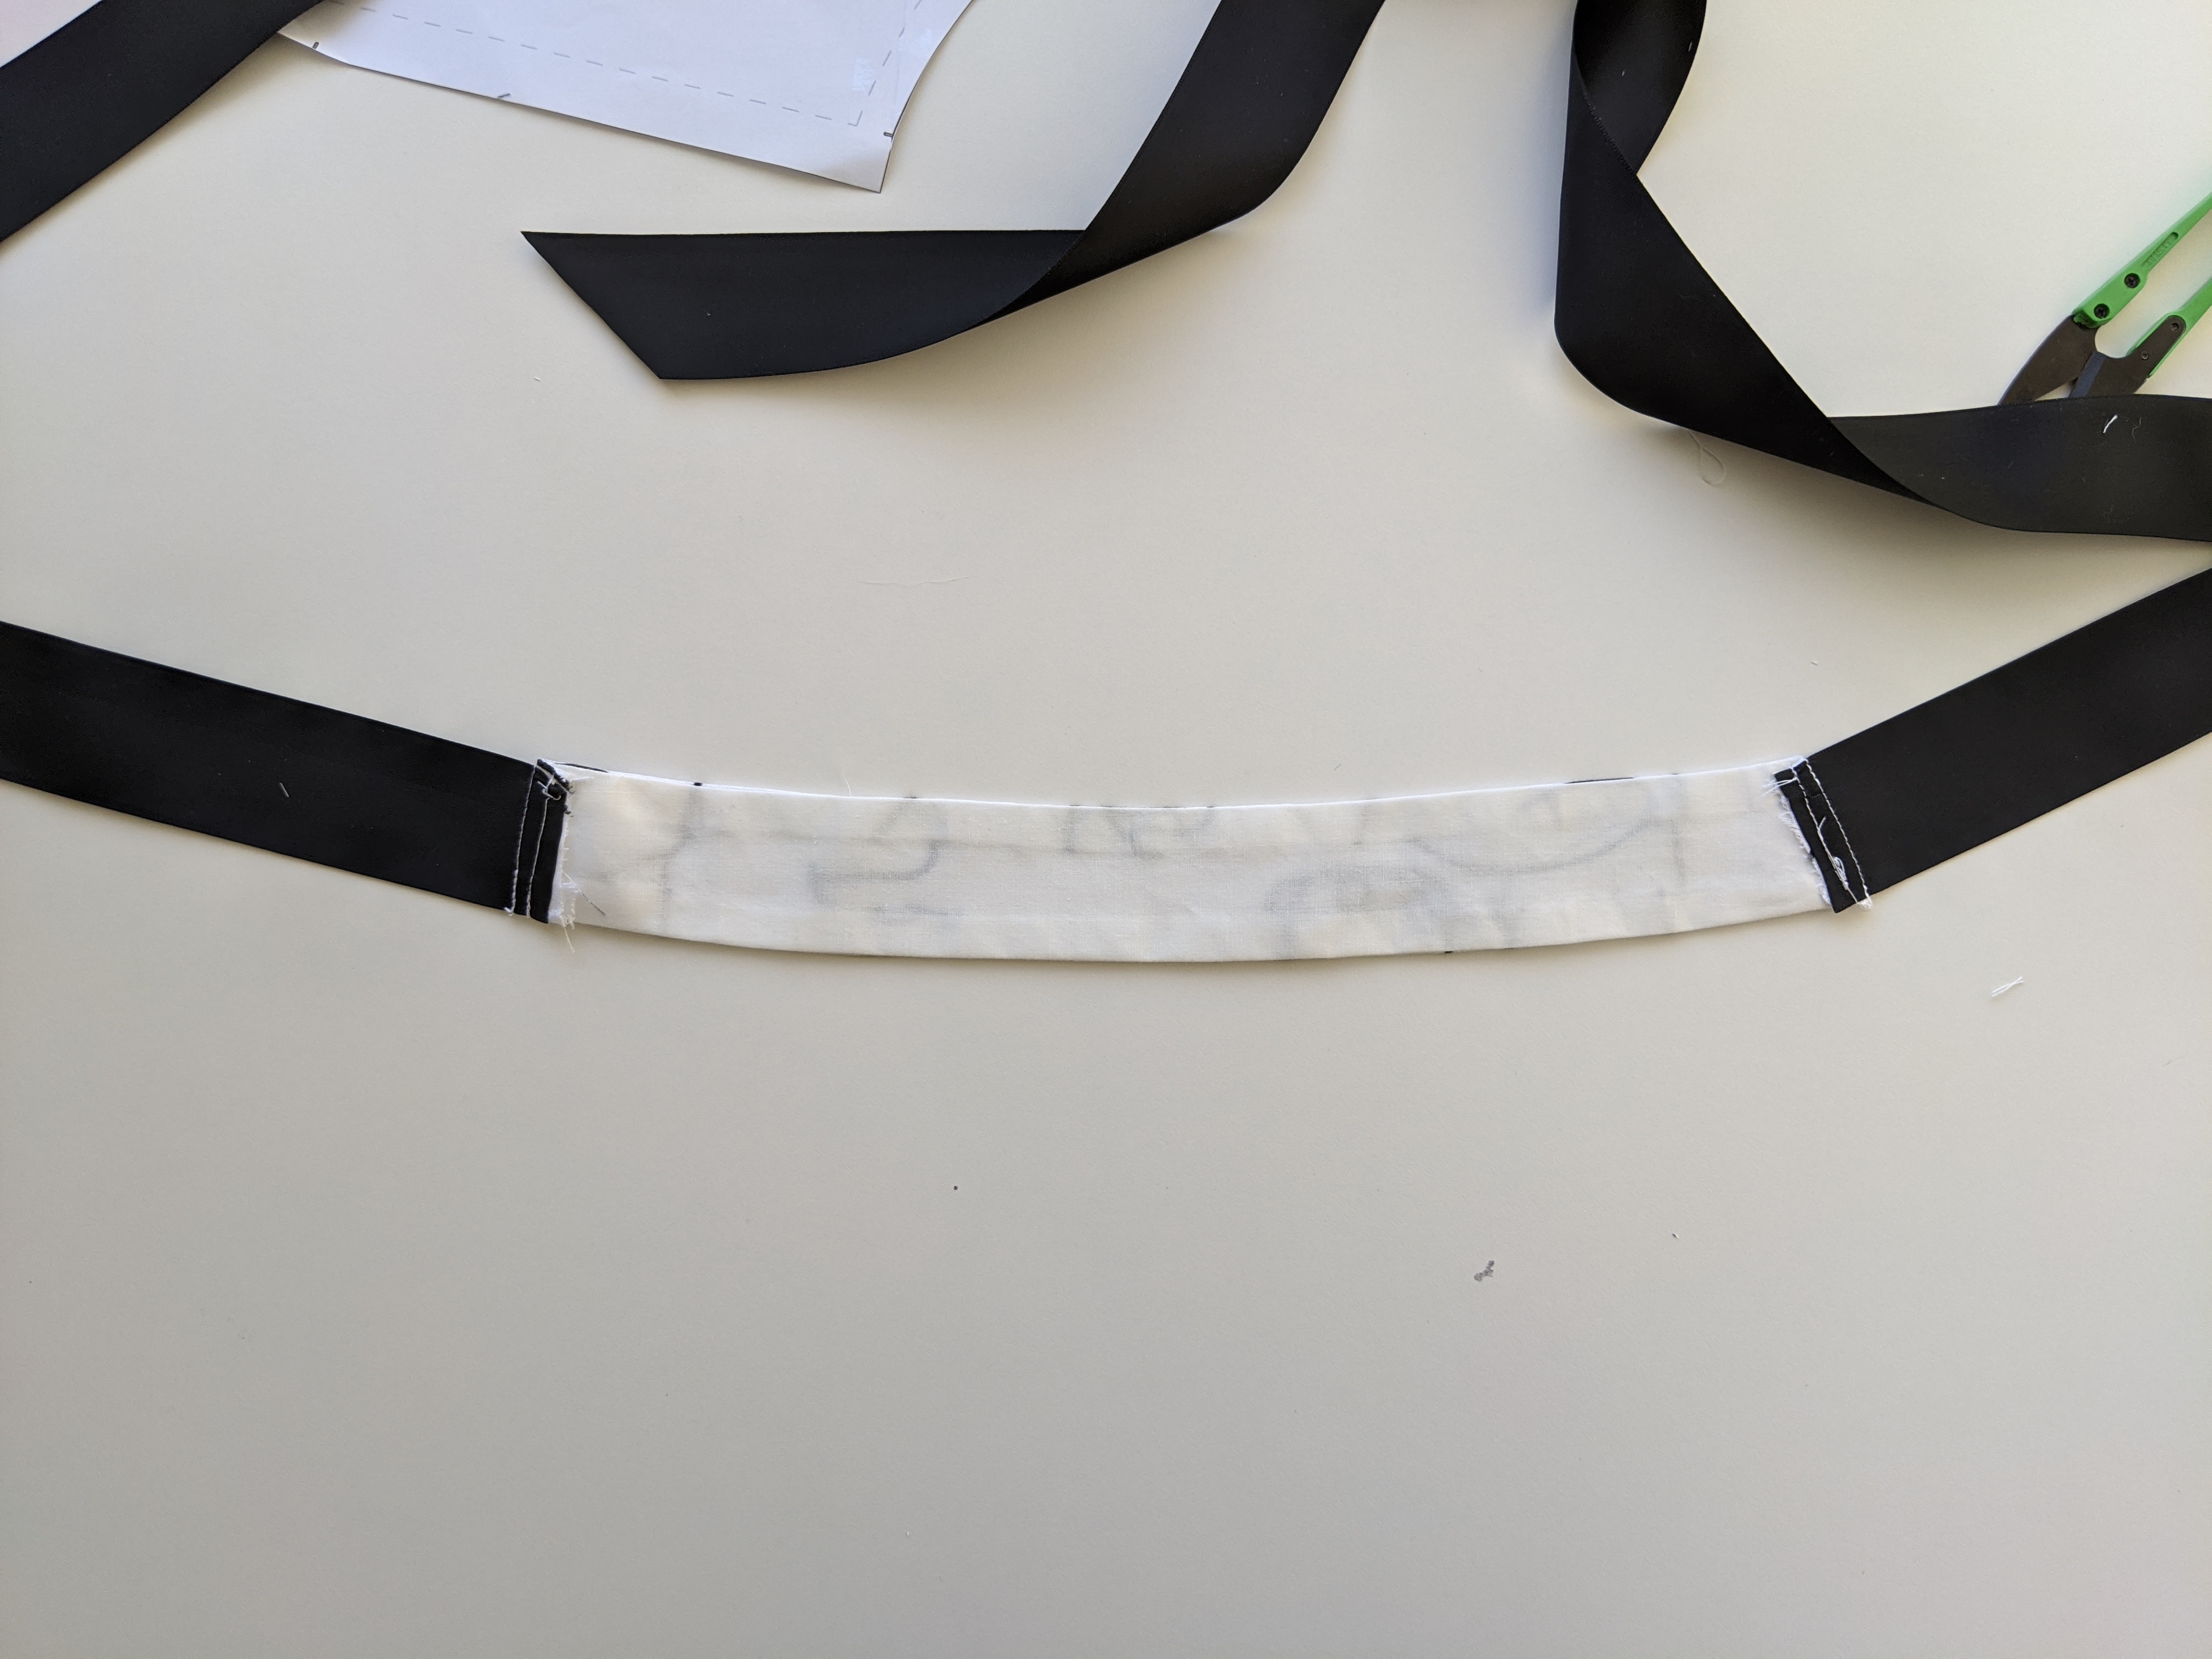
Take the casing pieces and pin them right sides together.
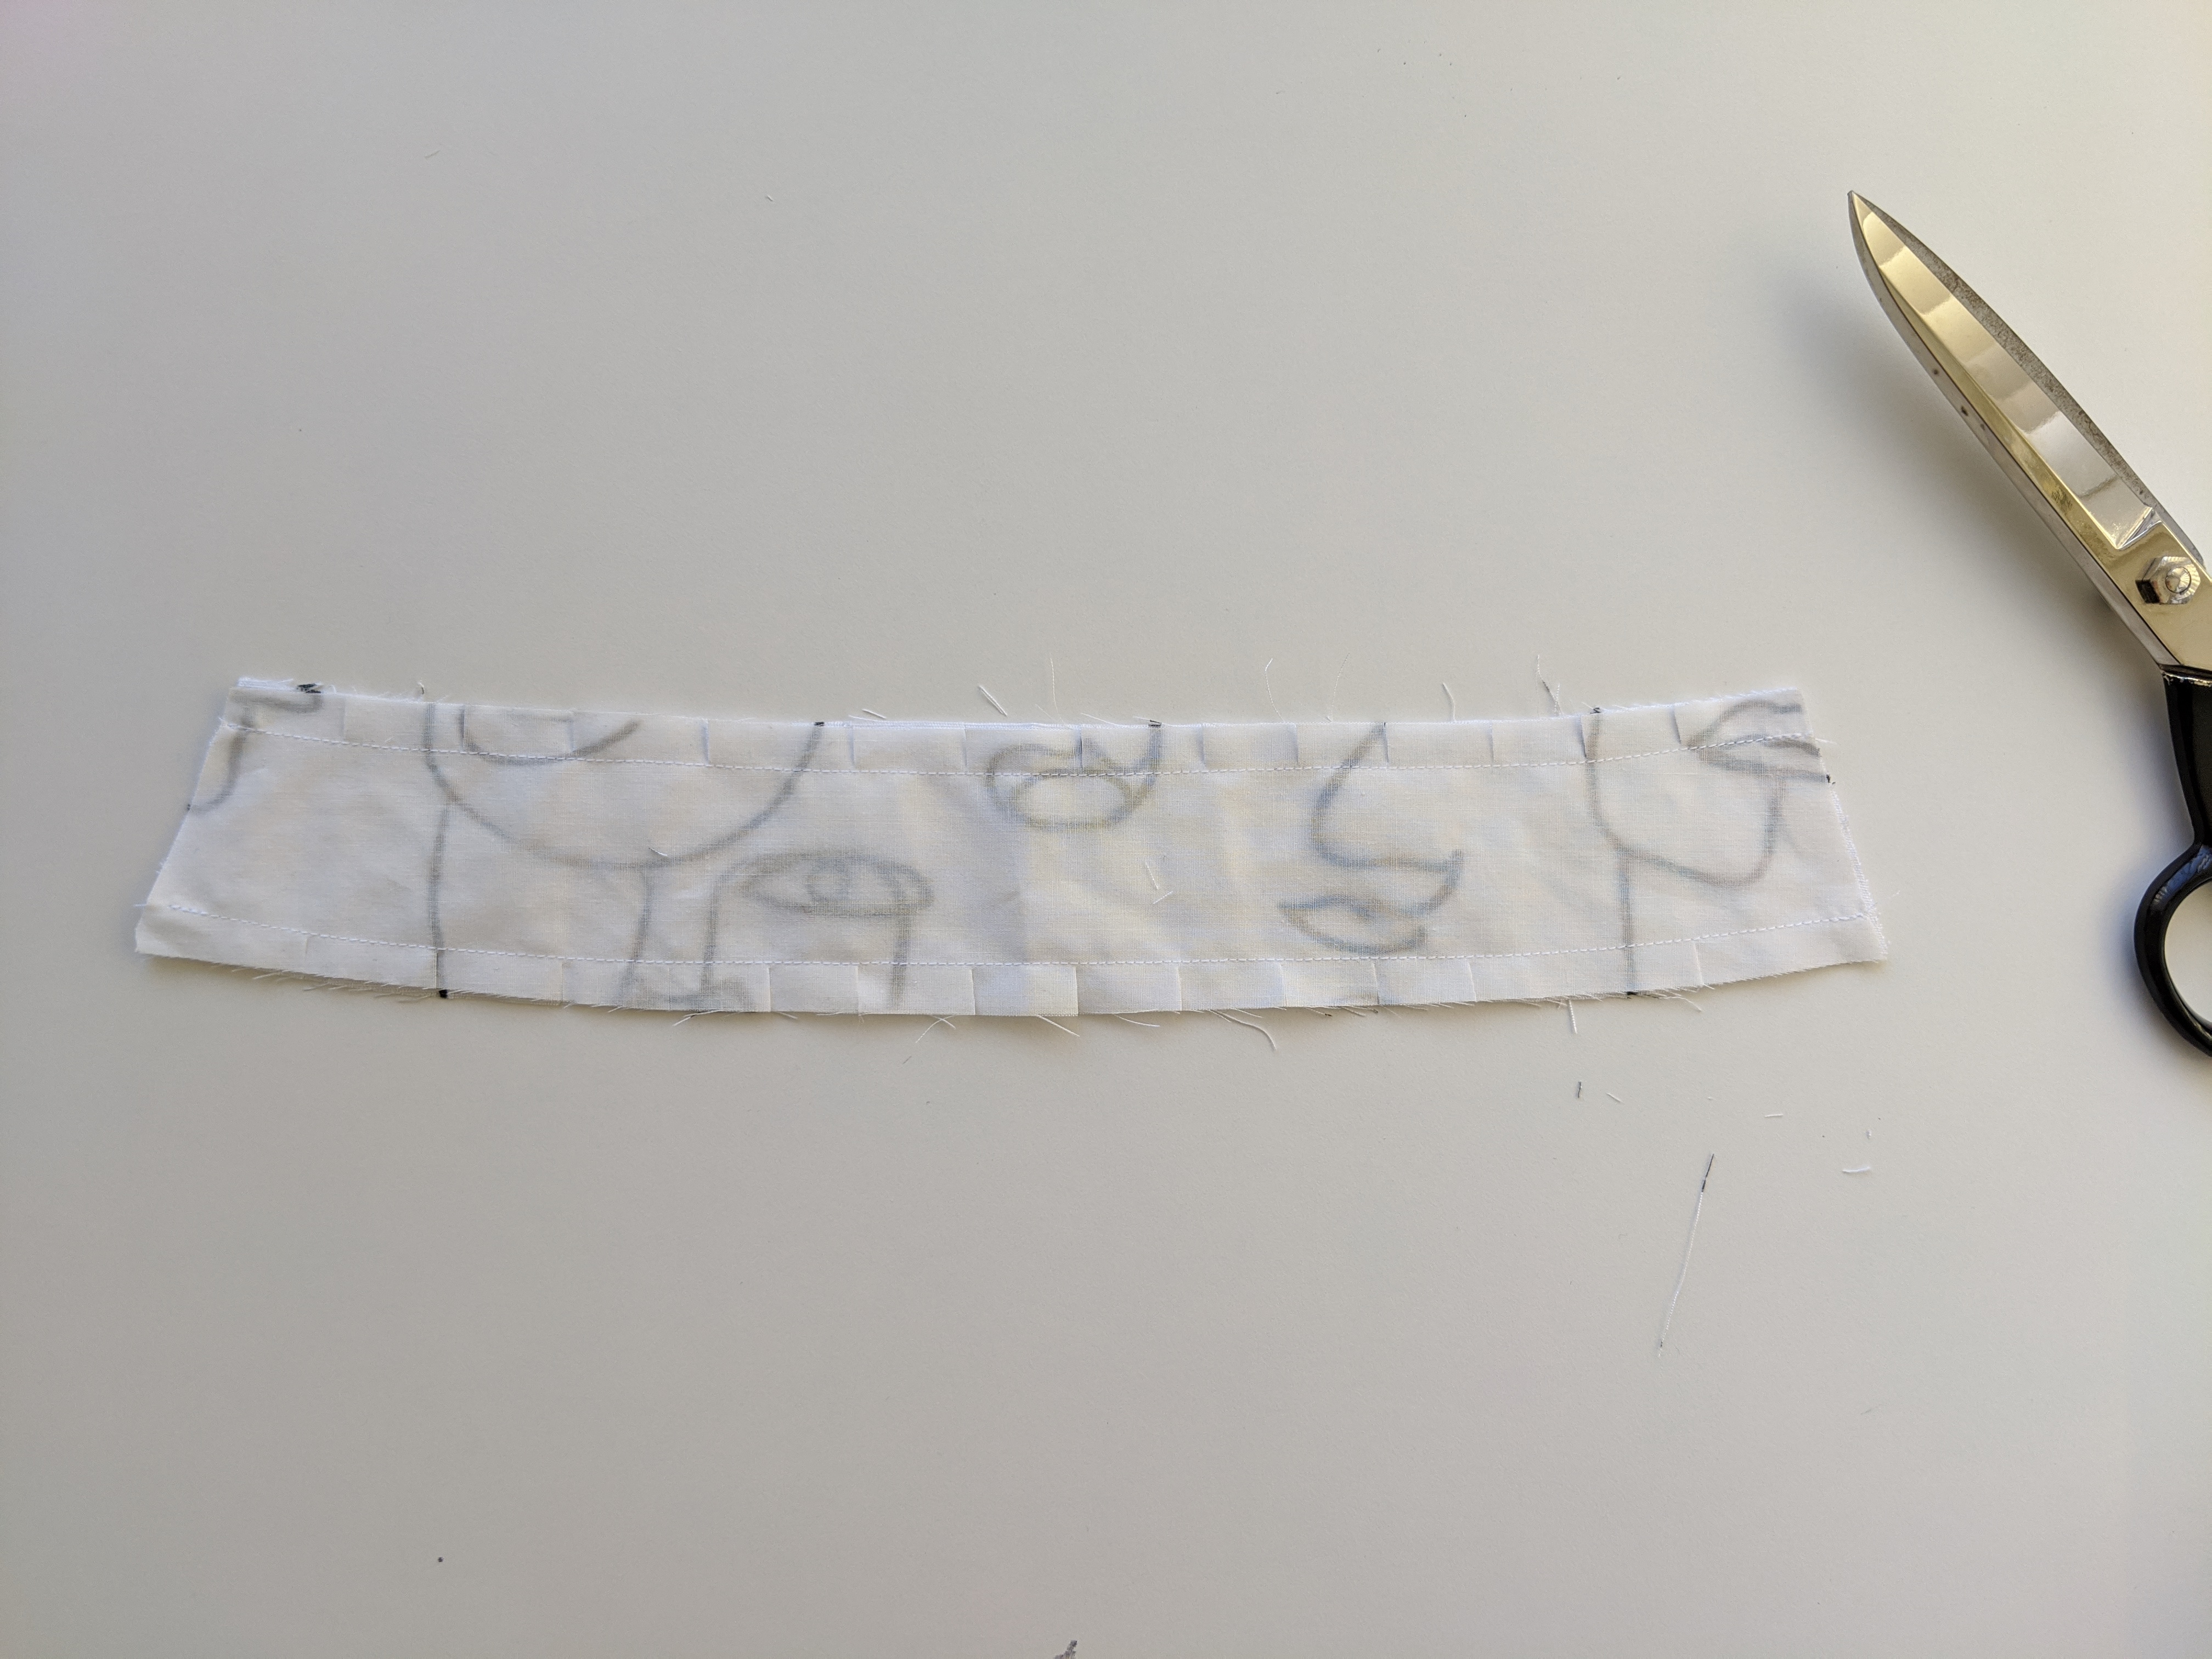
Then sew the top and bottom edges together, leave the sides open.
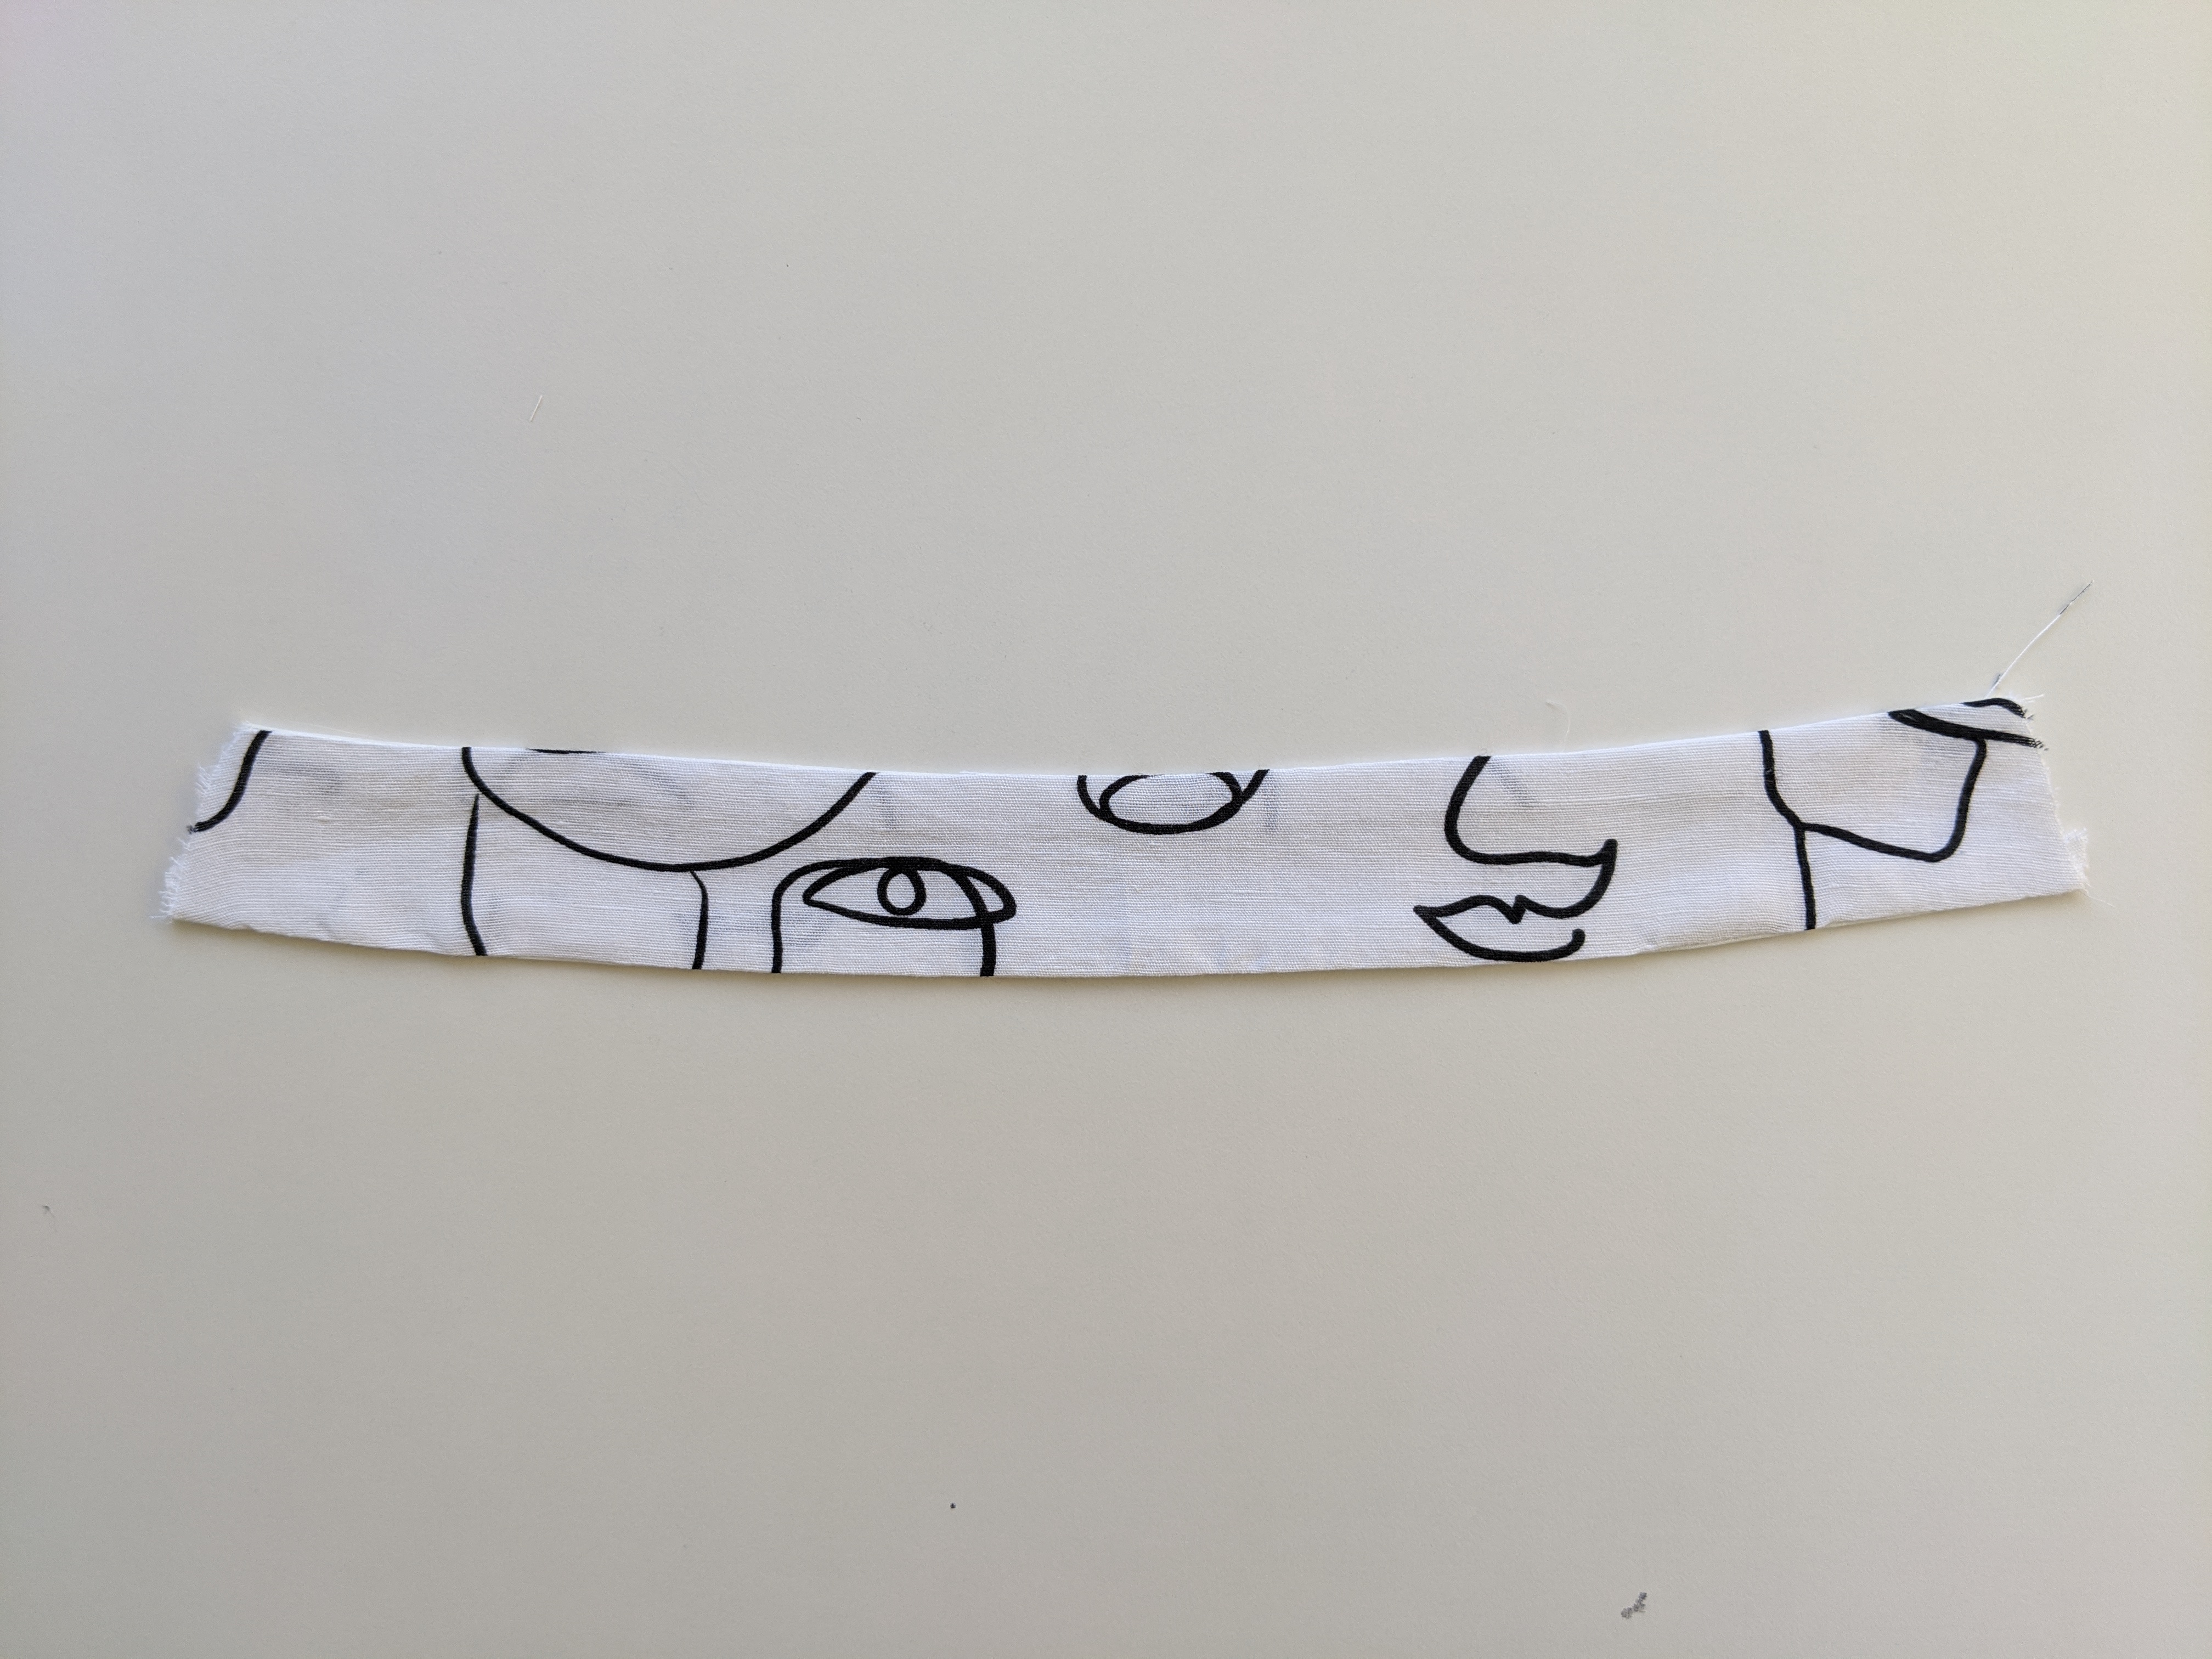
Clip the along the seam allowance and turn though and press.
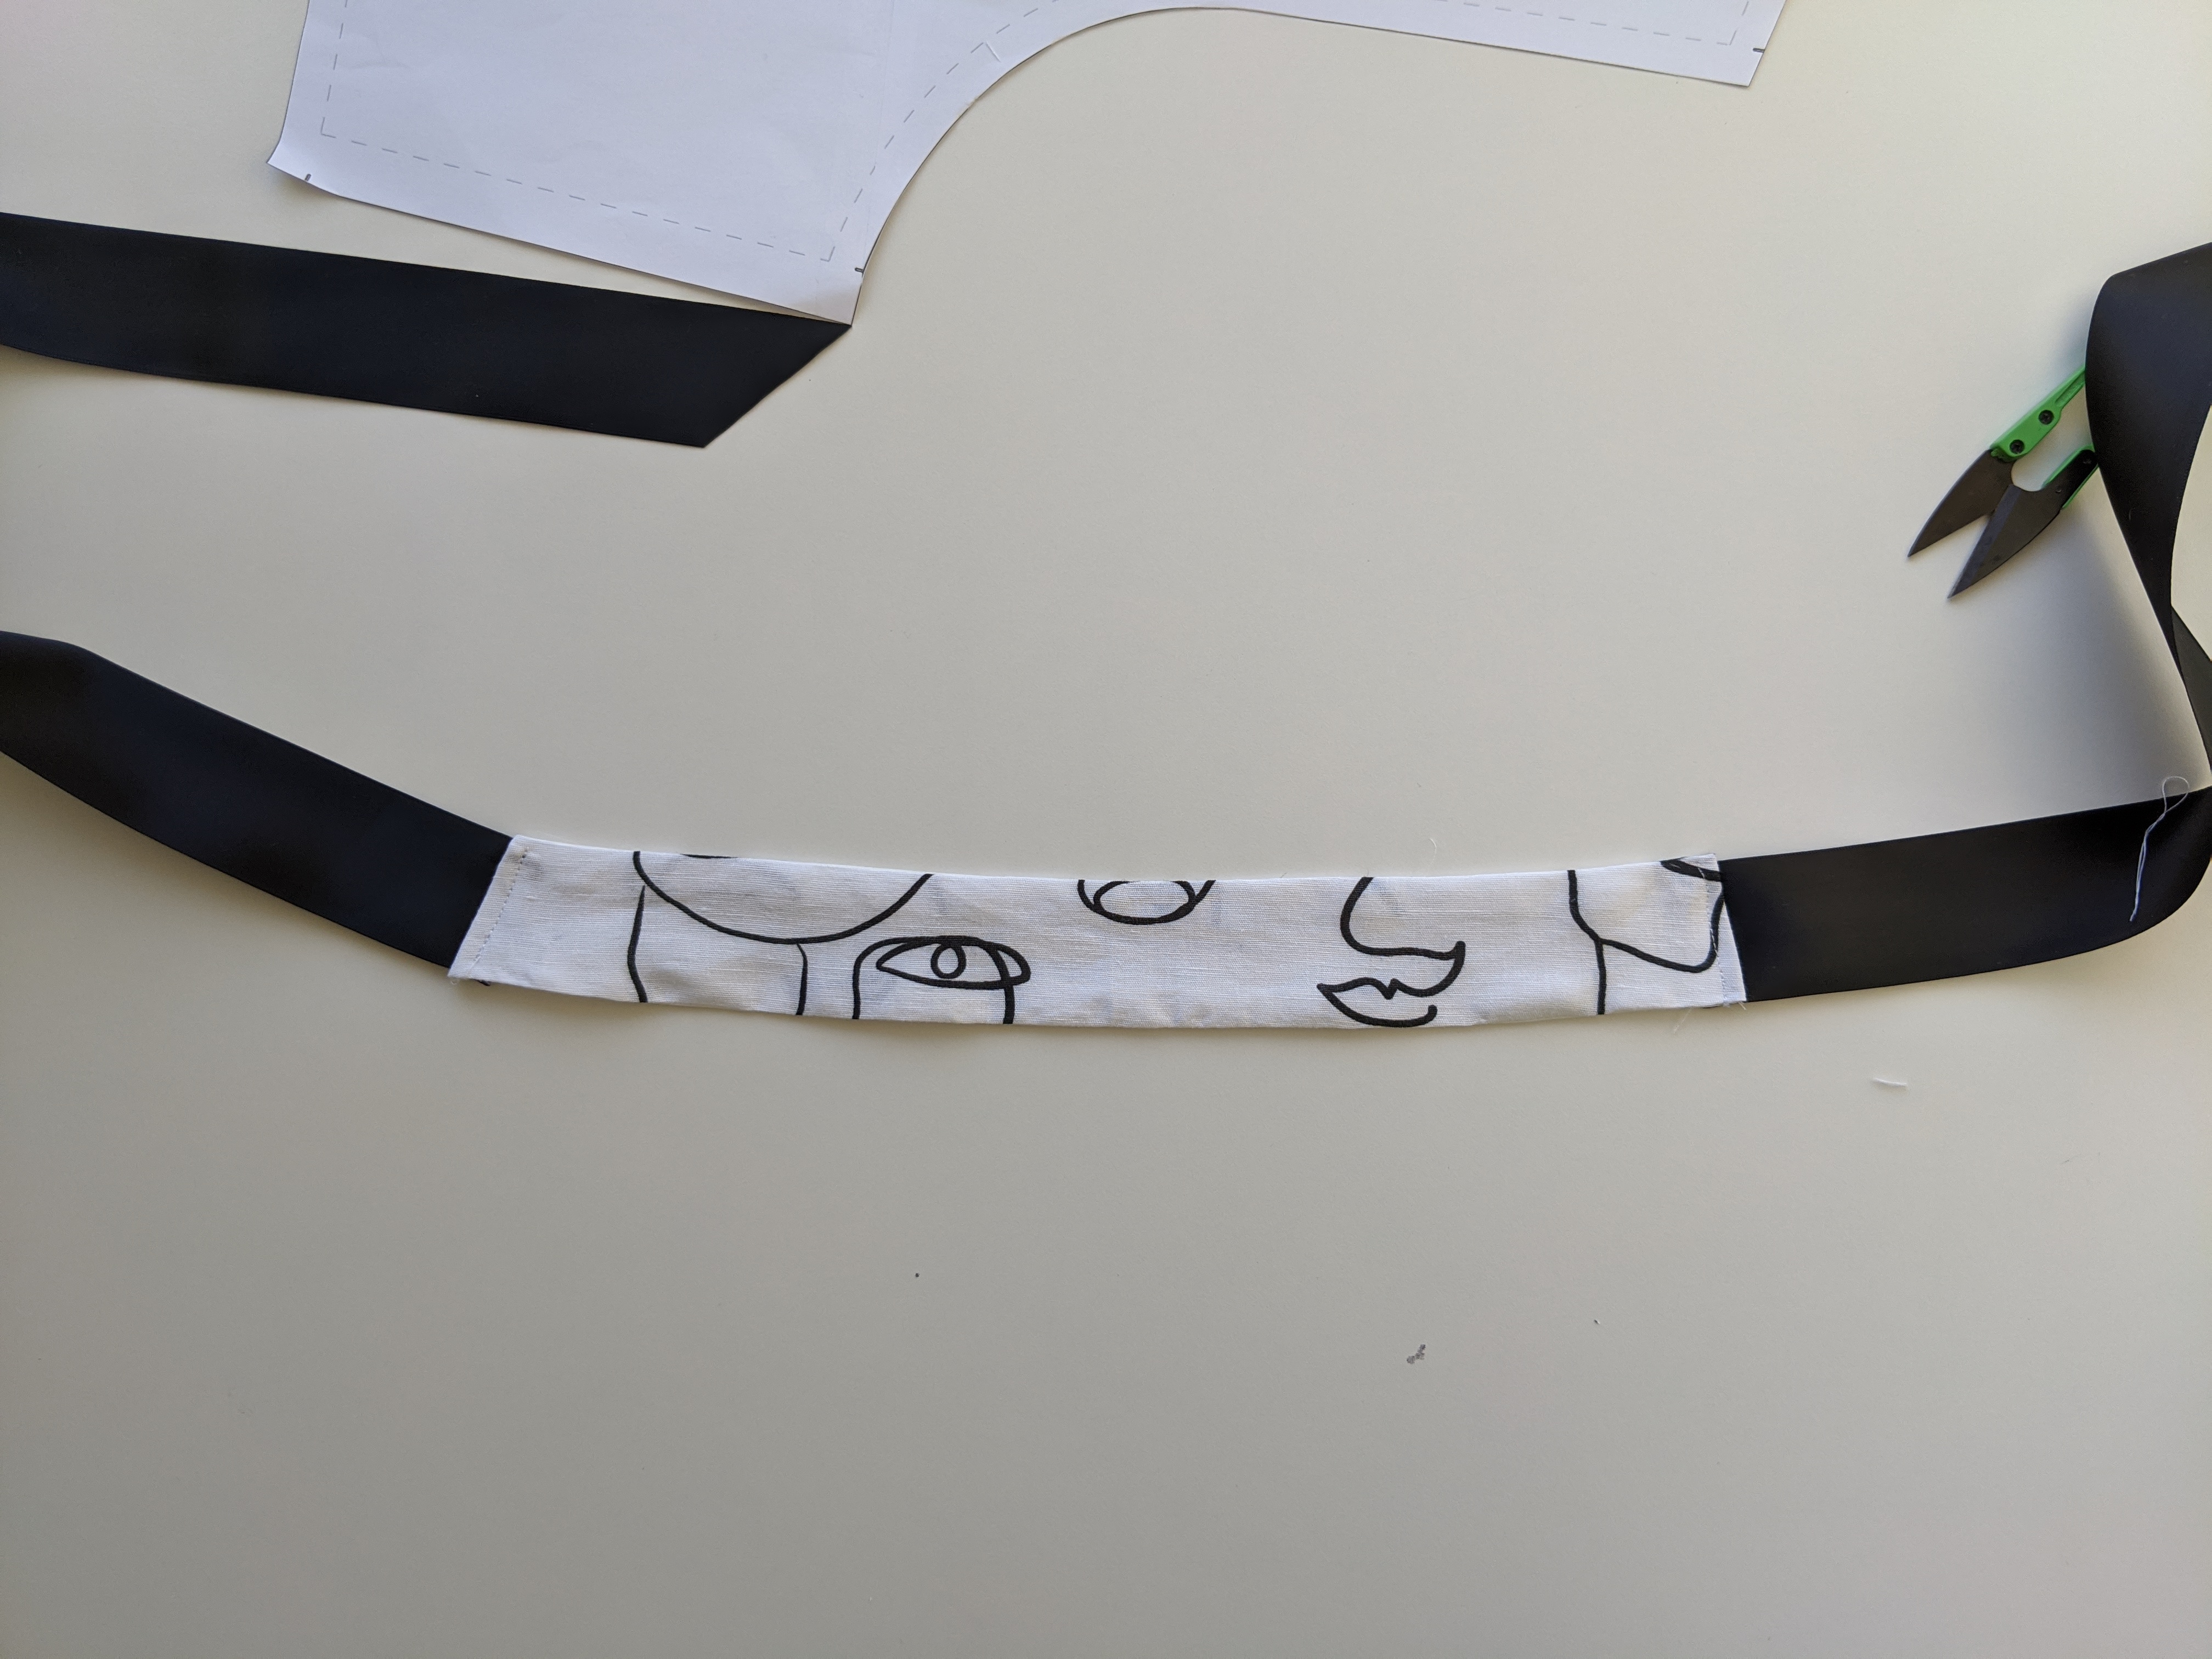
Step 11
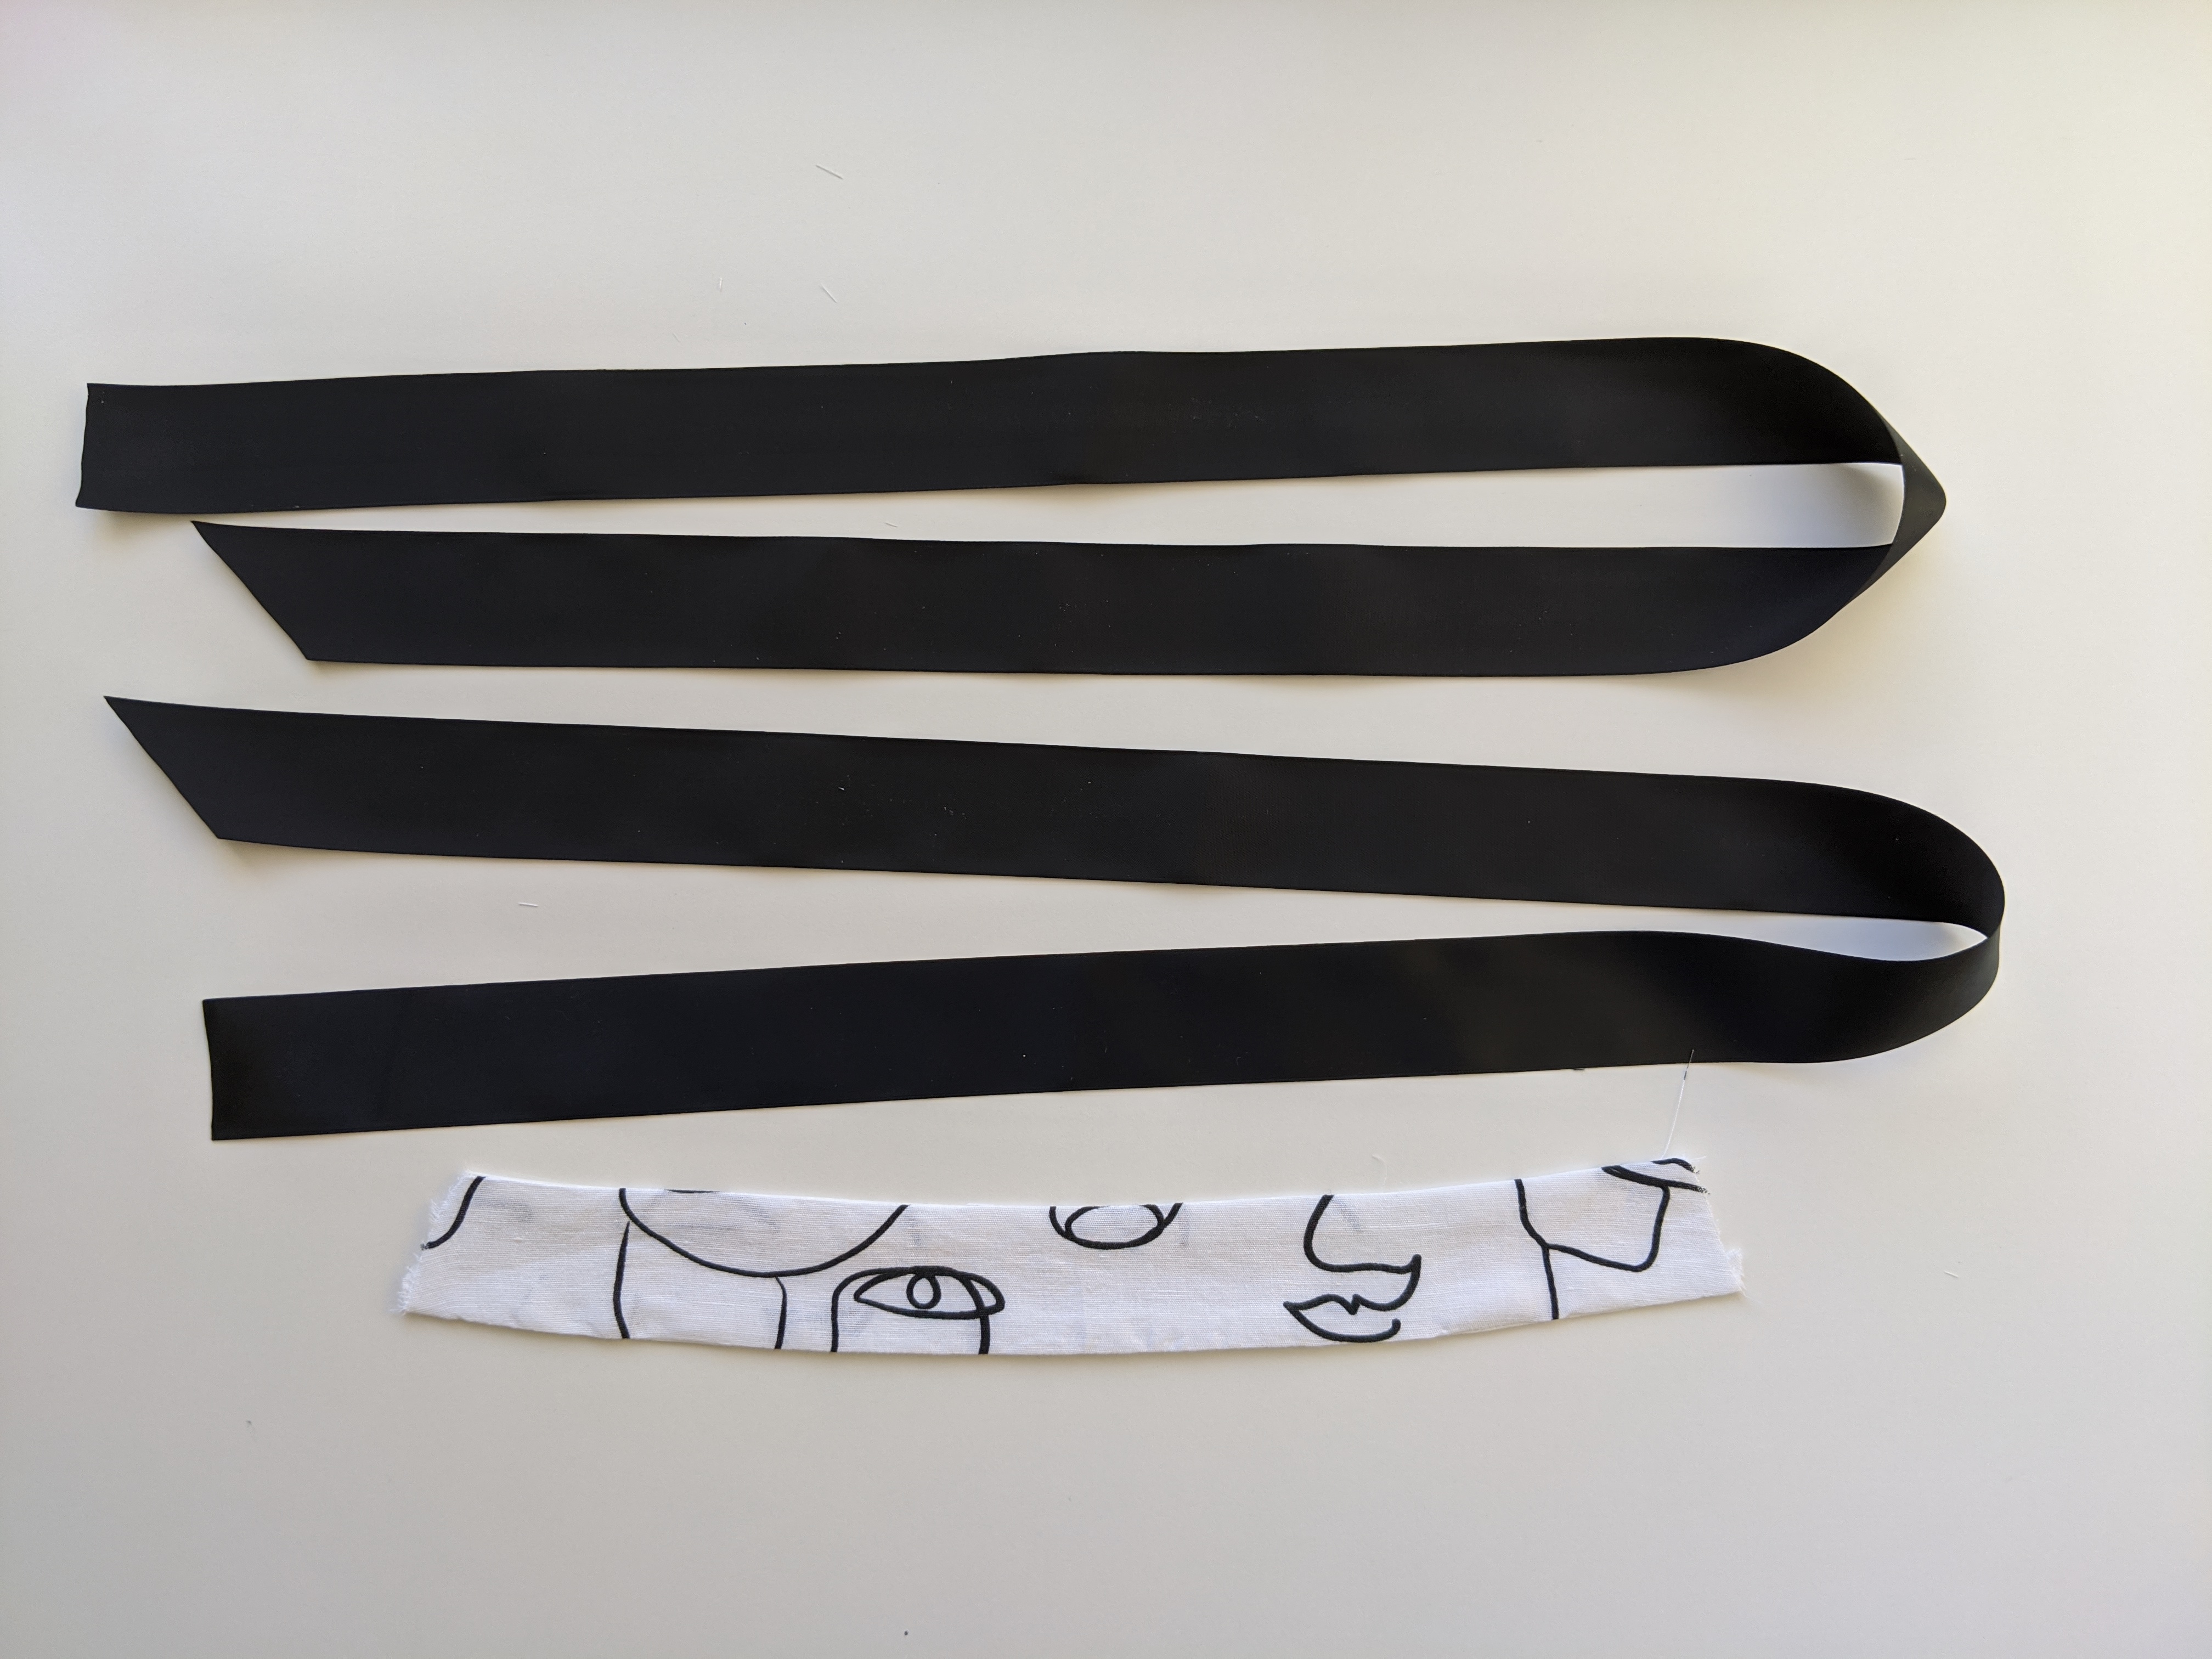
Pin the ribbon to the casing right sides together and stitch to attach. Then fold back and top stitch.

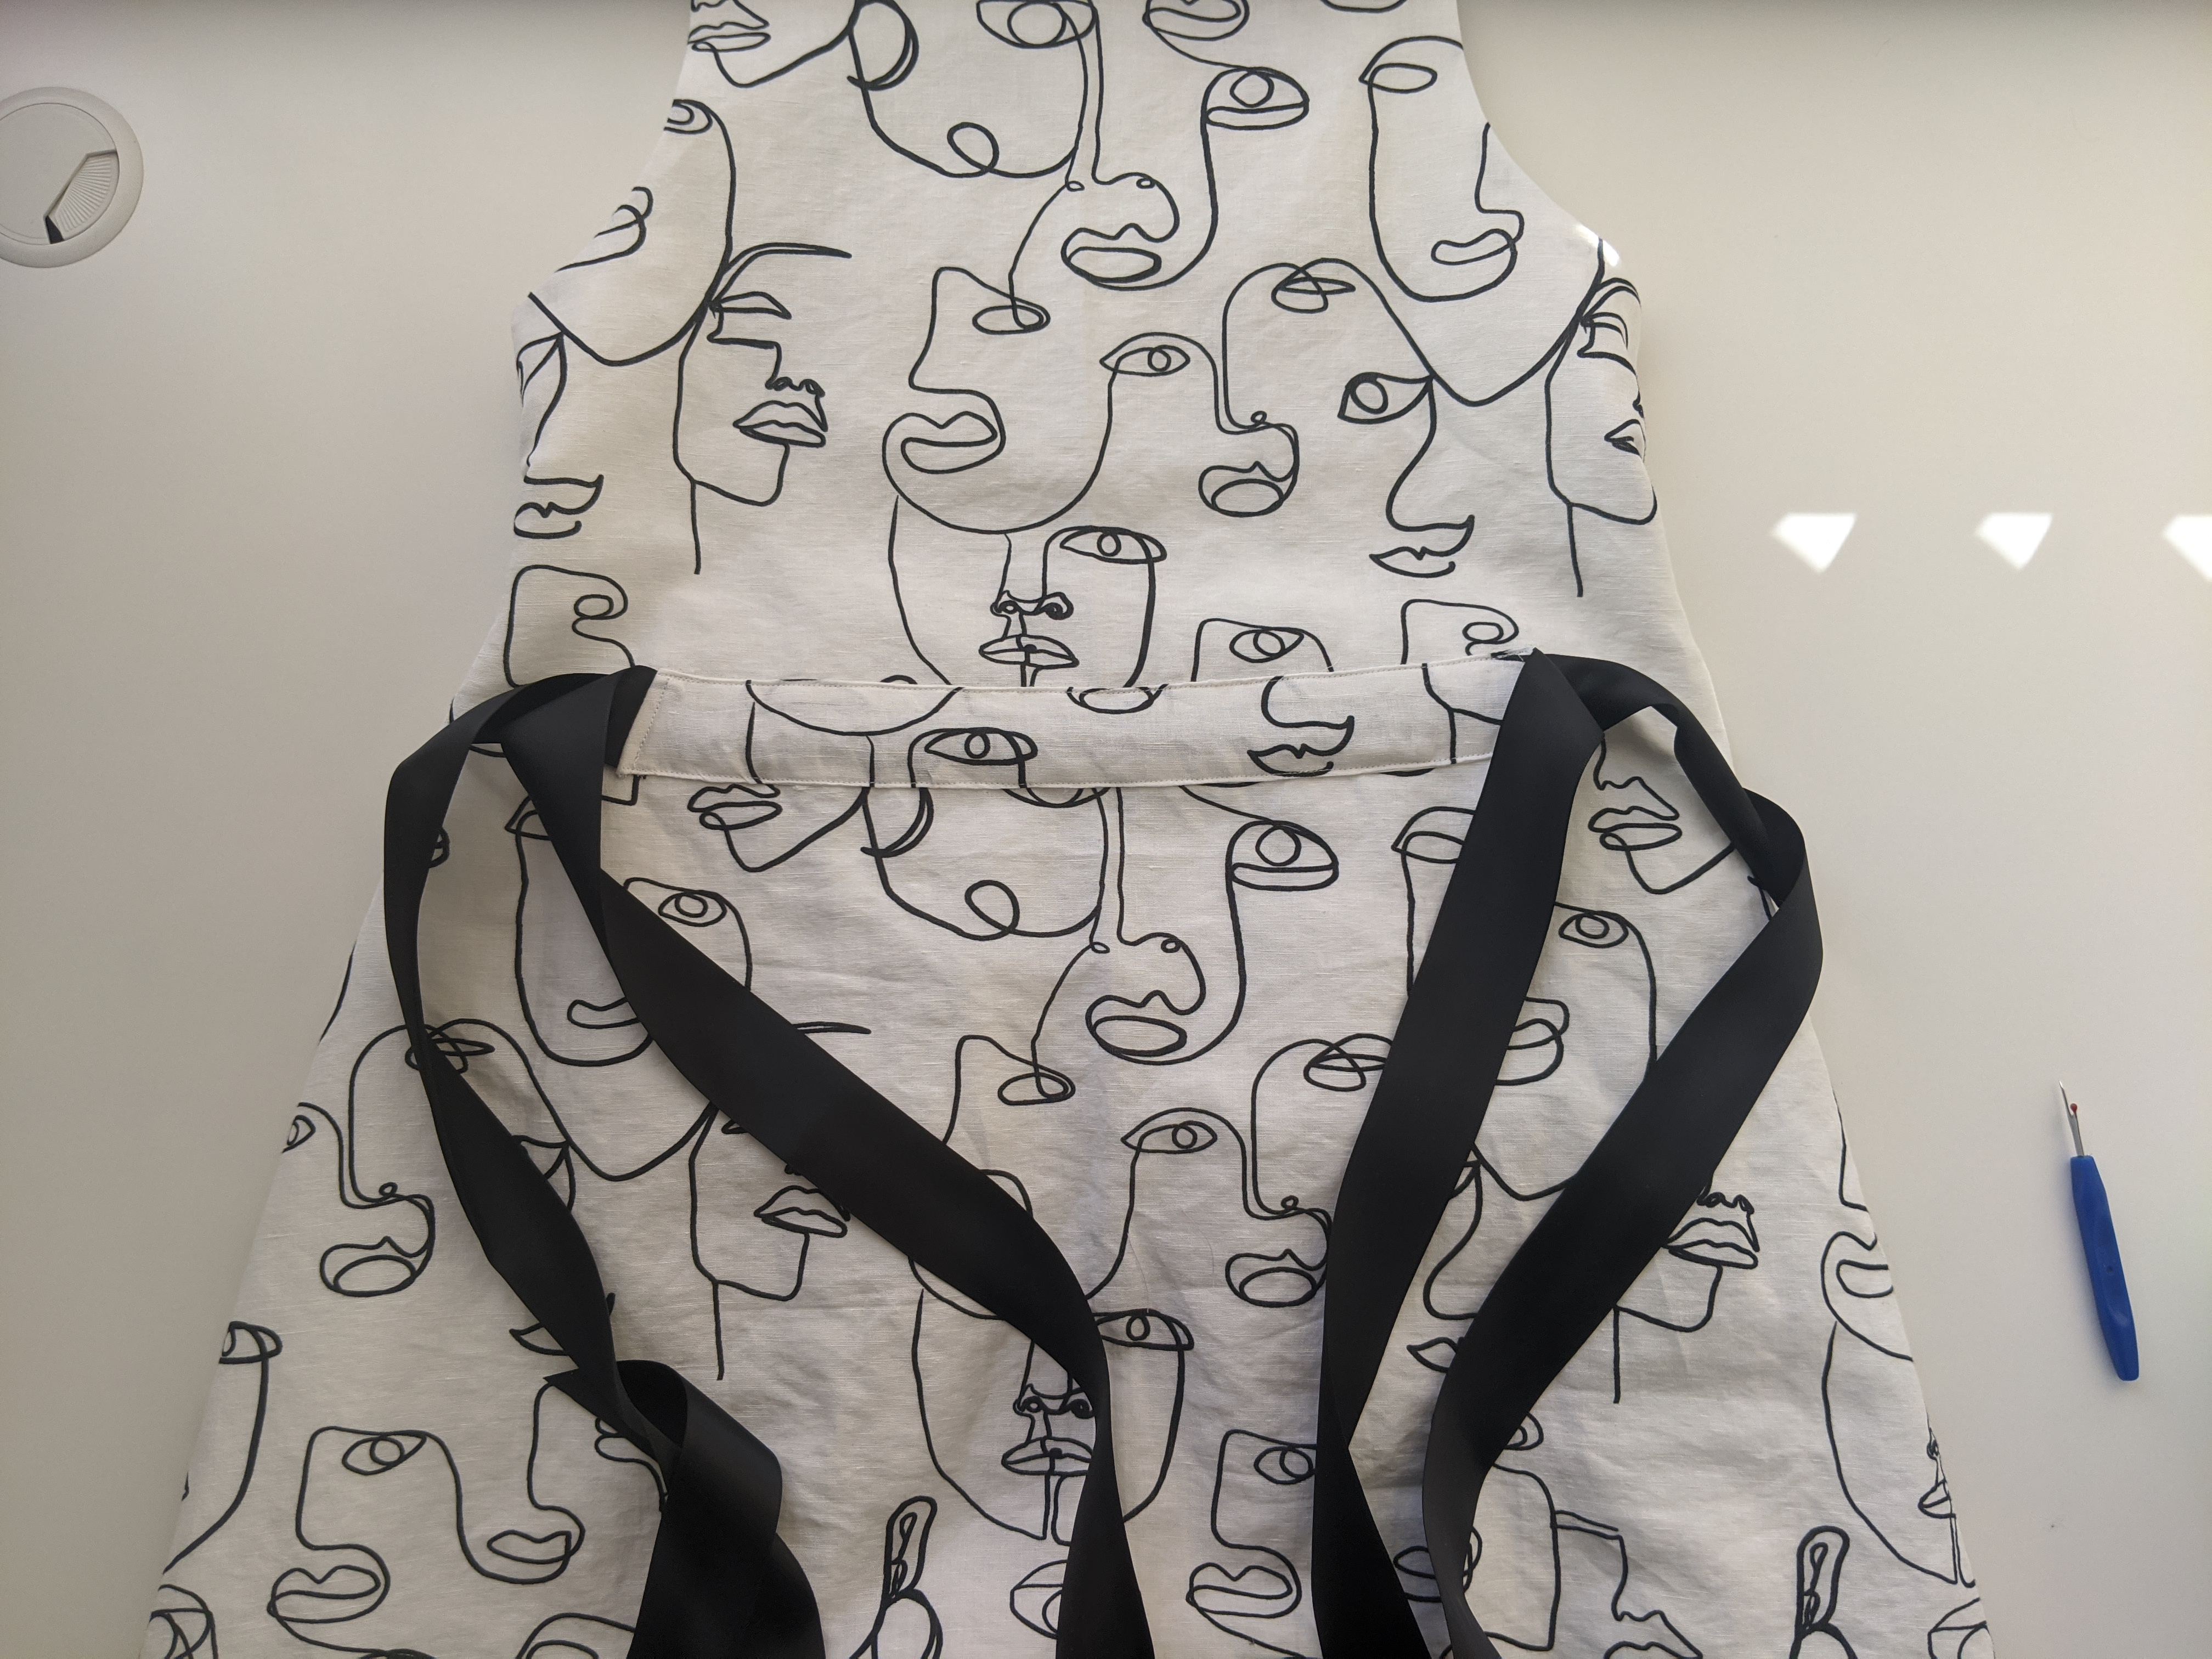
Step 12
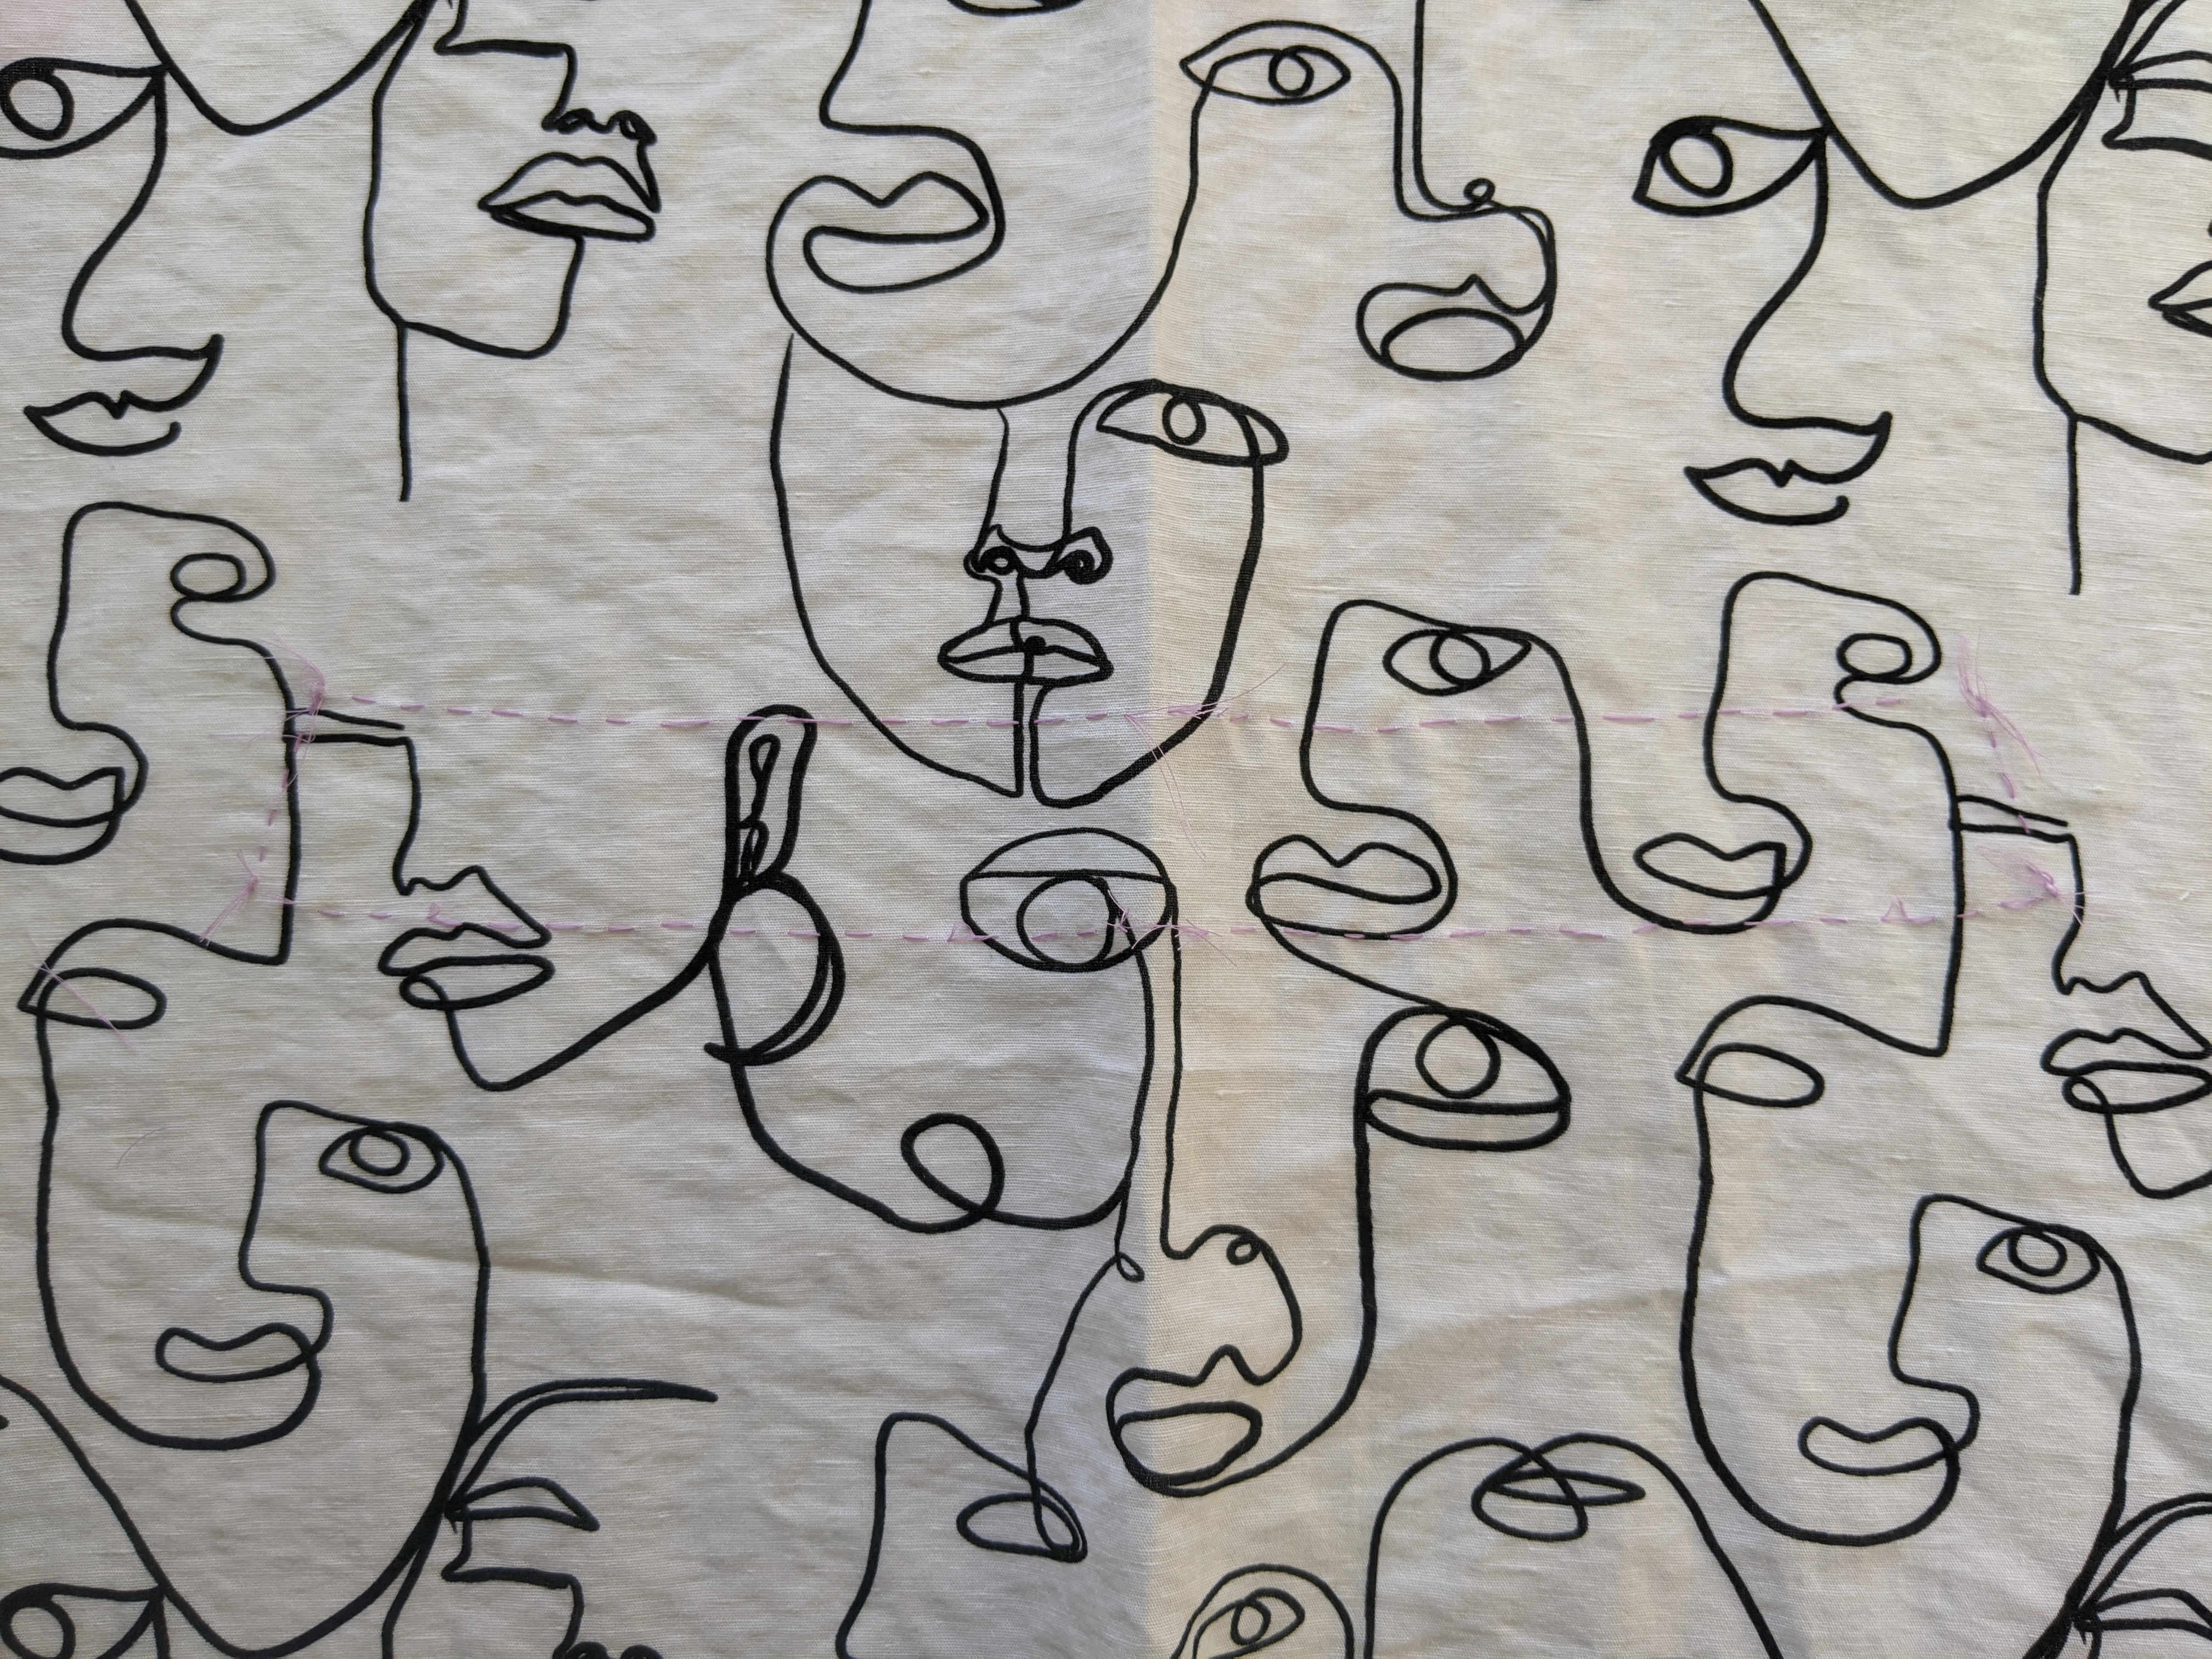
Using a bright contrast thread. Mark the casing placement on the front of your dress using a large hand stitch (this is so it can easily removed later, you can use dress makers chalk instead if you wish)
Step 13
Next pin shoulder seams of main right sides together and stitch closed. Press seams open. Then repeat with the lining.
Step 14
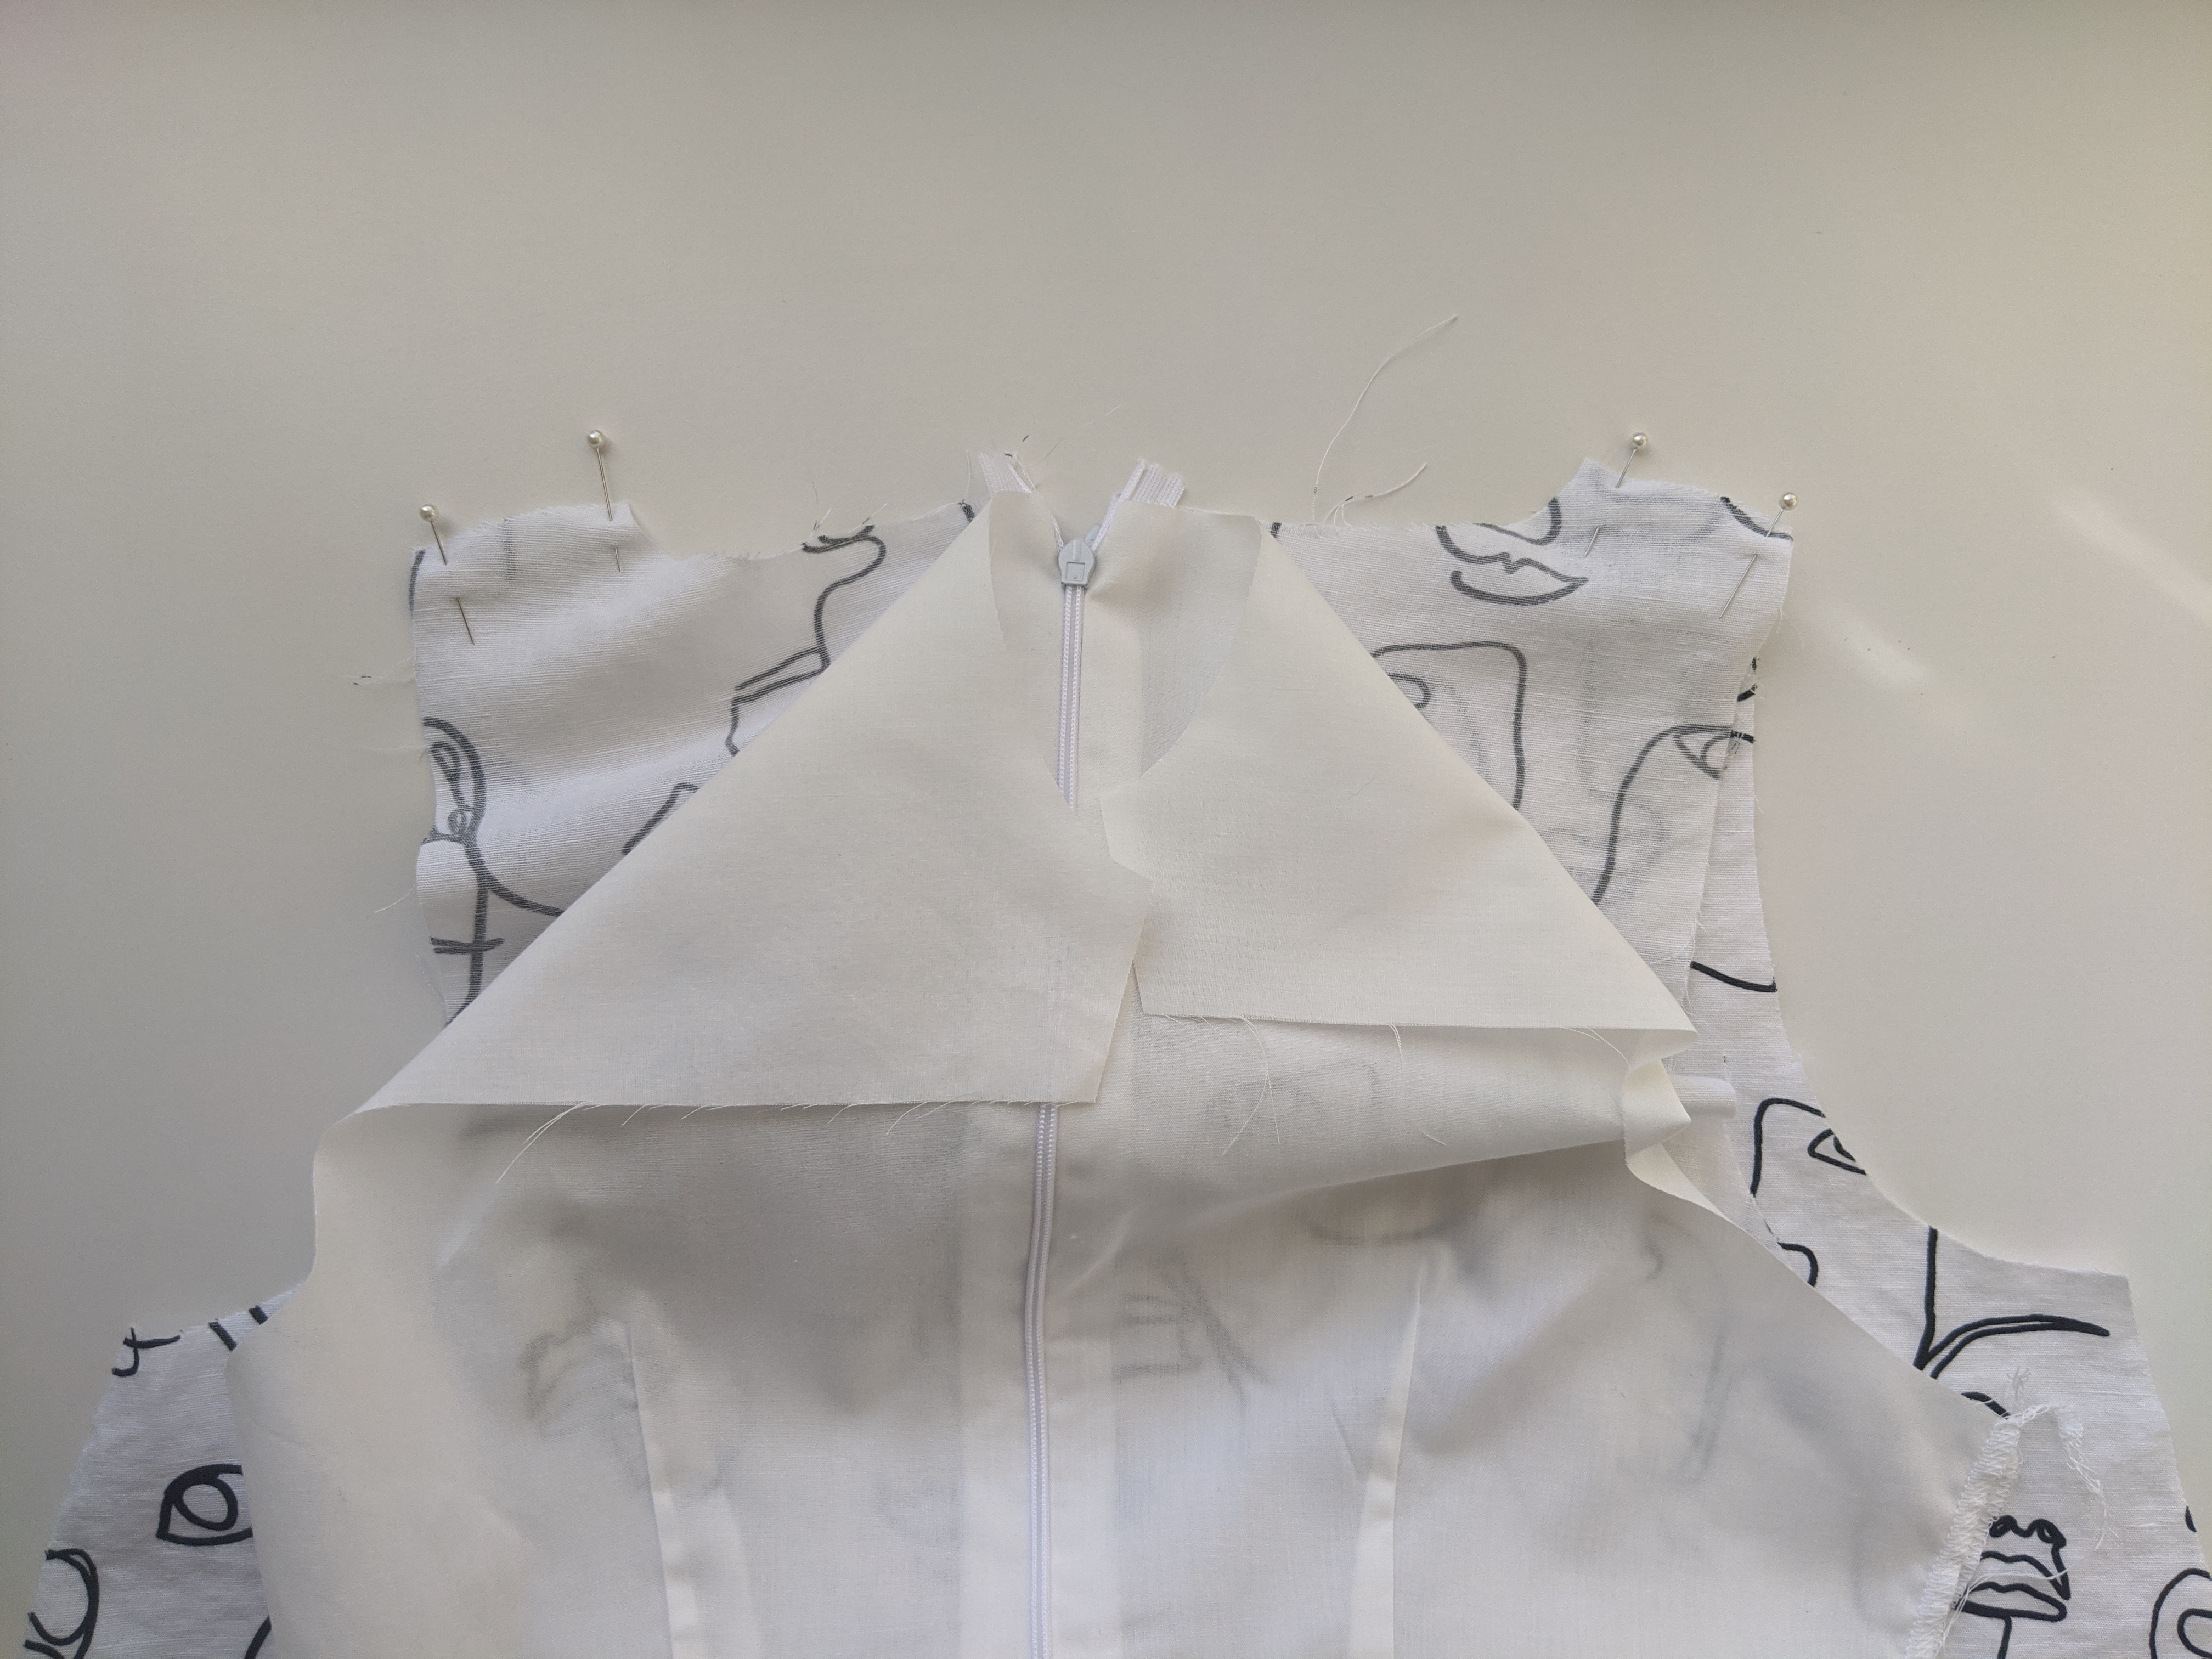
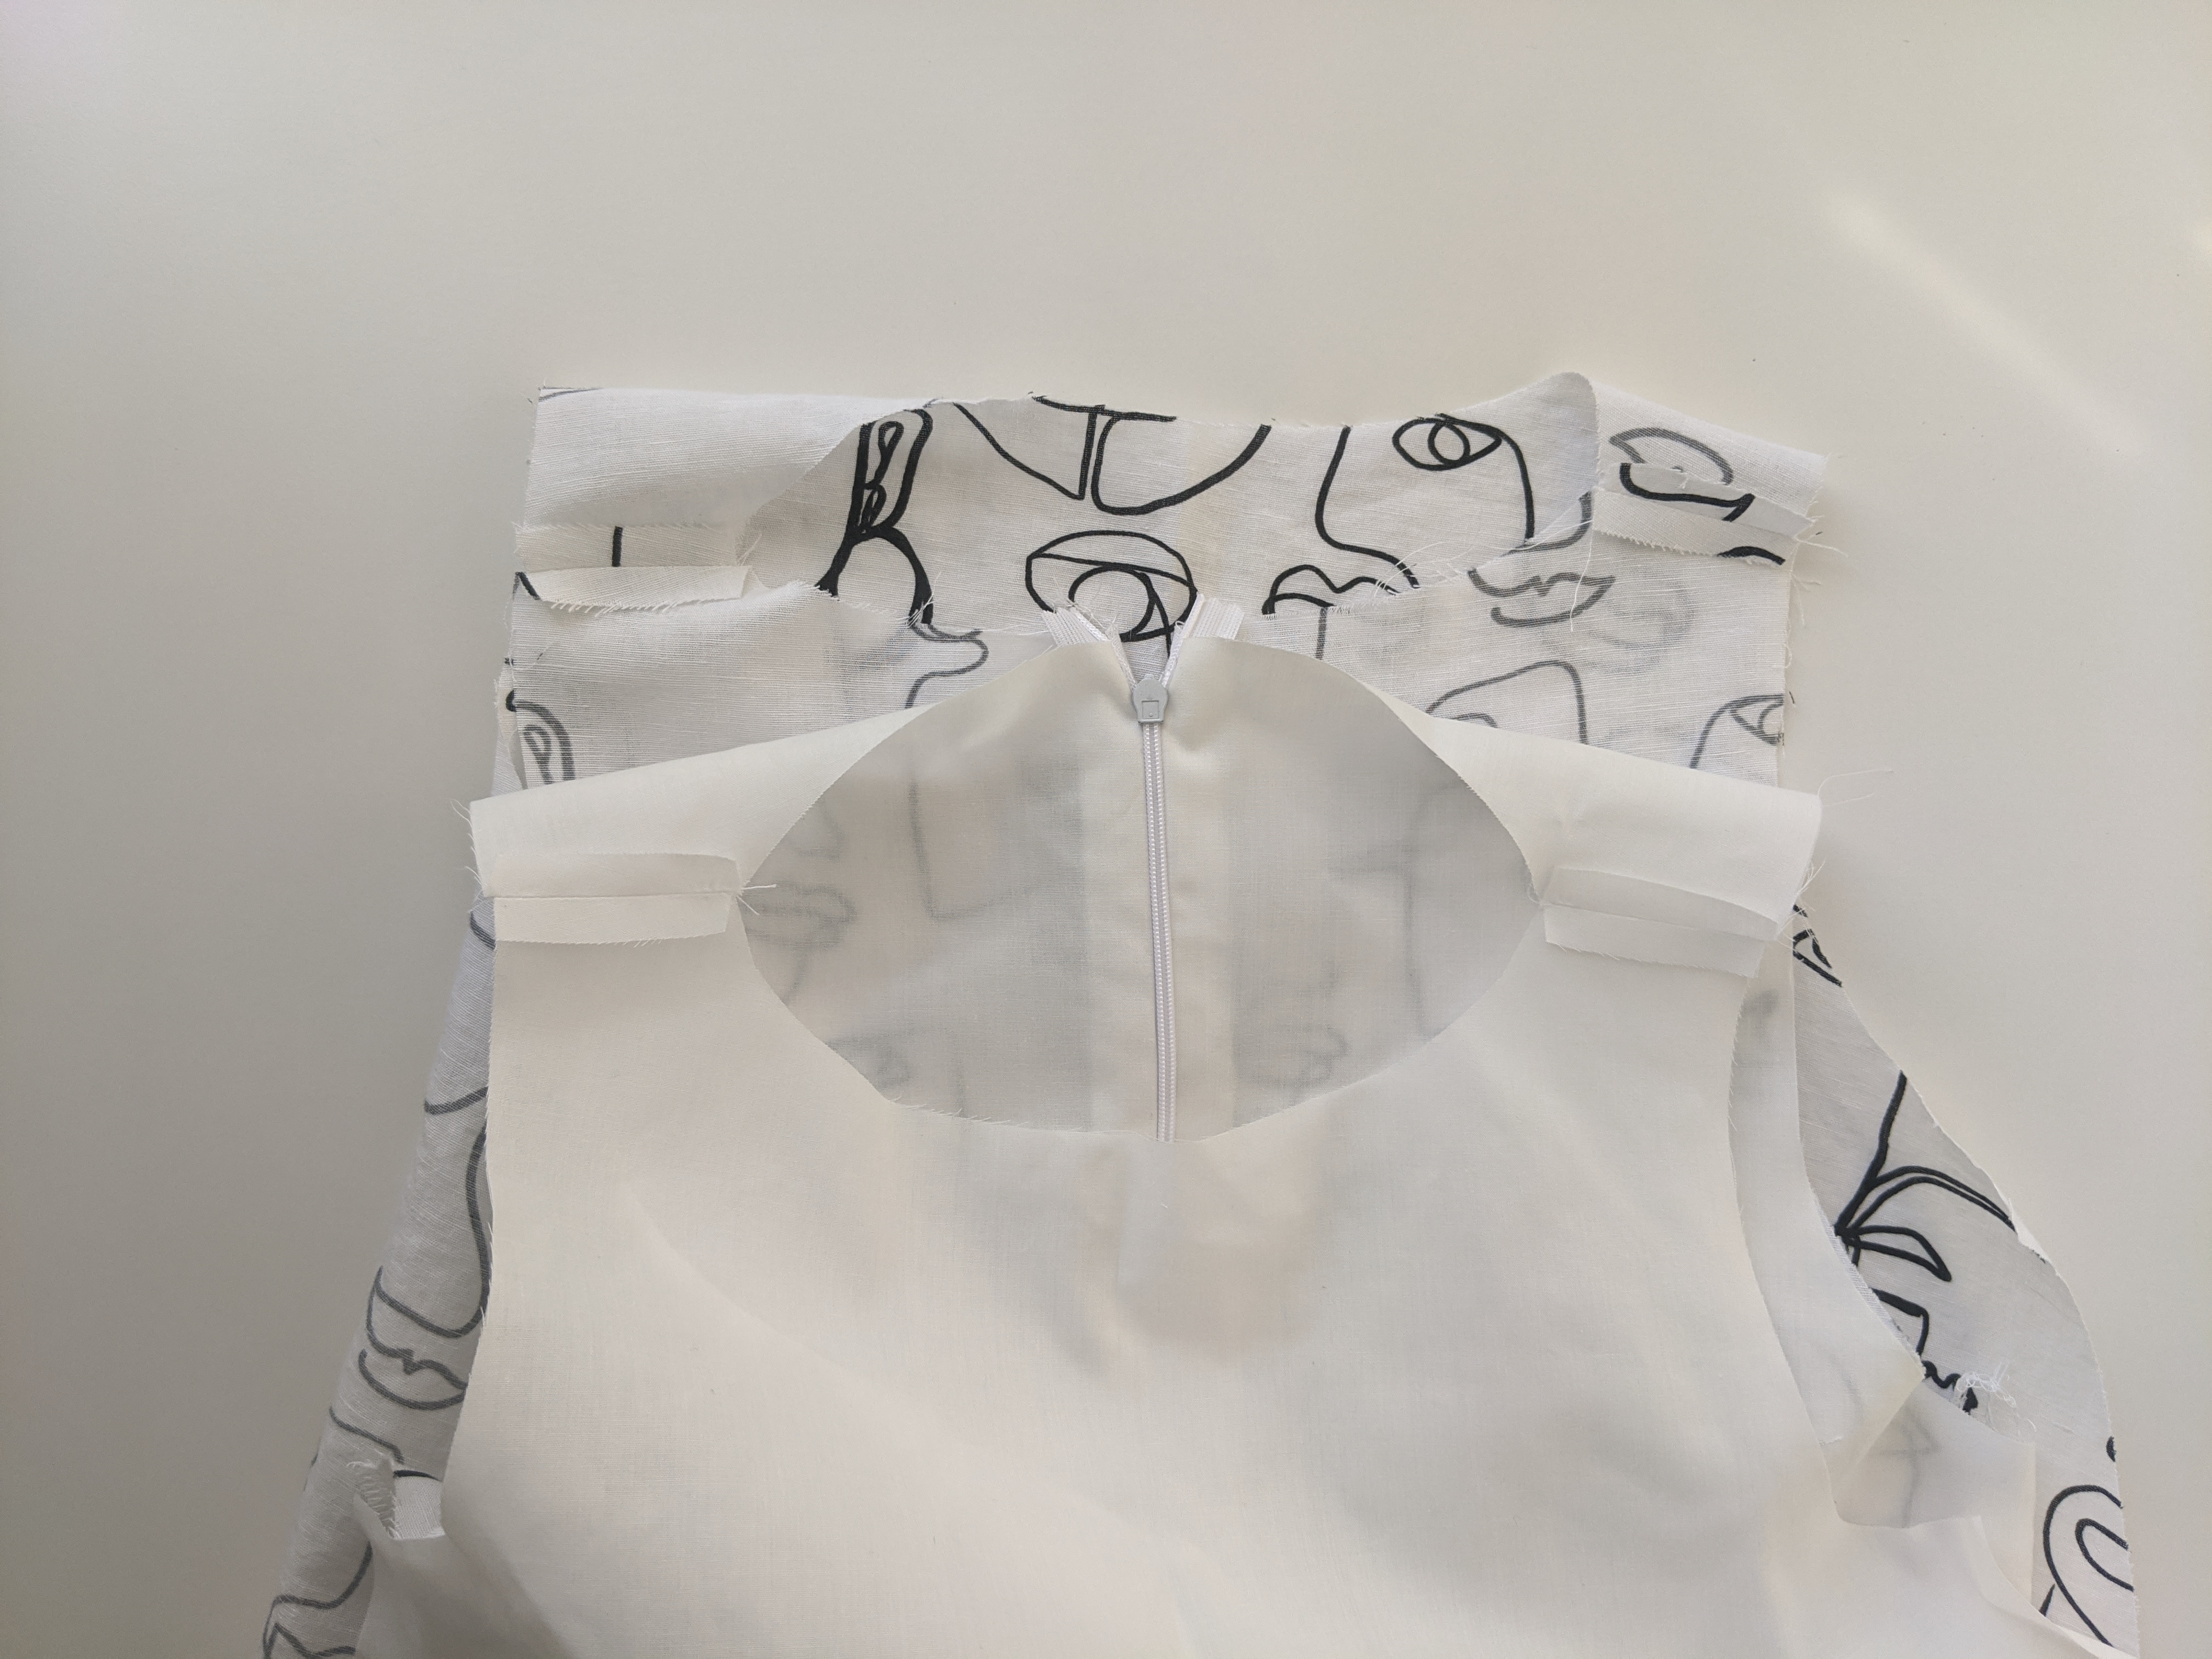
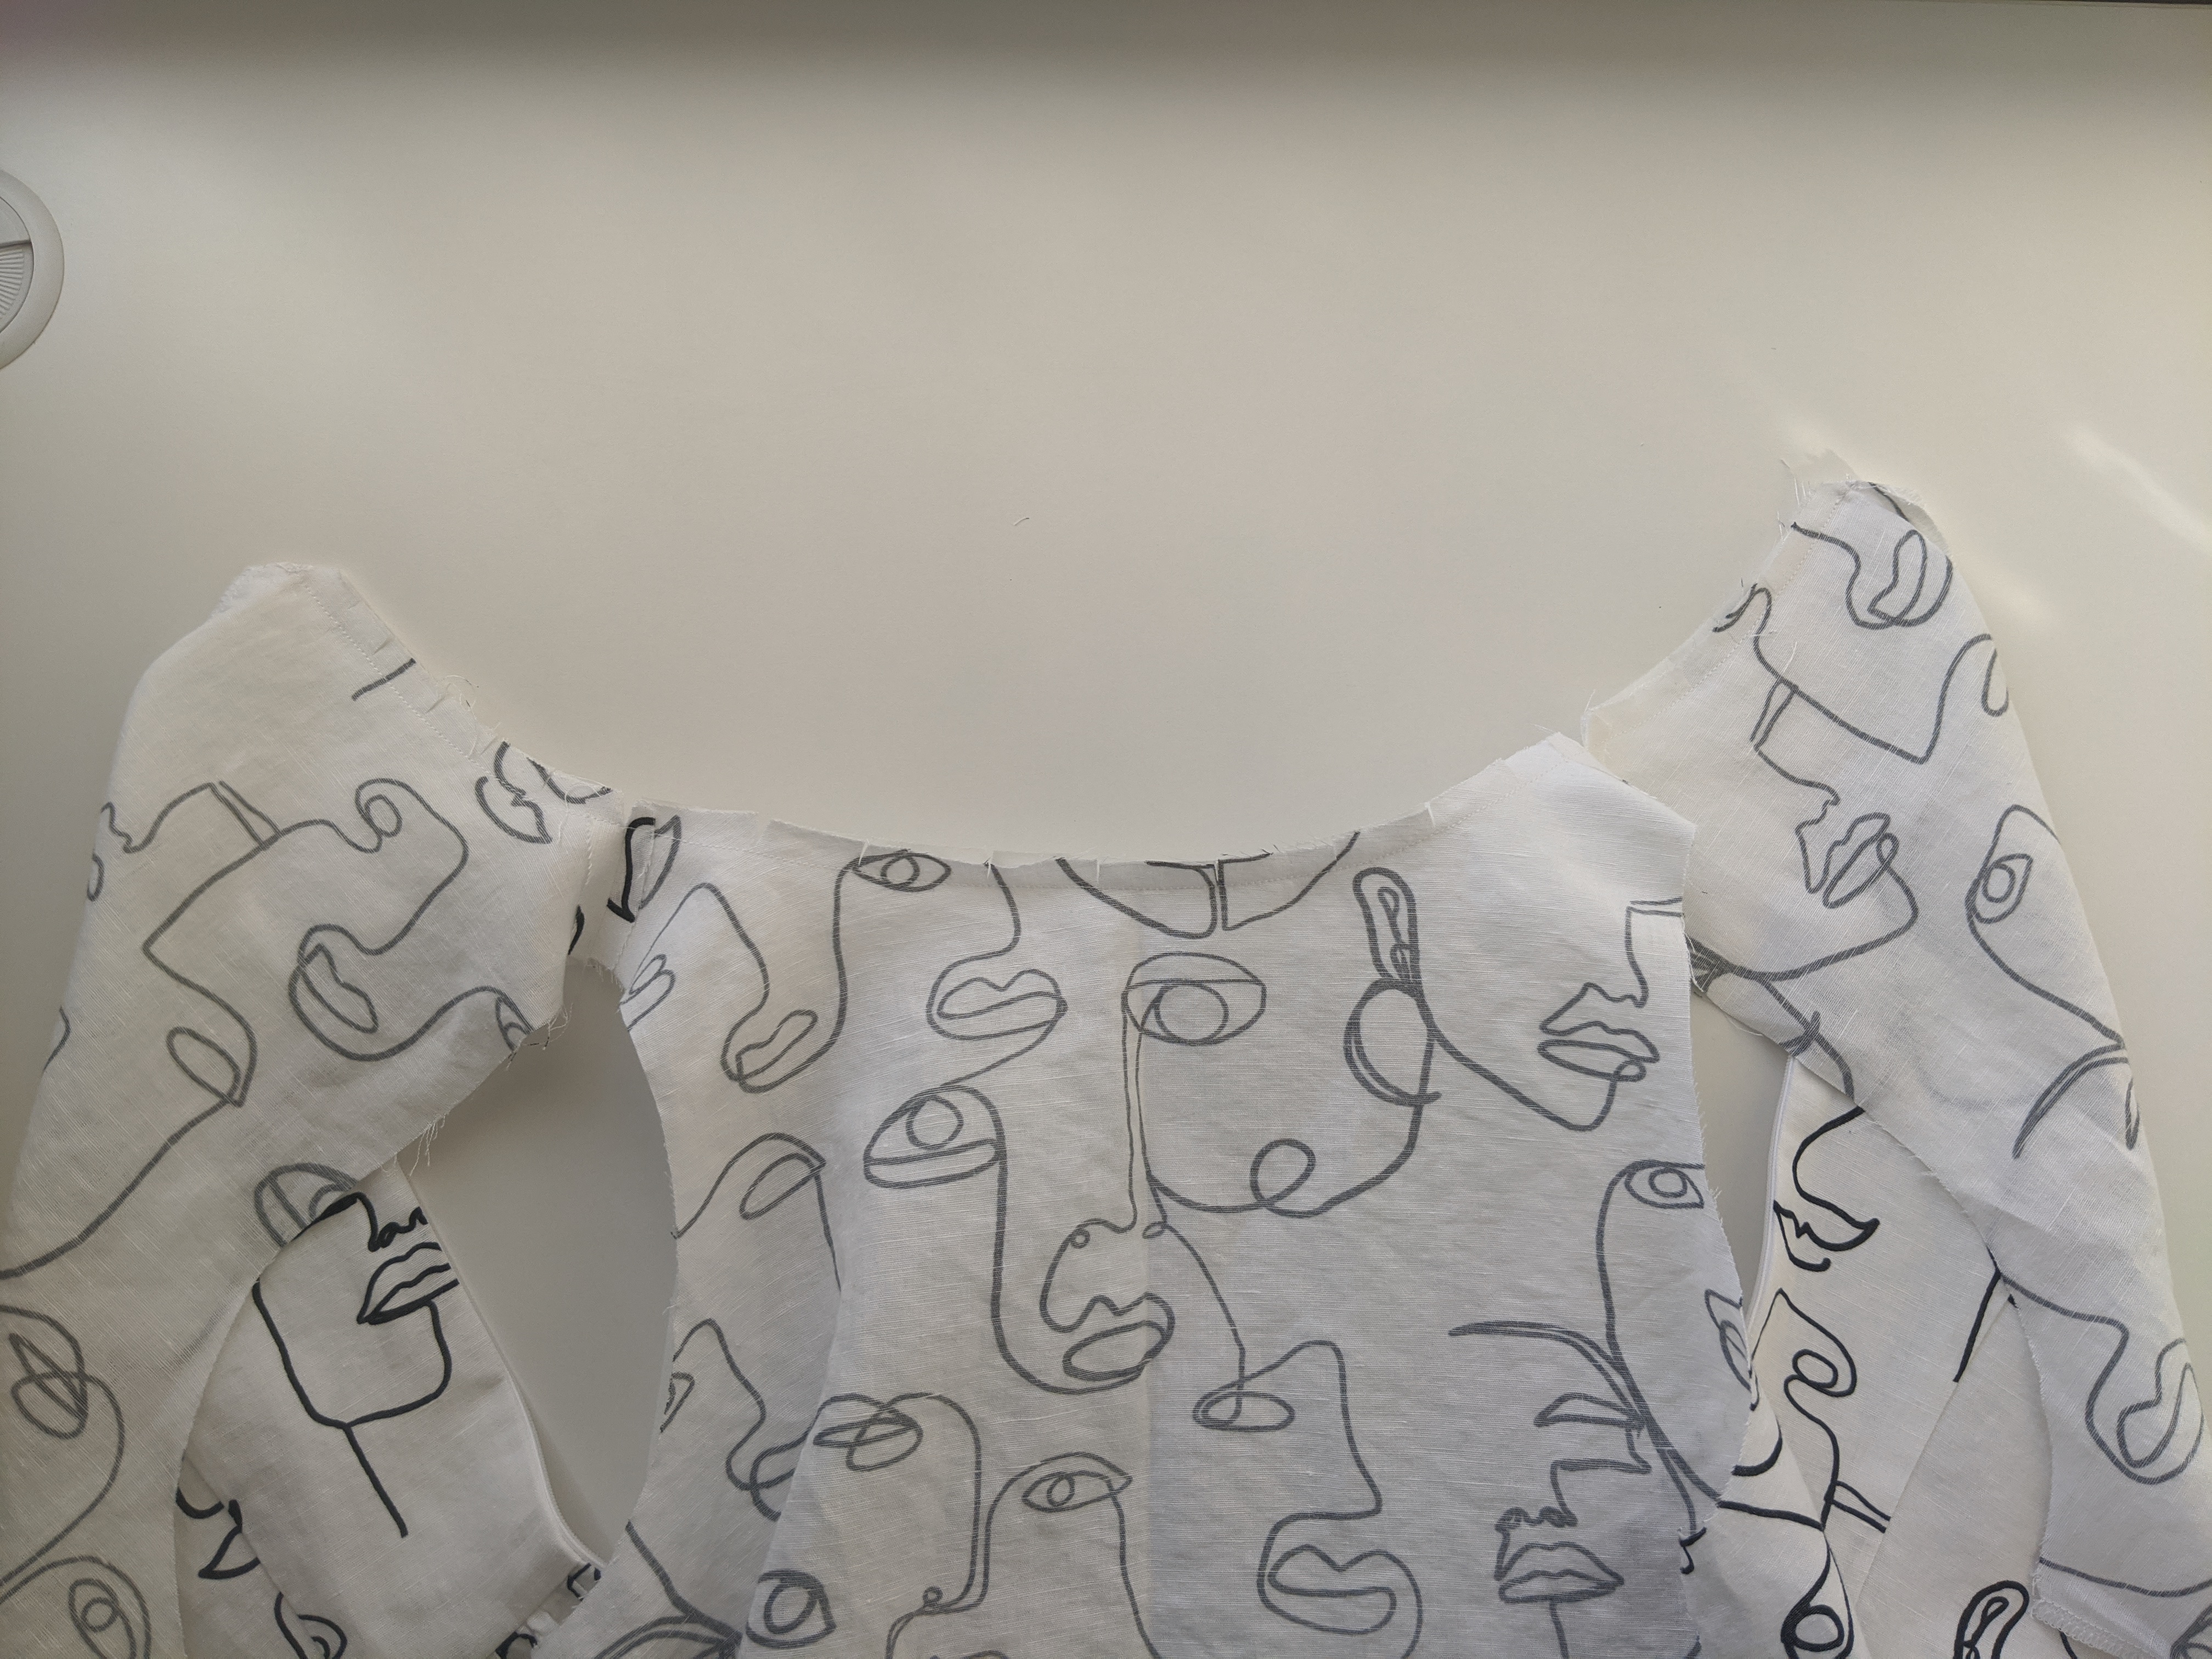
Keeping the garment right sides together, pin around the neck edge ensuring that the shoulder seams of the main and lining match.
Clip the corner of the top pf the zipper on an angle to reduce the bulk, then turn the garment through and press the neck flat.
This can be pin stitched internally if desired.
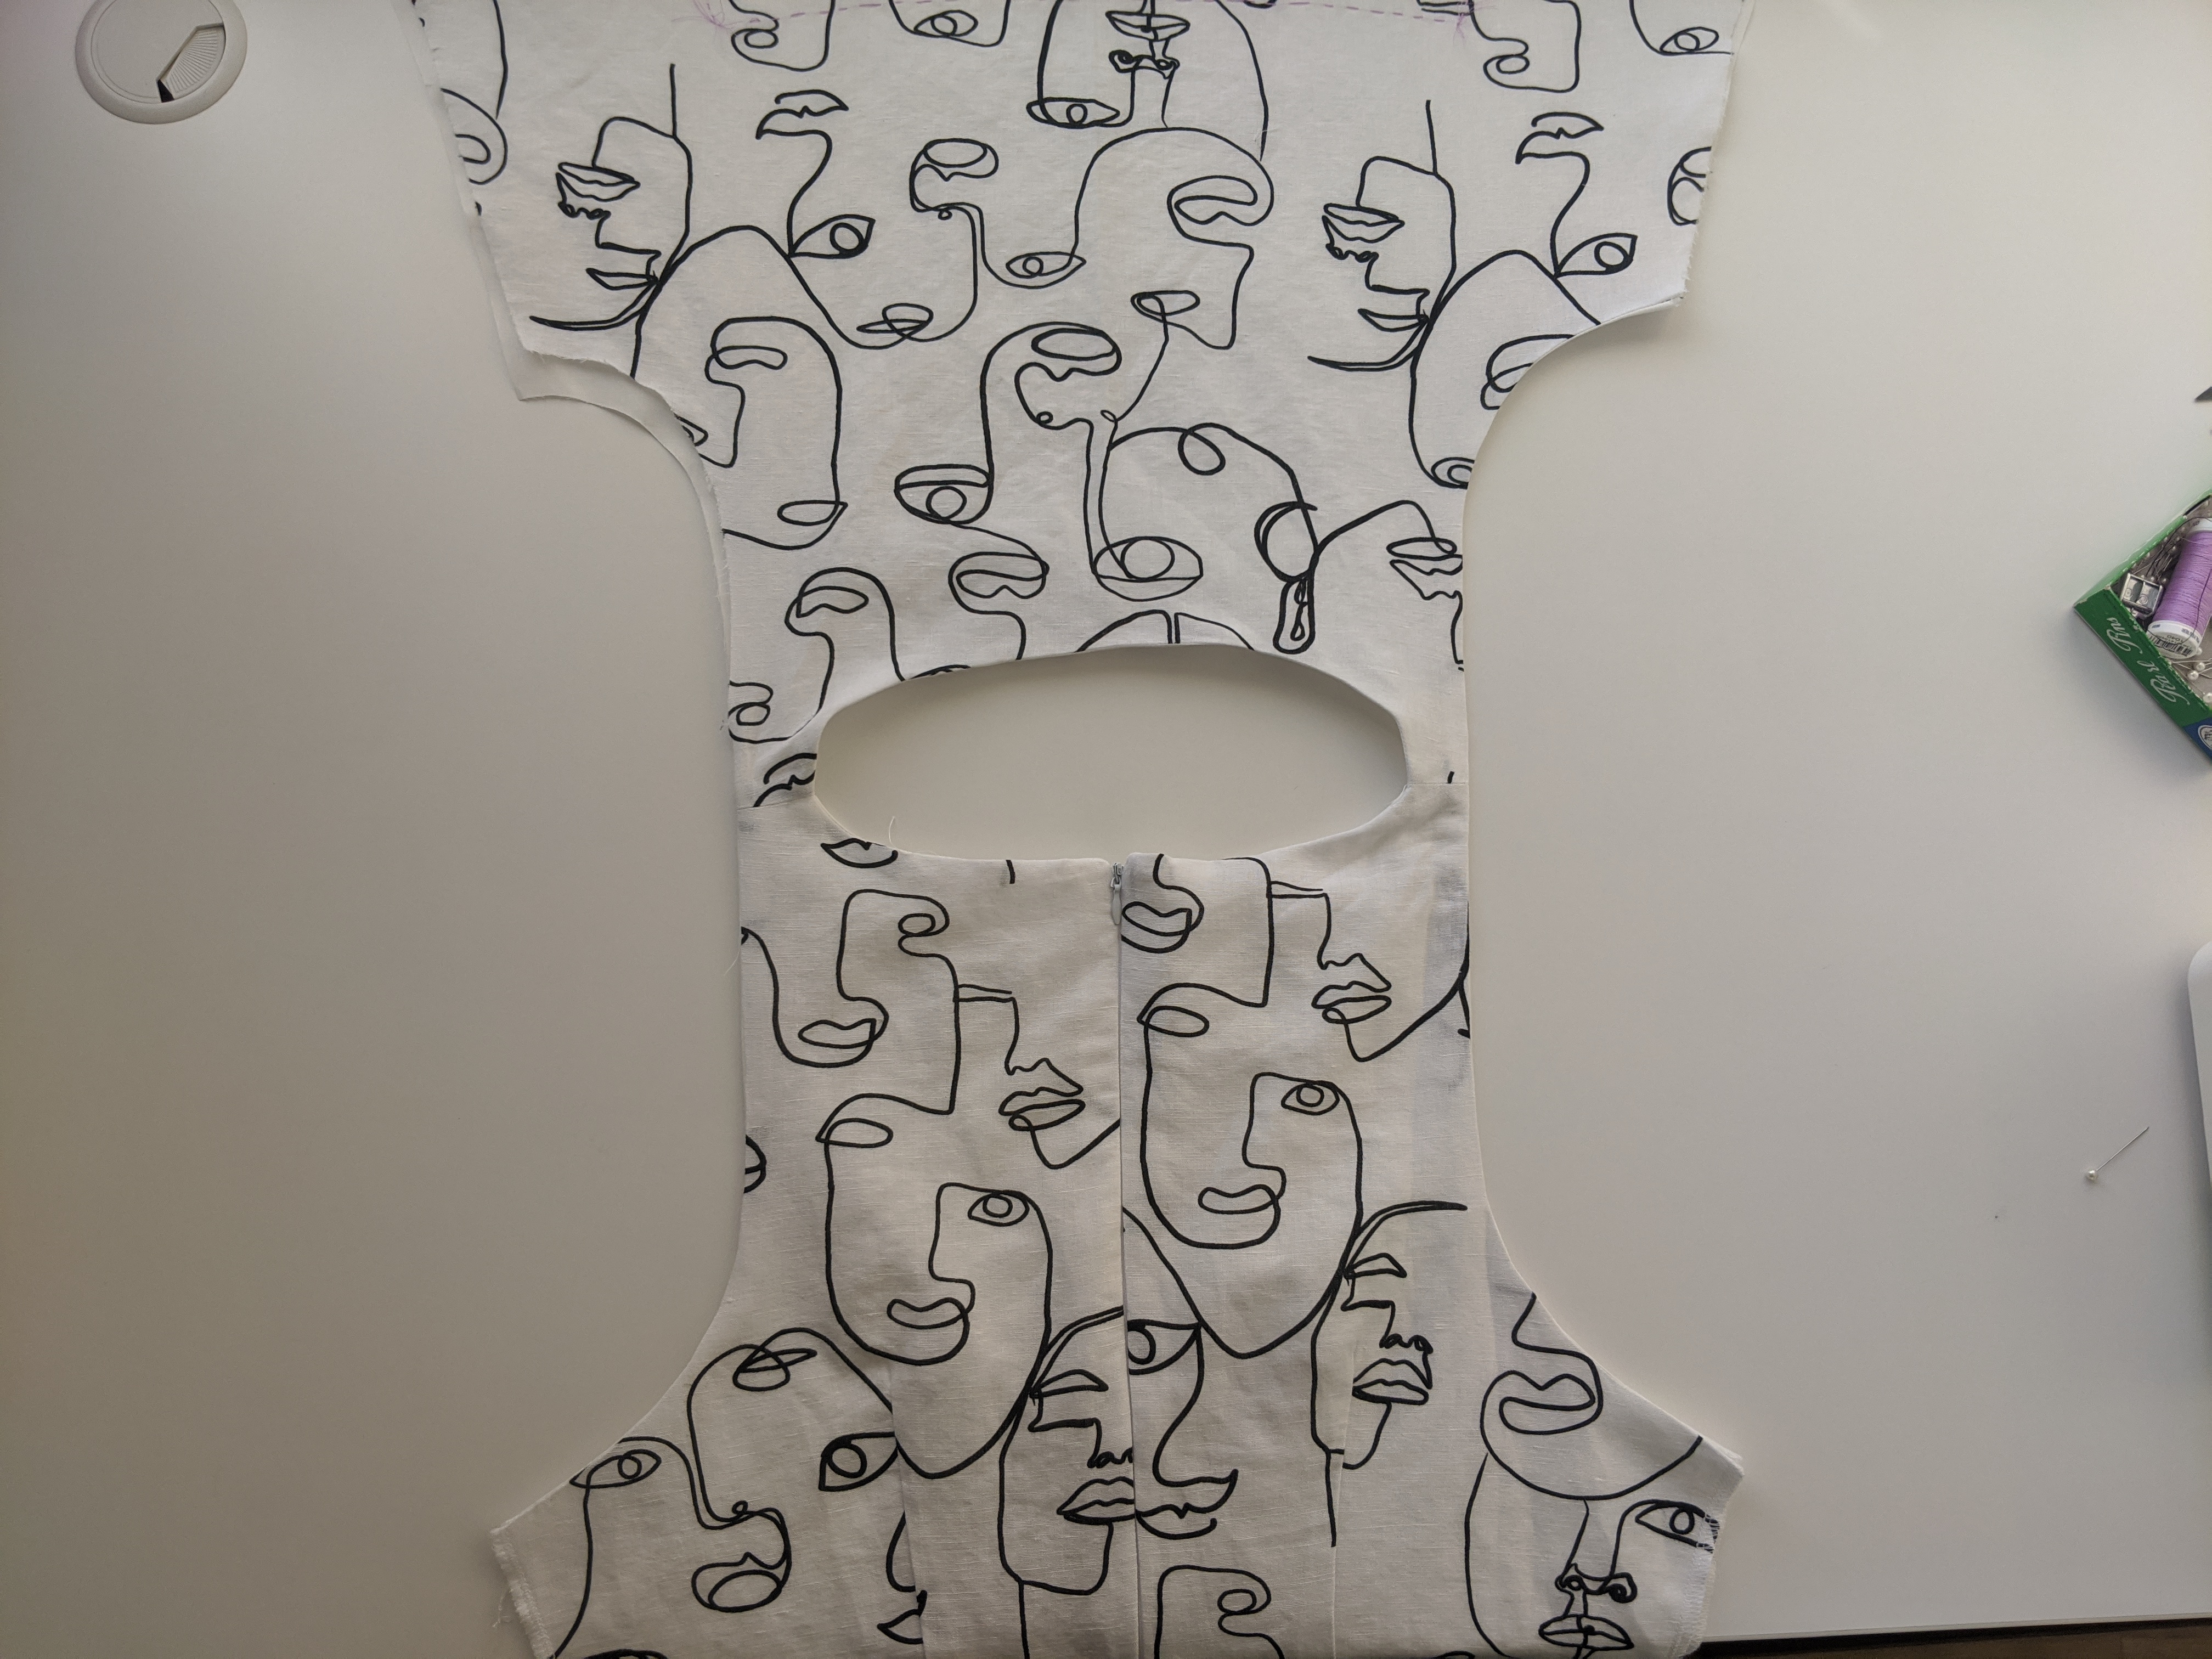
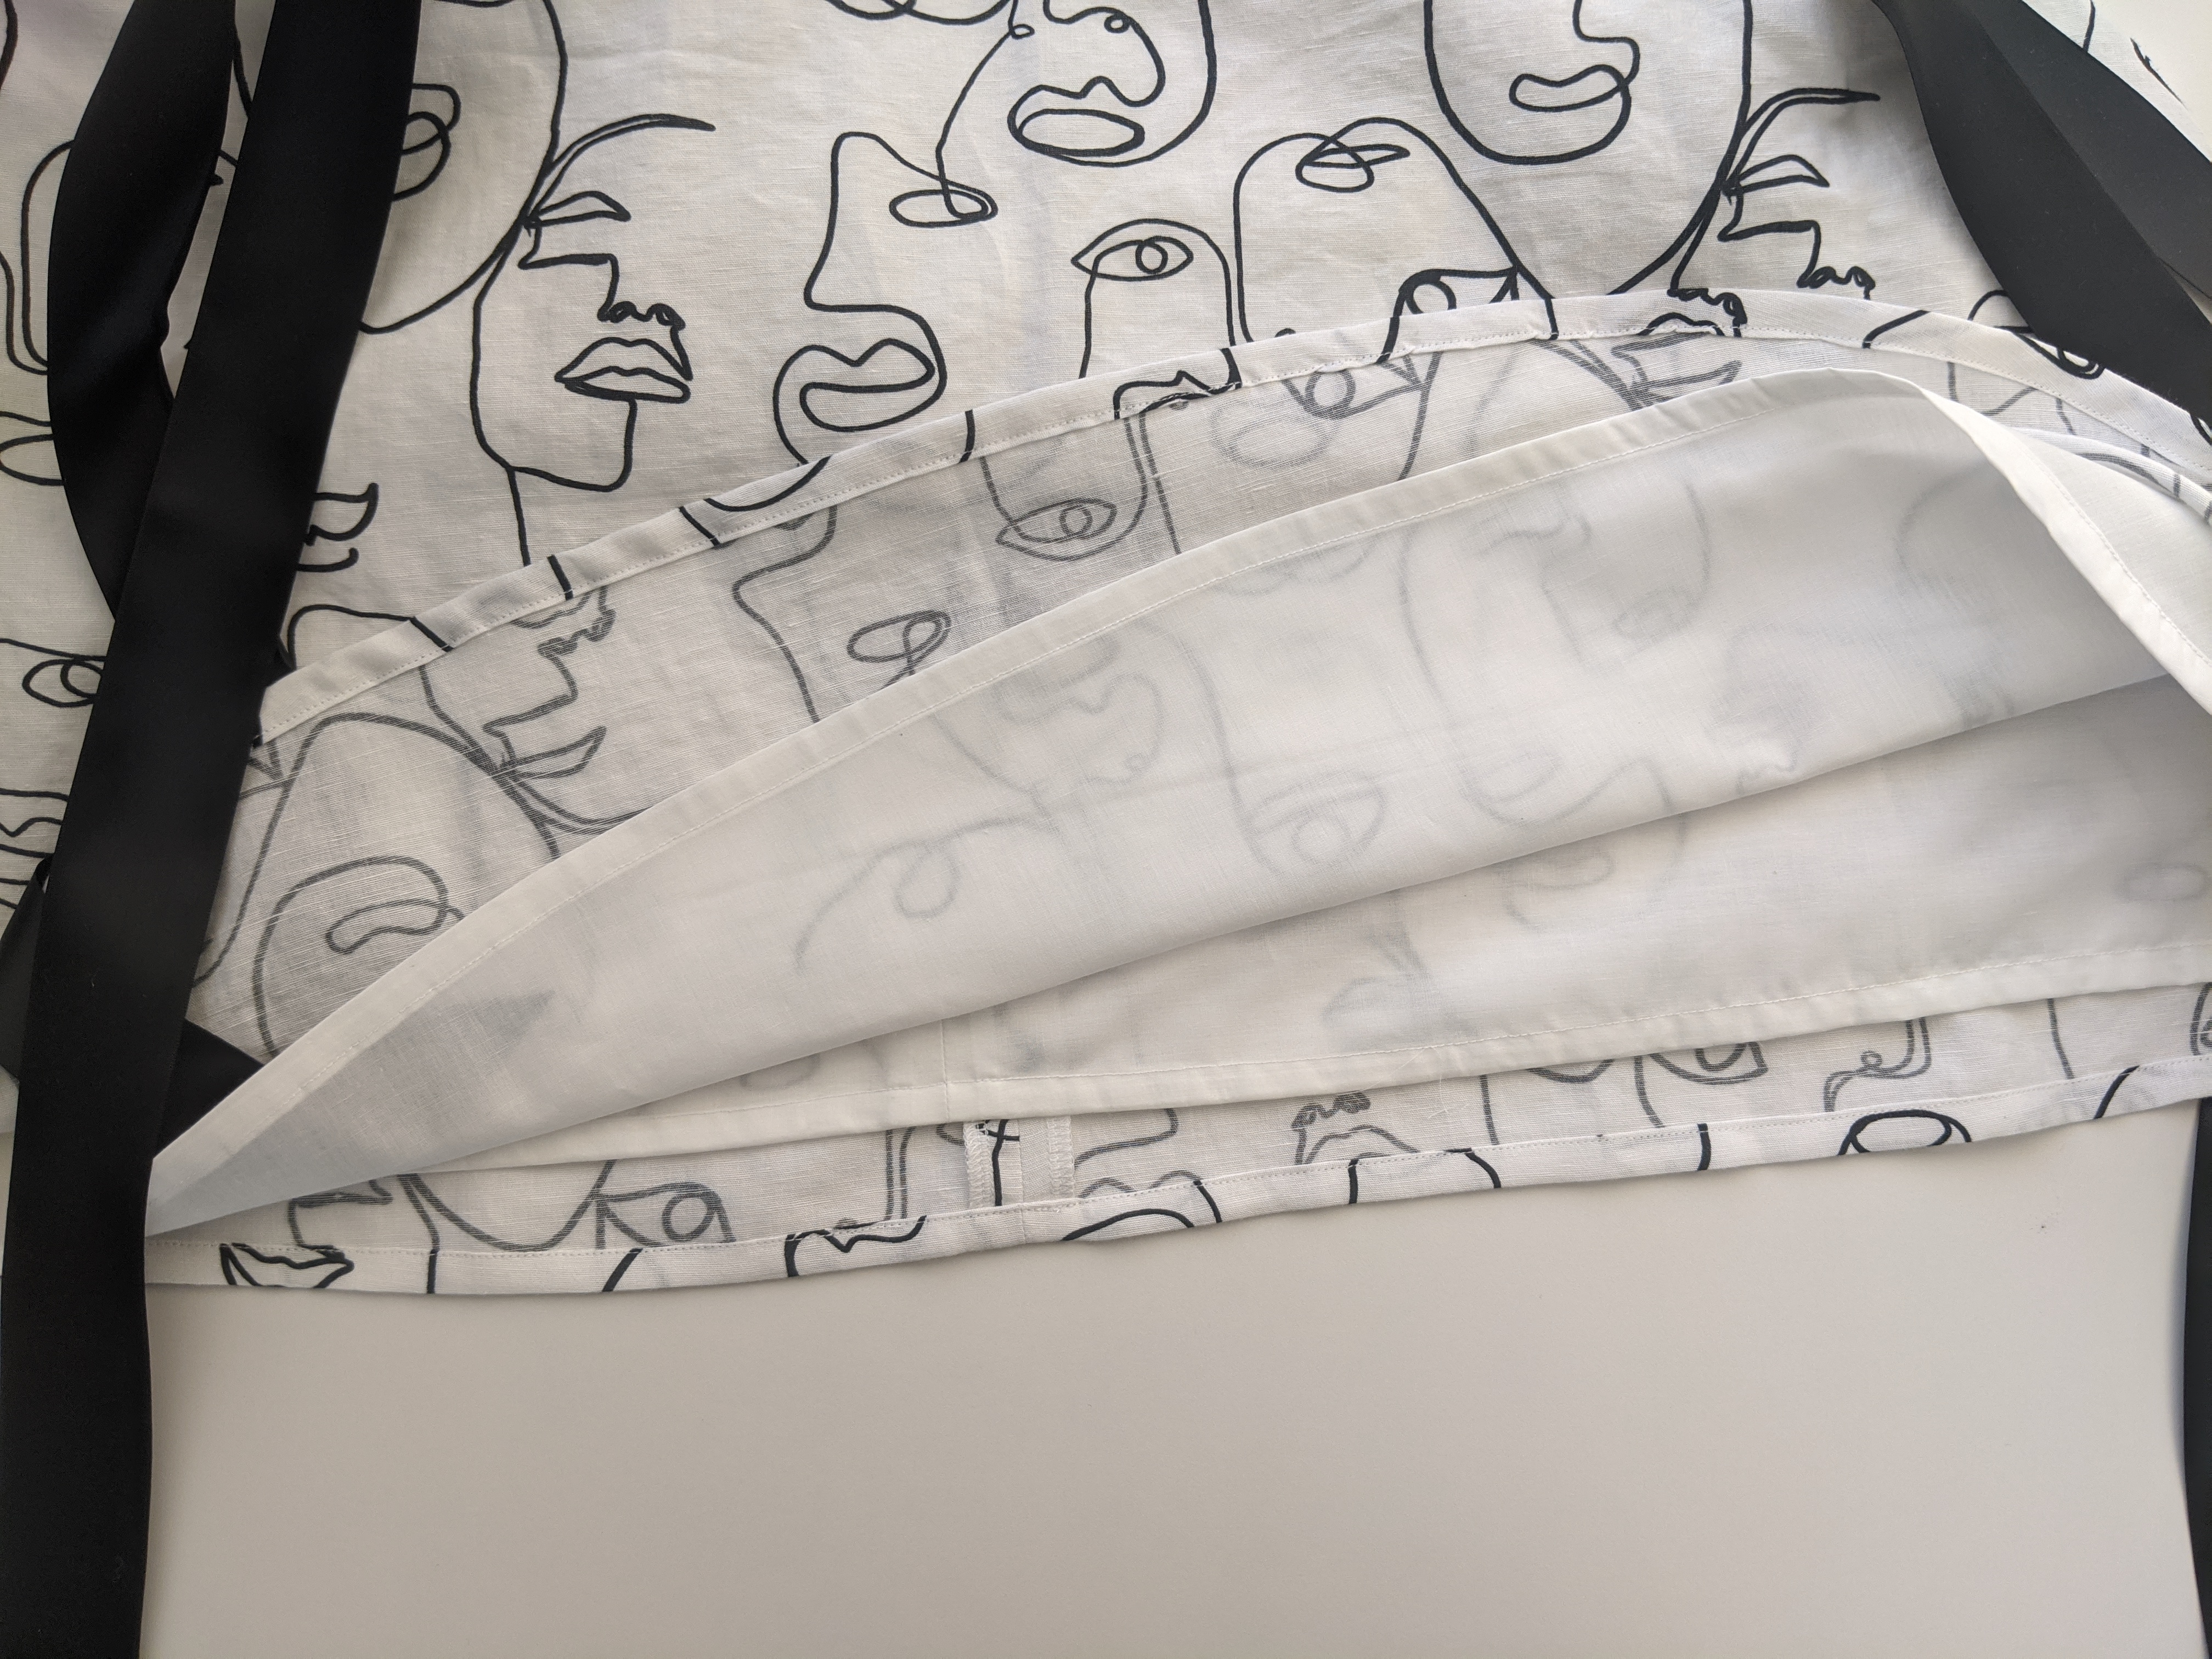
Step 15
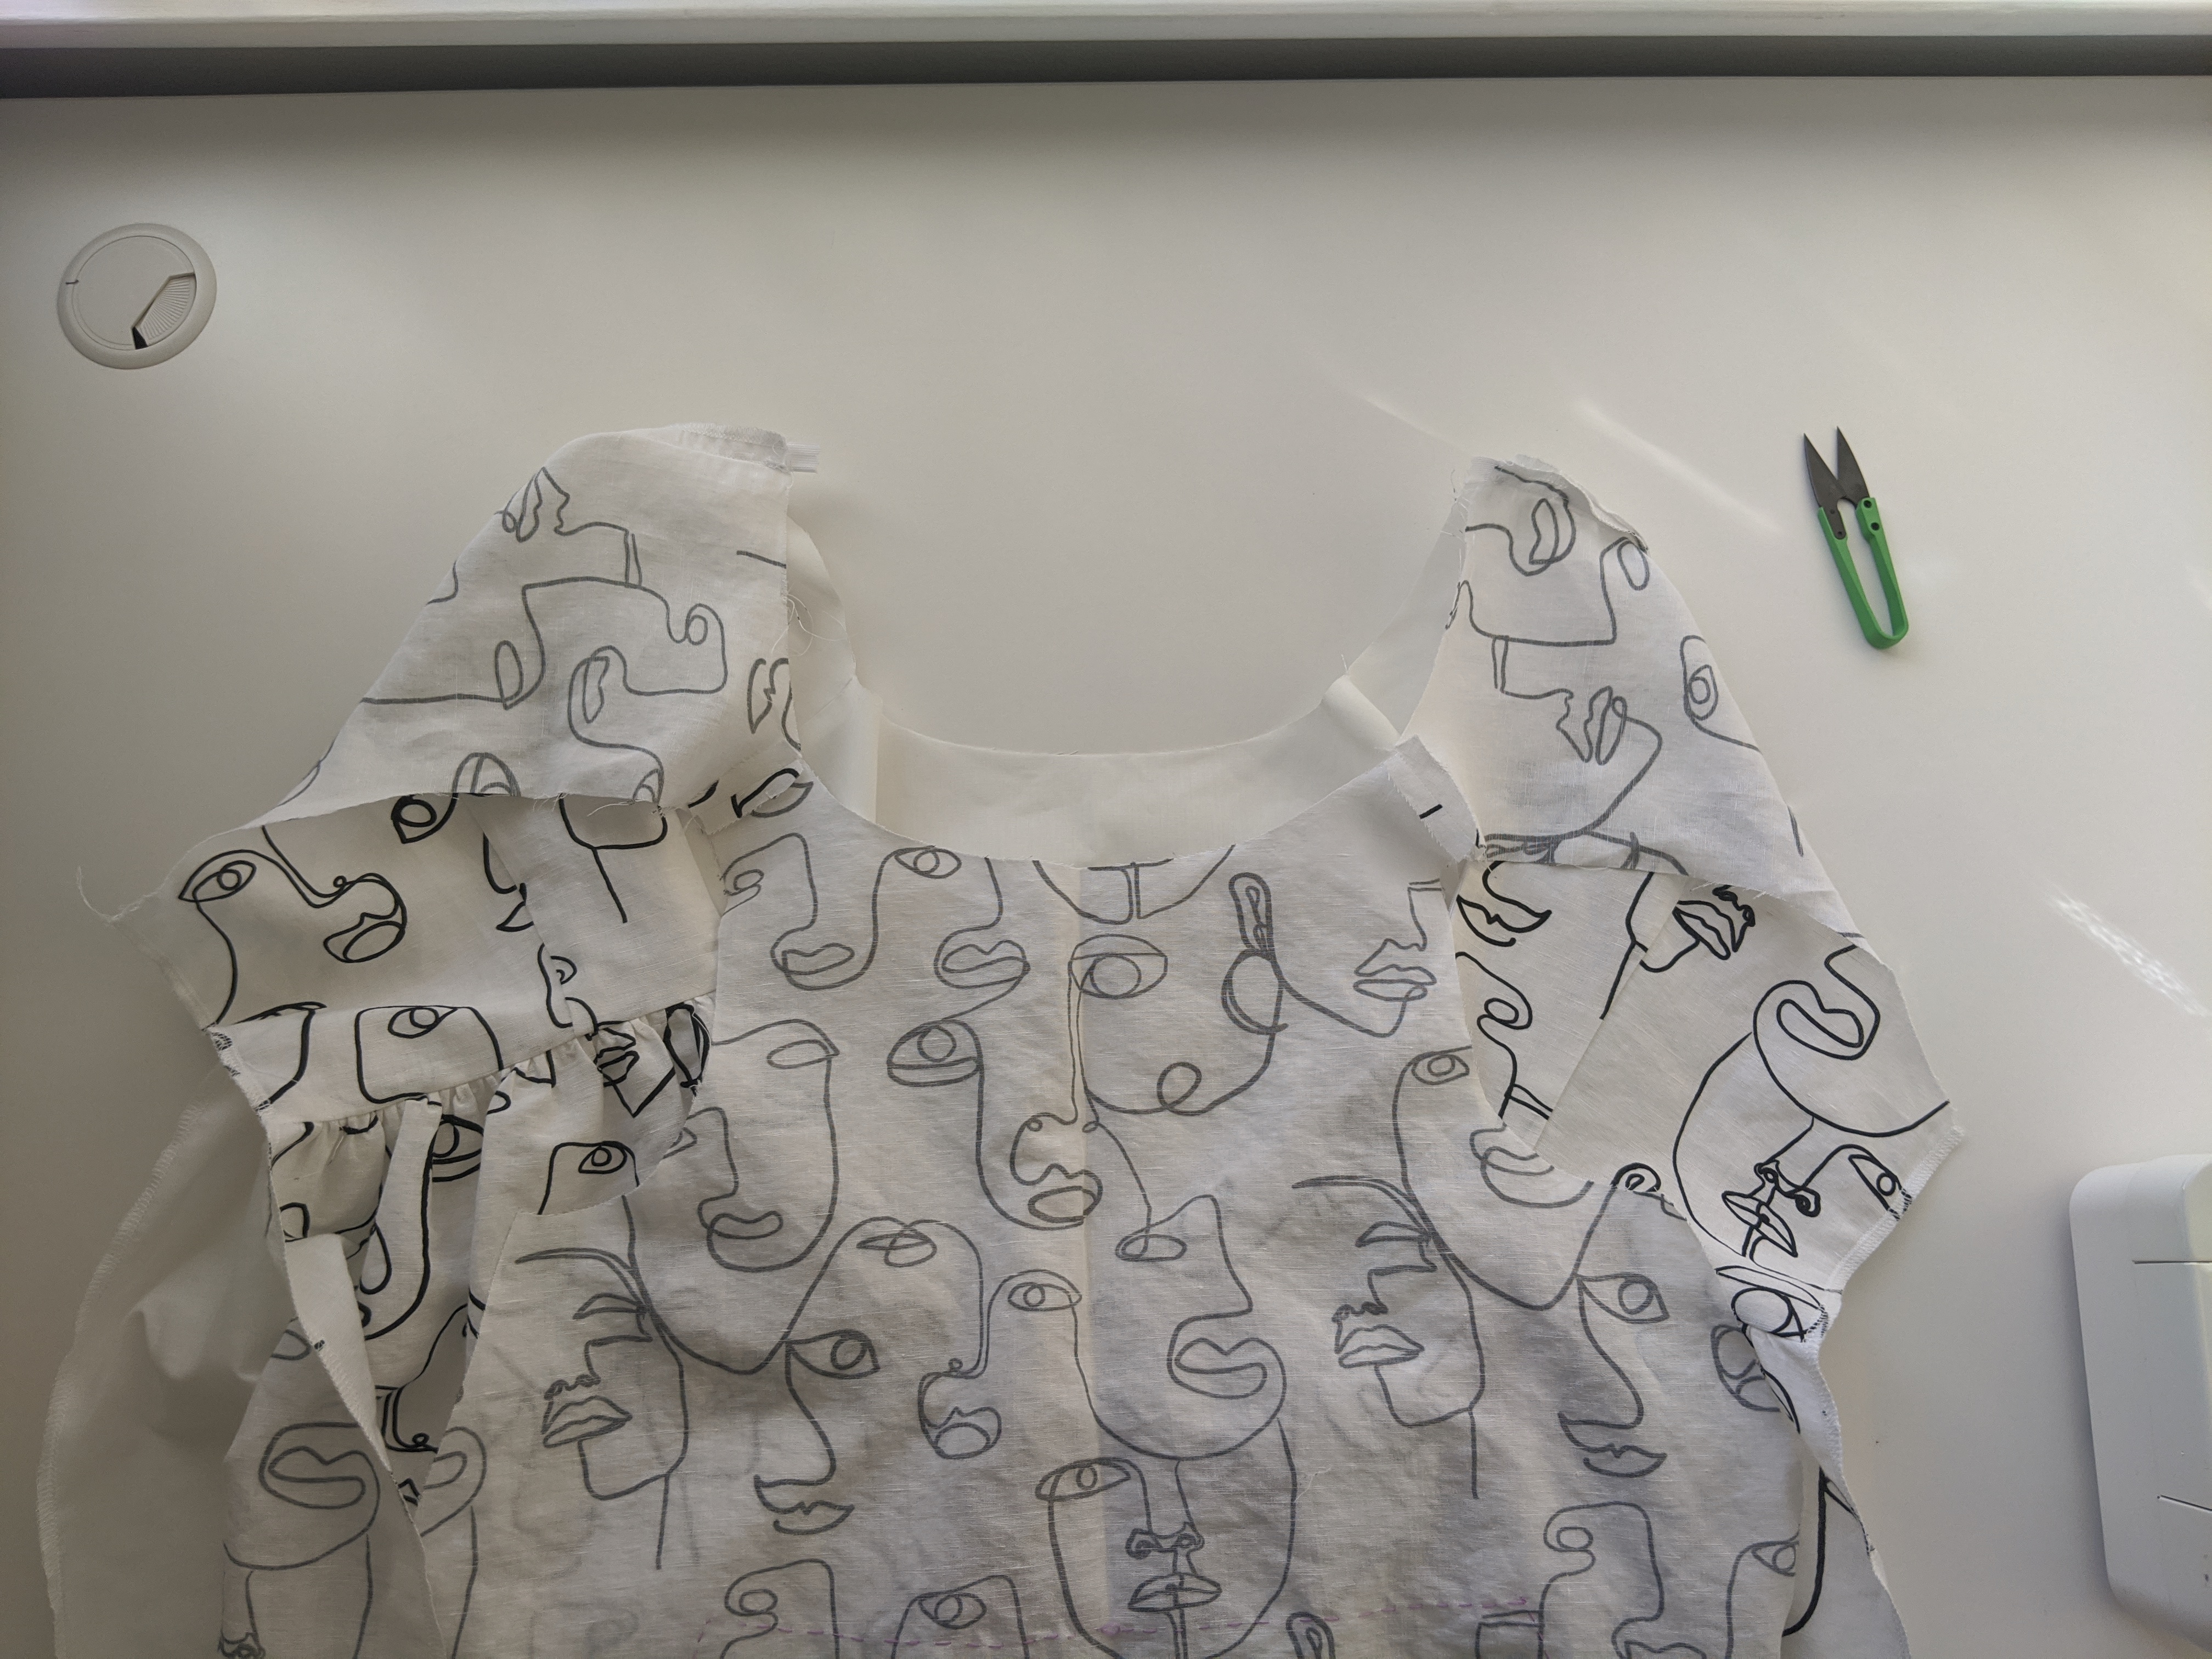
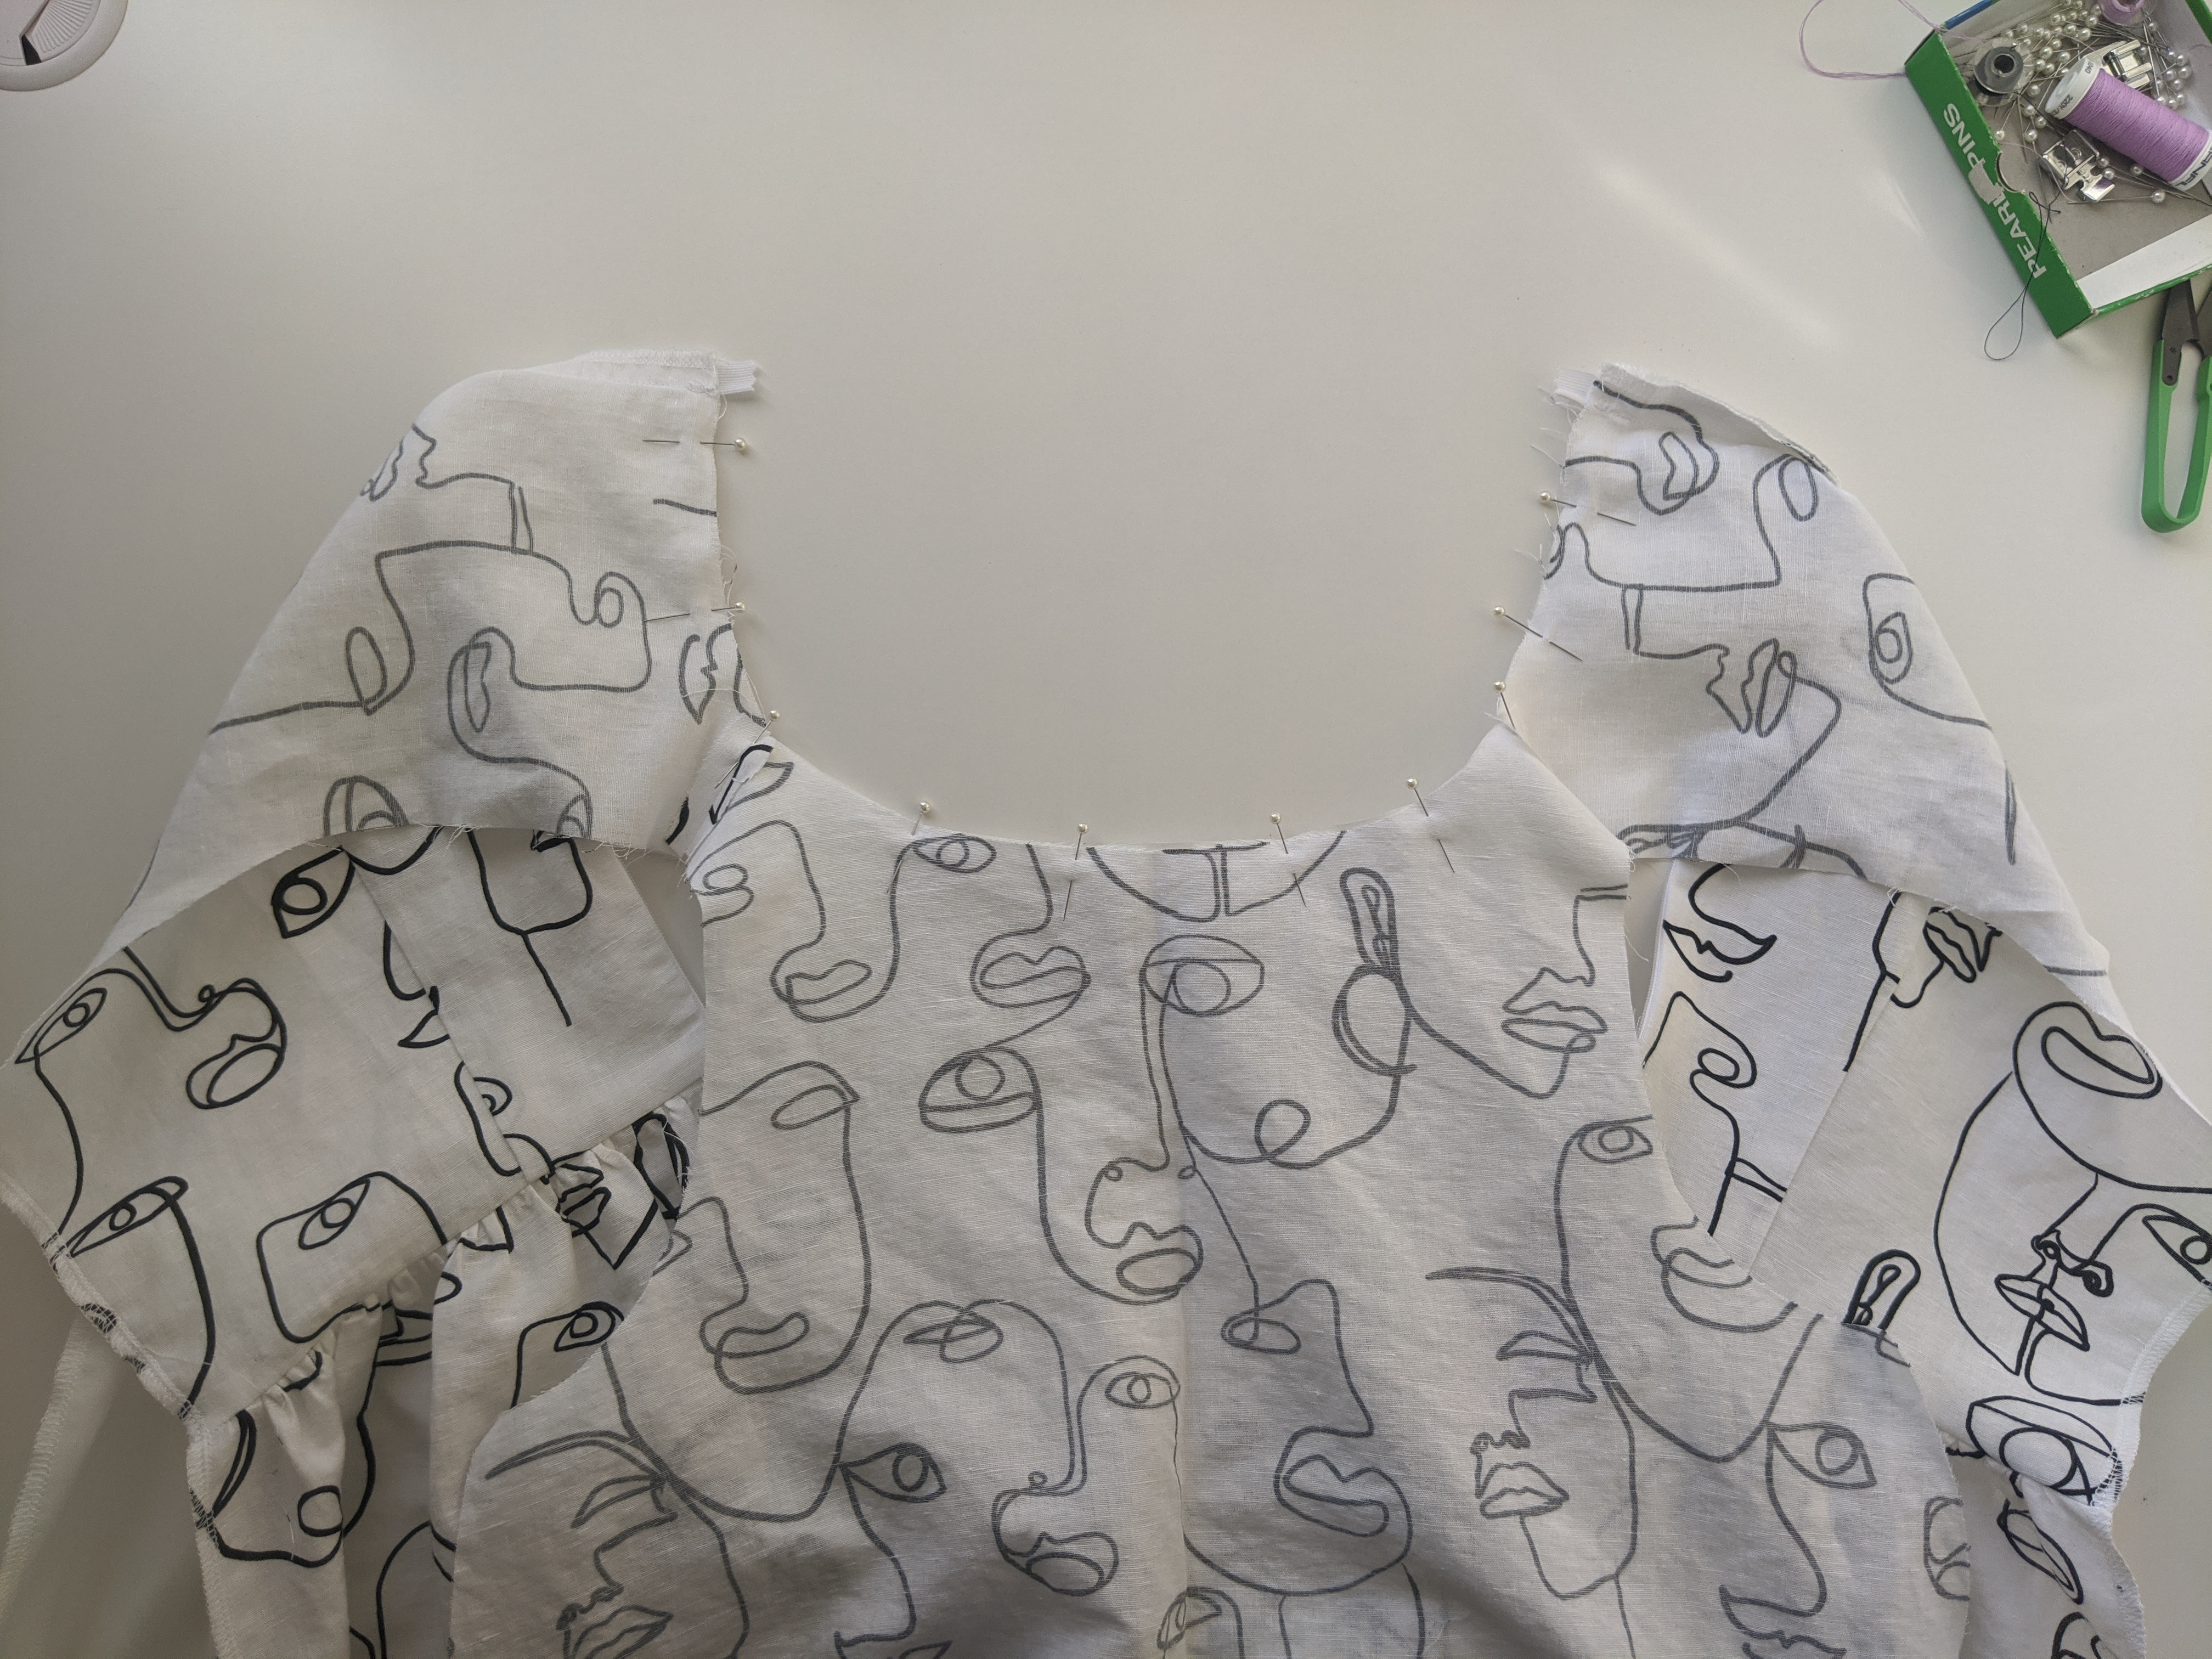
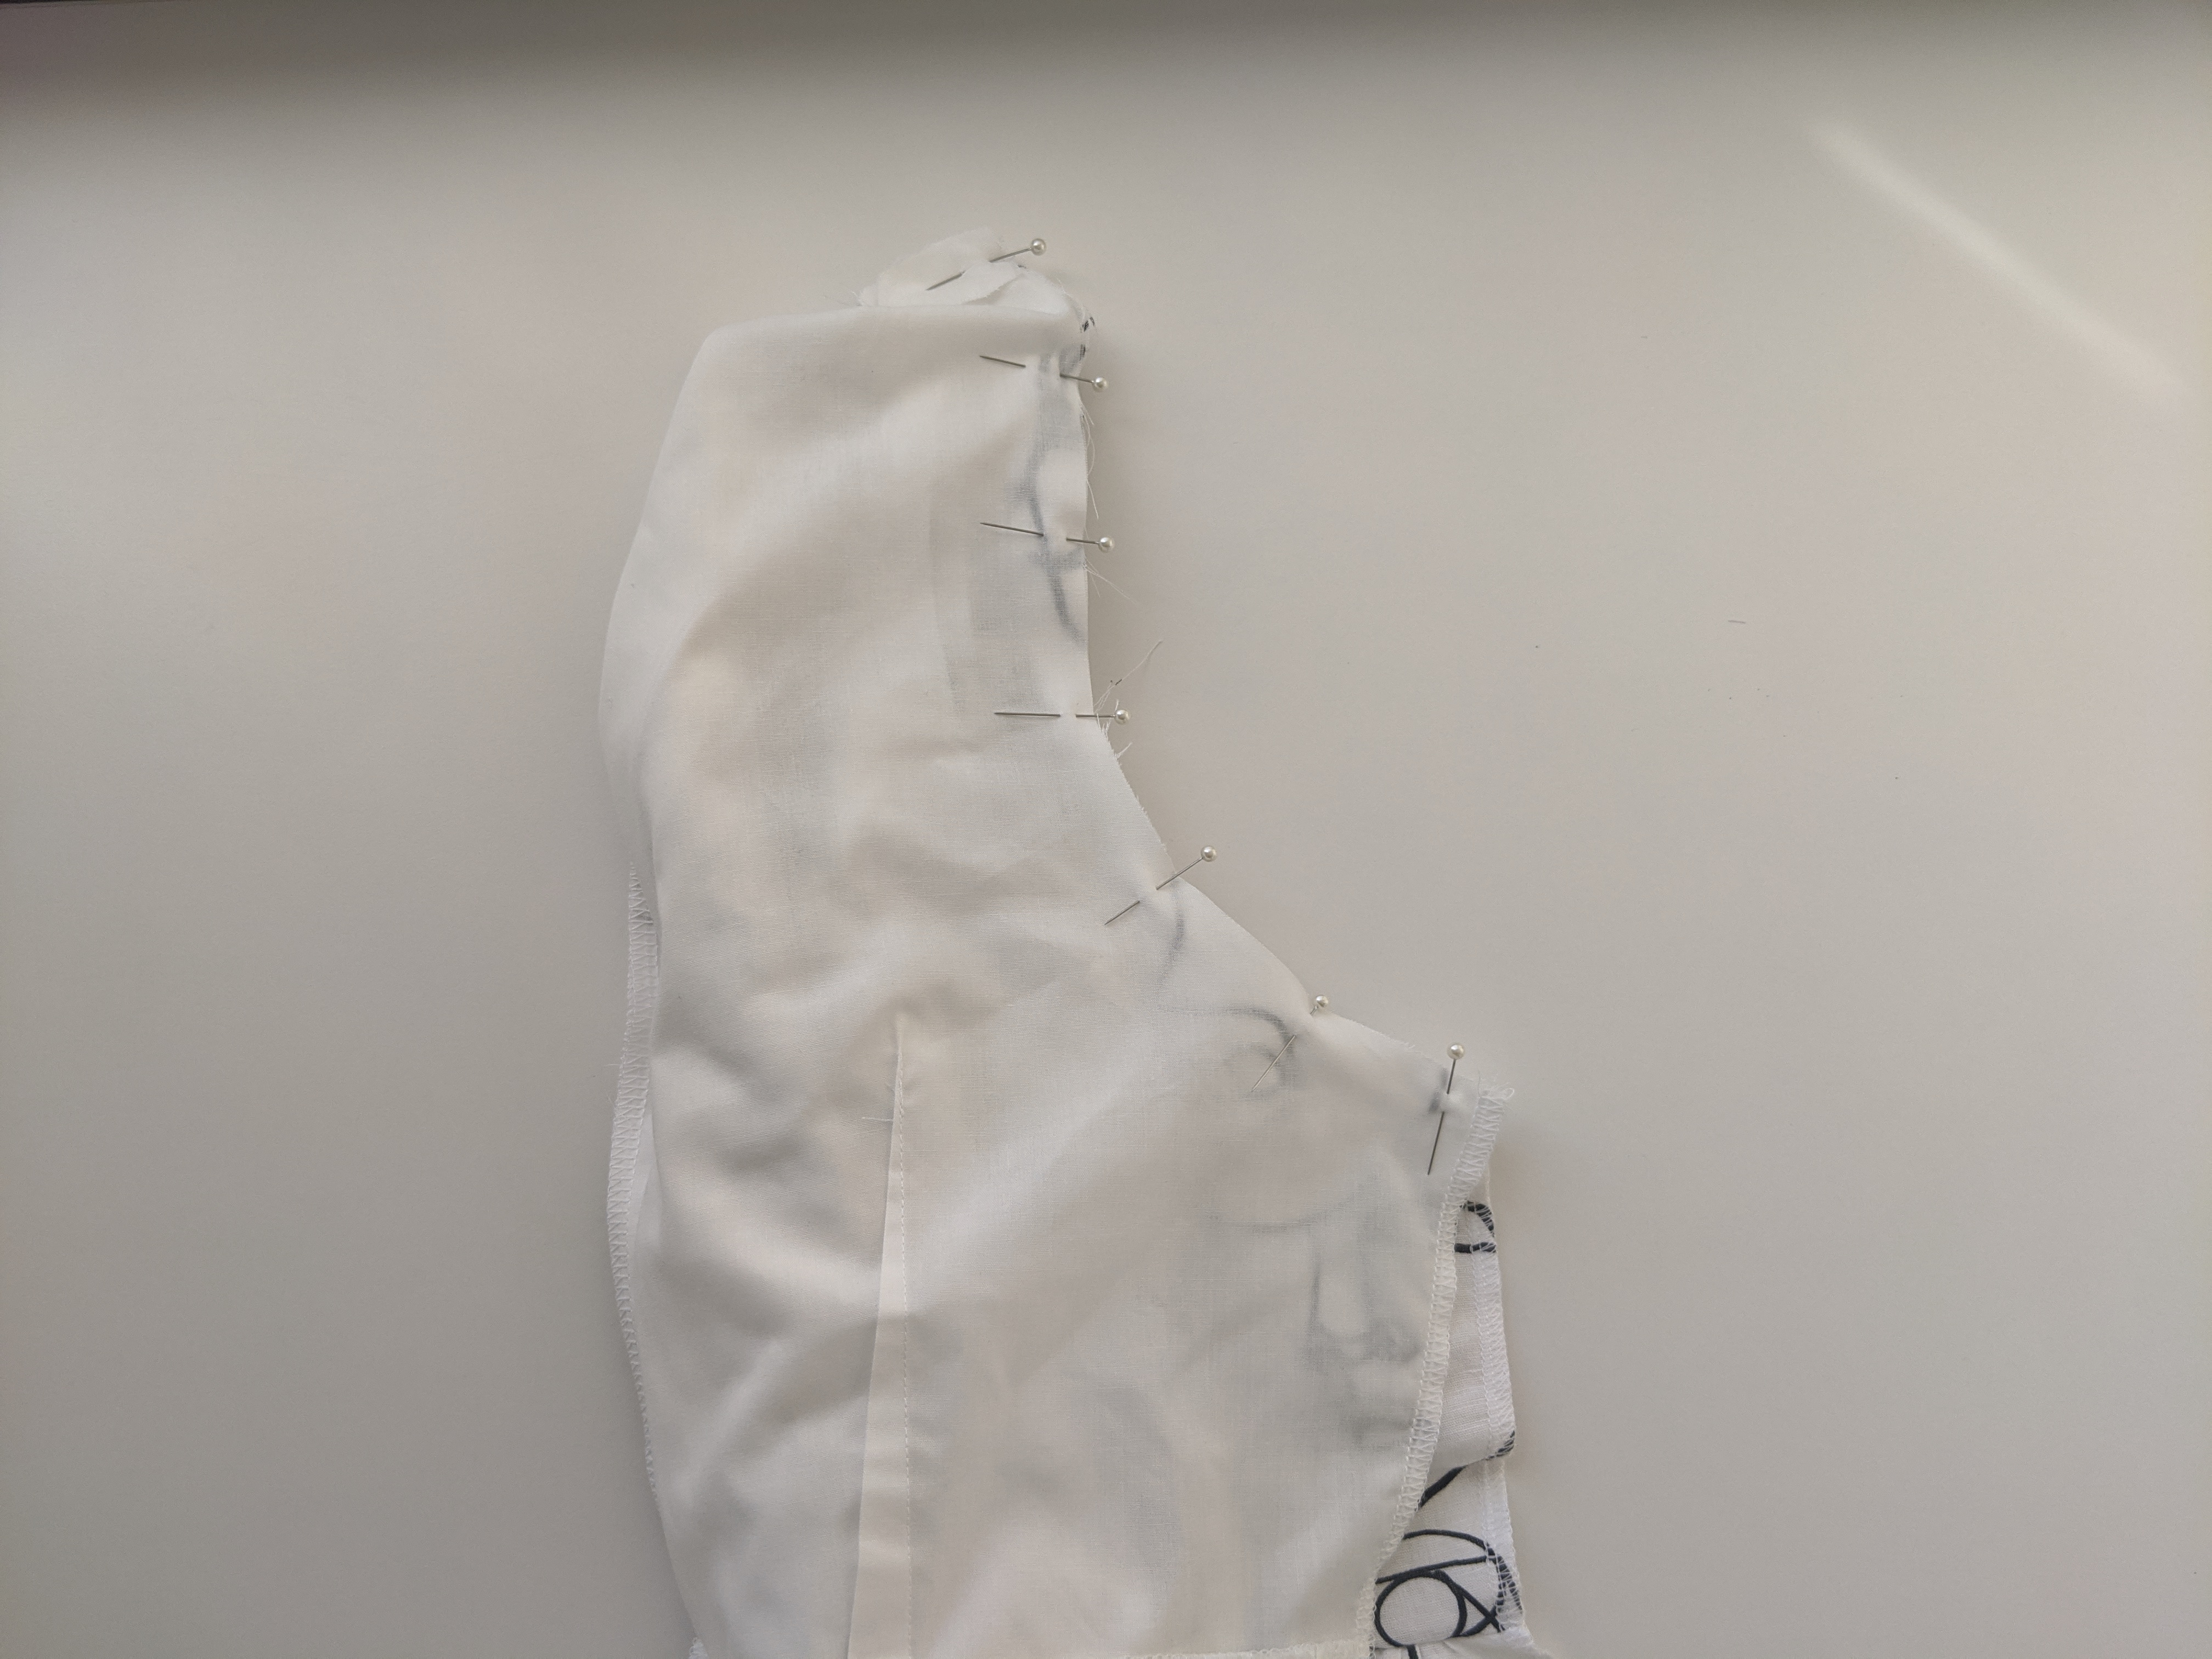
Lay the garment flat on the table as shown below. Then working your way around, pin the back armhole right sides together and sew from the side seam to the shoulder seam.
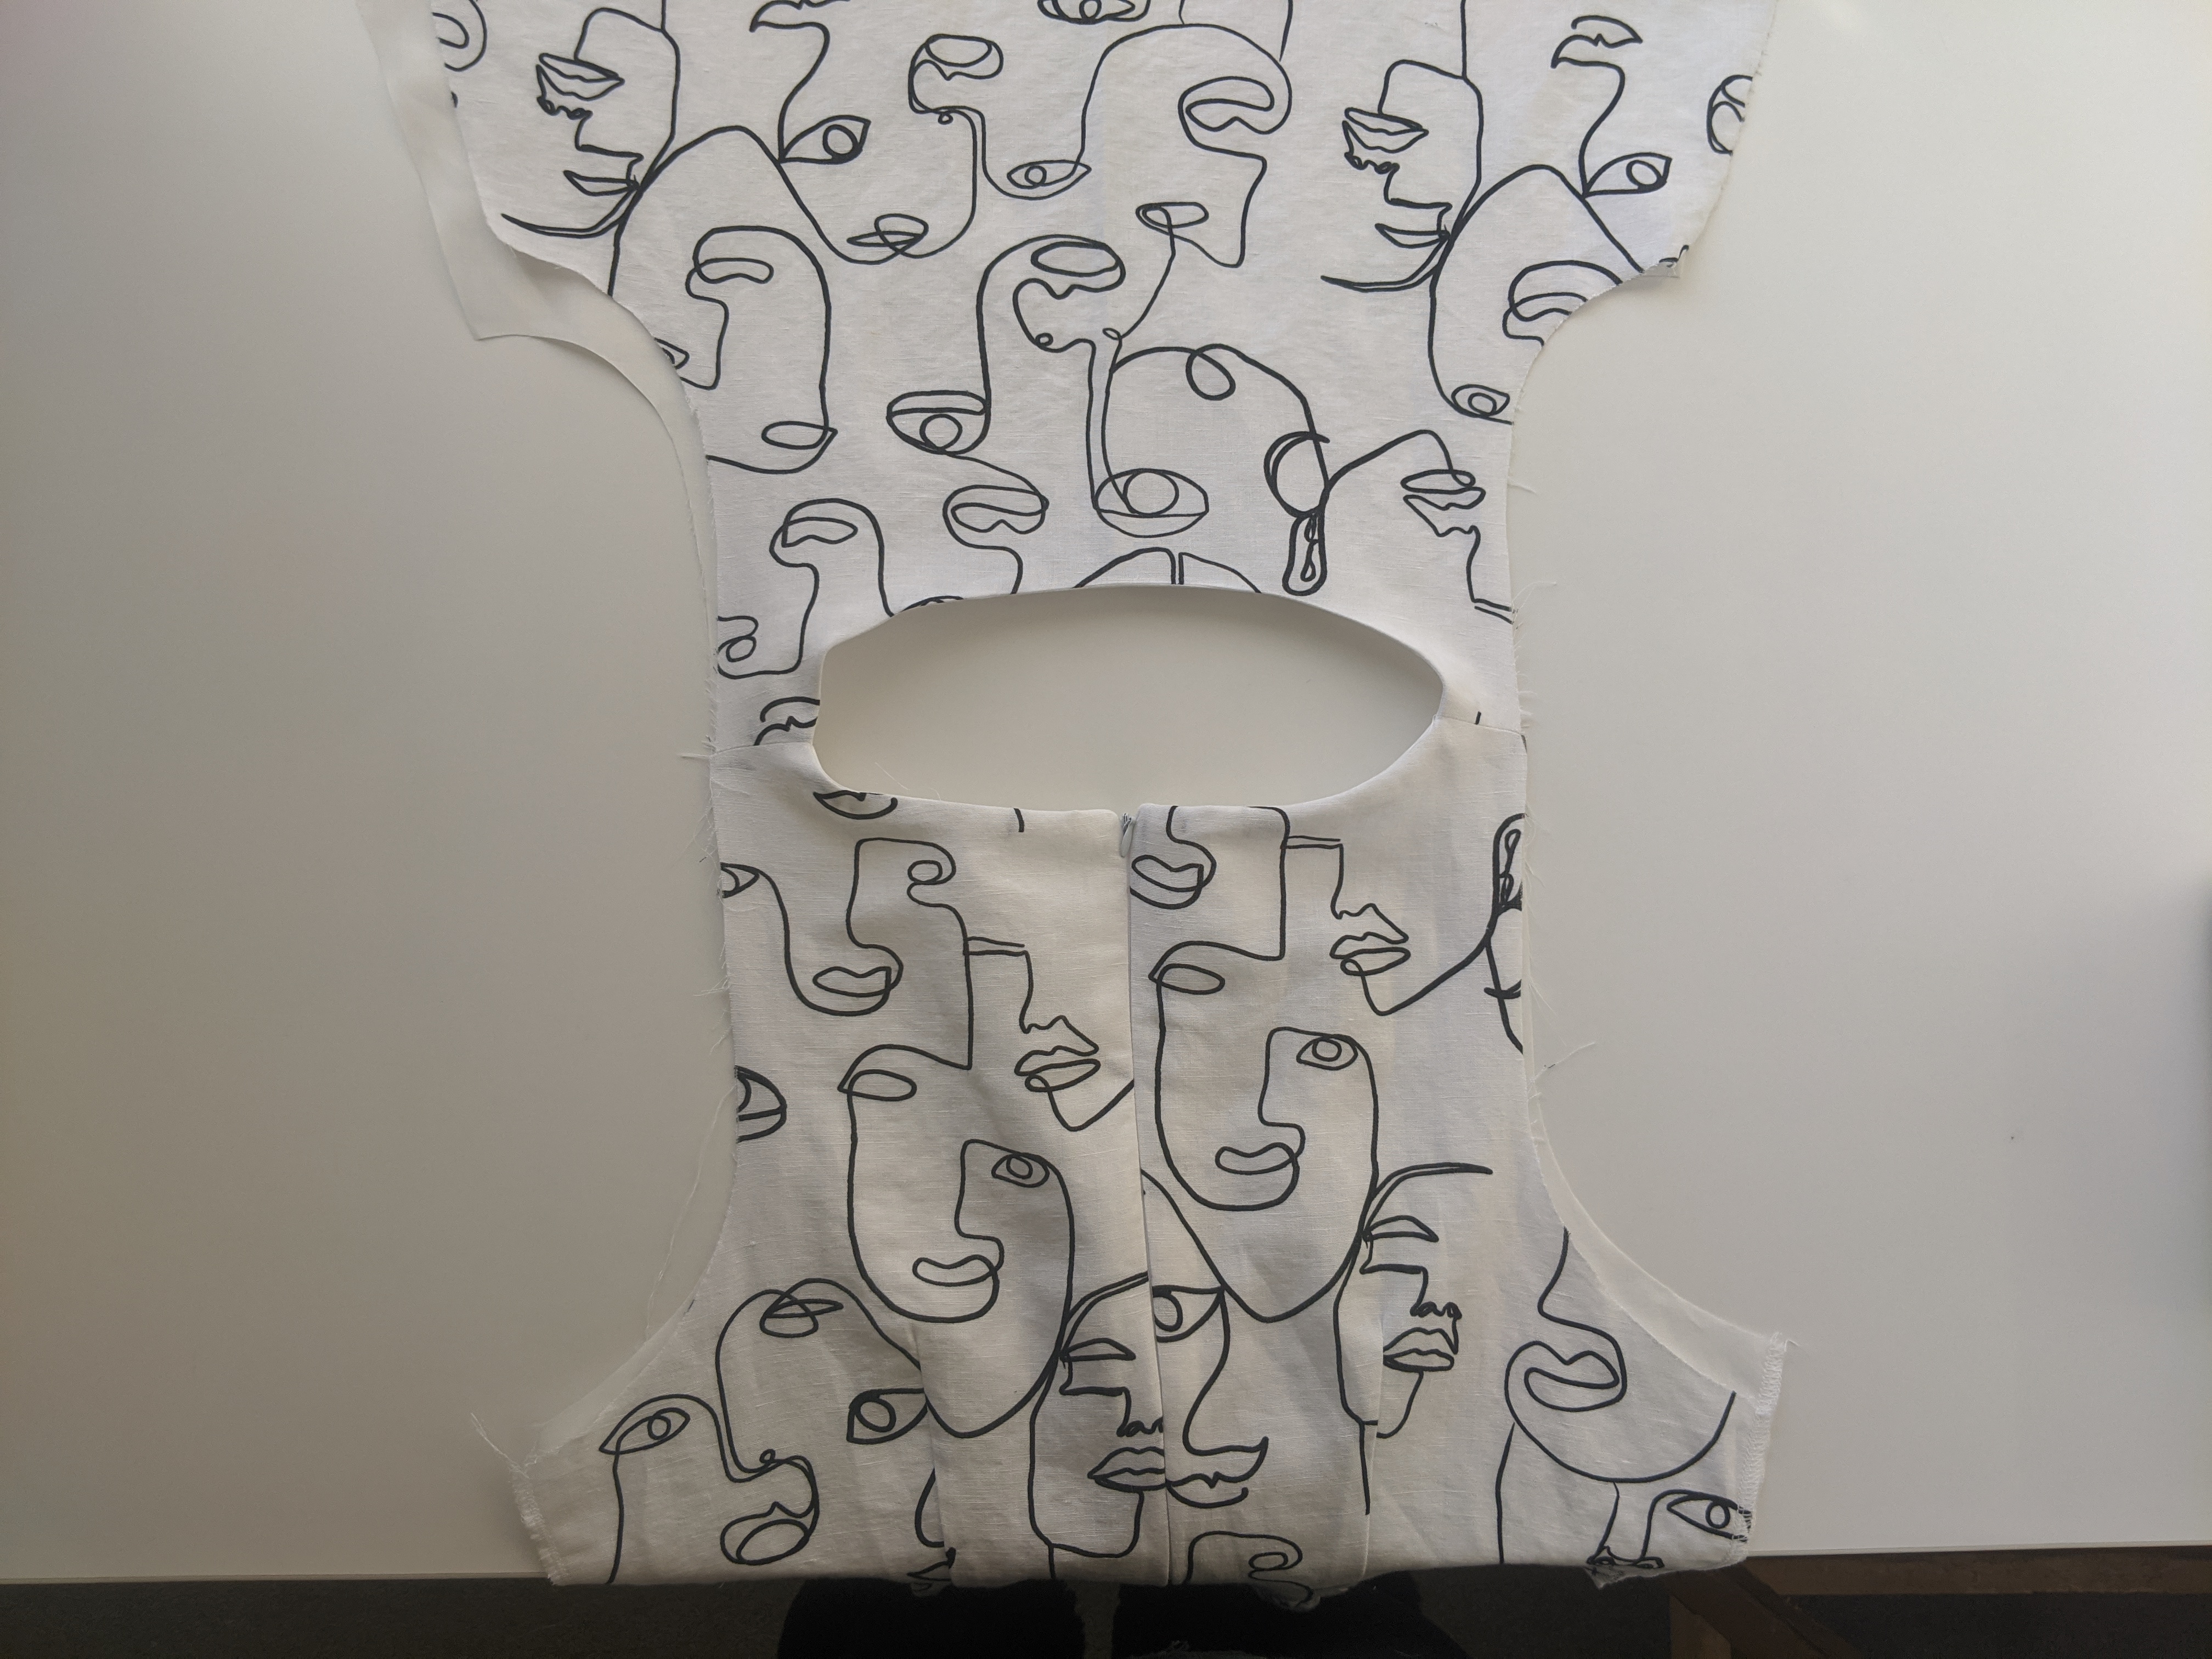
Clip the curve, then turn back through and repeat on the other back armhole.
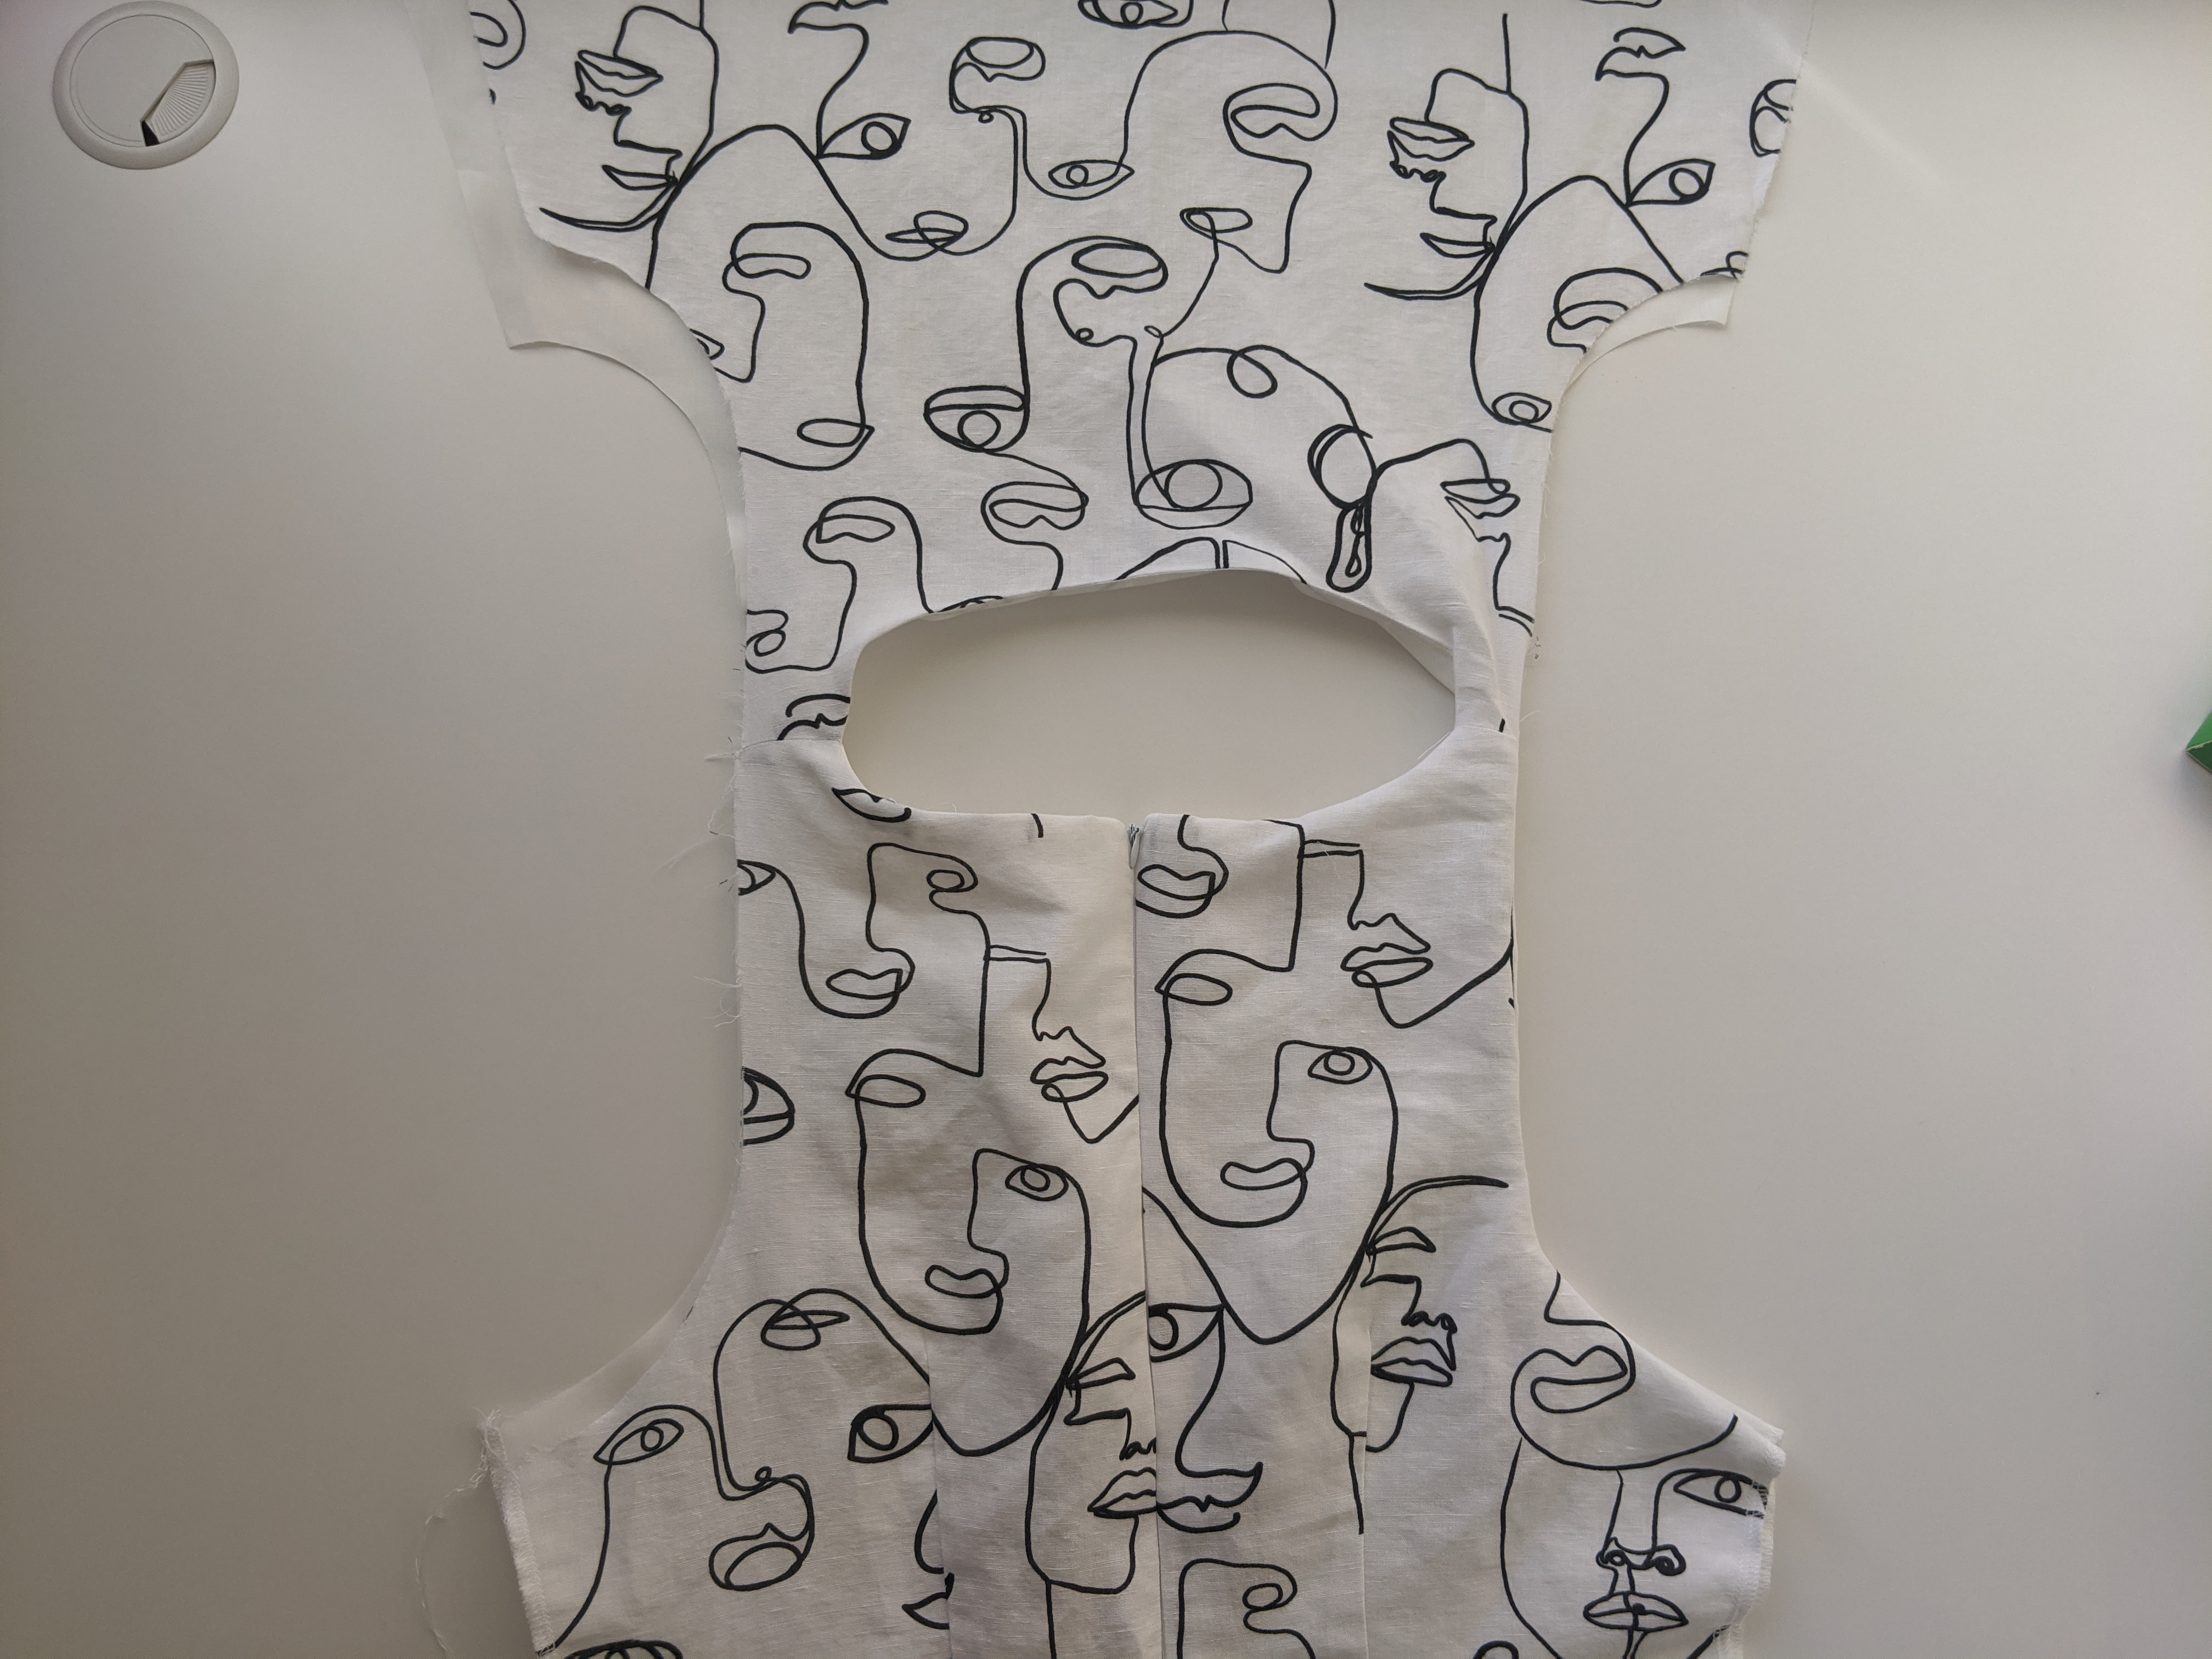
Then repeat on the front armholes.
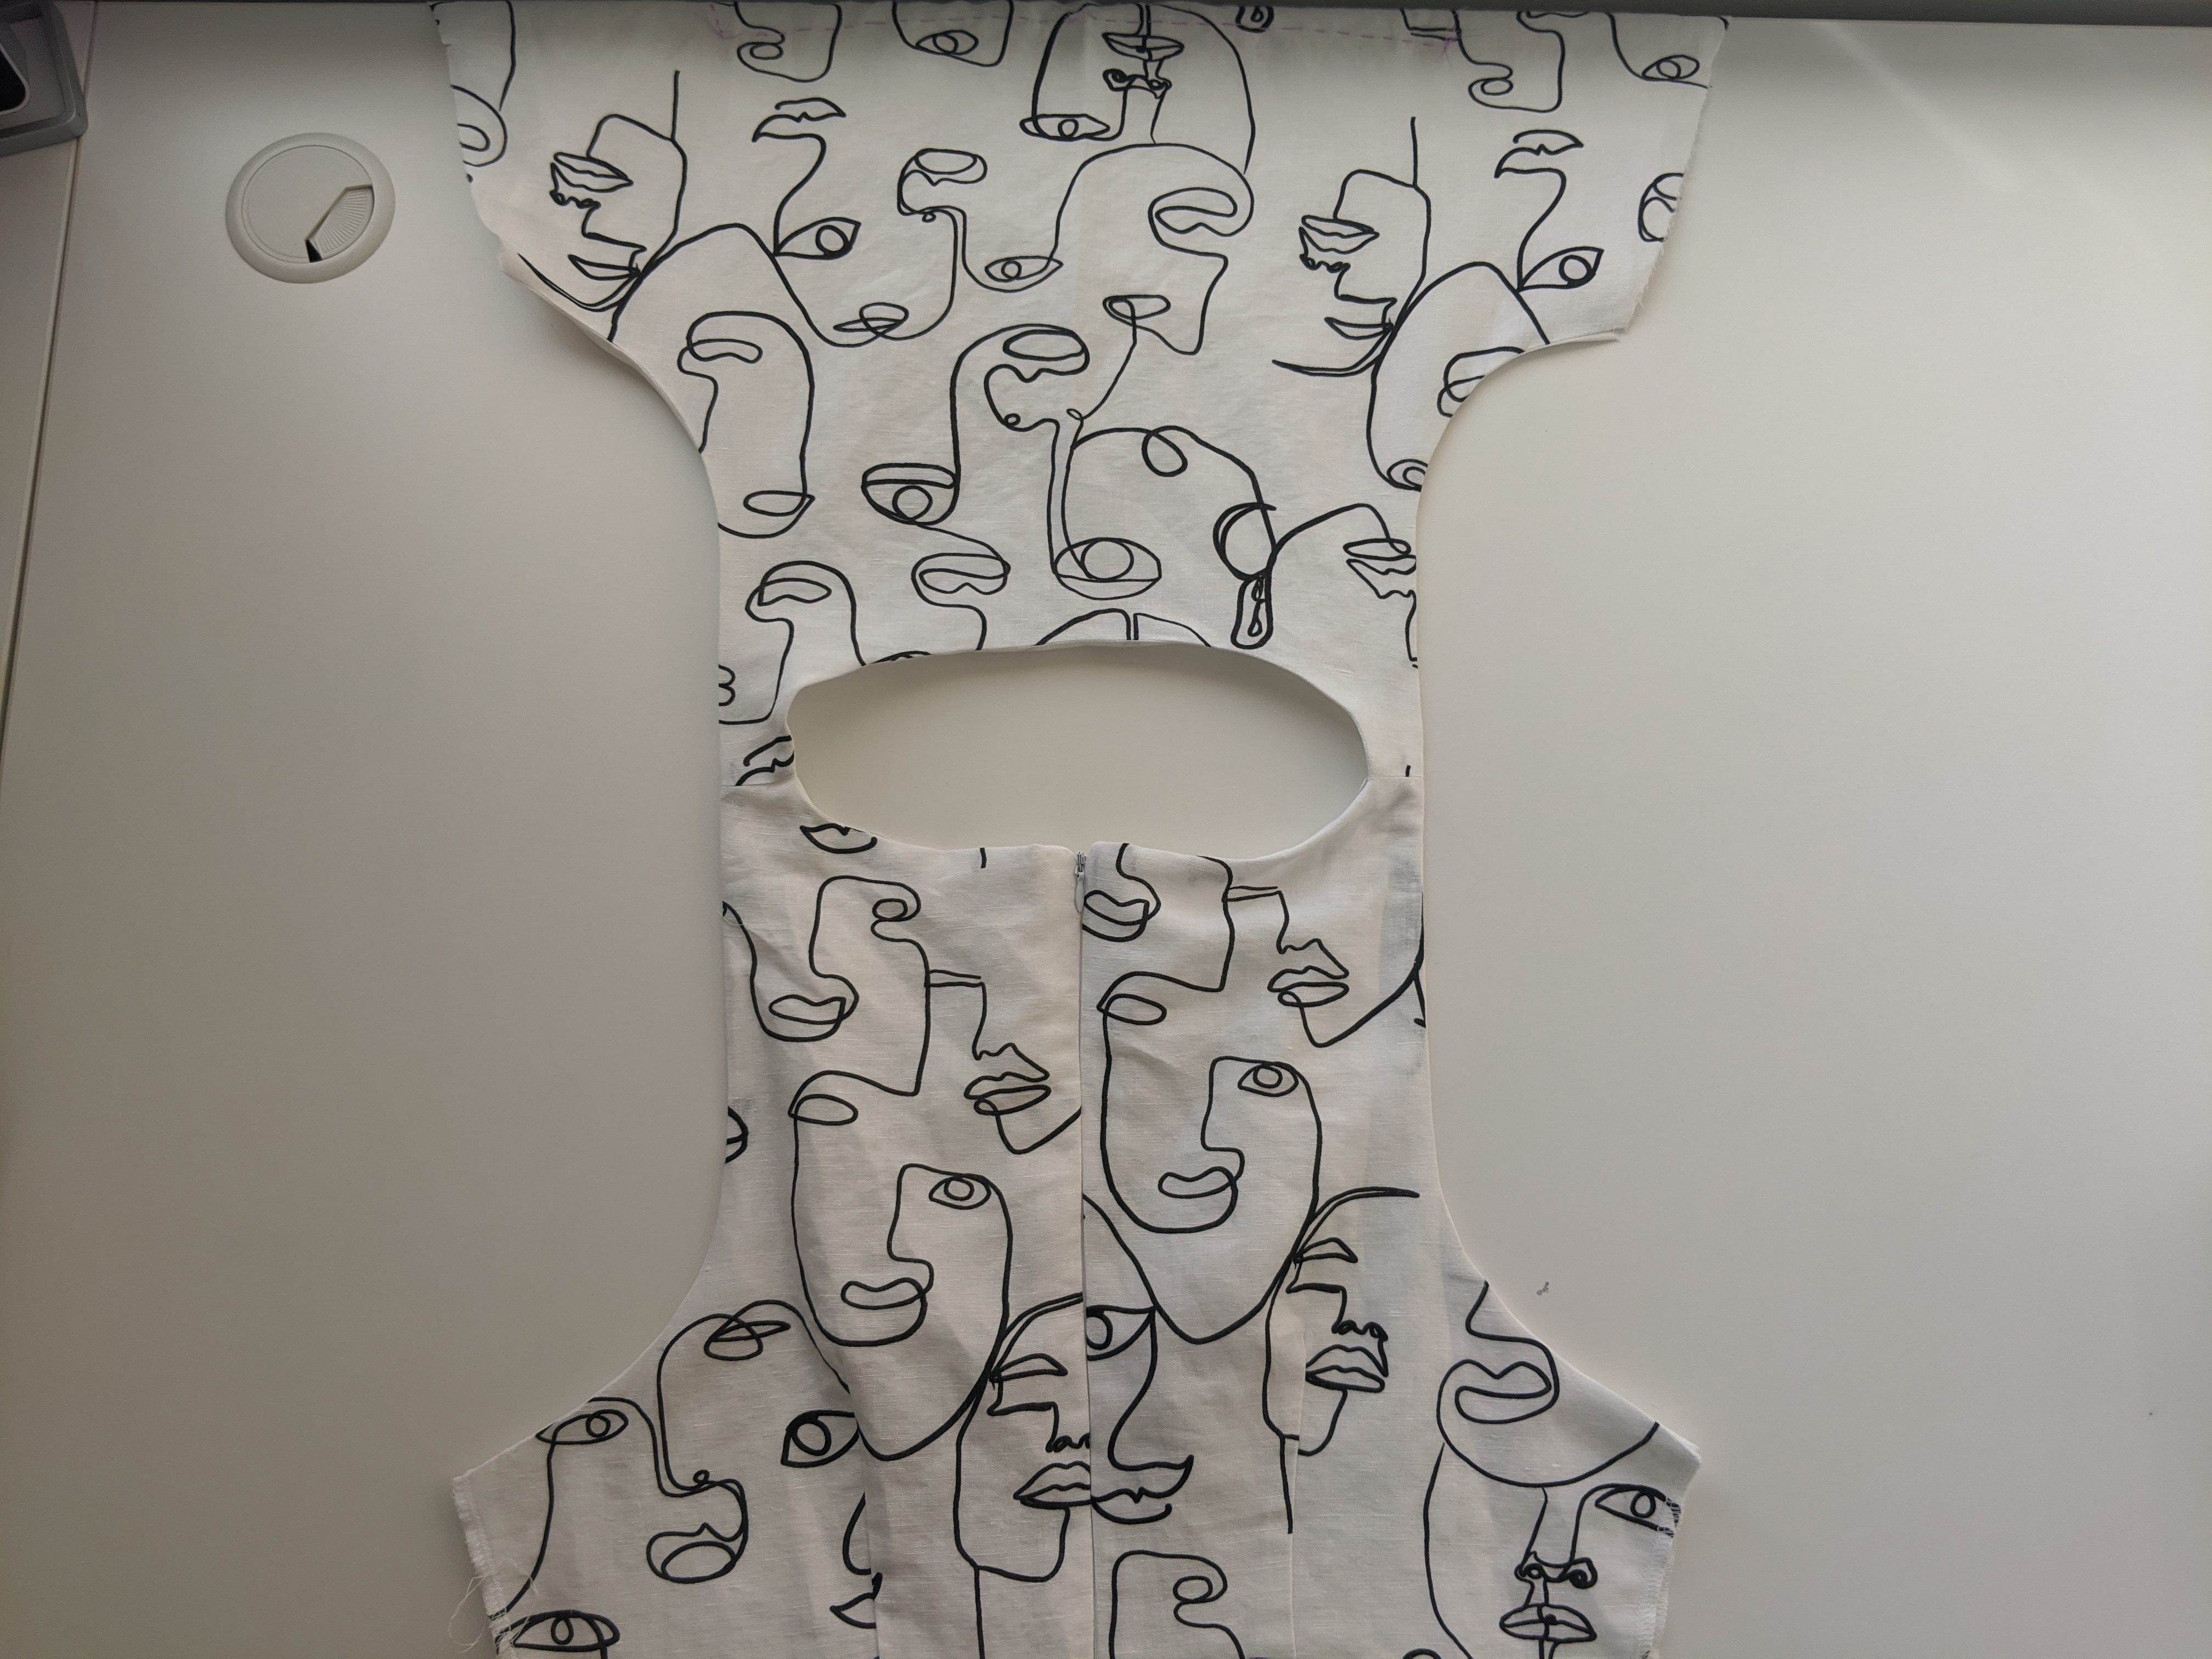
Step 16
Next pin the side seams of the main together, stitch then press seams open.
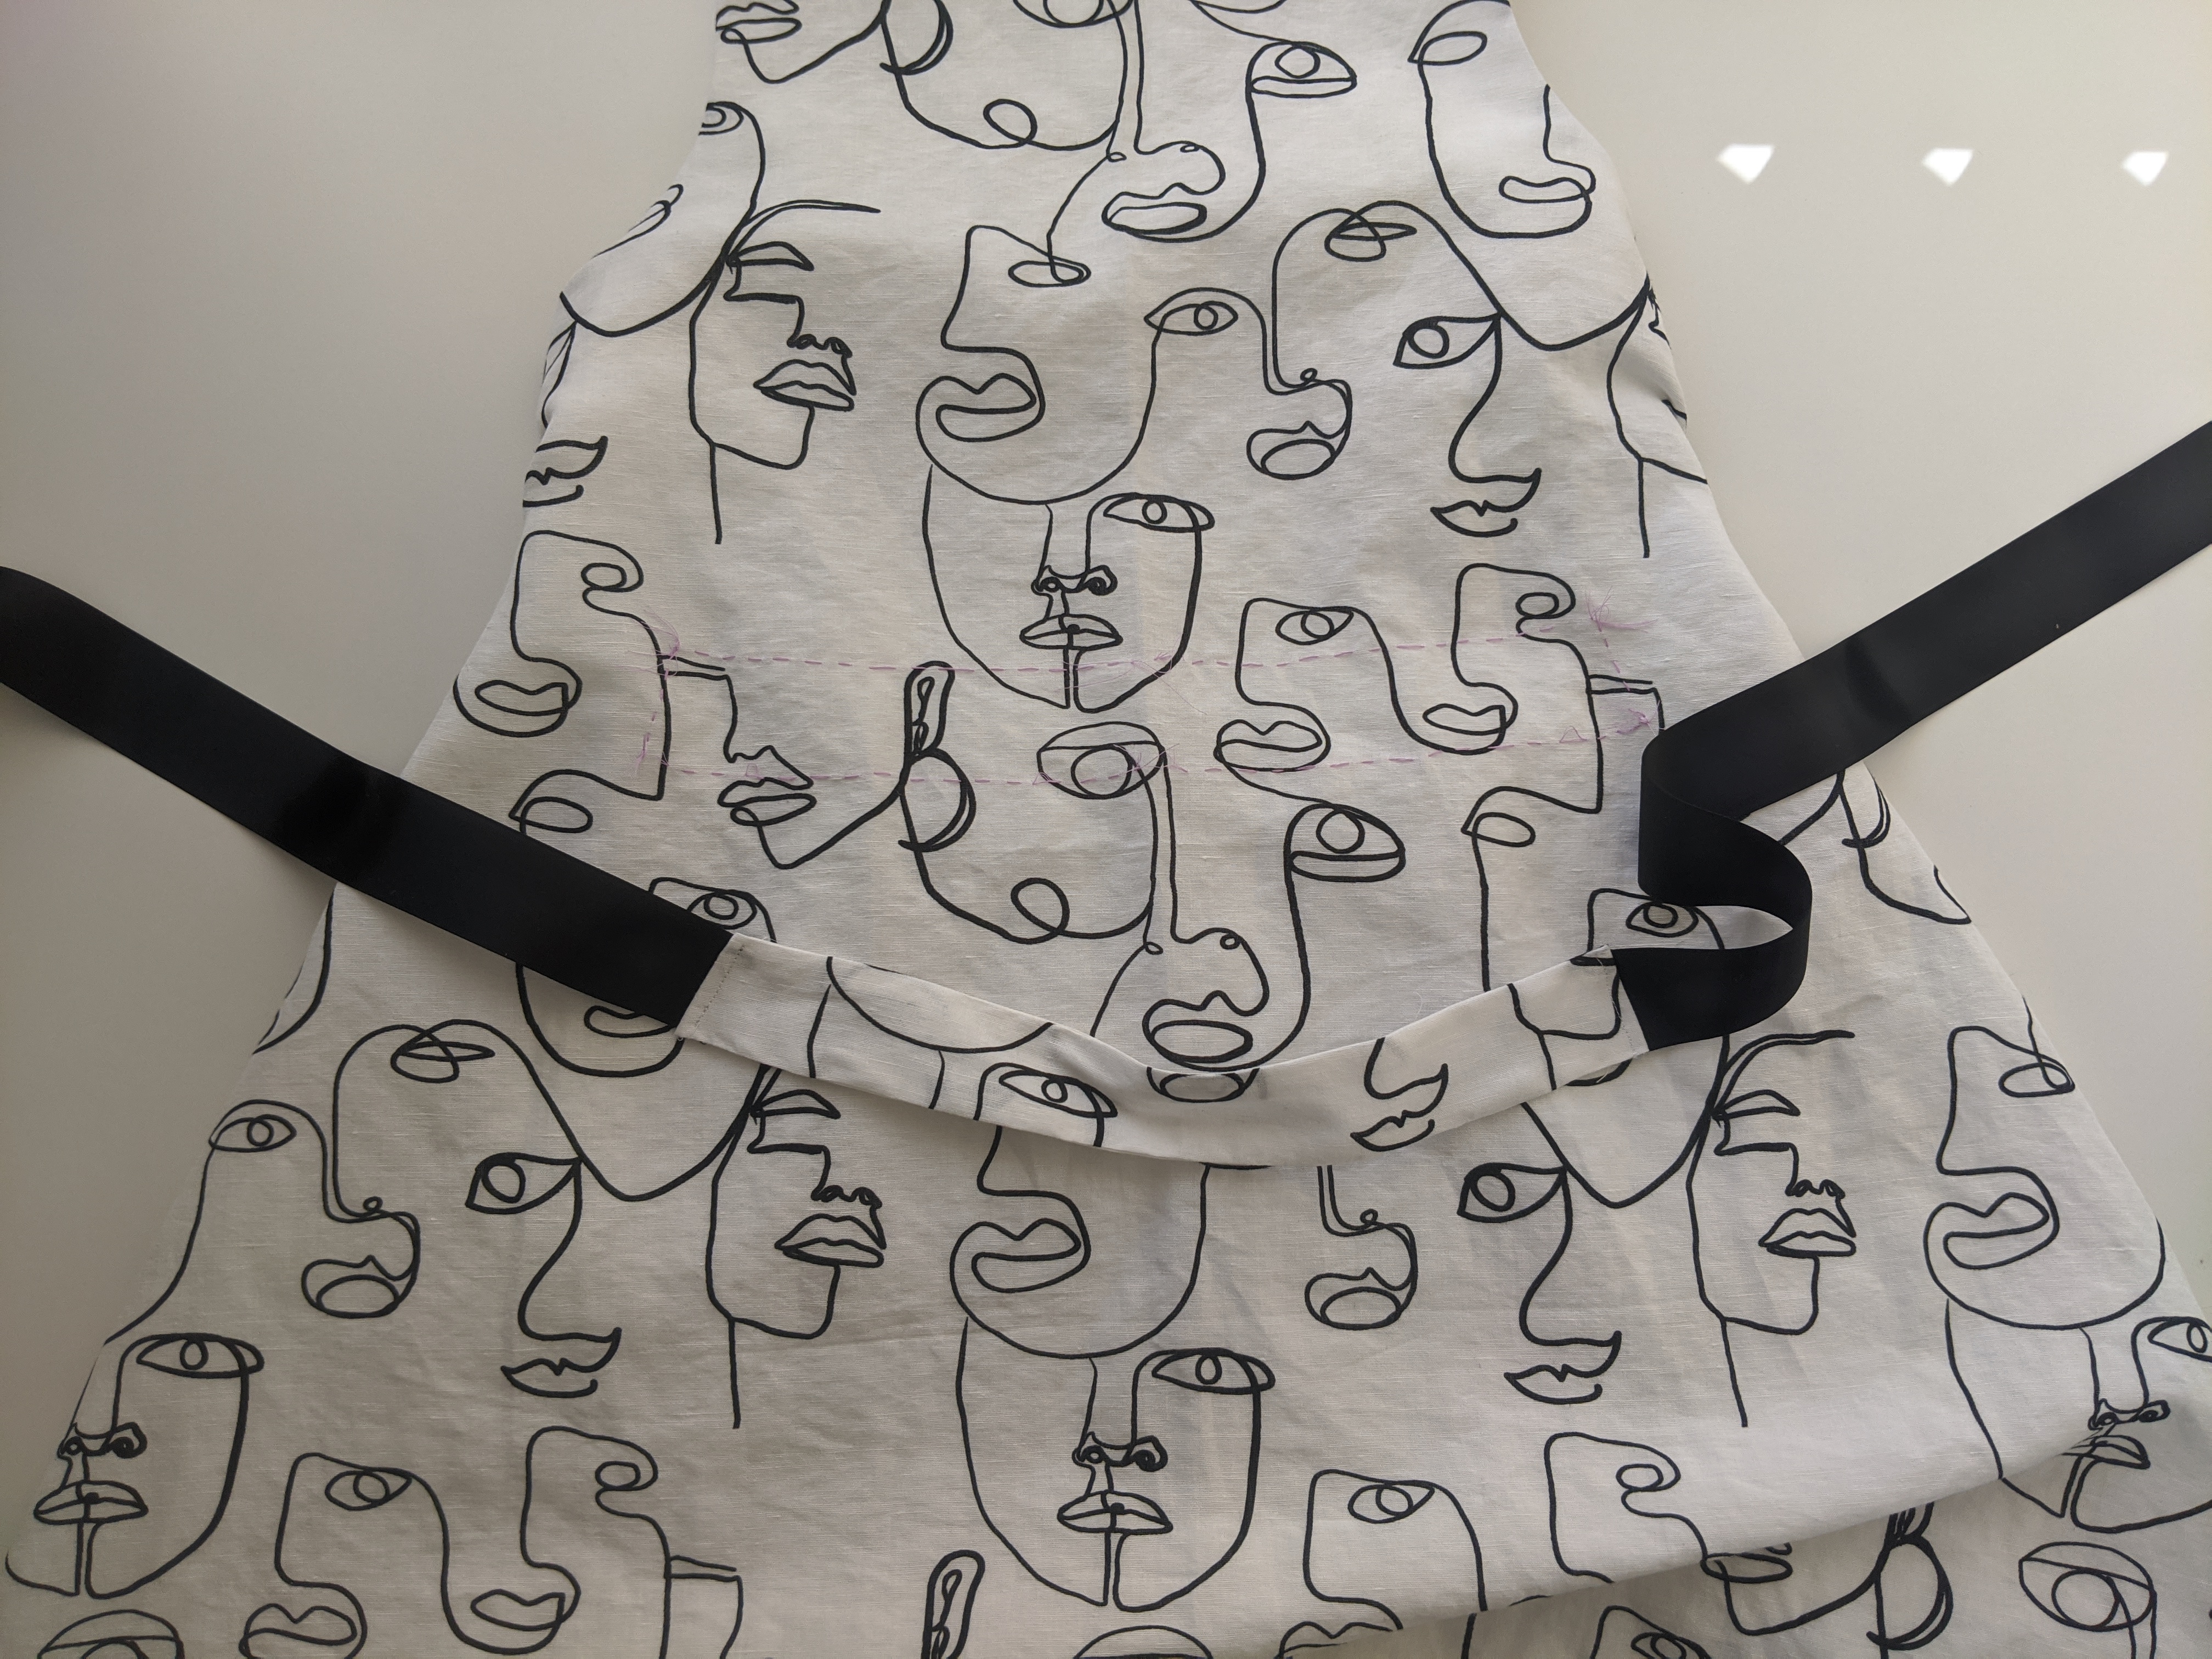
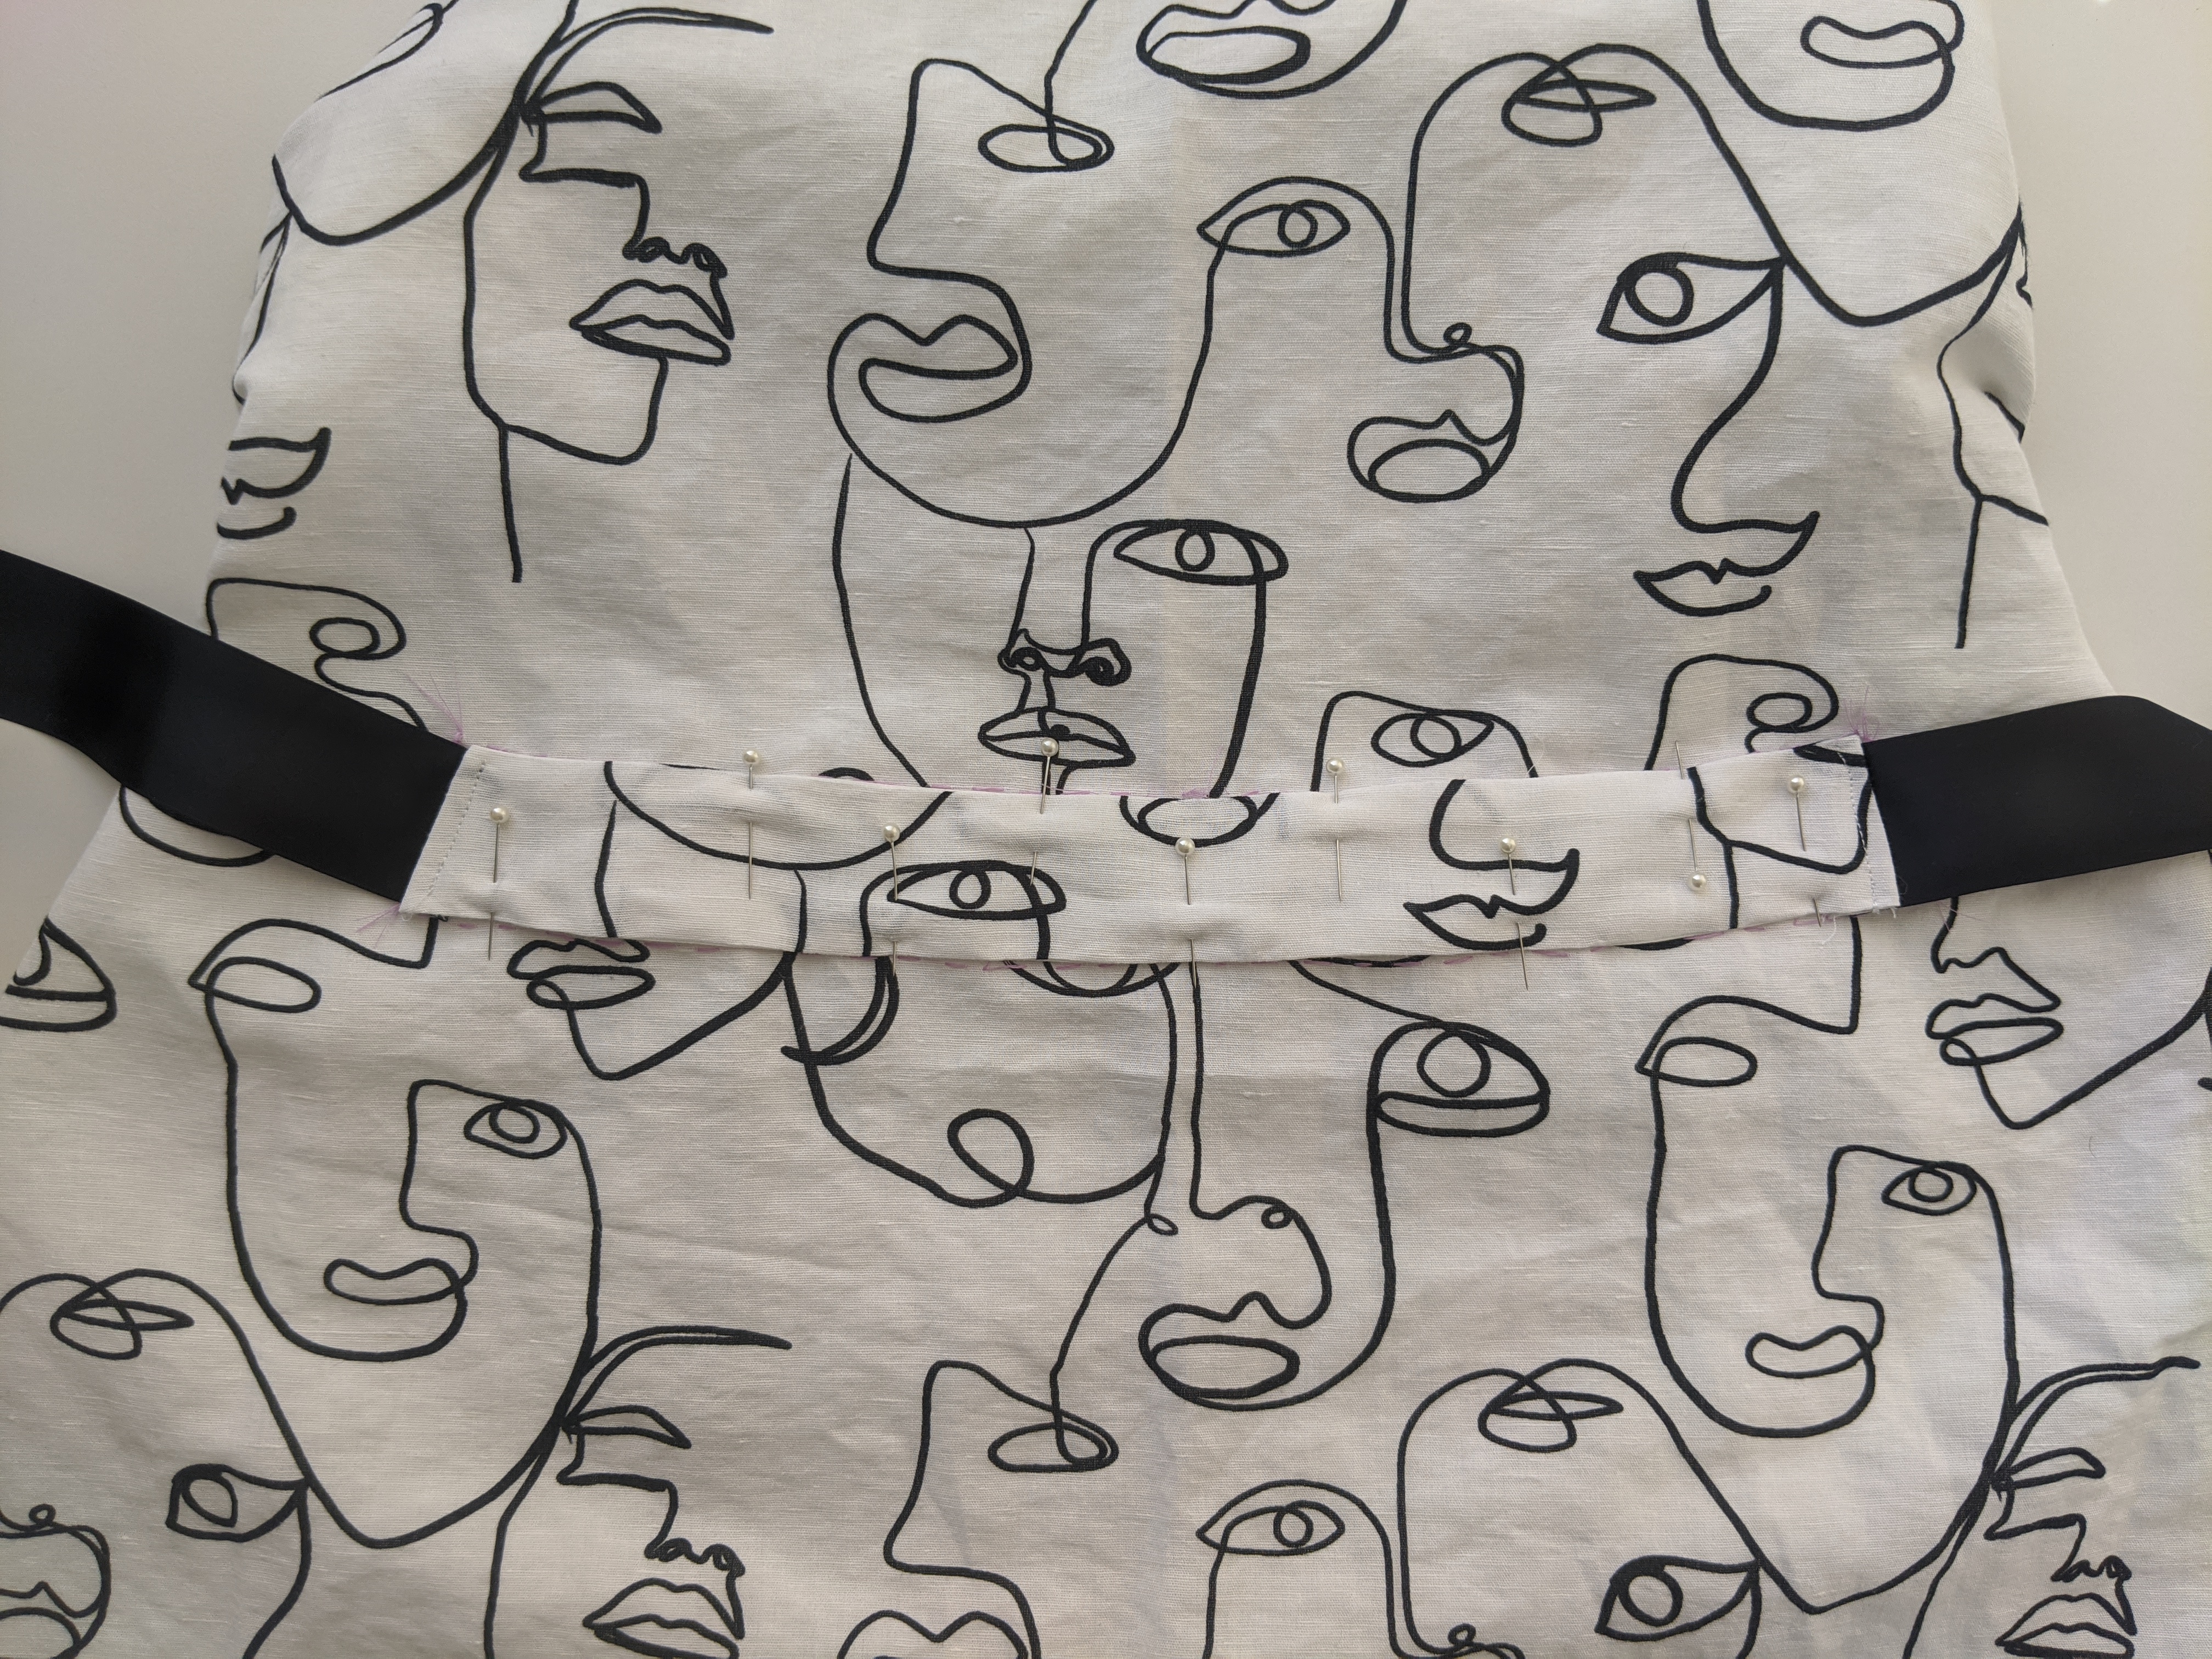
Step 17
Lay your garment flat on the table so that even is even and lining and side seams are together. Then using the stitch guide from step 12. Place the casing onto the front of the garment a pin in place. Pin through the main and lining together.
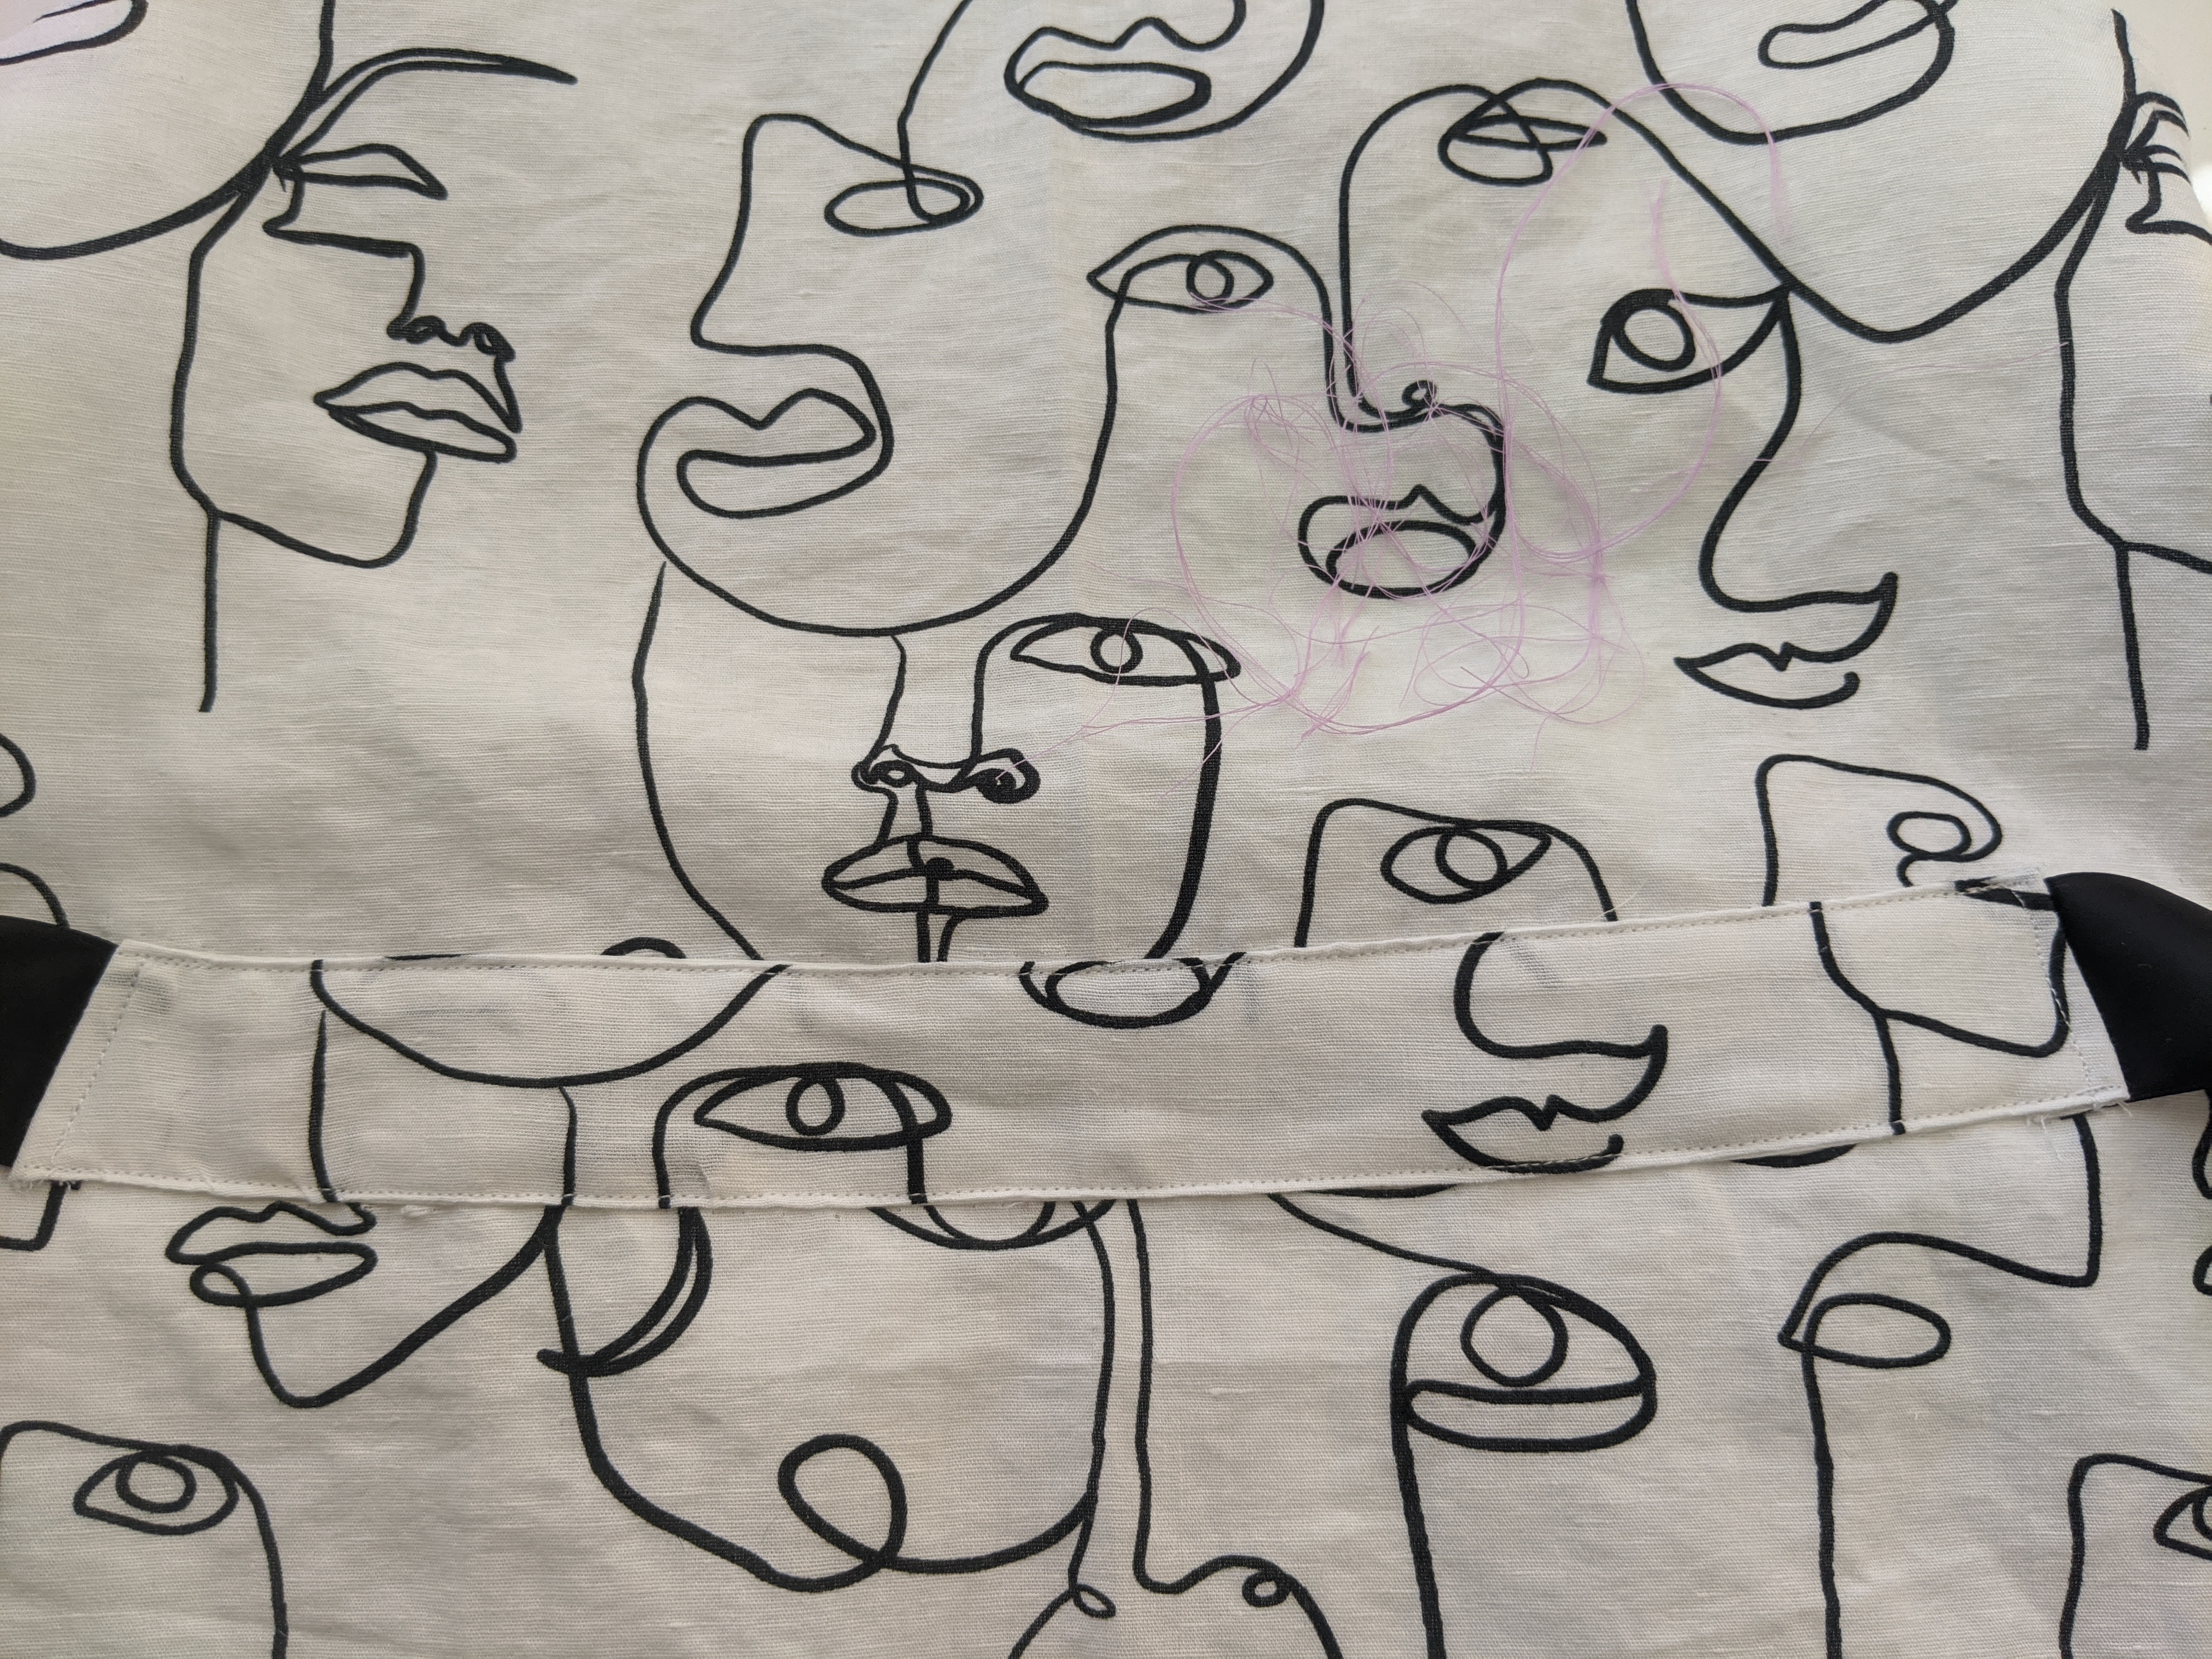
Then stitch to the dress at top and bottom edges only. Do not stitch the ends closed.
Then remove the hand stitch made from step 12.
Step 18
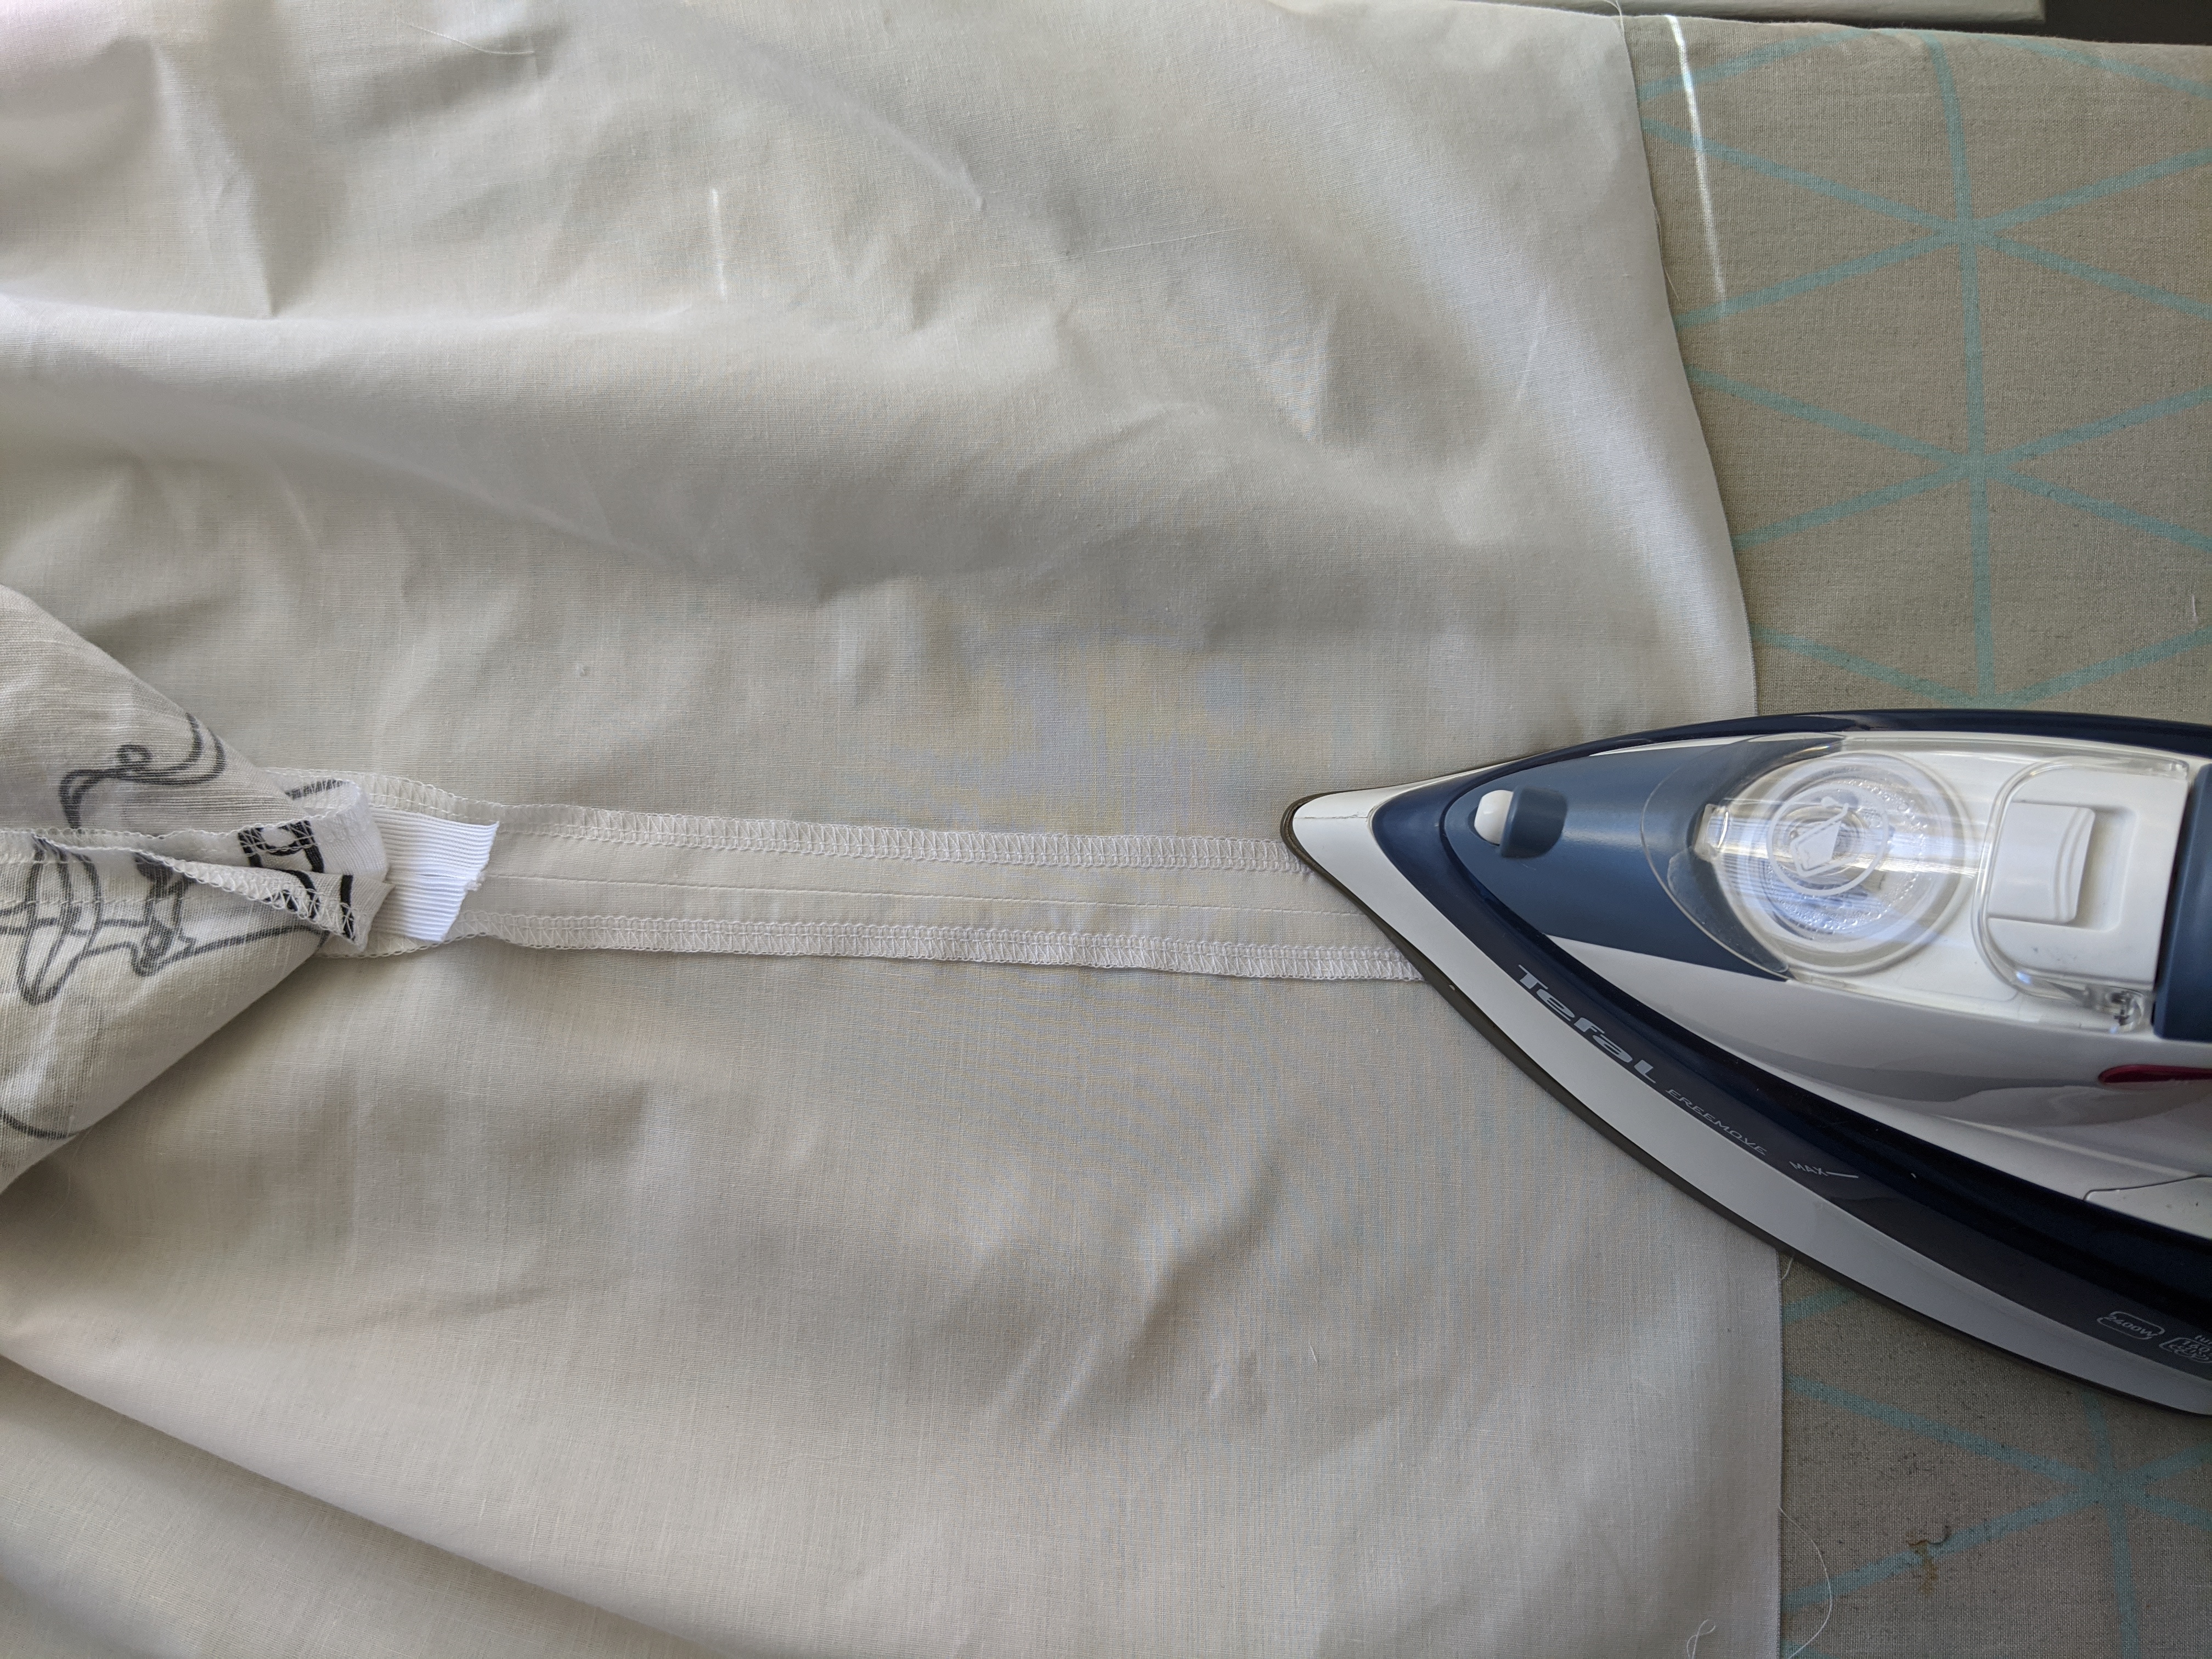
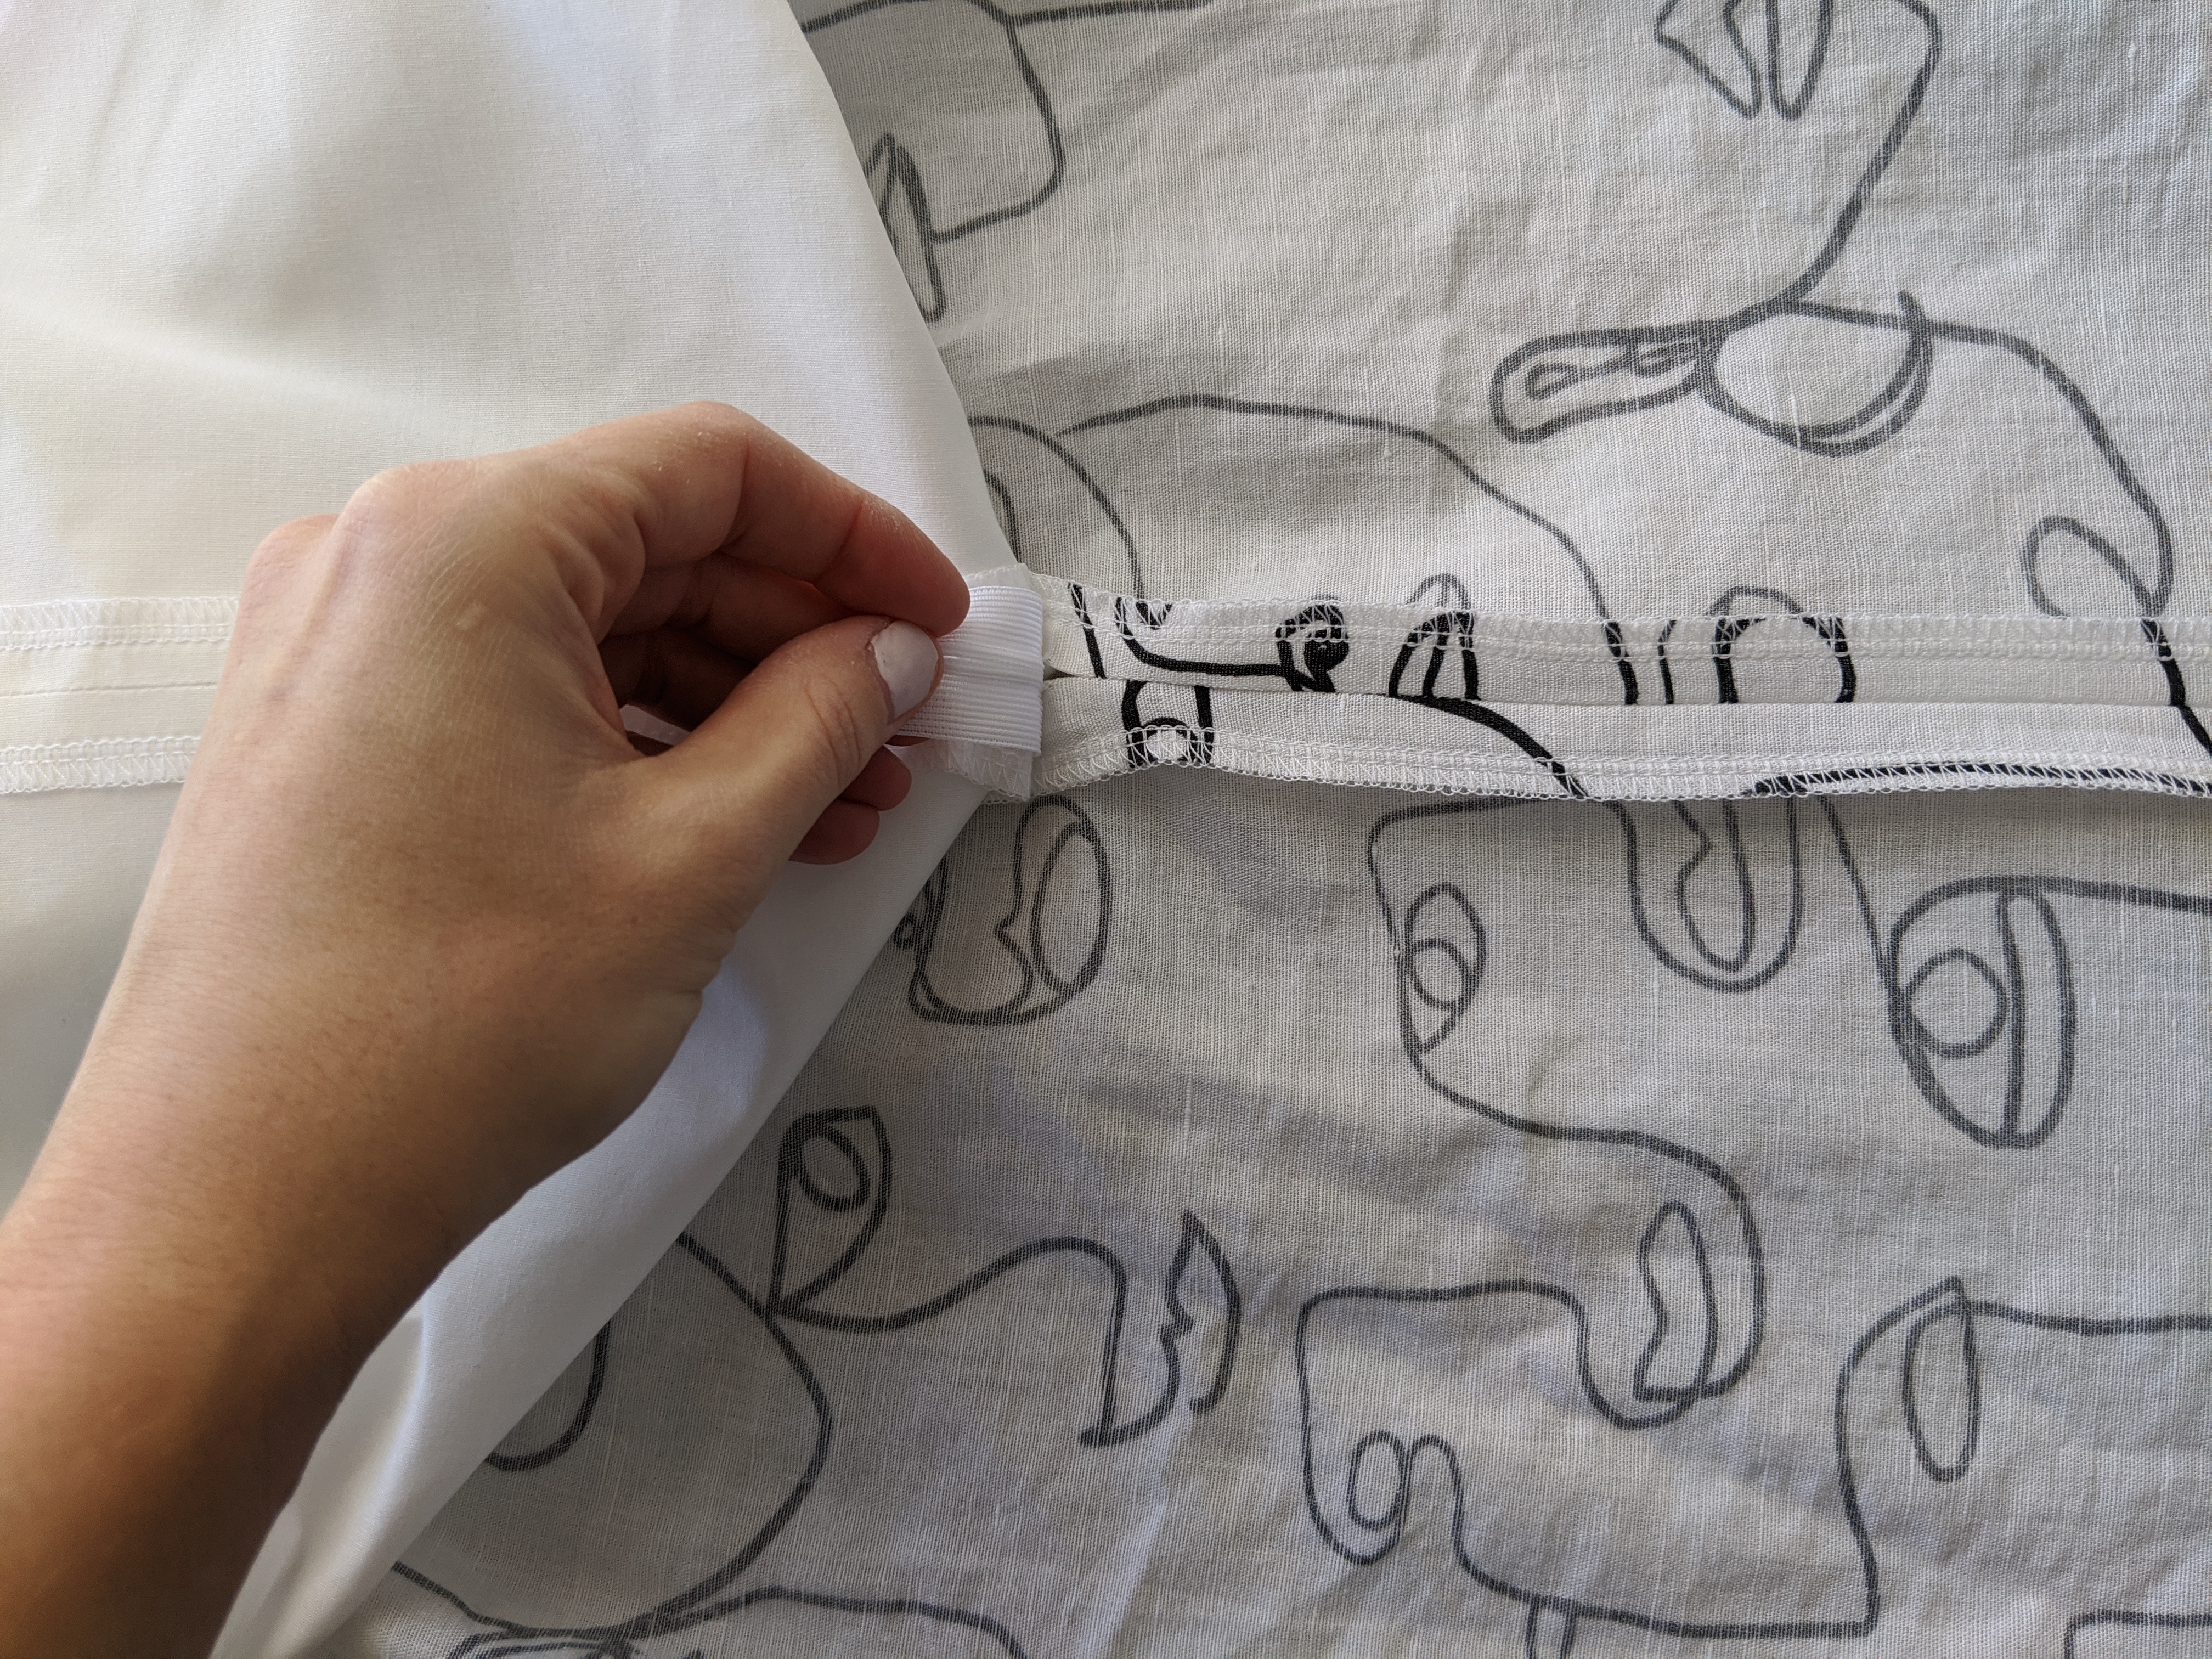
Thread the longest piece of ribbon through the casing with a bodkin or large safety pin.
Step 19
Finally, turn the hem of the main and lining and stitch. Press flat.
Your Luna Tie Waist Dress is now complete. How did you go? Let me know in the comments below if you needed extra help.
I’d love to see your creations, either drop an image in the comments below or tag me on Instagram at @at_the_seams_patterns
x