Sewing Tutorials, Tops
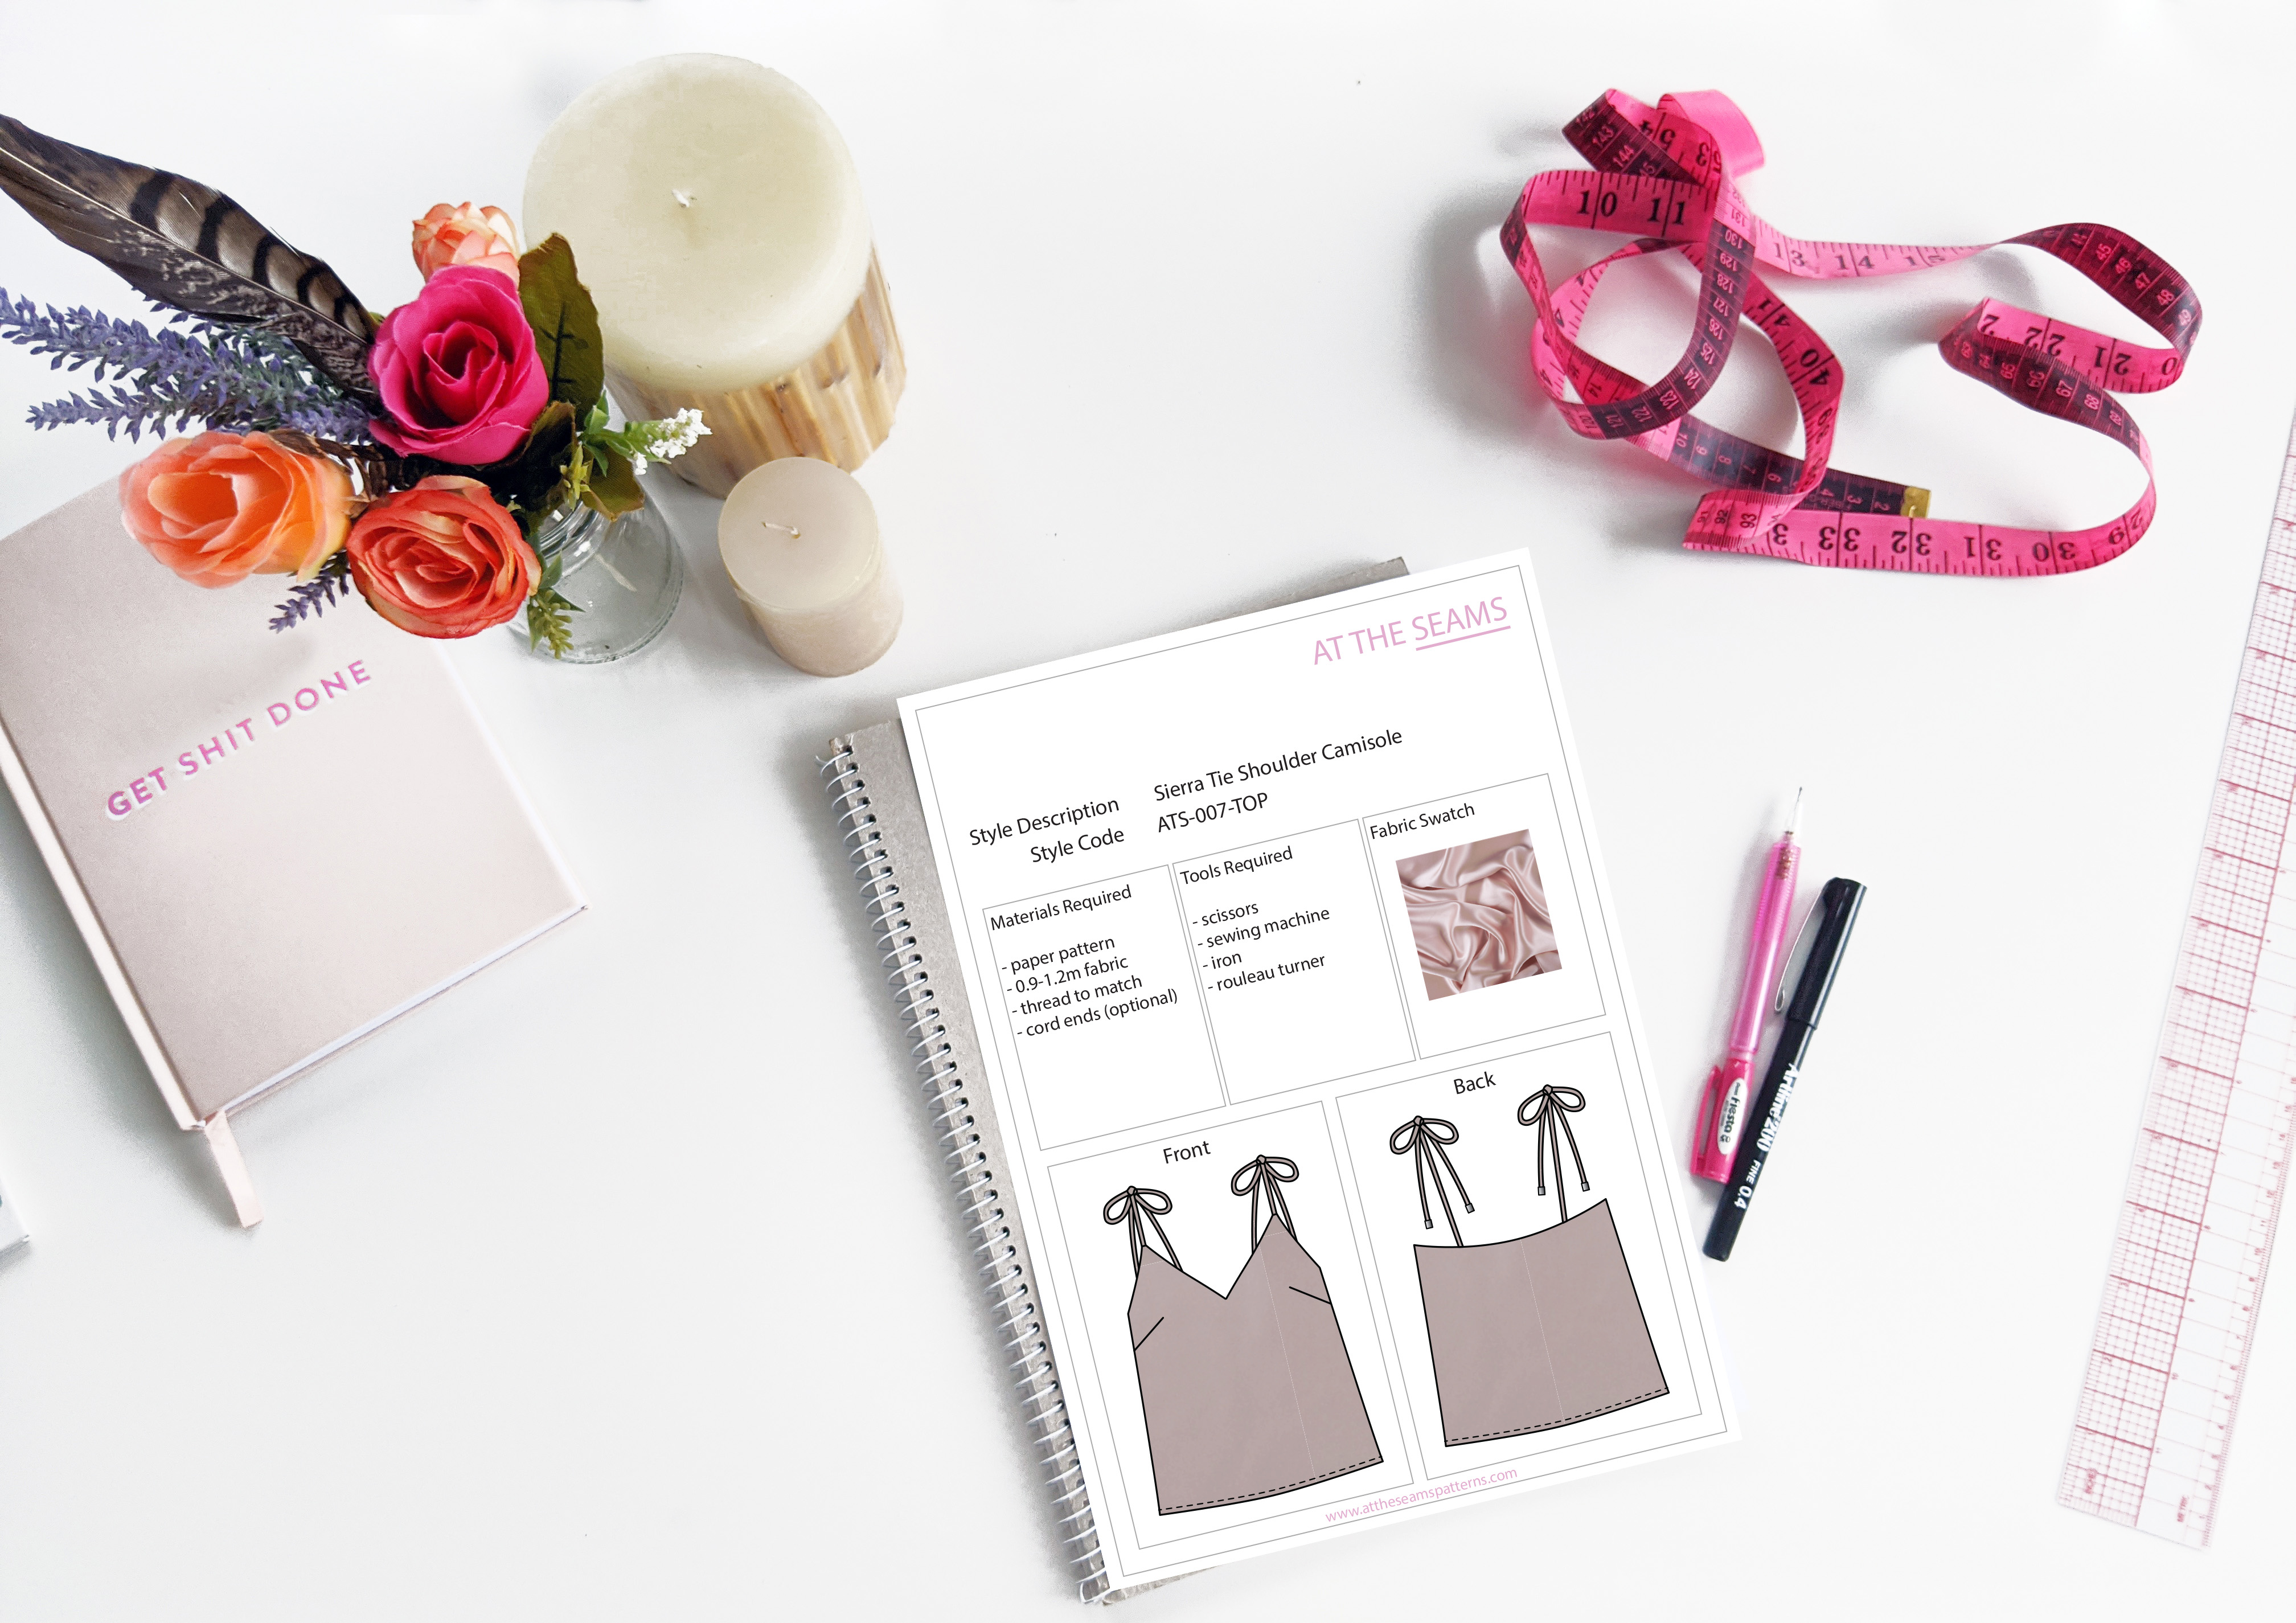
Sewing Tutorial: Sierra Tie Shoulder Camisole
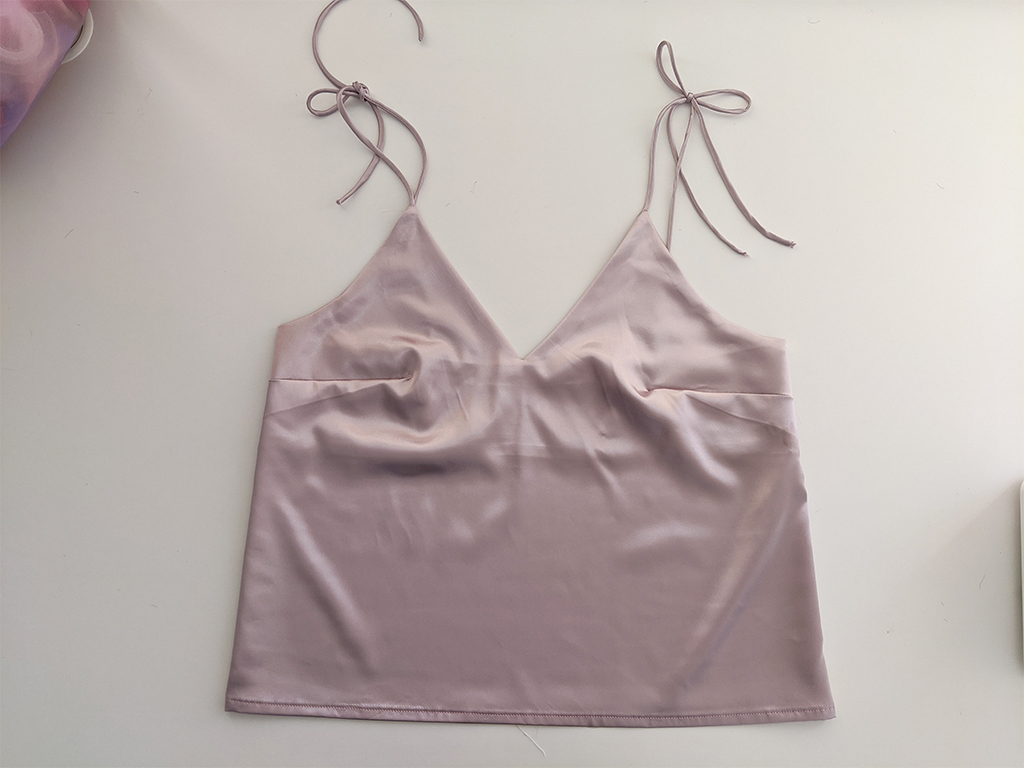
The Sierra Tie Shoulder Camisole is inspired by women’s vintage silk sleepwear. It is a great basic V-neck singlet shape with delicate self-fabric bias cut rouleau straps that tie just off the back of the shoulder. Side bust darts give slight fitting around the bust keeping the style loose and flattering. Designed to be worn as everyday wear bringing elegance to an otherwise casual outfit.
The top length is approximately 44cm from high strap point to hem and is a loose relaxed fit that can either be tucked into high-waist pants or left loose.
Instructions for this style are given so that an overlocker is not needed so can be suitable for a beginner sewer with limited machines. Fabric choice will be the focal point of this garment.
Also don’t be afraid to ask questions in the comments below if you need. I’m here to help. So let’s get started.
To begin you will need the following things
Materials
- Sierra Tie Shoulder Camisole paper pattern
- 0.9-1.2m fabric
- cotton thread
- metal cord ends (optional)
Tools
- scissors
- pins
- sewing machine
- iron
- rouleau turner
Tips
- Ensure your fabric is washed, dried, and pressed before you start cutting. There is nothing worse than washing your beautiful garment and it shrinks.
Step 1
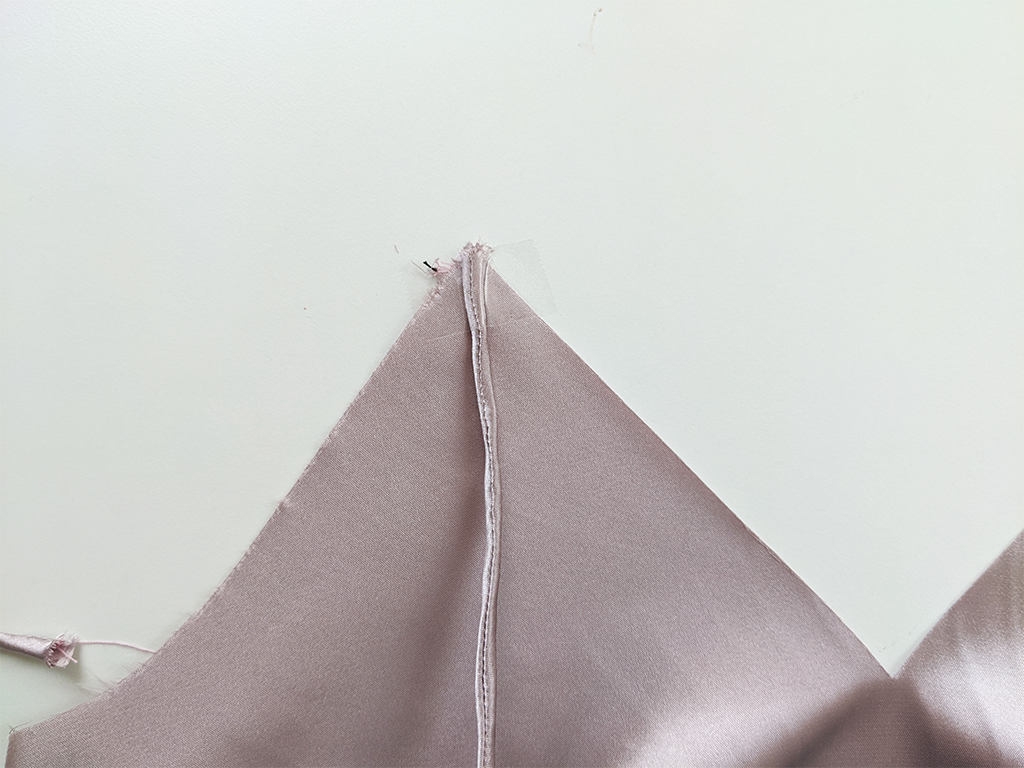
Cut all main and lining pieces accurately on the correct grain, ensuring all notches are clipped and dart points marked or pinned.
Beginner tip* If you can afford to purchase a rotary cutter and cutting mat, I find this more accurate and time-efficient.
Step 2
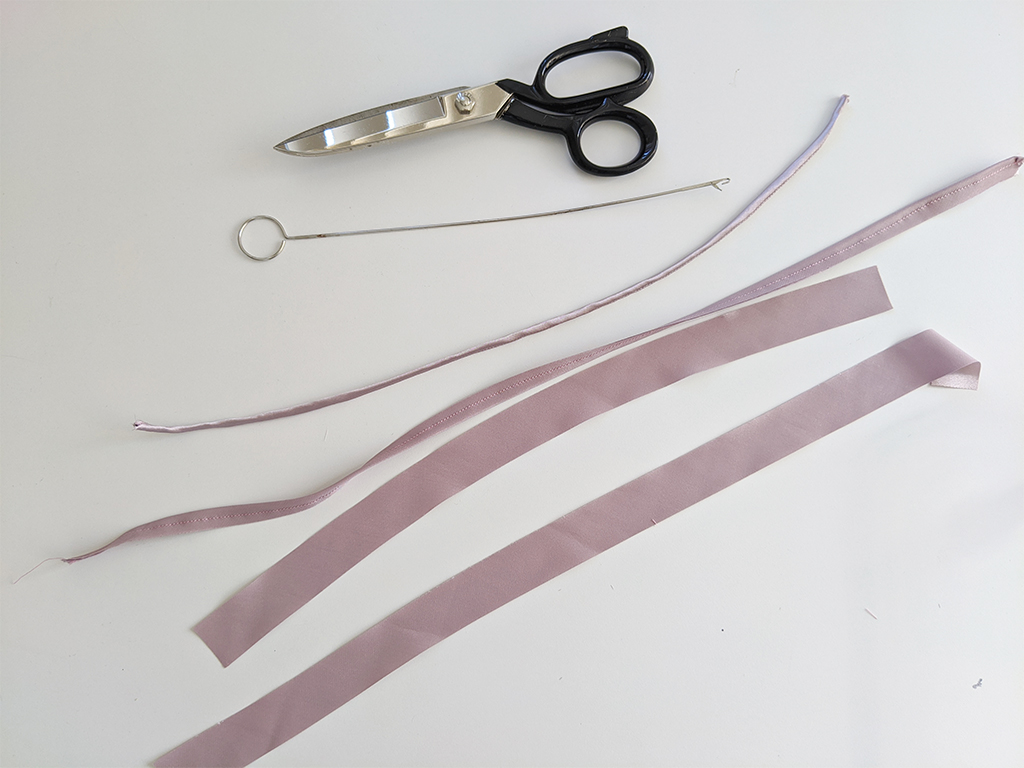
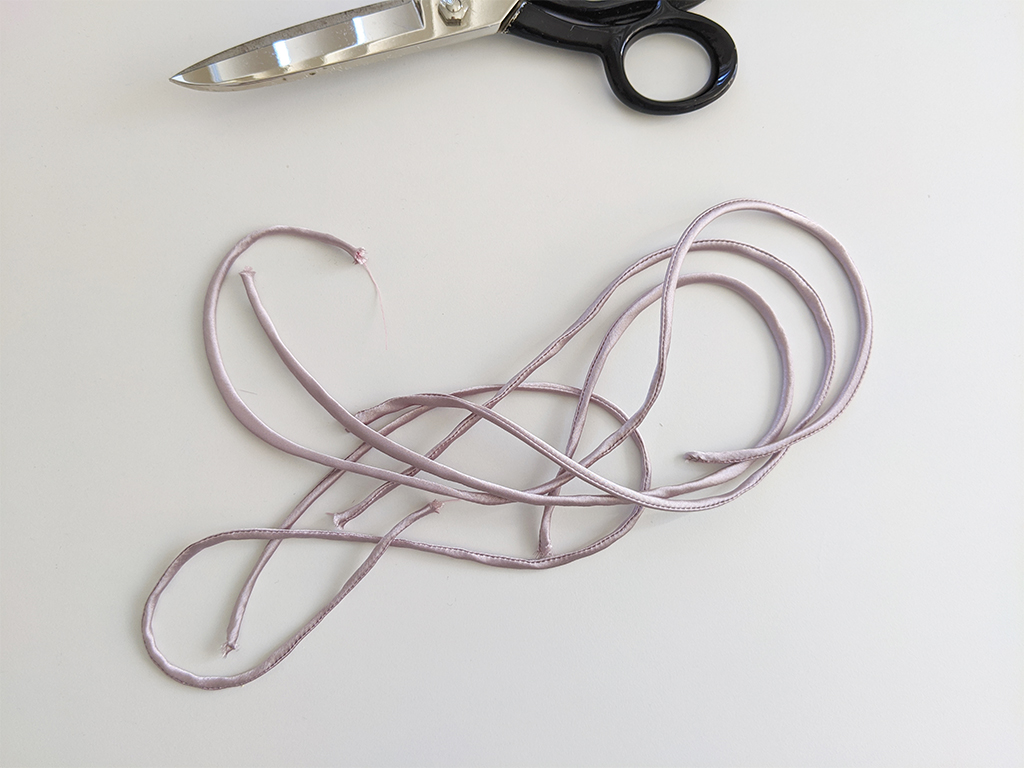
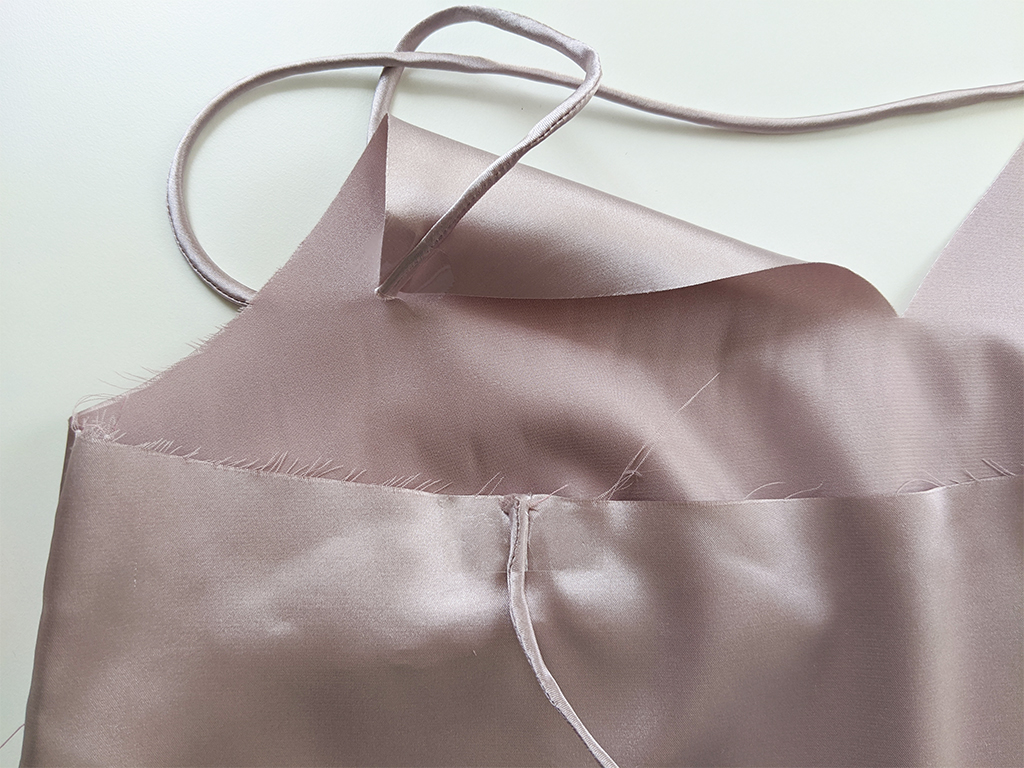
Stitch and turn through straps, finish tie ends by either leaving the end unturned or adding a cord end and turning the rouleau into a knot.
I am still waiting for my cord ends to arrive in the mail and will update this post when they get here.
Step 3
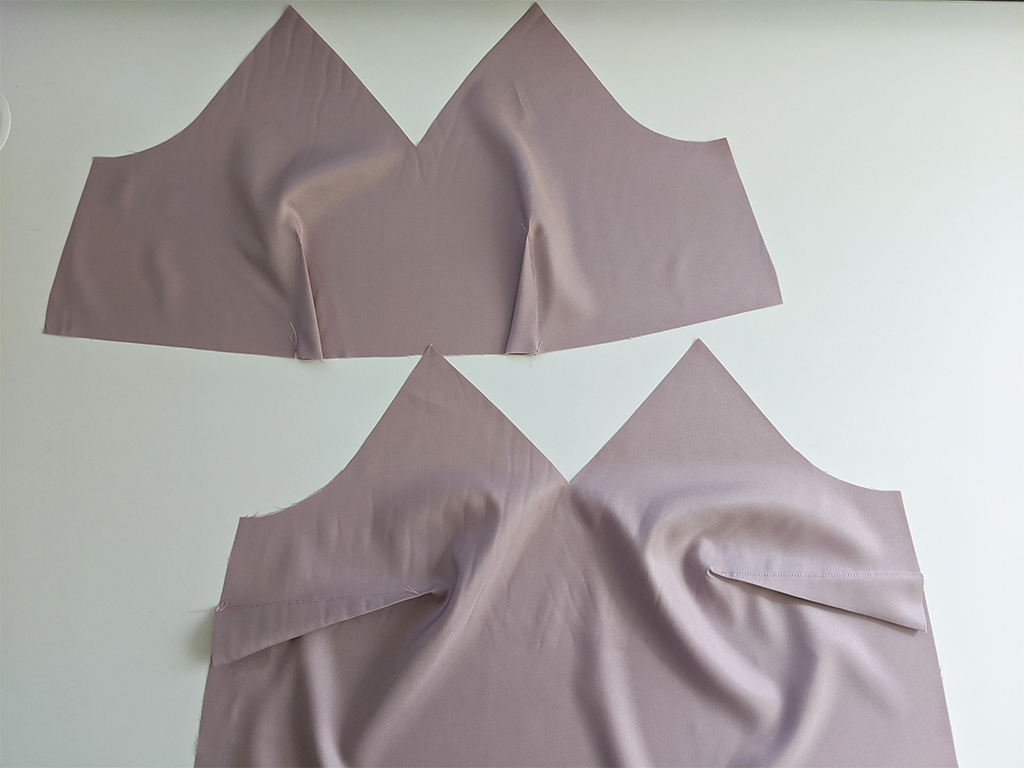
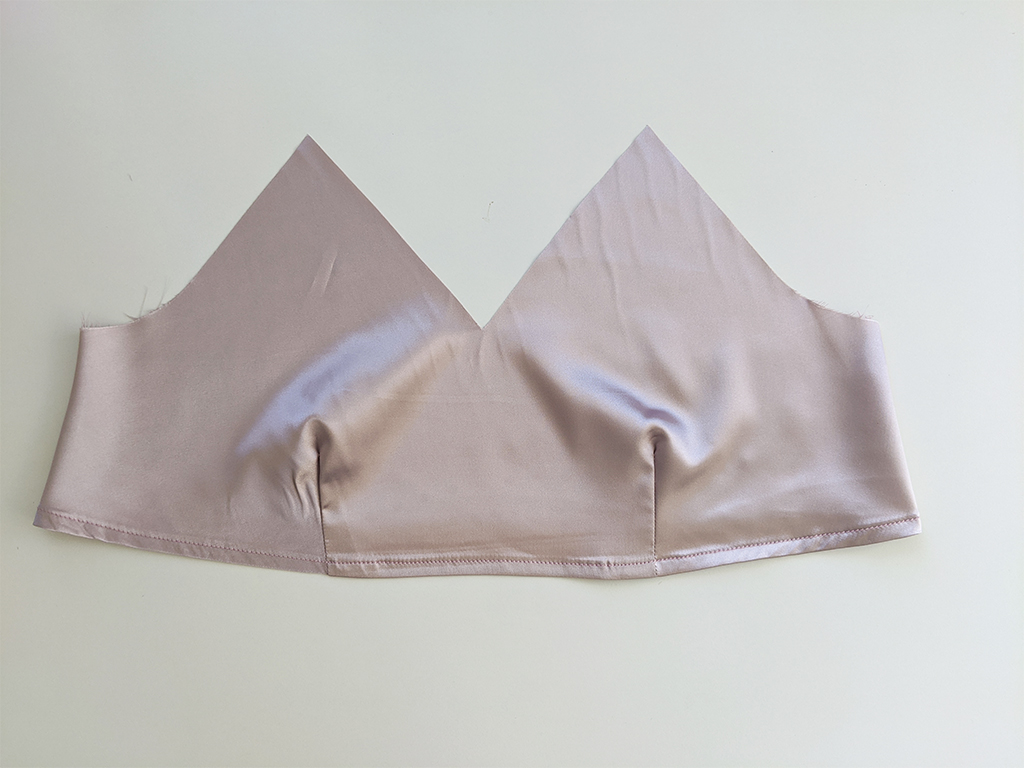
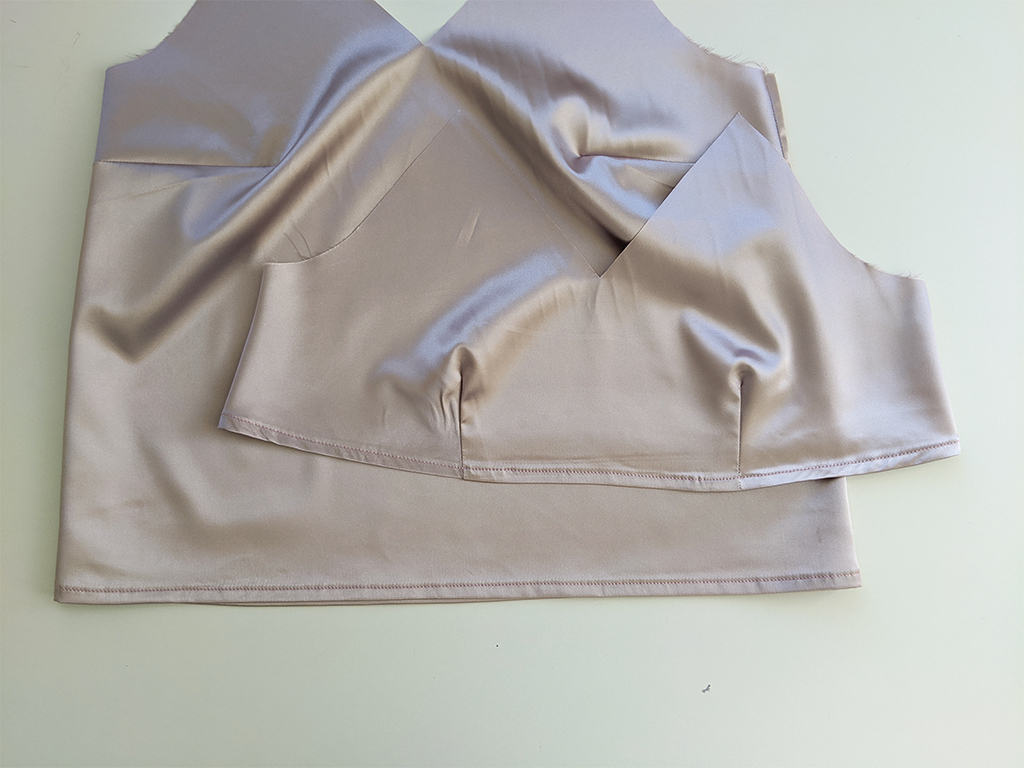
Sew bust darts on main and facing press downwards on main and inwards on facing.
Beginner tip* If needed, you can draw the dart lines onto the fabric with dressmaker’s chalk to ensure you sew a neat straight dart.
Step 4
Pin and sew side seams of main and facing using a French seam.
If preferred, seams can be straight stitched with a 1.5cm seam allowance, then overlocked and pressed back.

Step 5
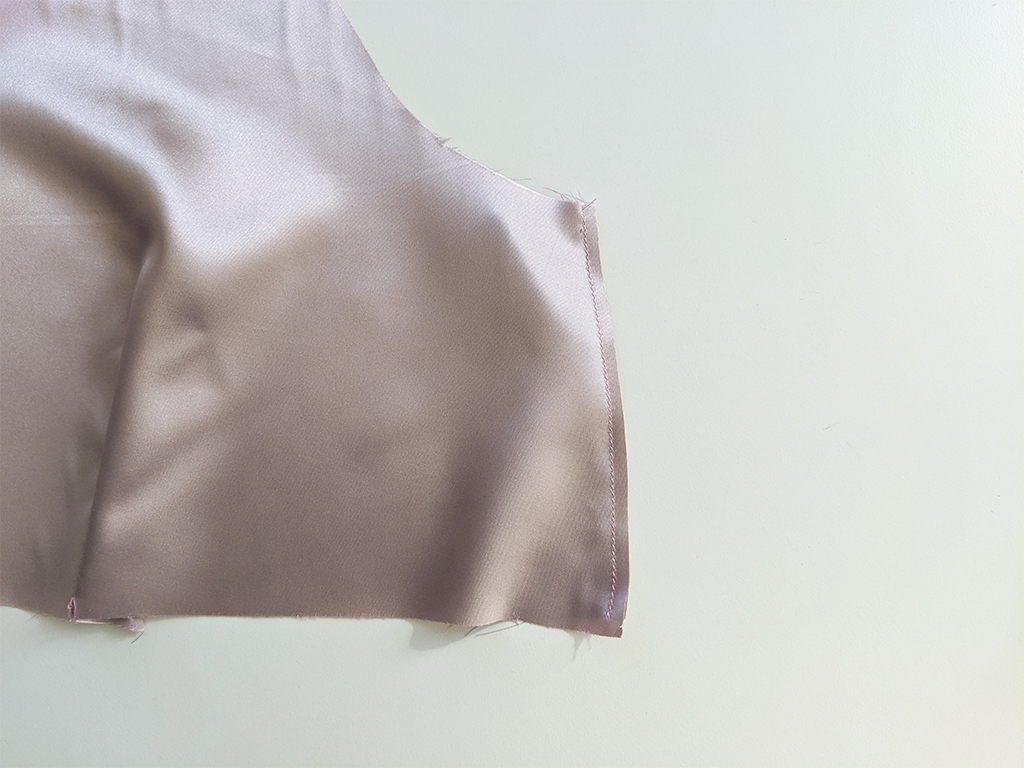
Hem main and facing with a 1cm double turn hem and single needle stitch.
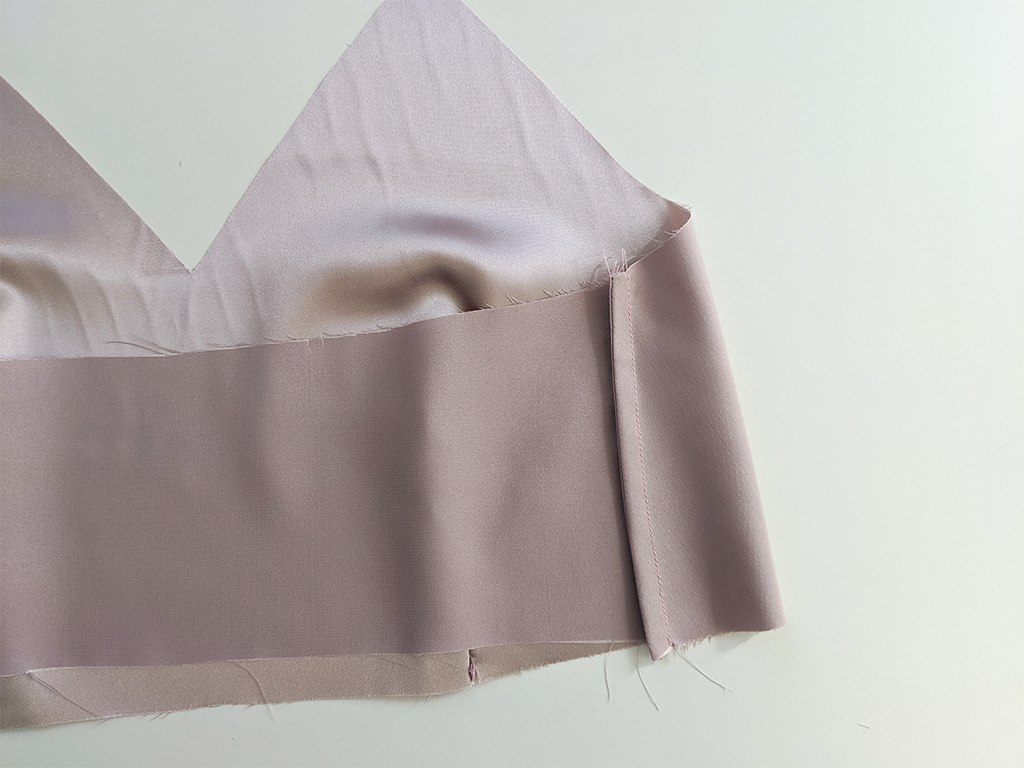
Step 6
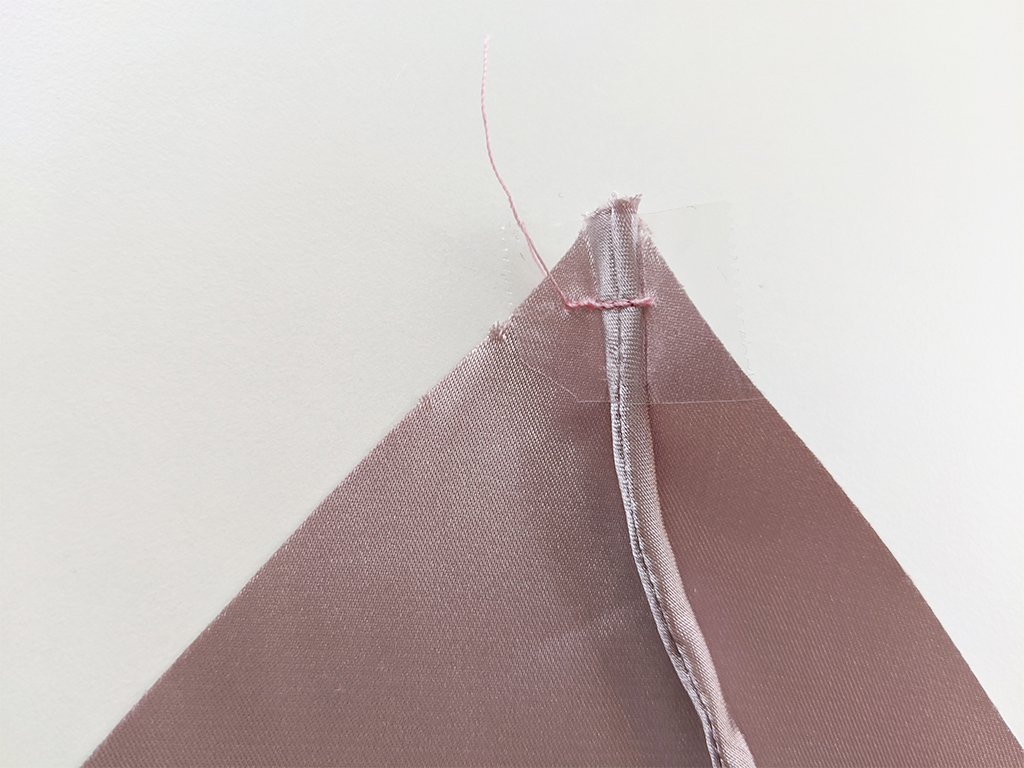
Tape straps into position and tack down using an 8mm seam allowance. (tape is easier and safer than sewing over pins and is more stable) After stitching, carefully remove the tape.
If using a fabric that easily frays do not use tape. Instead use pins and hand wind your machine over them.
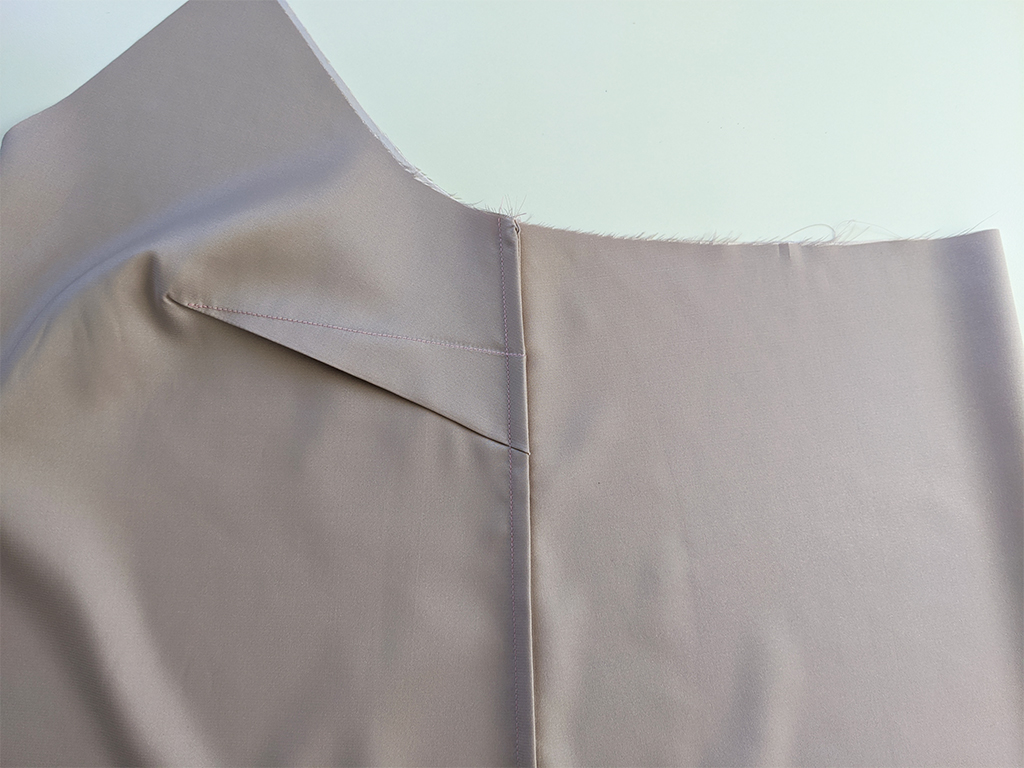
Step 7
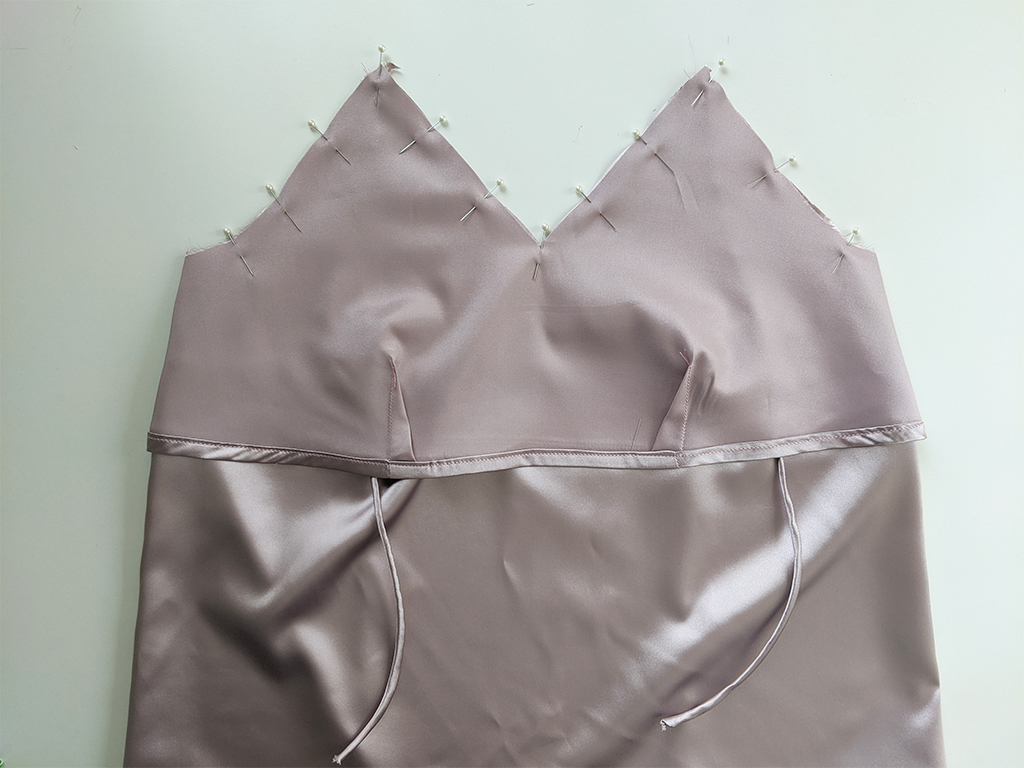
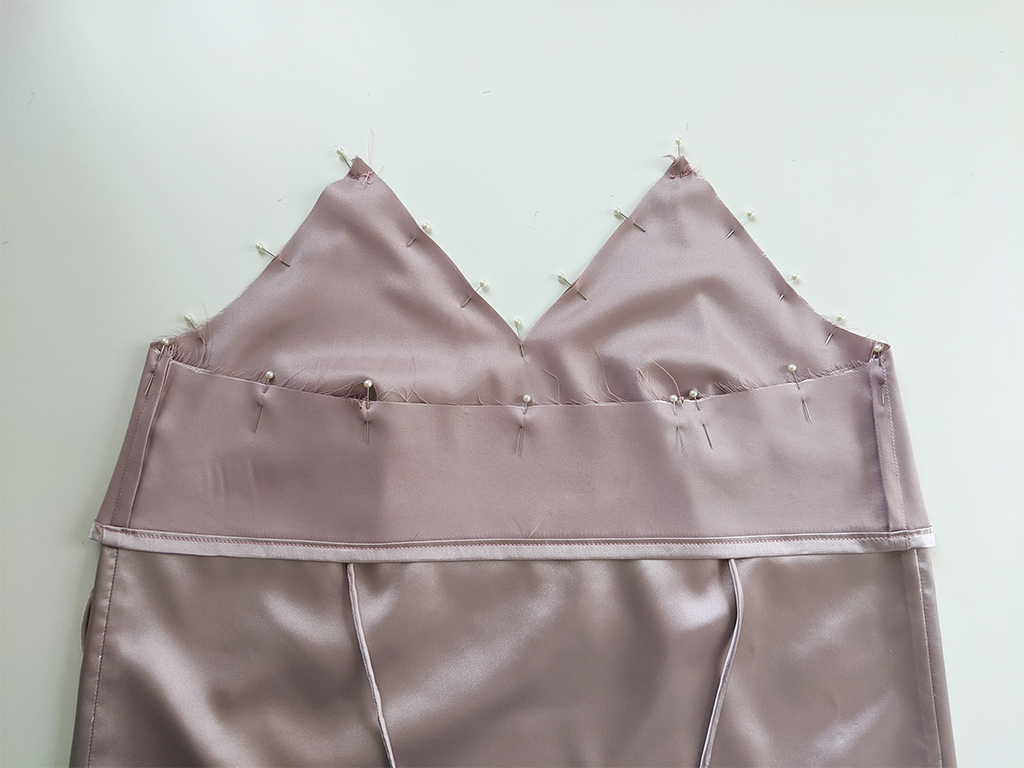
Place main and facing right sides together and pin along neck edge. Stitch to secure, then clip center front neck, armhole and around the front straps. Turn through and press.
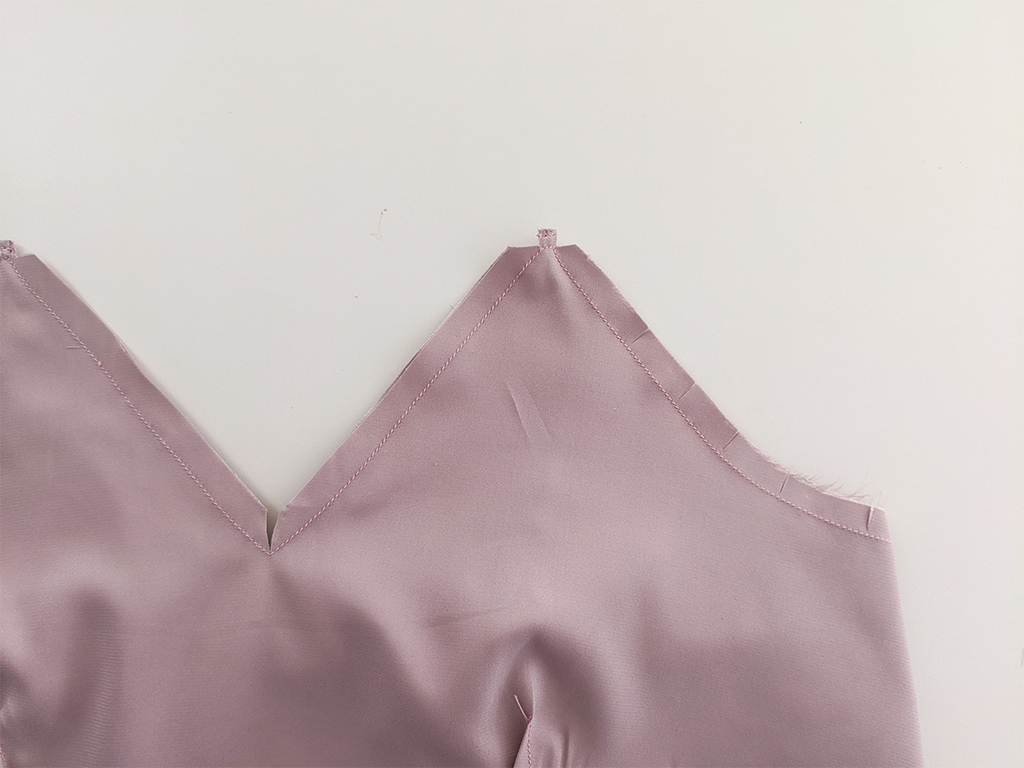
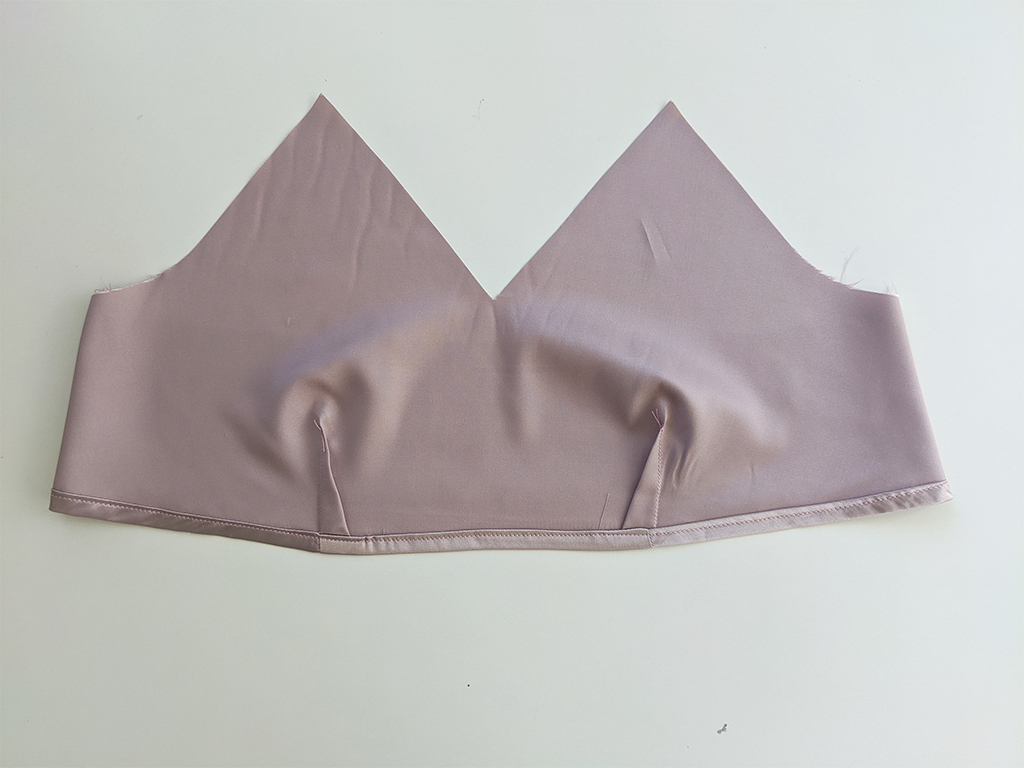
Give your garment a final press and steam and you are now complete.
The Sierra Tie Shoulder Camisole is now complete. How did you go? Let me know in the comments below.
I also have two other top patterns that don’t need an overlocker available for purchase here and here along with more sewing tutorials.
x x