Sewing Tutorials, Tops
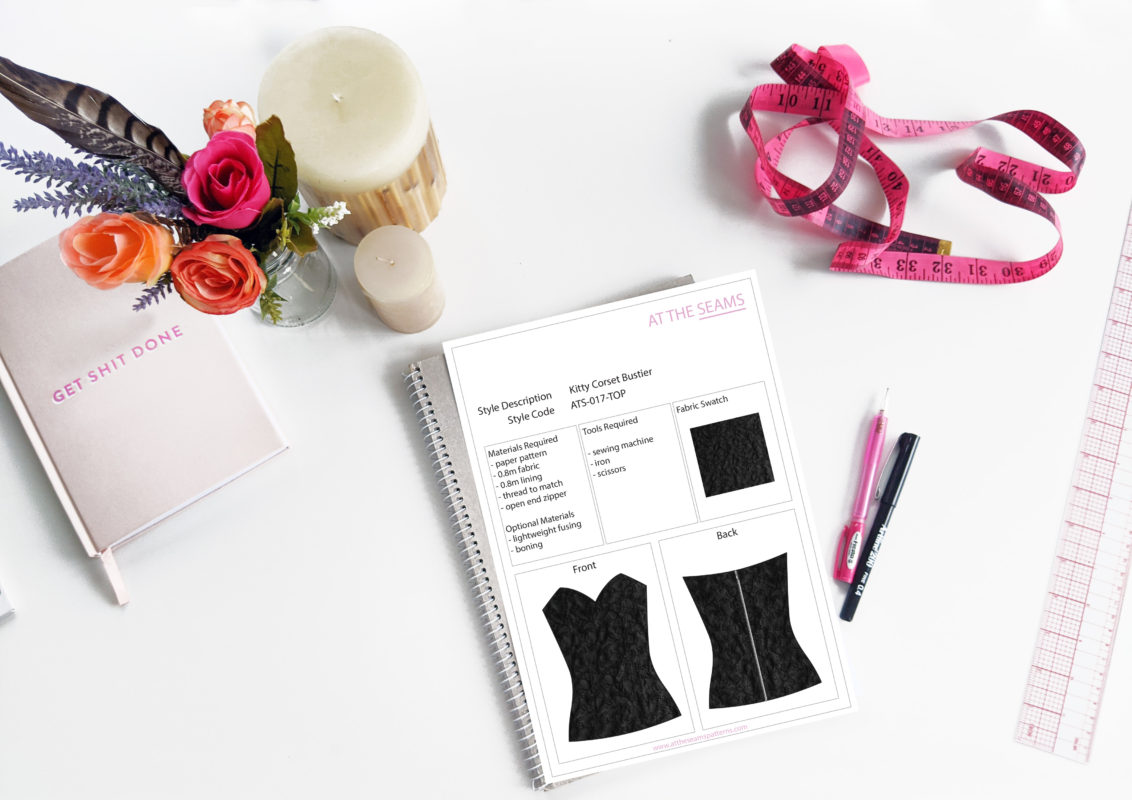
Sewing Tutorial: Kitty Corset Bustier
The Kitty Corset Bustier is a longer version of the Olivia Sweetheart Bustier. This style is designed to be fitted from the bust to the hips. The design panel lines allow for optional boning to be added to create a corset feel.
This style is sewn to be completely bagged out with an open-end, center-back zipper.
It’s a great shape for an intermediate sewer however even a beginner can tackle this if they follow the instructions carefully. So let’s get started.
To begin you will need the following things
Materials
- Kitty Corset Bustier paper pattern , or if you prefer to shop on Etsy
- 1m fabric
- 1m lining
- lightweight fusing (optional)
- 2.4m Boning (optional)
- 35cm open-end zipper
- cotton thread
Tools
- sewing machine with a regular foot & zipper foot
- iron
- scissors
- pins
Tips
- If you have decided to make this corset with boning please read this post.
- Ensure your fabric is washed, dried and pressed before you start cutting. For instance, there is nothing worse than washing your beautiful garment and it shrinks, or even more annoying the lining shrinks and the main doesn’t so its all pulled out and shape and is unwearable.
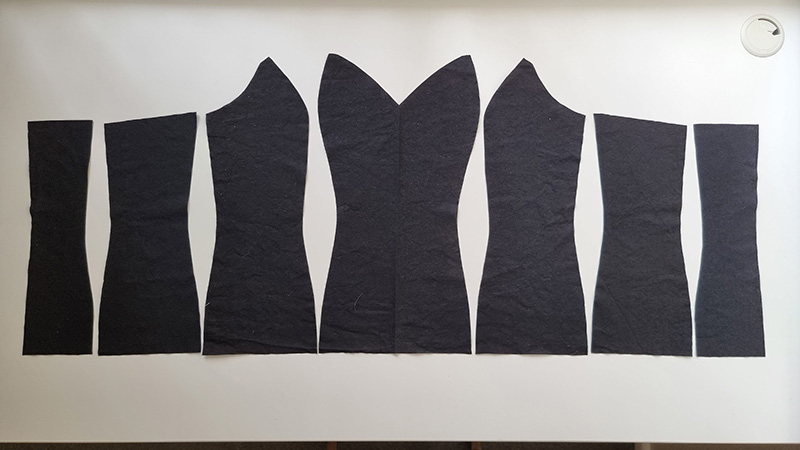
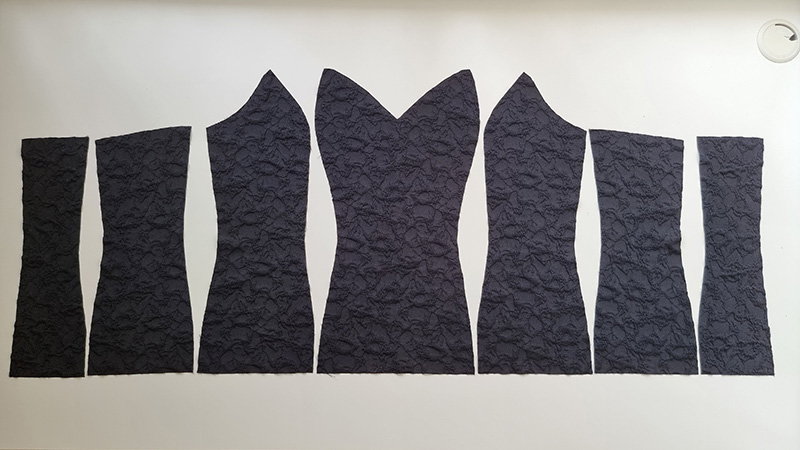
Step 1
Cut all main and lining pieces accurately on the correct grain, ensuring all notches are clipped. Please note seam allowance is marked on the pattern. Take care not to over clip your notches, because we don’t want them running close to the seam allowance which will create holes in your garment.
Beginner tip* If you can afford to purchase a rotary cutter and cutting mat, I find this more accurate and time-efficient.
Beginner tip* It might help to pin the pattern pieces to your fabric once is cut out so you can easily work out what is what while you are sewing.
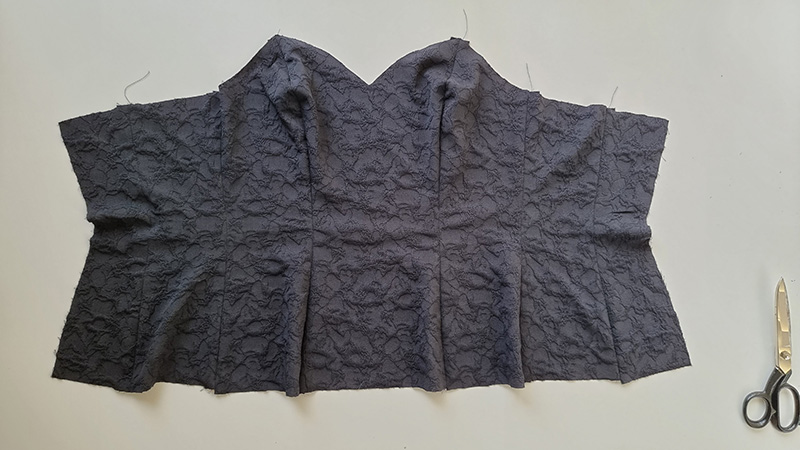
Step 2
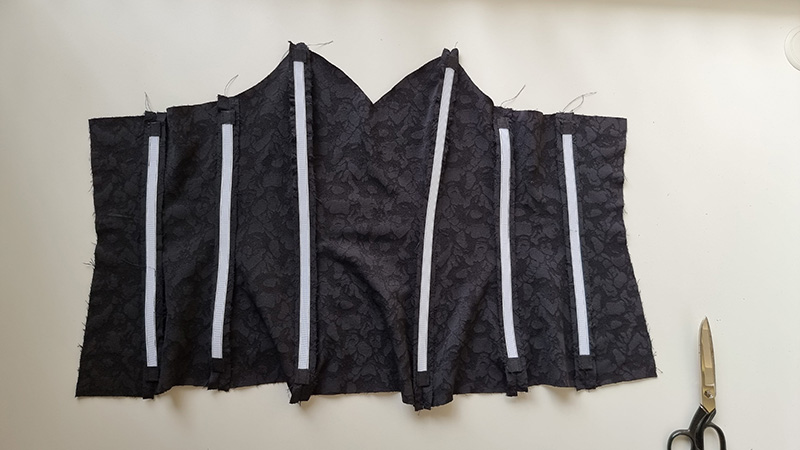
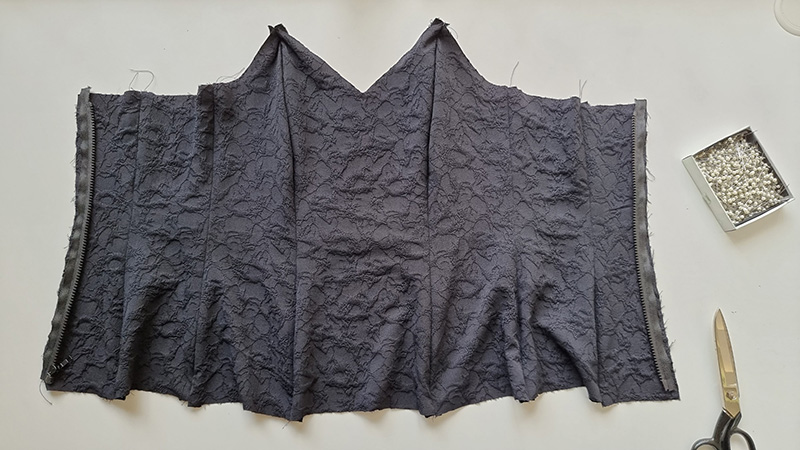
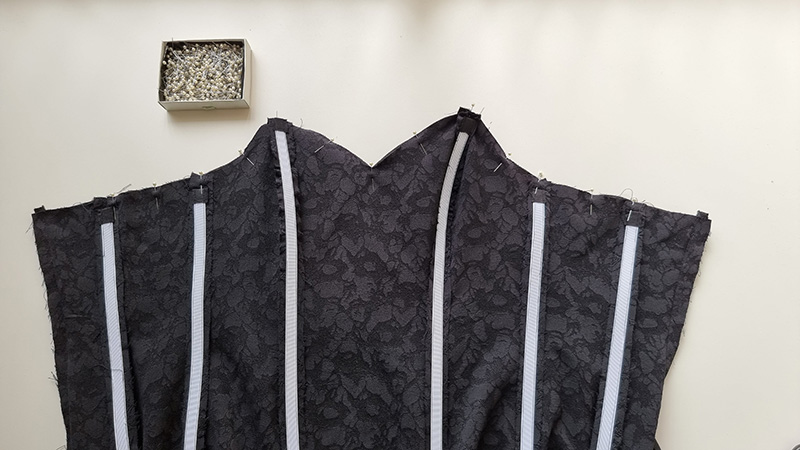
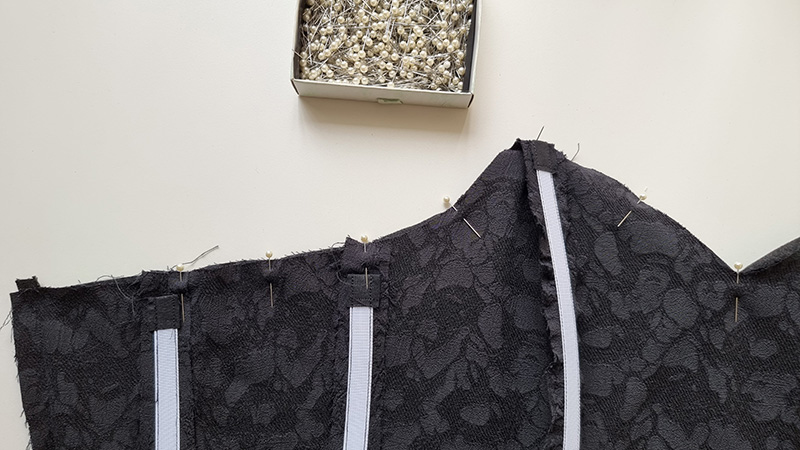
Start by pining all vertical panel seams of your main fabric right sides together, then stitched closed. Press open all seams excluding front bust seams, clip and press front bust seams to the center.
* If using rigilene (stitch in) boning – press all seams open
* If using plastic boning – press front & back panel seams inwards, press side seams backwards
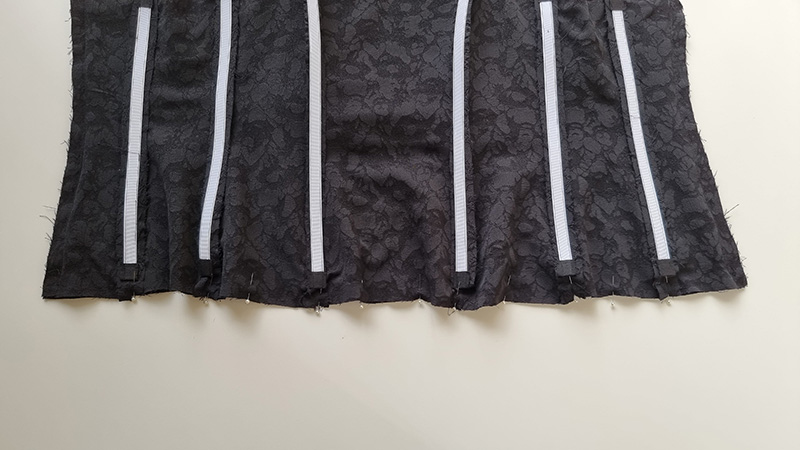
Step 2a (if using boning, if not, skip to 3)
Sew your boning into the corset using the method that suits the boning. Please refer to this post for further instructions if needed.
Step 3
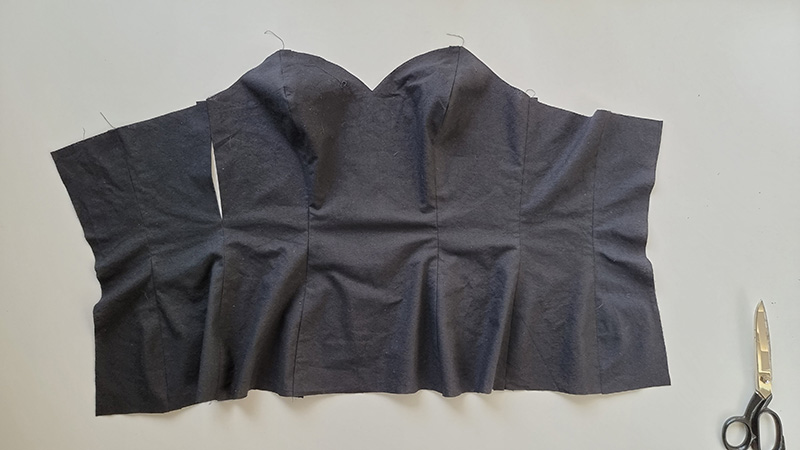
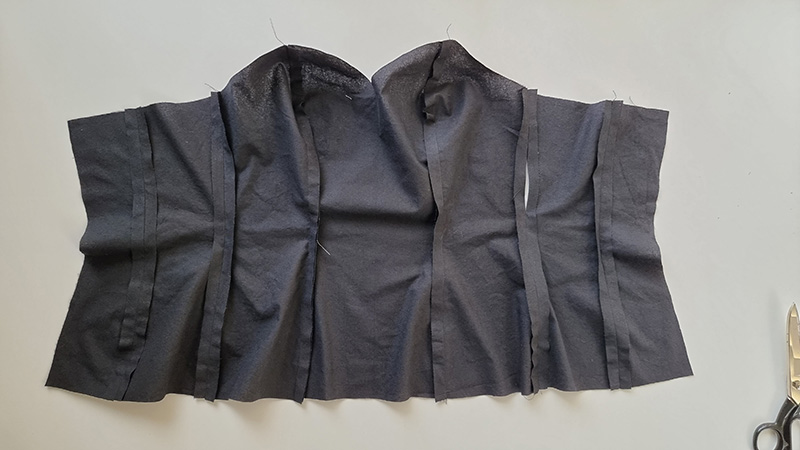
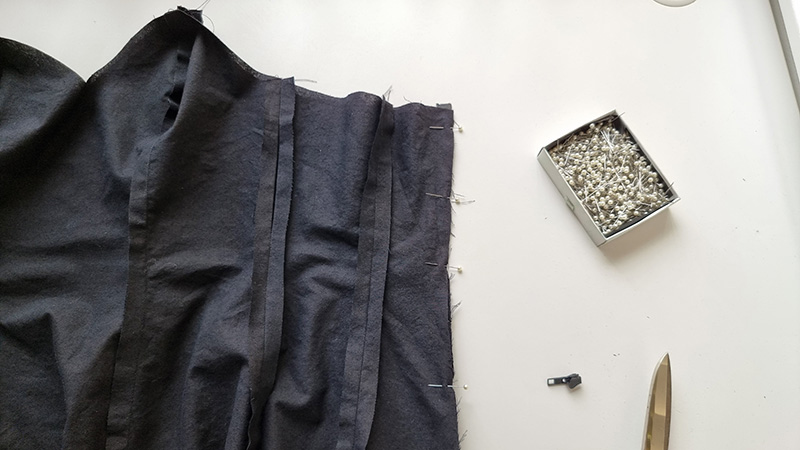
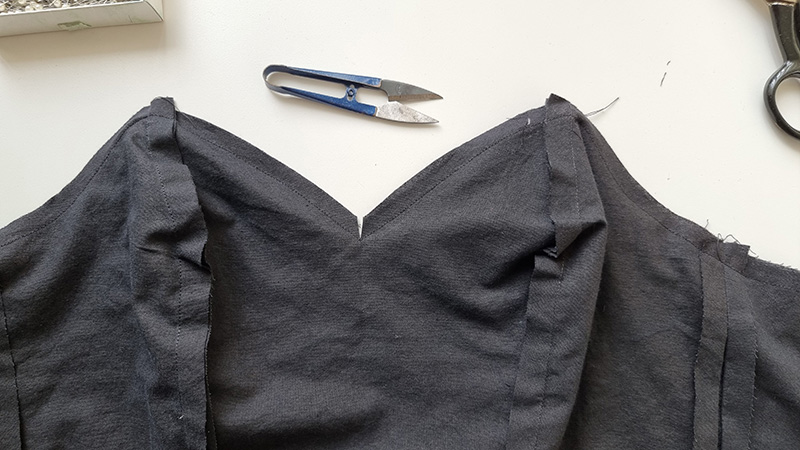
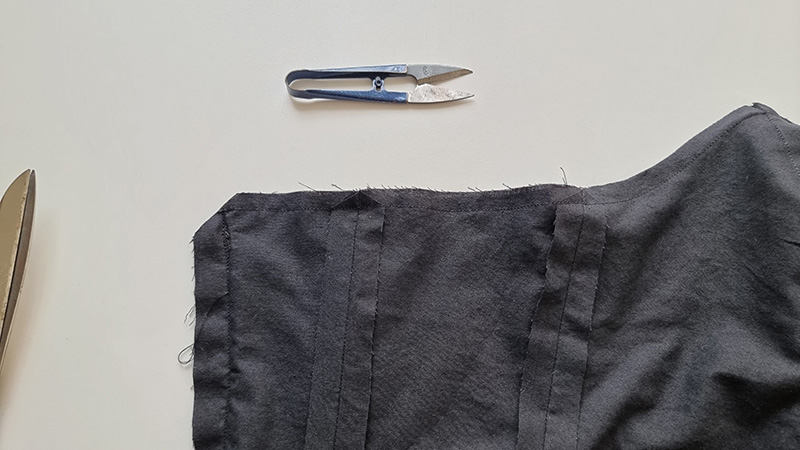
Repeat step 2 on the lining, excluding one side seam on the lining, on this side seam leave a 15cm opening in the middle. We are leaving this open so that we have a space to turn the garment through to bag out the top later on.
Step 4
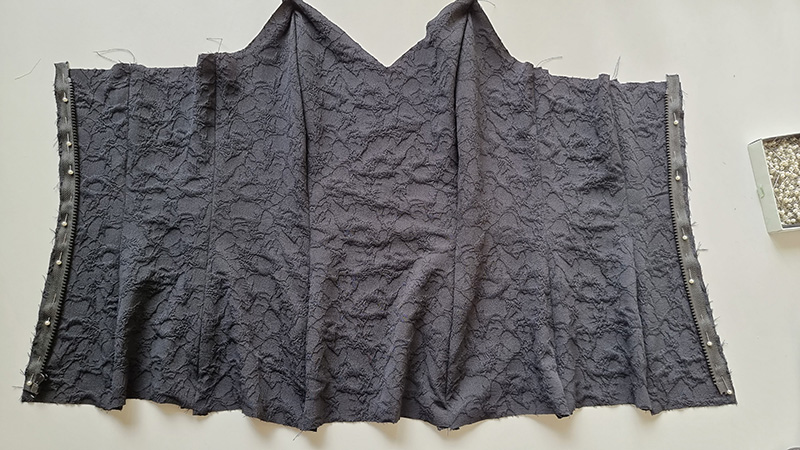
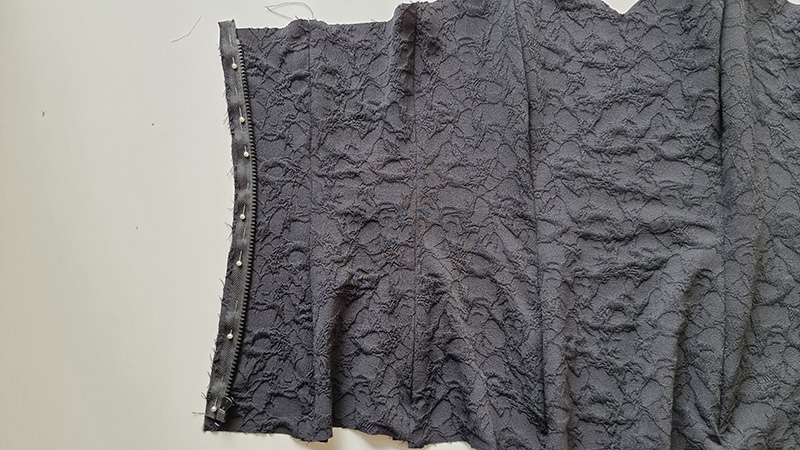
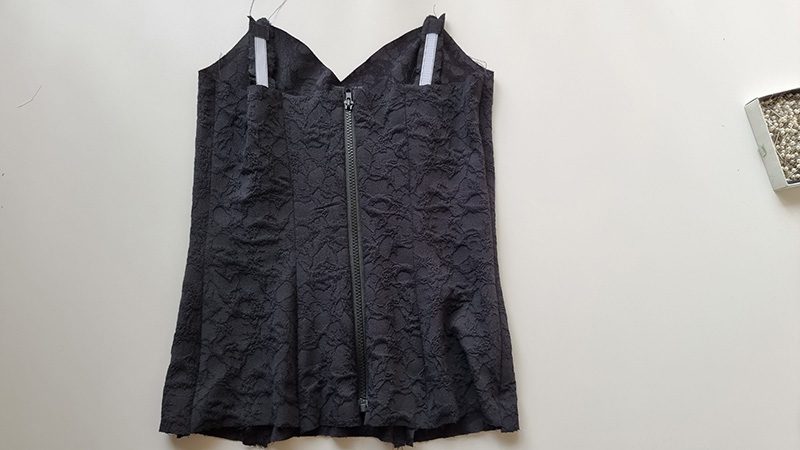
Now take the zipper and undo it so you have it in 2 pieces. Pin one side of the zipper to one side of the center back edge of the bodice and stitch down leaving a 1cm gap at the top and the bottom. Repeat with the other side of the zipper on the other center back edge of the bodice. Once stitched, zip up the zipper to ensure you have sewn both sides evenly and the correct way around.
Step 5
Then, lay the corset down on the table with the right side of the fabric facing up, then place the lining down on top, with the right side of the fabric facing down, so that the right sides are together. Then pin the lining to each side of the zipper and stitch closed.

Step 6
Next pin the main and lining together along the top edge of the garment ensuring all seam junctions line up. Stitch closed and clip your seam allowance along the top edge. Ensure the CF ‘V’ and the top of the zipper is clipped correctly so that the garment turns through neatly at the end.
Step 7
Repeat step 6 on the bottom edge of the garment. Clip the seam allowance and the bottom of the zipper.
Step 8
Turn the garment through the hole left in the lining in step 3. Take you time on this step and be gentle, the boning may be a little tricky to pull through.
Step 9
Press top and bottom edges of the correct and the zipper seams, take care not to burn your zipper. If using delicate fabric be sure to use a pressing cloth.
Step 10
Sew the opening left in the lining side seam closed using an invisible ladder stitch or machine stitch.
All done. I hope you love your brand new Kitty Corset Bustier.
Need a matching skirt to complete the look, try this maxi skirt tutorial or this mini skirt.
I’d love to see your creations, either drop an image in the comments below or tag me on Instagram at @at_the_seams_patterns
x