Dresses, Sewing Tutorials
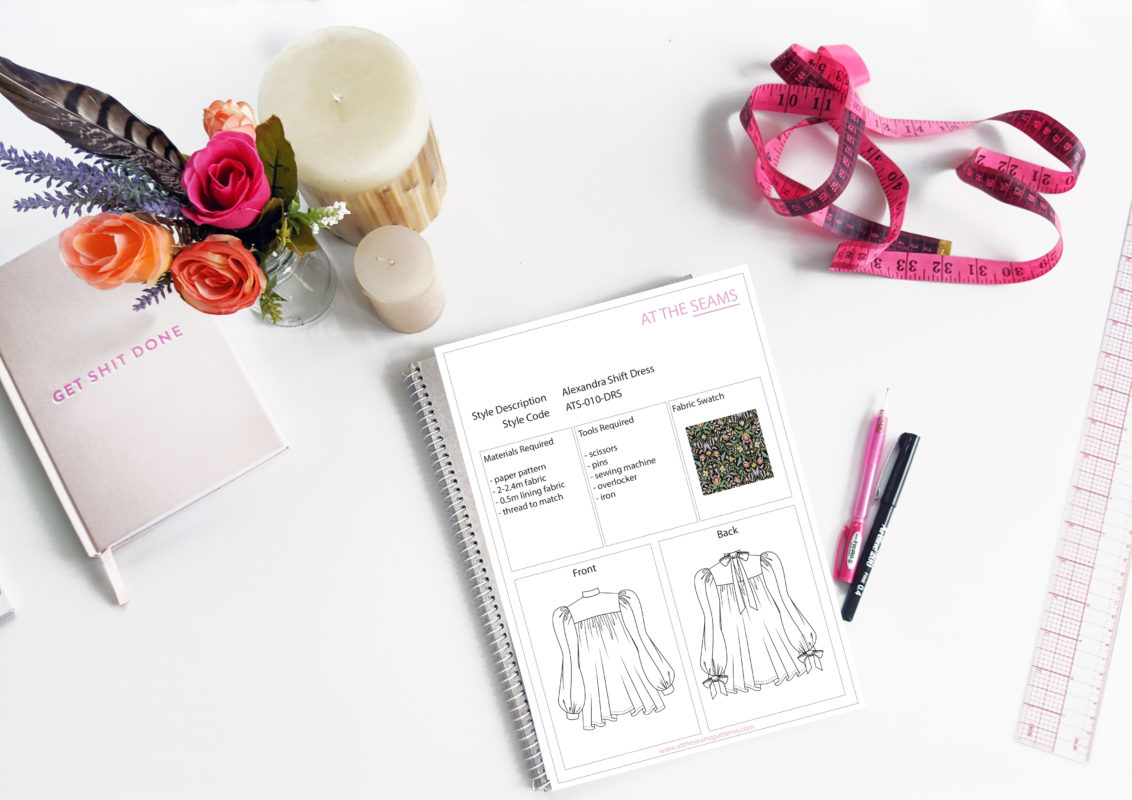
Sewing Tutorial: Alexandra Shift Dress
The Alexandra Shift Dress is anything but your basic shift dress, this is the dress you pick if you want to stand out. The dress gathers into a flat front and back yoke with a 4.5cm wide stand collar which ties in a long bow at the back of the neck.
The sleeves are puffy and gathered at the shoulder then are shaped to fit at the bicep, puff back out, then gather into the sleeve cuff which ties in a bow at the back of the wrist.
The dress length is approximately 84cm (size 10)
SEWING ABILITY
Advanced
To begin you will need the following things
Materials
- Alexandra Shift Dress (XS-XL) paper pattern
- Alexandra Shift Dress (XL-5XL) paper pattern
- 4m fabric (XS-XL) 4.5m fabric (XL-5XL)
- 0.3-0.8m lining fabric
- cotton thread (enough to also thread your overlocker)
Tools
- scissors
- pins
- sewing machine with a regular foot
- overlocker
- iron
Tips
- Ensure your fabric is washed, dried, and pressed before you start cutting. There is nothing worse than washing your beautiful garment and it shrinks, or even more annoying the lining shrinks and the main doesn’t so it’s all pulled out and shape and is unwearable.
Step 1
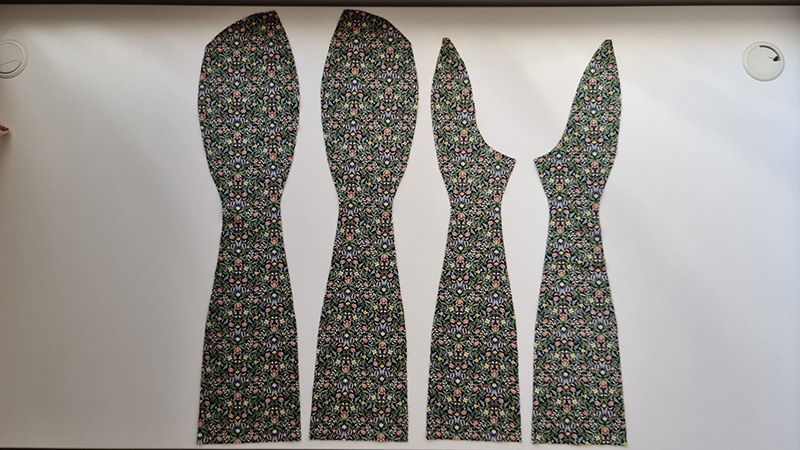
Cut all main and lining pieces accurately on the correct grain, ensuring all notches are clipped. Please note, all seam allowance is marked on the pattern with a grey dashed line.
Beginner tip* If you can afford to purchase a rotary cutter and cutting mat, I find this more accurate and time-efficient.
Step 2
Starting with the dress front and back yoke, pin the shoulder seams right sides together of the main fabric, stitch closed and press seam allowance open (this seam does not need to be over-locked as it will be enclosed)
Step 3
Repeat step 2 on the lining pieces.

Step 4
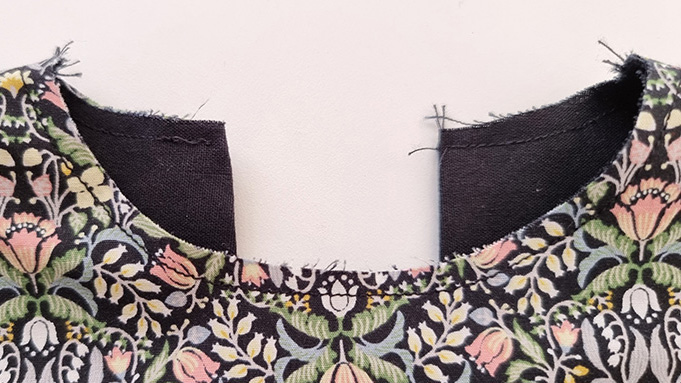
Next, place the main and lining right sides together and pin along the center back edges. Stitch closed, then turn the garment through the correct way around and press the center back edge well, then set aside.
Step 5
Taking the back skirt pieces, overlock the center back seam of each piece separately from the right side of the fabric.
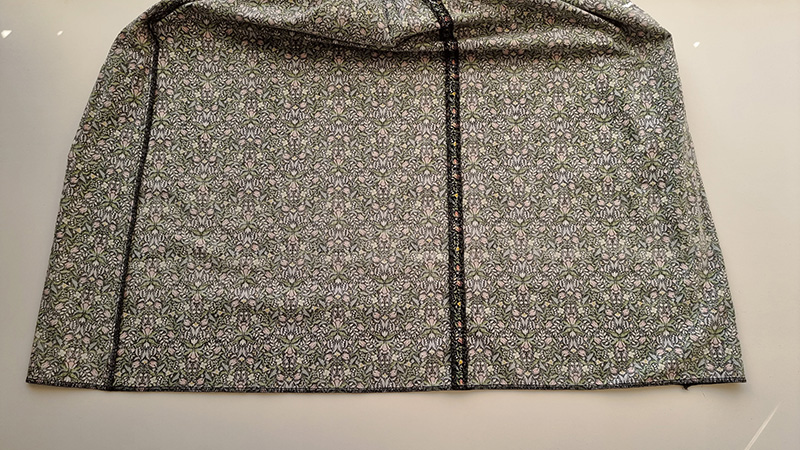
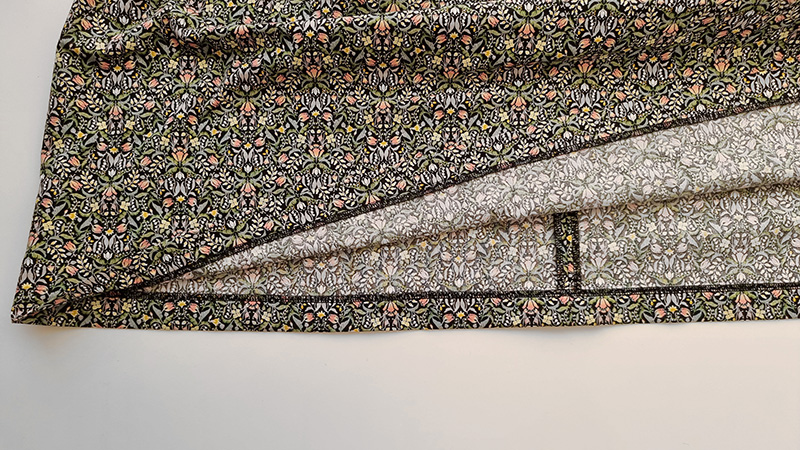
Step 6
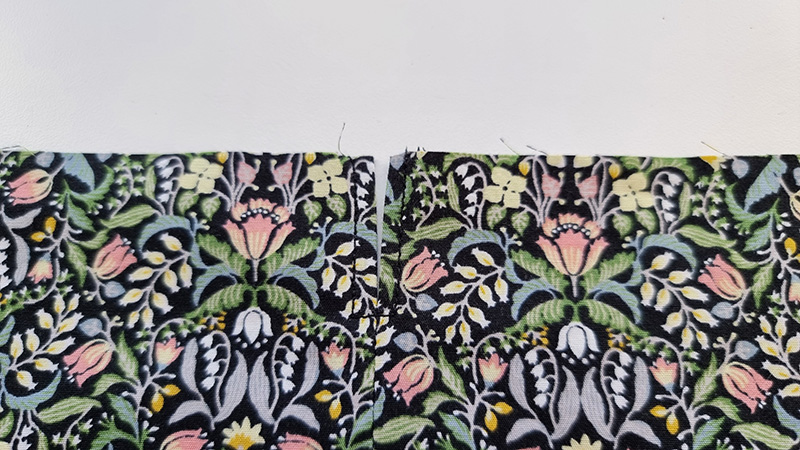
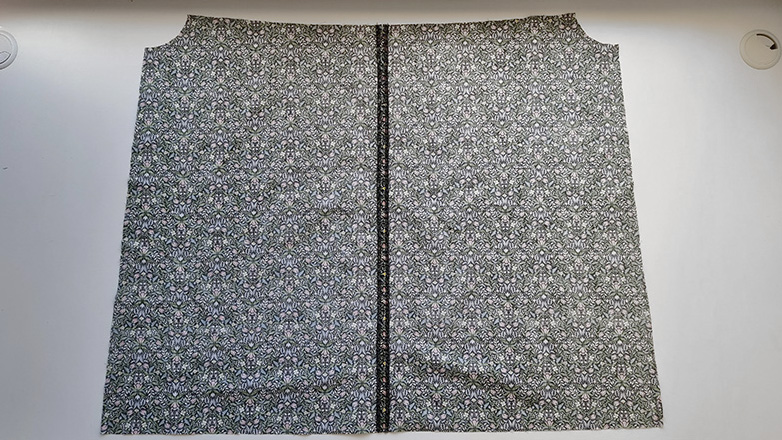
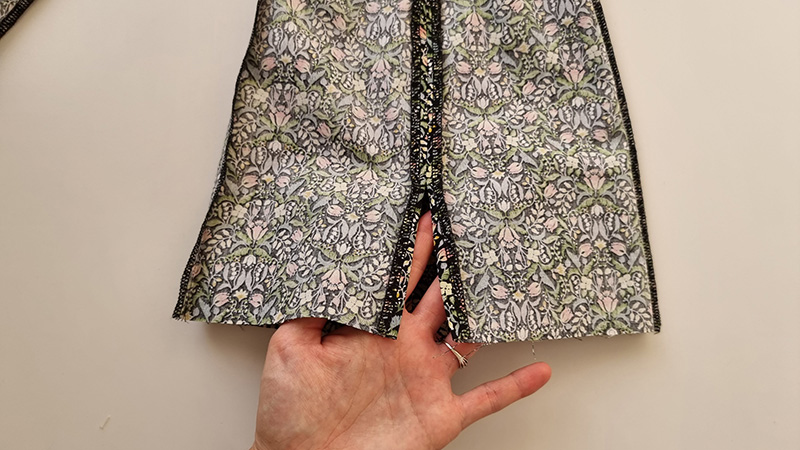
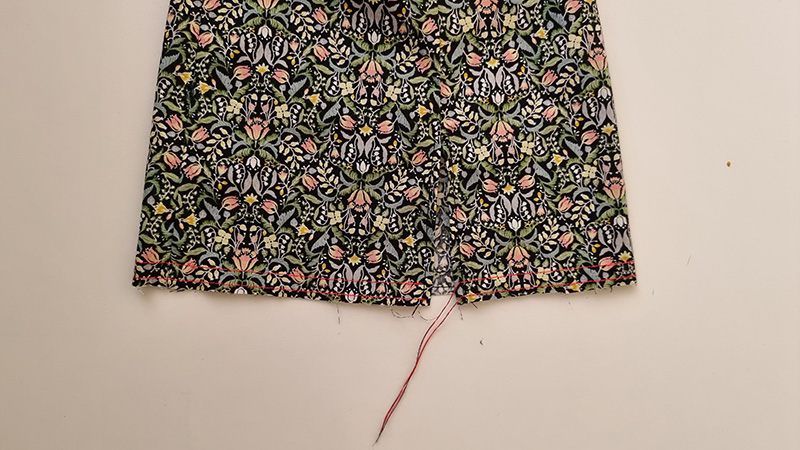
Now pin the center back seam right sides together from the hem to the split notch marked on the pattern. Press the seam allowance open and top stitch the split opening as shown.

Step 7
Then run 2 rows of gathering stitches across the top edge of the front skirt. Then along the top edges of the back skirt. (the back skirt will need to be done on either side of the split)
** Gathered edges are marked on the pattern with a red wavy line **
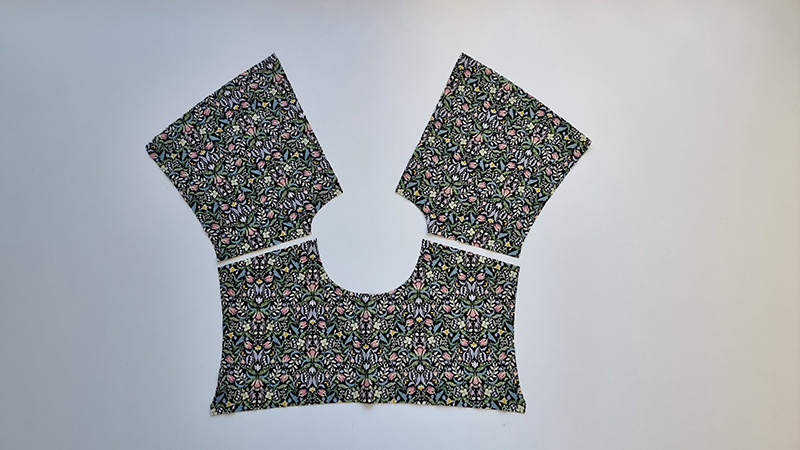
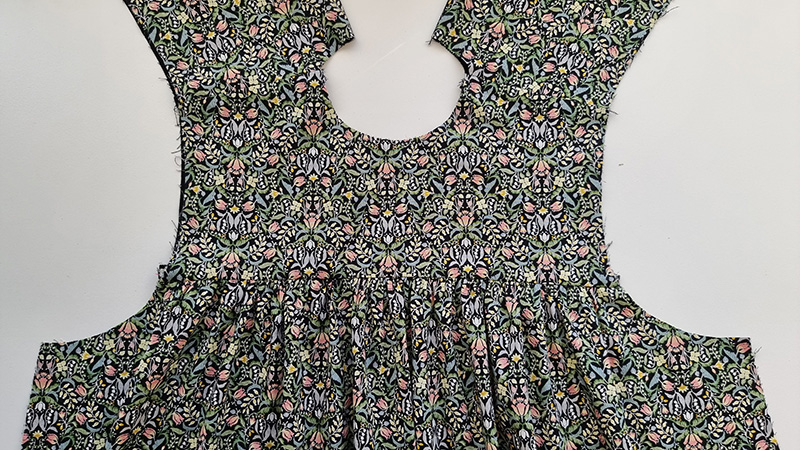
Step 8
Place the front of the skirt and the front yoke, right sides together. Pin together at the side and center front, then gather the skirt to fit the yoke. Pinning the center front before you gather will help ensure the gathers are evenly spread. Stitch in place once the gathers are evenly spread.
If you need extra help with gathering, please see the more in-depth gathering tutorial here.
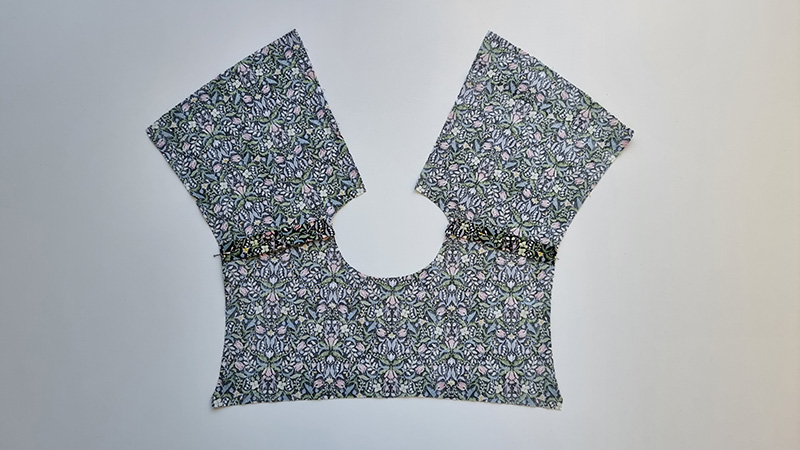
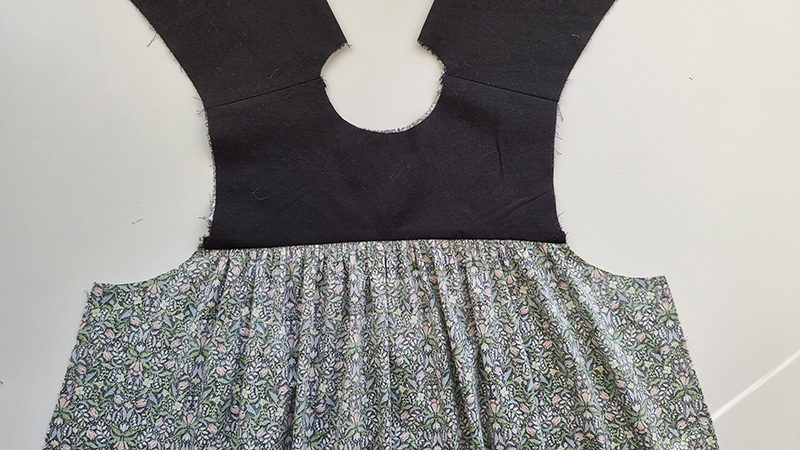
Step 9
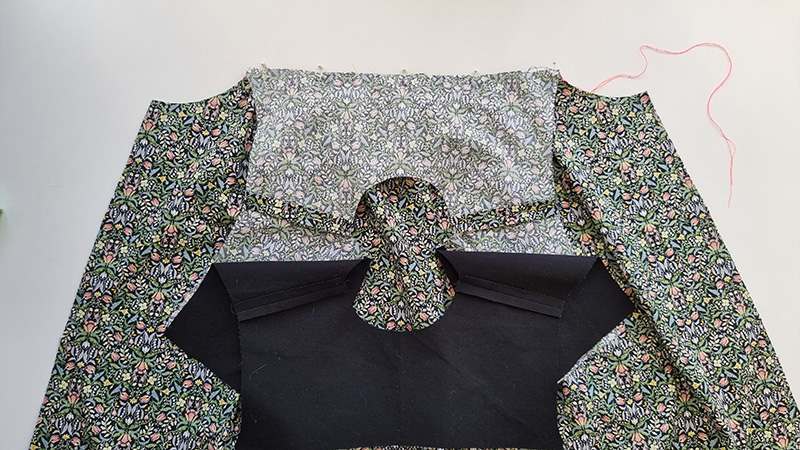
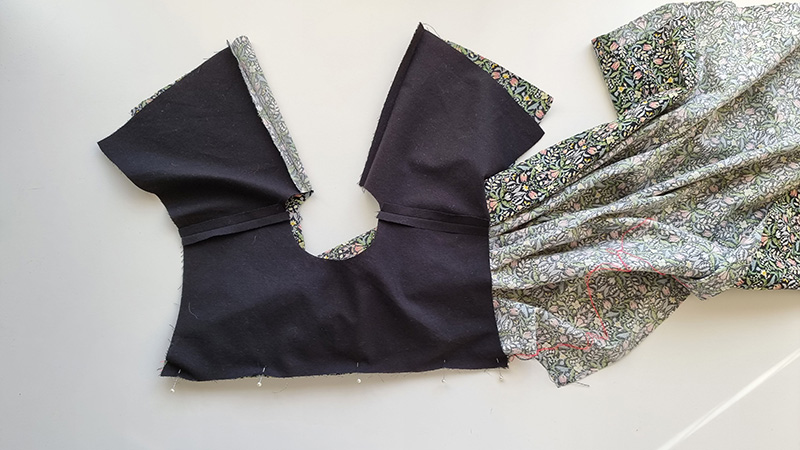
Then fold the garment so that the lining edge of the front yoke is pinned to the other side of the skirt. The skirt will need to be pushed up towards the neck opening to make this easier. Pin and stitch in place. (This method gives a neater finish on the inside of the garment as the yoke seam is fully encased)
Step 10
Repeat steps 8 and 9 on the back of the dress. This will be done on each side of the split.
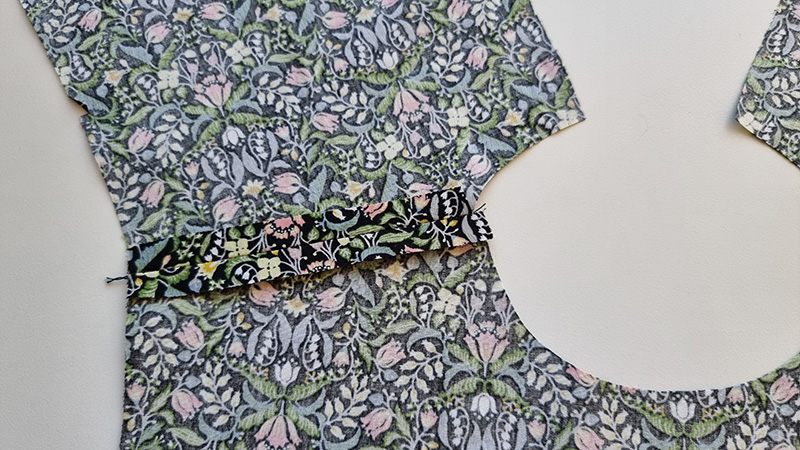
Step 11
Remove any visible gathering threads and press the front and back yoke seams well.
Step 12
Next pin the side seams right sides together from the underarm to the hem. Stitch closed, then overlock and press the seam allowance backward.
Step 13
Overlock the hem edge from the right side of the fabric.
Step 14
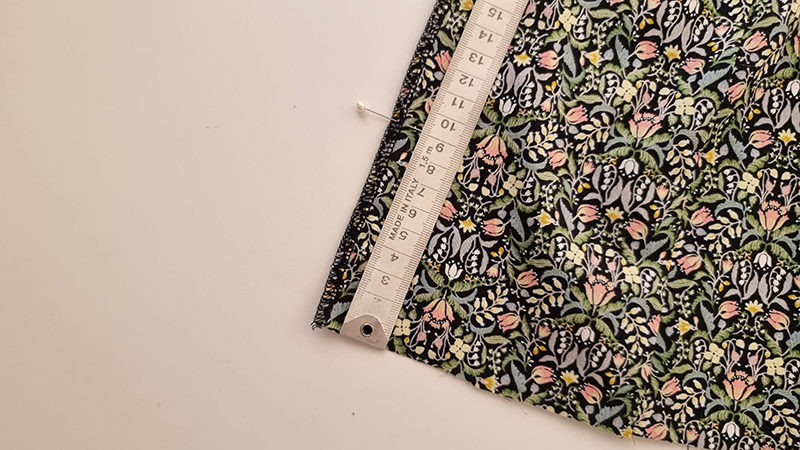
Fold the hem up 3cm and press, then stitch in place.
Step 15
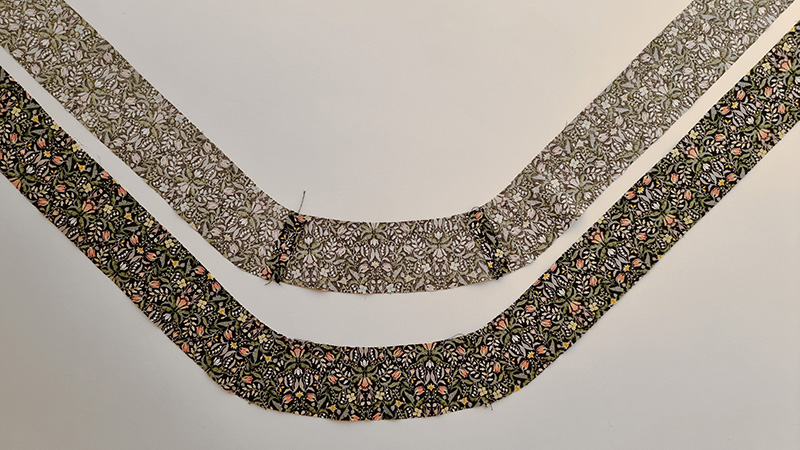
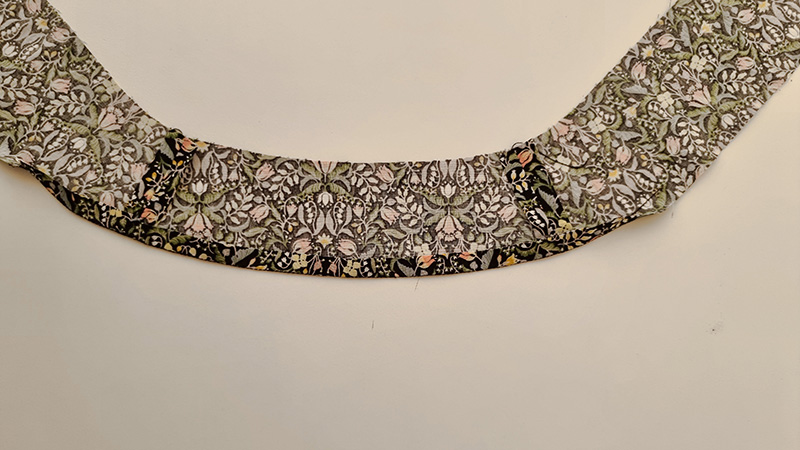
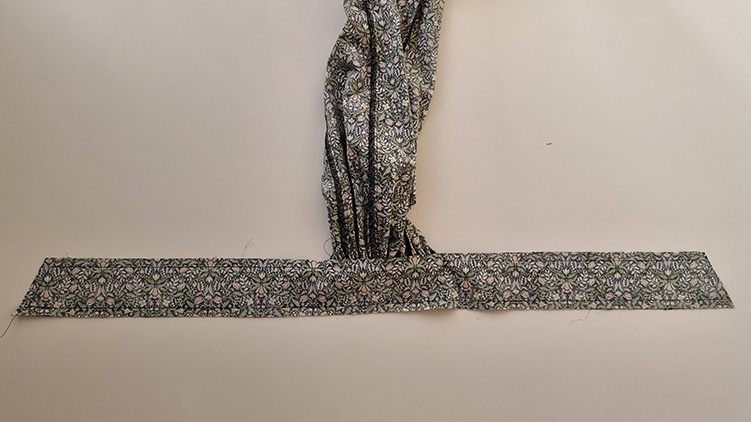
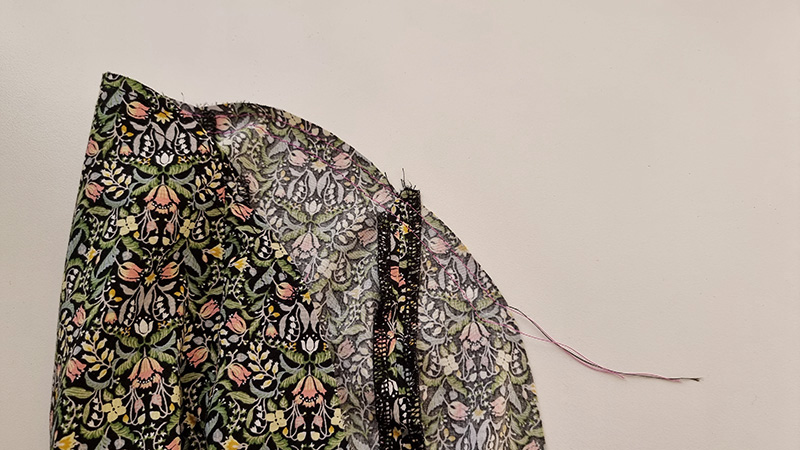
Moving onto the collar/neck tie – Take the front and back collar pieces, pin the right sides together at the side seam, stitch closed and press the seam allowance open. This will make 2 long collar pieces as shown below.
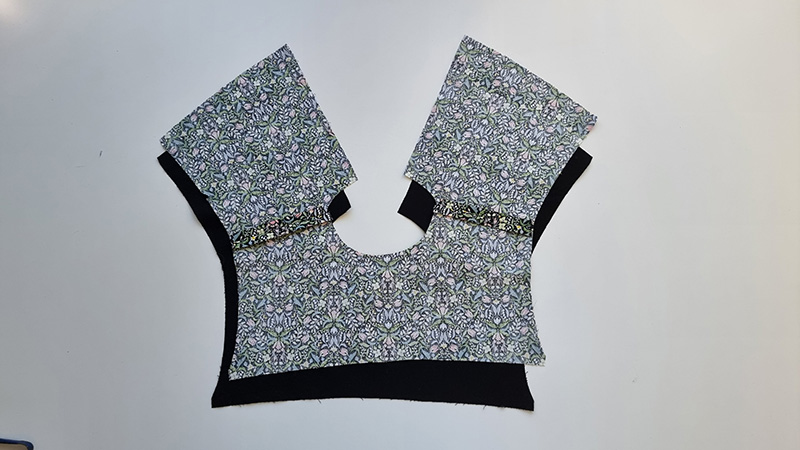
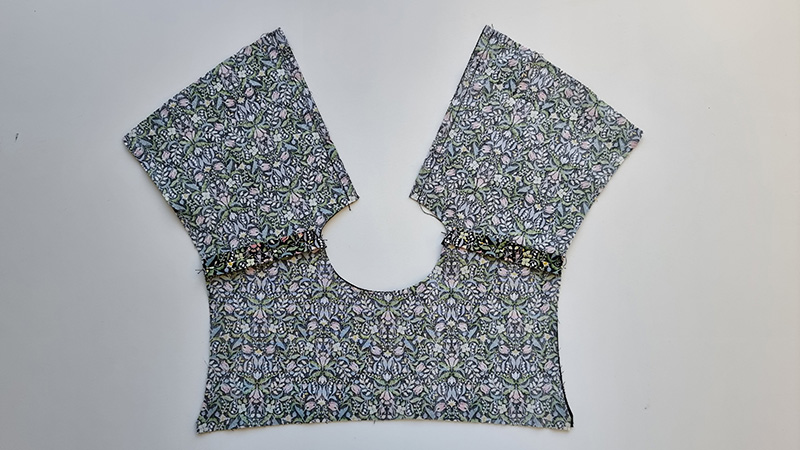
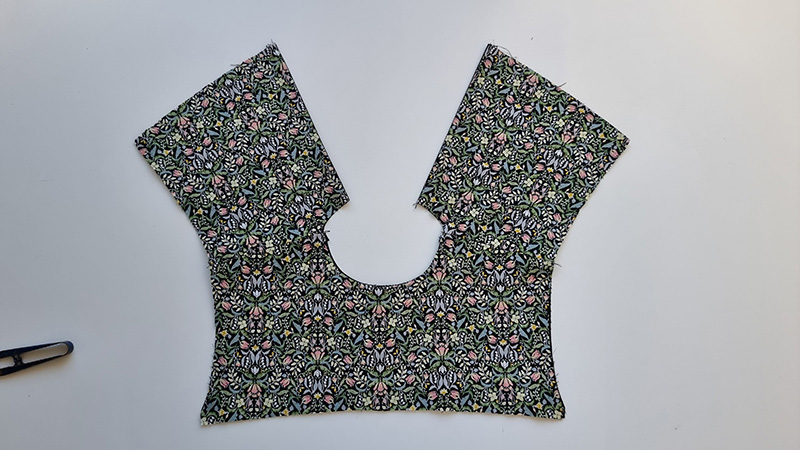
Step 16
Sew a stay stitch along the dress neck edge 8mm from the edge, then another along both of the collar pieces between the 2 CB neck notches (This will help to prevent the neck from stretching when you attach the collar)
Step 17
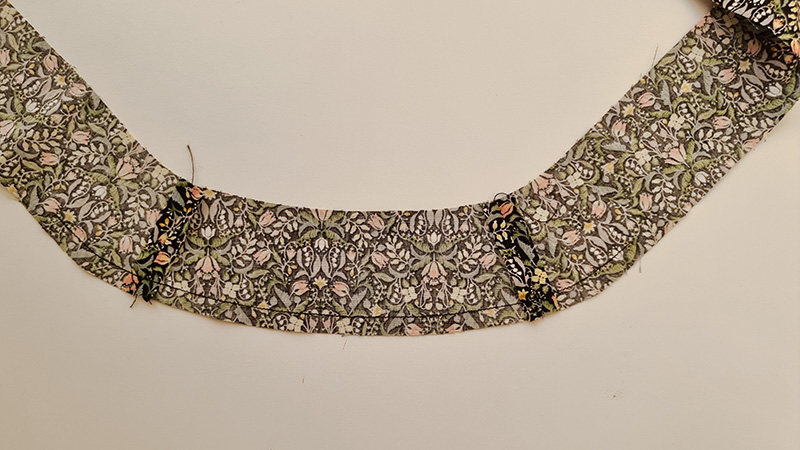
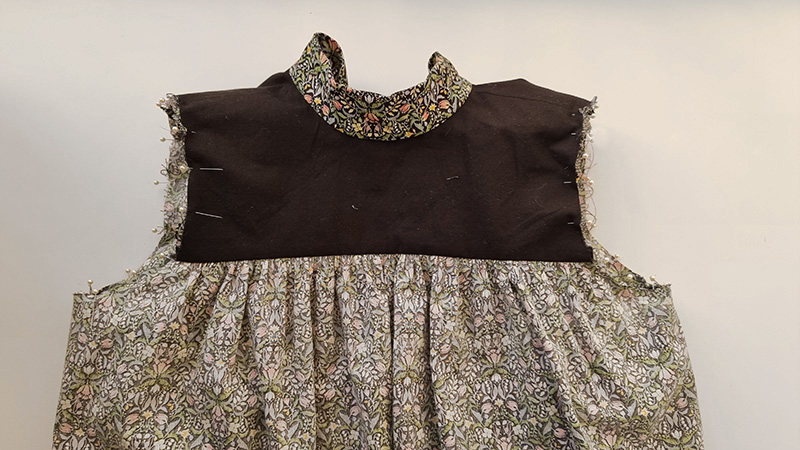
Then using the notches marked on the collar, pin one of the collar pieces to the dress neck edge.
NOTE: This step is not ‘right sides together’
Pin the right side of the collar to the inside (lining side) of the neck edge. Stitch closed.
Step 18
On the other collar piece, fold the seam allowance along the stay stitch line and press in place. (this will make step 21 easier)
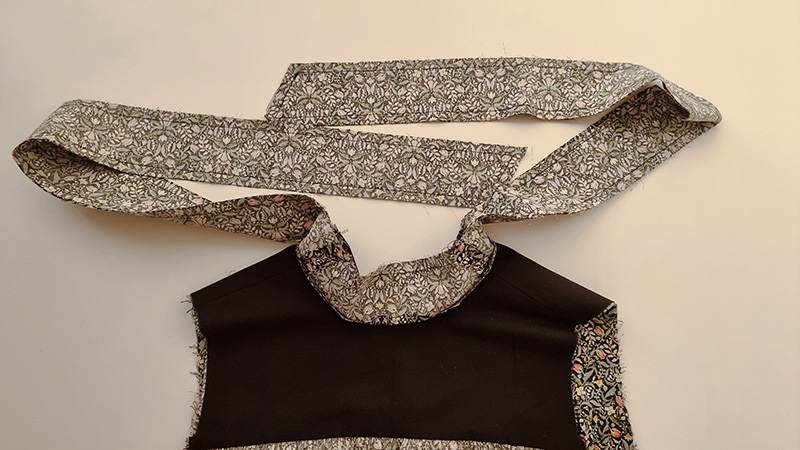
Step 19
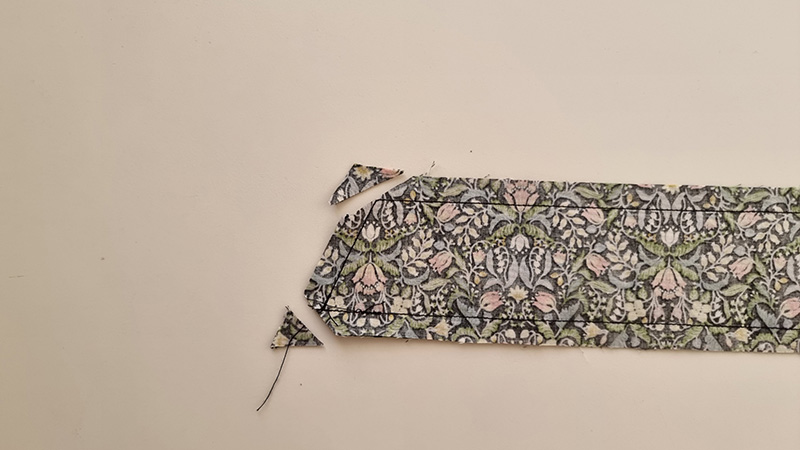
Then pin the collar pieces right sides together and stitch from the center back neck edge, to the tie end, along the top edge to the other tie end, and then back to the center back neck.
Step 20
Trim the corners of the ties and turn back through, use something sharp to ensure the points of the ties are nice and sharp. Press the ties well.
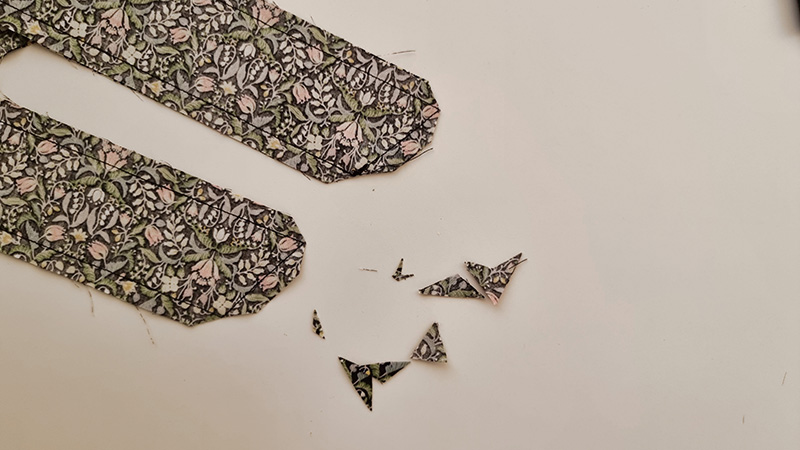
Beginner tip* Don’t skip clipping your corners, by clipping the corners the seams sit neatly inside and your corners will be neat and sharp instead of bulky.
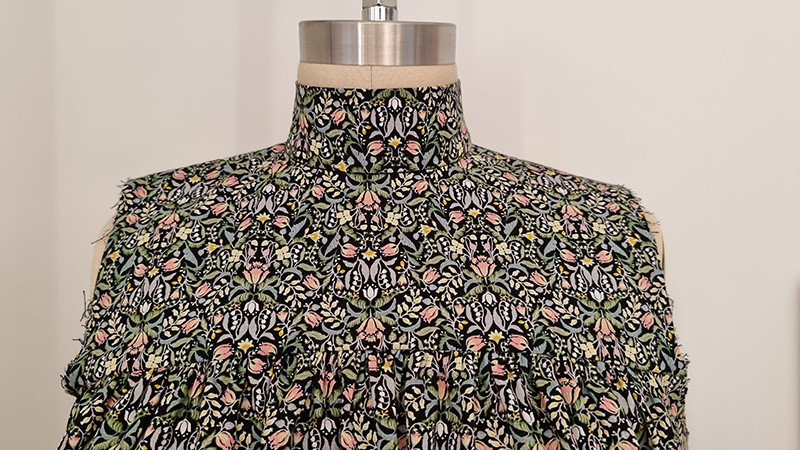
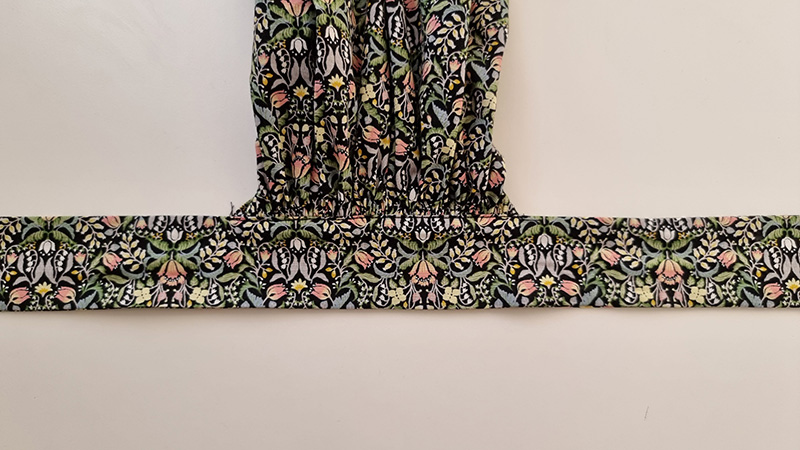
Step 21
Now the last of the collar can be pinned to the dress and either top stitched in place or sewn by hand if you prefer no top-stitching. The dress can now be set aside while the sleeves are prepared.
Step 22
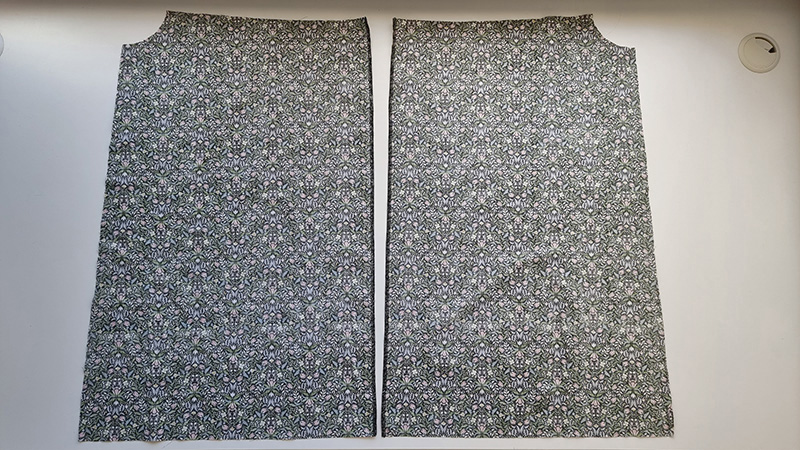
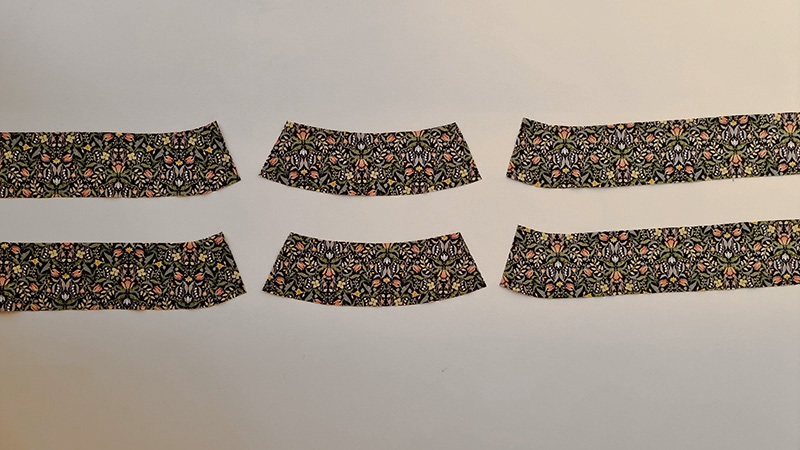
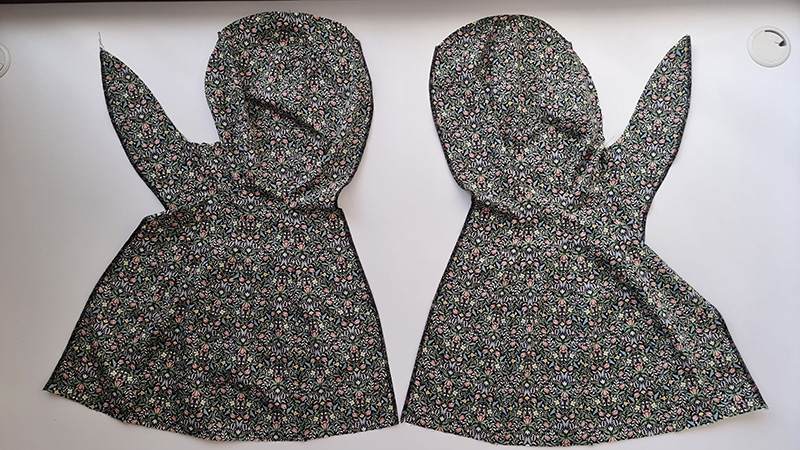
Moving onto the sleeves – Lay the sleeve panels down as shown below, pin right sides together and stitch closed, overlock and press well. Do not sew the ‘placket seam’ closed. (this is marked on the pattern if you are unsure)
Step 23
Overlock the edges of the ‘placket seam’ from the right side of the fabric. Then stitch closed from the top of the sleeve to the placket notch. Press the seam allowance open. Top stitch the placket opening (the same as you did at the center back neck in step 6)
Step 24
Then run 2 rows of gathering stitches at each sleeve hem.
Step 25
Pin one side of the right side sleeve tie to the wrong side of the sleeve hem. Using the notches on the sleeve tie, gather the sleeve hem to fit between these 2 notches. Stitch in place and repeat on the other sleeve.
Step 26
On the other tie piece, stitch a stay stitch between the same notches. Fold and press the seam allowance neatly.
Step 27
Then pin the tie pieces right sides together and stitch from the placket to the tie end, along the edge to the other tie end, and then back to the placket.
Step 28
Trim the corners of the ties and turn back through, use something sharp to ensure the points of the ties are nice and sharp. Press the ties well.
Step 29
Now the last of the tie can be pinned to the sleeve and either top stitched in place or sewn by hand if you prefer no top-stitching.
Step 30
The sleeves are now ready to insert into the armholes. Start by turning your dress inside out, while keeping the sleeves the right way.
Step 31
Run 2 rows of gathering stitches along each sleeve head between the 2 notches.
Step 32
Pin the sleeve into the armhole gathering the top of the sleeve head to match the armhole, once the gathers are evenly spread, pin and stitch the sleeve in place. Then overlock the seam allowance closed.
If you made the Alexandra Shift Dress, I’d love to see your creations, tag me on Instagram at @at_the_seams_patterns
x