Dresses, Sewing Tutorials
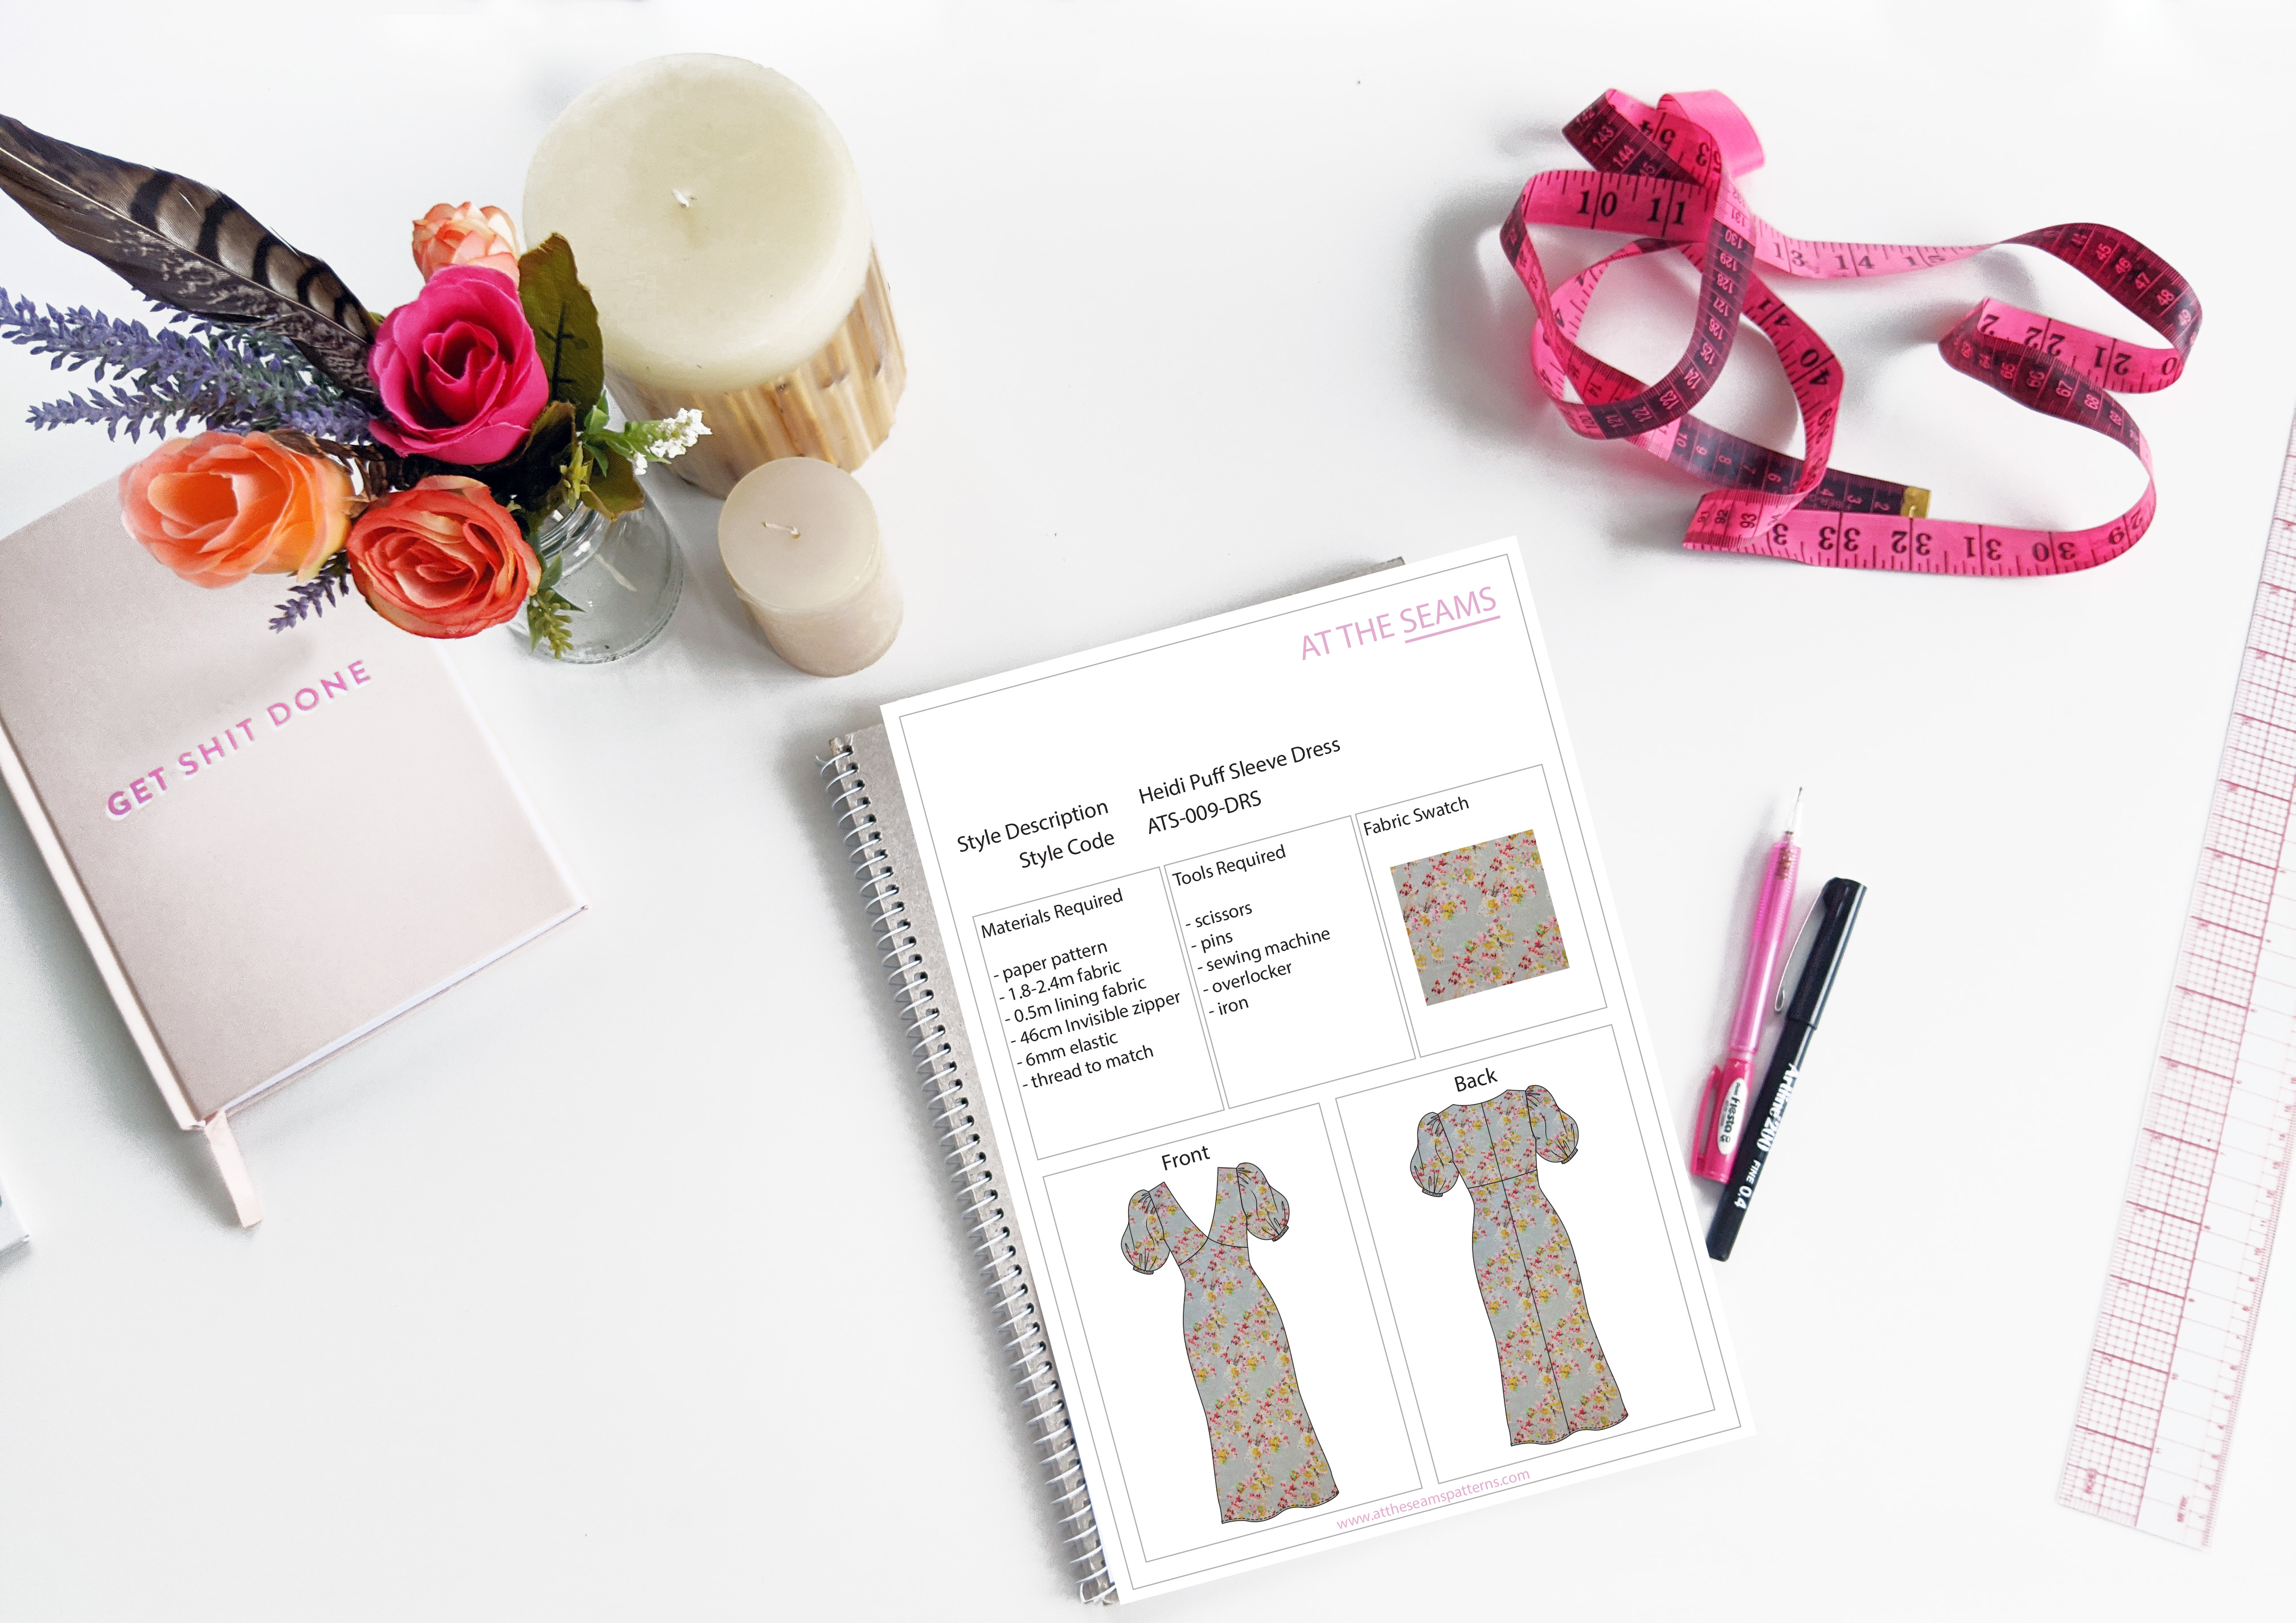
Sewing Tutorial: Heidi Puff Sleeve Dress
The Heidi Puff Sleeve Dress is a light mid-length summer dress that is perfect for summer picnics and dates.
The bodice is fully lined and bagged out at the neck edge with soft gathers under the bust. The sleeve is a set in gathered puffy sleeve with elastic on the hem. The skirt is unlined. The invisible back zipper is bagged out between the main and lining on the bodice. This dress is more of an intermediate to advanced sewer level.
The dress length is approximately 110cm (size 10) and is designed to be fitted at the bust and waist.
SEWING ABILITY
Advanced
Don’t be afraid to ask questions in the comments below if you need. I’m here to help. So let’s get started.
To begin you will need the following things
Materials
- Heidi Puff Sleeve Dress (size XS-5XL) paper pattern, or if you prefer to shop on Etsy
- Lining fabric
- 46cm Invisible zipper
- 6mm elastic
- cotton thread (enough to also thread your overlocker)
Tools
- scissors
- pins
- sewing machine with a regular and invisible zipper foot
- overlocker
- iron
Tips
- Ensure your fabric is washed, dried, and pressed before you start cutting. There is nothing worse than washing your beautiful garment and it shrinks, or even more annoying the lining shrinks and the main doesn’t so it’s all pulled out and shape and is unwearable.
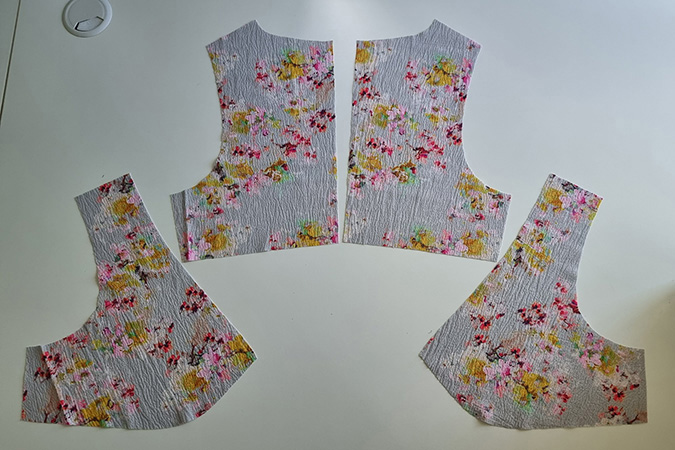
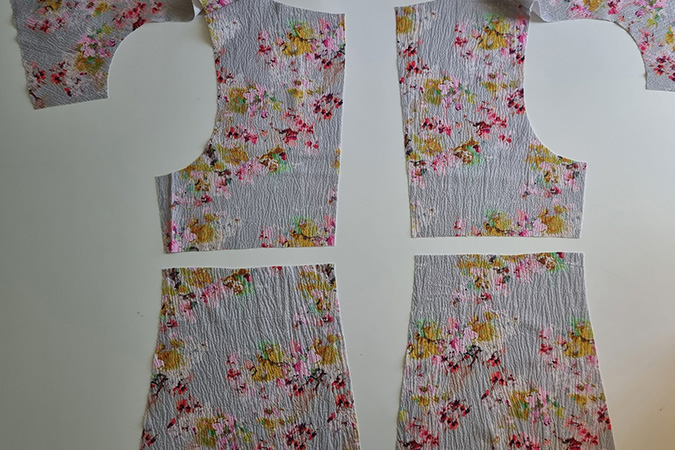
Step 1
Cut all main and lining pieces accurately on the correct grain, ensuring all notches are clipped. Please note all seam allowance is marked on the pattern.
Beginner tip* If you can afford to purchase a rotary cutter and cutting mat, I find this more accurate and time-efficient.
Step 2
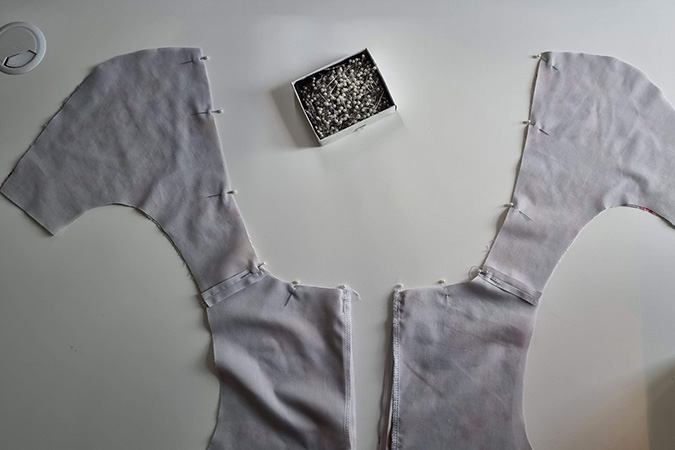
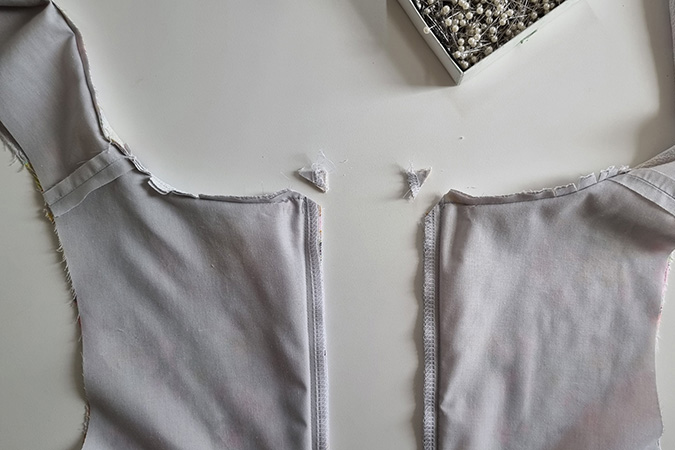
Take the front and back bodice in main fabric and pin right sides together at each shoulder, stitch closed and press the seam open.
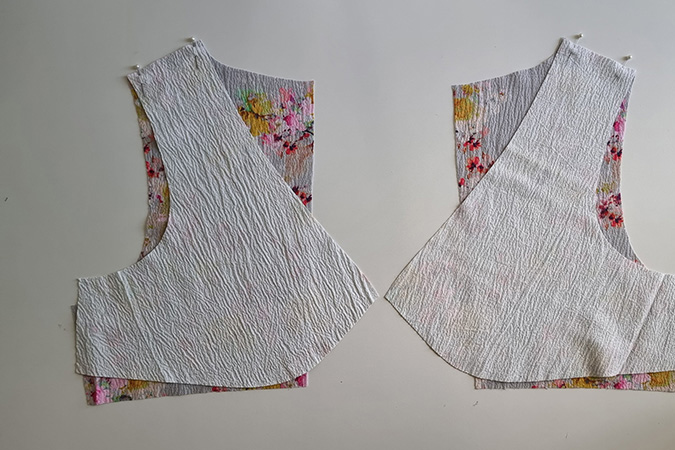
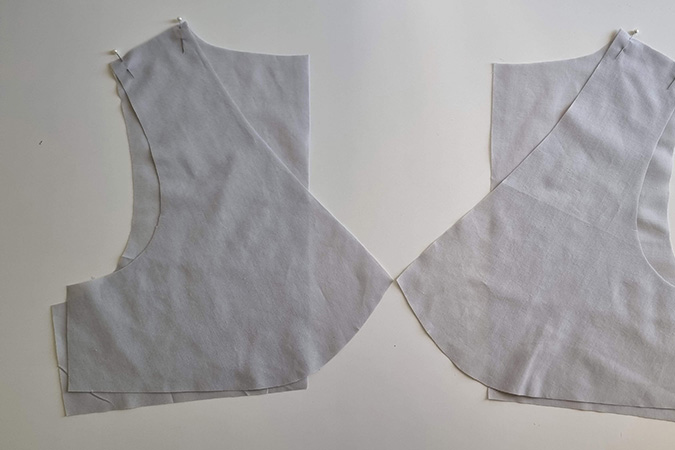
Step 3
Repeat step 2 on the lining pieces.
Step 4
Then take the back skirt and pin to the back bodice (main fabric) at the waist seam right sides together, stitch, then overlock closed, press seam up.
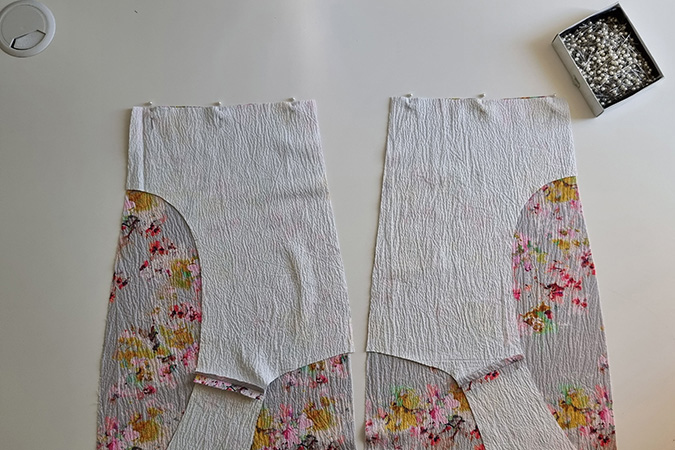

Step 5
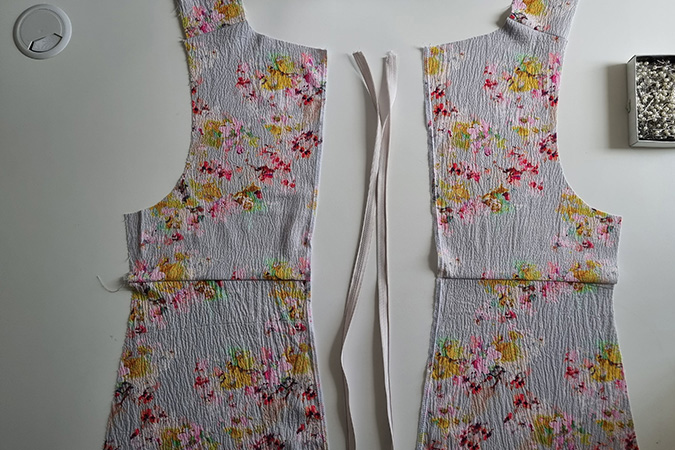
Overlock the center back edge of each side of the dress from the right side.
Step 6
Repeat step 6 on the back bodice lining. Also, overlock the bottom edge of the back bodice lining pieces.
Step 7
Then overlock the bottom edge of the front skirt facing from the right side.
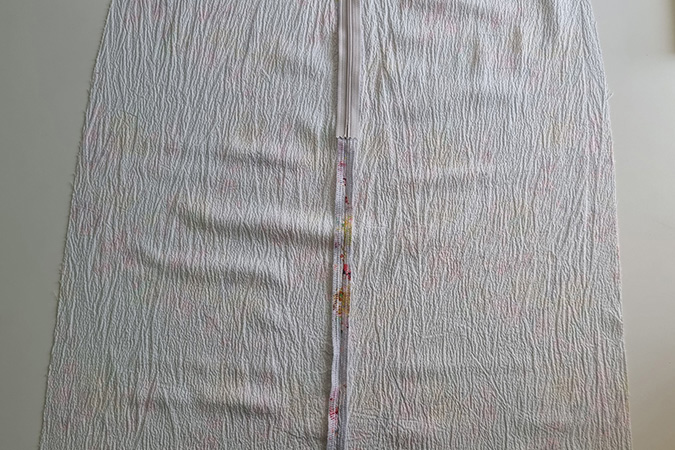
Step 8
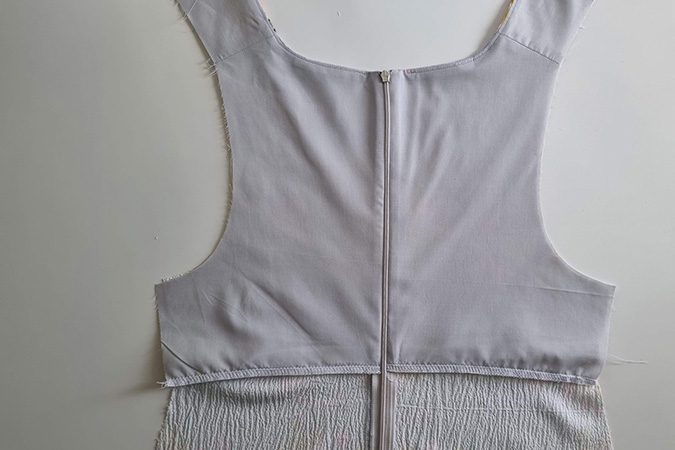
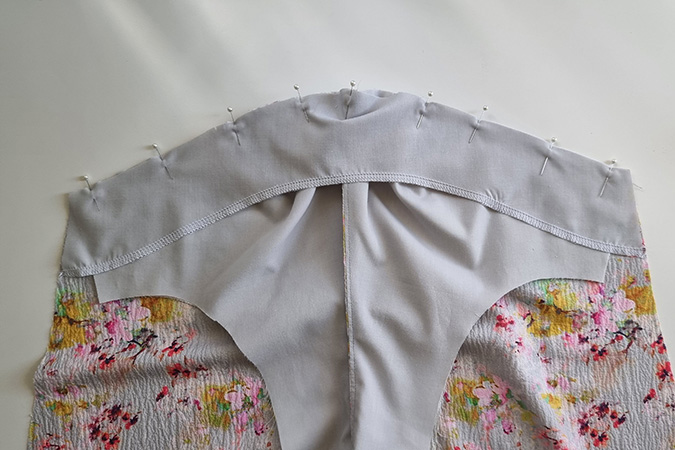
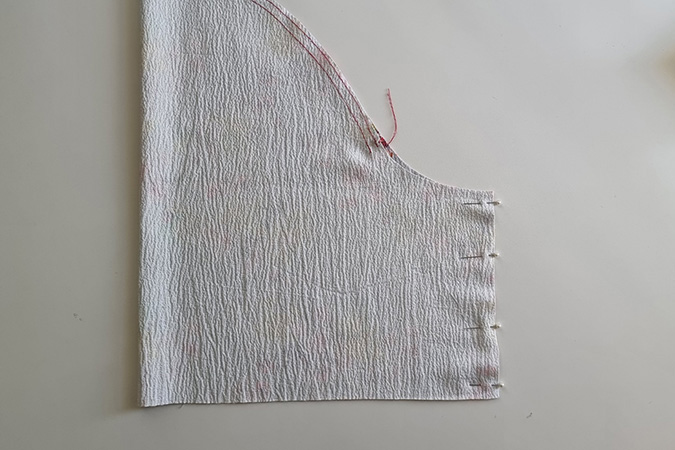
Prepare your invisible zipper for sewing by pressing it open. Then pin to the main fabric of the back bodice and stitch to secure using an invisible zipper foot. Ensure your waist seam lines up on each side of the zipper.

Step 9
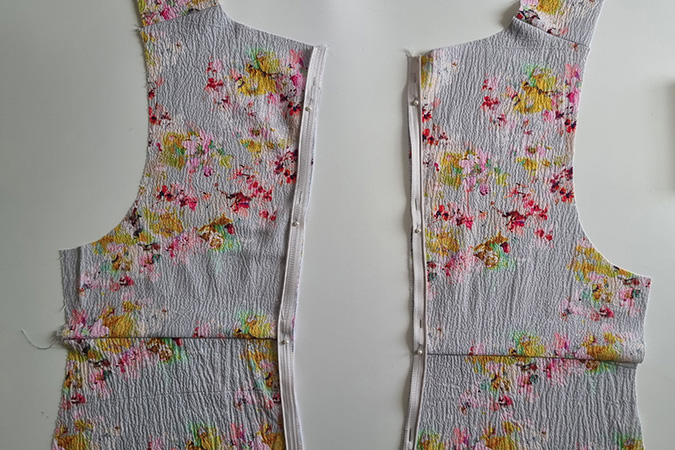
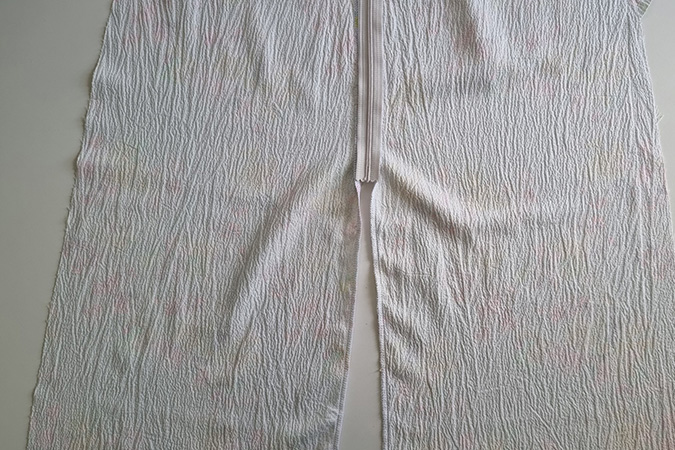
Sew the center back seam closed from the hem to the bottom of the zipper, then press seam open.
If you need extra help sewing the invisible zipper, there is a more in-depth tutorial here.
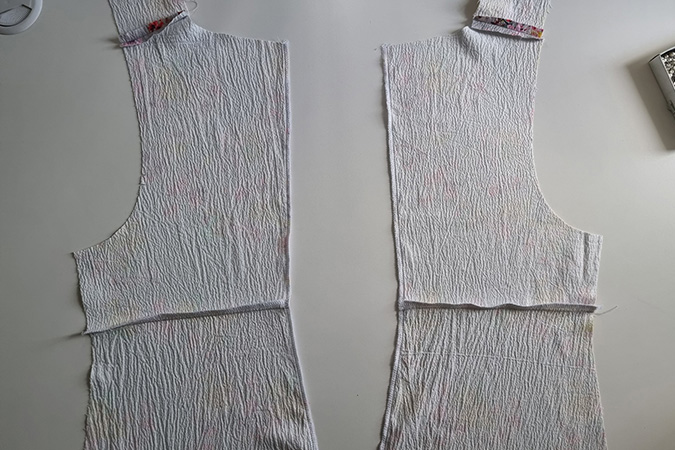
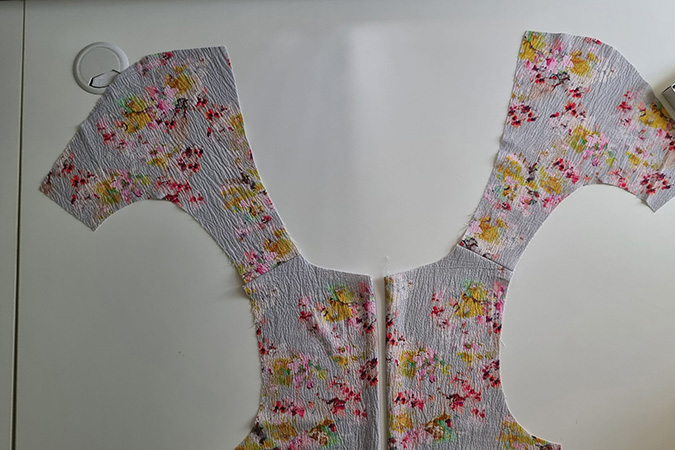
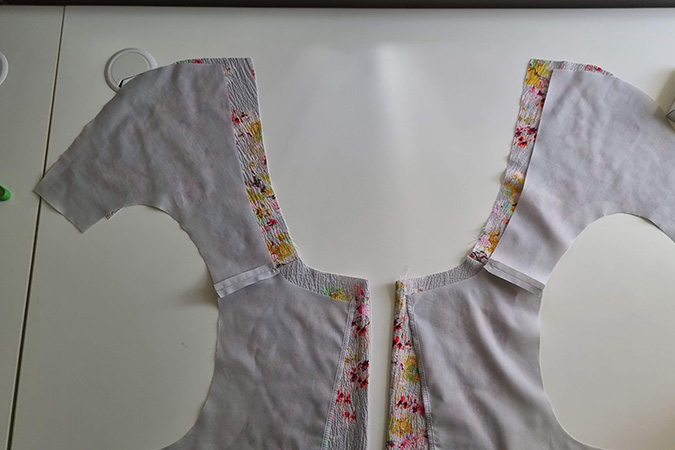
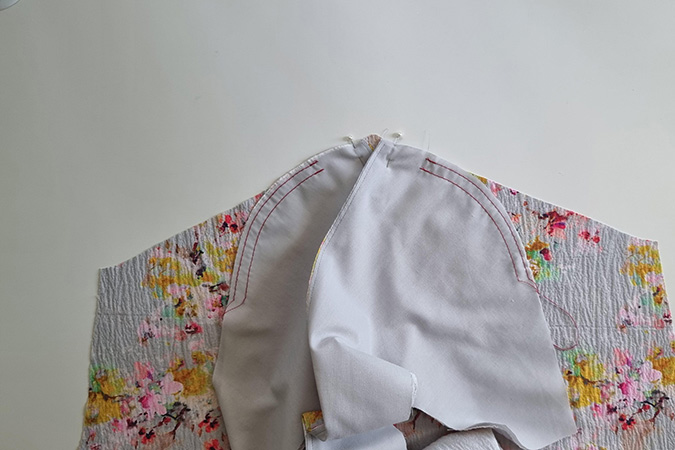
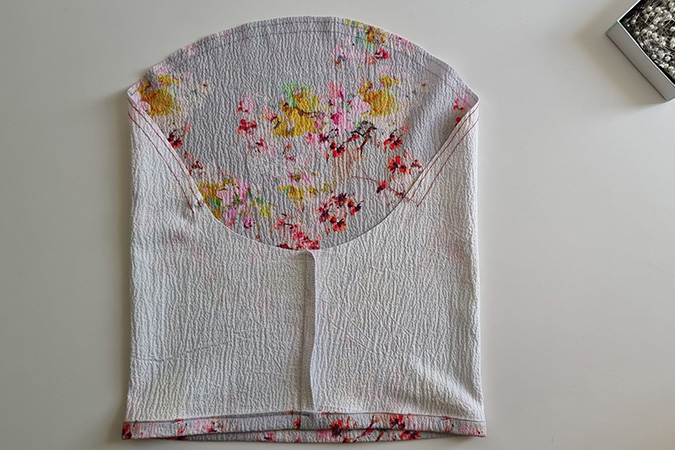
Step 10
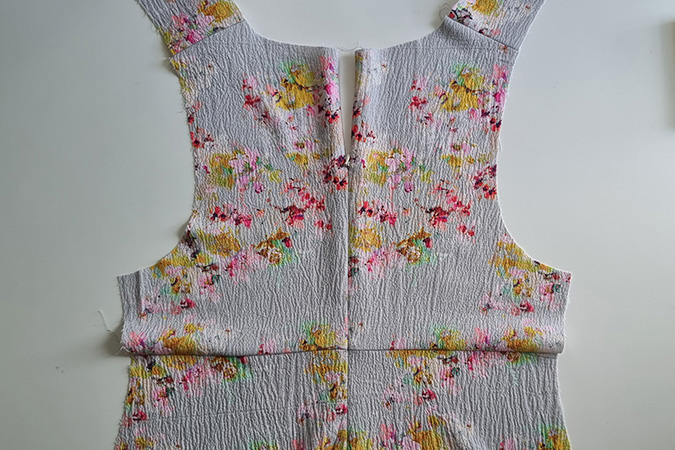
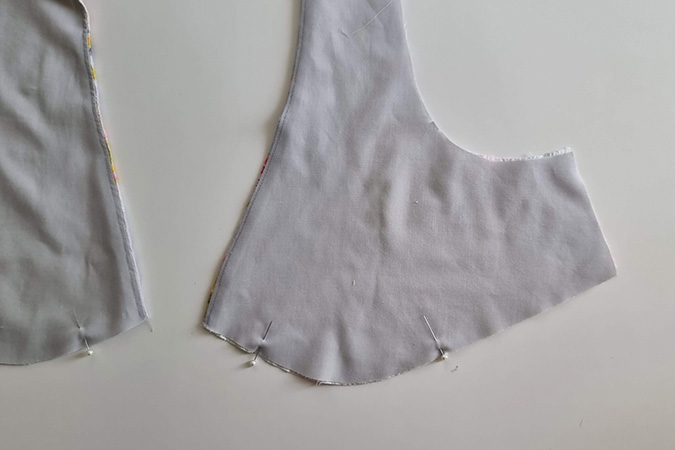
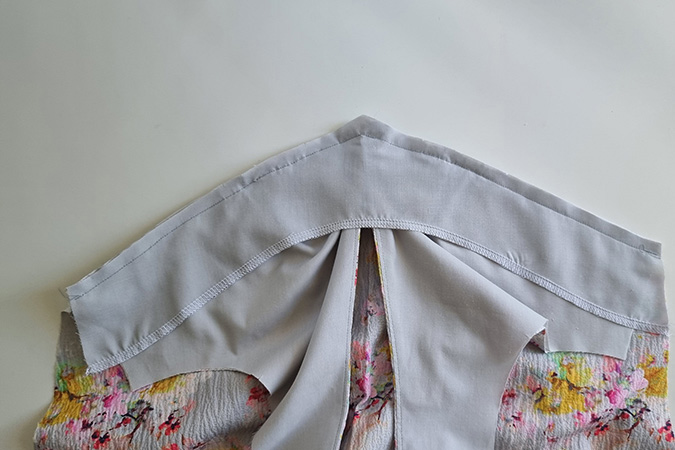
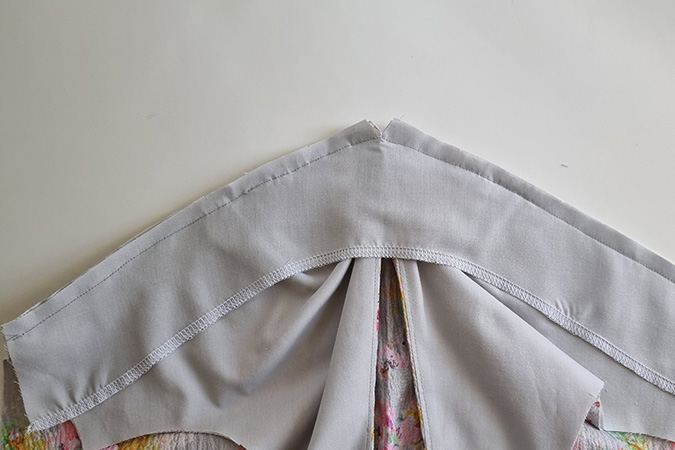
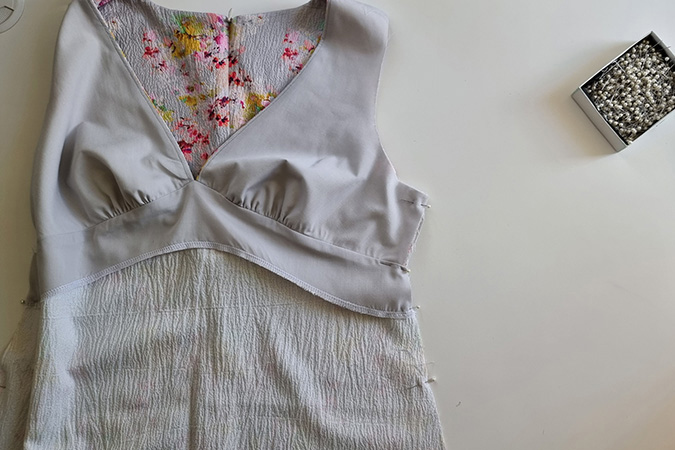
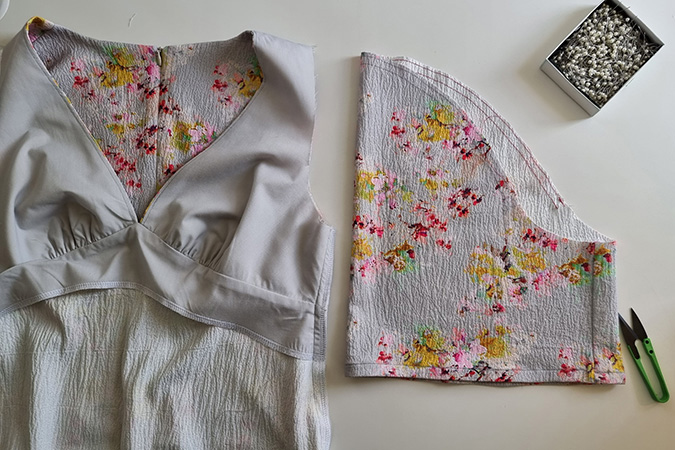
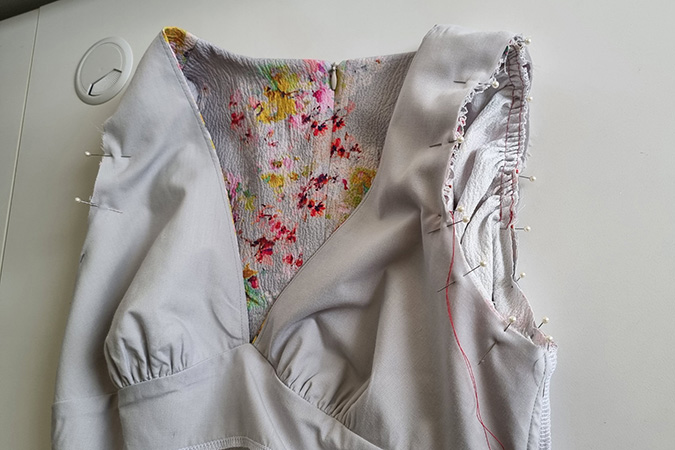
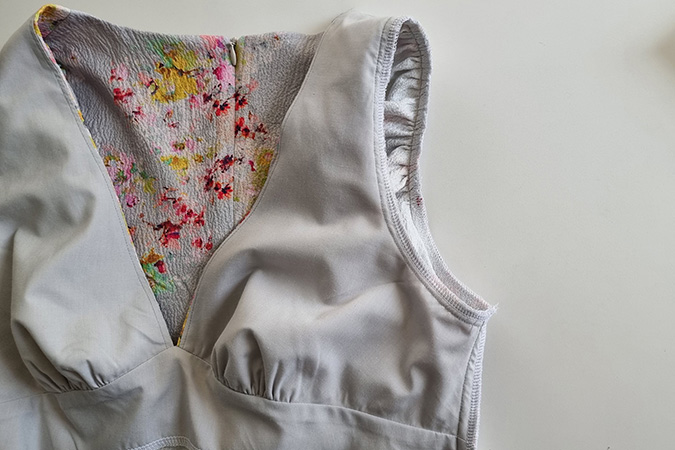
Next take the main and lining and place right sides together, pin from the CF neck to the CB neck. Stitch closed then clip the curves. Turn through and press. Pin stitch seam allowance to lining if desired.
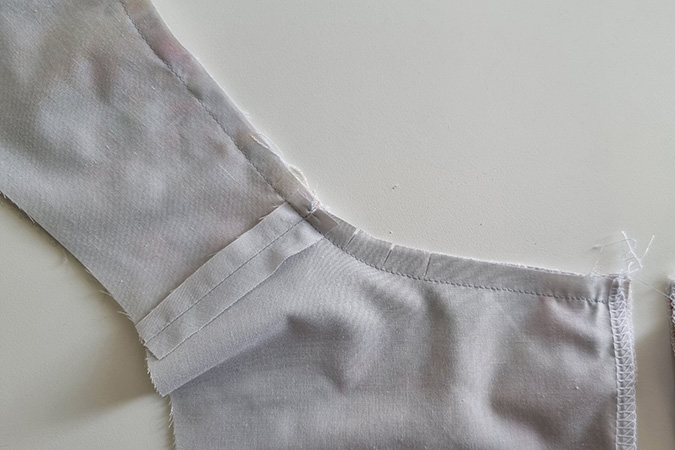
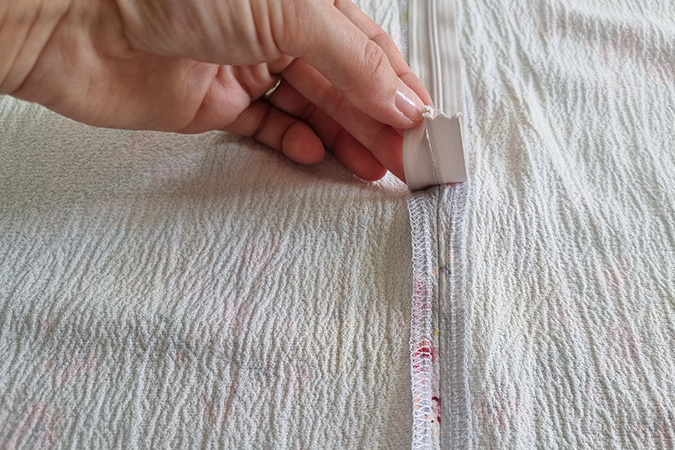
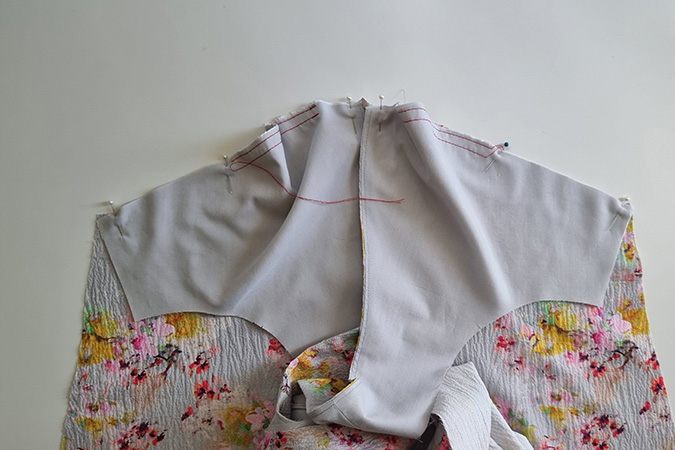
Step 11
Turn back inside out after pressing, and pin and stitch the lining to the zipper. Clip the seam allowance at the top of the zipper
Once done, and the garment is turned through the zipper will be bagged out between the main and lining on the bodice showing no raw edges or zipper tape.
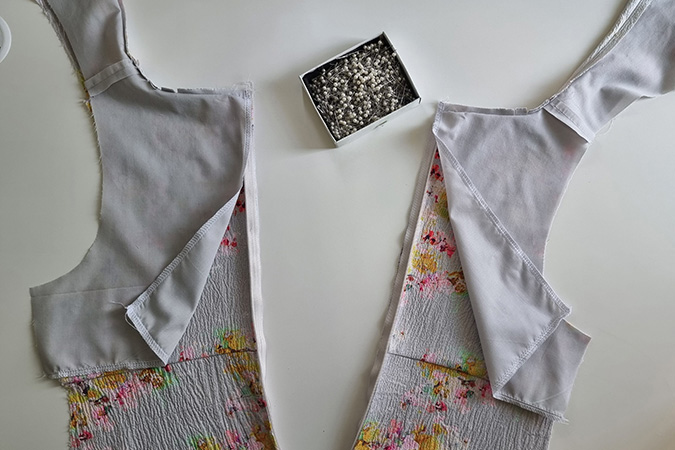
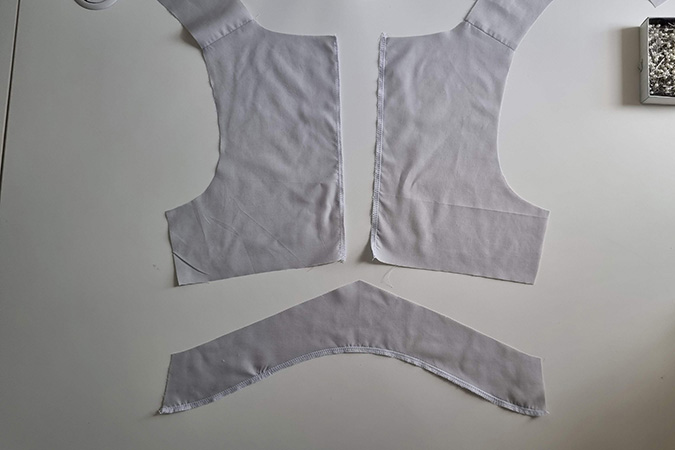
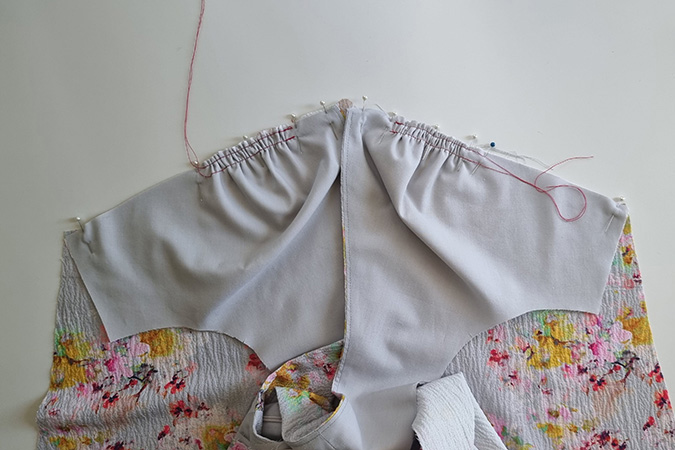
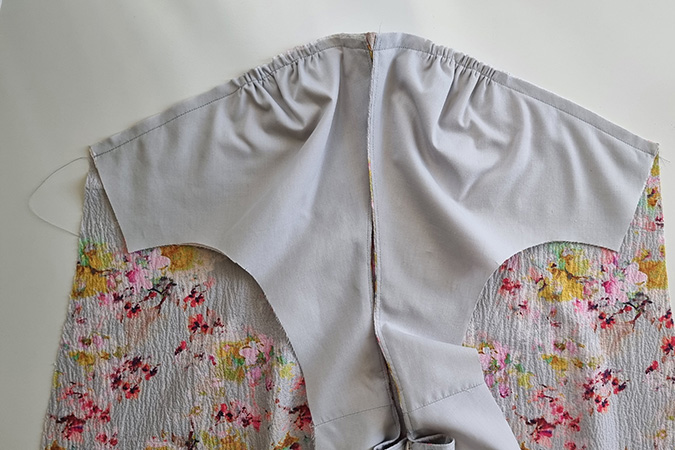
Step 12
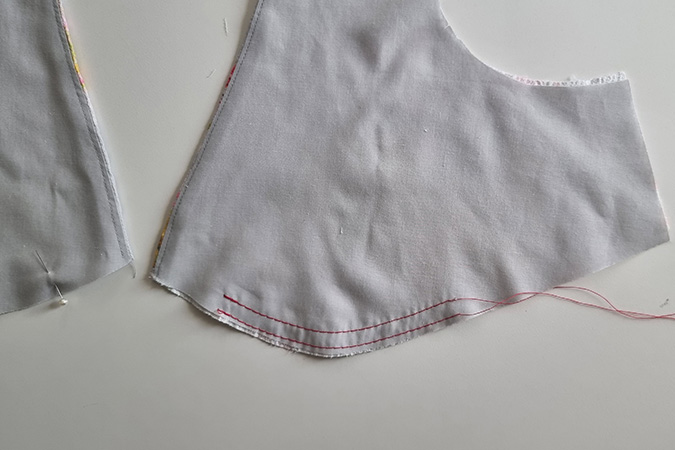
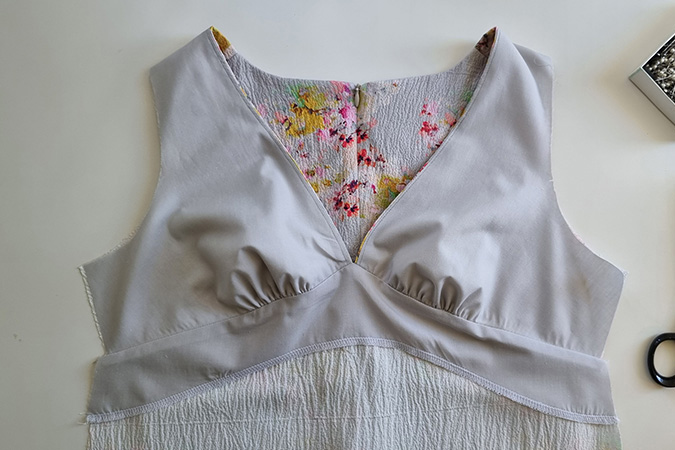
Next, run a gather stitch between the notches on the front bodice, (stitch the main and lining together)
Step 13
To attach the front bodice to the skirt, pin the bodice and skirt right side together at the underbust, ensure that the bodice is gathered to fit the notches on the skirt waist. Then pin the facing to the seam so that the skirt main and skirt facing are right side together with the bodice sand-witched in between.
Stitch closed and press well. Remove gather stitch from step 13.
If you need extra help with gathering, please see the more in-depth gathering tutorial here.

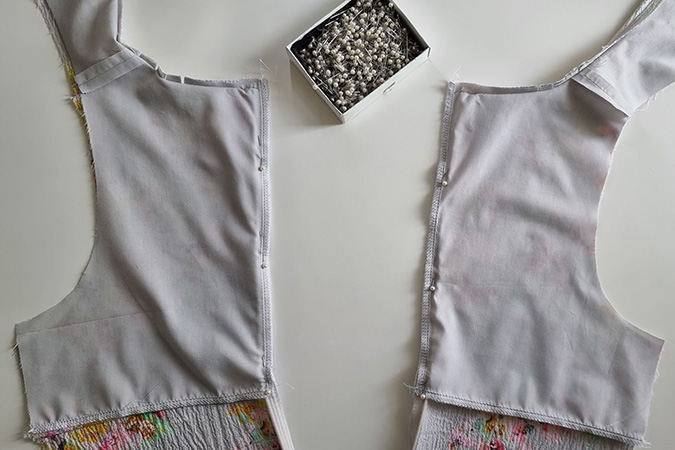
Step 14
Turn the garment inside out and pin the side seams right sides together. Stitch closed from the underarm to the hem, overlock and press seams back.
Step 15
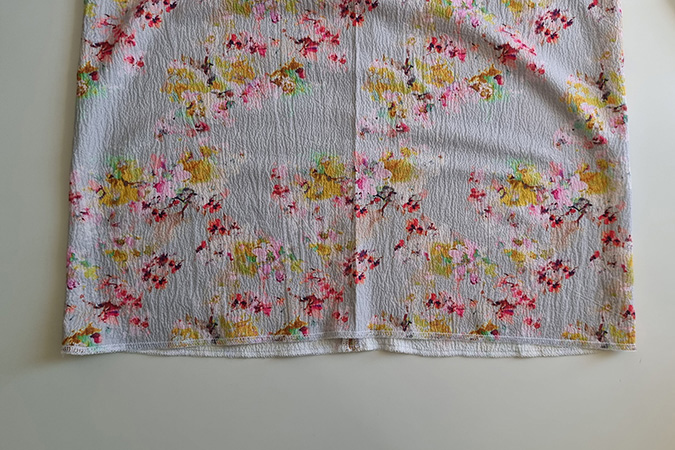
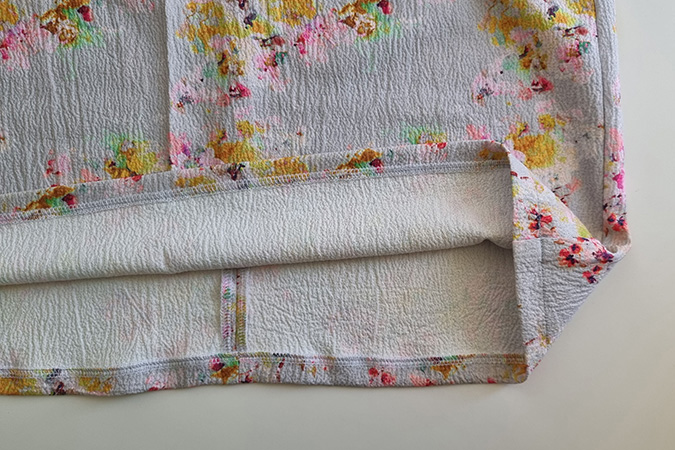
Overlock the hem of the skirt from the right side.
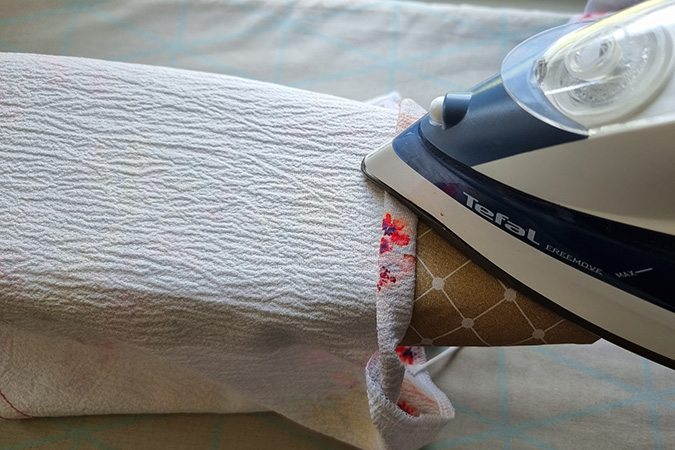
Step 16
Using your iron, fold the hem over twice and press. Continue until the whole hem is done, then stitch down with a standard straight stitch.
Step 17
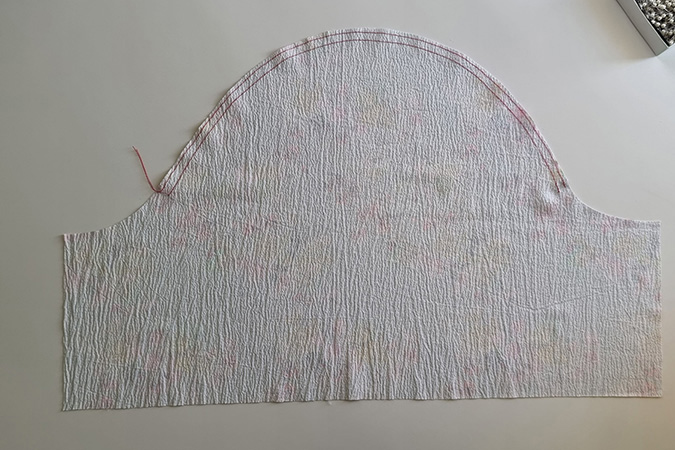
Next, run a gather stitch between the notches on the sleeve head.
Step 18
Then, pin sleeve inseams right sides together, stitch, then overlock closed. Press seam allowance back.
Step 19
To make the sleeve hem elastic casing – Overlock the hem of the sleeve from the right side of the fabric, then using your iron, fold the hem over twice and press. Continue until the whole hem is done, then stitch down with a standard straight stitch, leave a small 1cm gap in the stitching. Repeat on both sleeves.
Step 20
Cut your sleeve hem elastic to length and thread through the hem allowance. Once threaded through, sew the ends of the elastic together and let it fall back into the casing. Slide the fabric along the elastic until the gathers are evenly spread. Repeat on both sleeves.
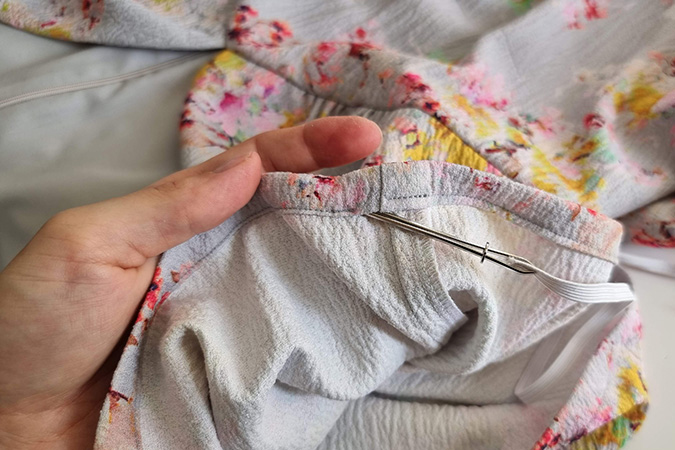
Step 21
The sleeves are now ready to insert into the armhole. (If using a light weight fabric also run a stay stitch around the armhole of the dress. This is to prevent the armhole from stretching.)
Step 22
Turn the dress inside out and keep the sleeve the right way. Insert the sleeve into the dress and pin together at the underarm, shoulder seam and front and back notches. Then using the gathering thread, gather the sleeve to fit it to the armhole. Pin in place. Repeat on other sleeve.
Step 23
Sew the seam closed from the sleeve side of the garment, this is so you can ensure that the gathers are evenly spread as you sew. Then overlock the seam closed. Press the seam allowance towards the sleeve.
Step 24
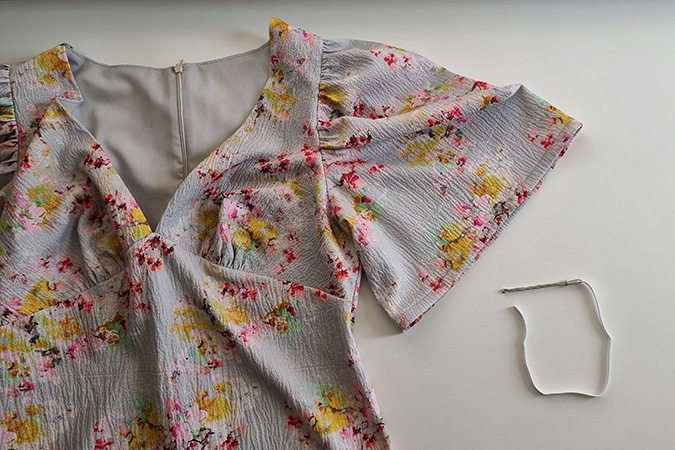
The final step is to attach the lining to the dress at the back waist seam. This can be done by machine stitching in the ditch of the seam.
Your Heidi Puff Sleeve Dress is now complete. How did you go? Let me know in the comments below if you needed extra help.
I’d love to see your creations, either drop an image in the comments below or tag me on Instagram at @at_the_seams_patterns
x