Sewing Tutorials, Shorts
Sewing Tutorial: Camilla Relaxed Short
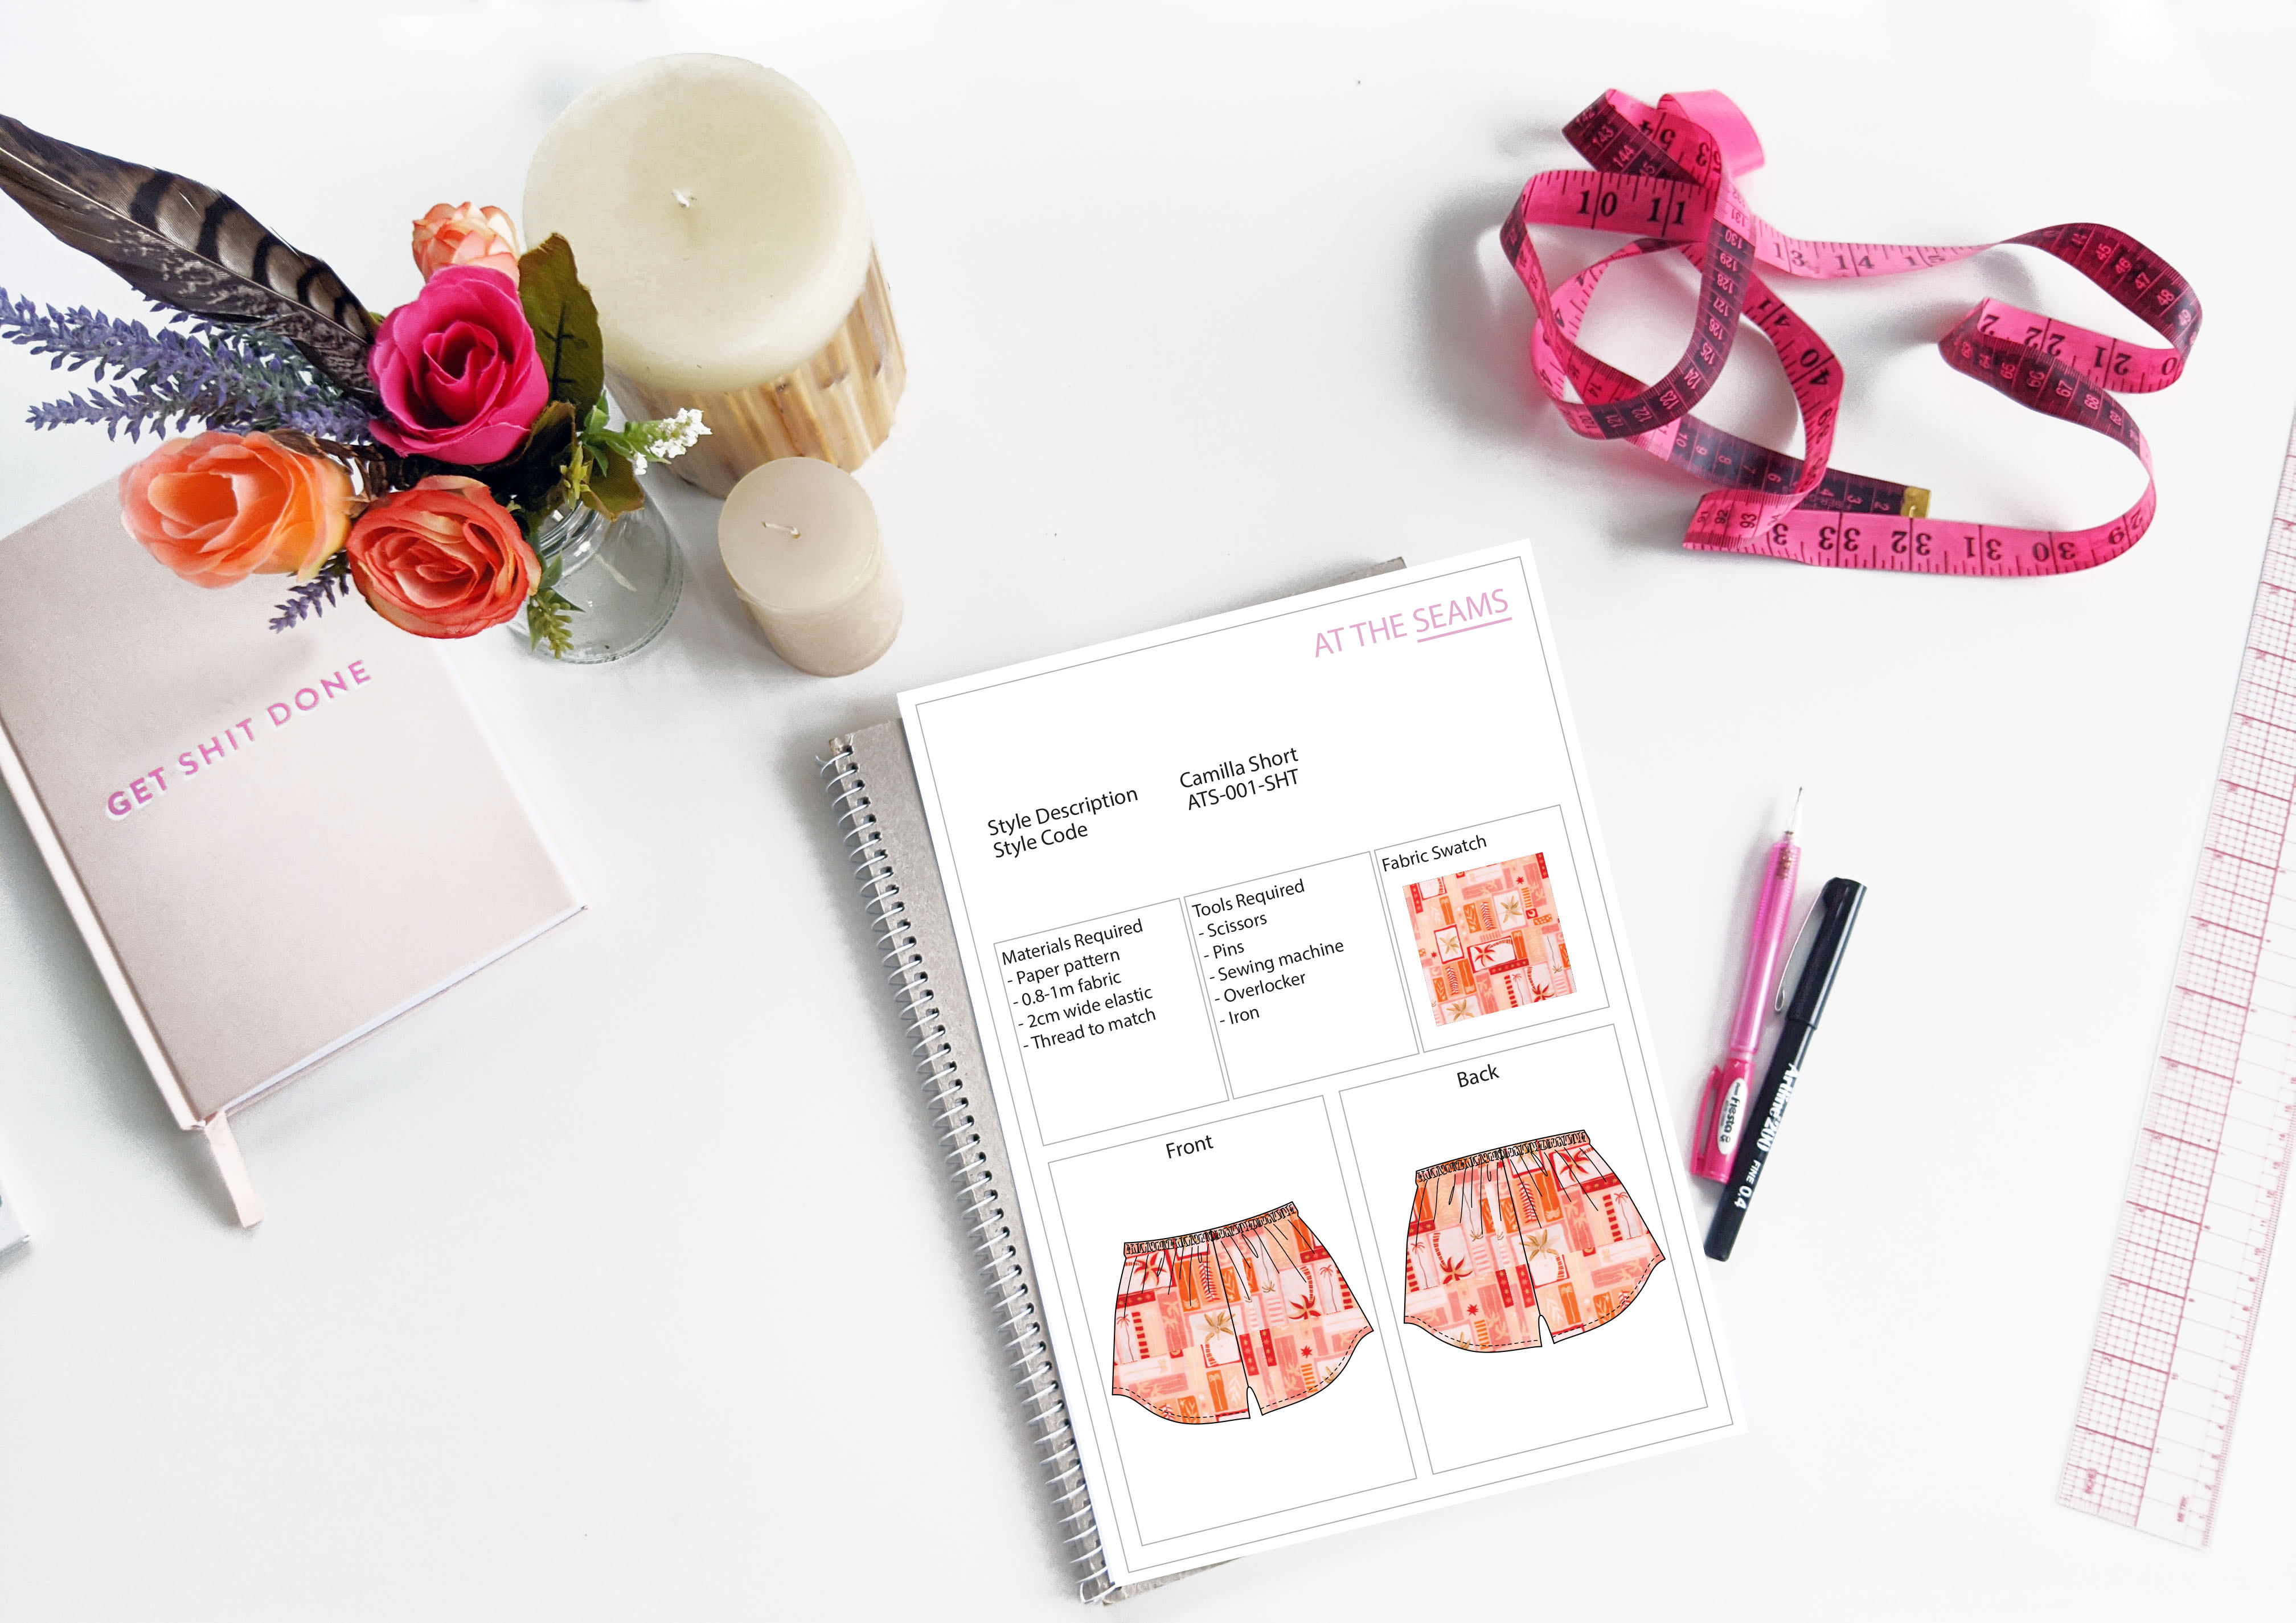
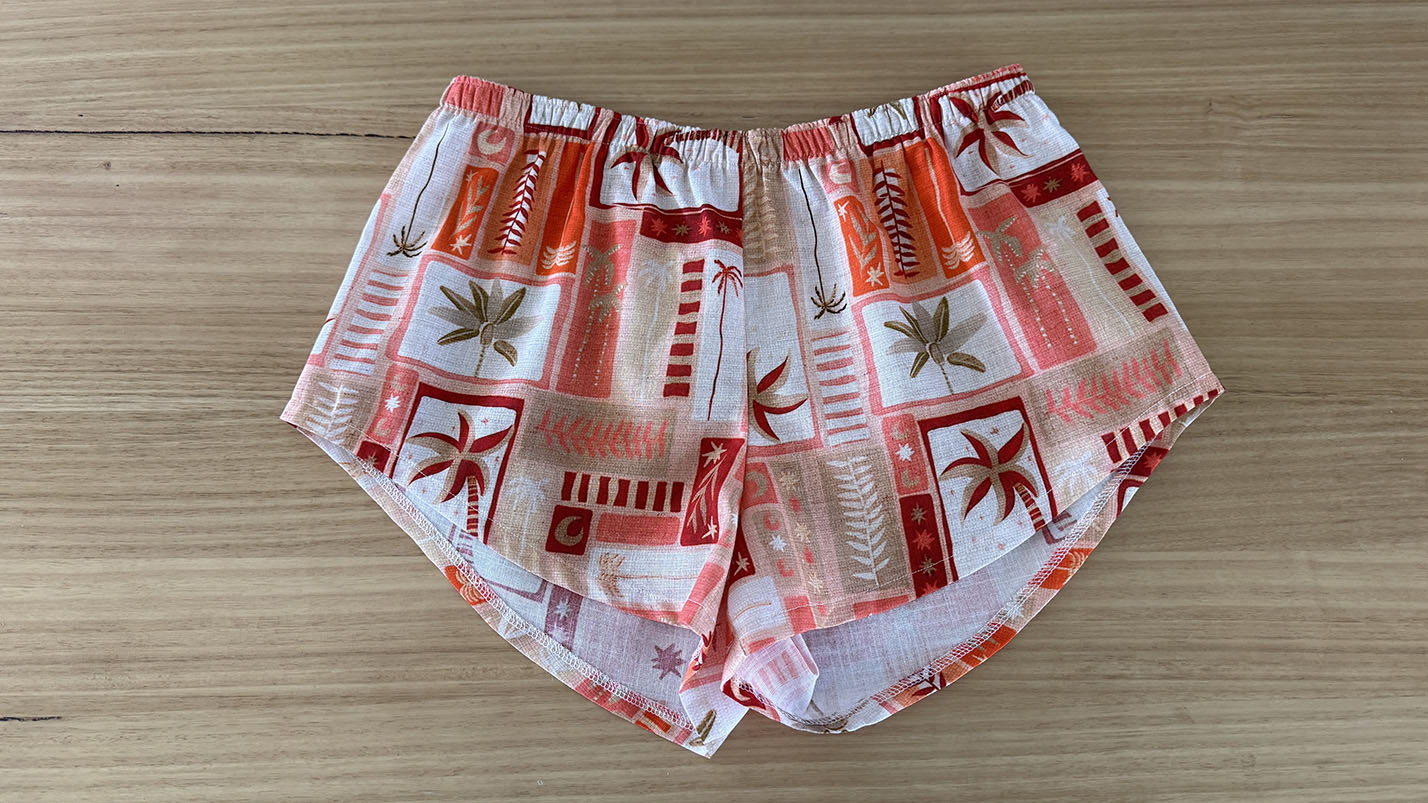
The Camilla Relaxed Short is a versatile wardrobe basic with endless styling potential. A perfect project for beginner seamstresses. It can be made as lightweight summer beach shorts or cosy summer PJ shorts, depending on your fabric choice.
The elasticated waistband offers an easy, pull-on fit with plenty of comfort, making these shorts ideal for everyday wear or lounging. A gently shaped hem adds a flattering finish to the leg while keeping the overall construction straightforward and achievable for confident beginners.
SEWING ABILITY – Beginner
To begin, you will need the following things:
Materials
- The Camilla Relaxed Short paper pattern, or if you prefer to shop on Etsy
- 0.8-1.2m fabric
- 2cm wide elastic (length on page 6 of the booklet provided)
- cotton thread (enough to also thread your overlocker)
Tools
- scissors
- pins
- sewing machine with a standard foot
- overlocker
- iron
Fabric Requirements
The Camilla Relaxed Short works best in almost any light-weight fabric, (cotton, linen, silk, viscose, polyester, or blends) however, take care to ensure the fabric is not too sheer as this short does not have lining.
Tips
- Ensure your fabric is washed, dried, and pressed before you start cutting. There is nothing worse than washing your beautiful garment, and it shrinks.
If you prefer video instructions – please head over to youtube.
Sewing Instructions
Step 1
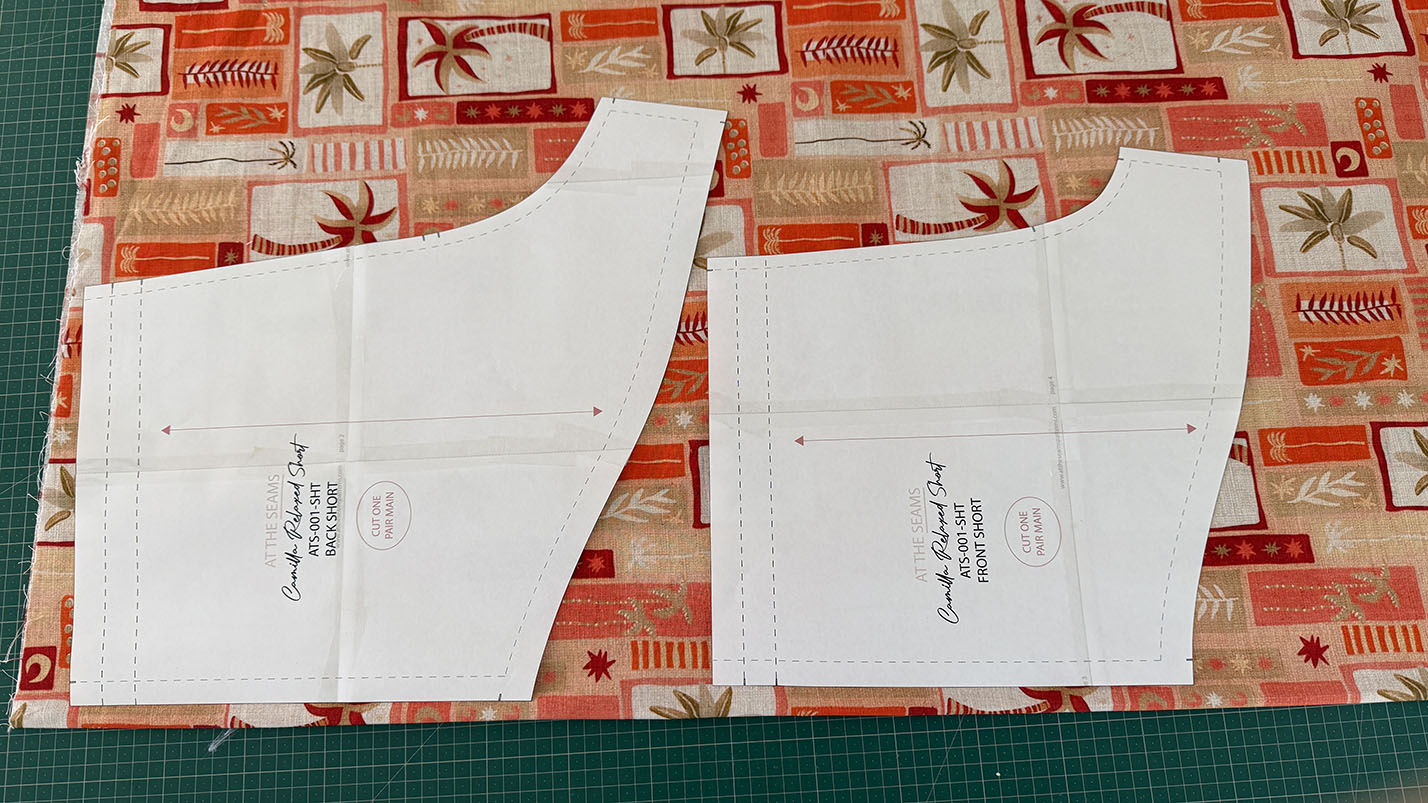
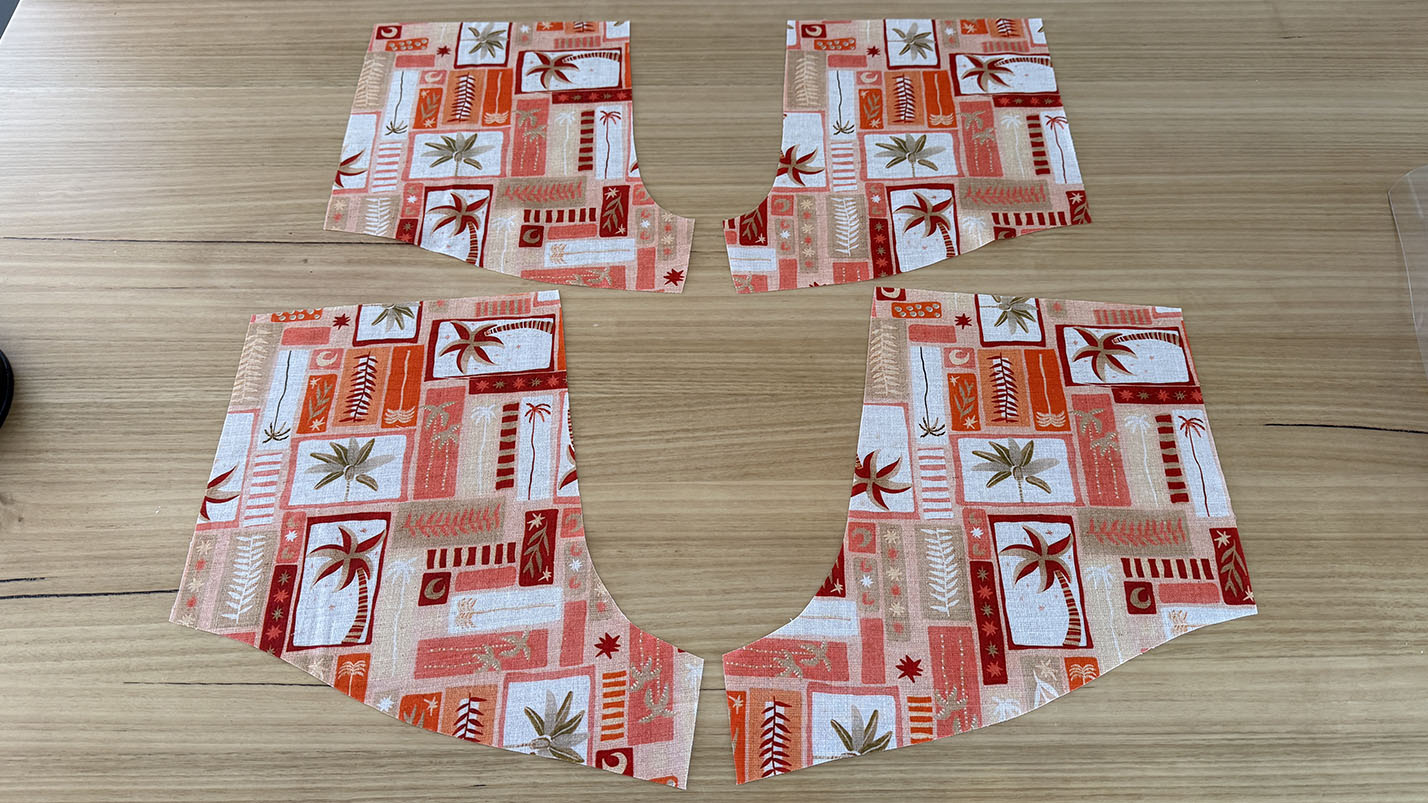
Cut all main and lining pieces accurately on the correct grain, ensuring all notches are clipped. Please
note that the seam allowance is marked on the pattern and is listed on page 2 of the booklet provided.
Beginner tip* If you can afford to purchase a rotary cutter and cutting mat, I find this more accurate and time-efficient.
SHORTS
Step 2
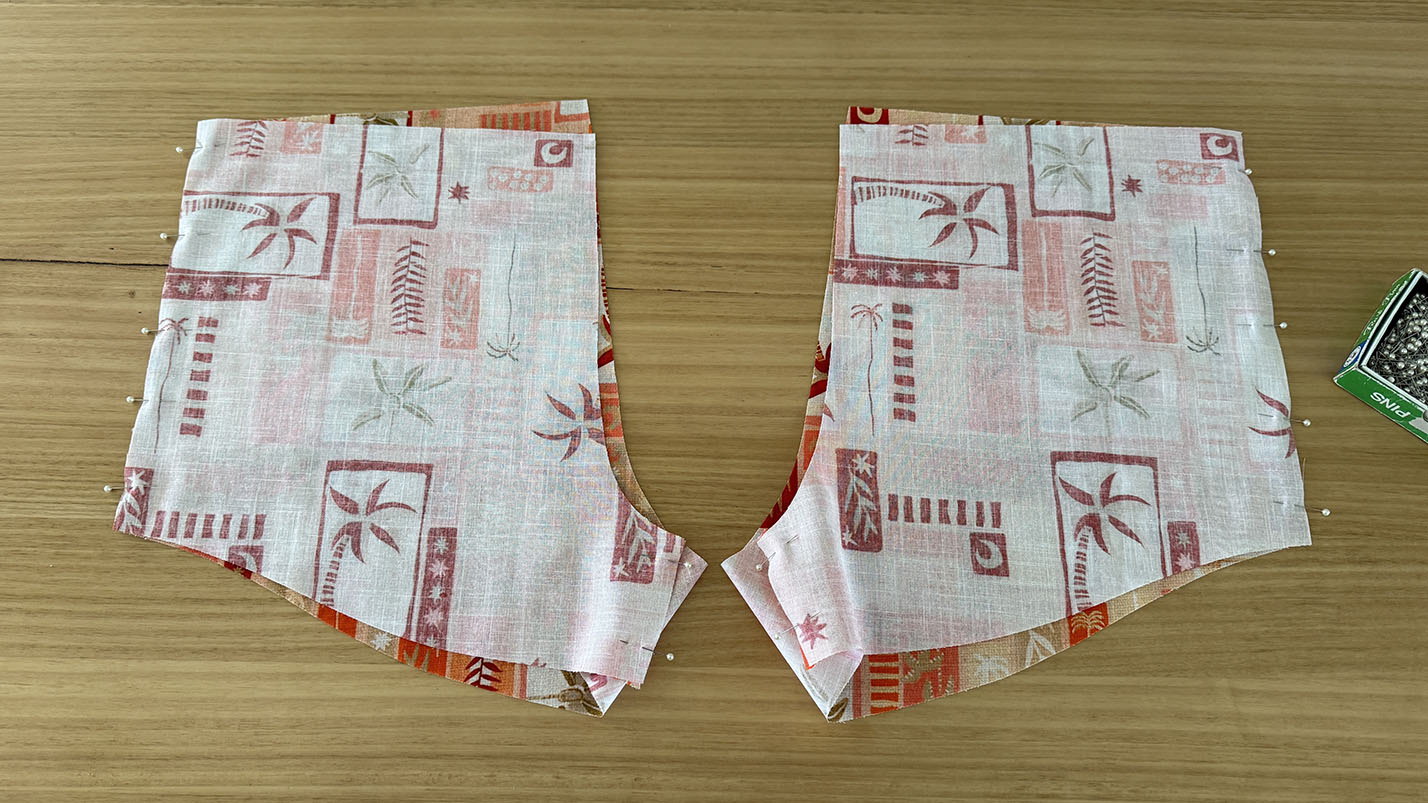
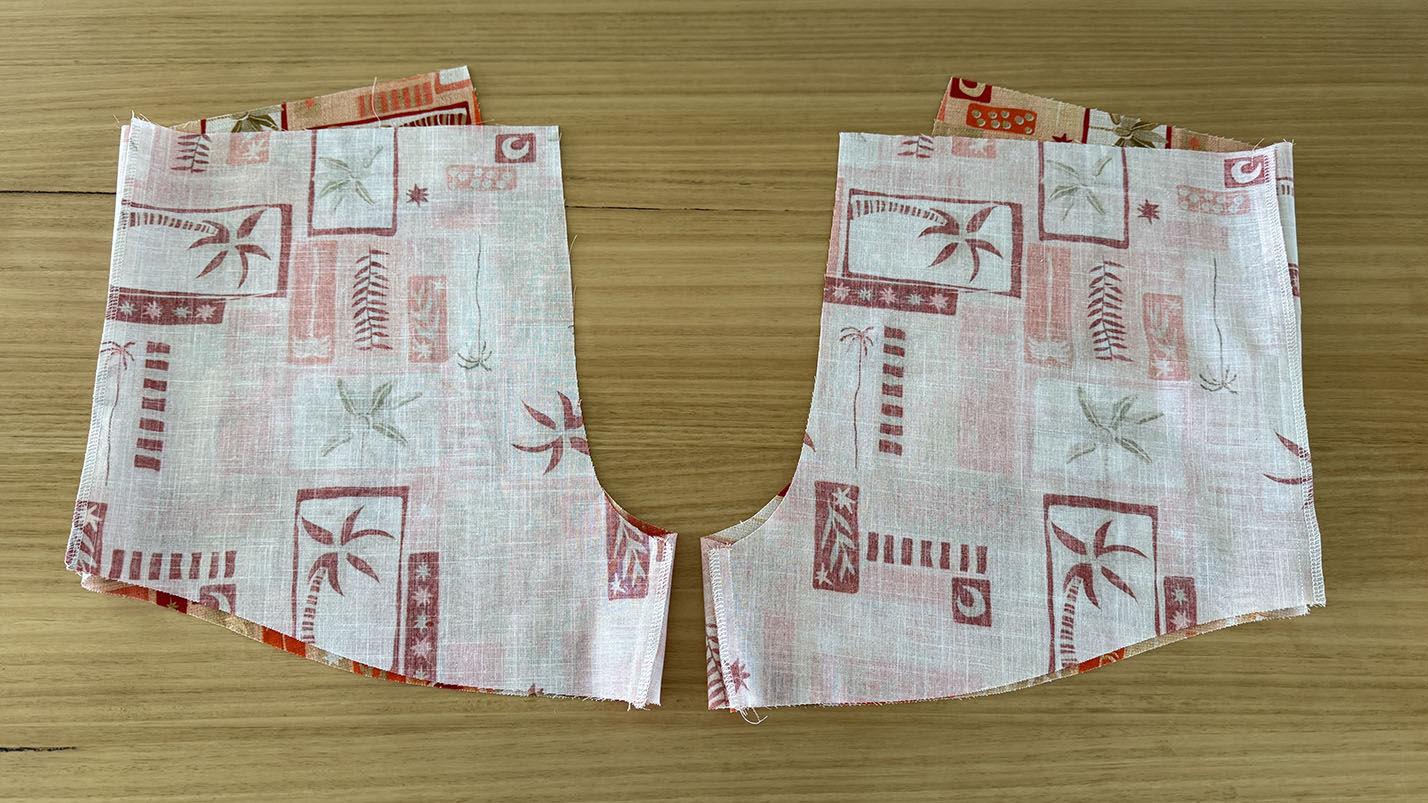
Place one side of the front and back short right sides together, and pin the side seams and inseams together.
Step 3
Repeat on the other side.
Step 4
Stitch closed with a 1cm seam allowance.
Step 5
Overlock the seams closed from the front side of the shorts.
Step 6
Then, press the seam allowance towards the back.
Step 7
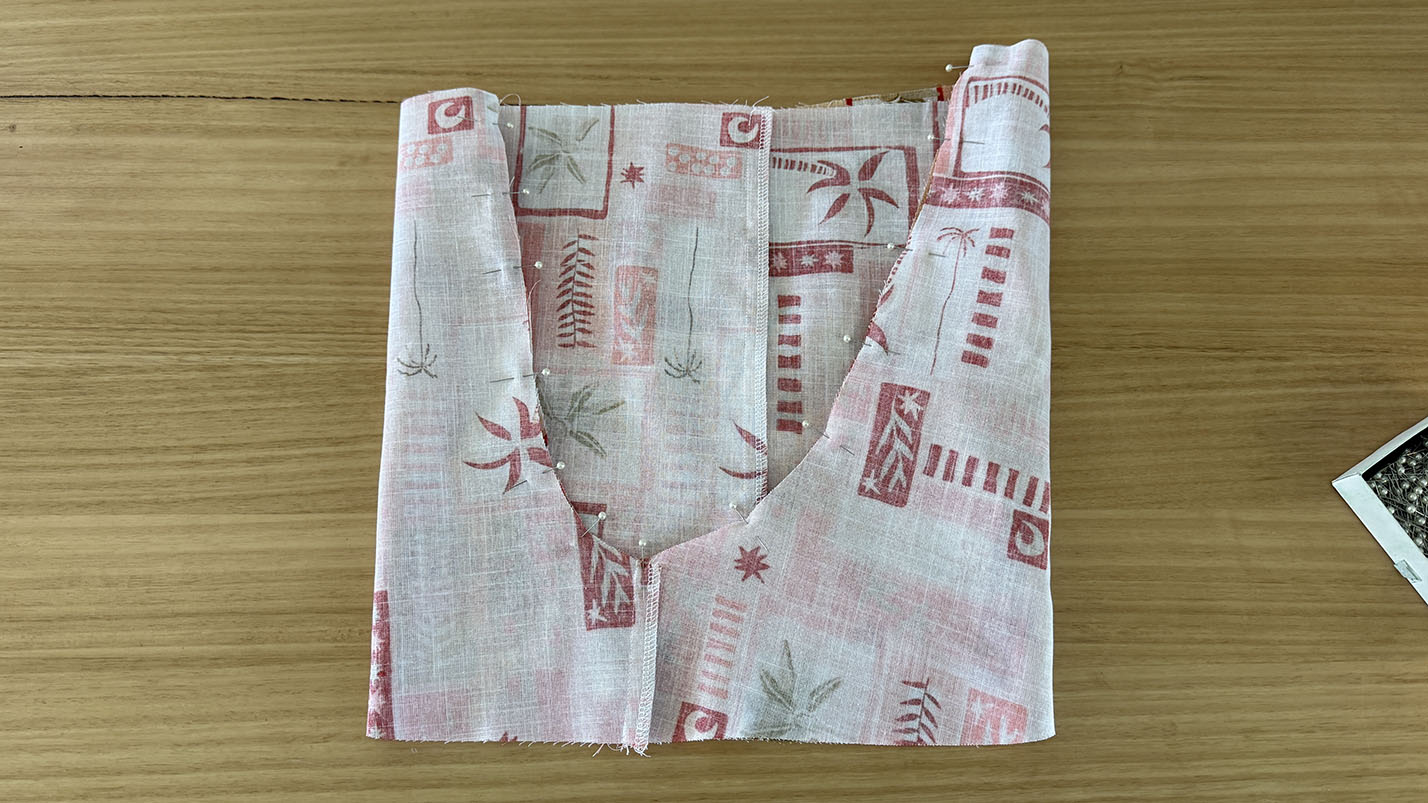
Turn one leg inside out and keep the other the right way out, and place one inside the other so that the right sides are together. Then pin along the crotch seam, matching the seams and notches on the pattern.
Step 8
Stitch closed with a 1cm seam allowance.
Step 9
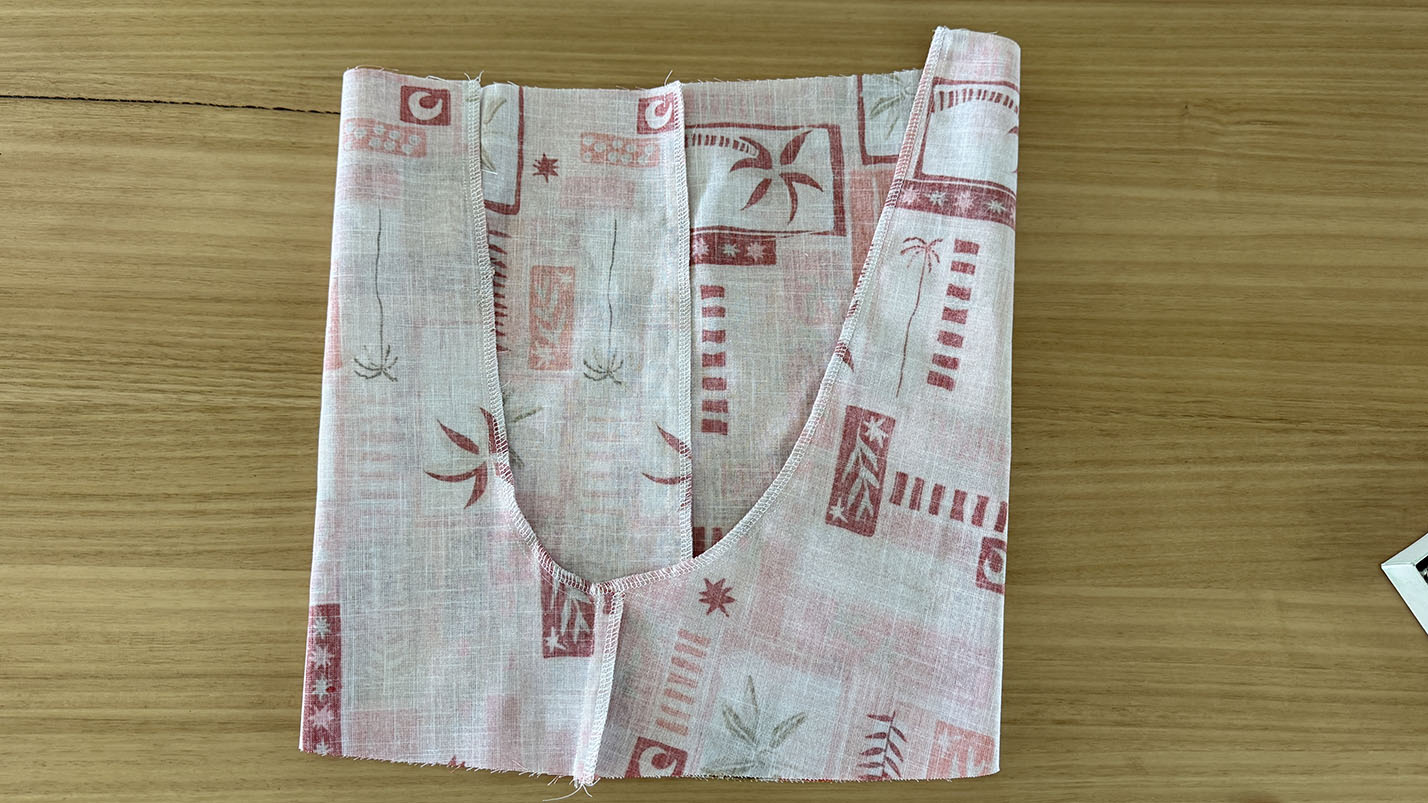
Then overlock the seam closed.
Step 10
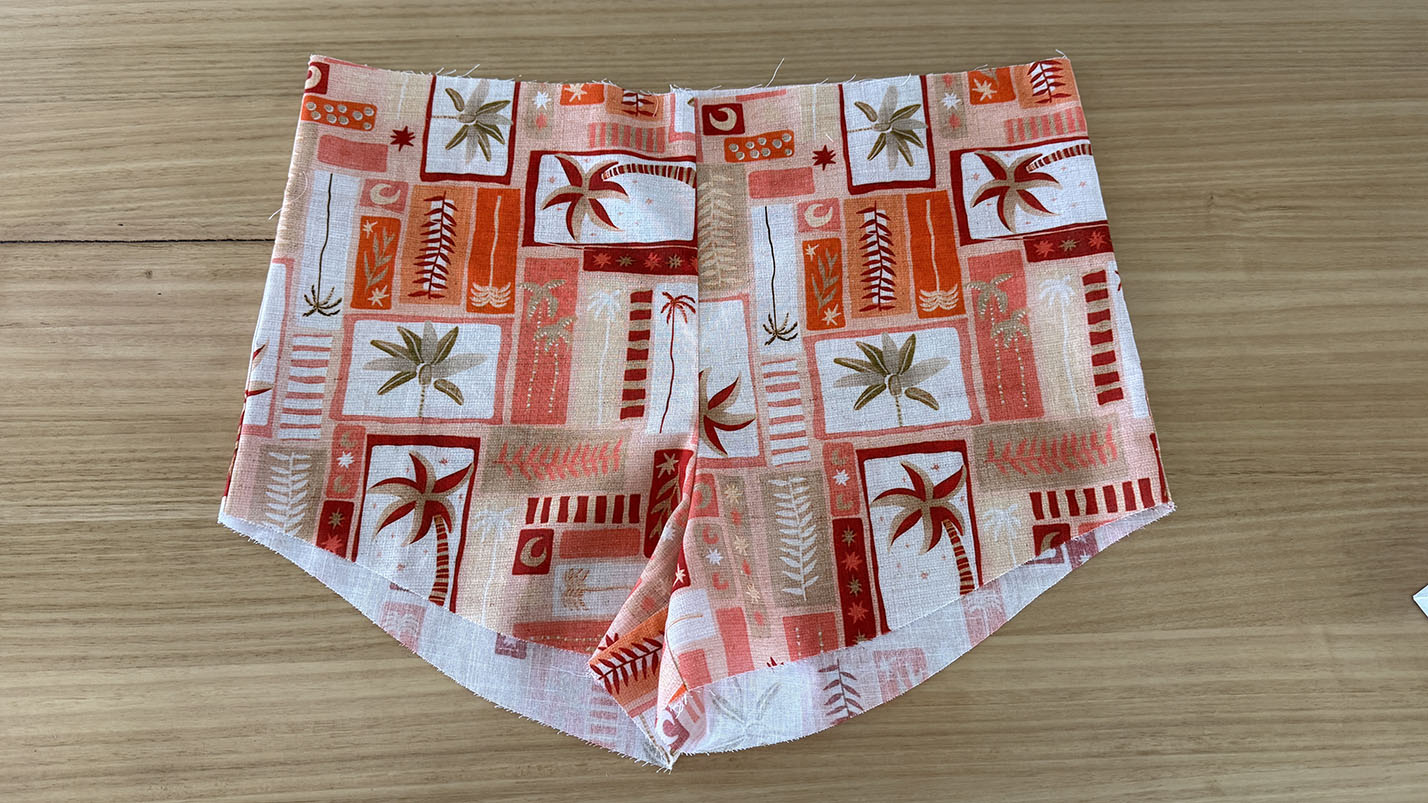
Then press the seam allowance to one side.
WAISTBAND
Step 11
Take the elastic and overlap the ends by 2cm, sew to secure using a box stitch.

Step 12
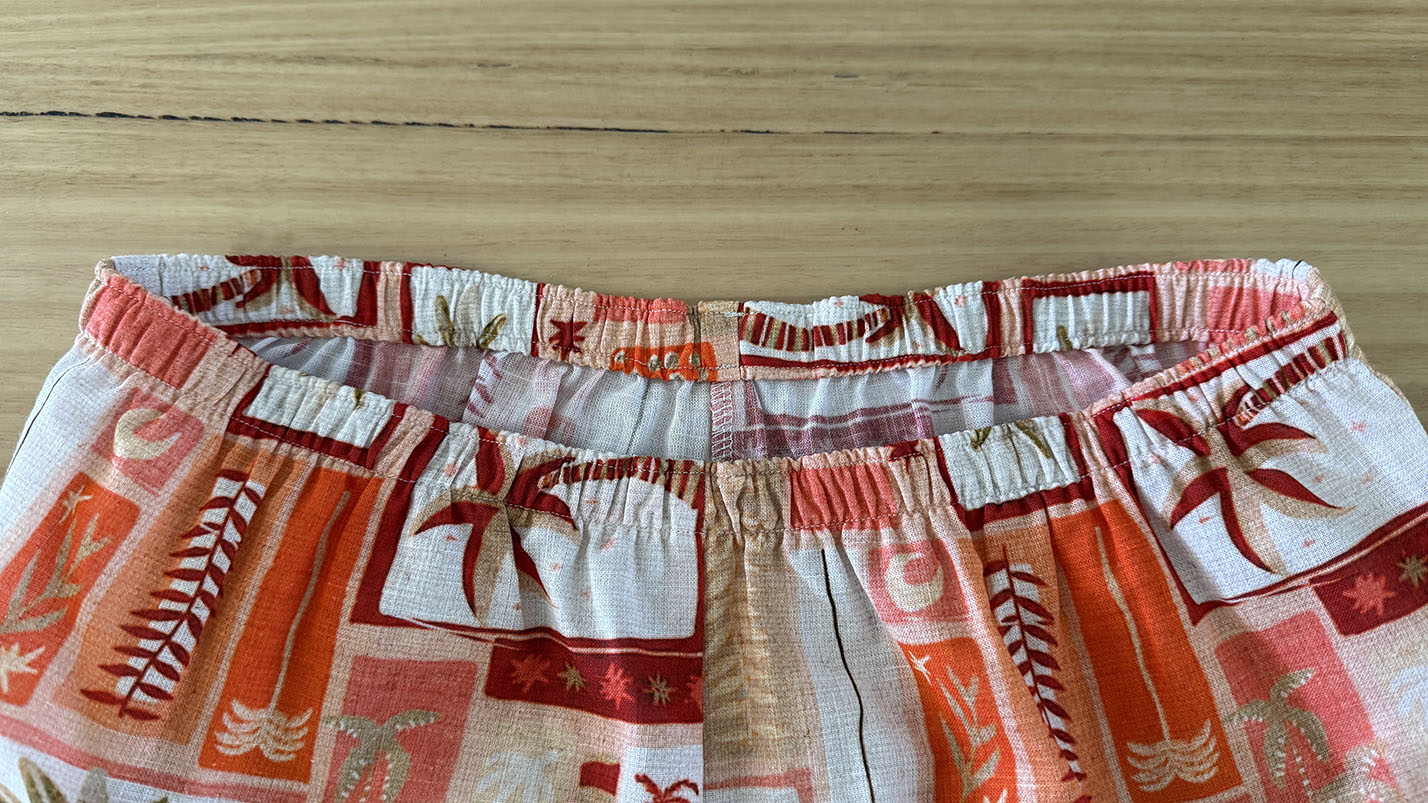
Pin the elastic to the inside of the waist of the short, stretching the elastic as you pin to ensure the fabric will be gathered evenly.
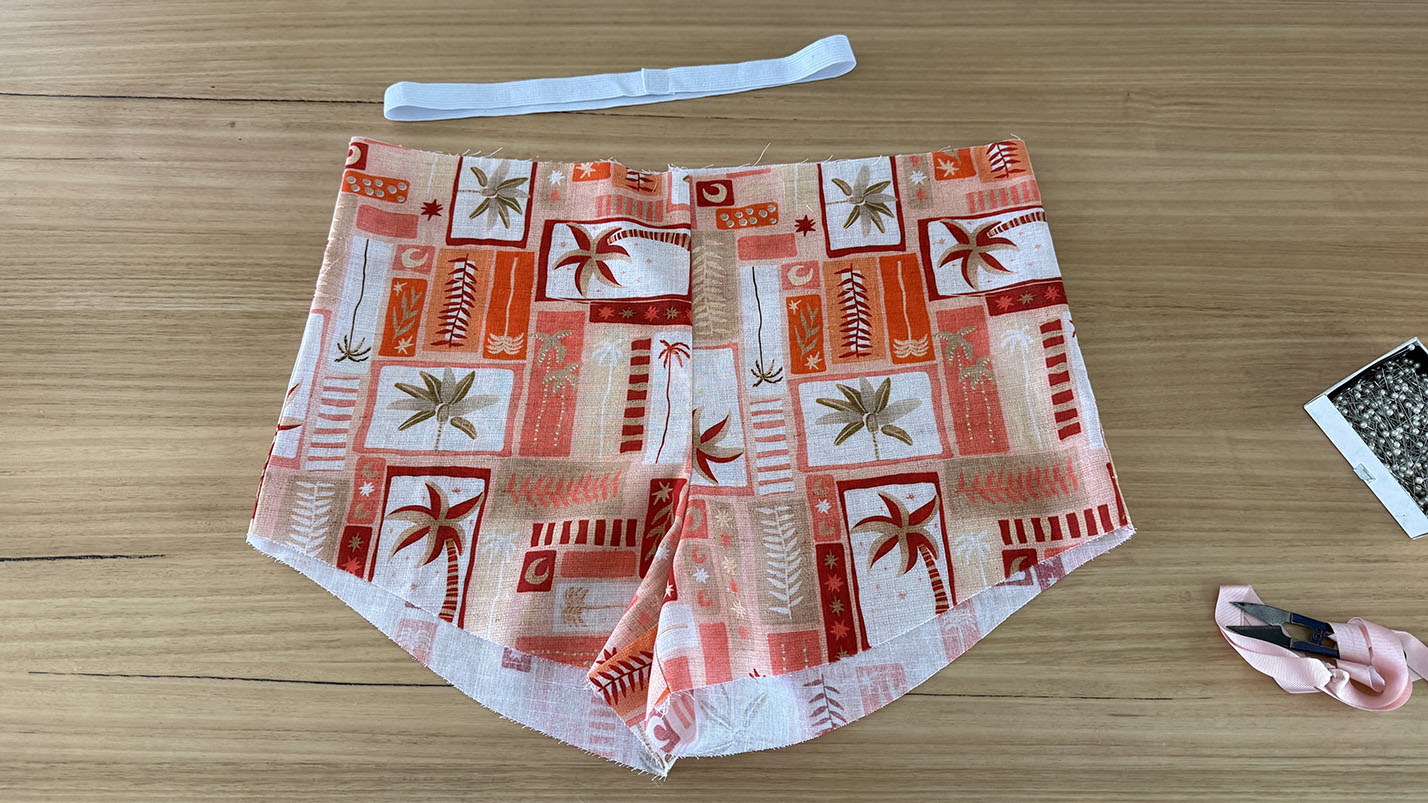
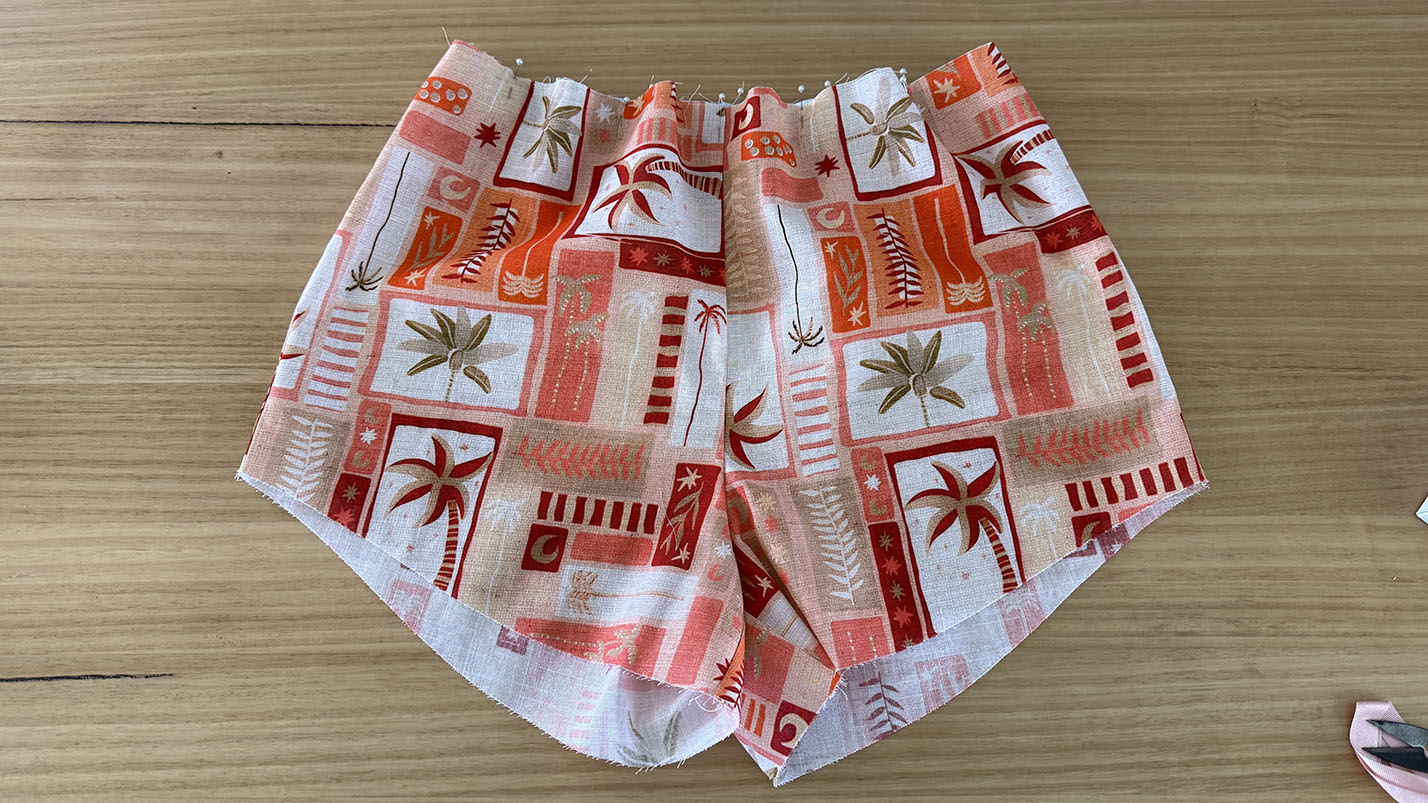
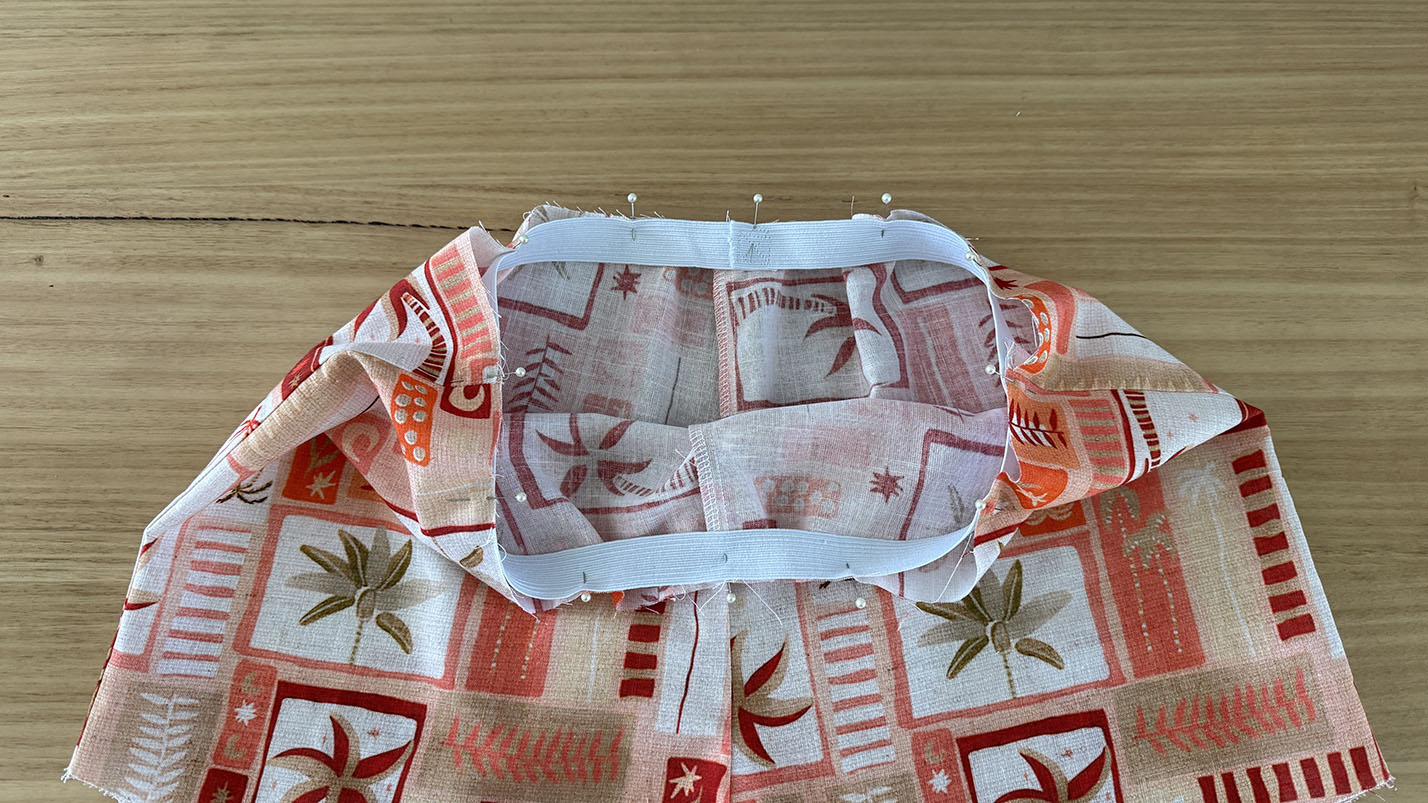
Step 13
Overlock the elastic to the top edge of the short, stretching the elastic as you sew.
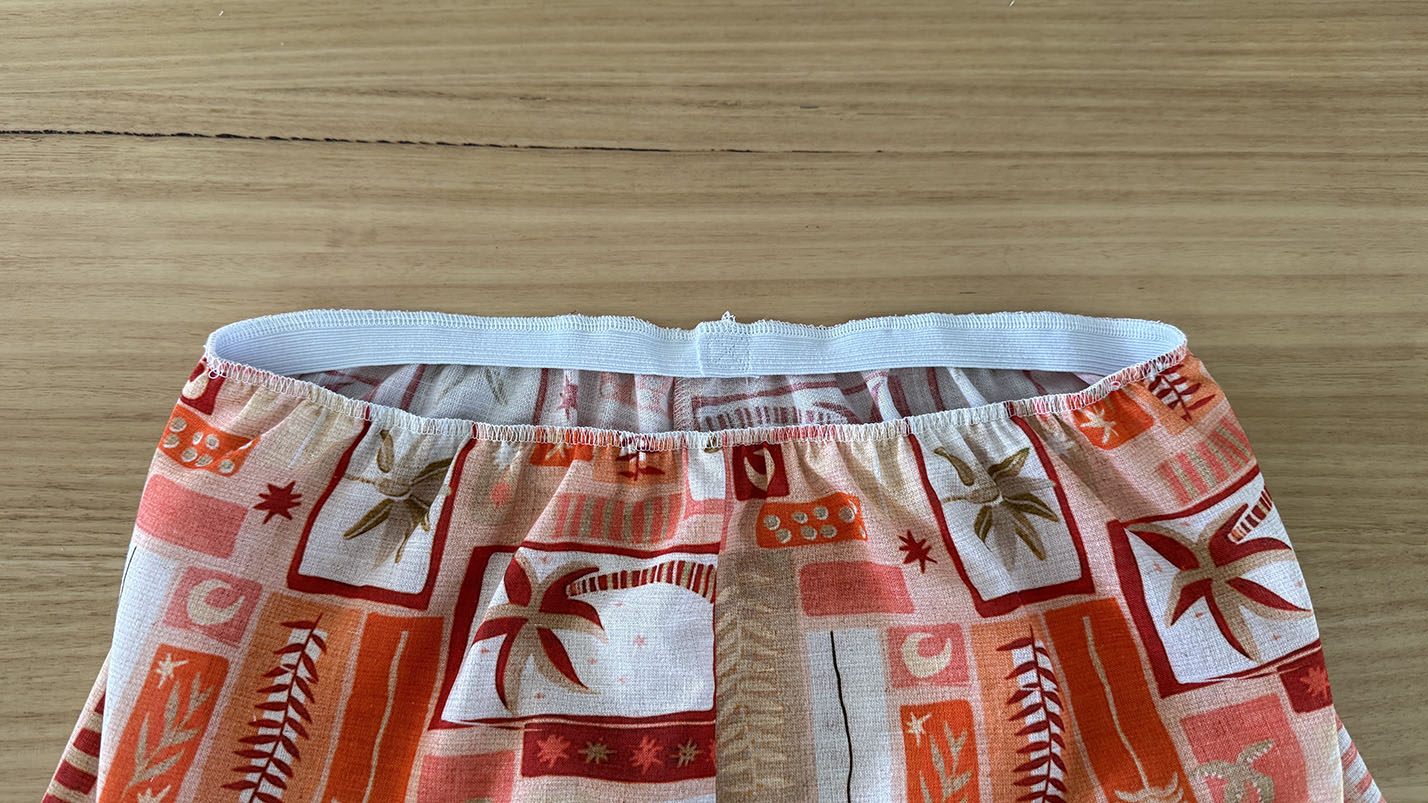
Step 14
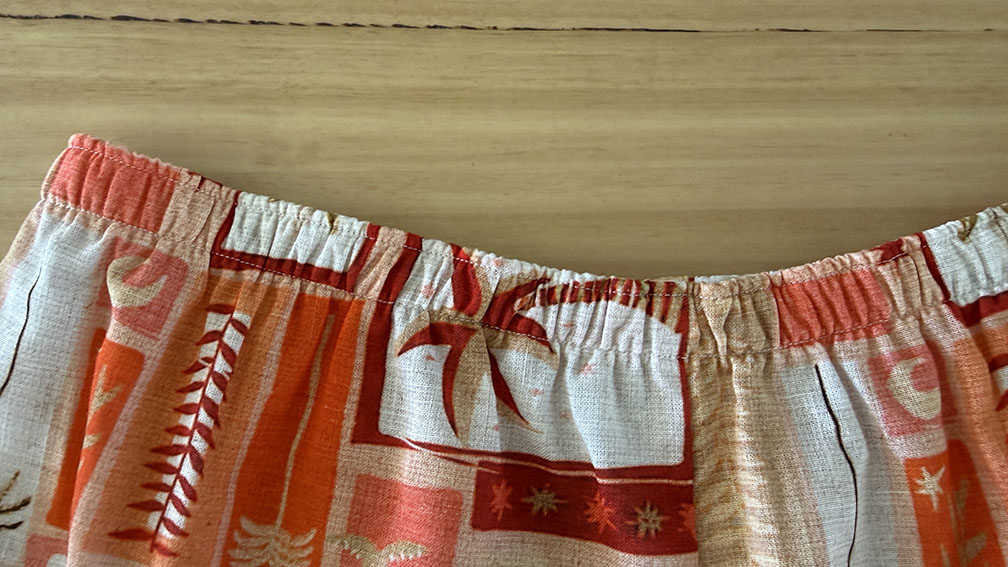
Then fold the elastic over twice to encase the raw edges and pin in place to hold.
Step 15
Stitch the waistband 3mm from each edge of the elastic to hold the waistband and the elastic in place. Increase your stitch length to 3.5 when sewing this step; this will help prevent the elastic from warping.
HEM
Step 16
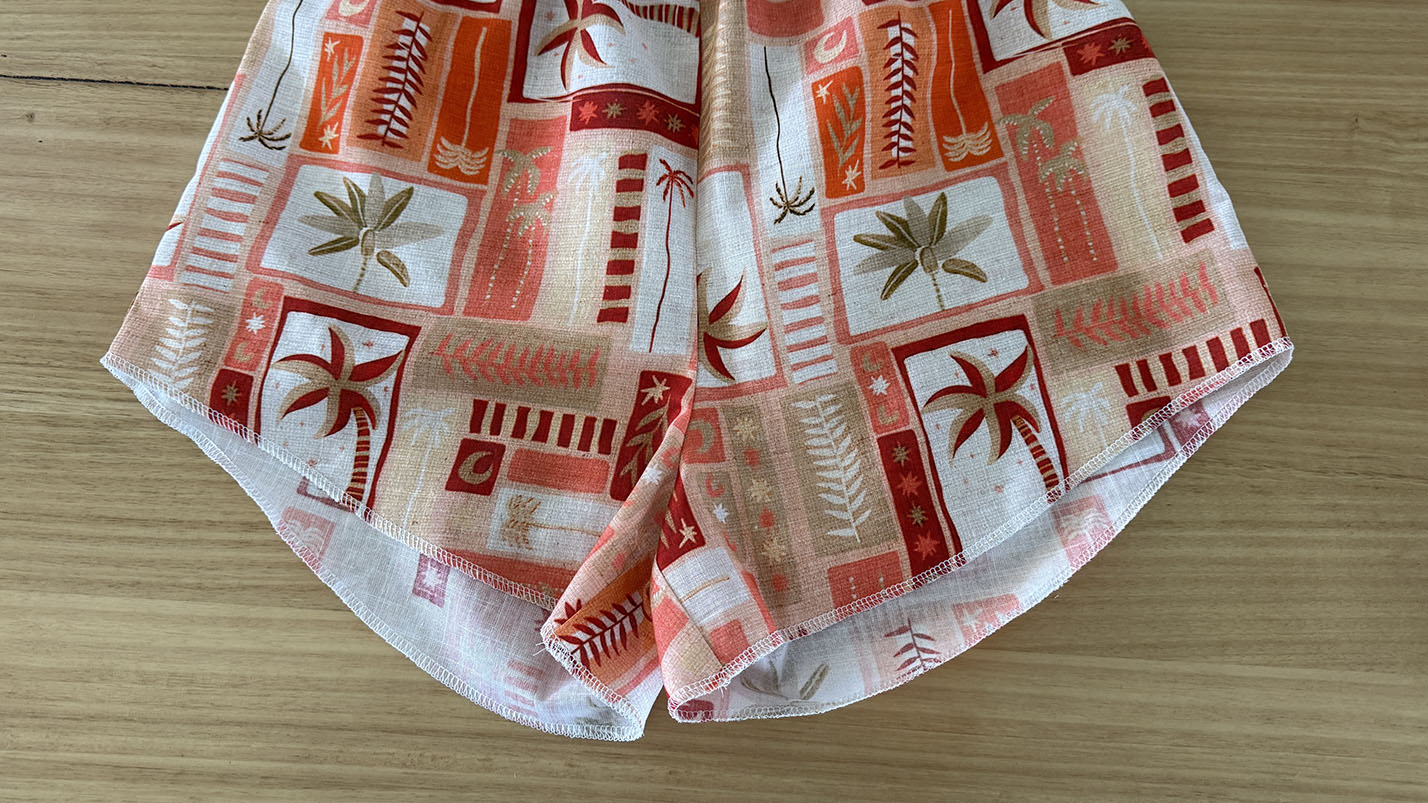
Overlock the hem edge from the right side of the fabric, ensuring seam allowance is held towards the back.
Step 17
Fold the hem 1.5cm and stitch in place to hold.
Step 18
Then press well.
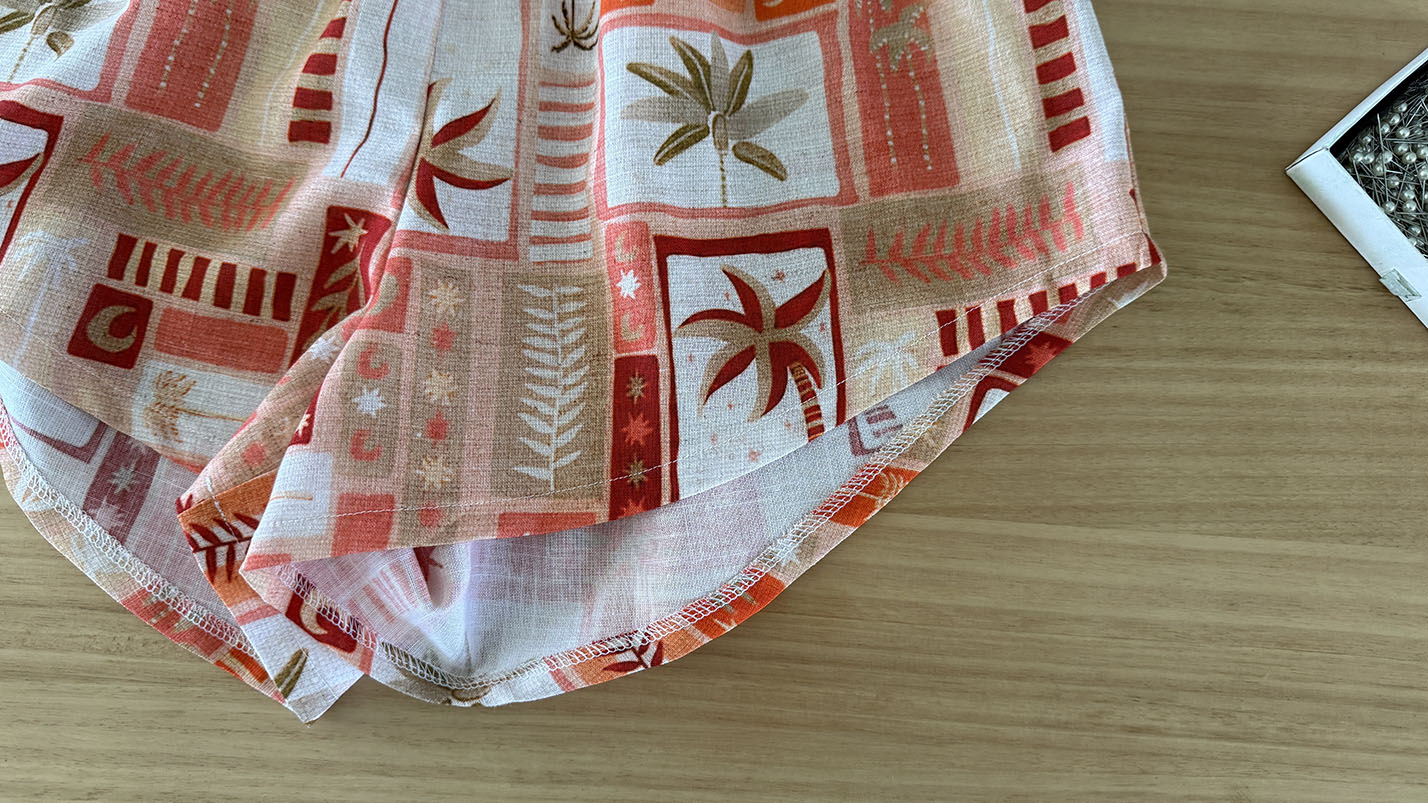
The Camilla Relaxed Short is now complete.
I also have a number of other basic patterns that are great for beginners, to practice your sewing skills, which are available for purchase here.
I’d love to see your creations, feel free to tag me on Instagram at @at_the_seams_patterns
x