Accessories, Sewing Tutorials
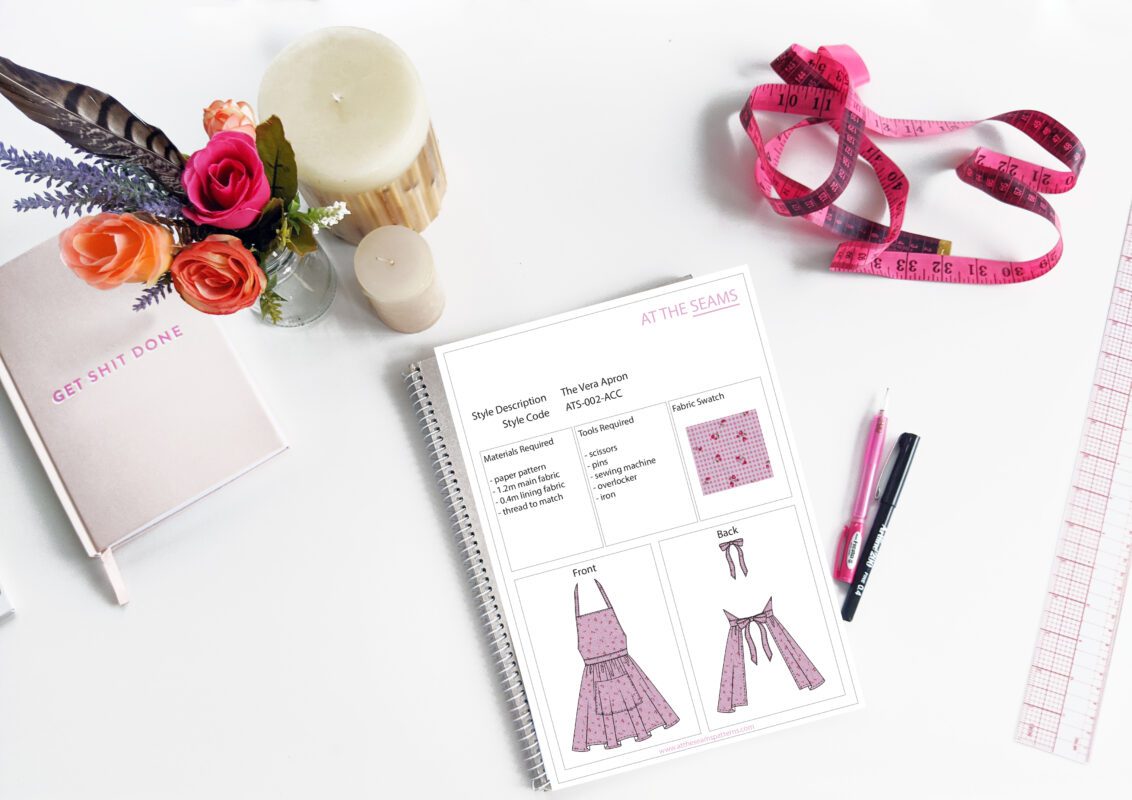
Sewing Tutorial: The Vera Apron
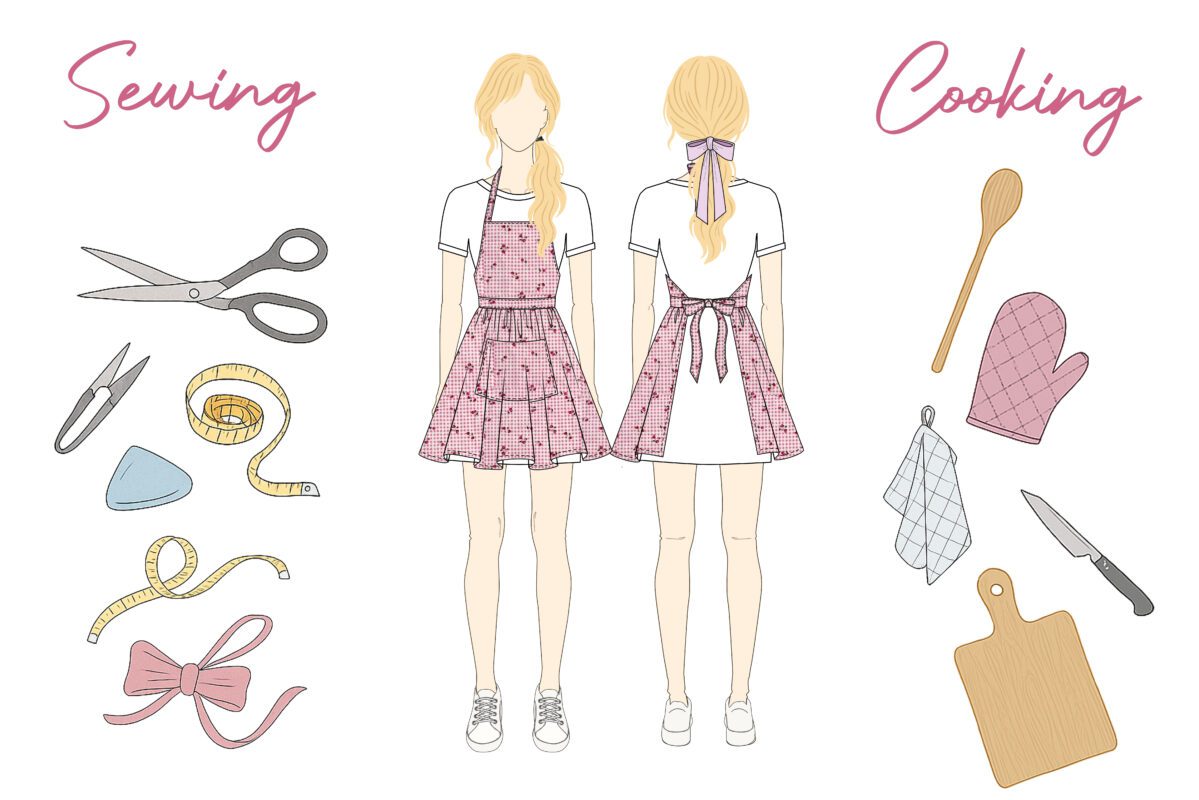
The Vera Apron is a vintage-inspired design that combines elegance with everyday practicality. This PDF sewing pattern features a flattering fitted waist that ties into a statement bow at the back, while the gathered skirt adds a flirty, feminine touch. Adjustable neck ties also fasten into a charming bow, giving the apron a cohesive and playful finish. A roomy front pocket is perfect for holding essentials while you cook, craft, or garden. Ideal for handmade gifts, craft fair stock, or simply adding charm to your kitchen routine, the Vera Apron is suitable for confident beginners and pairs beautifully with cotton prints or vintage fabrics.
SEWING ABILITY – Beginner
To begin, you will need the following things:
Materials
- The Vera Apron paper pattern, or if you prefer to shop on Etsy
- 1.2m fabric
- 0.4m lining fabric
- cotton thread (enough to also thread your overlocker)
Tools
- scissors
- pins
- sewing machine with a standard foot
- overlocker
- iron
Fabric Requirements
The Vera Apron works best in lightweight fabrics with a soft drape, such as cotton voile, lawn, poplin, or lightweight linen. Fabrics that are too heavy may feel bulky and affect the flow and fit of the design.
Tips
- Ensure your fabric is washed, dried, and pressed before you start cutting. There is nothing worse than washing your beautiful garment and it shrinks, or even more annoying, the lining shrinks and the main doesn’t, so it’s all pulled out of shape and is unwearable.
If you prefer video instructions – please head over to youtube.
Sewing Instructions
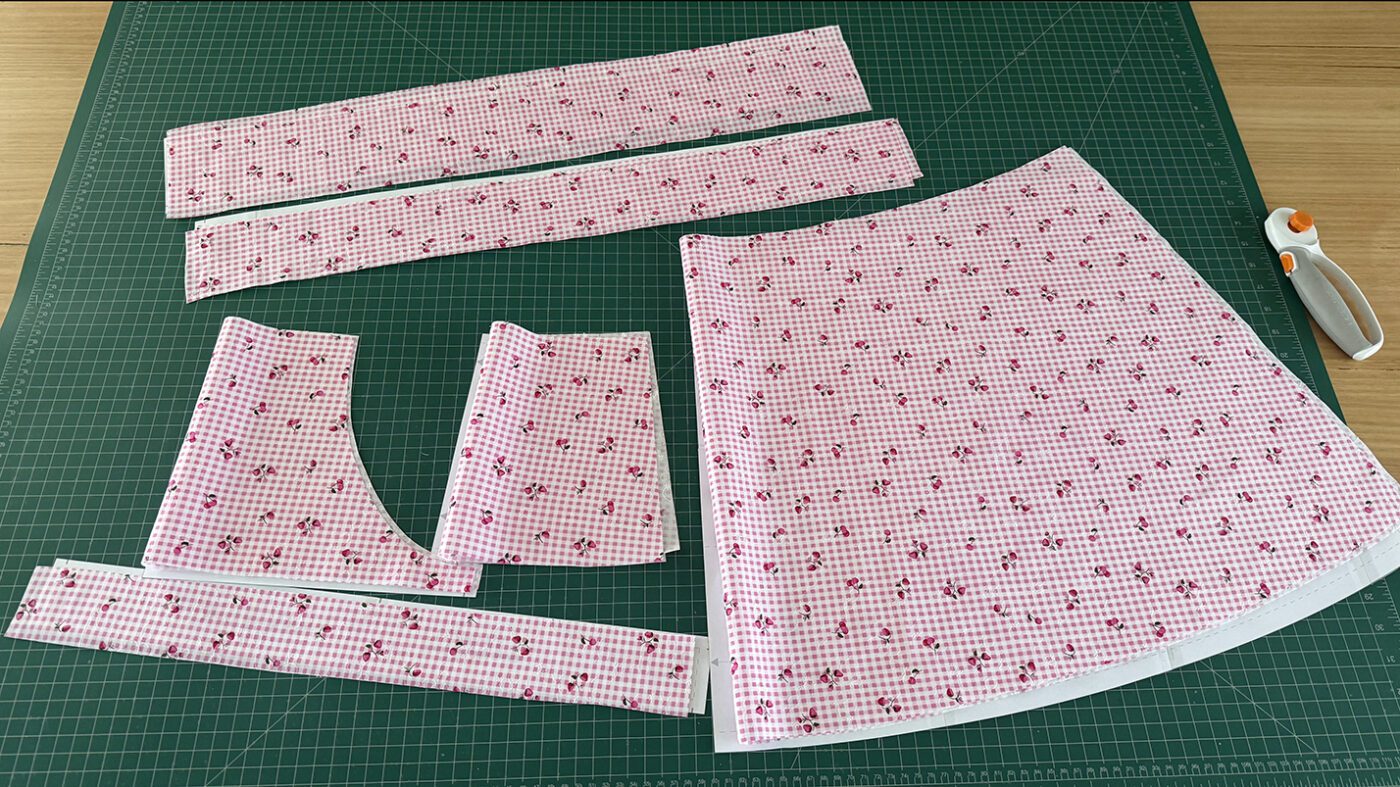
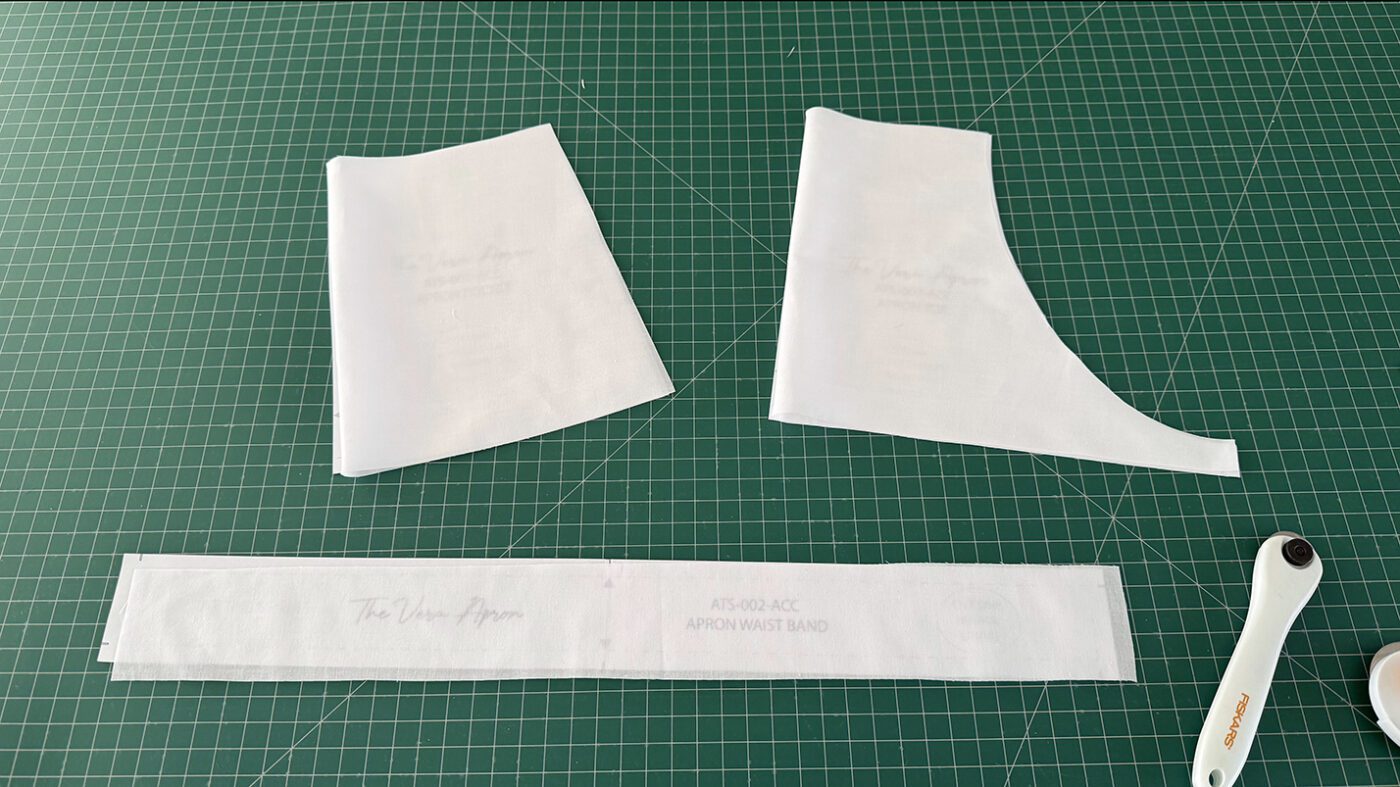
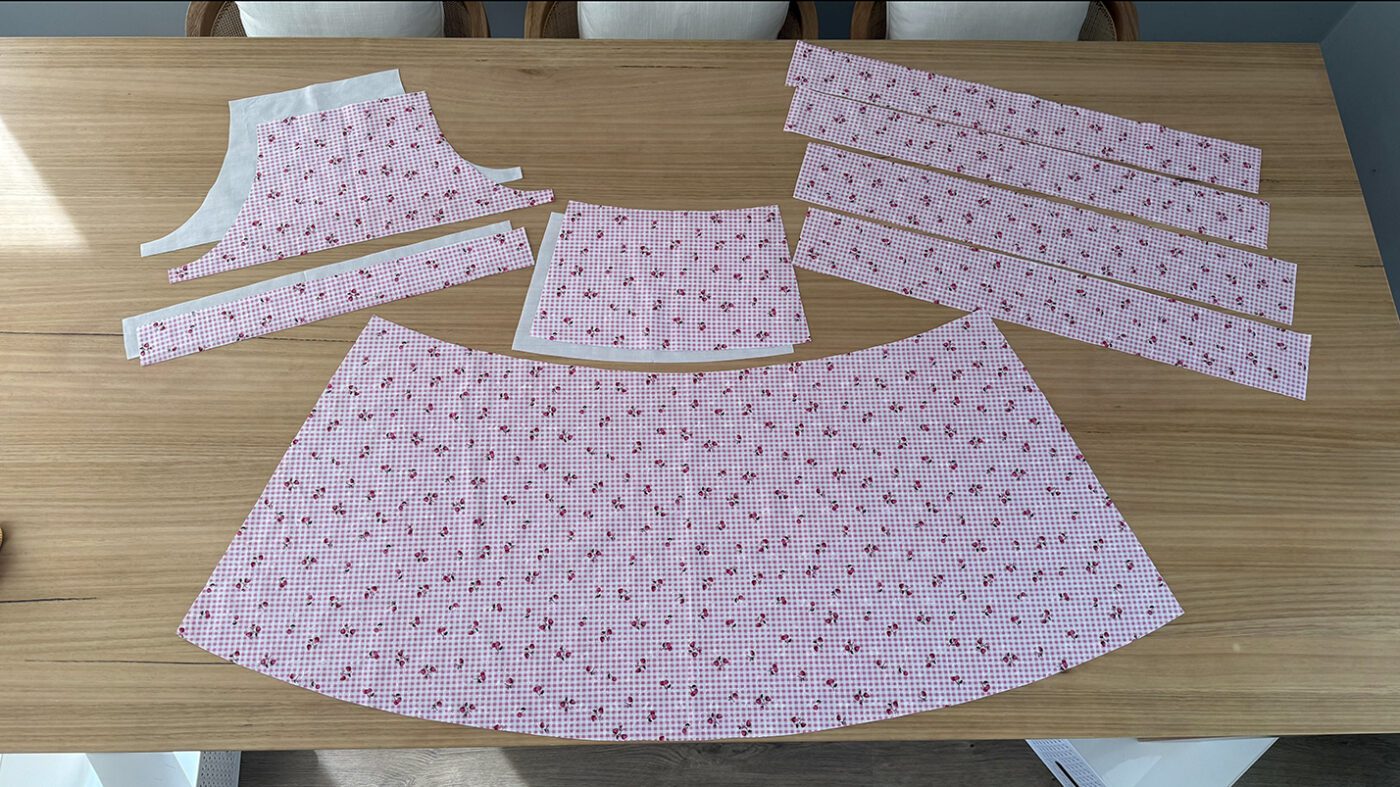
Step 1
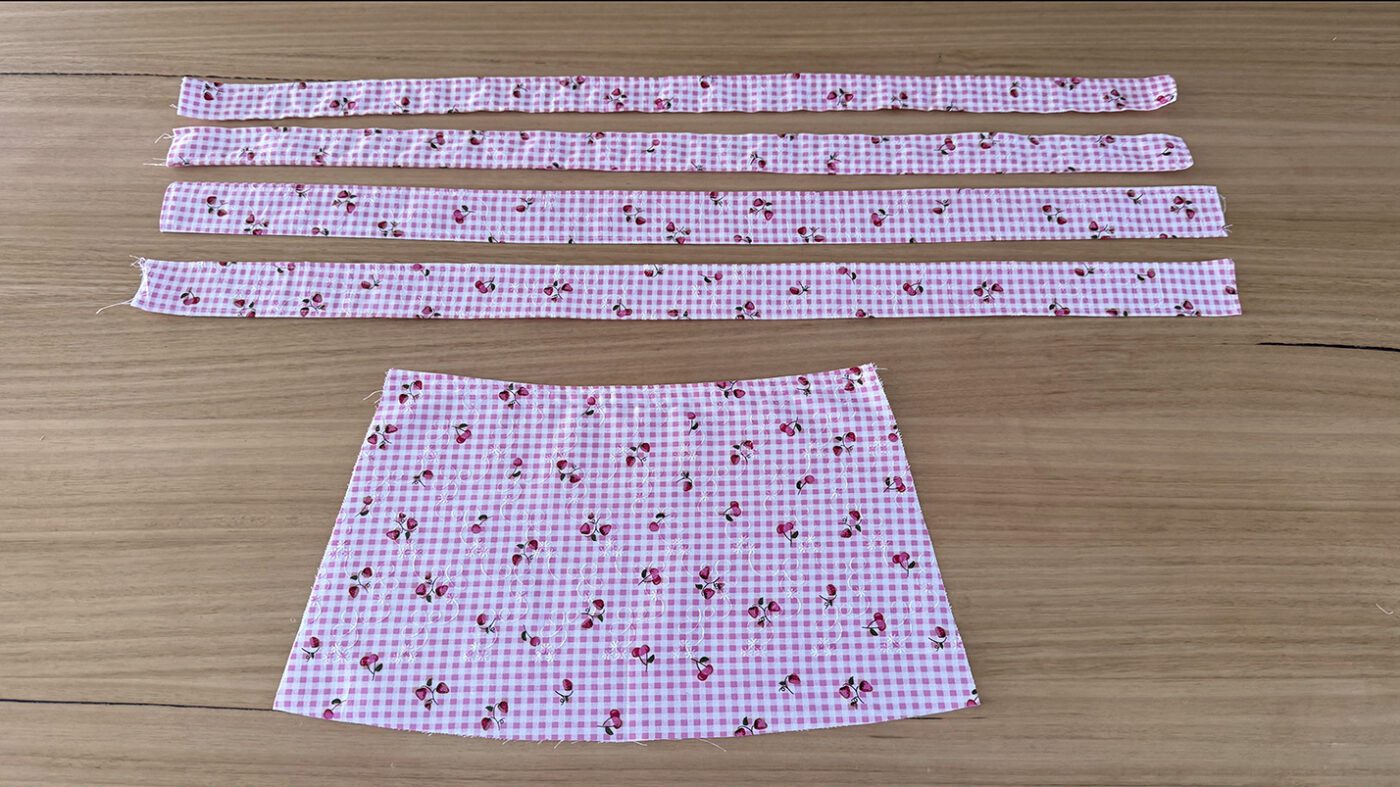
Cut all main and lining pieces accurately on the correct grain, ensuring all notches are clipped. Please
note that the seam allowance is marked on the pattern and is listed on page 2 of the booklet provided.
Beginner tip* If you can afford to purchase a rotary cutter and cutting mat, I find this more accurate and time-efficient.
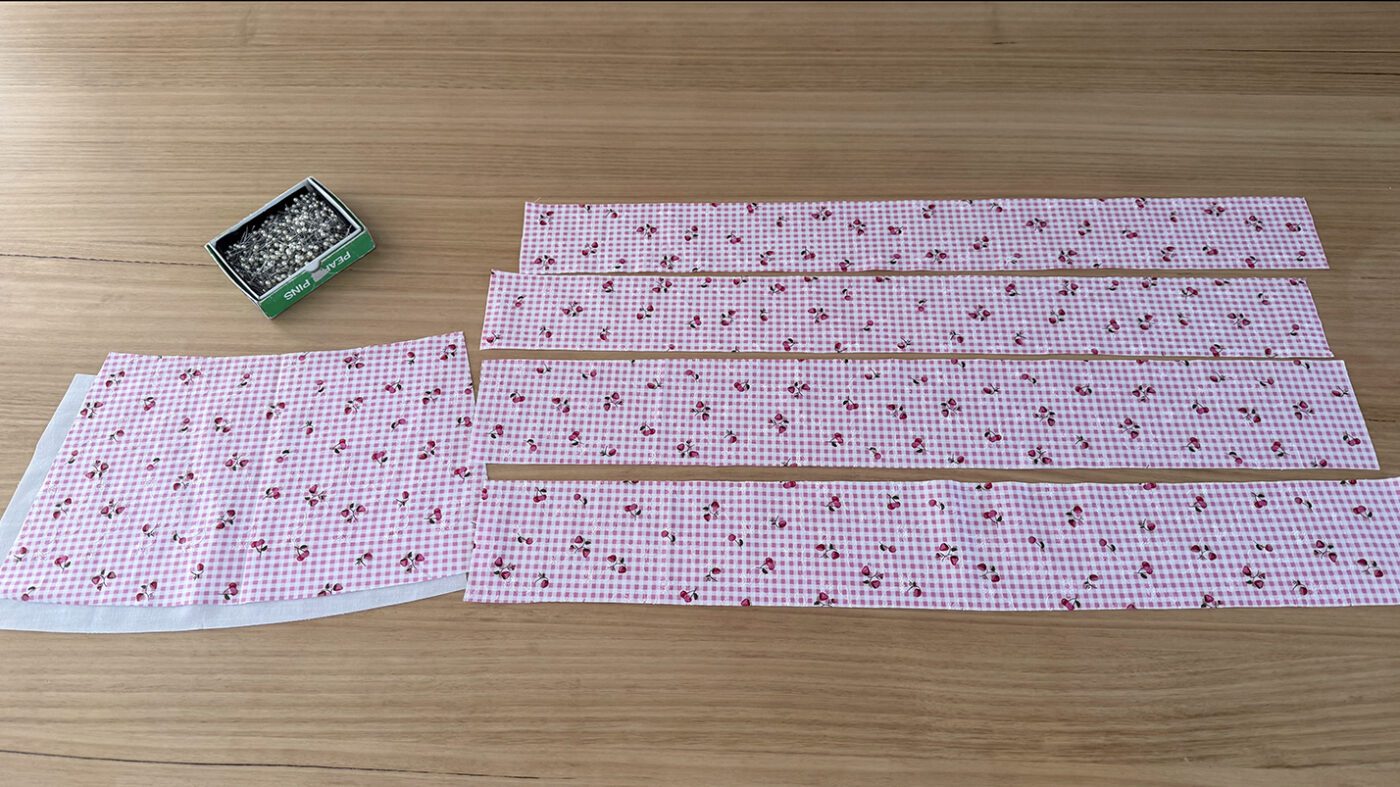
TIES & POCKET
Step 2
Fold each tie in half long ways so that right sides are facing, and pin the long edge and one short edge.
Step 3
Place the pocket main and lining right sides together. Pin together along the top edge.
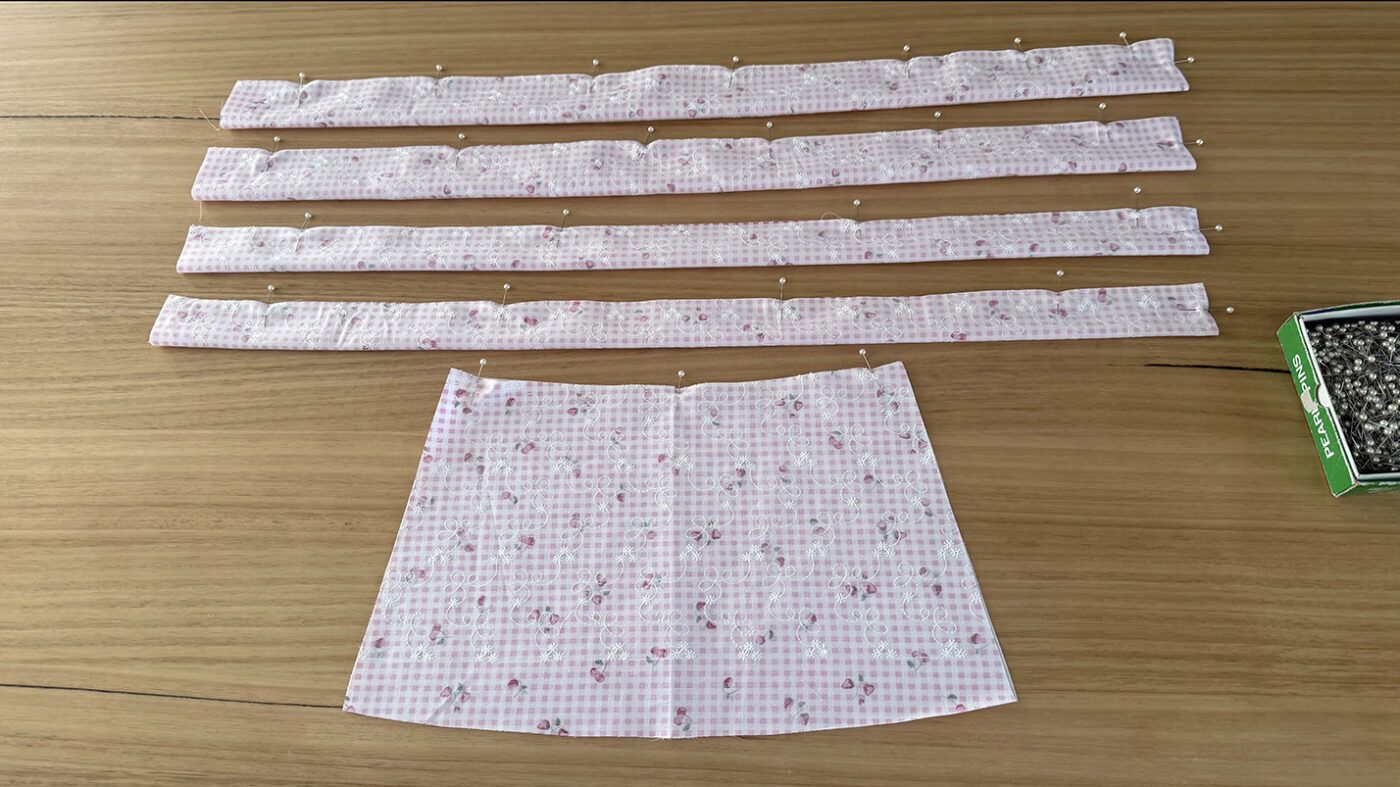
Step 4
Stitch the ties and top edge of the pocket closed with a 1cm seam allowance.
Step 5
Then clip the corners of the ties and the top edge of the pocket. Turn through and press.
Beginner tip* Don’t skip clipping your corners, by clipping the corners, the seams sit neatly inside and your corners will be neat and sharp instead of bulky.
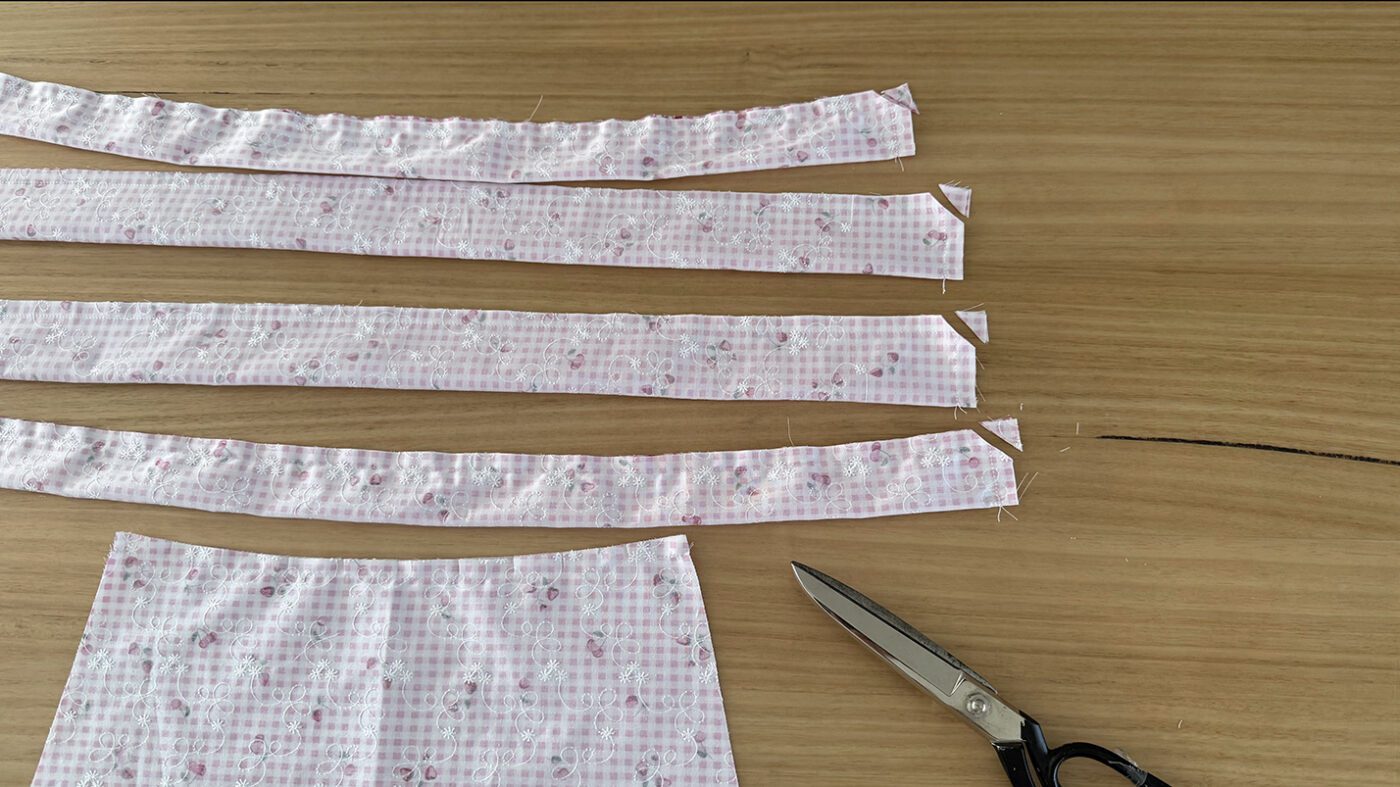

Step 6
Top stitch the edges of the ties and the top edge of the pocket, and set aside.
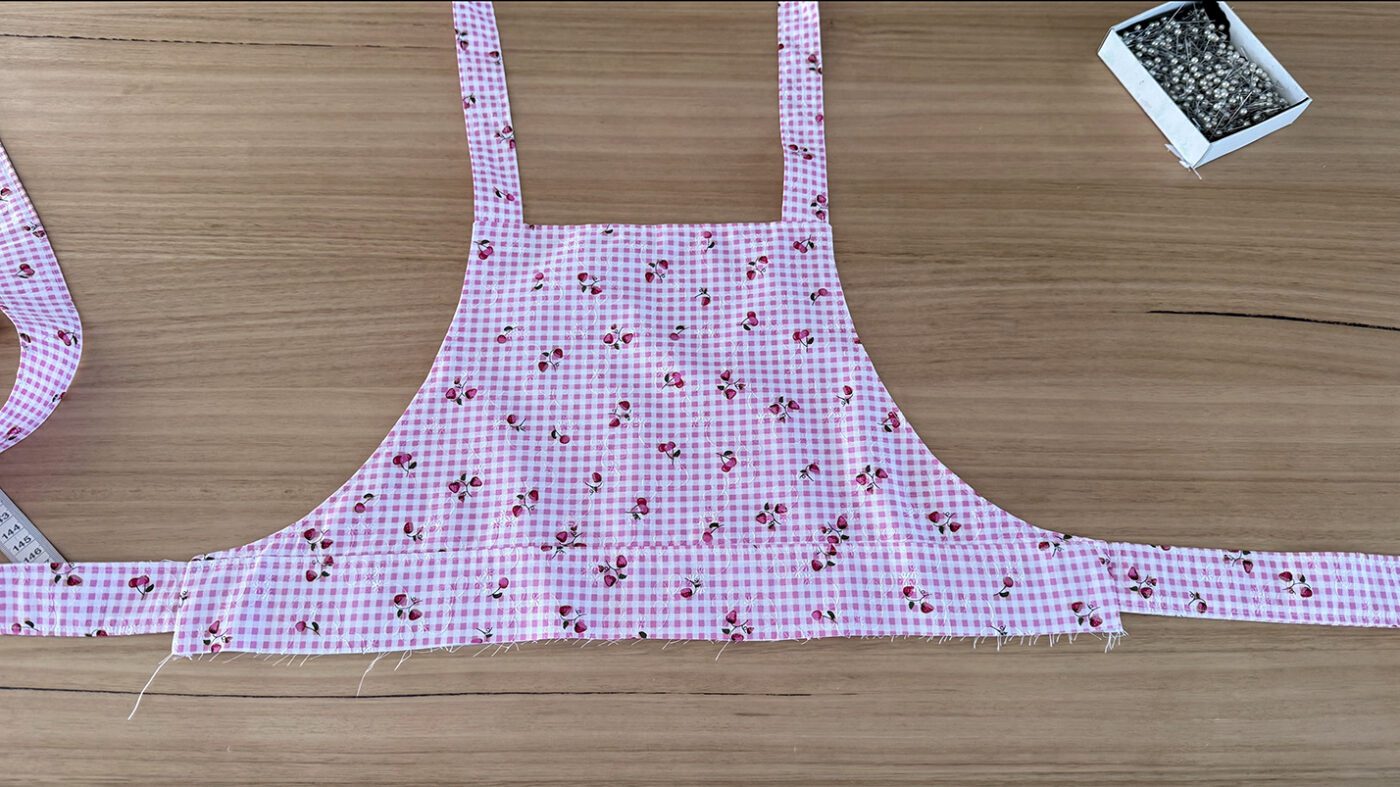
BODICE
Step 7
Place the waistband and bodice of the main right sides together. Repeat on the lining. Pin in place to hold.
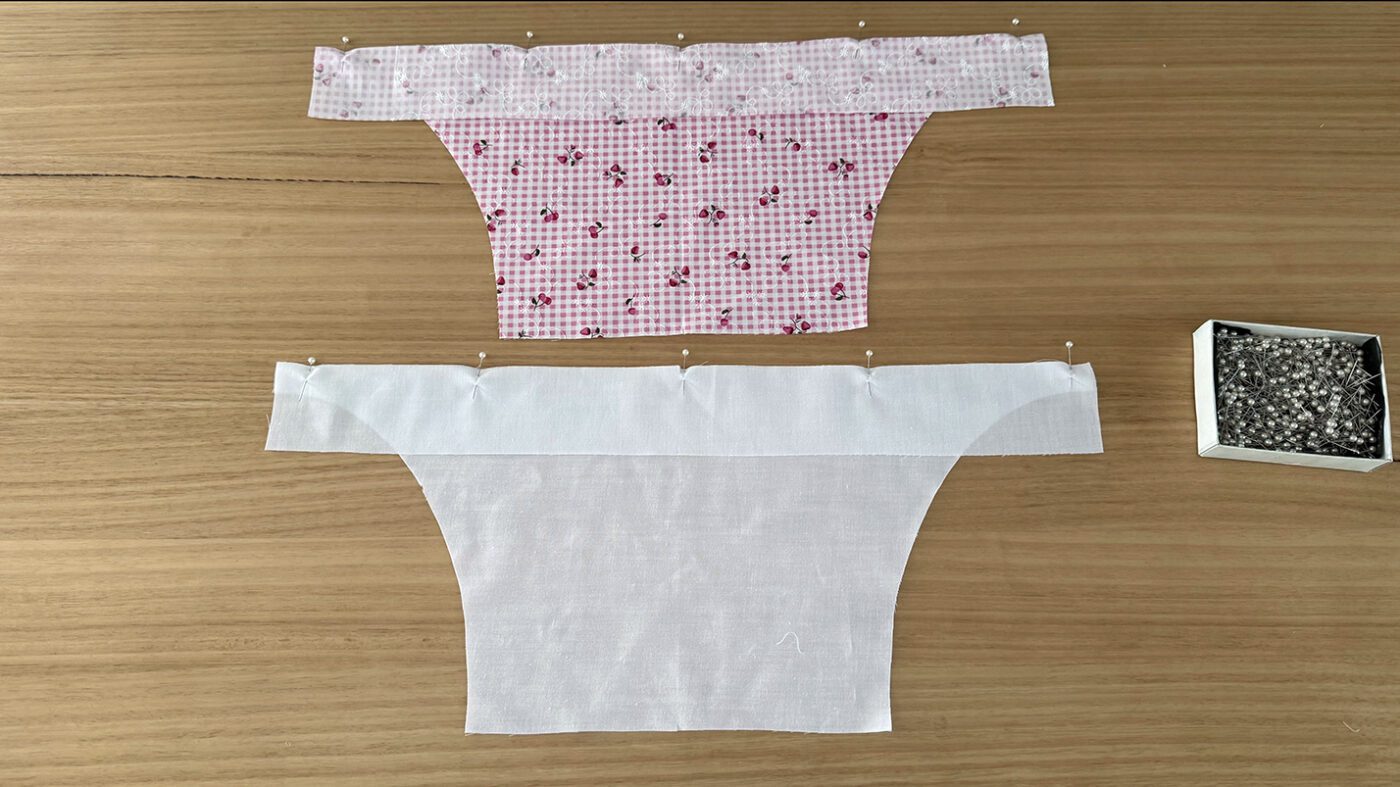
Step 8
Stitch closed with a 1cm seam allowance. Then press the seam allowance towards the waistband and top stitch to the waistband.
Step 9
Pin the ties to the bodice. The waistband ties (thicker ties) will line up with the waistband seam. The halter ties (thinner ties) will sit 1cm from each end of the top edge.
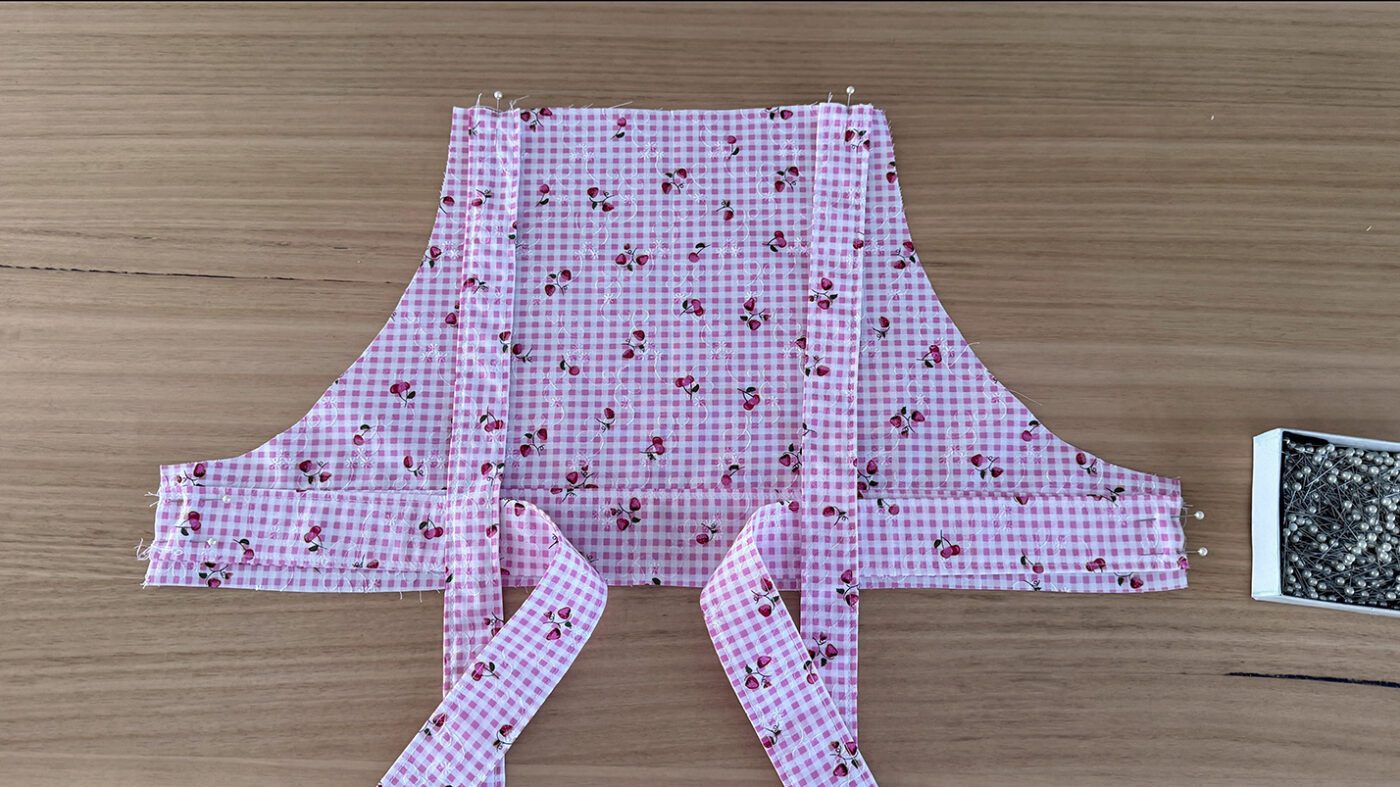
Step 10
Stitch the straps in place 5mm from the edge.
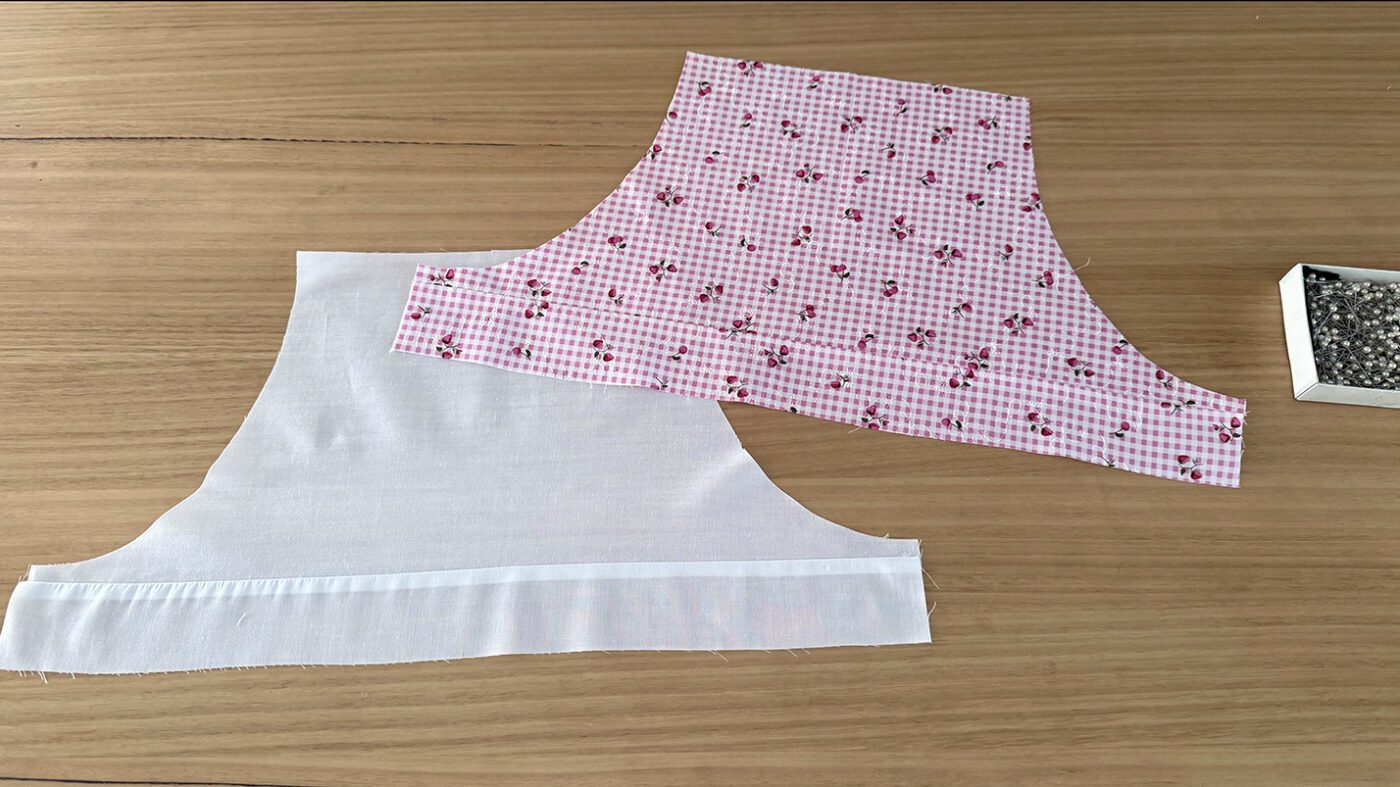
Step 11
Place the bodice lining on top of the main so that right sides are facing. Pin from the waistband edge, along the side, across the top edge, and down the other side.
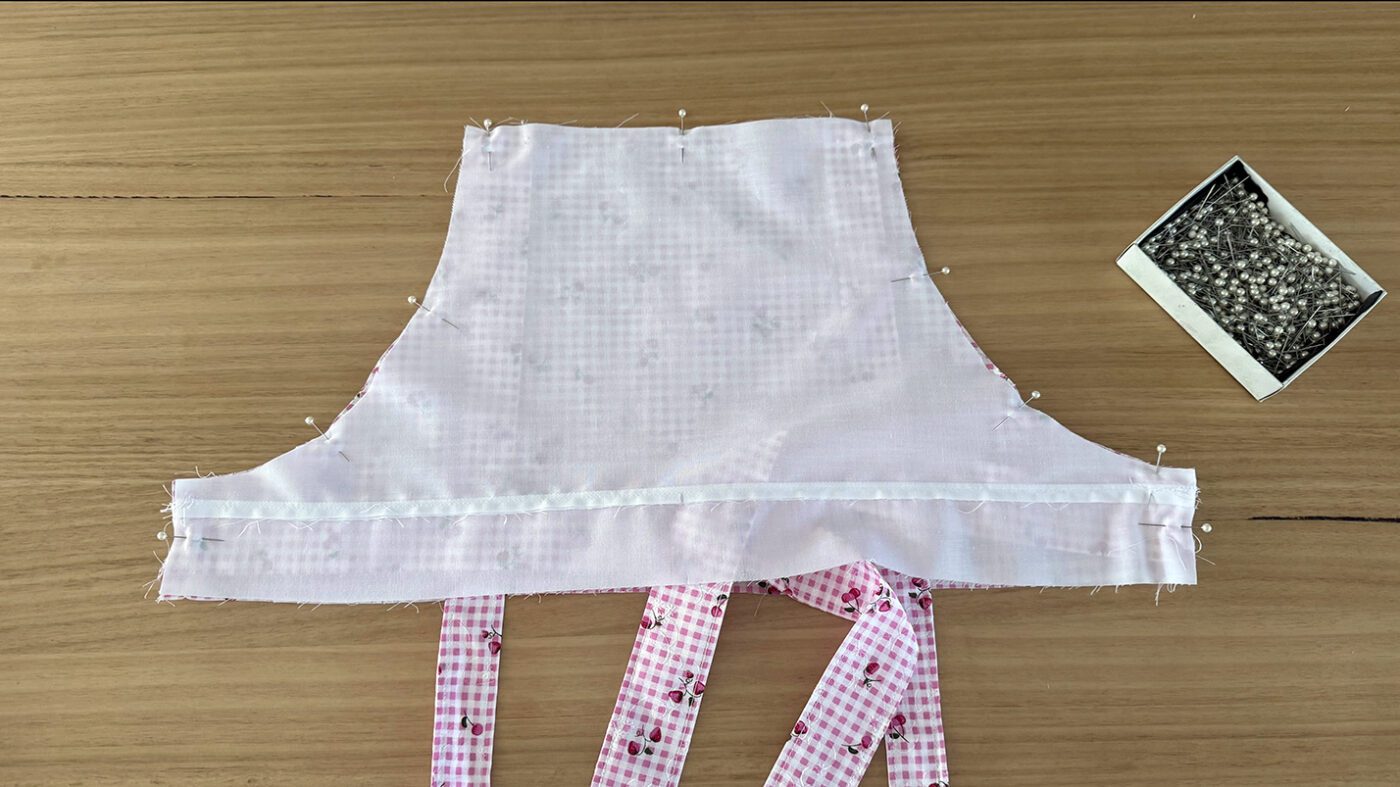
Step 12
Then stitch closed with a 1cm seam allowance. Take care when sewing that the ends of the ties are kept clear of the stitching.
Step 13
Clip the corners and sides, then turn through.
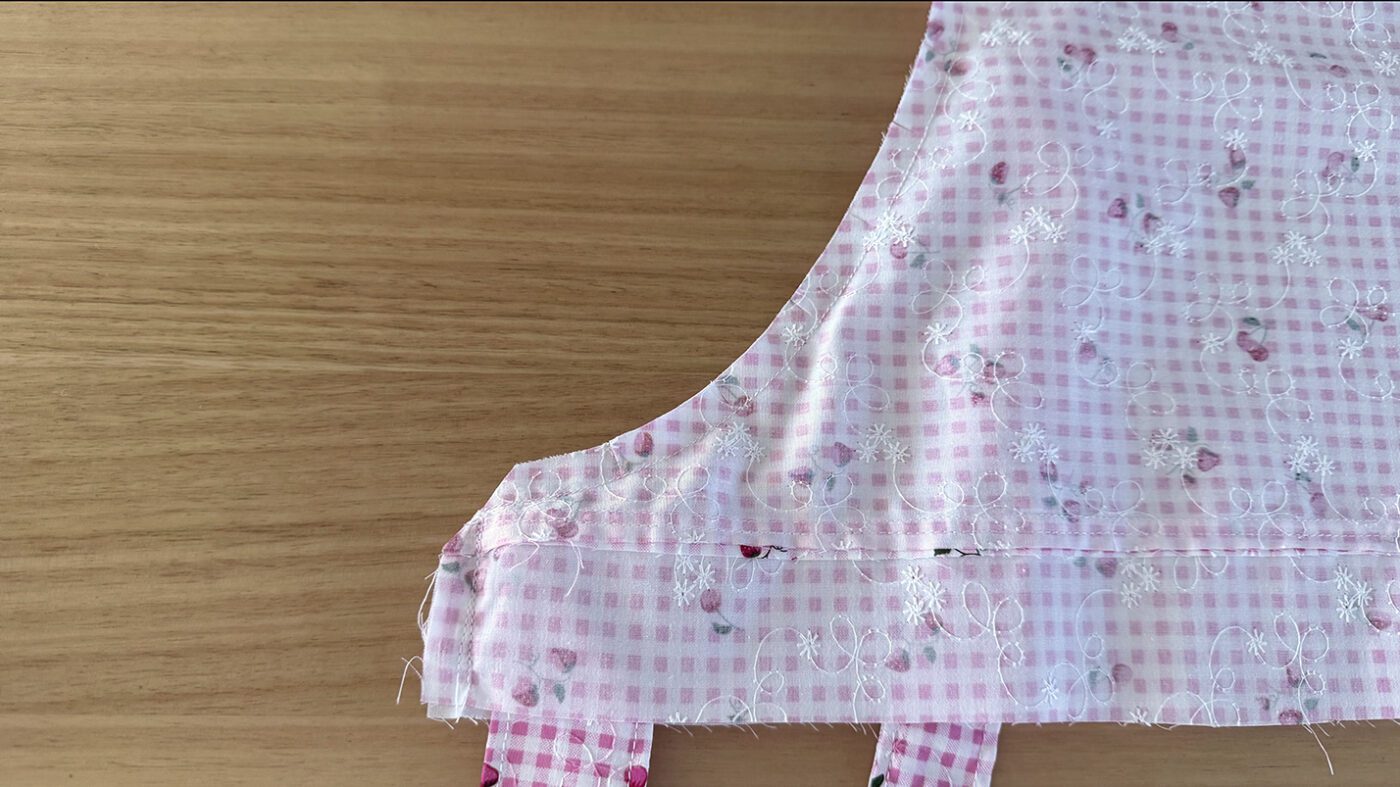
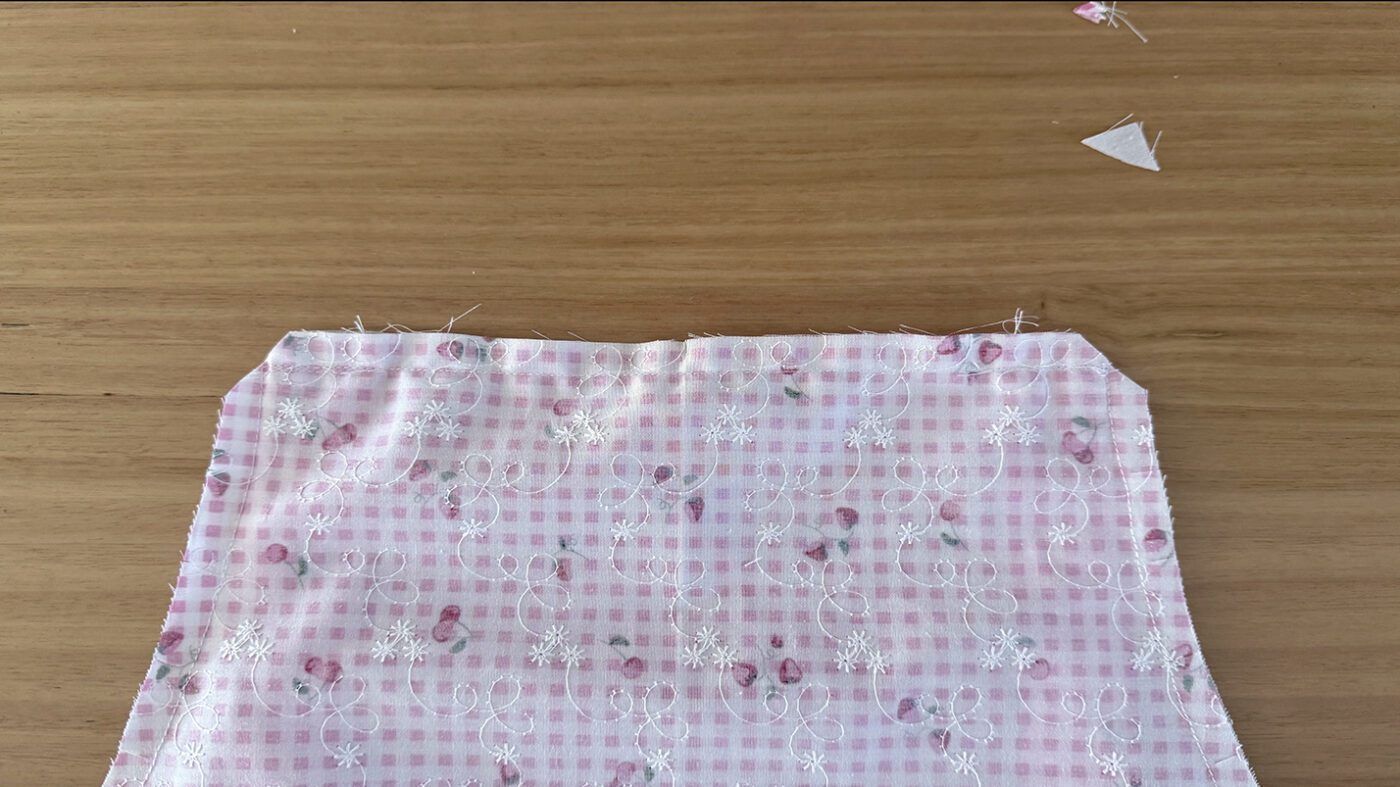
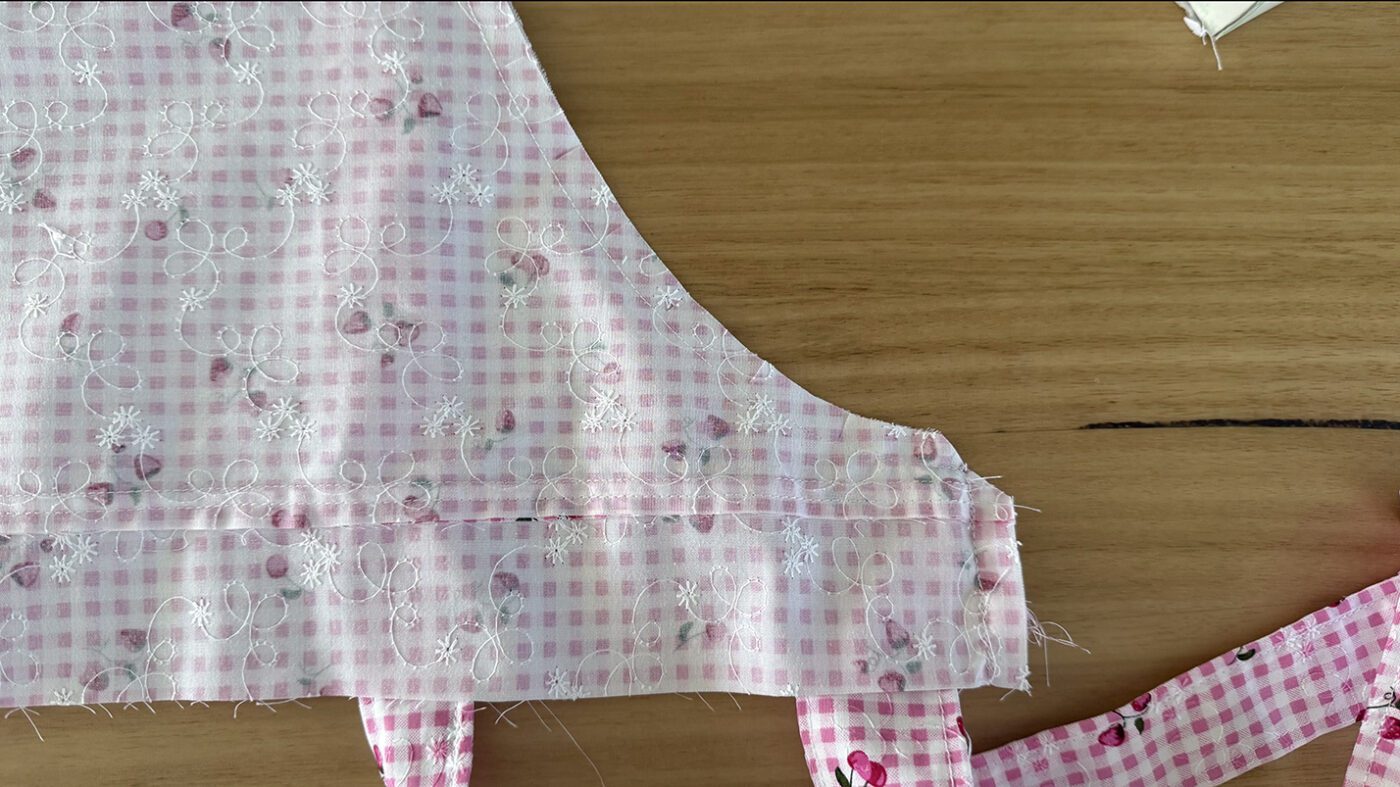
Step 14
Press well, then top stitch along the sides and top edge.
SKIRT
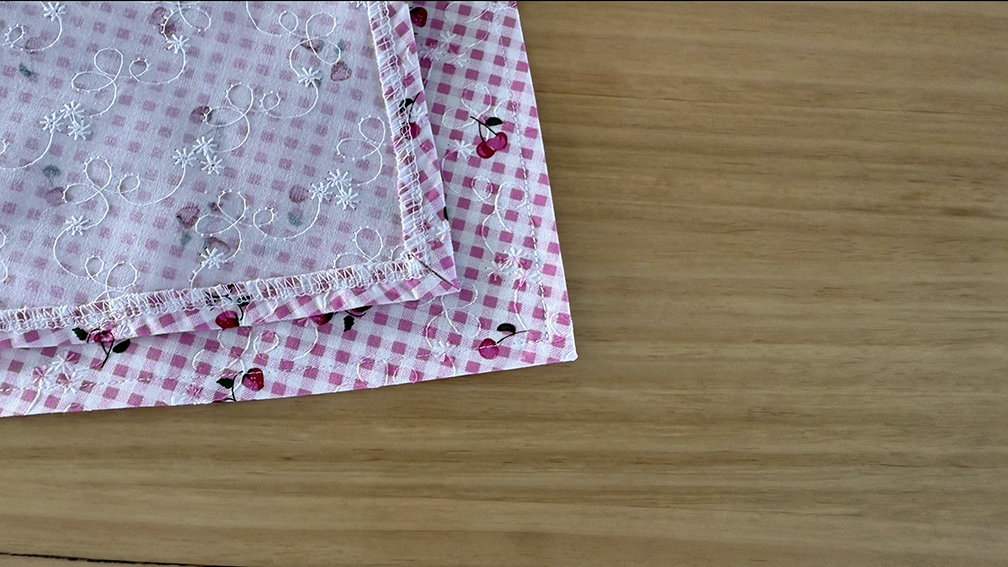
Step 15
Overlock the sides and hem of both the pocket and skirt from the right side of the fabric.
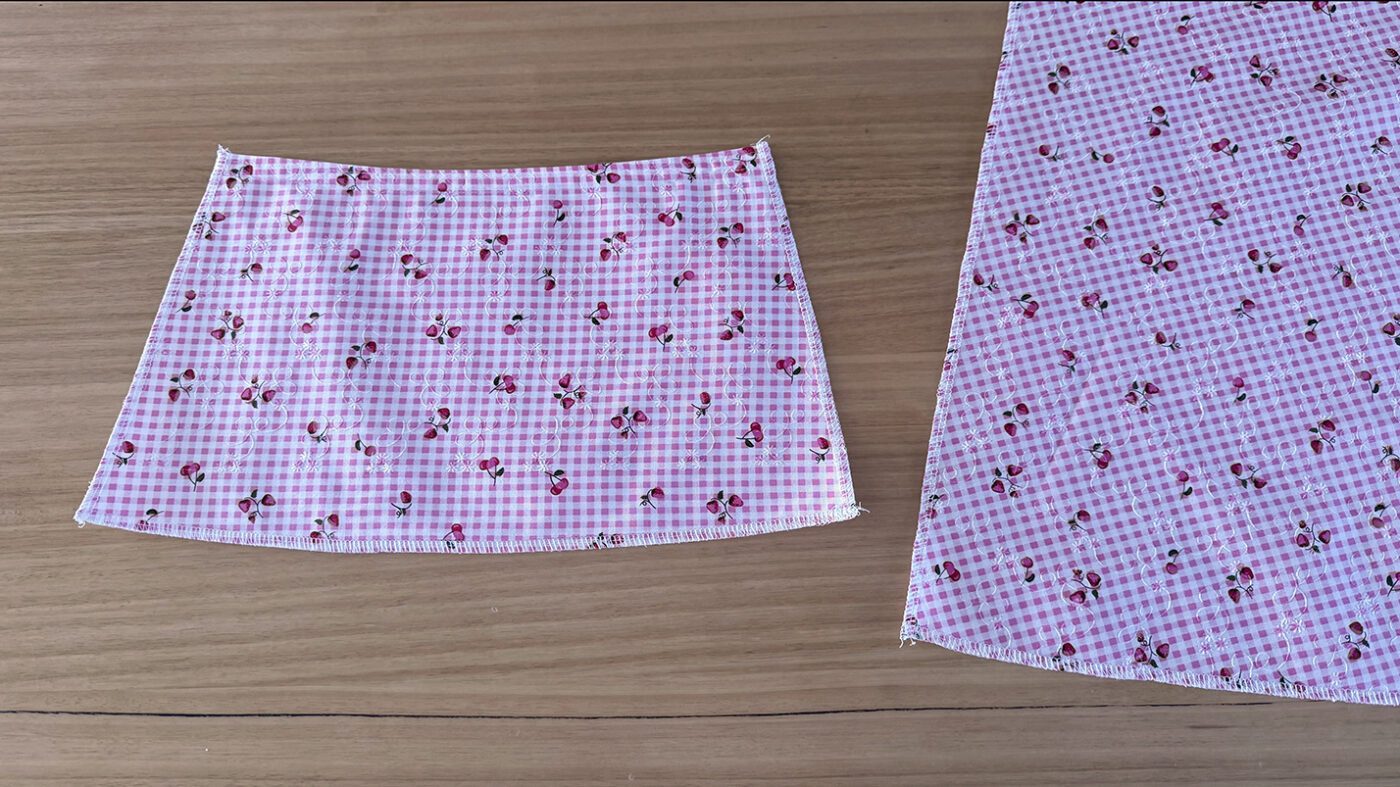
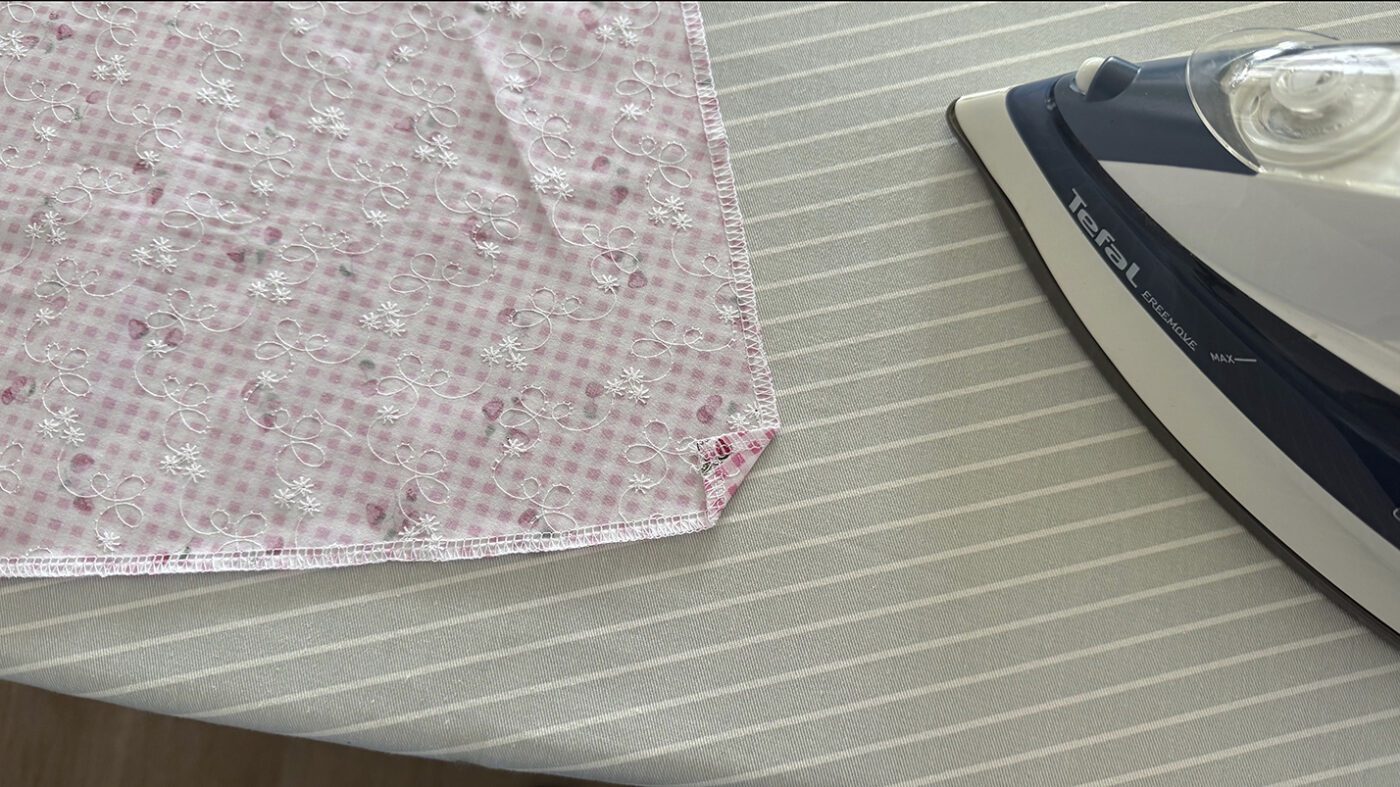
Step 16
Fold the corners of the skirt, and press. Then press the seam allowance of 1cm on the sides and hem.
By folding the corner and pressing first, it creates a neater finish and reduces bulkiness around the corners.
Repeat hemming on the pocket.

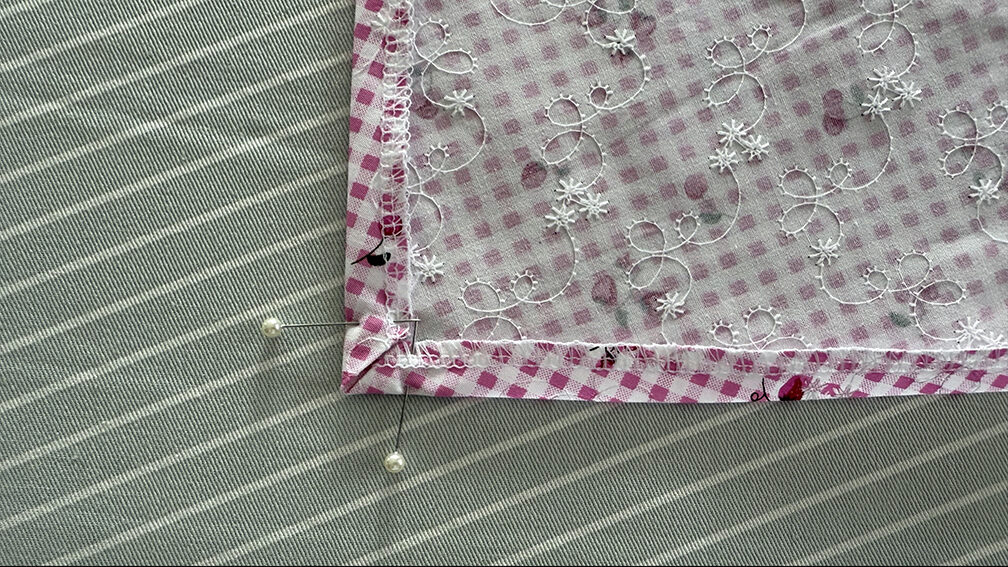
Step 17
Then pin the pocket to the skirt using the markings on the paper pattern for placement.
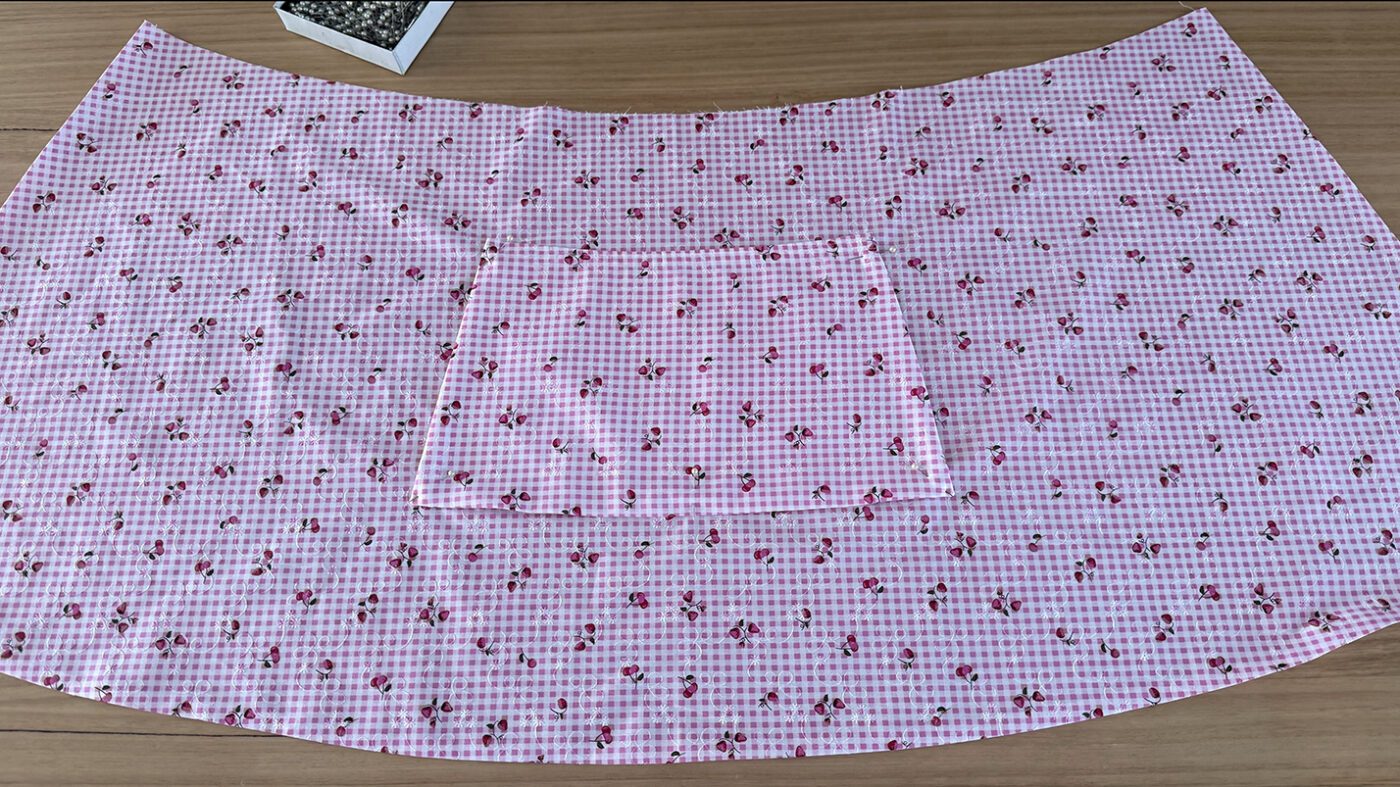
Step 18
Top stitch the pocket to the skirt along the sides and bottom edge.
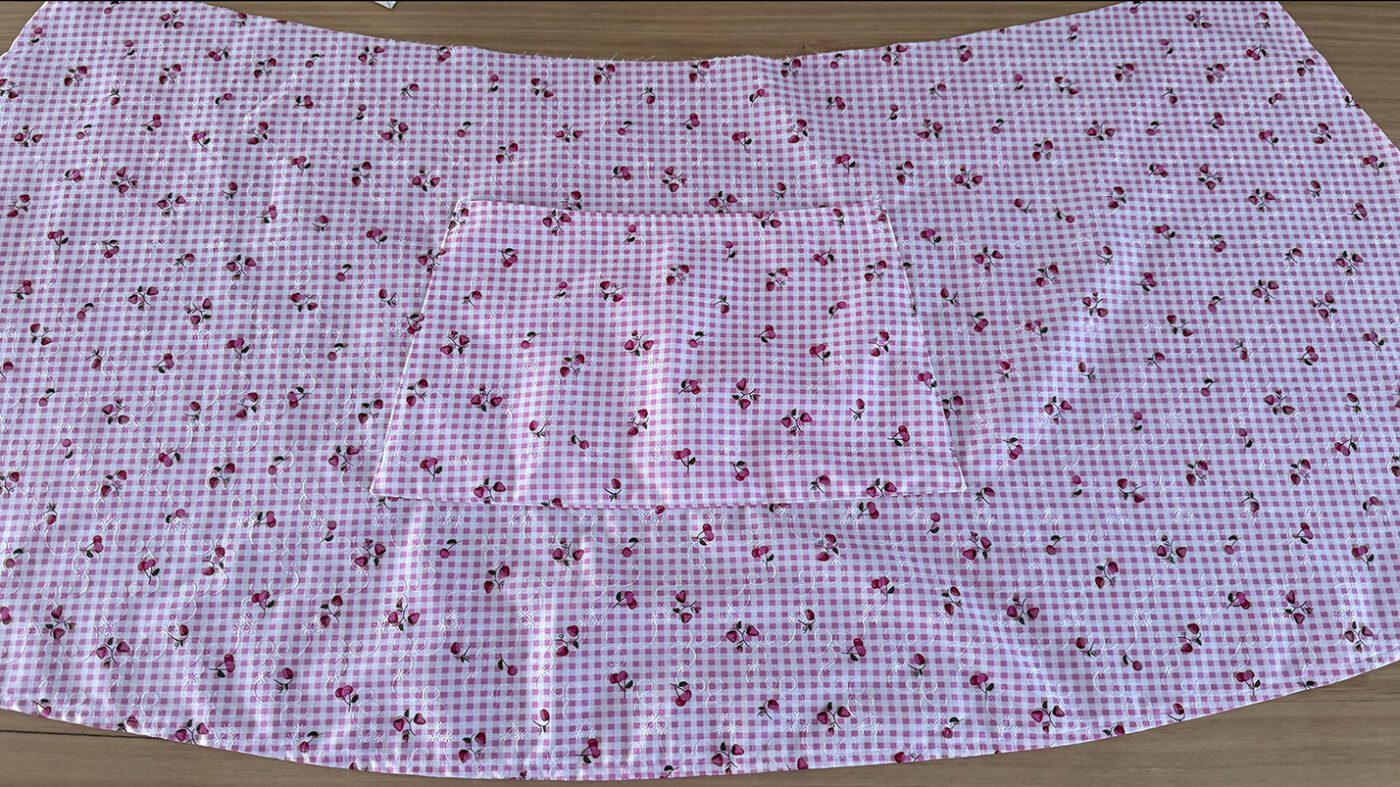
Step 19
Then stitch the sides and hem of the skirt.
Step 20
Stitch 2 rows of gathering stitching along the top edge of the skirt.
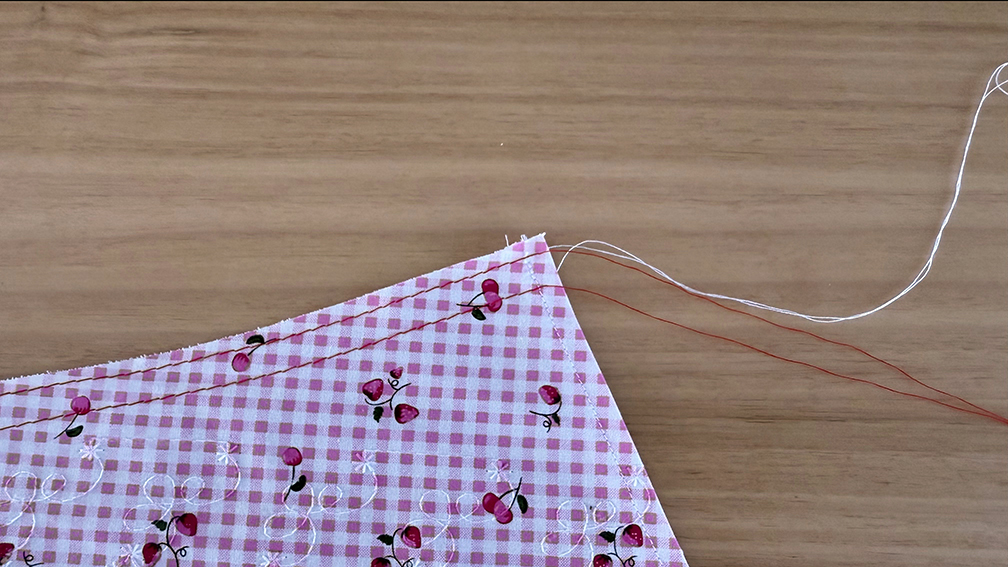
Step 21
Then gather and pin the skirt to the waistband right sides together.
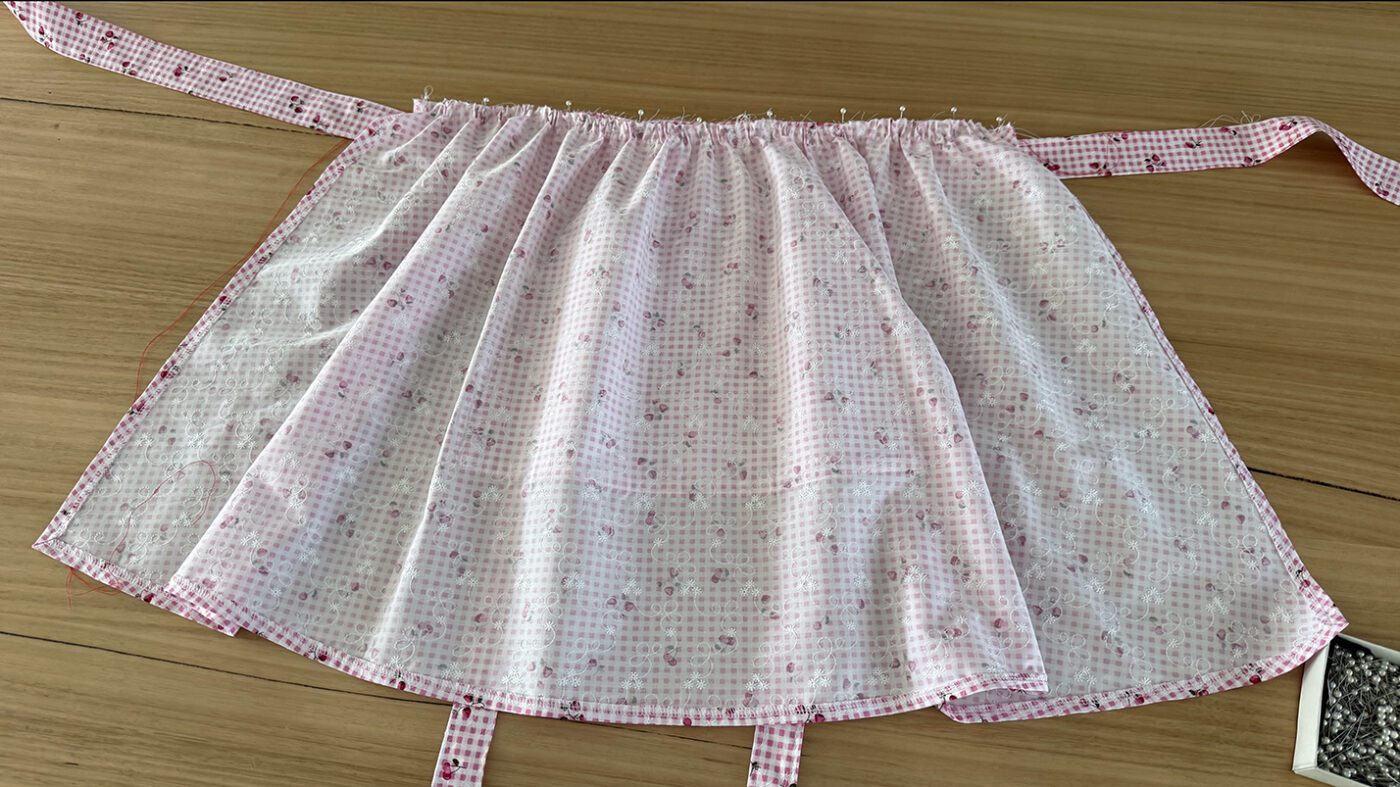
Step 22
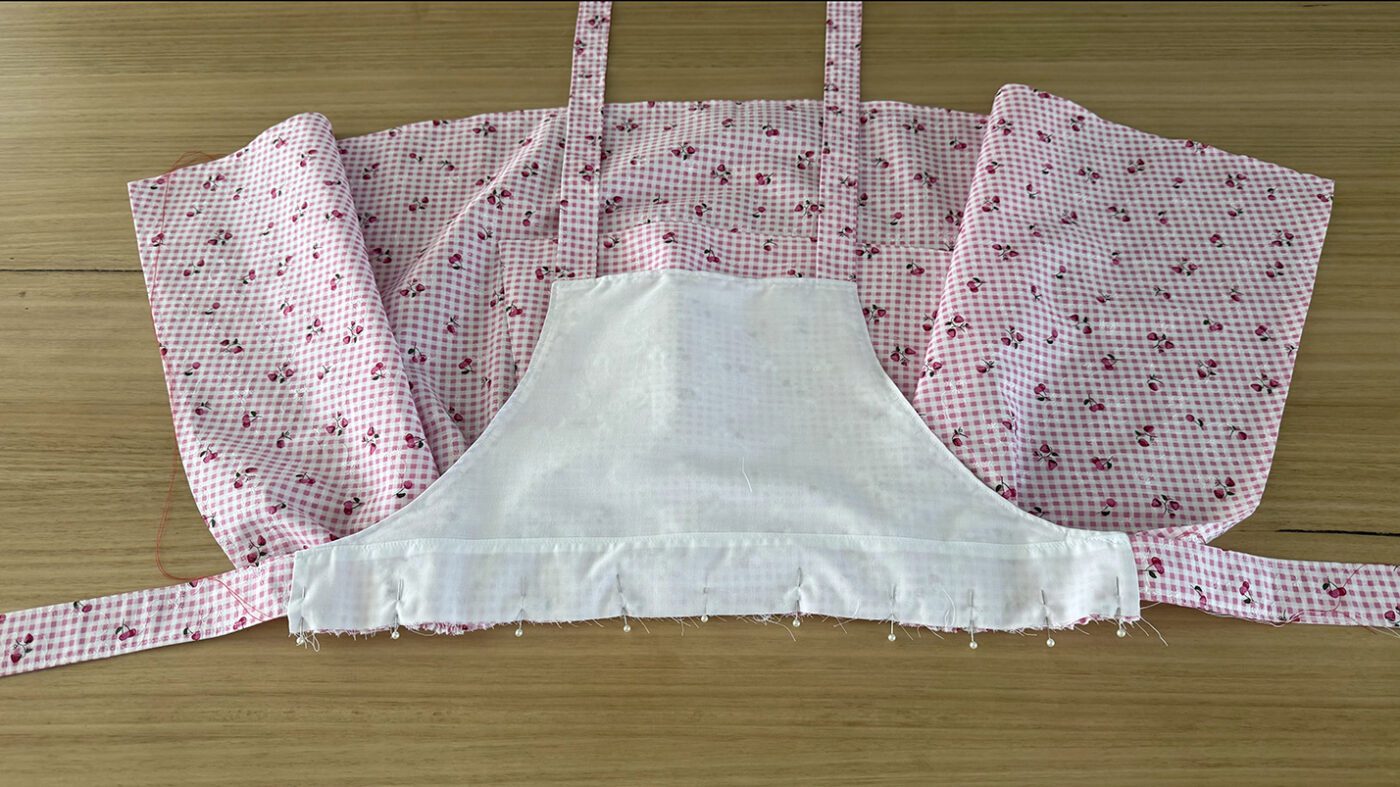
Stitch closed with a 1cm seam allowance.
Step 23
Remove the gathering threads and overlock the seam closed.
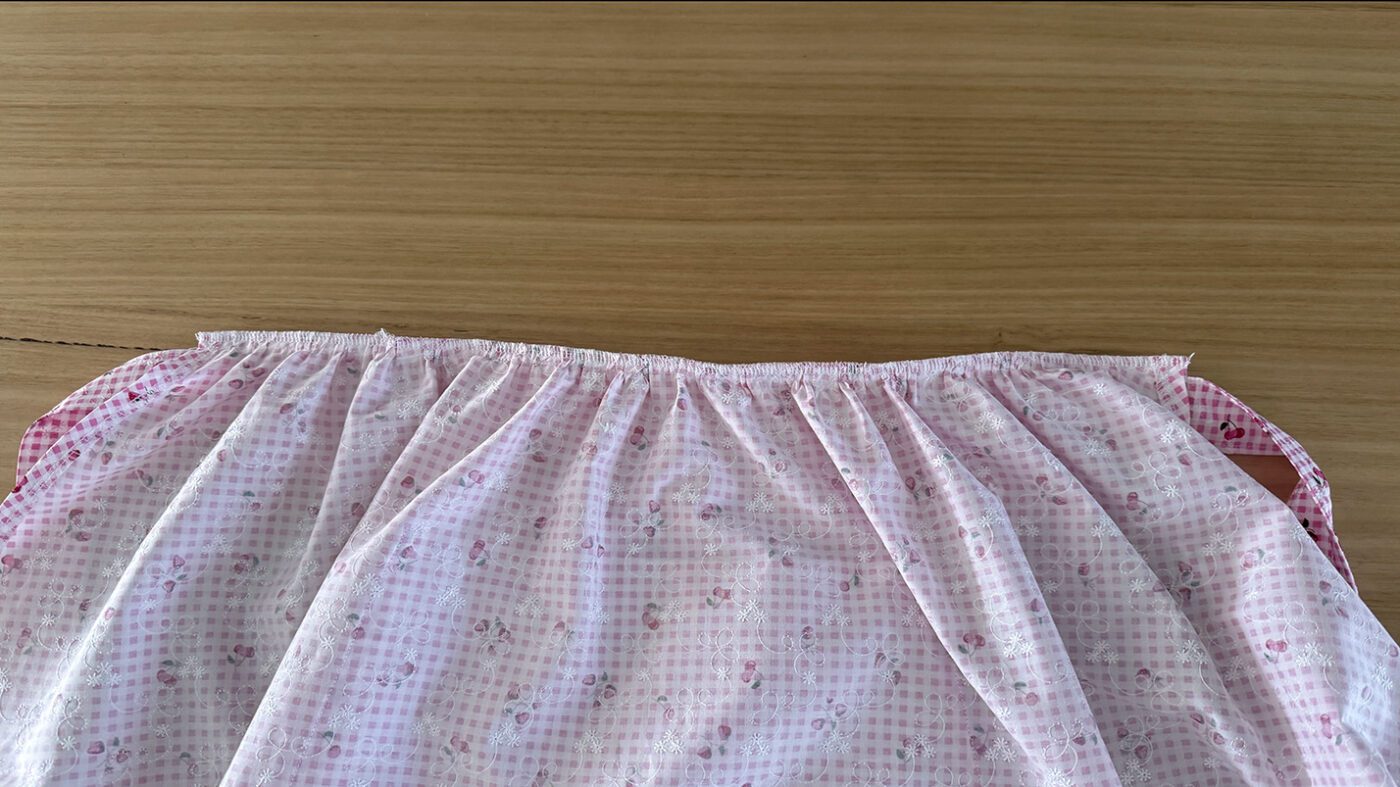
Step 24
Press the seam allowance towards the waistband. Then top stitch to the waistband. This step creates a neater finish on the inside.
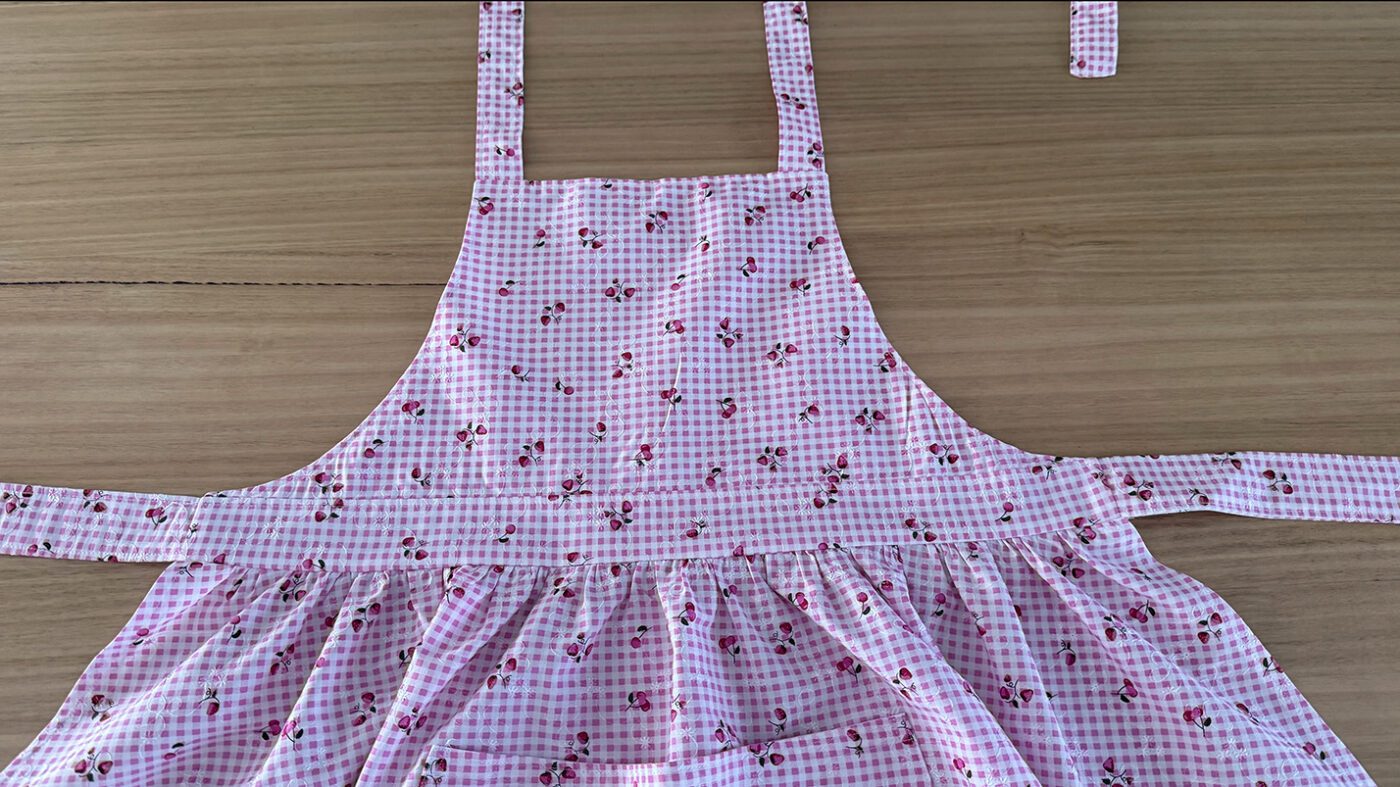
The Vera Apron is now complete.
I also have a number of other patterns where you can practice your sewing skills, which are available for purchase here.
I’d love to see your creations, feel free to tag me on Instagram at @at_the_seams_patterns
x
Want to stay up to date with new information and pattern releases? Join the community below: