Sewing Tutorials, Tops
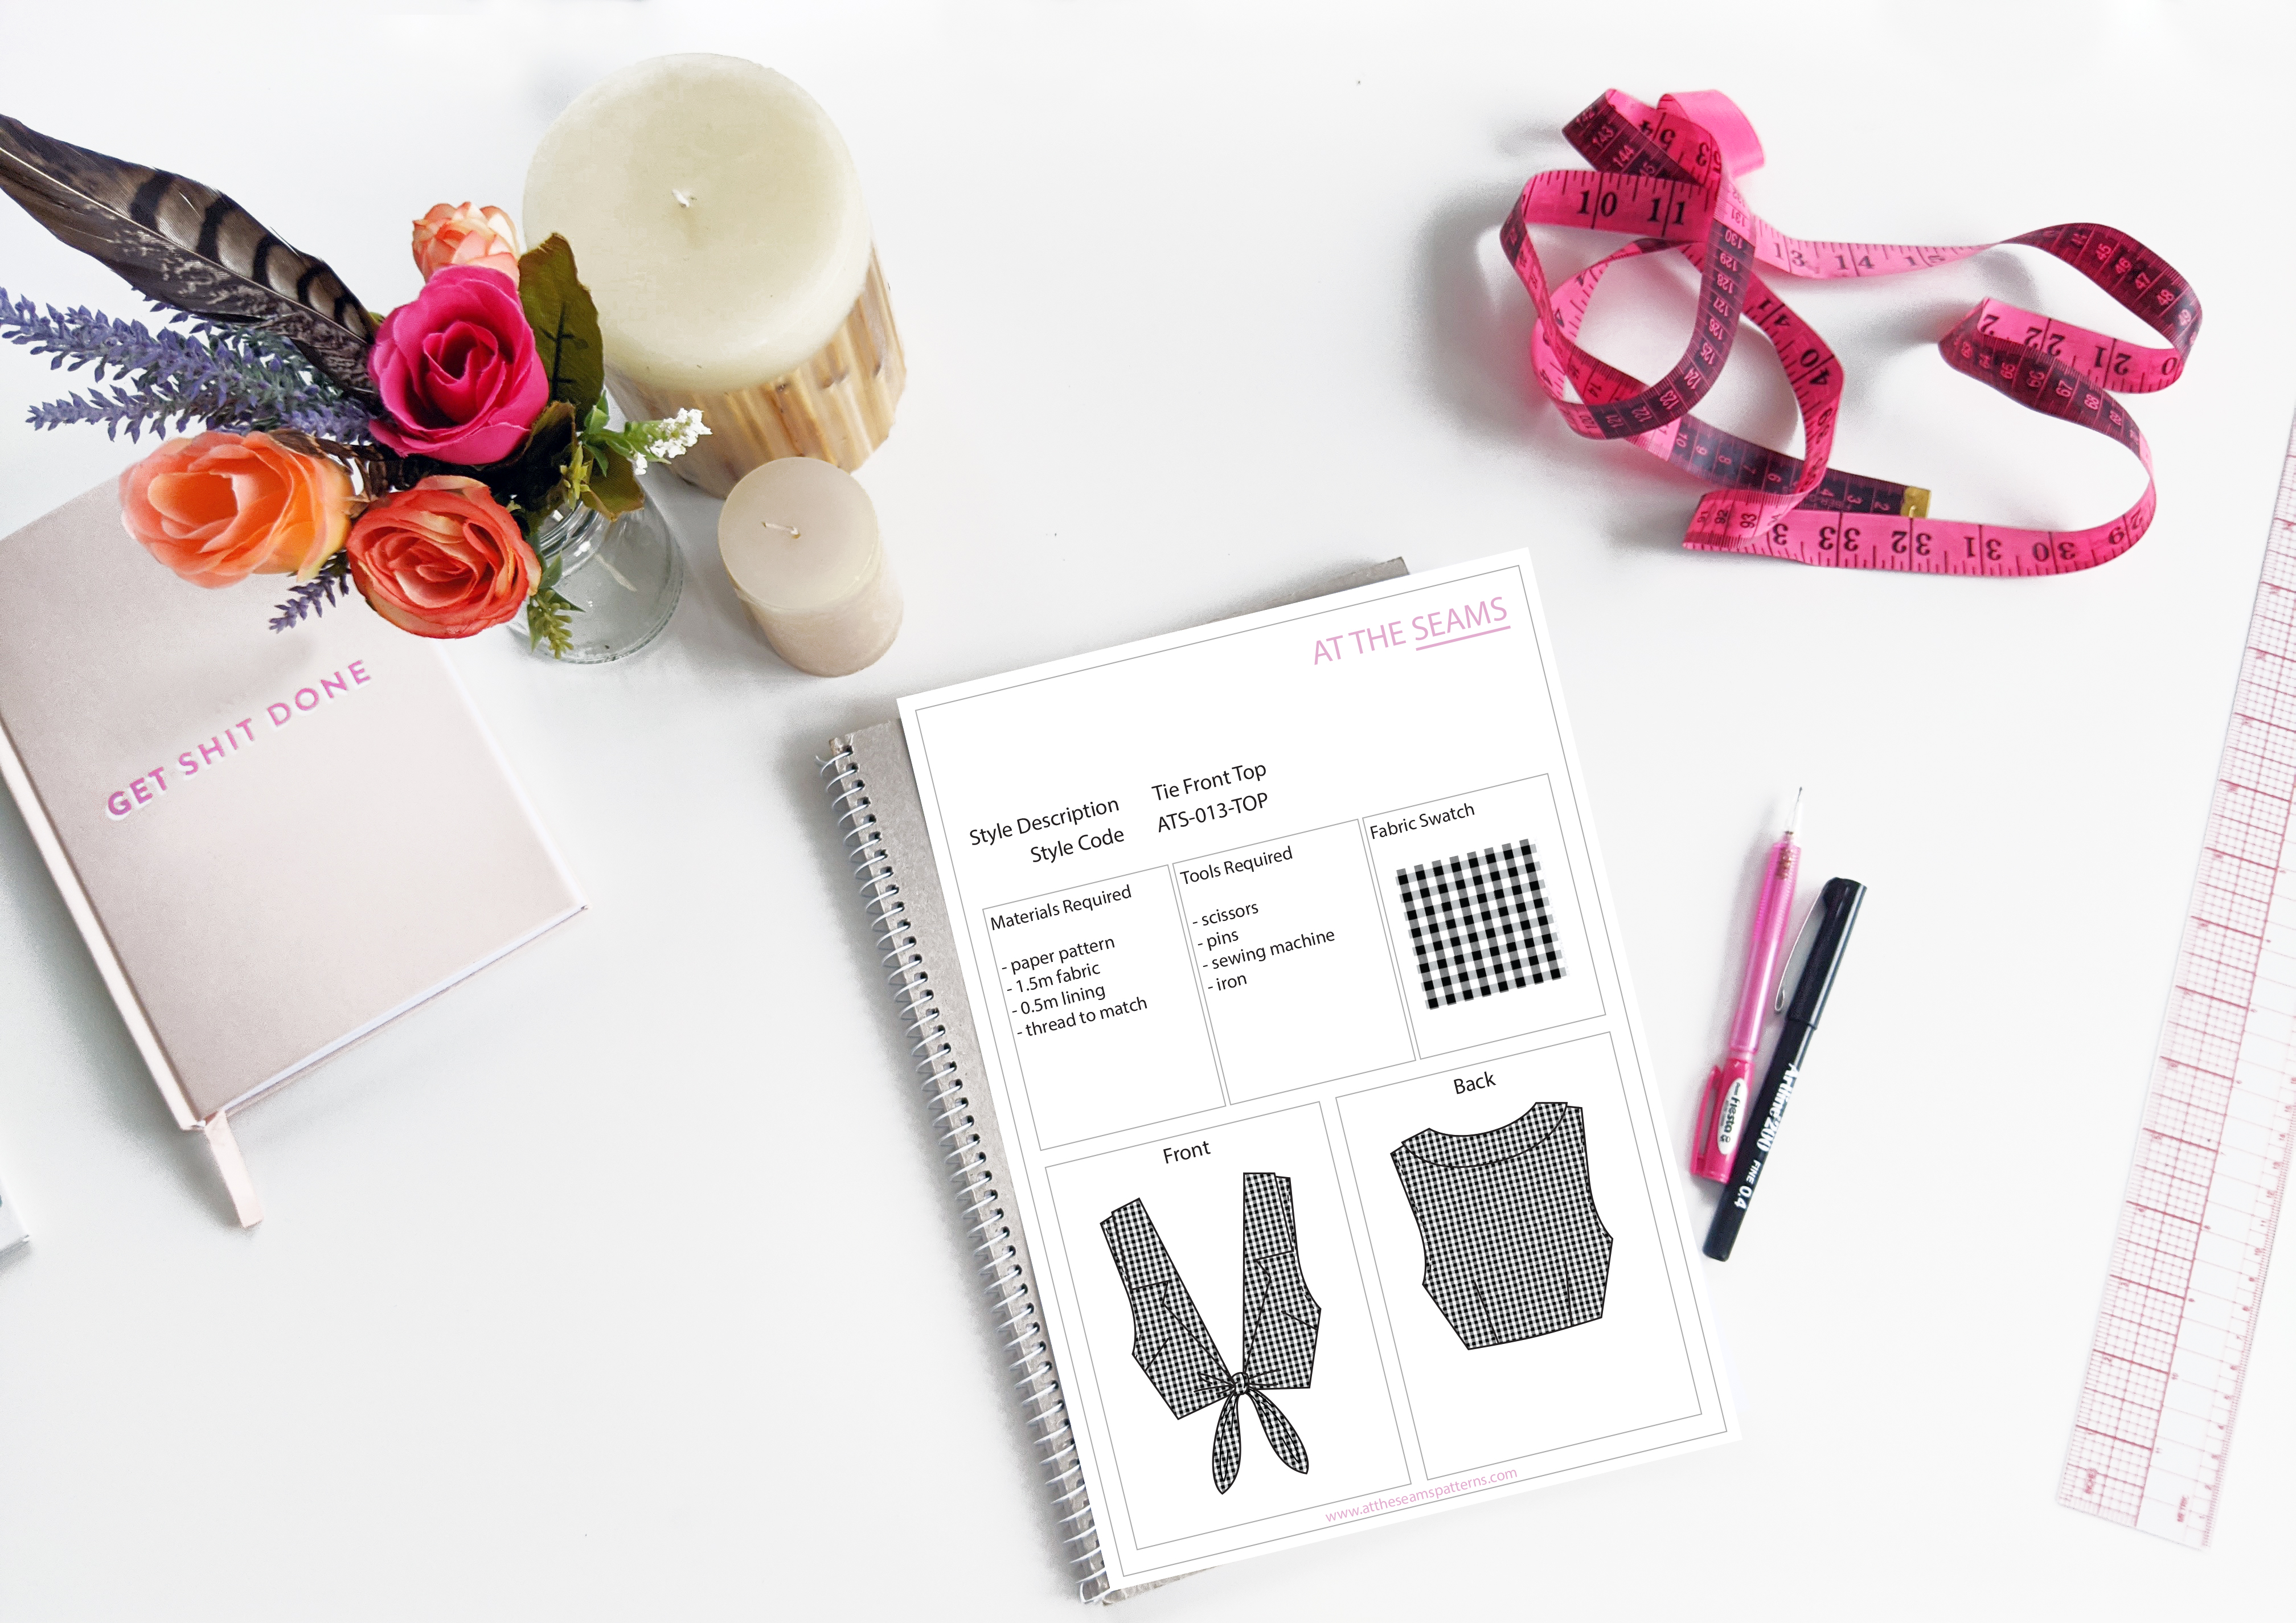
Sewing Tutorial: Nikki Tie Front Top
The Nikki Tie Front Top is a great summer or spring style as it is cropped and fitted. The garment is completely lined so is perfect for lightweight airy fabrics without seeing ugly lines from facings. The style features a feminine notched collar that blends into a CF tie making the fit of the garment adjustable around the waist and bust. The tie is designed to sit at the underbust so if wearing a v-neck bra/bralette, the bra will be covered.
Also, the sewing of this garment does not require an overlocker!
This style can be a little tricky in parts so don’t be afraid to ask questions in the comments below if you need. I’m here to help. So let’s get started.
To begin you will need the following things
Materials
- Nikki Tie Front Top paper pattern, or if you prefer to shop on Etsy
- 1.5m fabric
- 0.5m lining (this is for the back bodice, self-fabric can be used if preferred)
- cotton thread
Tools
- scissors
- pins
- sewing machine
- iron
Tips
- Ensure your fabric is washed, dried, and pressed before you start cutting. There is nothing worse than washing your beautiful garment and it shrinks, or even more annoying the lining shrinks and the main doesn’t so your garment is all pulled out of shape and is unwearable.
Step 1
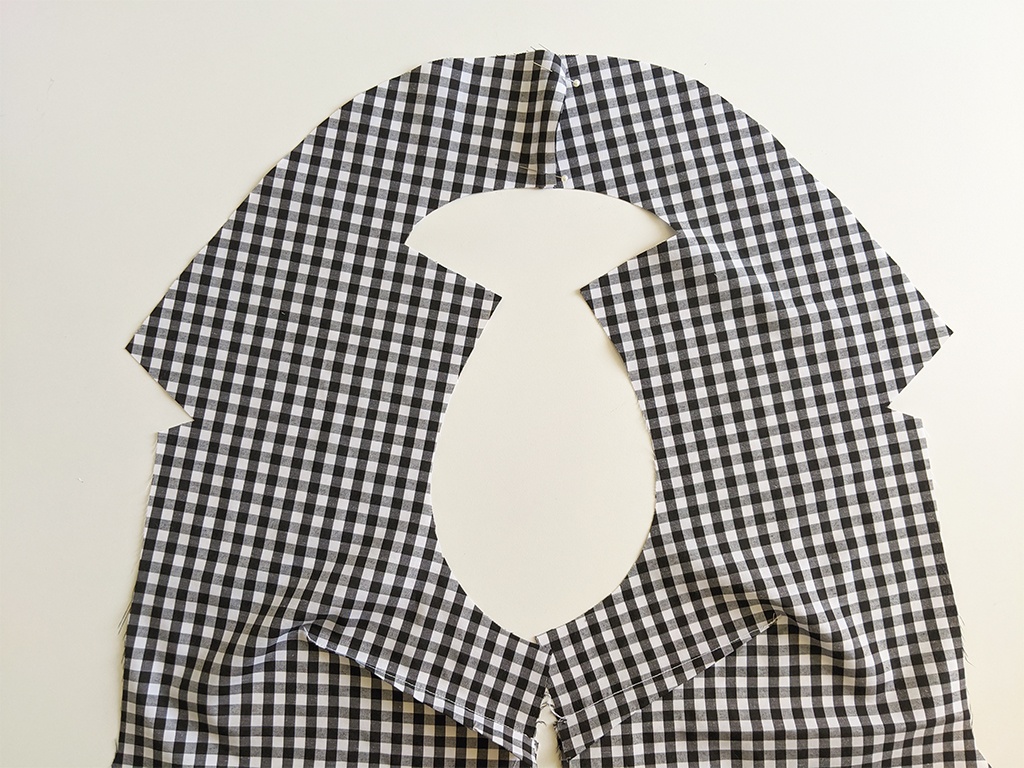
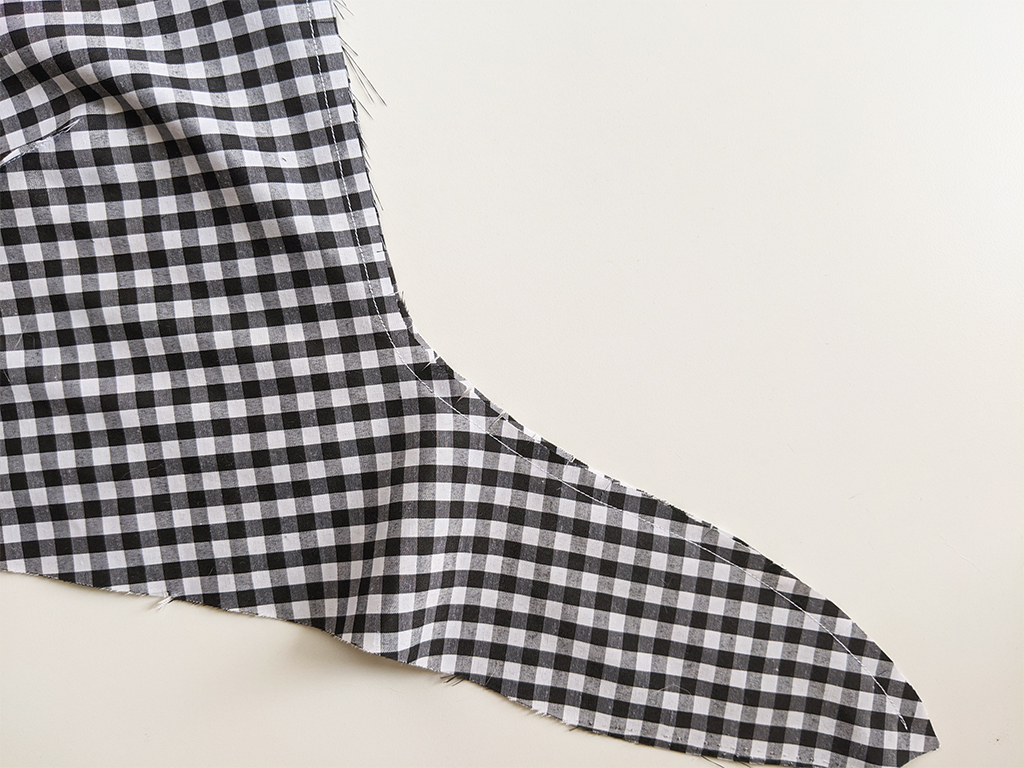
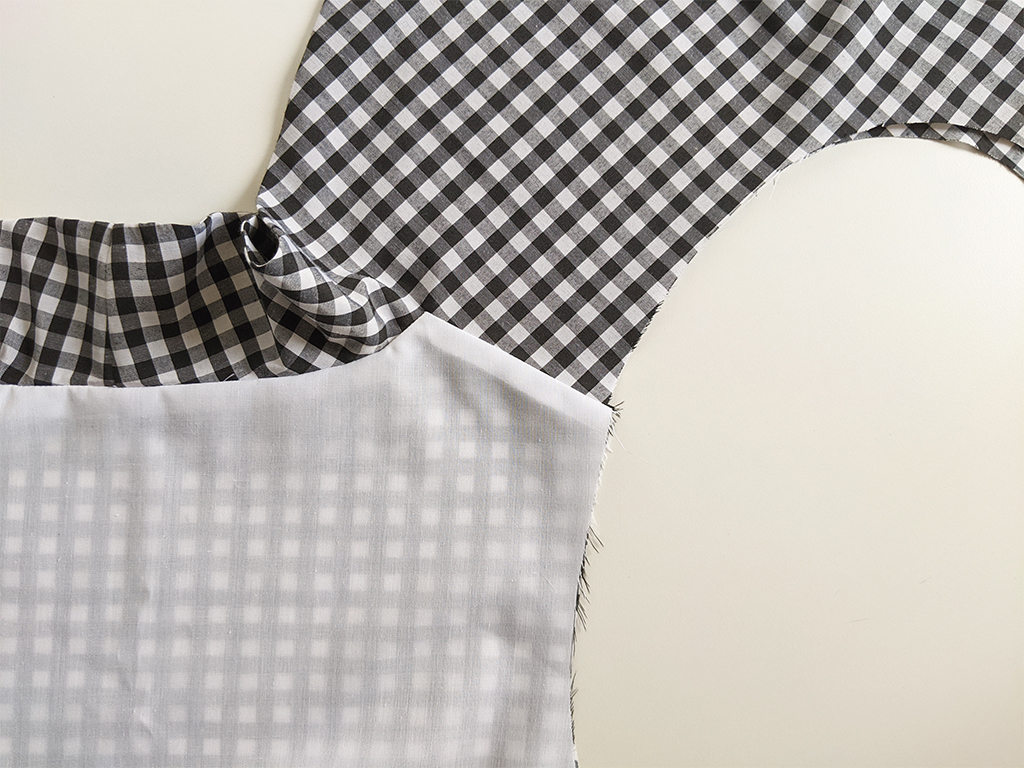
Cut all main and lining pieces accurately on the correct grain, ensuring all notches are clipped. Also clip a notch at CB neck.
Beginner tip* If you can afford to purchase a rotary cutter and cutting mat, I find this more accurate and time-efficient.
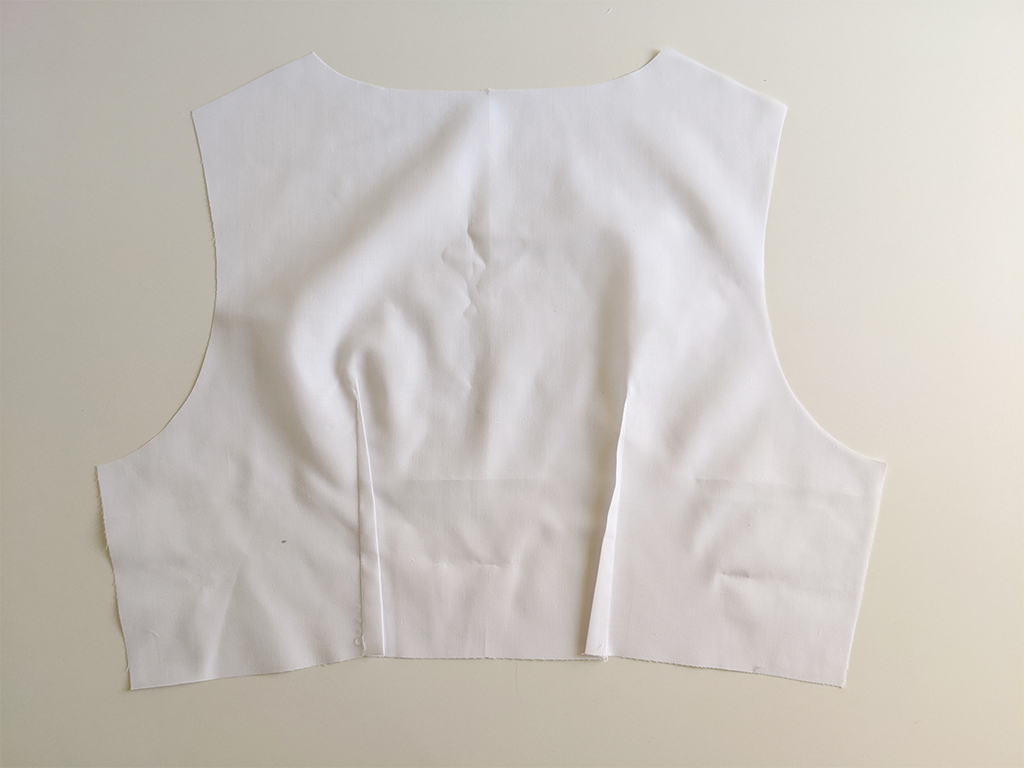
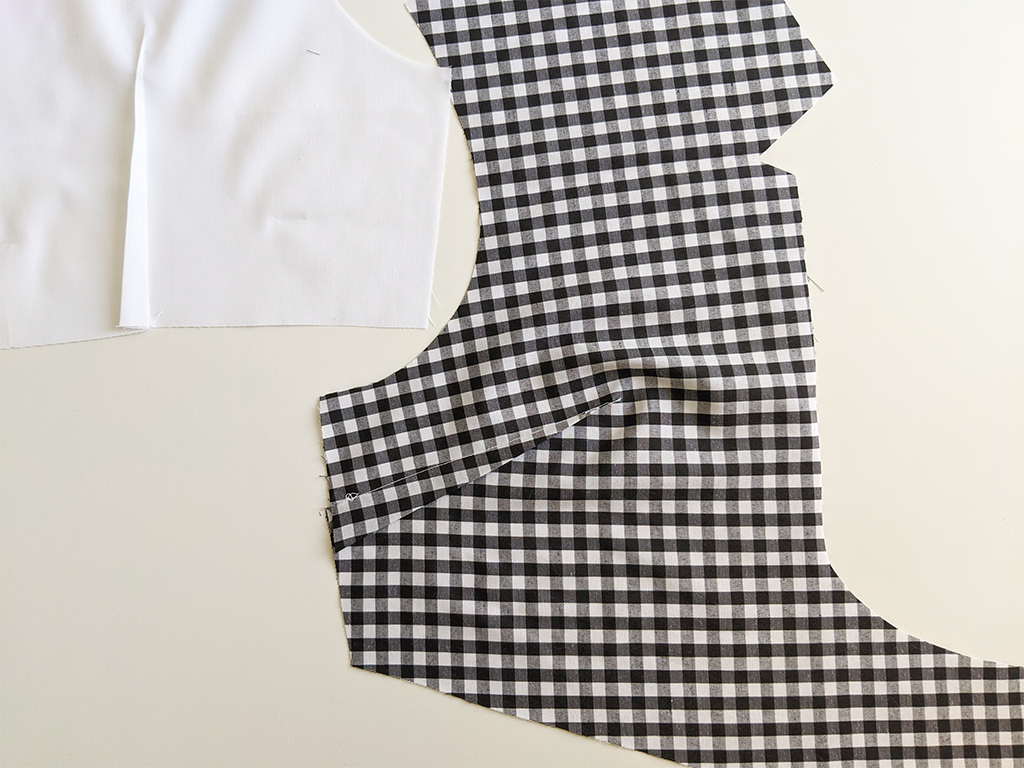
Step 2
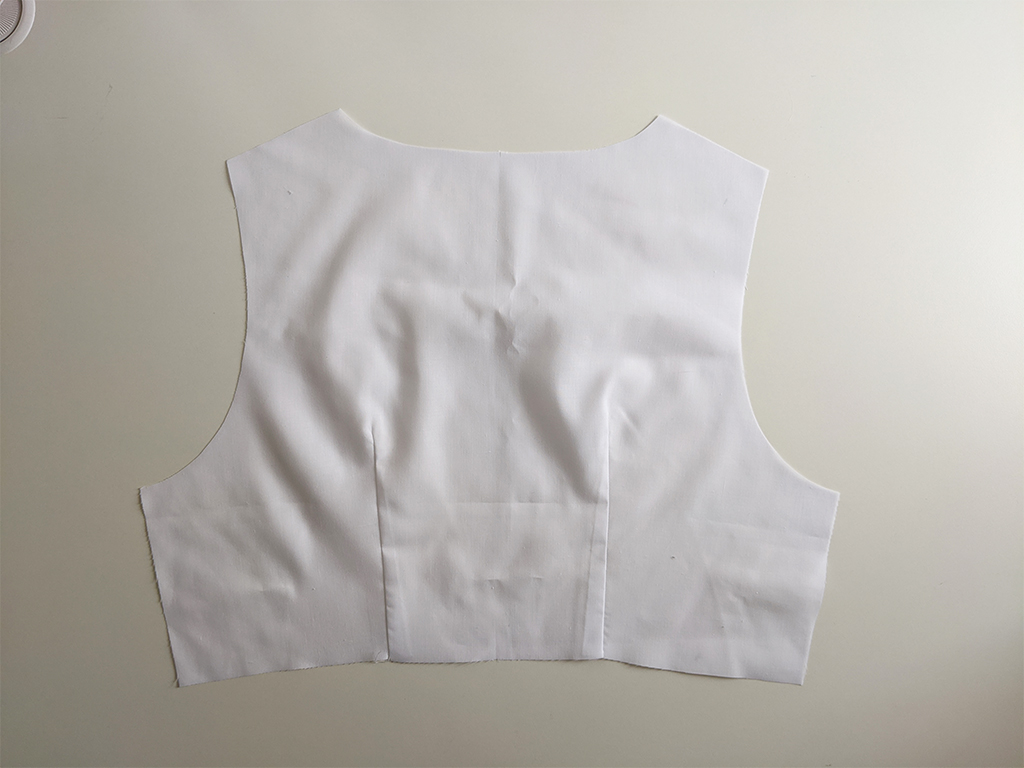
Sew waist darts on front and back bodice of main and linings, press front darts down and back darts inwards.
Beginner tip* If needed you can draw the dart lines onto the fabric with dressmaker’s chalk to ensure you sew a neat straight dart.
Step 3
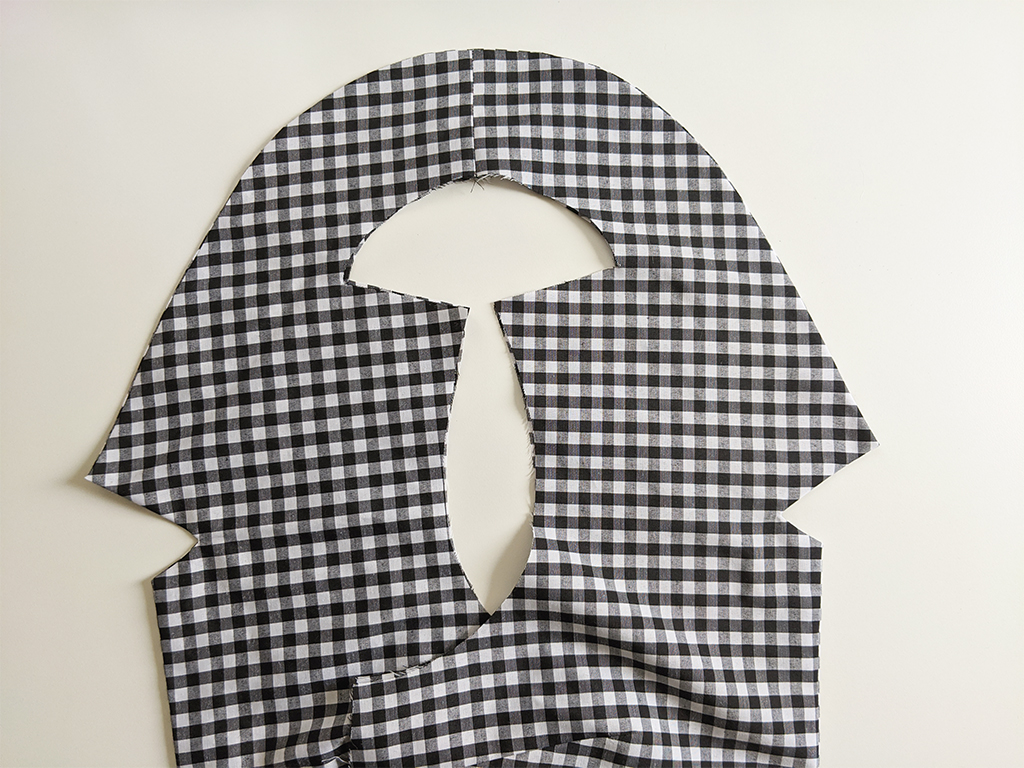
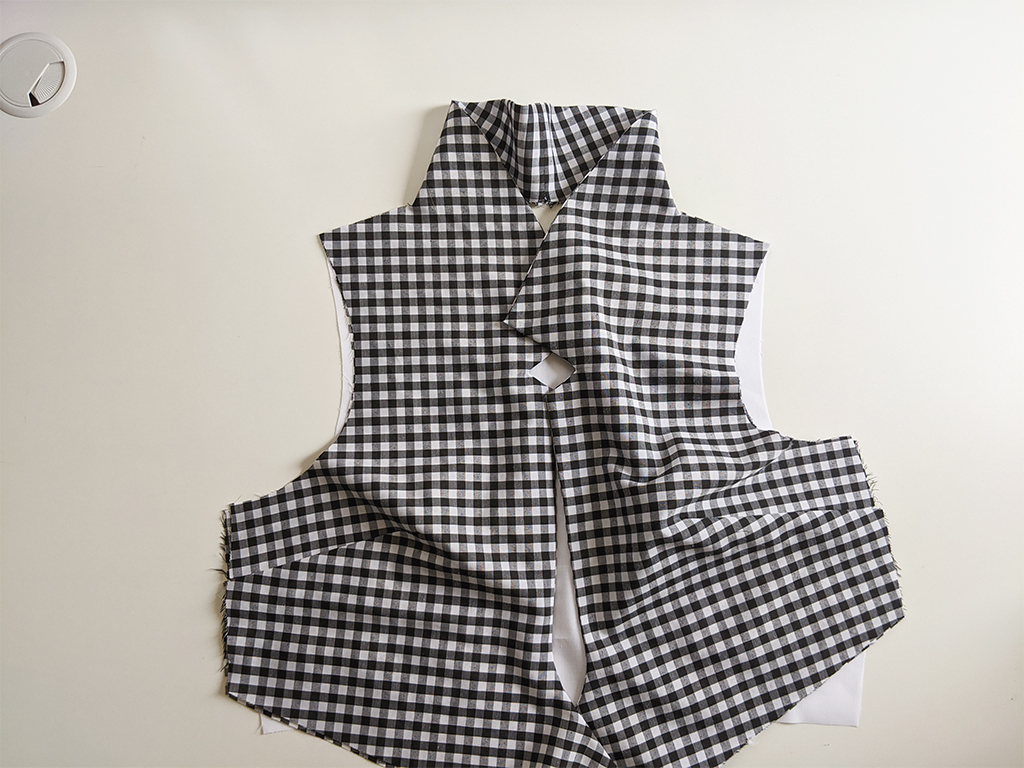
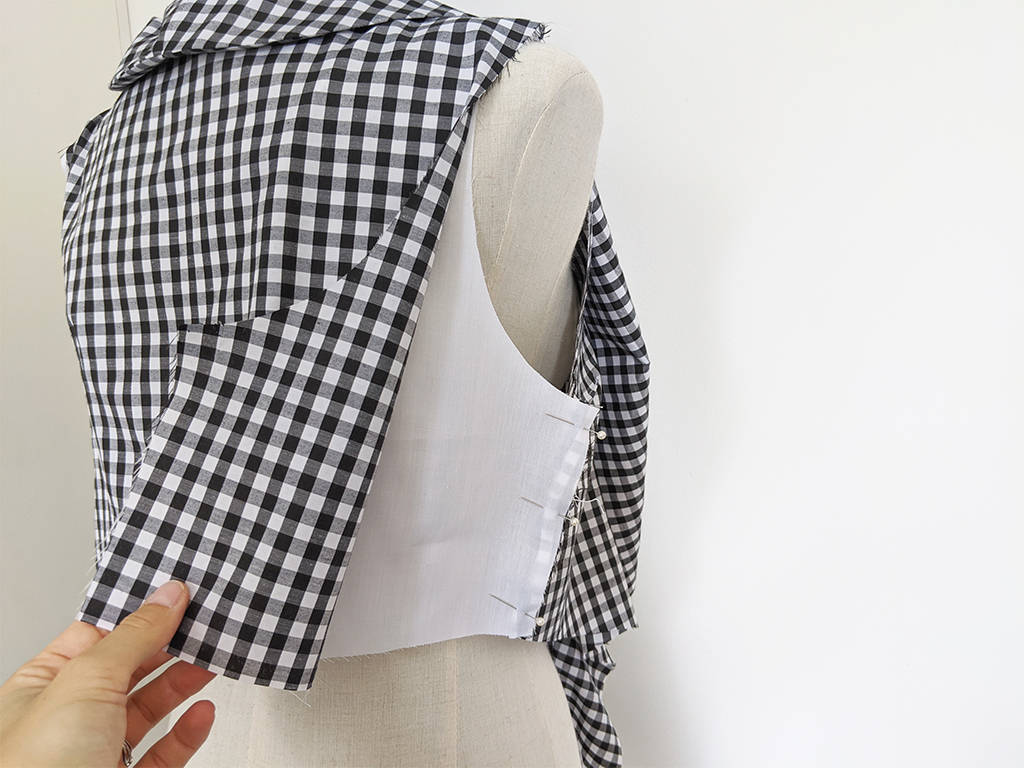
Next, pin and sew the front bodice together at CB neck seam, on main and lining, right sides together, then press open.

Step 4
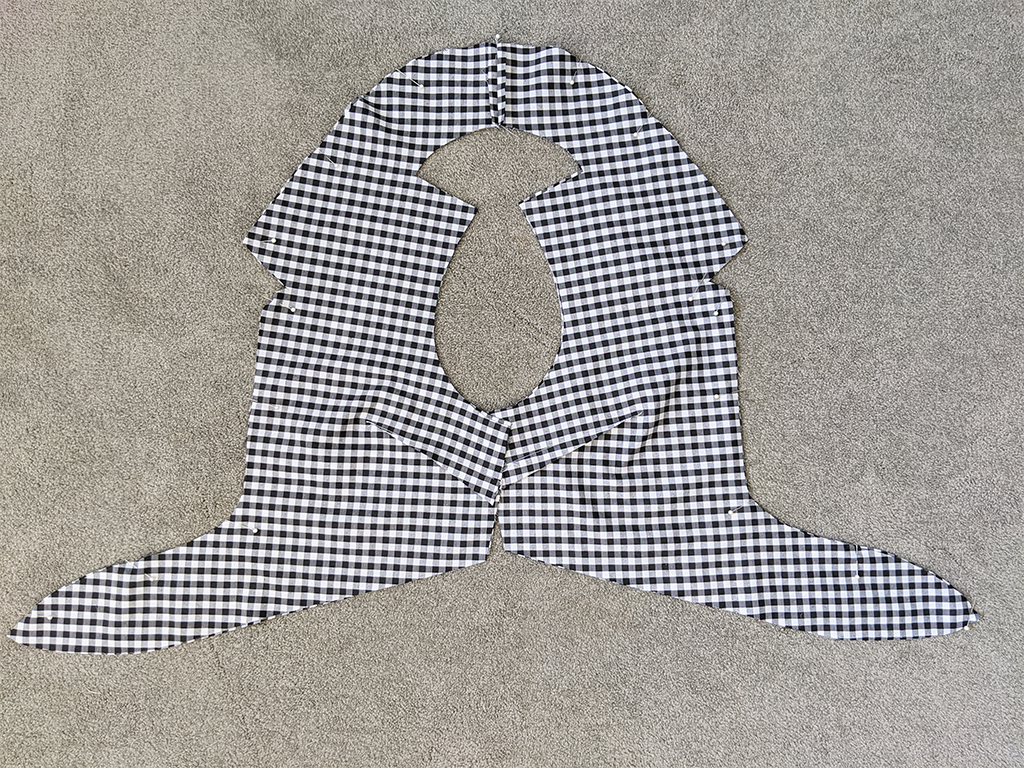
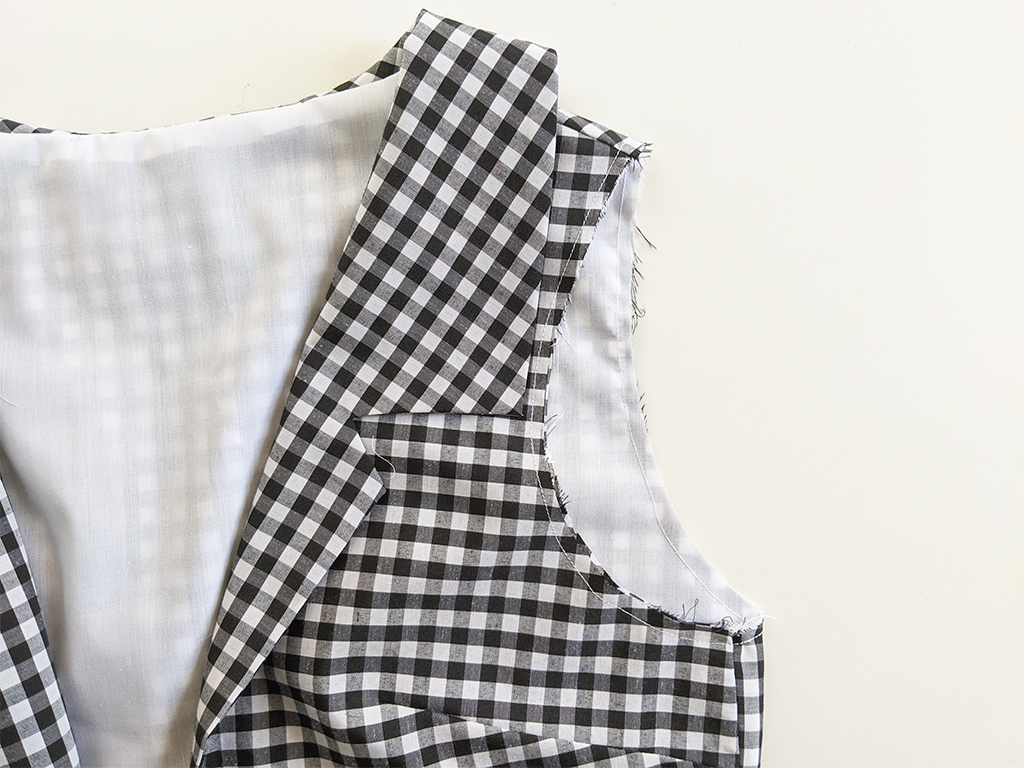
Carefully pin front bodice of main and lining together around front tie and collar edge ensuring all points and edges line up. Stitch closed then clip all corners and curves. Turn through and press.
Beginner tip* Do not skip clipping and pressing, this process ensures your garment gives a neat professional finish to your garment and will ensure it sits nice and flat on the body.
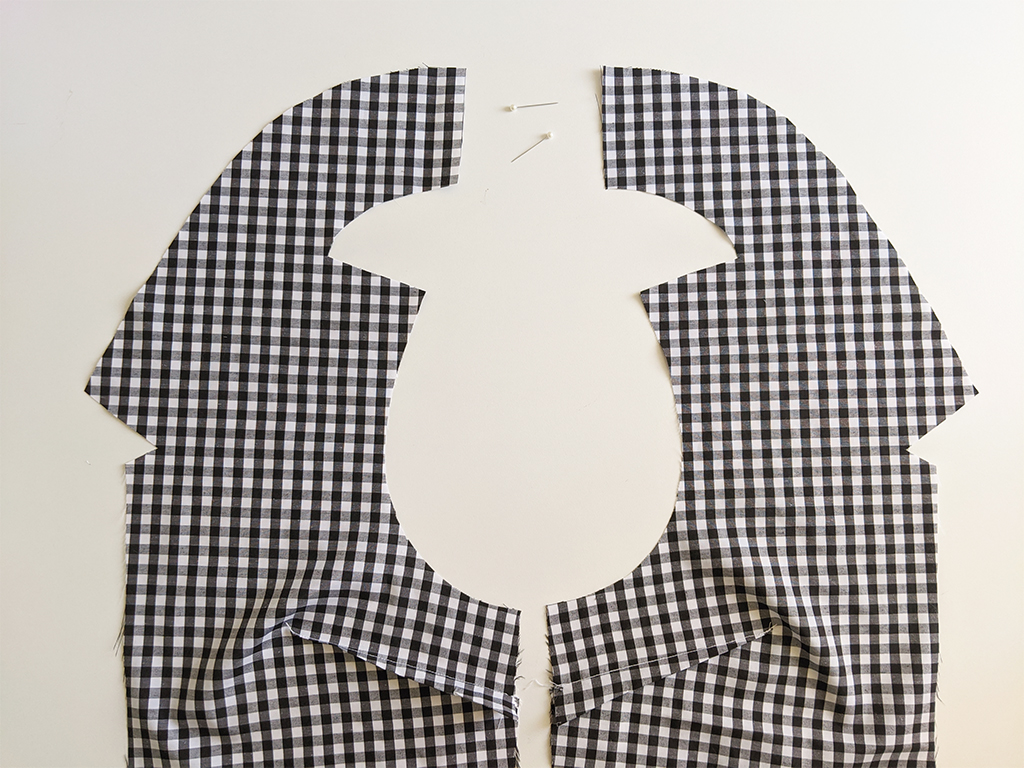
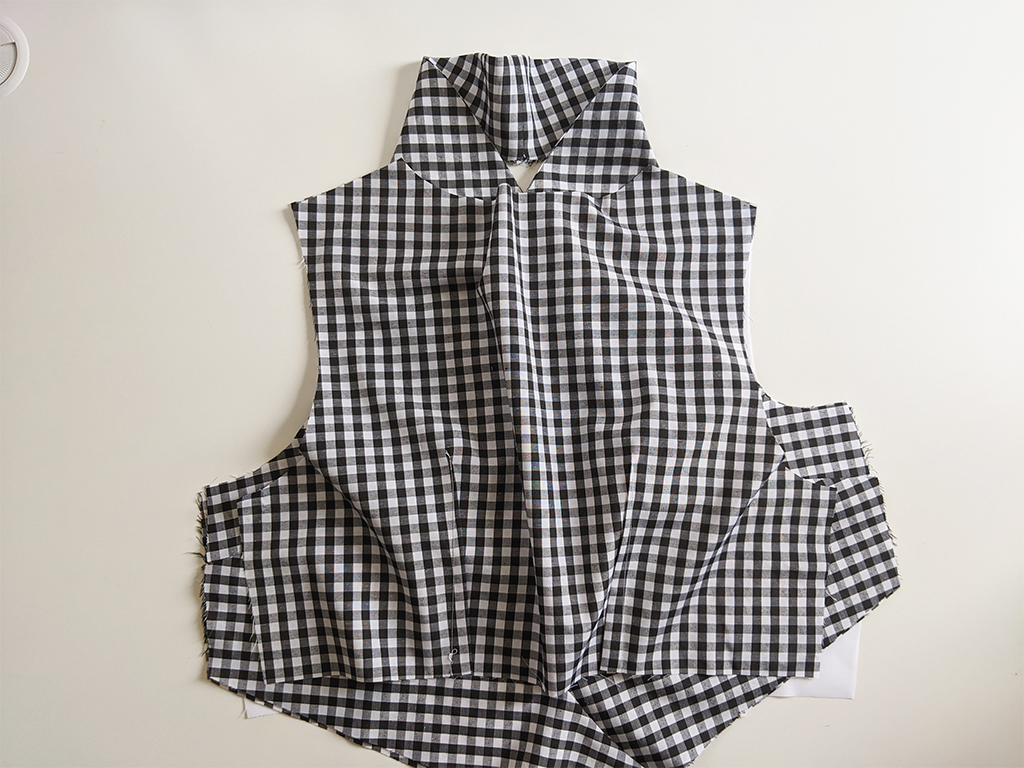
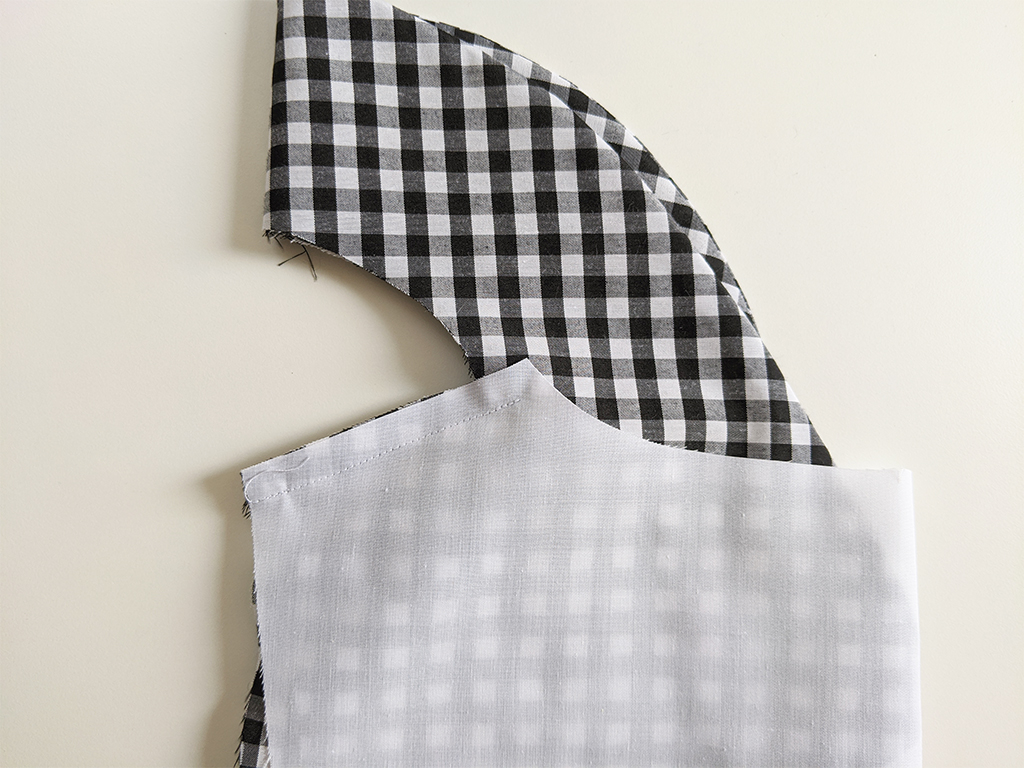
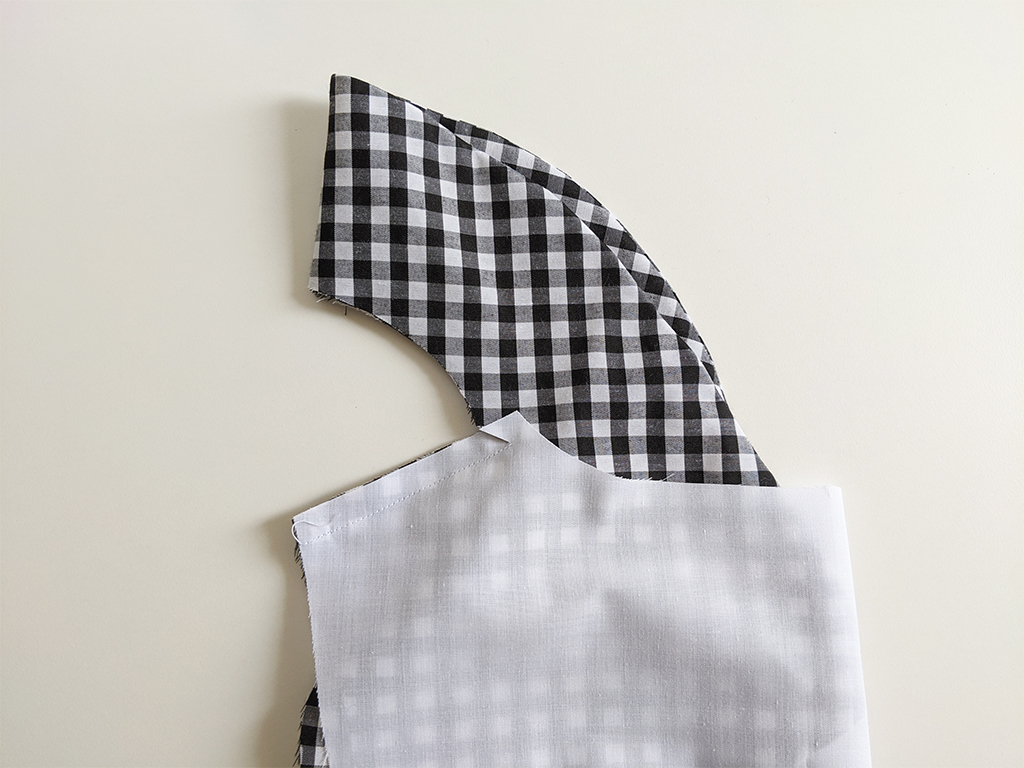
Step 5
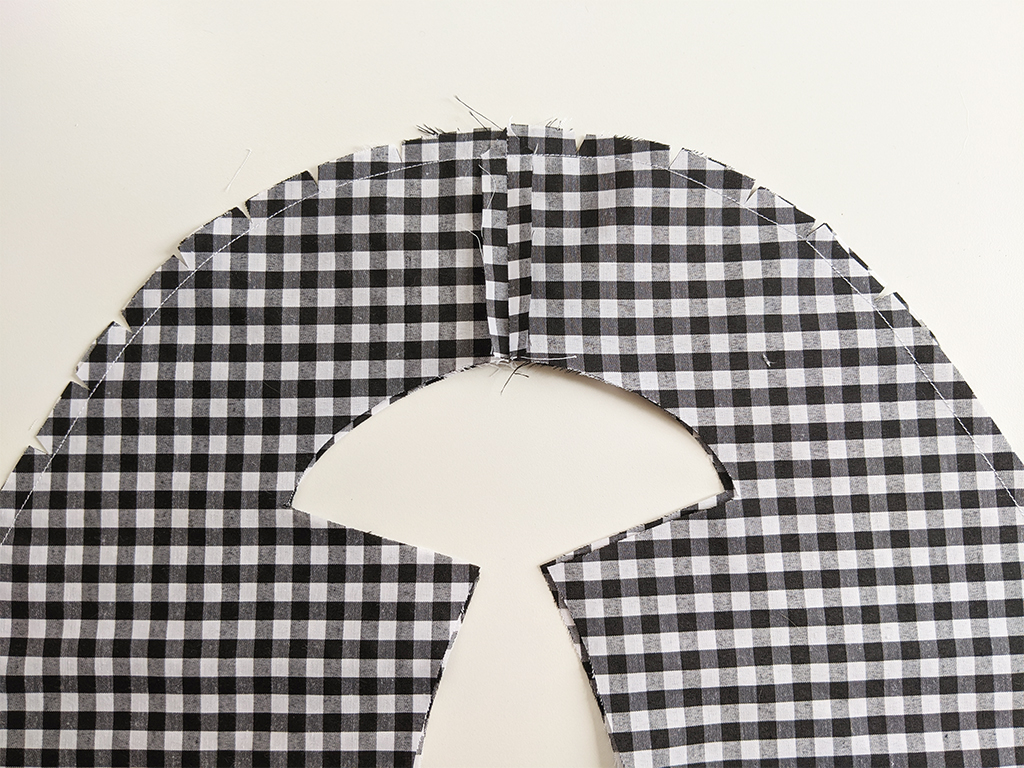
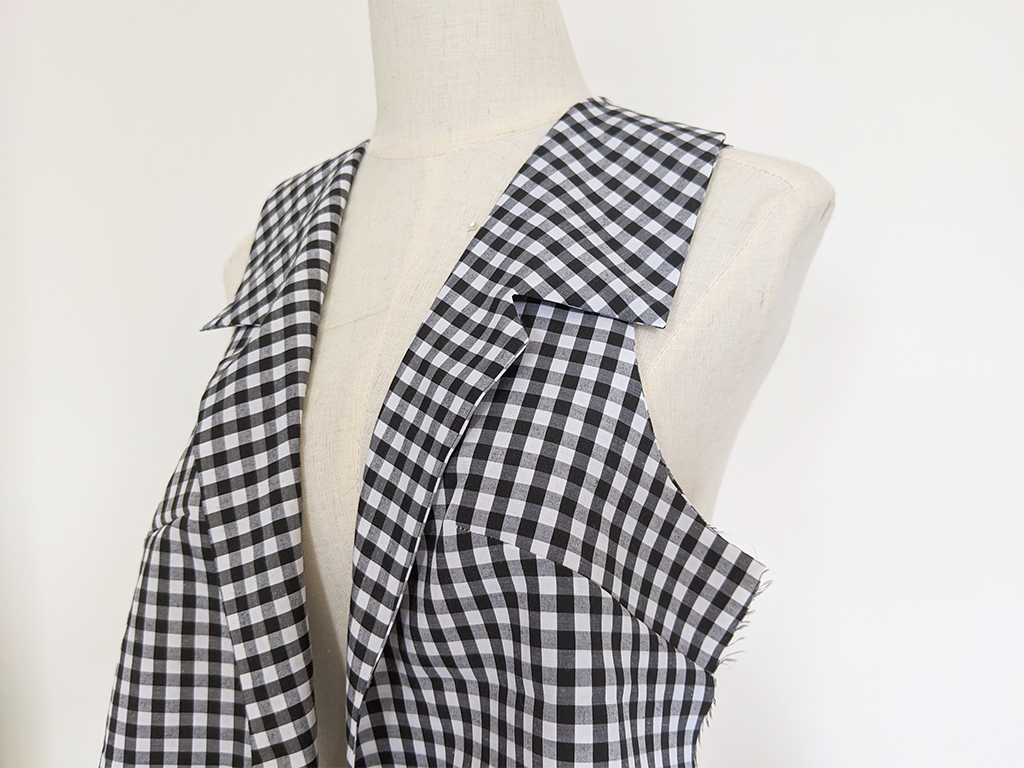
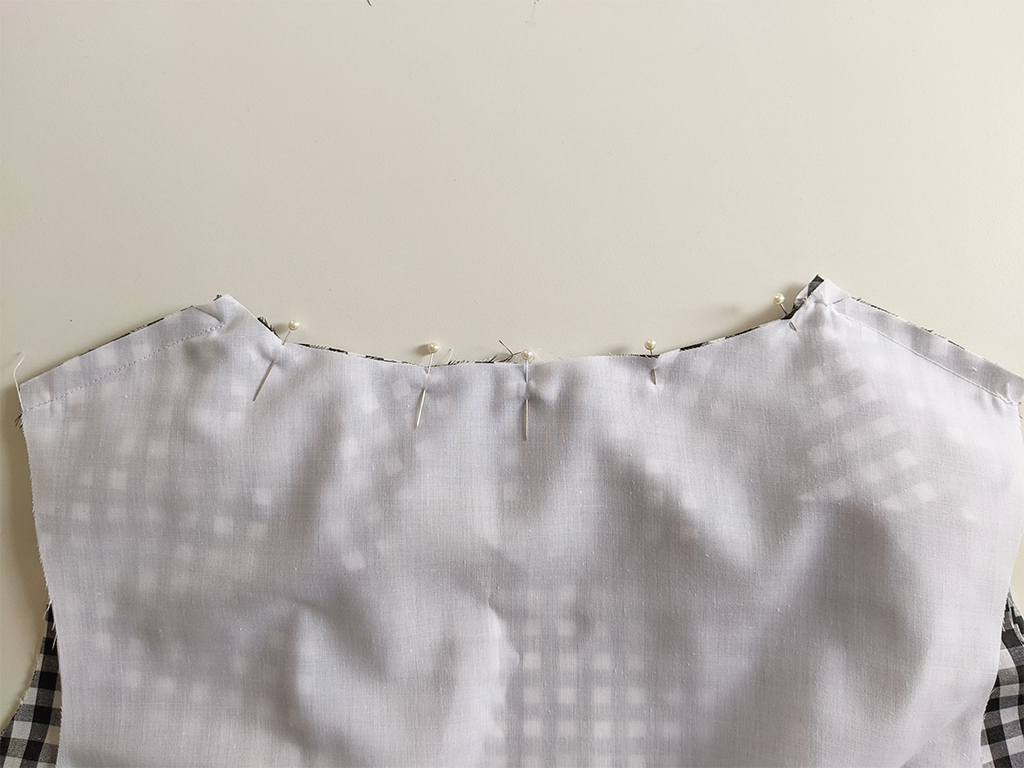
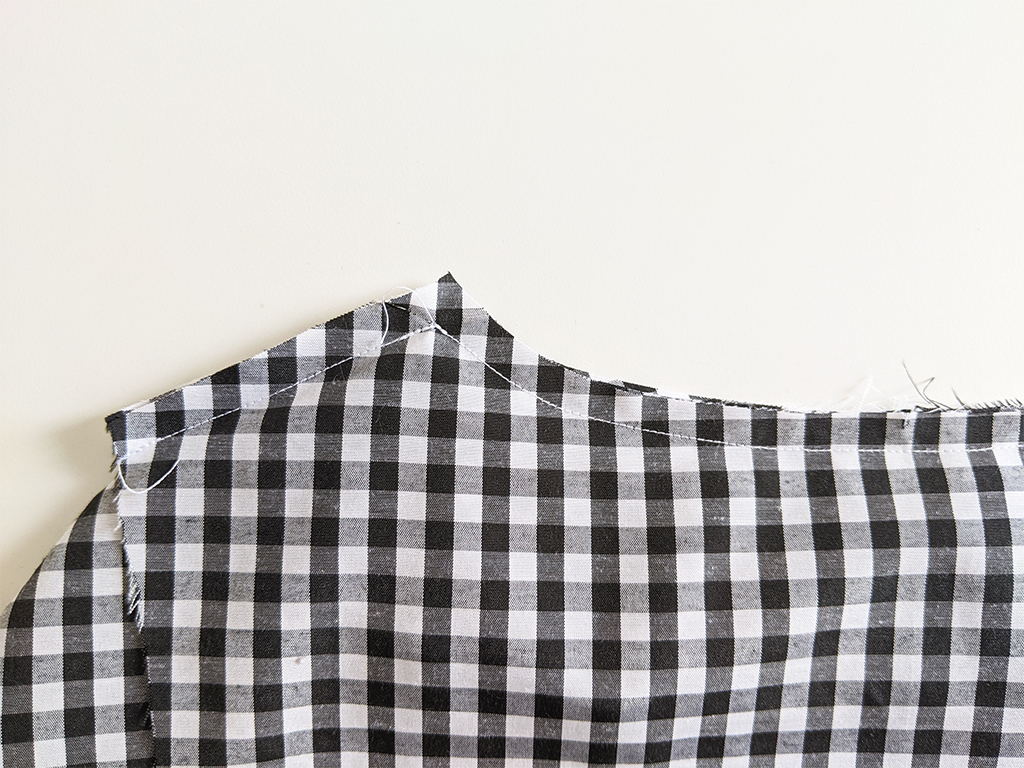
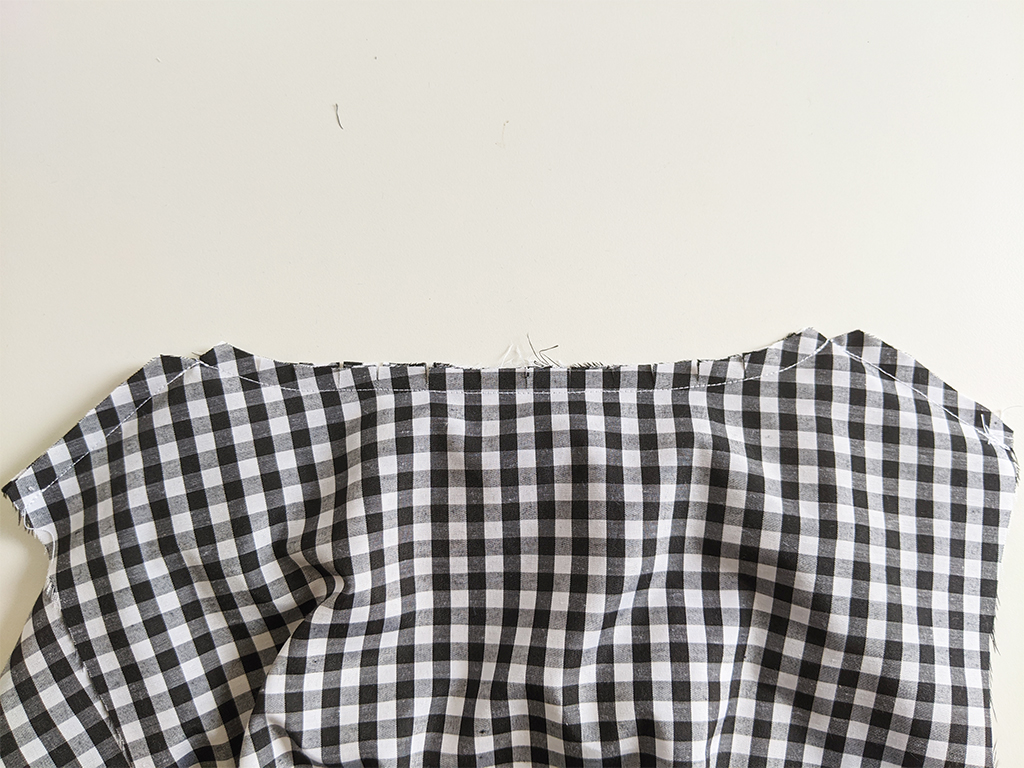
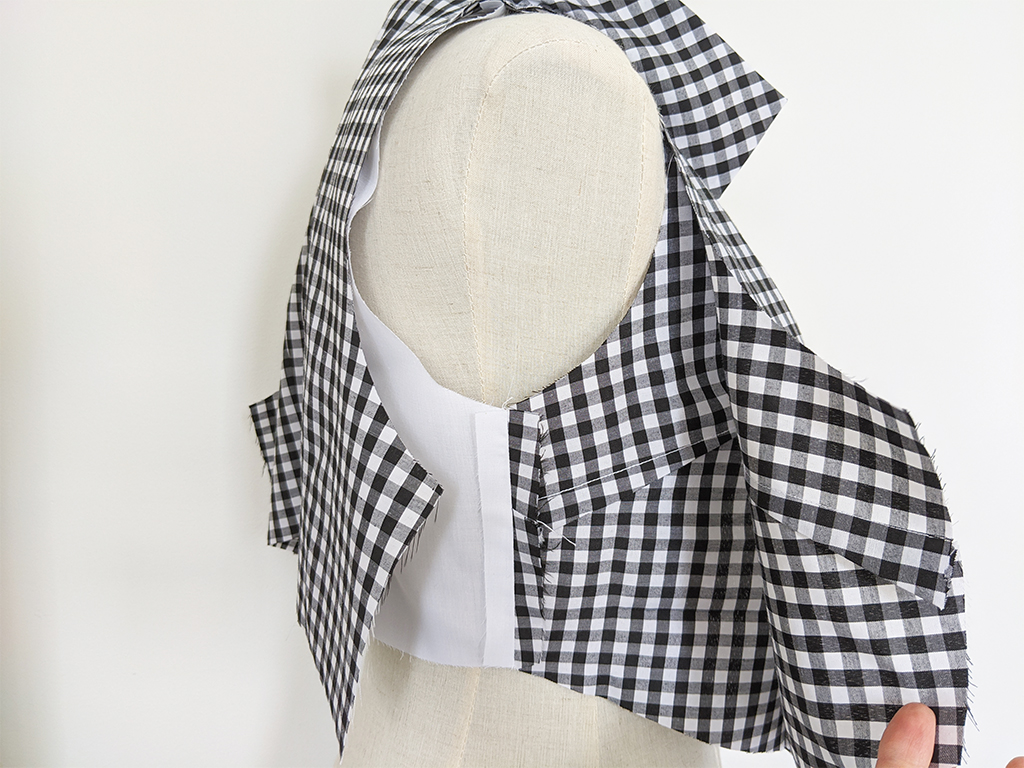
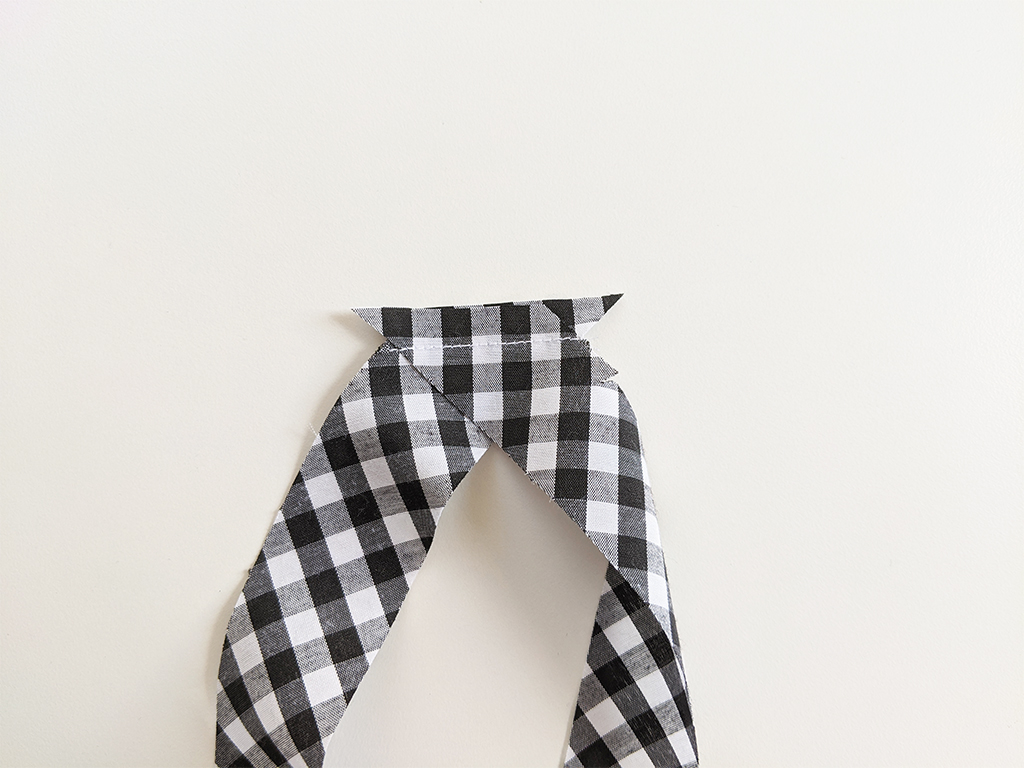
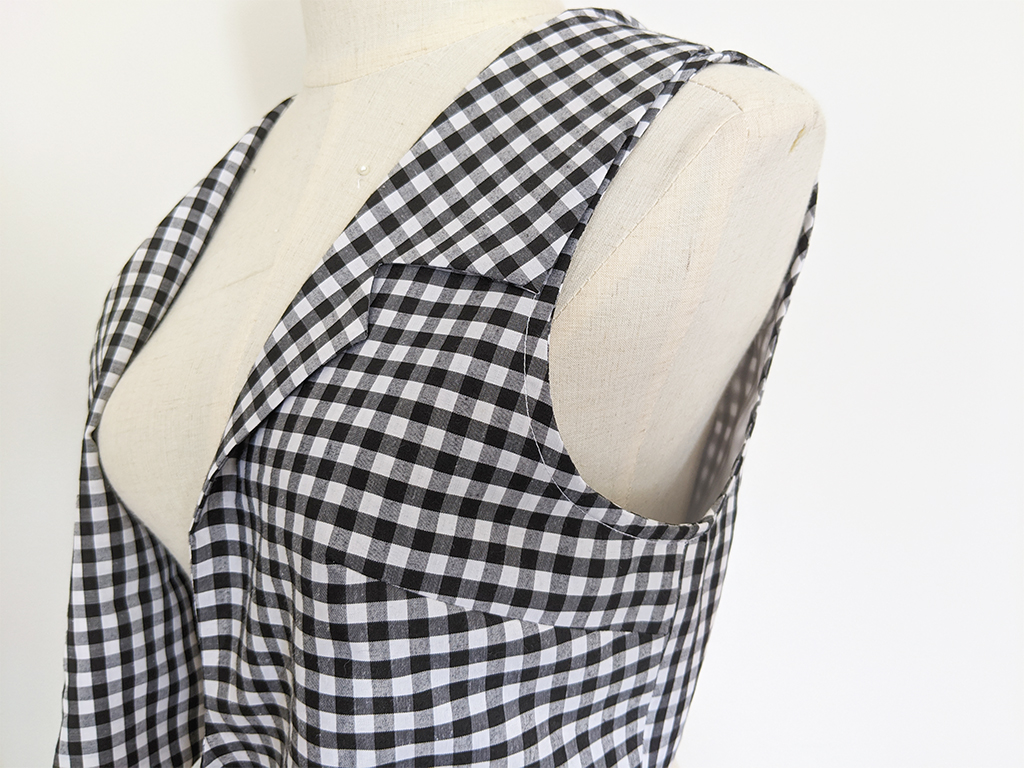
Next, pin and sew shoulder seams together as shown below. (the first 3 images show the order of how to lay your pieces)
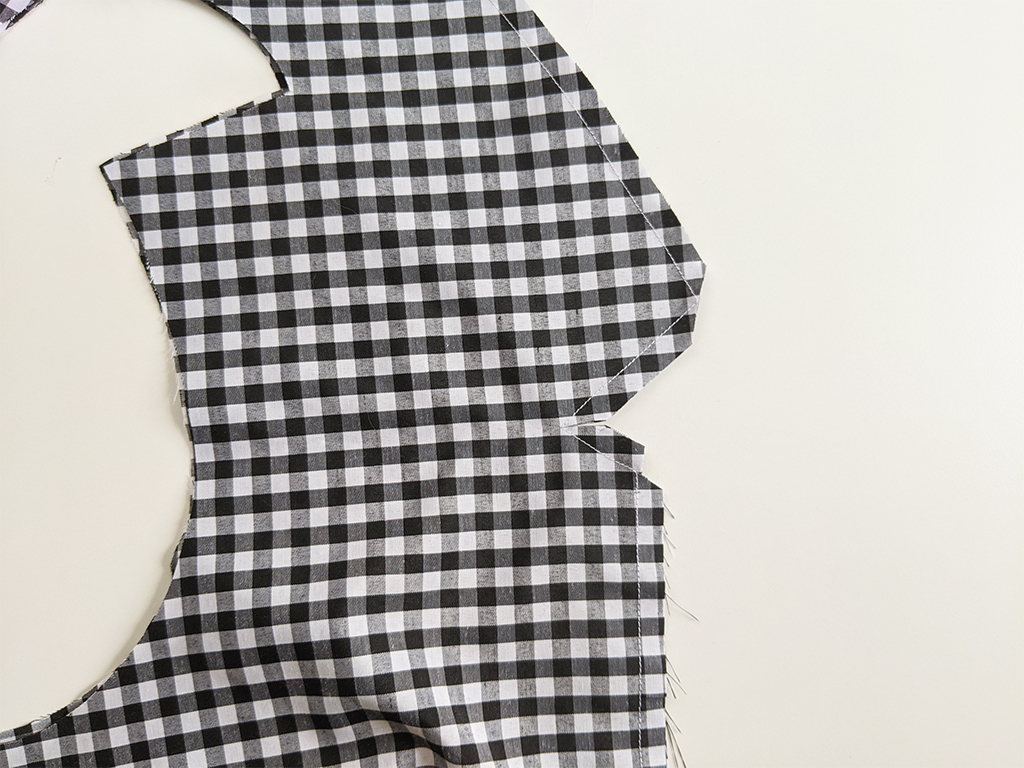
Sew the shoulder seam closed stopping at the drill hole marked for the shoulder and back neck seam junction. (see pattern) Then clip the seam allowance from the edge to the drill hole on the front bodice. (see image below as example)
Step 6
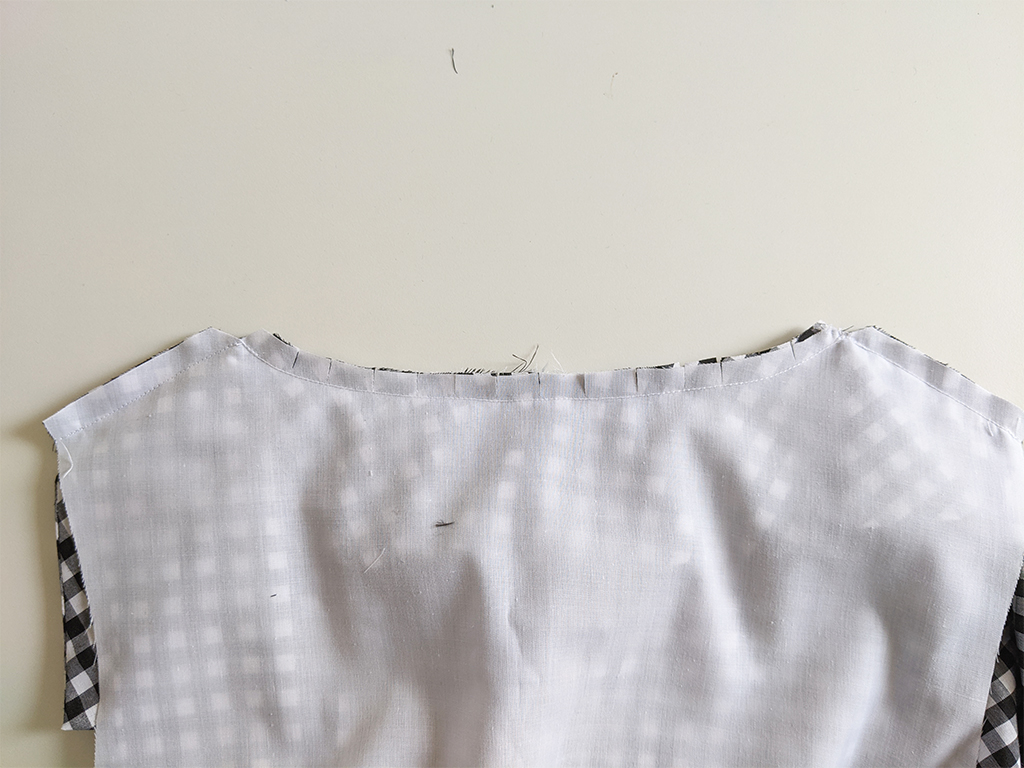
Pin and sew back neck closed. Use back neck notch to line up with CB collar seam, clip curves, turn through and press.
Step 7
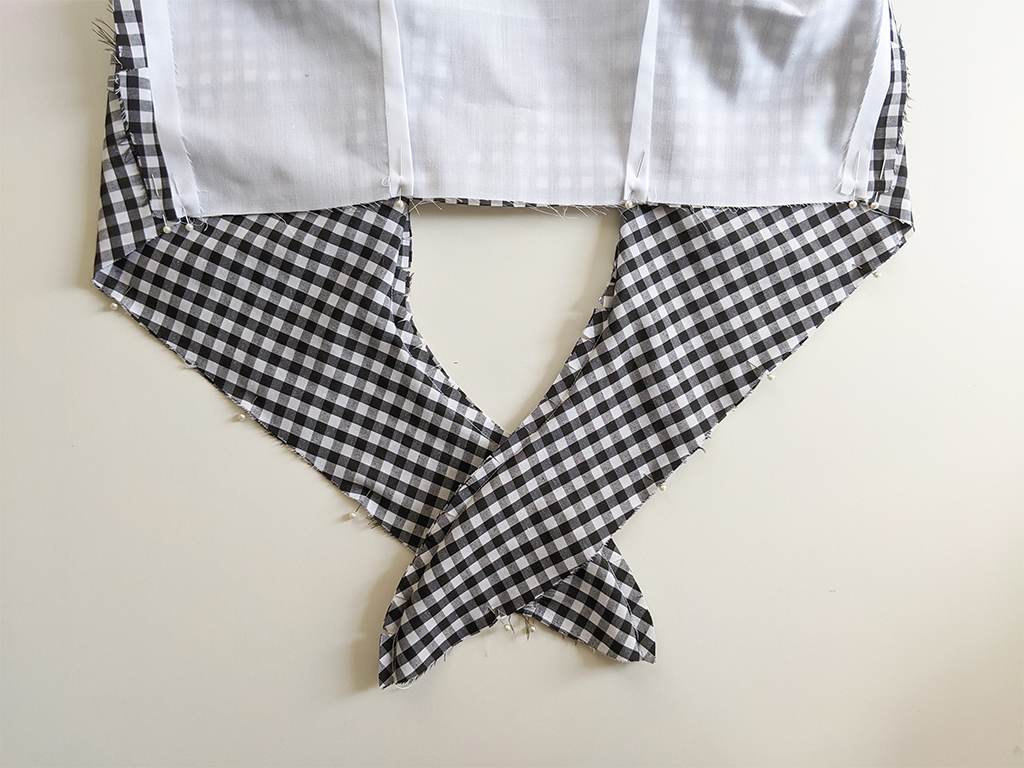
Next, sew the side seams closed (main to main, lining to lining). Press seams open. Ensure that lining seam faces outways so the seam will be enclosed)
Step 8
Sew the bottom edge closed from tie end to tie end ensuring right sides are together. Turn garment through the armhole and press.
Step 9
Stay stitch the armhole main and lining closed using a 8mm seam allowance.
Step 10
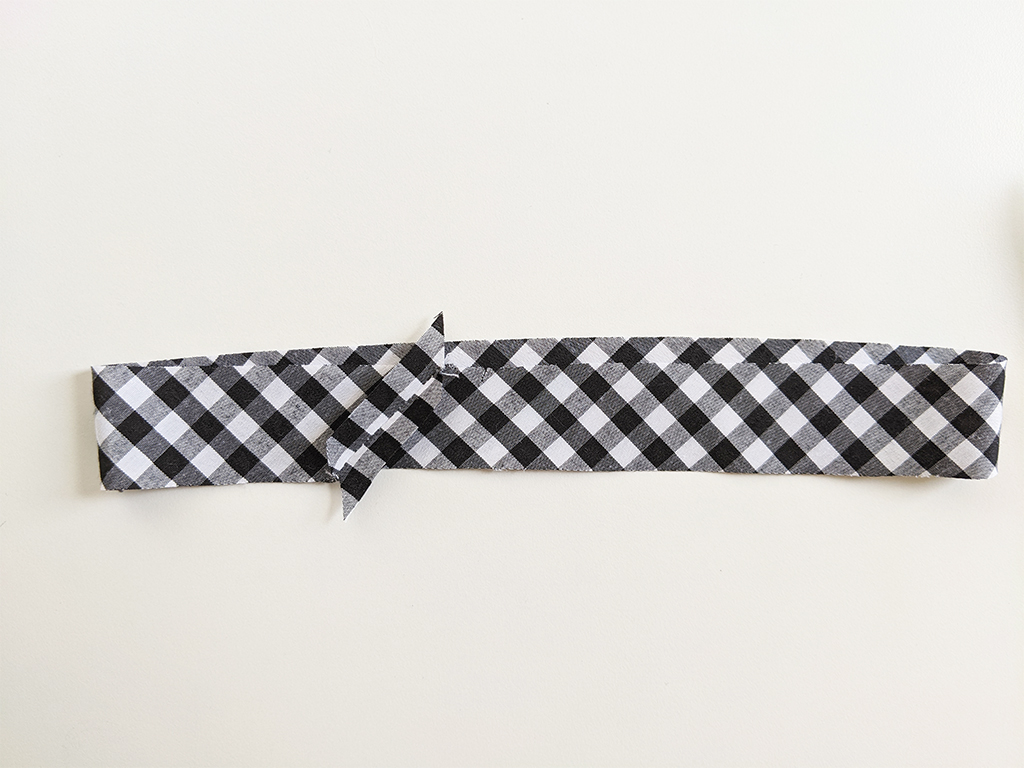
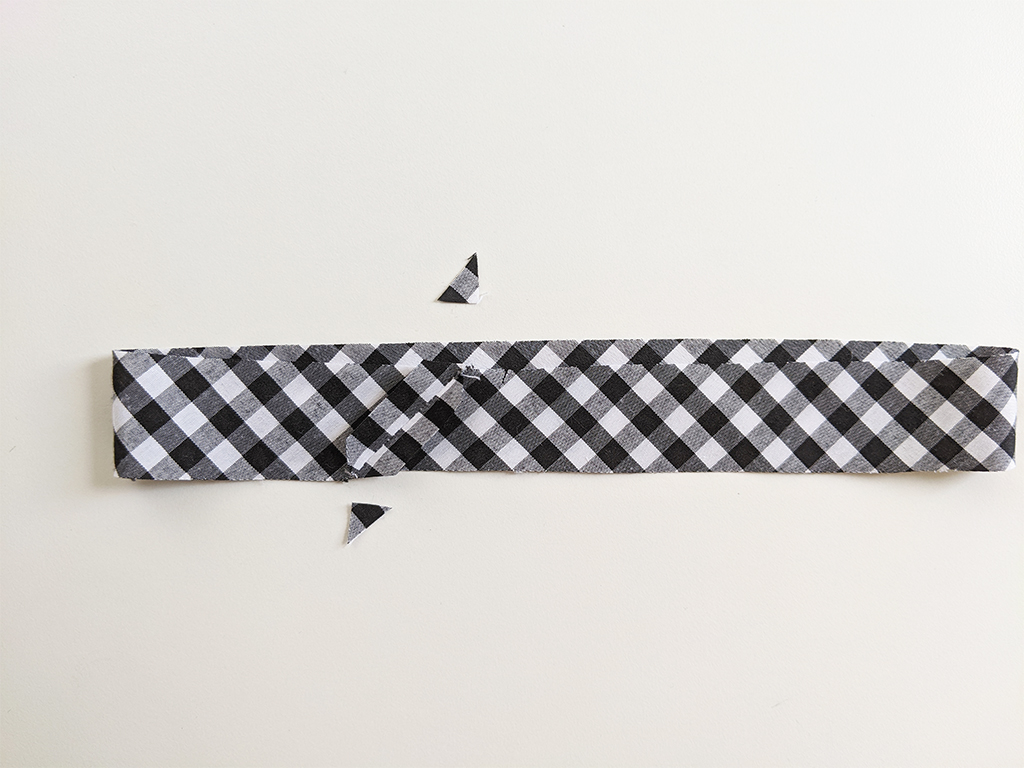
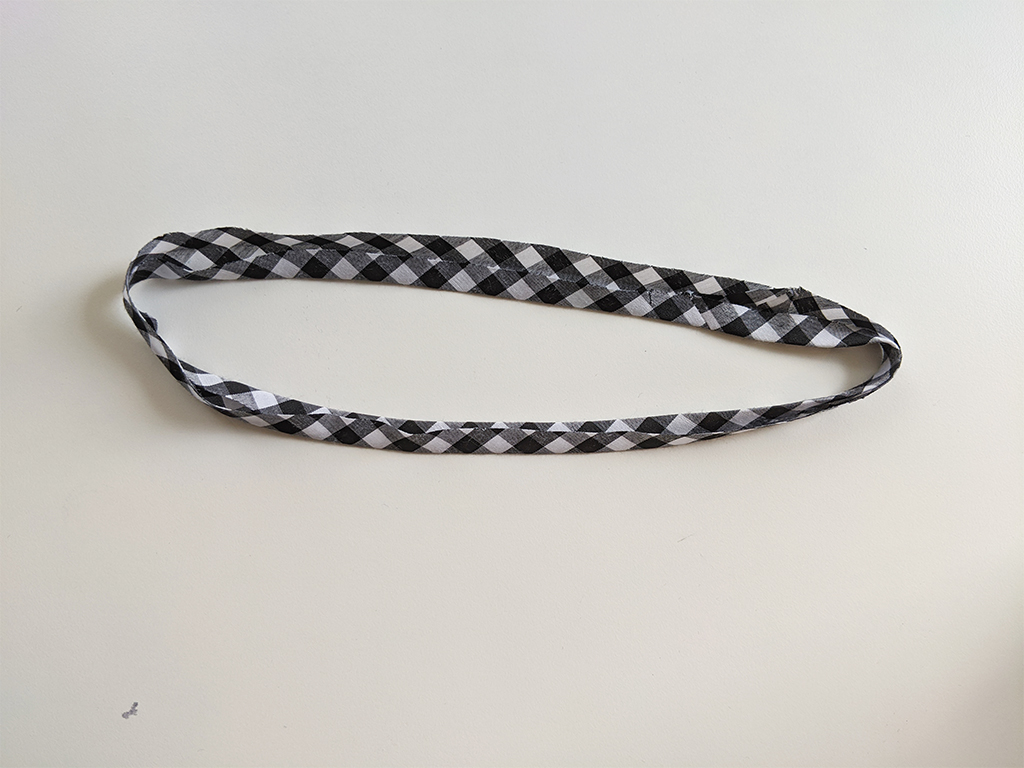
Prepare your armhole bind by joining the ends, press the seam open, and clip the excess fabric. Afterward, fold and press your binding in thirds.
Step 11
Attach the bind to the armhole right sides together with pins every 2-3cm, then sew to attach. Then clip around the armhole.
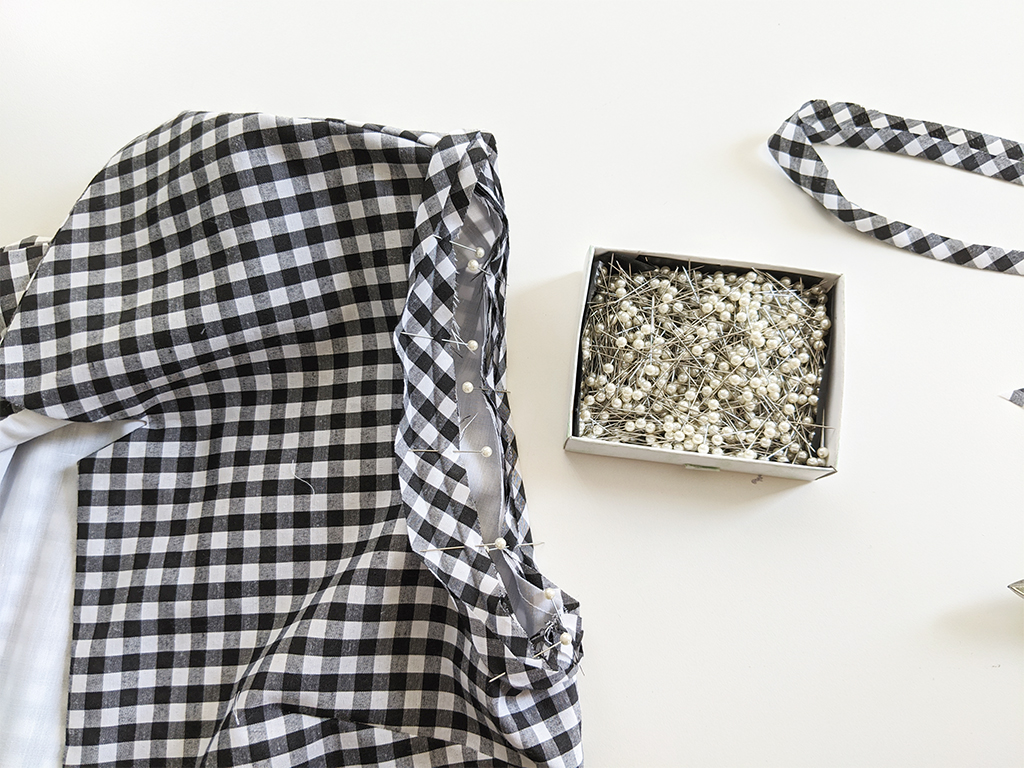
Step 12
Fold the binding over the edge of the armhole to encase the seam allowance and then fold the seam allowance back and stitch down to close.
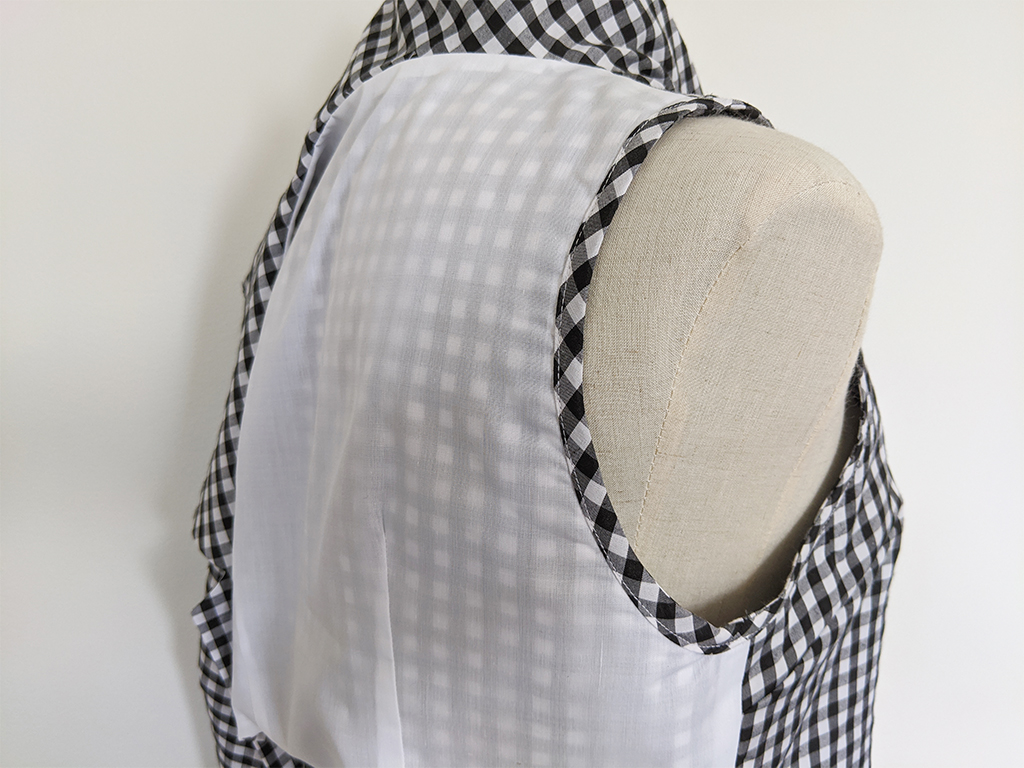
Give your garment a final press and it is complete.
As this item is quite tricky to sew, if you are a beginner, I recommend starting with something a little more simple like this Cropped Fitted Top which also does not need an overlocker but has an easy sew open end zipper.
For the full range of sewing patterns, you can browse my store or check my other sewing tutorials.
x x