Sewing Tutorials, Tops
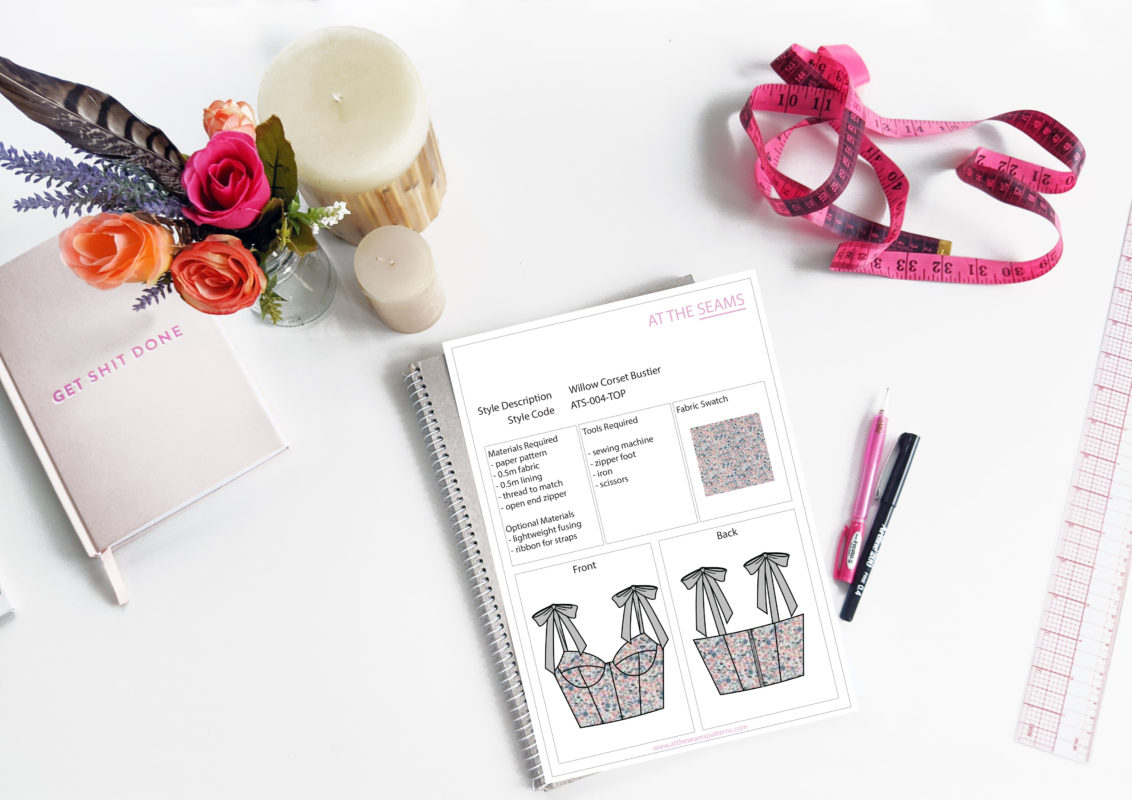
Sewing Tutorial: Willow Corset Bustier
The Willow Corset Bustier is such a great wardrobe staple, once you have made a pretty floral version (or any other colour) I’m sure that you will be heading out (or shopping online) for more fabric to whip up another before you’ve even had a chance to wash the first after you’ve worn it.
The Bustier has a shaped bust cup and is tightly fitted. The style finishes at the waist and has the option of being strapless or adding straps.
The sewing level of this garment can be advanced with some tricky curves to sew however even an intermediate sewer can tackle this if they follow the instructions carefully.
To begin you will need the following things
Materials
- Willow Corset Bustier paper pattern , or if you prefer to shop on Etsy
- 0.5m fabric
- 0.5m lining
- 1m lightweight fusing (optional)
- 2m ribbon (optional straps)
- 15cm open-end zipper
- cotton thread
Tools
- sewing machine
- zipper foot
- iron
- scissors
- pins
Tips
- If your main fabric is printed – When choosing your lining colour, it helps to choose the thread at the same time. You want your thread to match your lining colour but to also blend as much as possible into the print you have chosen. Some thread colours disguise better on the print than others so check a couple of colours.
- Ensure your fabric is washed, dried and pressed before you start cutting. There is nothing worse than washing your beautiful garment and it shrinks, or even more annoying the lining shrinks and the main doesn’t so its all pulled out and shape and is unwearable.
Step 1
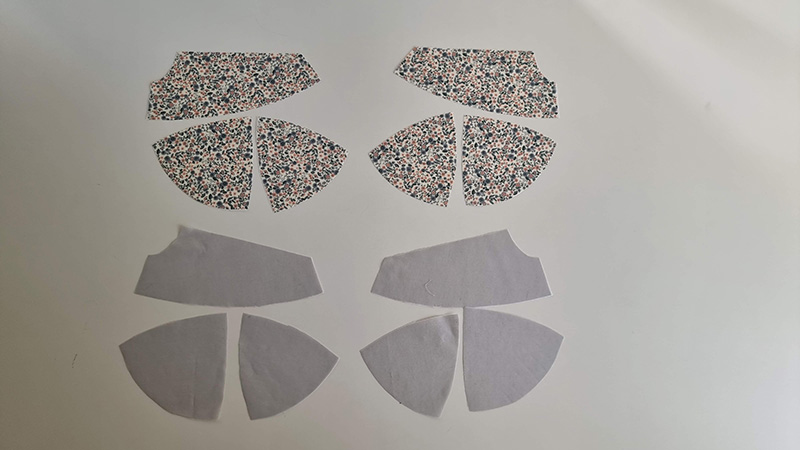
Cut all main and lining pieces accurately on the correct grain, ensuring all notches are clipped. Please note seam allowance is marked on the pattern.
If needed – you can fuse your main and lining with interfacing – recommended for lightweight fabrics.
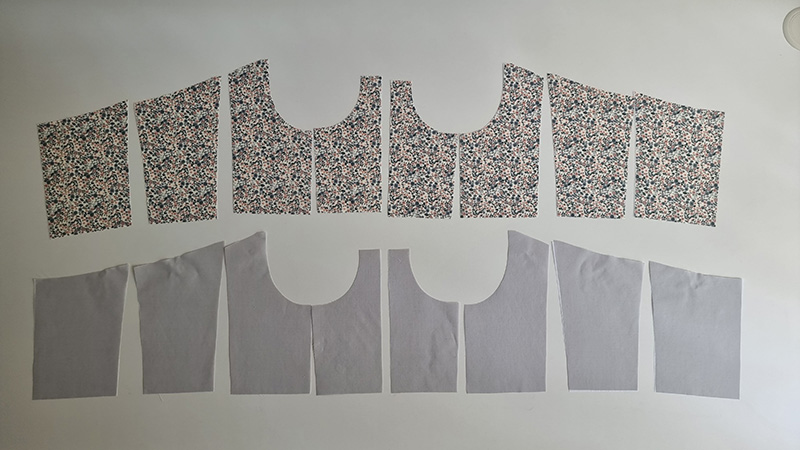
Beginner tip* It might help to pin the pattern pieces to your fabric once is cut out so you can easily work out what is what while you are sewing. Also take care not to over clip your notches, because we don’t want them running close to the seam allowance which will create holes in your garment.
Extra tip** If you can afford to purchase a rotary cutter and cutting mat, I find this more accurate and time-efficient.
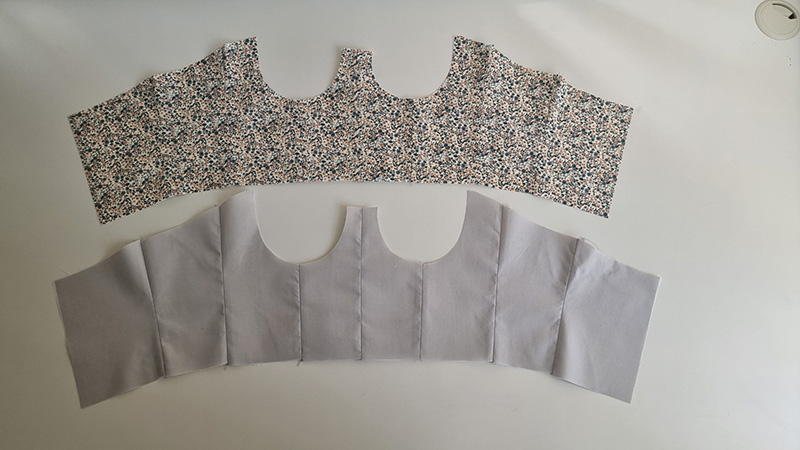
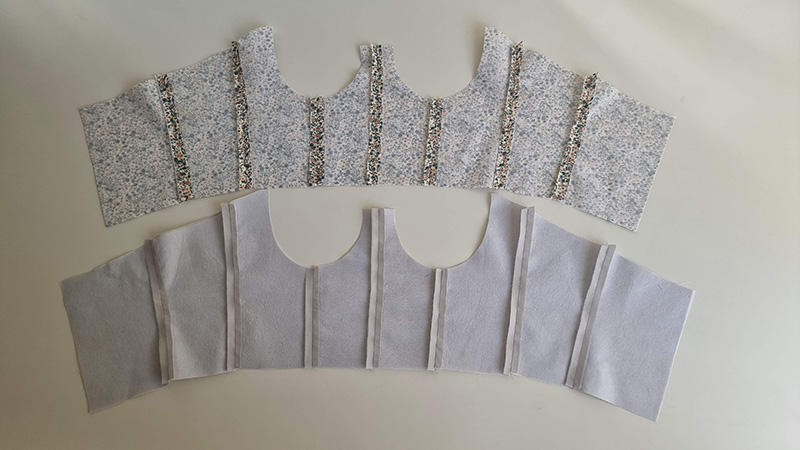
Step 2
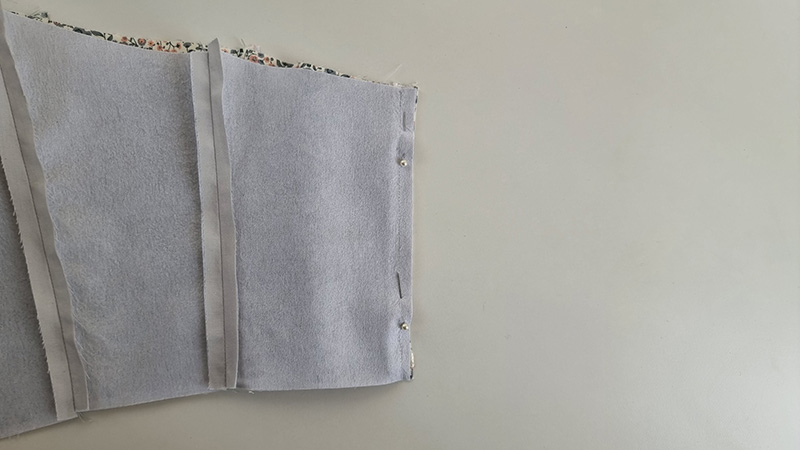
Start by pining all vertical panel seams of your main fabric pieces right sides together, then stitch closed. Press all seams open.
Beginner tip* Ensure you follow the ironing instructions on your fabric so you don’t burn a hole in it. I know how easily this can happen. Unfortunately, I’ve done it more times than I care to admit. If in doubt test on a piece of scrap fabric.
Step 3
Repeat step 2 on the lining, excluding one side seam on the lining, on this side seam leave a 15cm opening in the middle. We are leaving this open so that we have a space to turn the garment through to bag out the top later on.

Step 4
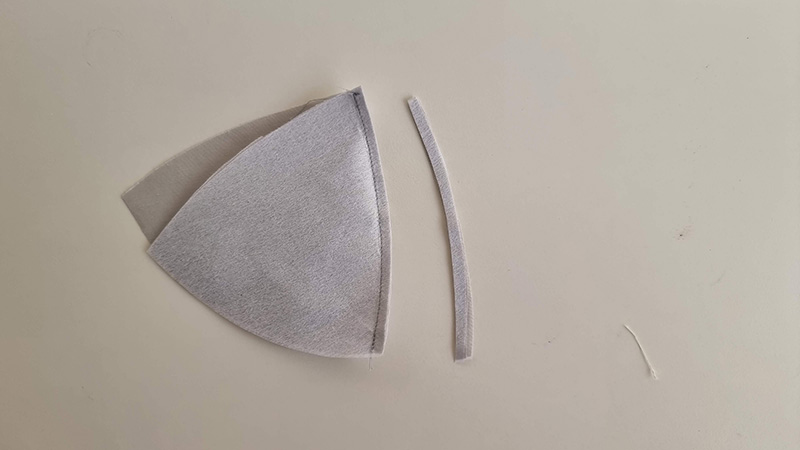
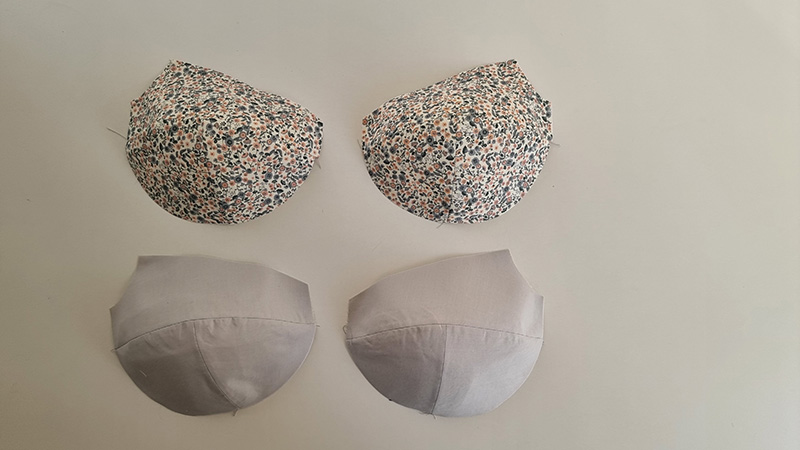
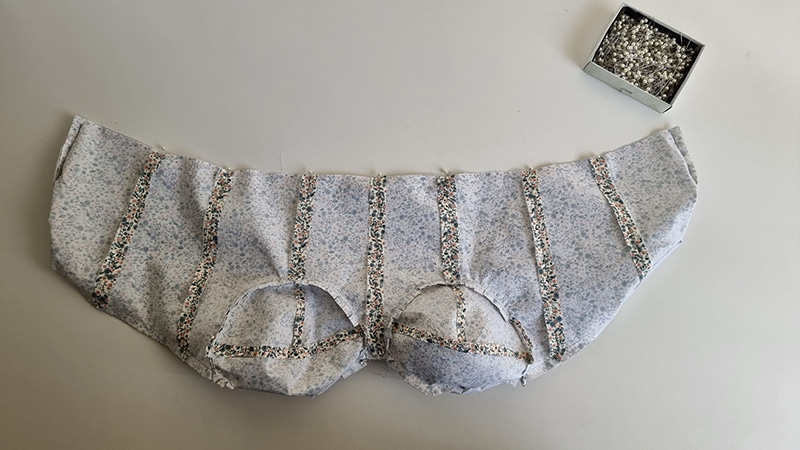
Next, pin the center and side bust cups, right sides together of your main fabric at the seam. Stitch closed and trim the seam allowance back to 5mm, then press the seam open. Repeat on the opposite bust cup so that you end up with a pair.
Step 5
Repeat on the lining.
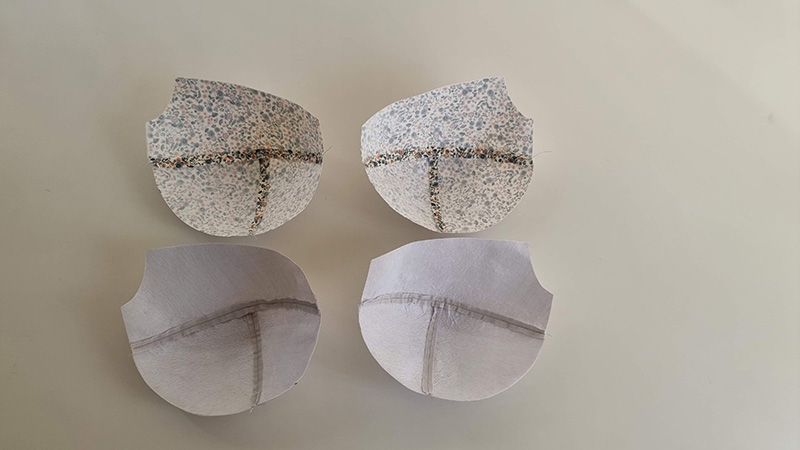
Step 6
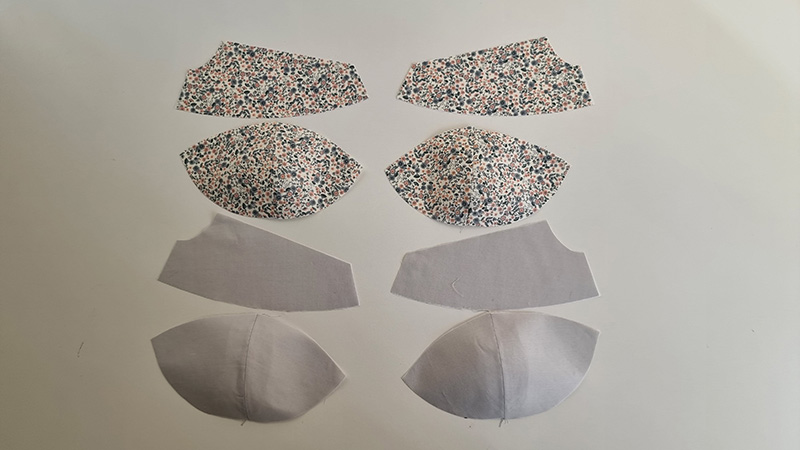
Then pin the top bust panel to the cups right sides together on the main fabric. Stitch closed, then clip seam allowance to 5mm and press seams open. Repeat on the other side then repeat on the lining.
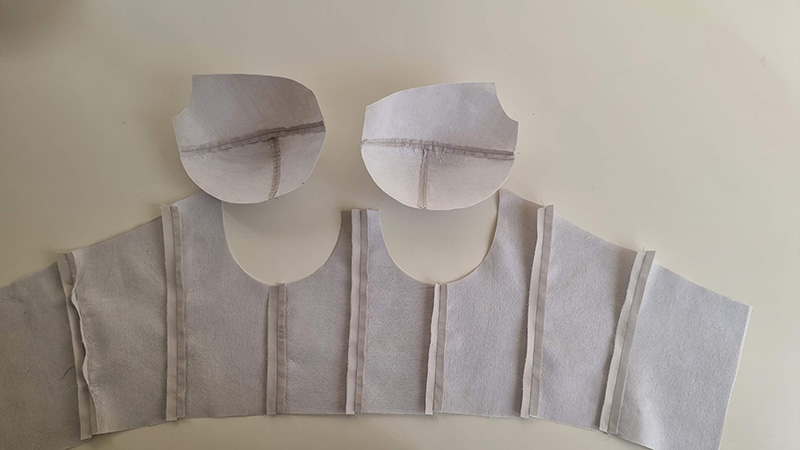
Step 7
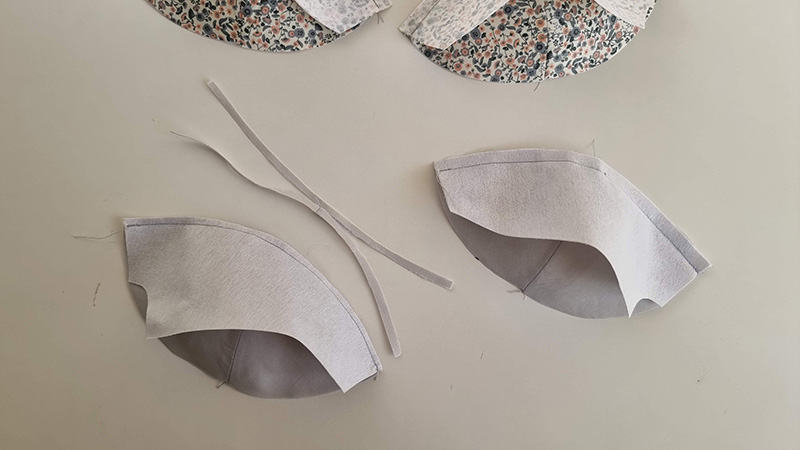
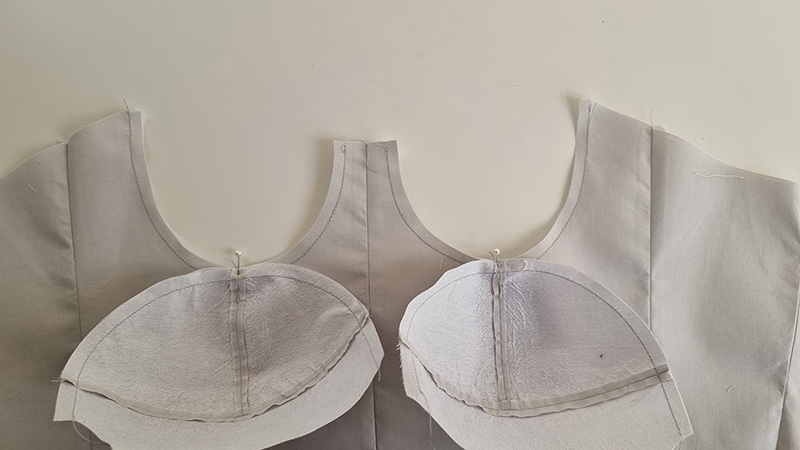
The cups are now ready to be inserted into the bodice. To start, please run a stay stitch along the bottom edge of the cups and along the cup edge of the bodice. This stitch should be about 2.5cm long and 5/8mm from the edge. This will help to prevent the edges from stretching when the cups are sewn in. Do this on both your main and lining.
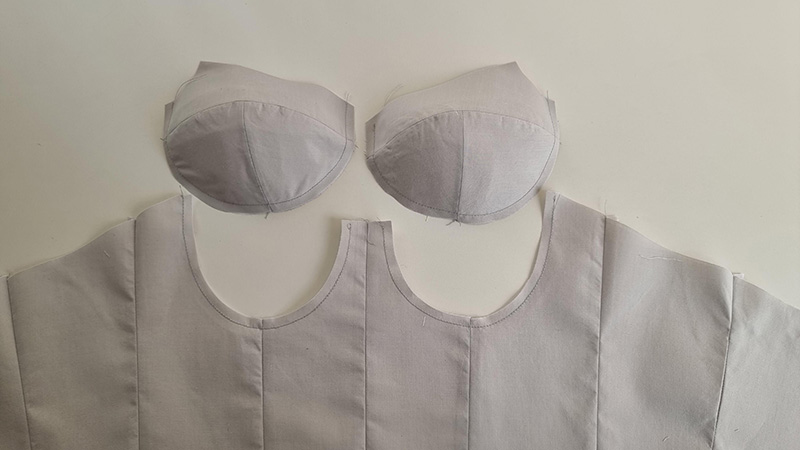
Step 8
Pin the cups to the bodice at the middle panel seam.
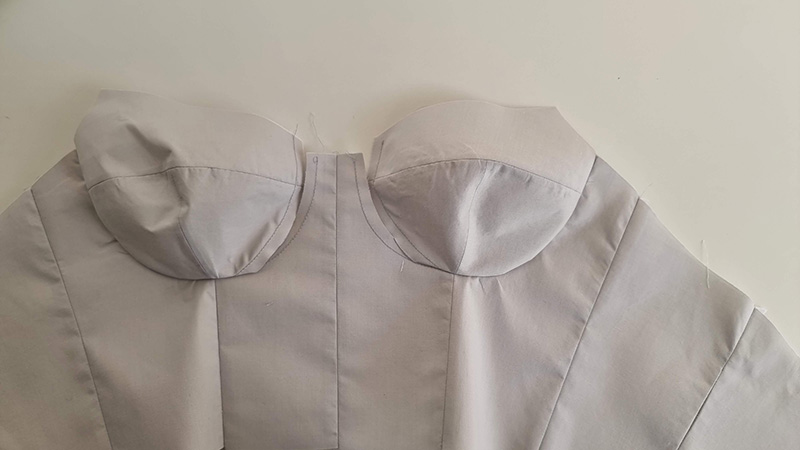
Step 9
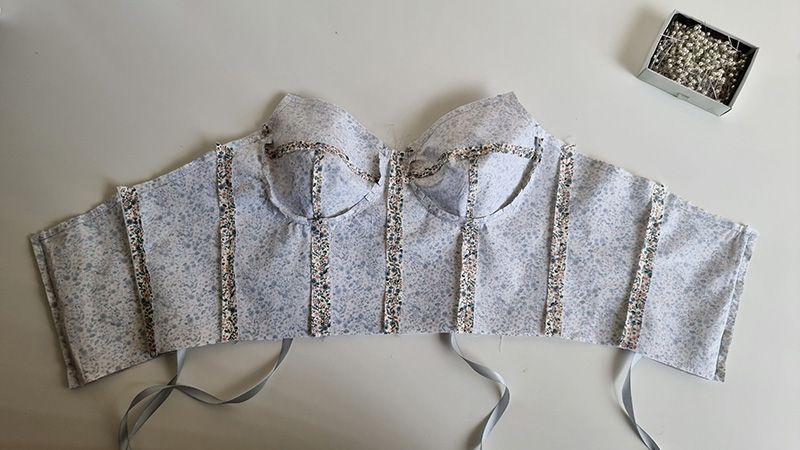
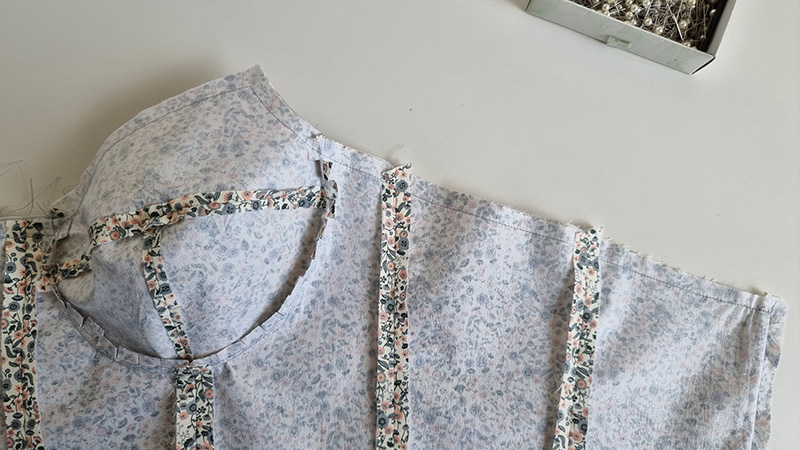
Sew the cups in from the seam to the side, then the seam to the center front. This can be completed in one step if you like but I found it was easier and neater getting the cups in by centering the panel seams first.
This step can be tricky because the curves of the fabric are opposite, so take your time and sew it slowly. Reducing your stitch length slightly can help you have more control over the turning of the seams as you sew.
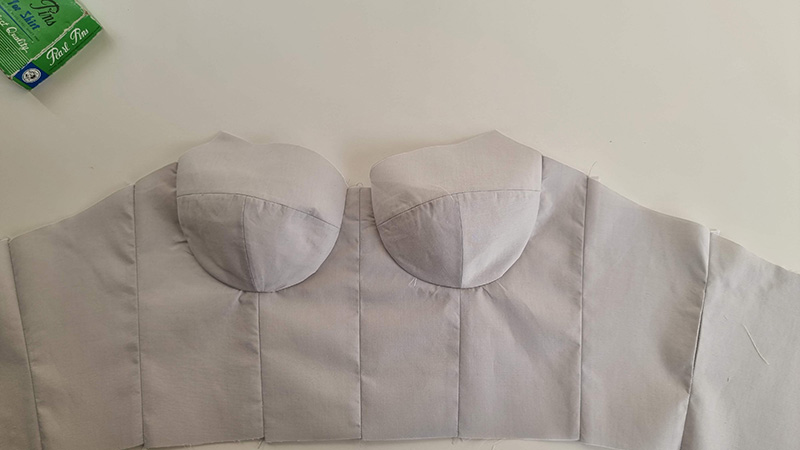
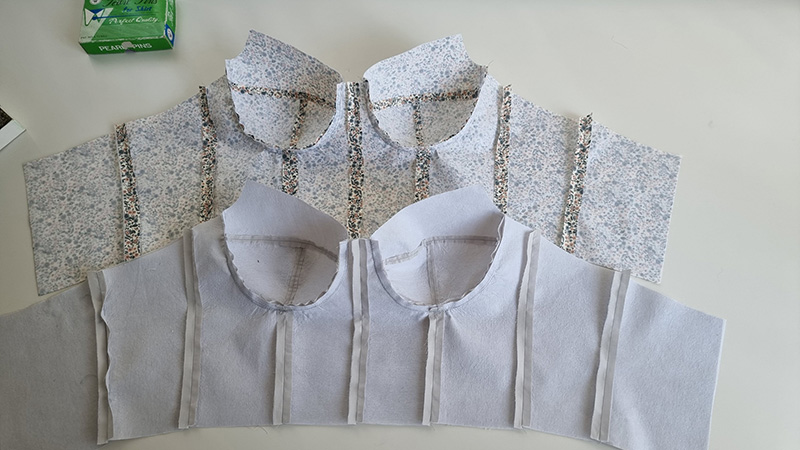
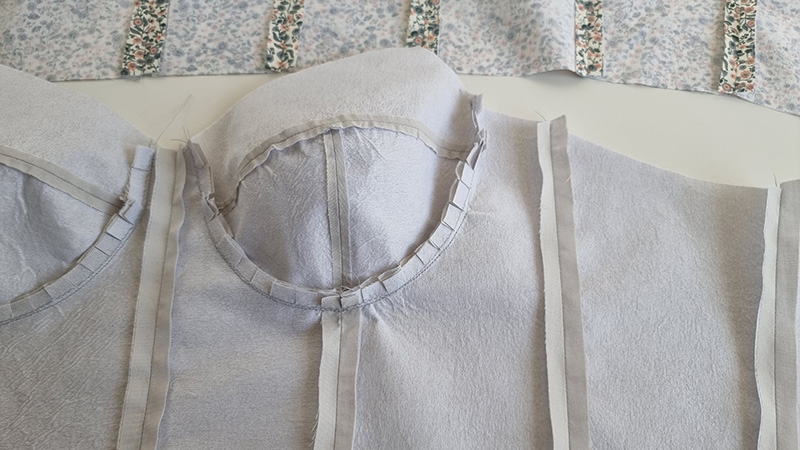
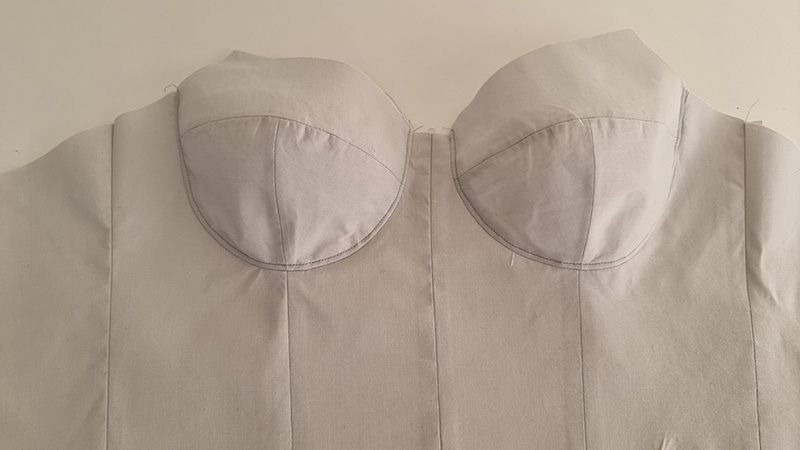
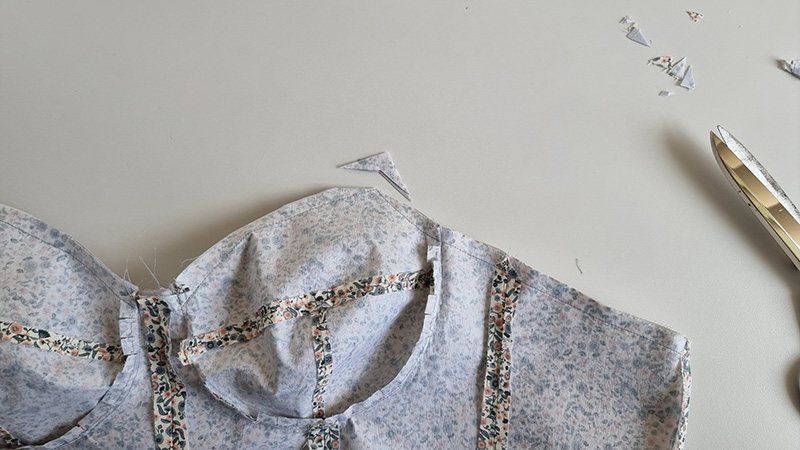
Step 10
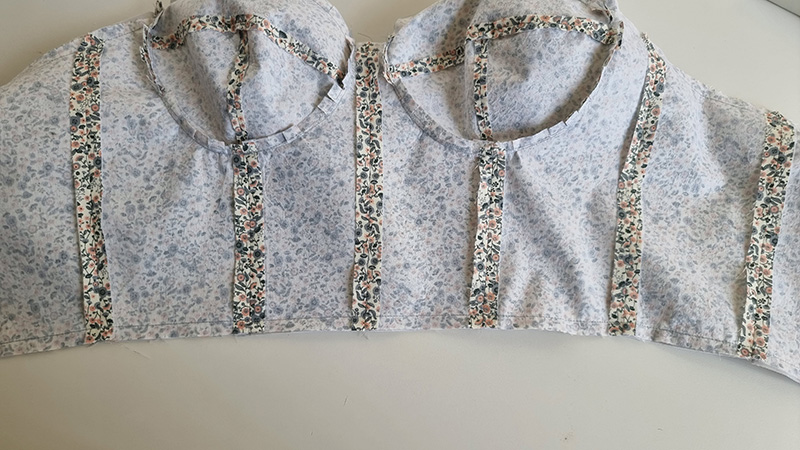
Repeat steps 8 & 9 on both cups on the main and lining. Clip the curve of the cup seam and press towards the cup. The seam allowance can be pin stitched down if desired however this will be visible from the outside of the garment so you may decide to only do this on the lining.
Step 11
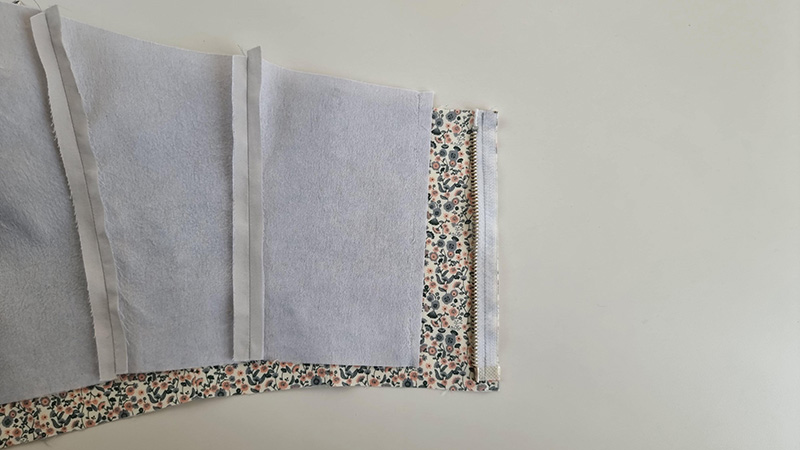
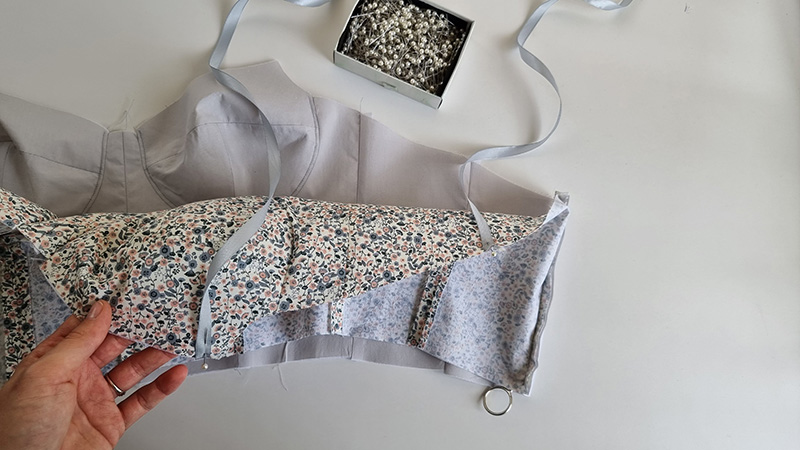
Next, take the zipper and undo it so you have it in 2 pieces. Pin one side of the zipper to one side of the center back edge of the bodice (main fabric) and stitch down leaving a 1cm gap at the top and 1cm at the bottom. Repeat with the other side of the zipper on the other center back edge of the bodice. Once stitched, zip up the zipper to ensure you have sewn both sides evenly and the correct way around.
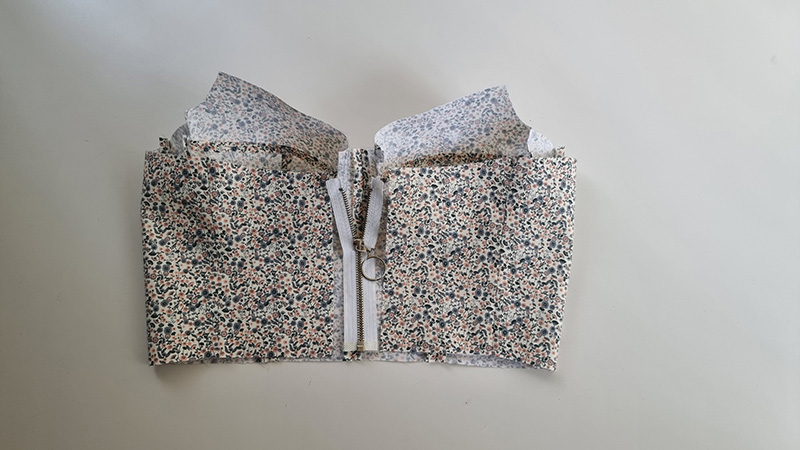
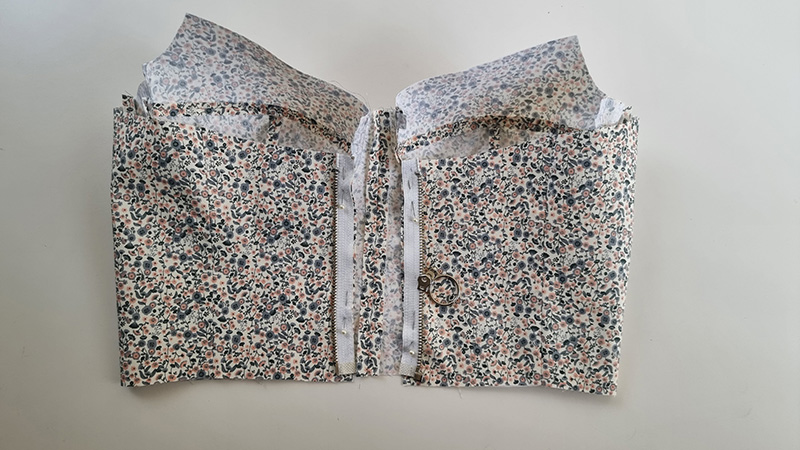
Step 12
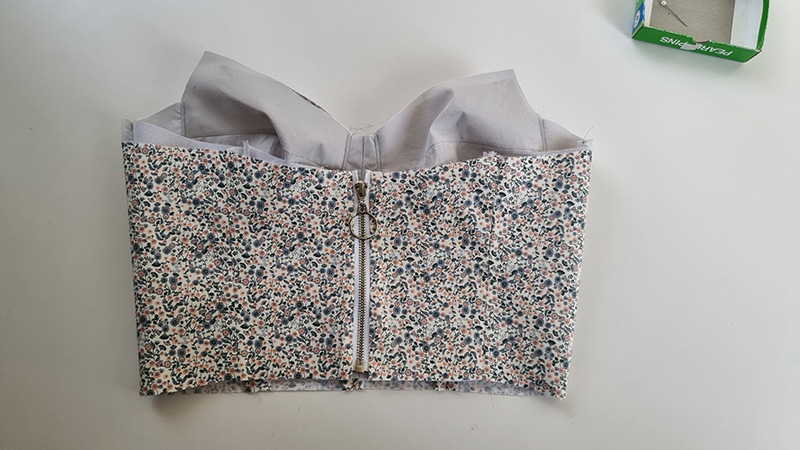
Then, lay the corset down on the table with the right side of the fabric facing up, then place the lining down on top, with the right side of the fabric facing down, so that the right sides are together. Pin the lining to each side of the zipper and stitch closed.
*Turn the garment through to check that your zipper is sew correctly.
Step 13
Then turn the garment back through so right sides are together.
Step 14
If adding straps – pin the straps in position to the main fabric, Strap position is at the peak of the bust cup, and at the side panel seam on the back. See below sketch for position.
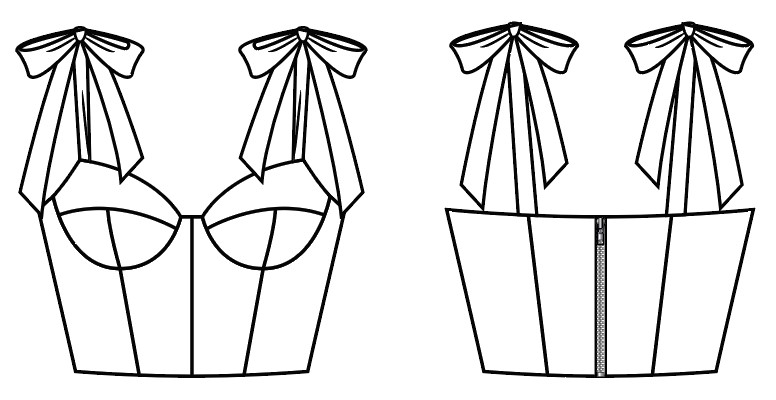
Step 15
Once the straps are pinnedt in position, pull the ends of them through the garment between the main and lining so that they are hanging out the bottom, this will keep them out of the way when you sew the top edge closed.
Step 16
Next pin the main and lining together along the top edge of the garment ensuring all seam junctions line up. Stitch closed and clip your seam allowance along the top edge. Ensure the CF, arm curve, and the top of the zipper are clipped correctly so that the garment turns through neatly.
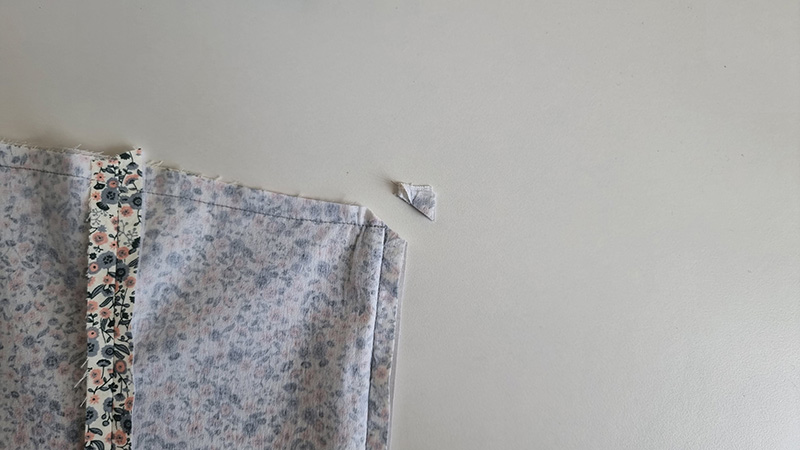
Step 17
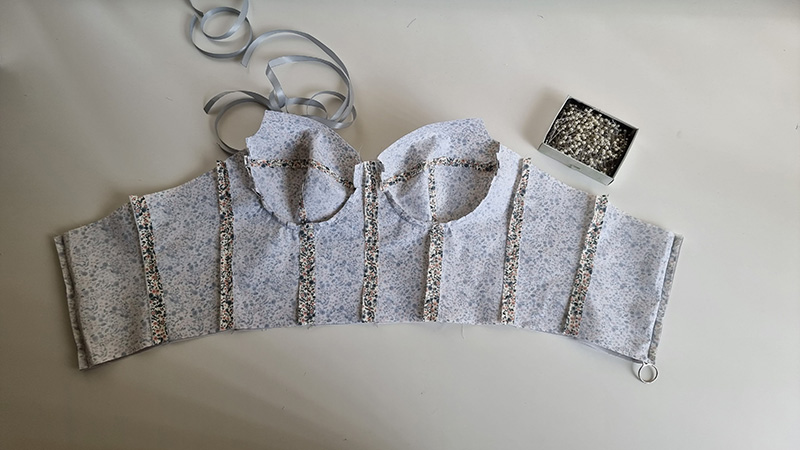
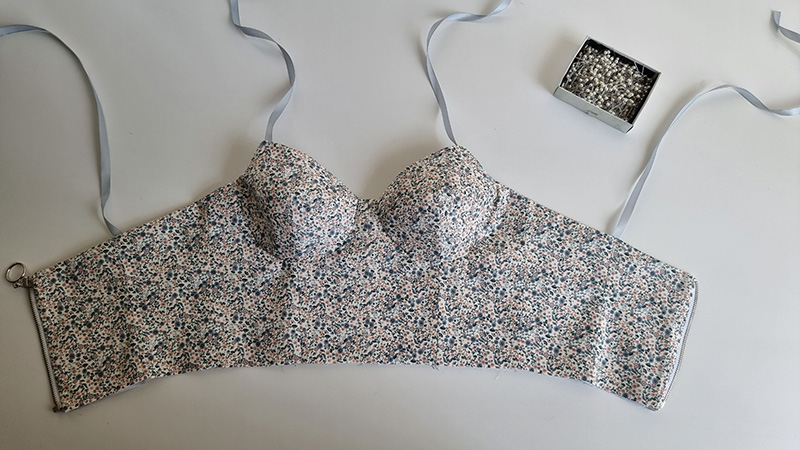
Turn the garment through and check your strap positions. Press the top edge well.
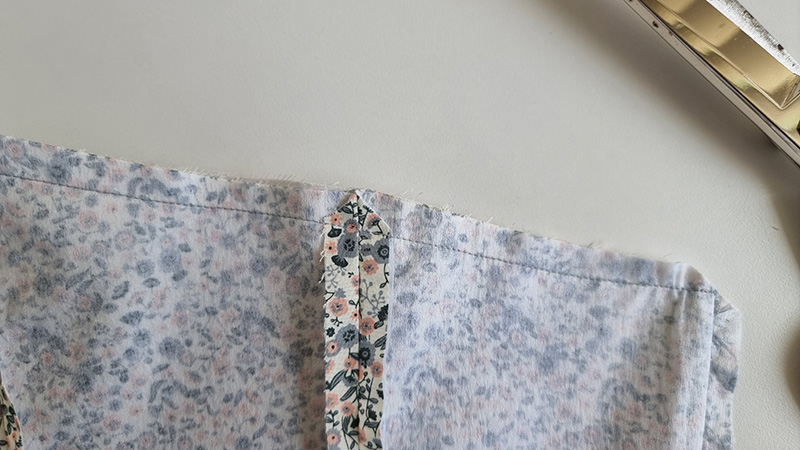
Step 18
Turn the garment back through so the right sides are together again and repeat step 16 on the bottom edge of the garment. Clip the seam allowance and the bottom of the zipper.
Step 19
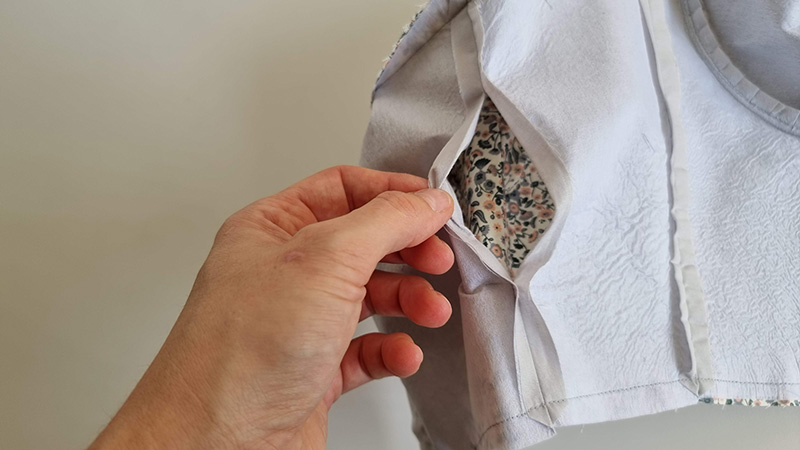
Turn the garment through the hole left in the lining in step 3. Take your time on this step and be gentle.
Step 20
Press the bottom edge of the garment and the zipper seams, take care not to burn your zipper. If using delicate fabric be sure to use a pressing cloth.
Step 21
Sew the opening left in the lining side seam closed using an invisible ladder stitch or machine stitch.
Your garment is now complete. Please feel free to contact me if you need any extra help.
.I hope you love your brand new bustier. Need a matching skirt to complete the look, try this maxi skirt tutorial or this mini skirt.
I’d love to see your creations, either drop an image in the comments below or tag me on Instagram at @at_the_seams_patterns
x