Sewing Tutorials, Sleepwear
Sewing Tutorial: Chloe Sleepwear Short
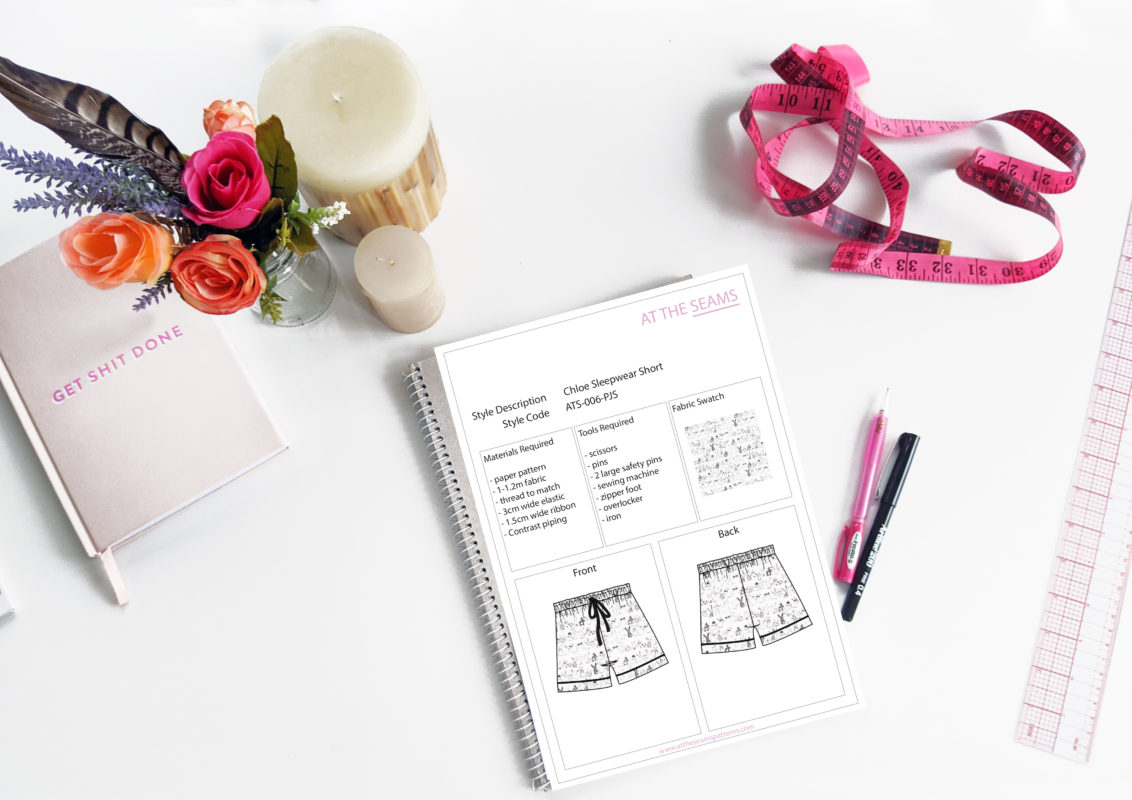
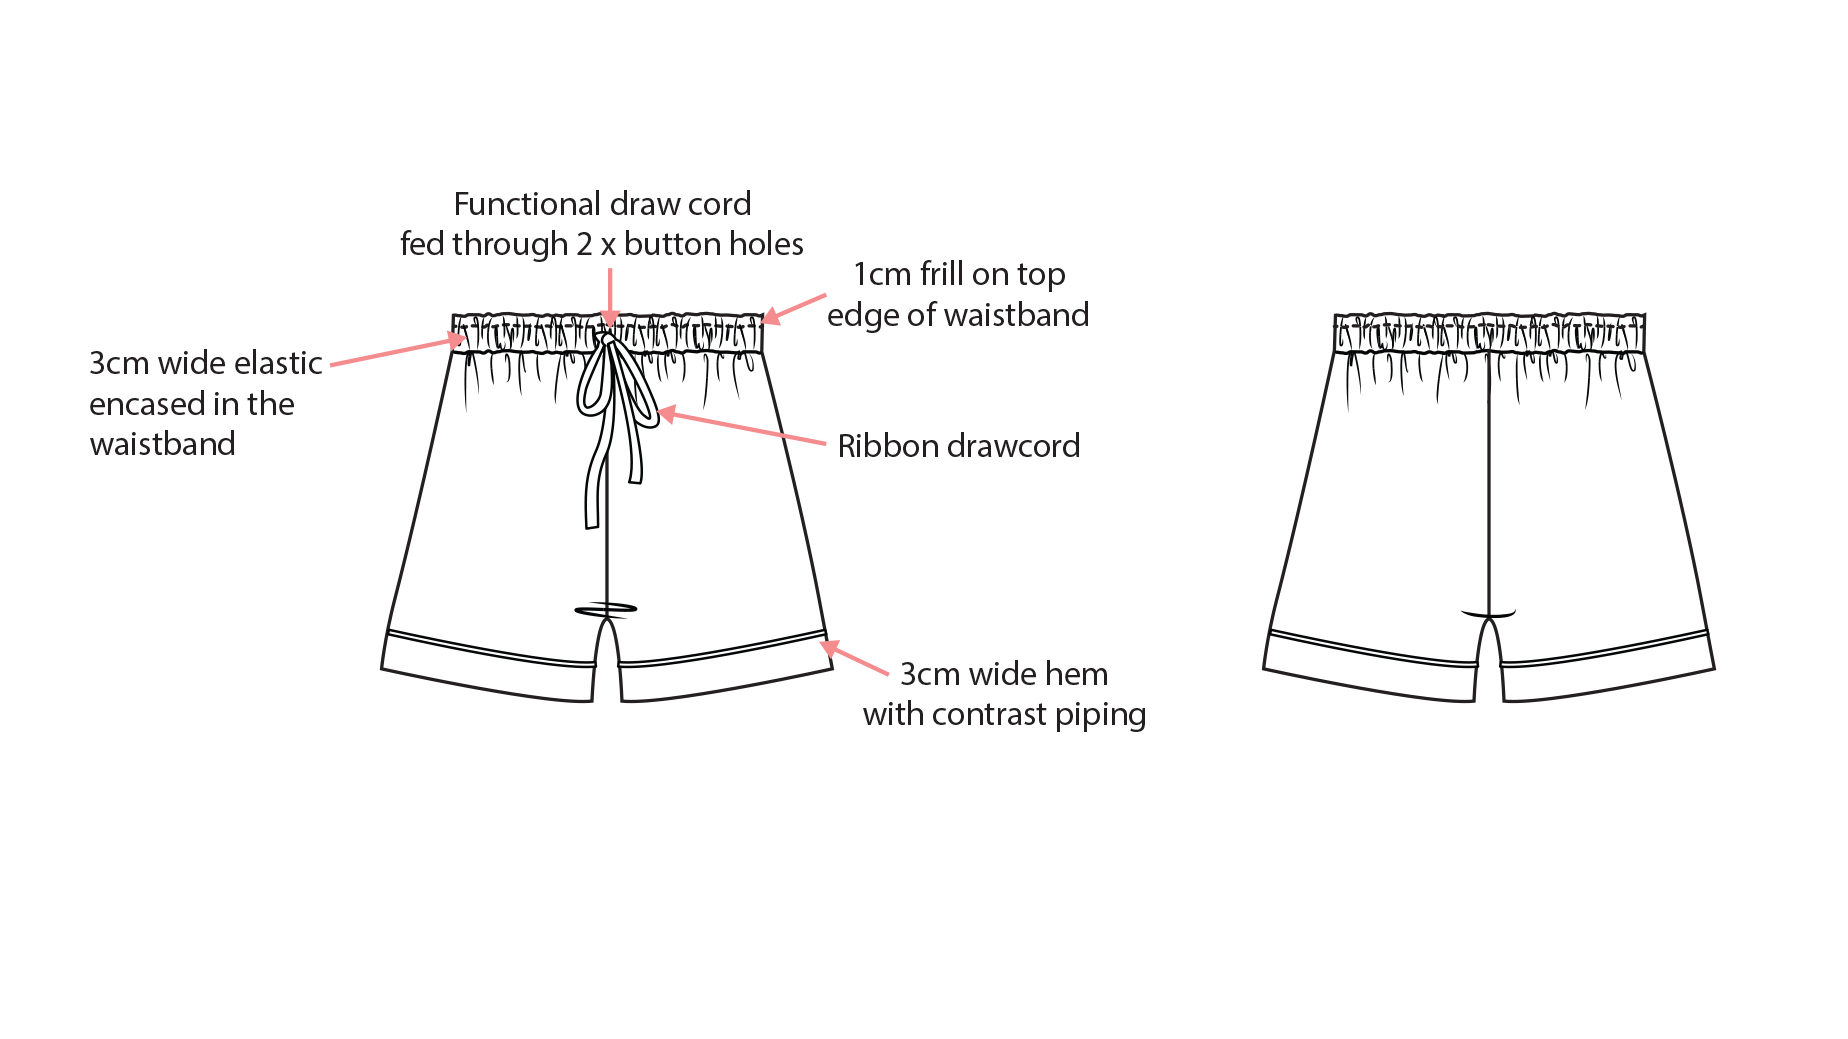
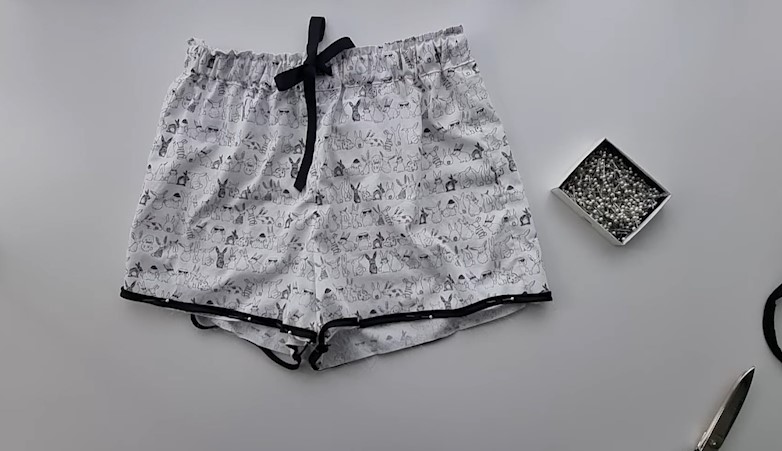
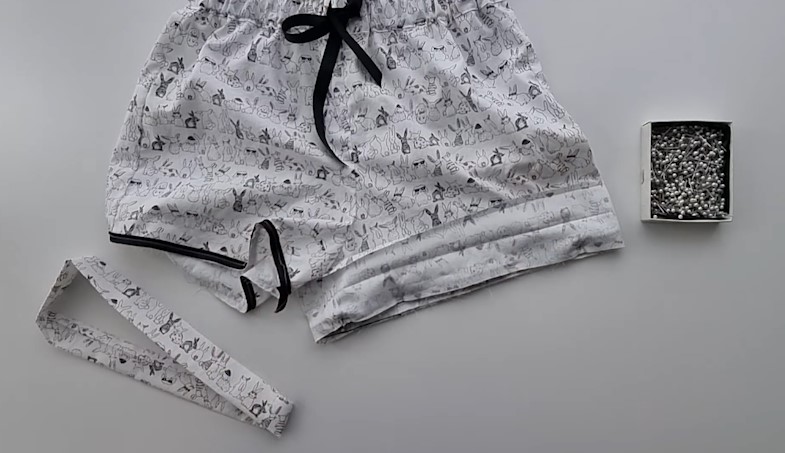
The Chloe Sleepwear Short is a timeless and classic pyjama short that can be made up in silk, cotton, or flannelette. The short features piping detail at the hem and a 1cm frill on the top edge of the waistband. The drawcord is functional and feeds through 2 button holes at the center front.
Suitable for intermediate sewers, this set requires basic sewing skills with a more challenging finish using the piping. This style also requires a machine that can sew a buttonhole.
To begin you will need the following things
Materials
- Chloe Sleepwear Short paper pattern, or if you prefer to shop on Etsy
- 0.9-1.4m fabric
- 0.1m interfacing
- cotton thread (enough to also thread your overlocker)
- 3cm wide elastic
- 1.5cm wide ribbon
- contrast piping
Tools
- scissors
- pins + 2 large safety pins
- sewing machine with a regular foot
- a zipper or invisible zipper foot can make sewing the piping easier
- overlocker
- iron
Tips
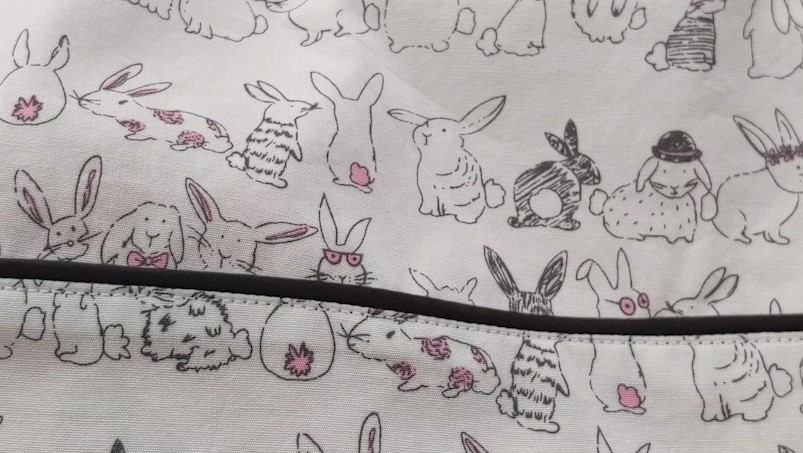
- I recommend that you chose a natural based fabric when making sleepwear, cotton or silks are ideal as they allow the skin to breathe more and you will sweat less.
- Ensure your fabric is washed, dried, and pressed before you start cutting. There is nothing worse than washing your beautiful garment and it shrinks.
If you prefer video instructions – please head over to youtube.
Sewing Instructions
Step 1
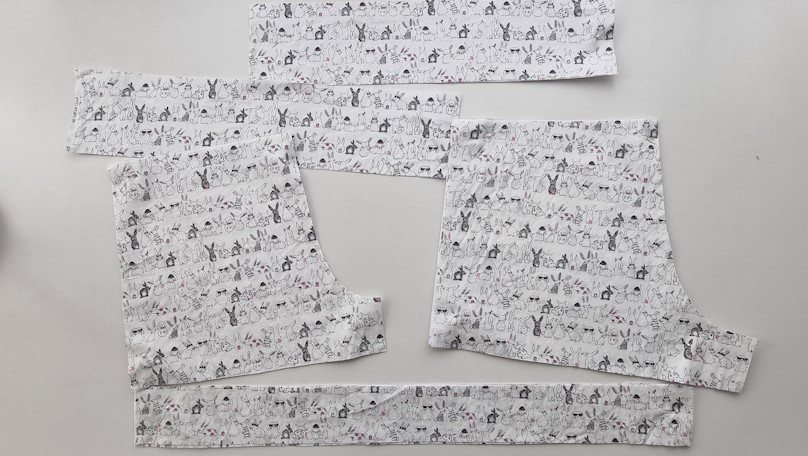
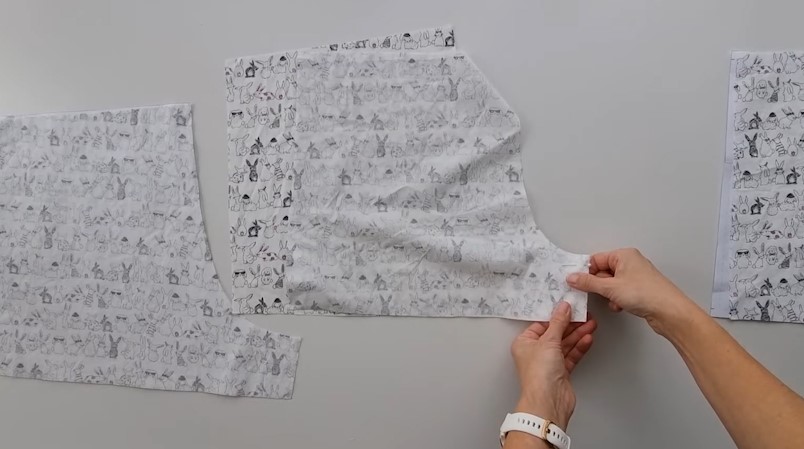
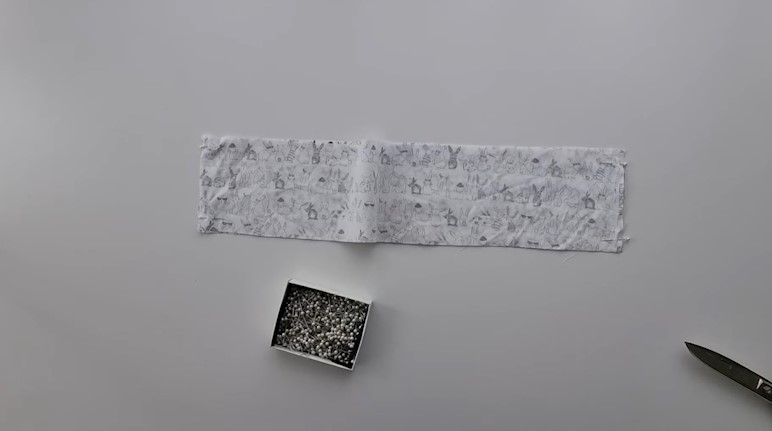
Cut all main and interfacing pieces accurately on the correct grain, ensuring all notches are clipped, and pattern markings have been transferred. Seam allowance is included and is marked on the pattern in a grey dashed line, it is also listed on page 2 of the booklet provided.
Step 2
Short Legs
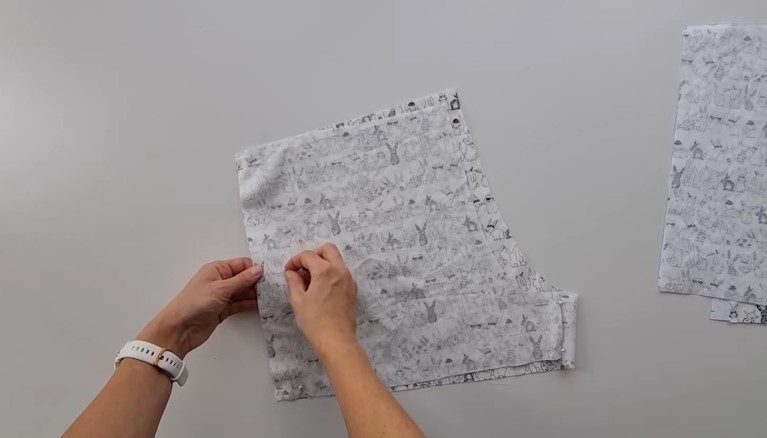
Taking one side of the shorts, place the front and back of the short right sides together, pin the short inseam together, and then the outer leg together. Sew the seams closed with a 1cm seam allowance, then overlock and press the seam allowance towards the back.
Step 3
Repeat on the other leg.
Step 4
Keeping one leg the correct way, turn the other leg inside out. Place one leg inside the other so that the right sides are together. Pin the crotch seam together from front to back. Ensure the inseams match in the middle. Sew the seams closed with a 1cm seam allowance, then overlock and press to one side.
Waistband
Step 5
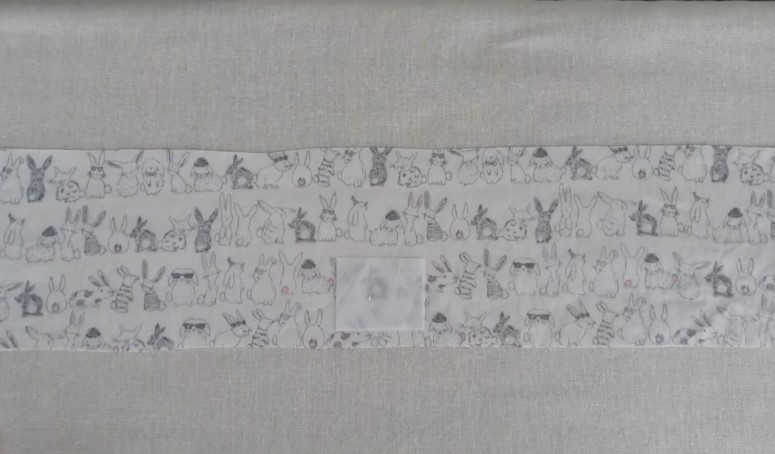
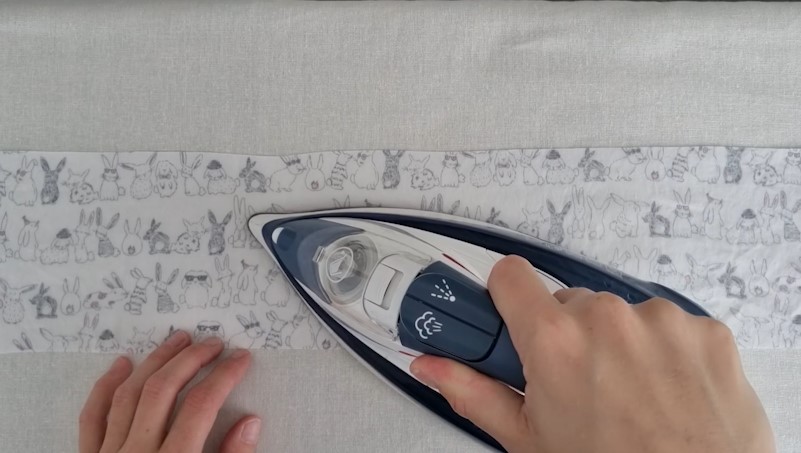
Take the small square of interfacing and press to the waistband where the button holes are – this is marked in a grey dashed line. (This will help add extra support to the button holes)
Step 6
Sew the button holes as marked on the pattern following the instructions on your sewing machine. If you are using a different width ribbon (other than 15mm you will need to adjust the buttonhole size)
Step 7
Cut open each buttonhole. A pin at each end can help to stop you from accidentally cutting too far.
Step 8
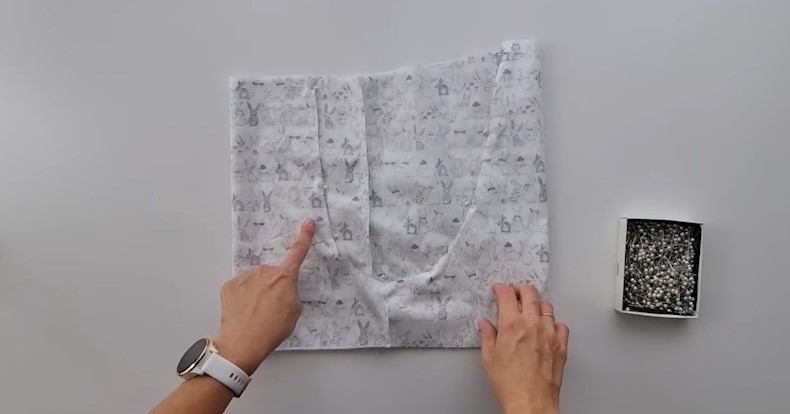
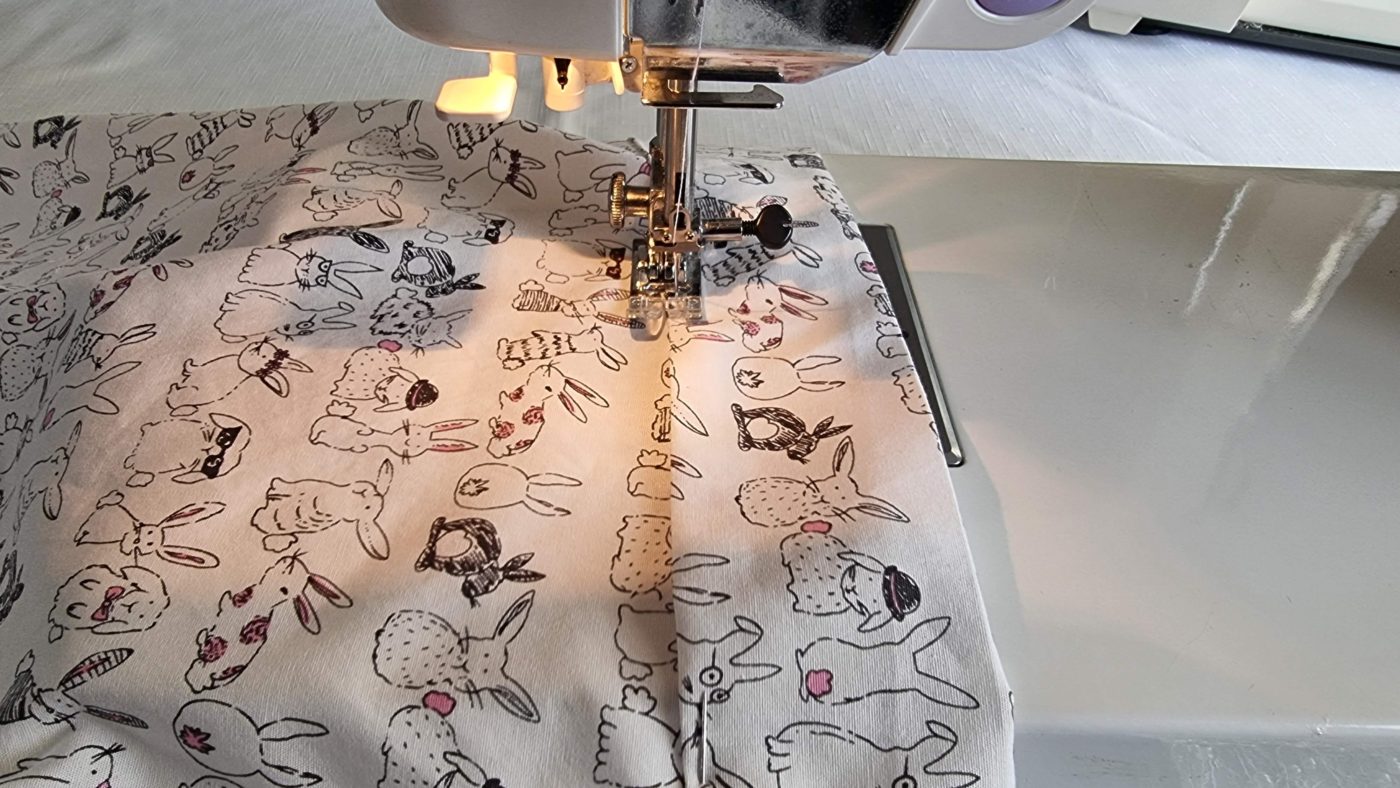
Place the front and back waistband pieces right sides together and pin the side seams together. Stitch closed with a 1cm seam allowance and press the seam allowance open. (this will be enclosed so there is no need to overlock)
Step 9
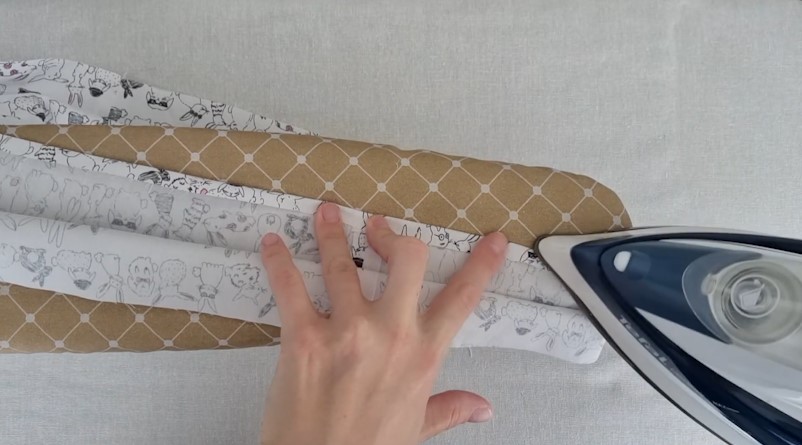
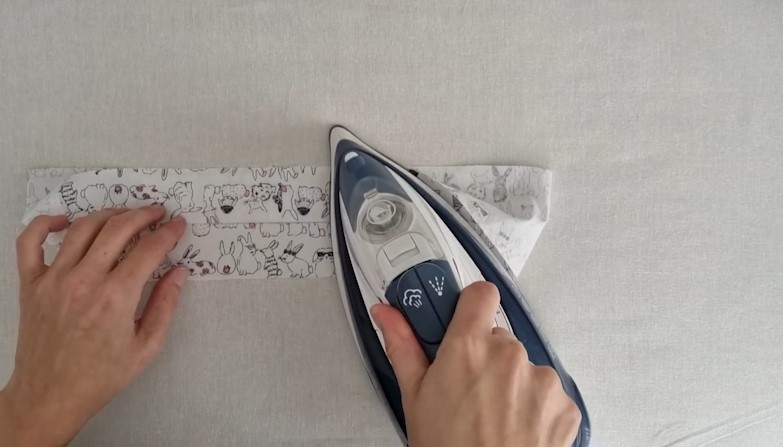
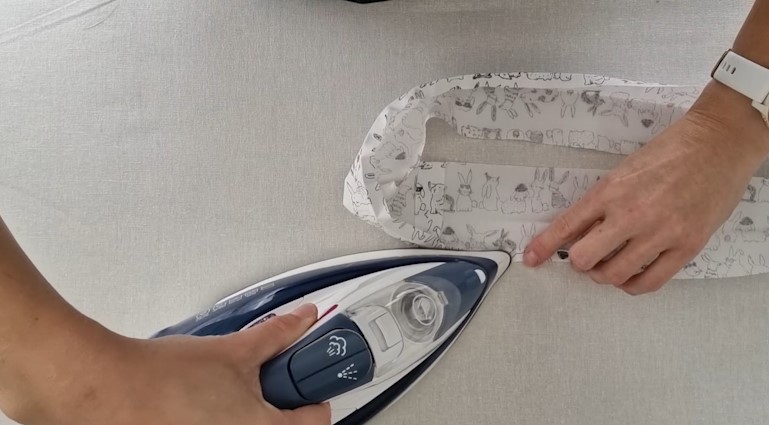
Fold the waistband in half lengthways with the wrong sides together and press. Then fold over 1cm at the bottom edge of the waistband and press.
Step 10
To attach the waistband to the top of the pant, place the waistband inside the short and pin the right side of the top edge of the waistband to the wrong side of the top of the short. (take care to ensure the side seams of the waistband match the side seams of the short and that the button holes are centered at the front) Then stitch closed with a 1cm seam allowance.
Step 11
Press the seam allowance towards the waistband. Take care not to press out the creases on your waistband.
Step 12
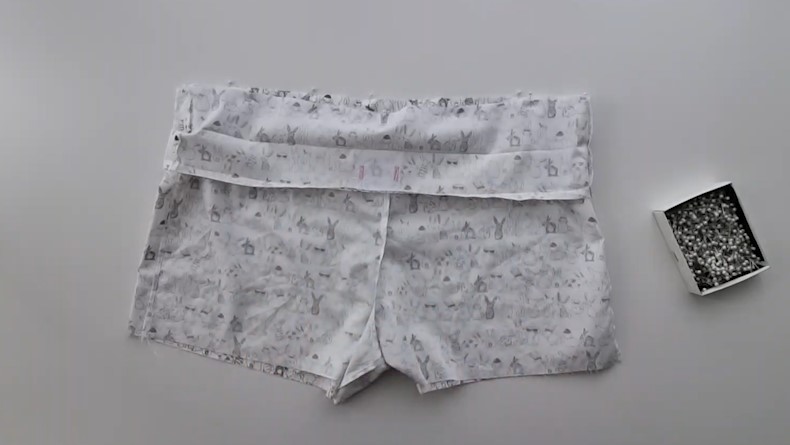
Then fold the waistband over towards the front, encasing the seam allowance. Pin the waistband so that the folded edge just covers the stitching from step 10.
Step 13
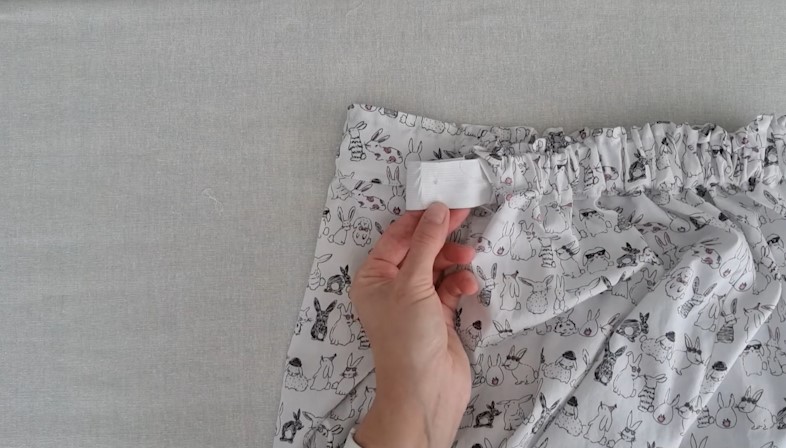
Stitch the waistband down 1mm from the edge, leaving a 3cm gap at the side to thread the elastic through.
Step 14
The elastic for the waist now can be inserted. Pin one end of the elastic to the short to hold it in place, then thread the other end through the waistband. Take care to ensure the elastic is not twisting.
Step 15
Sew the ends of the elastic closed with a box stitch.
Step 16
Then sew the 3cm hole closed following the 1mm top stitch from step 13.
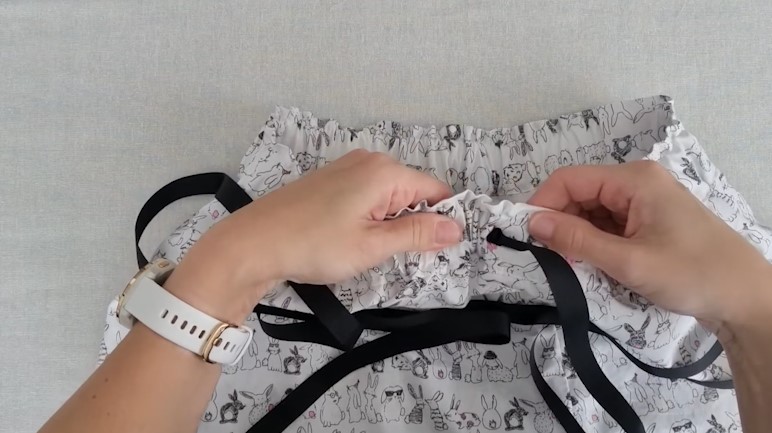
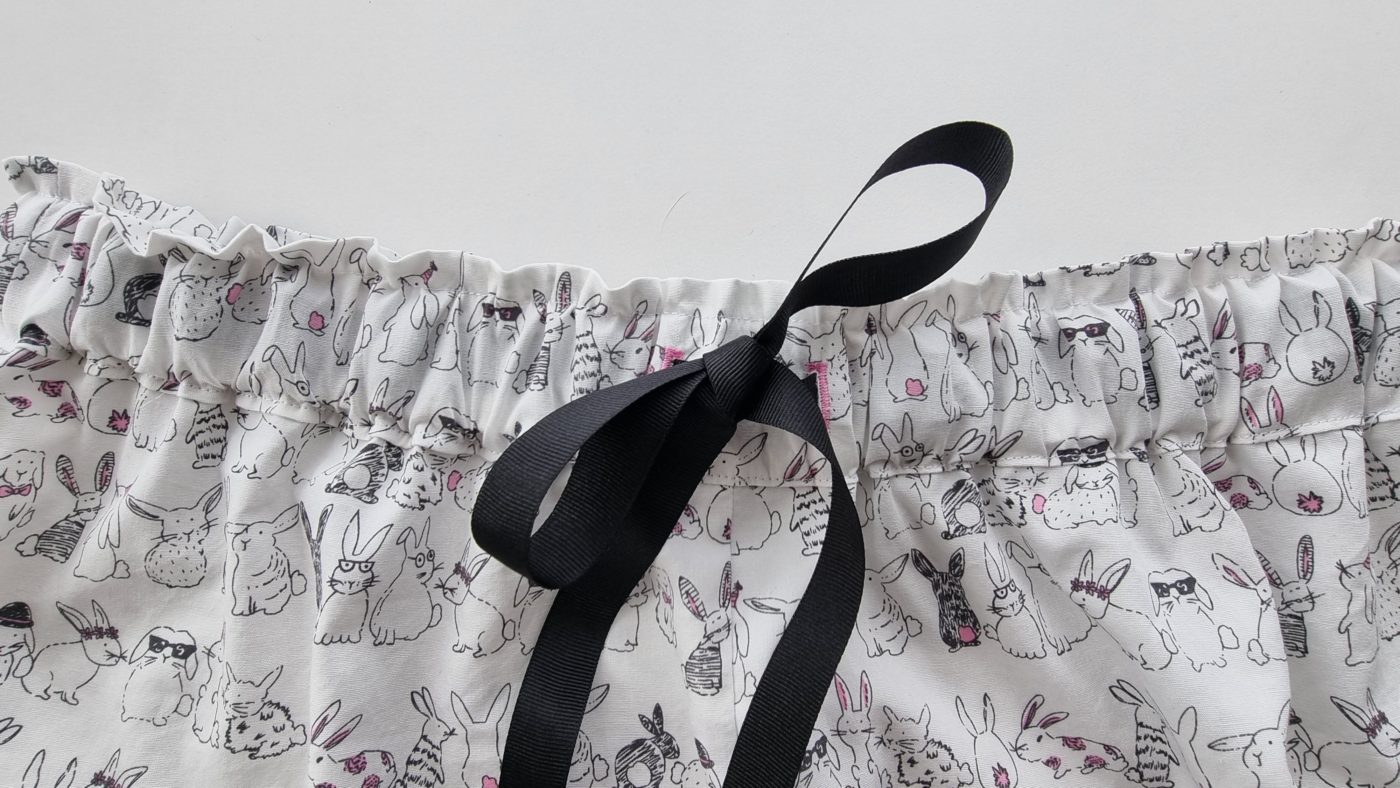
Step 17
Now thread the waist tie through the button holes and tie in a bow to secure. To prevent the elastic from twisting and the waist tie from coming out you can add a stitch up the center back of the waistband to hold them both in place.
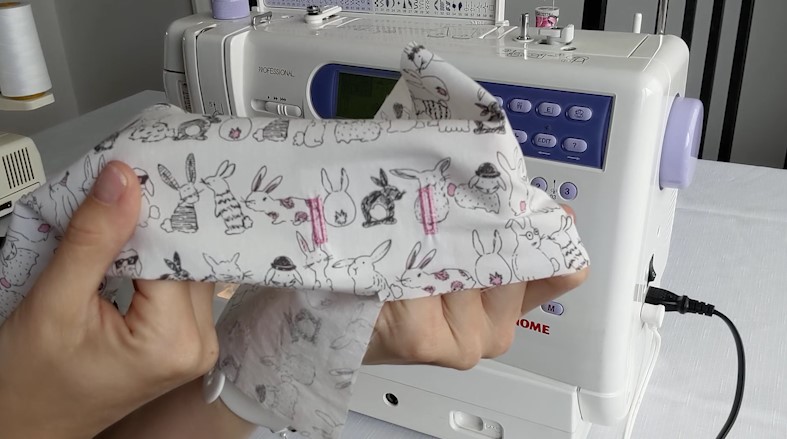
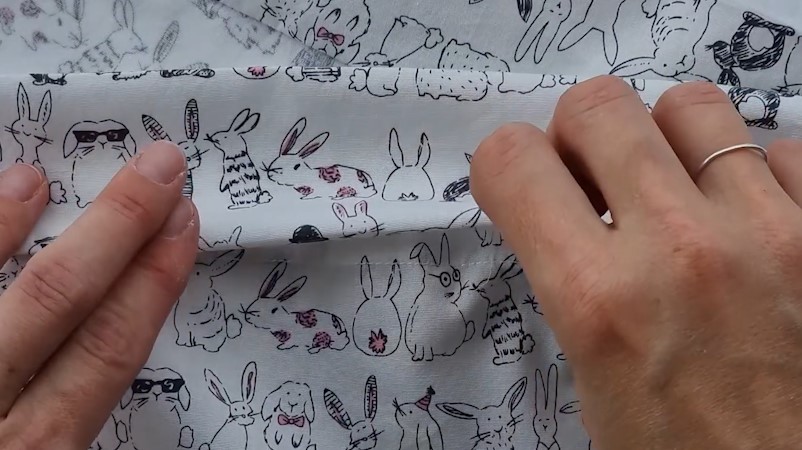
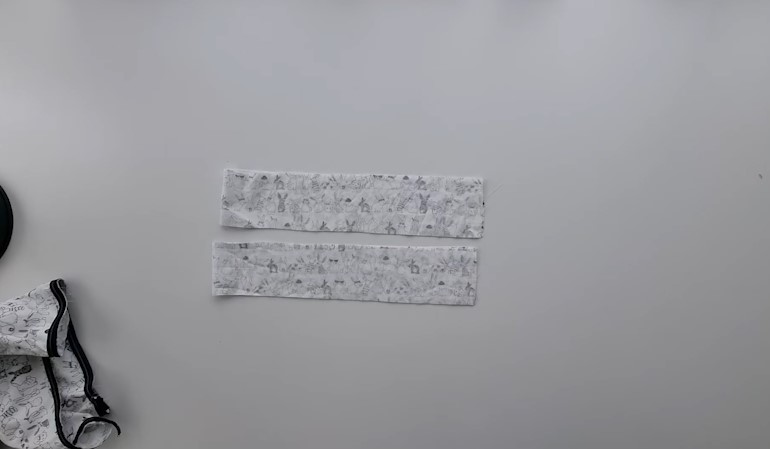
Short Hem
Step 18
Pin the piping to the short hem with the raw edge of the piping on the raw edge of the short hem. Stitch in place using a larger stitch and an 8mm seam allowance. The overlap of the piping should be at the inseam so it is hidden when the garment is worn.
Step 19
Take each short hem and fold it in half right sides together, pin and stitch the inseam closed using a 1cm seam allowance. Press seam allowance open.
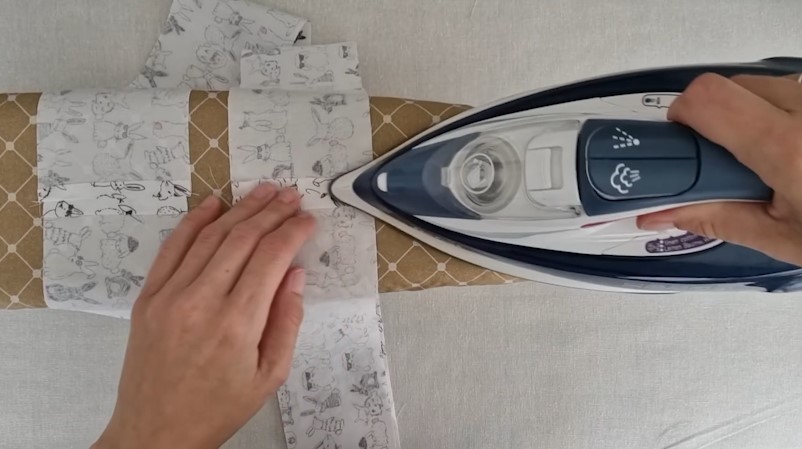
Step 20
Fold each hem piece in half long ways, wrong sides together, and press, then fold a 1cm seam allowance on the lower edge and press.
Step 21
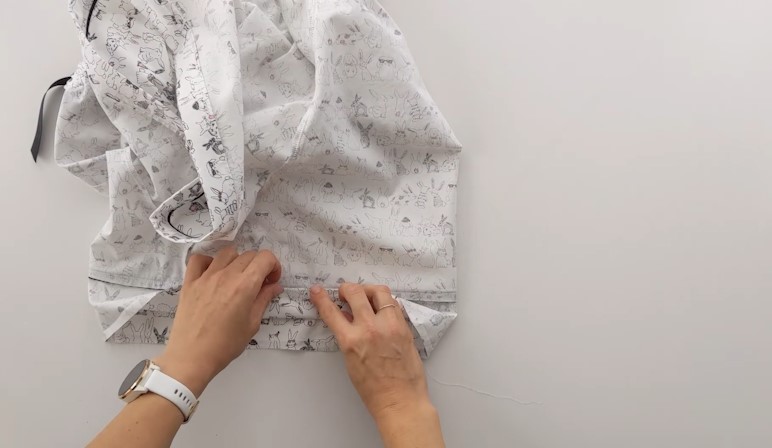
Pin the hem to the short right sides together, taking care to match the inseams. Stitch closed using a 1cm seam allowance. Then press the seam allowance towards the hem.
Step 22
Fold the hem so that the seam allowance is encased, pin in place from the right side of the short, then check the back to ensure it is also folded neatly. Top stitch from the right side of the short 1mm below the piping to secure the back of the short hem.
Step 23
Repeat steps 21 & 22 on the other leg hem.
Your Chloe Sleepwear Short is now complete. Of course, there is a matching top for these shorts, you can find the Chloe Sleepwear Top here.
I also have a couple more cute pyjama sets here.
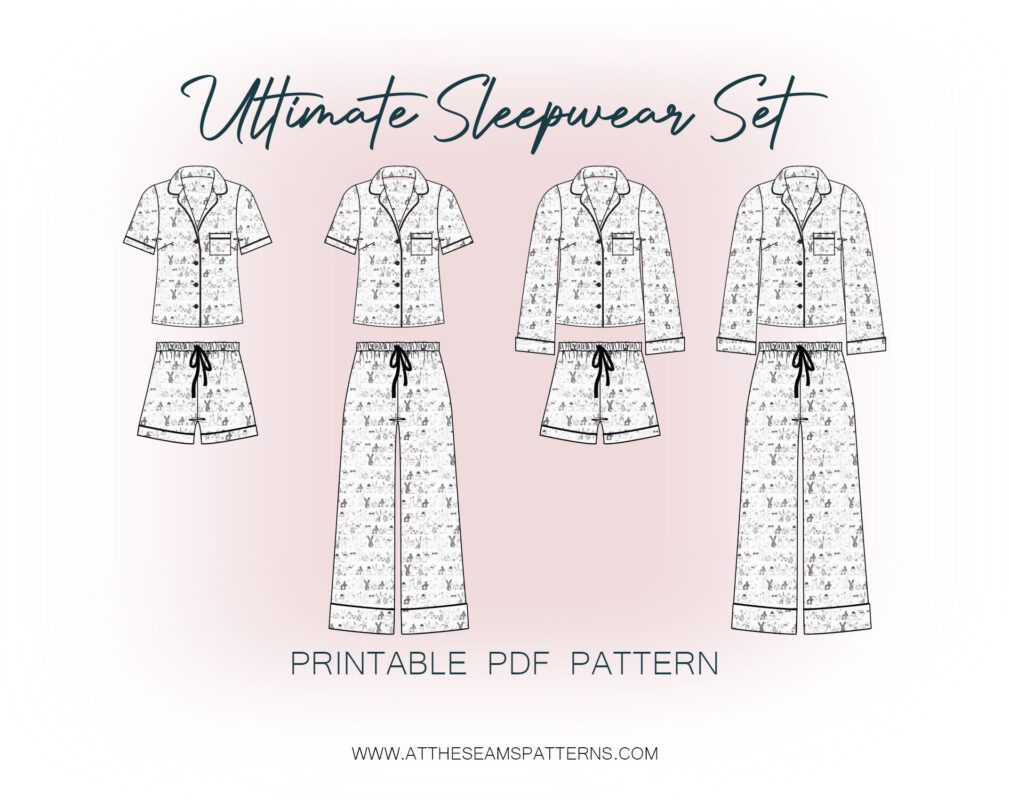
Or you can purchase the Ultimate PJ set here in Size XS-XL
or XL-5XL here.
I’d love to see your creations, you can tag me on Instagram at @at_the_seams_patterns