How To's
How to: Insert Rigilene & Plastic Boning
Boning helps a garment maintain its shape and stay wrinkle-free by supporting a garment at its seams. Or it can be used for cinching/shaping the body. While it is most often used in corsets, it can also be found in bustiers, swimsuits, strapless gowns, and in other garments that may need additional support.
Types of Boning
There are many different types of boning, depending on what the end-use will be. Typically, softer more flexible boning is used for fashion garments making them more comfortable for long-term wear, whereas costume and couture garments will require stronger, less flexible boning.
Below are 4 of the most common types.
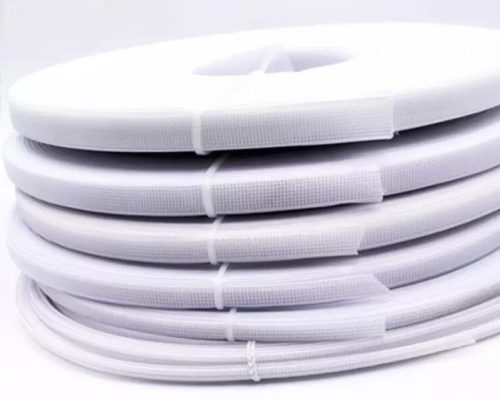
White Steel Boning
A rigid bone made of nylon coated spring steel. The ends are white plastic dipped.
Width: 1/2″ (12mm) or 1/4″ (6mm.) wide.
Advantages: A strong, rigid boning.
Disadvantages: Cannot be sewn in curved channels, flex in one direction only. Can buckle or twist within the casing.
Washing: Dry Cleaning is recommended, The coating prevents rusting and is highly resistant to washing detergents, and other fluids.
End Tips: Not required. However, it must be bought in the correct length. If the bong needs to be cut, wire cutters can be used but the ends will need to be resealed with plastic.
Spiral Steel Boning
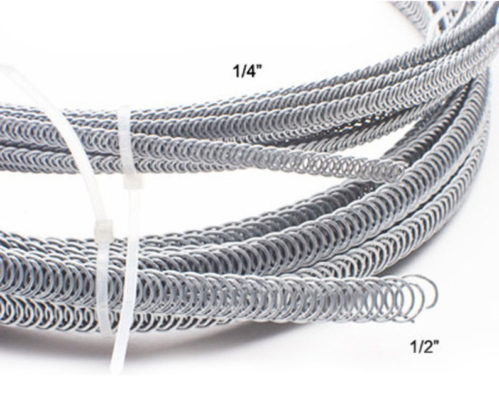
A sturdy, flexible bone made of hardened galvanized spring steel round wire. Available in pre-cut lengths or in continuous rolls. Pre-cut lengths are tipped with metal tips.
Width: 1/2″ (12mm) or 1/4″ (6mm.) wide.
Advantages: Spiral steel boning offers flex on two axis,which makes it perfect for boning curved areas and areas where comfort and flexibility are most important
Disadvantages: The flex in two directions may not be appropriate for all applications.
Washing: Dry Cleaning recommended
End Tips: Not required for pre-cut lengths. Metal tips are needed for continuous lengths.
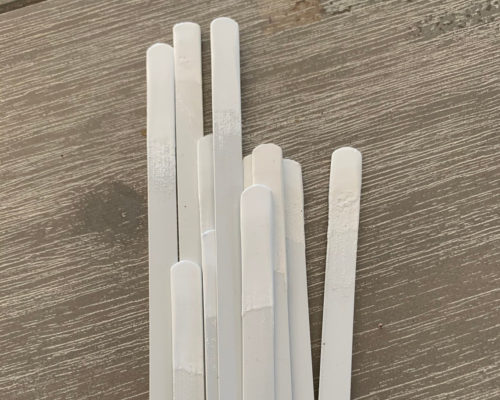
Plastic Boning
Plastic boning. Designed for flexible support and to prevent rolling of garment materials.
Width: 1/2″ (12mm) or 1/4″ (6mm.) wide.
Advantages: Plastic material is extremely durable and highly resistant to washing detergents and other fluids. High flexibility.
Disadvantages: Cannot be sewn in curved channels, flex in one direction only. Can buckle or twist within the casing.
Washing: Machine or Hand Wash.
End Tips: Not required for pre-cut lengths. Rubber tips needed for continuous lengths or ends can be filed into a rounded shape.
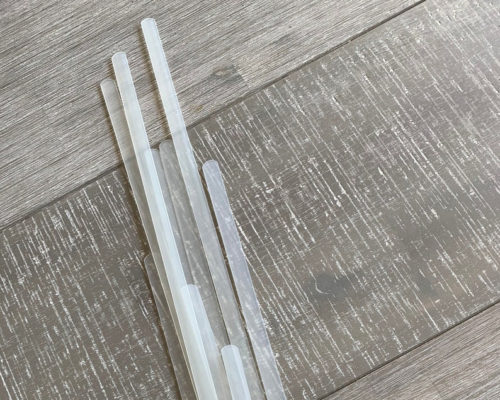
Rigilene Boning
Polyester boning. Specially created for whenever a light polyester boning is required. Can be sewn through.
Width: 1/2″ (12mm) or 5/16″ (8mm.) wide.
Advantages: Soft edges for easy sewing by hand or machine. High flexibility, durable, and will not crack.
Disadvantages: Cannot be sewn in curved channels, flex in one direction only. Very light support.
Washing: Dry Clean or Hand Wash.
End Tips: 1/2″ or 1/4″ Rigilene Tips. Black or White available.
Boning Sewing Instructions
Below I will go into detail on how to sew 2 types of boning into a garment. The instructions will be for Rigilene Boning & Plastic Boning. These are the types of boning most commonly found in fabric stores.
Tools Required
- sewing machine
- iron
- pins
Materials
- fabric (either your garment or just scrap to practice with)
- cotton thread
- boning type of your choice
Rigilene Boning Instructions
Step 1 – Rigilene Boning
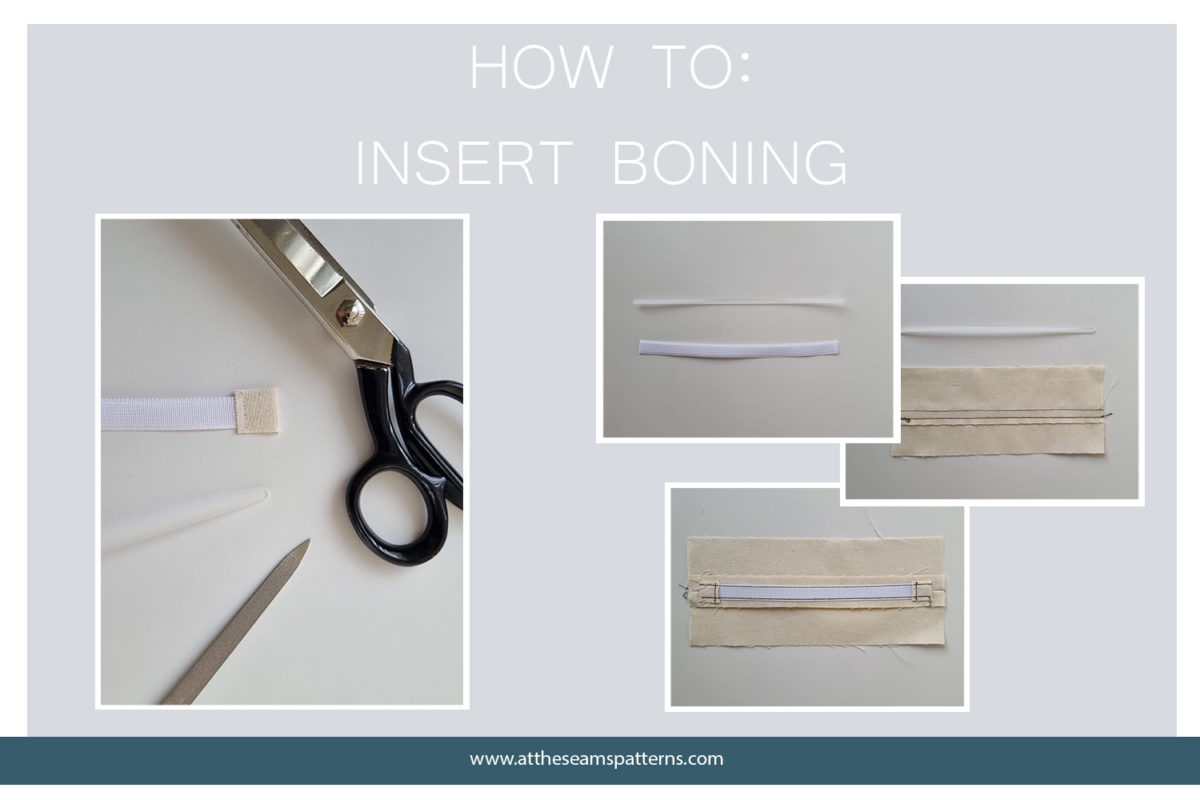
Cut your boning to the correct length, you want to leave about 5mm at the top and bottom of the seam. So your boning should be about 1cm shorter than the seam length.
Step 2
The boning ends will need to be finished, you can buy rubber end tips – or finish with scrap fabric as below.

Cut a piece of scrap fabric about 2/3cm wide 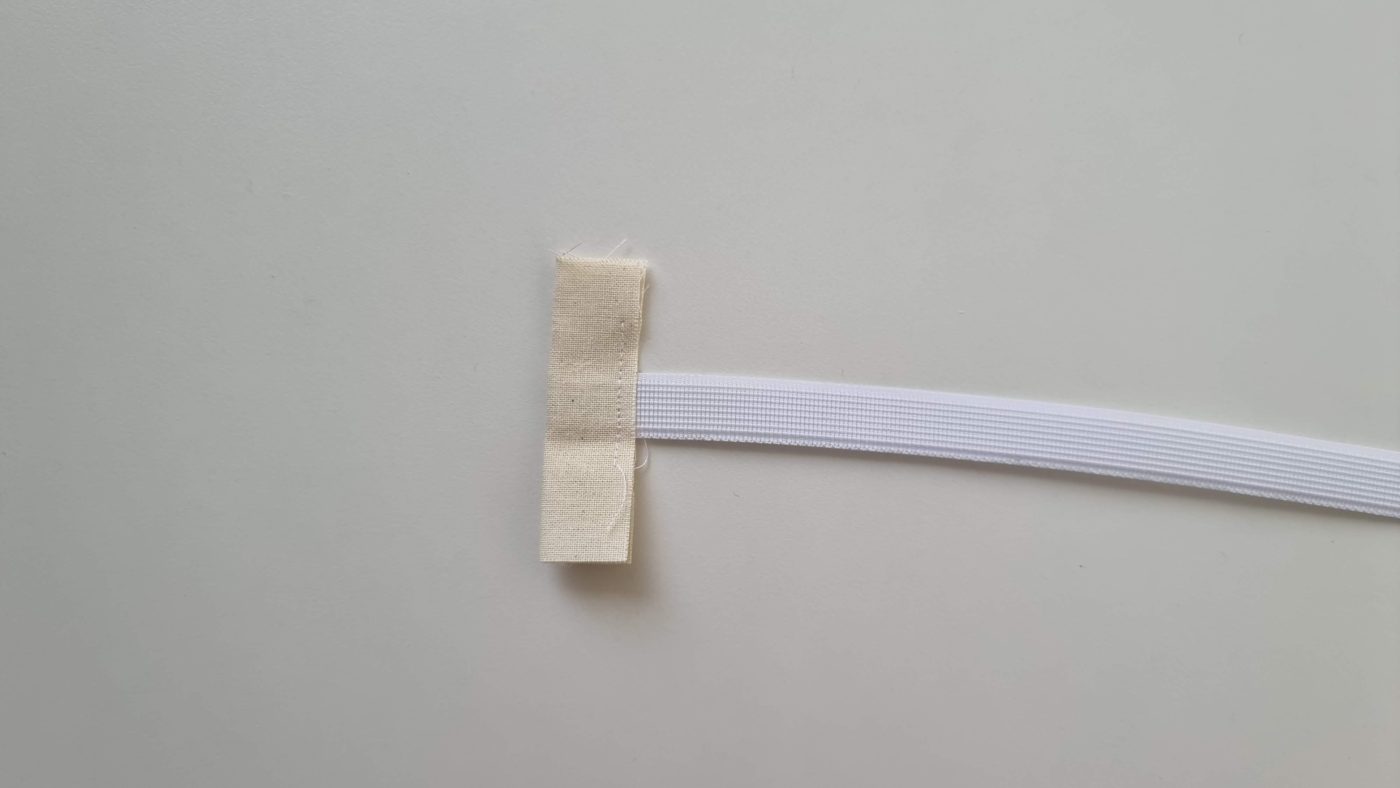
Fold it over the end of the boning and stitch down 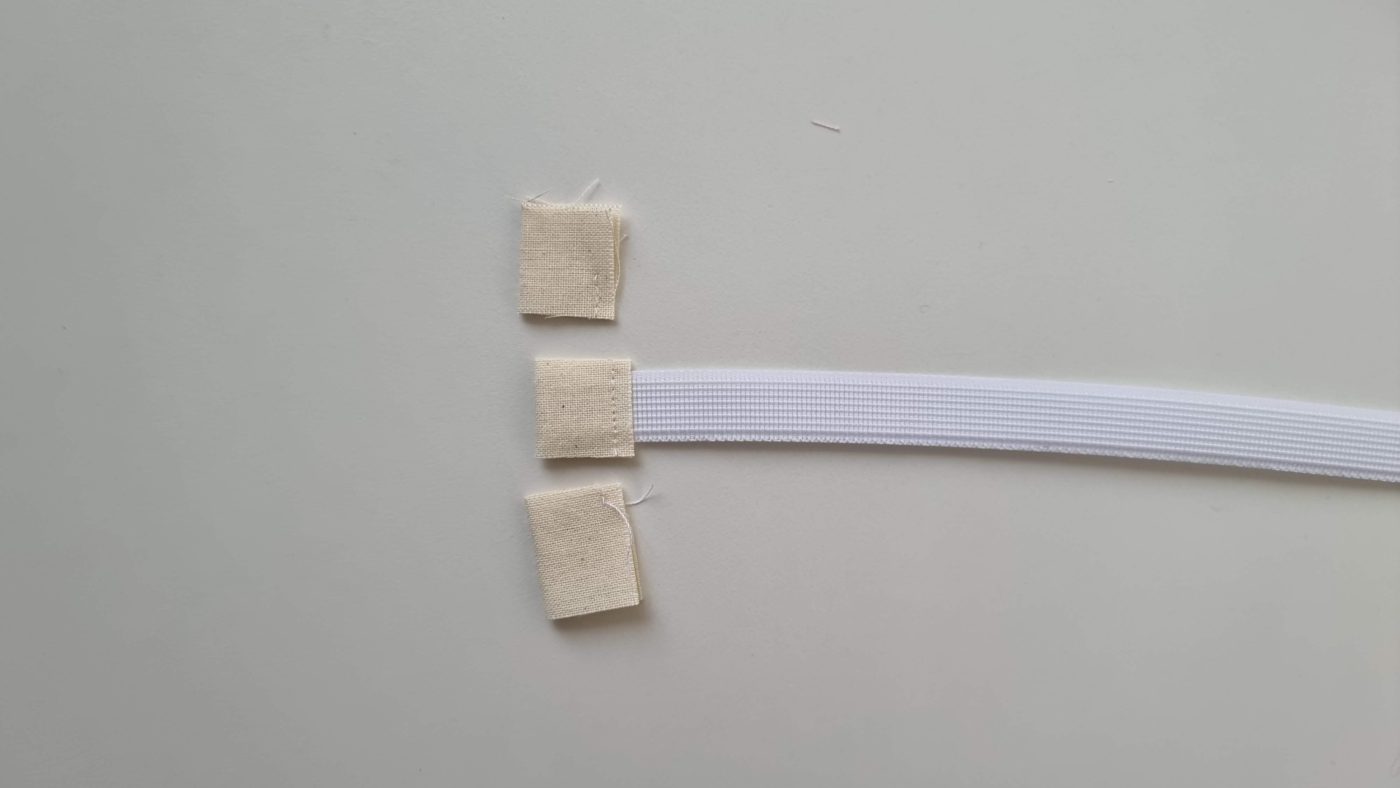
Trim off the excess fabric
Step 3
Next, sew your seam, ensure your seam allowance is at least the width of the boning.
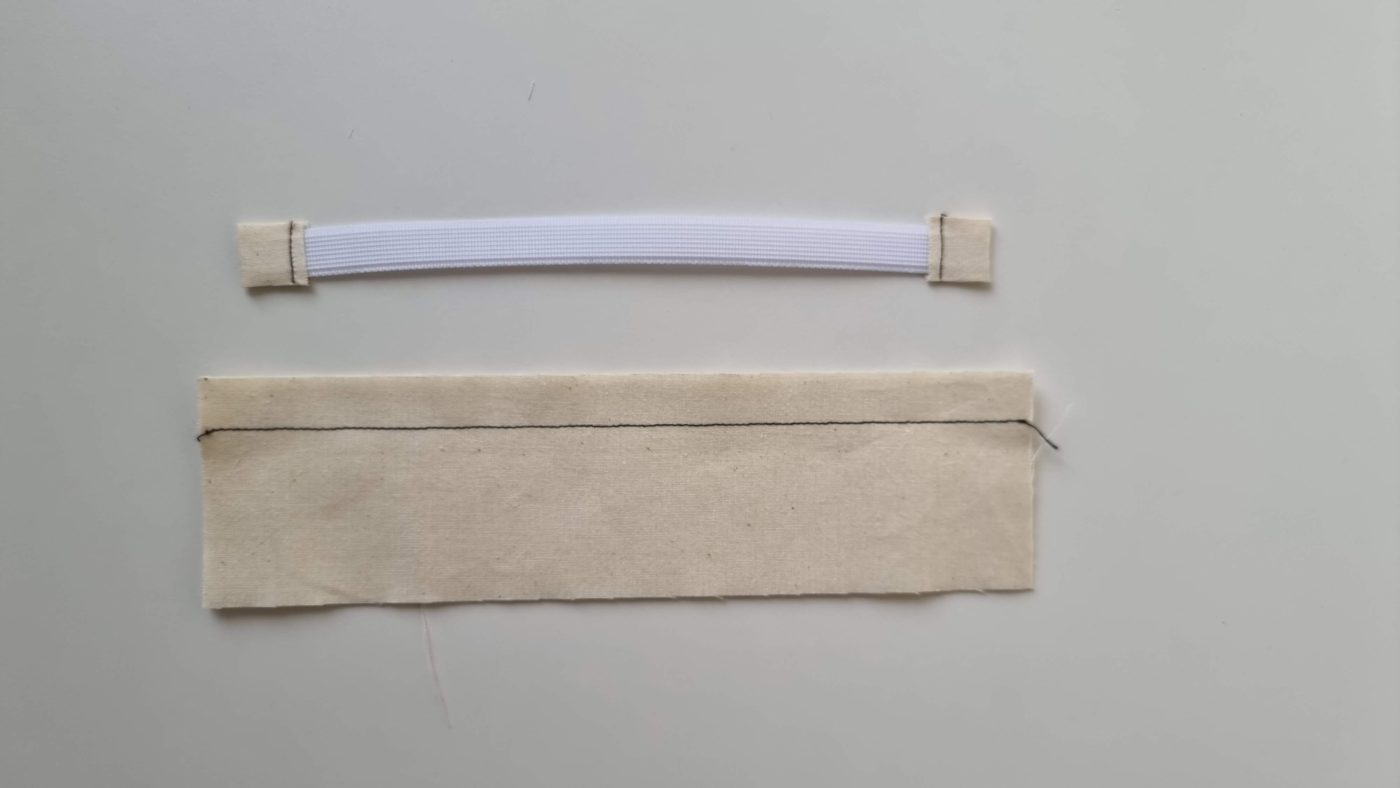
Seam allowance stitched
Step 4
Press the seam allowance open.
Seam allowance pressed open
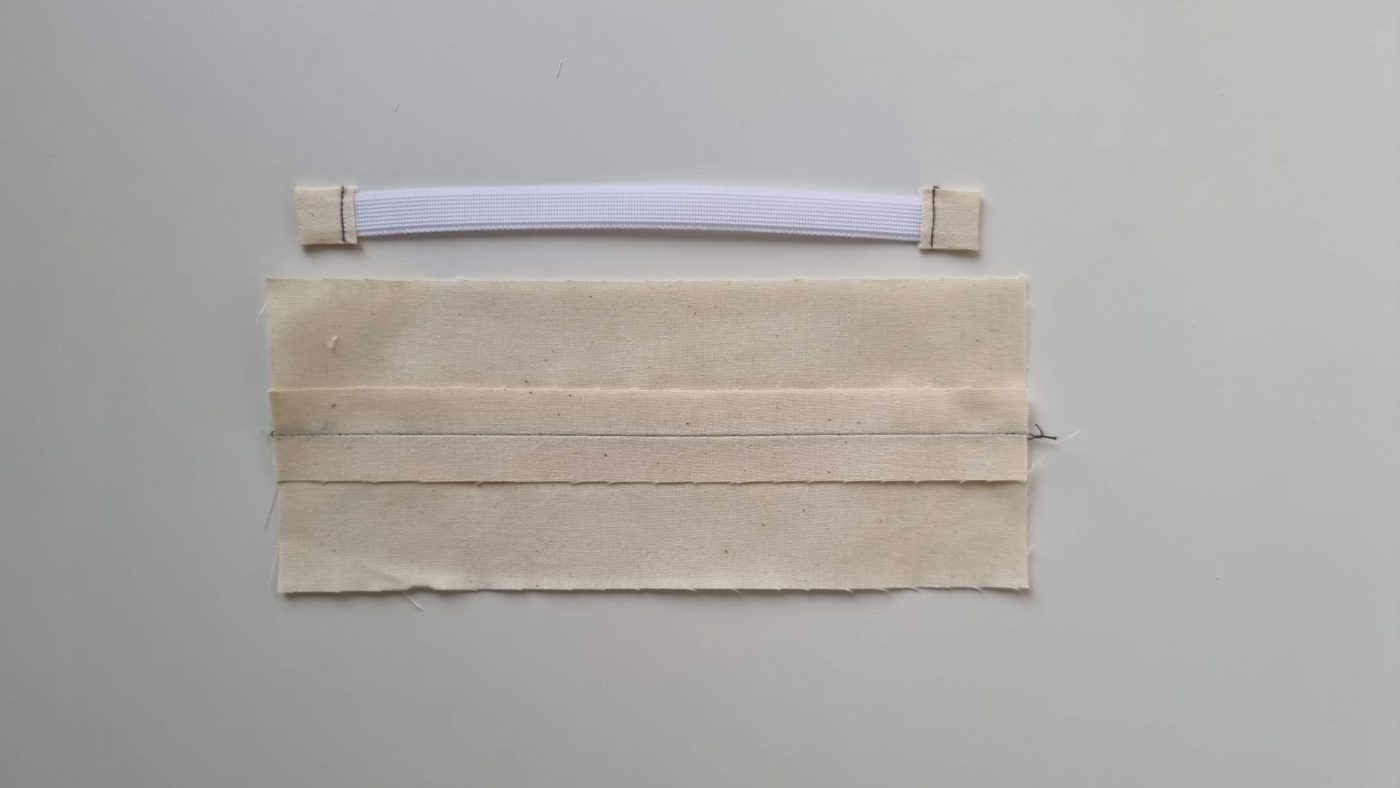
Step 5
Lay the boning on top of the open seam. Ensure your boning is facing the correct way. Fold the garment back so that you can stitch the boning to the seam allowance only.
Boning laid on top of the open seam 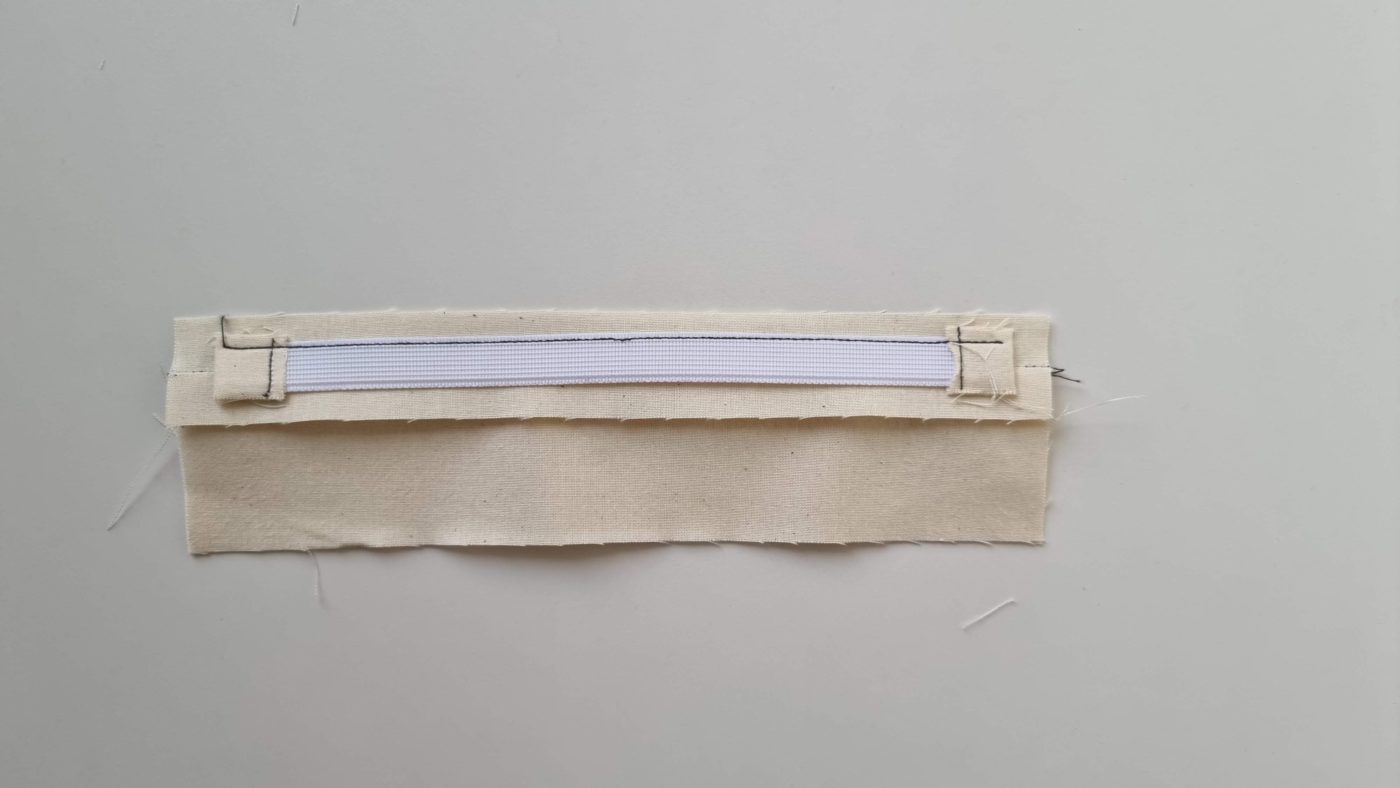
Boning stitched to one side of the seam allowance
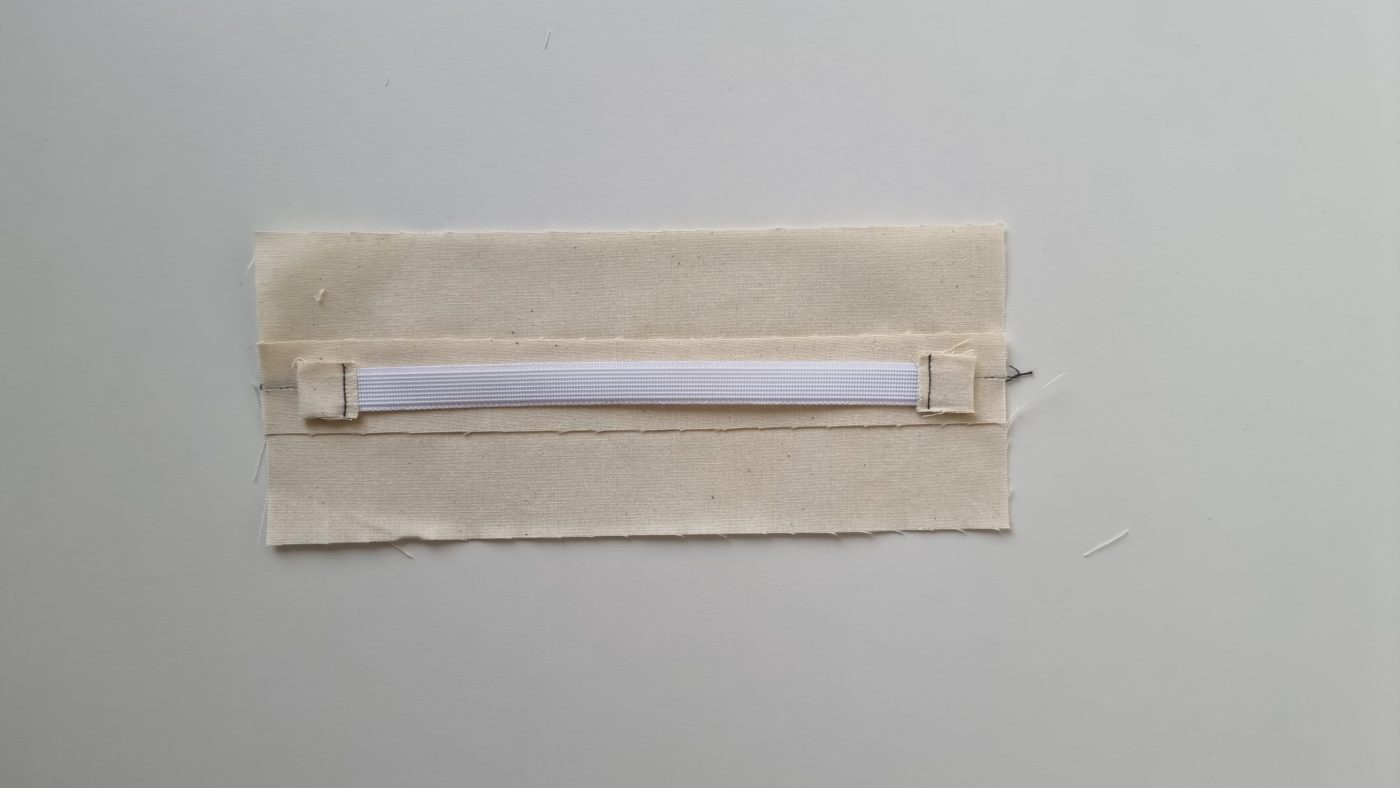
Step 6
Repeat step 5 on the other side of the seam allowance and stitch to the other side of the boning.
Boning stitched to the other side of the seam allowance
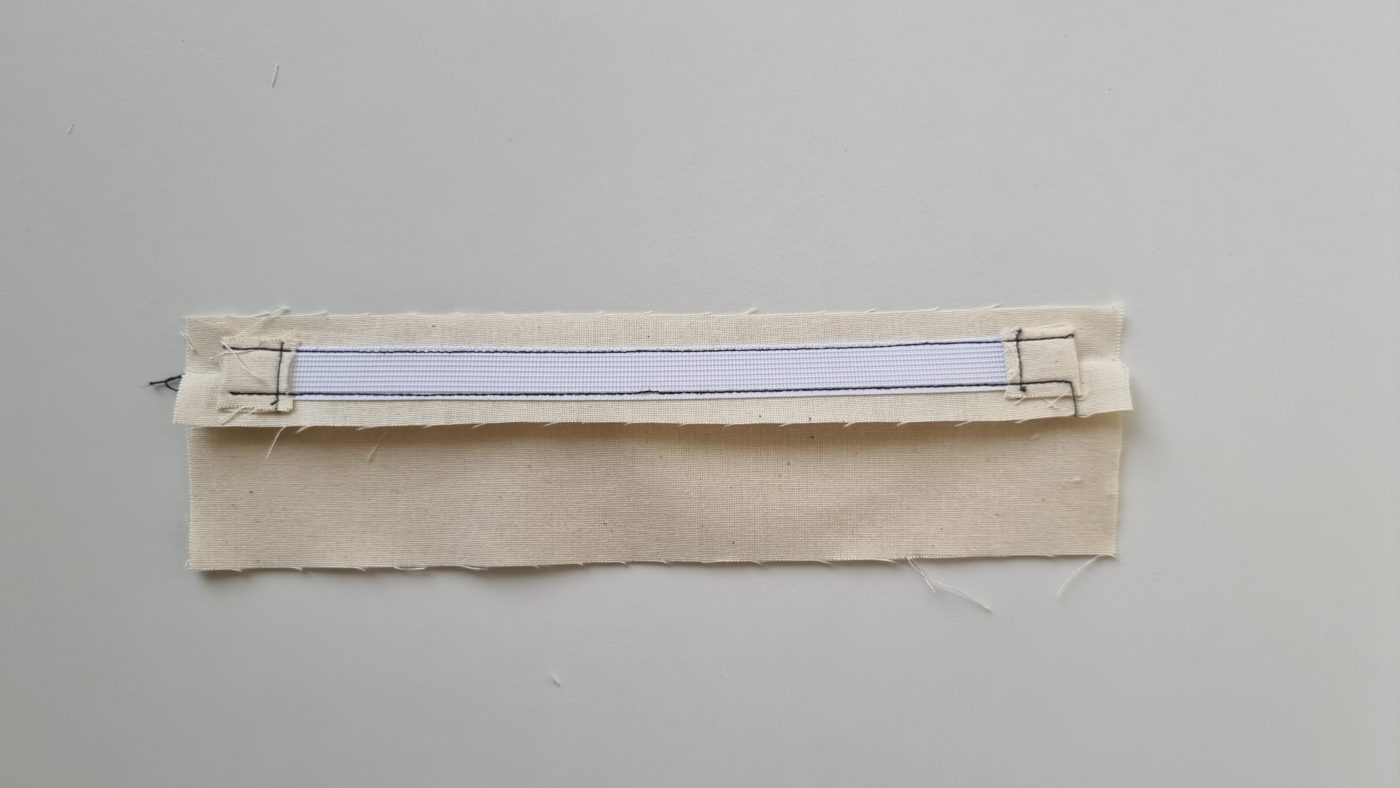
If sewn correctly the boning should look like below.
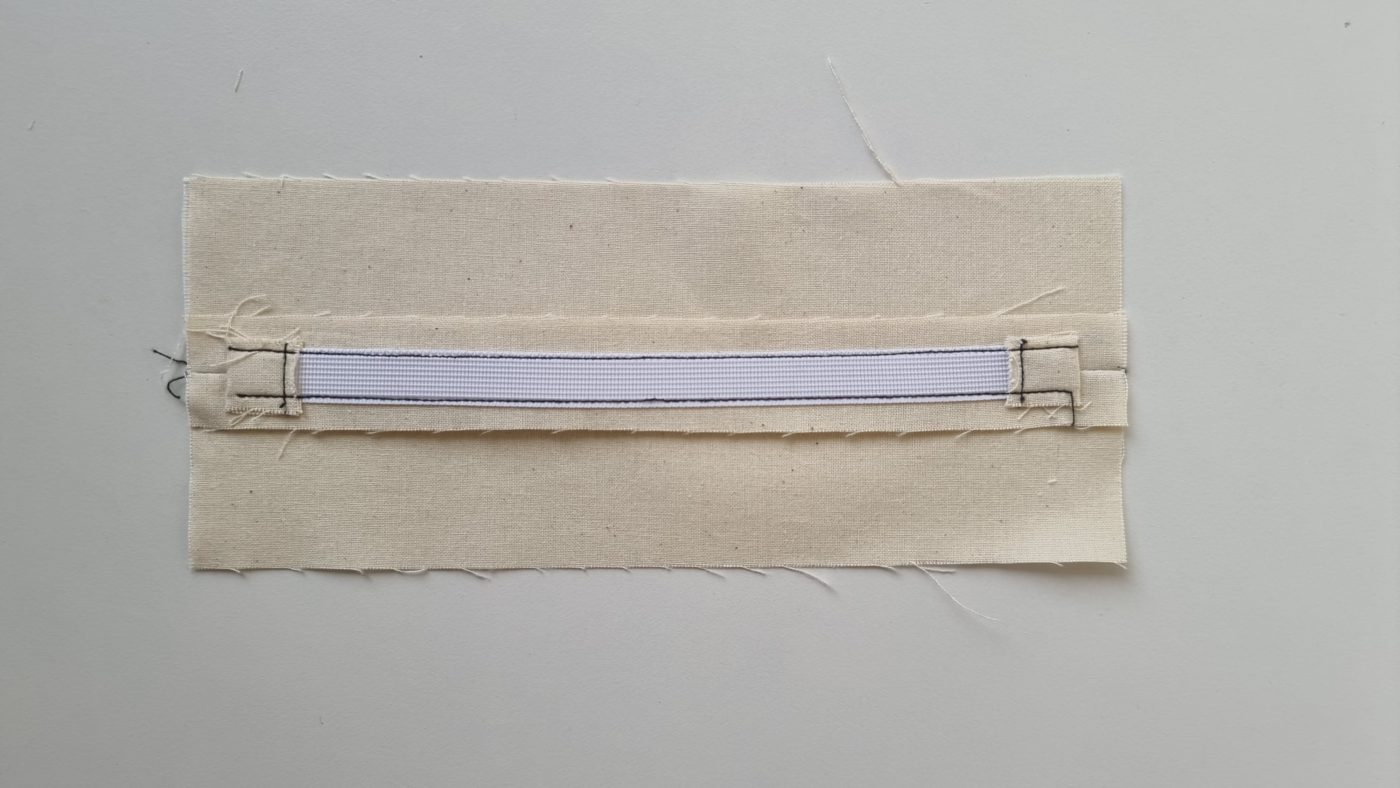
Internal – boning stitched on each side to the seam allowance 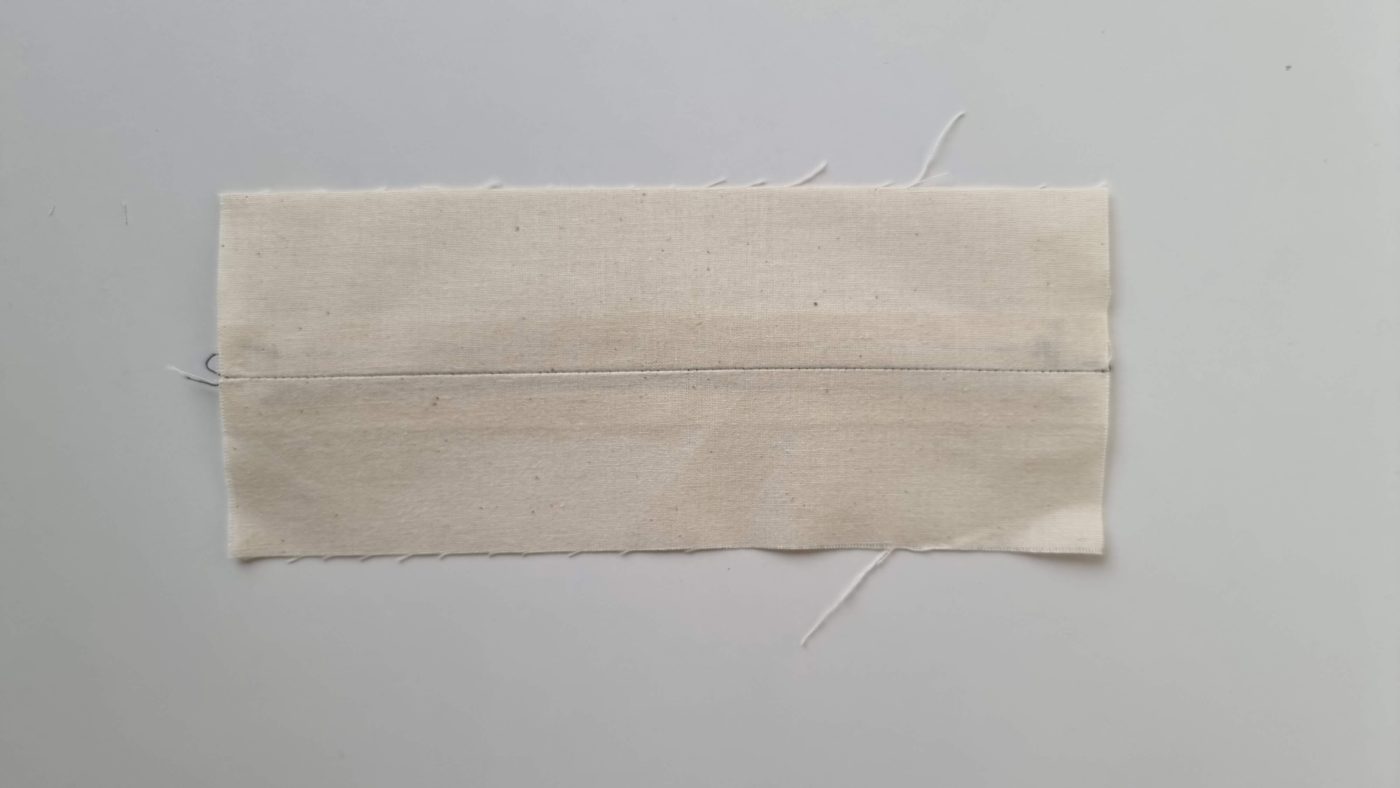
External – No stitching visible on the outside of the garment.
Plastic Boning Instructions
Step 1
If you have not purchased your boning in the correct length you will need to cut your own. To cut your boning to the correct length, you want to leave about 5mm at the top and bottom of the seam. So your boning should be about 1cm shorter than the seam length.
Step 2
The ends of the plastic boning will need to be finished, you can buy rubber end tips – or you can file back the ends to smooth them off with a normal nail file or sandpaper.
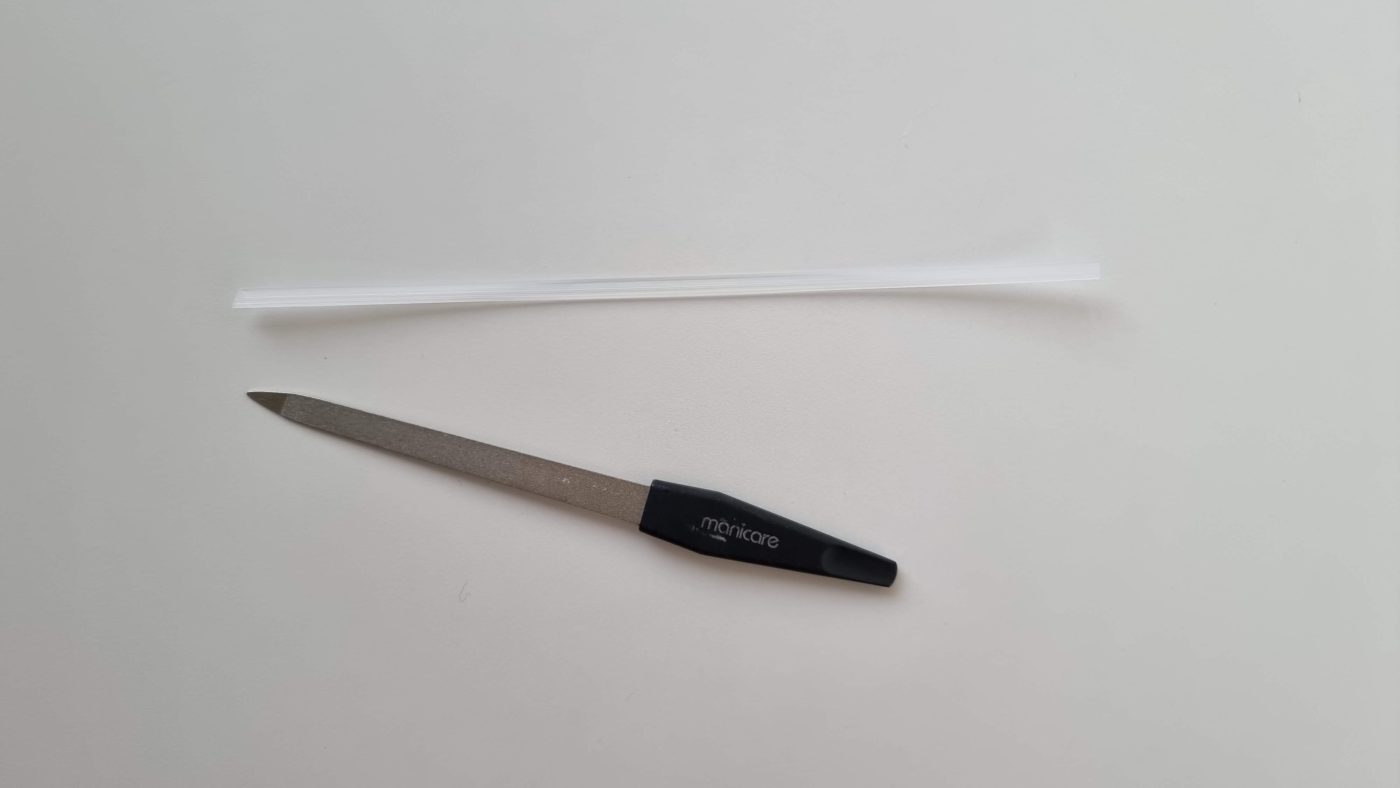
Your bathroom nail file 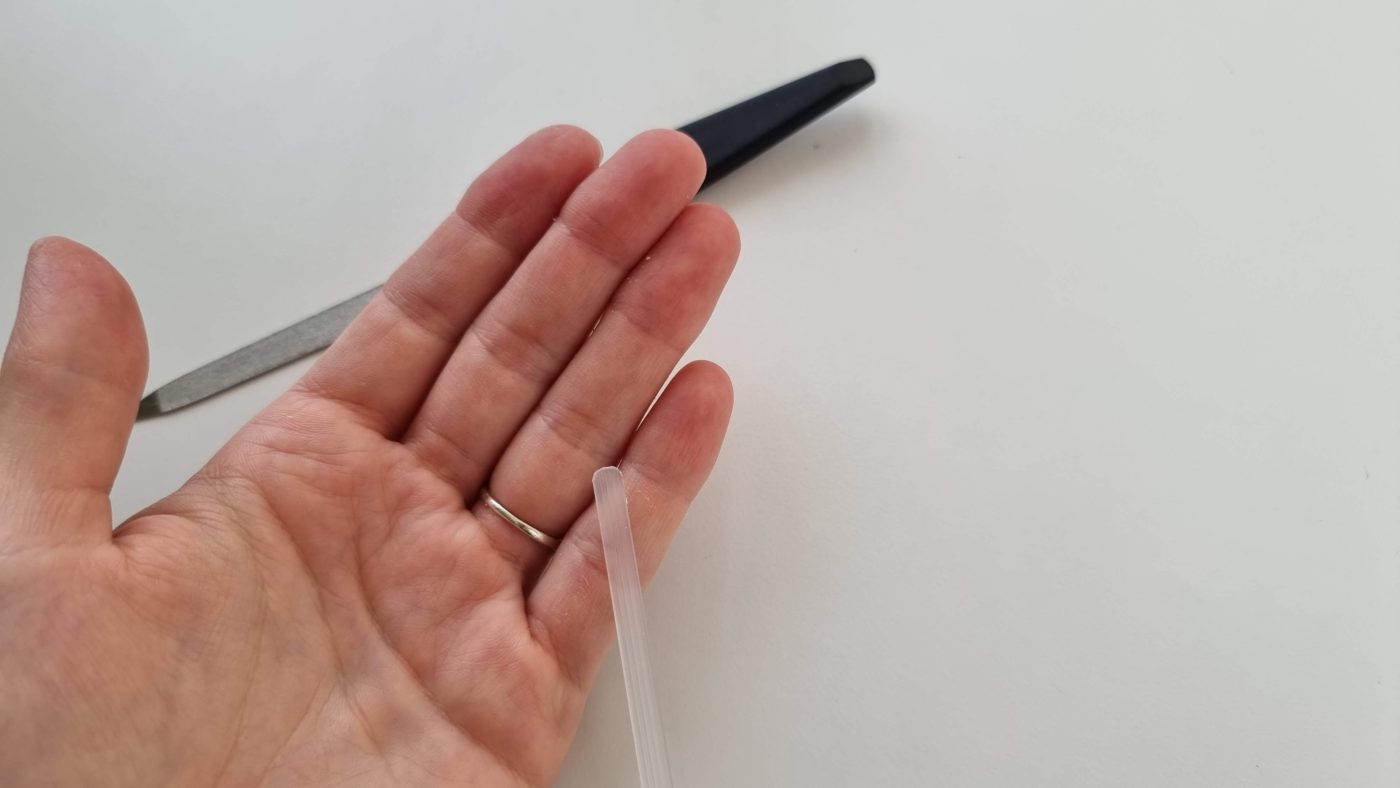
The rounded end of the boning after filing back
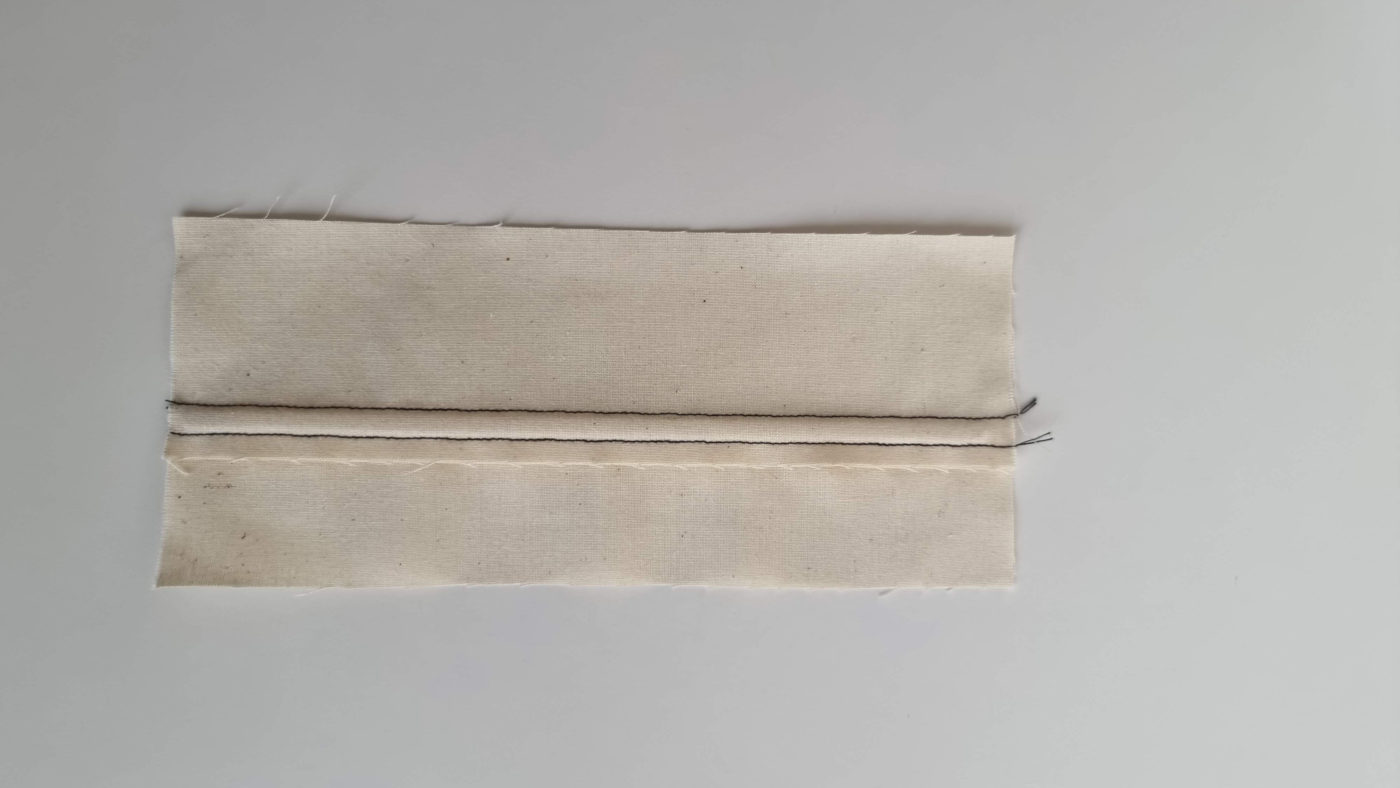
Step 3
Next, sew your seam, ensure your seam allowance is at least double the width of the boning.
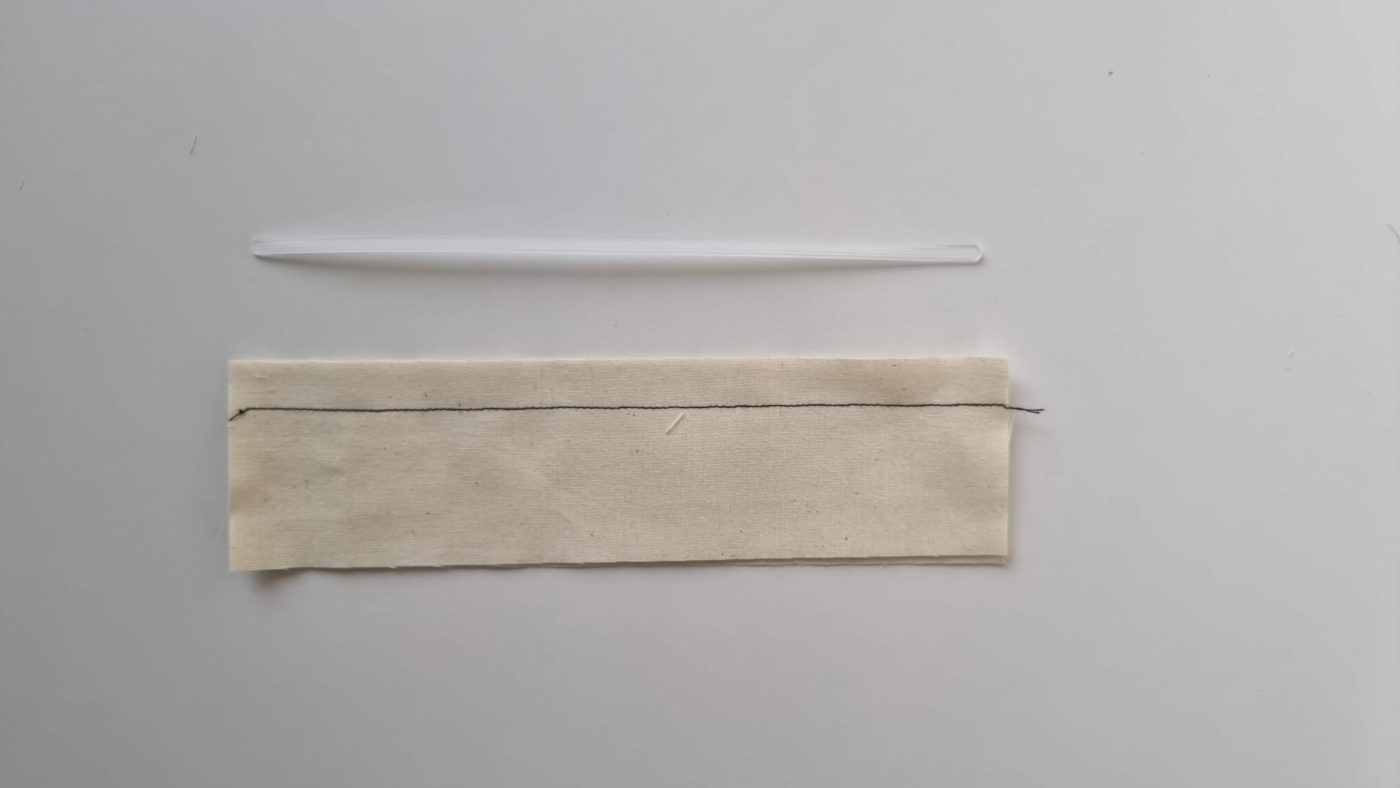
Seam allowance stitched
Step 4
Then, sew another row of stitching parallel to the seam allowance. The distance needs to be the width of your boning +1mm.
This will make a casing to thread your boning into so it must be tight enough to hold the boning in place but not too tight that it does not fit.
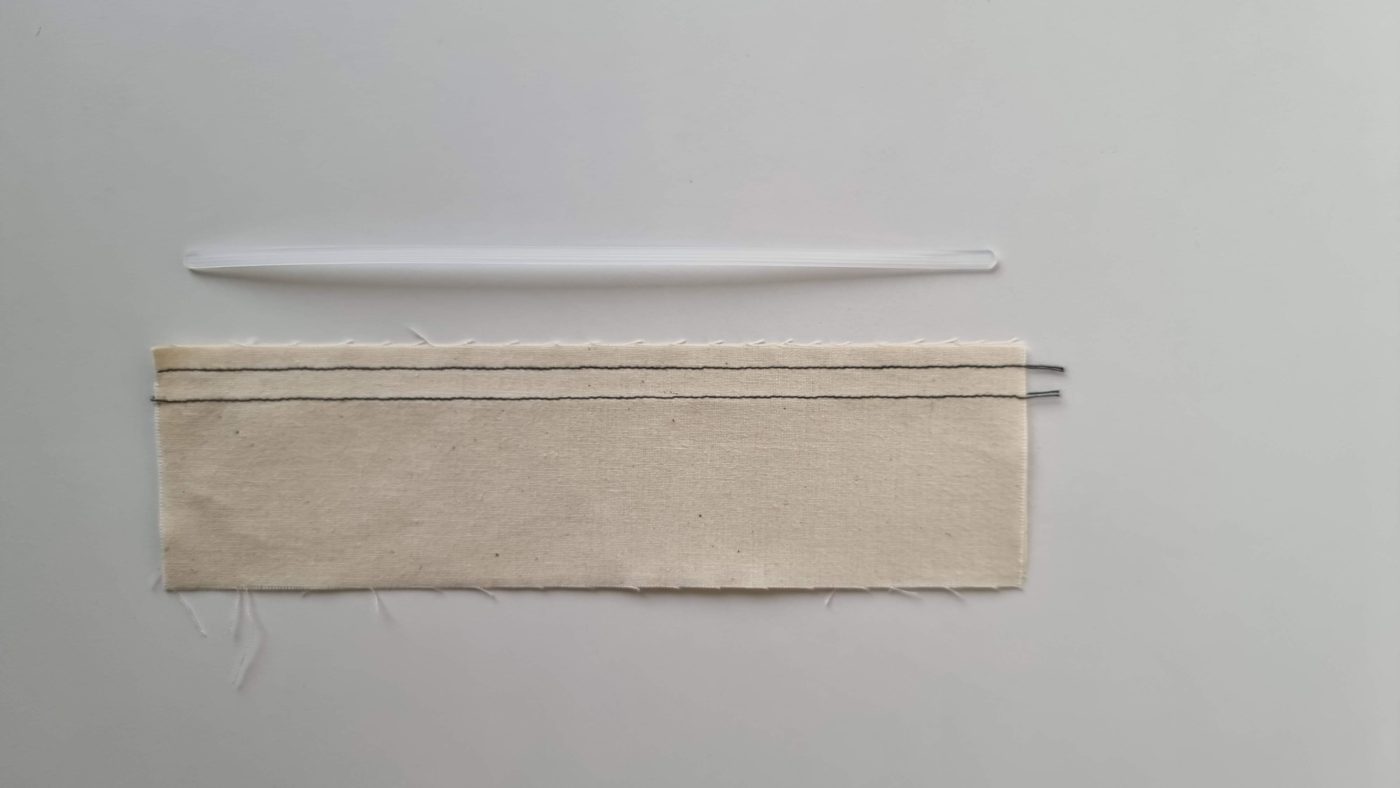
Second row of seam allowance
Step 5
Press the seam allowance in the correct direction according to your garment.
As a standard rule, side seams are pressed backward, vertical design lines are pressed towards the center and horizontal design lines are pressed downwards.
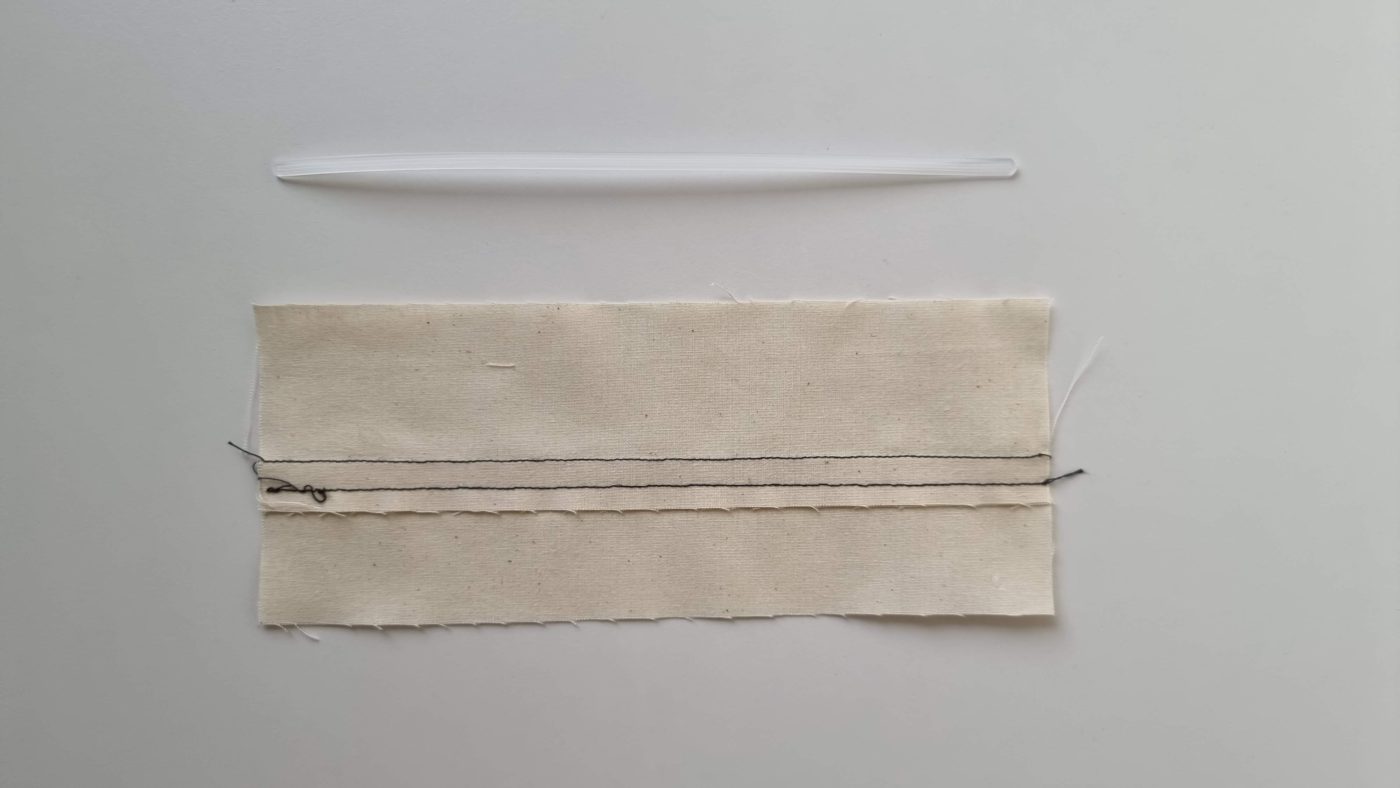
Seam allowance pressed
Step 6
Thread the boning into the casing as shown below.
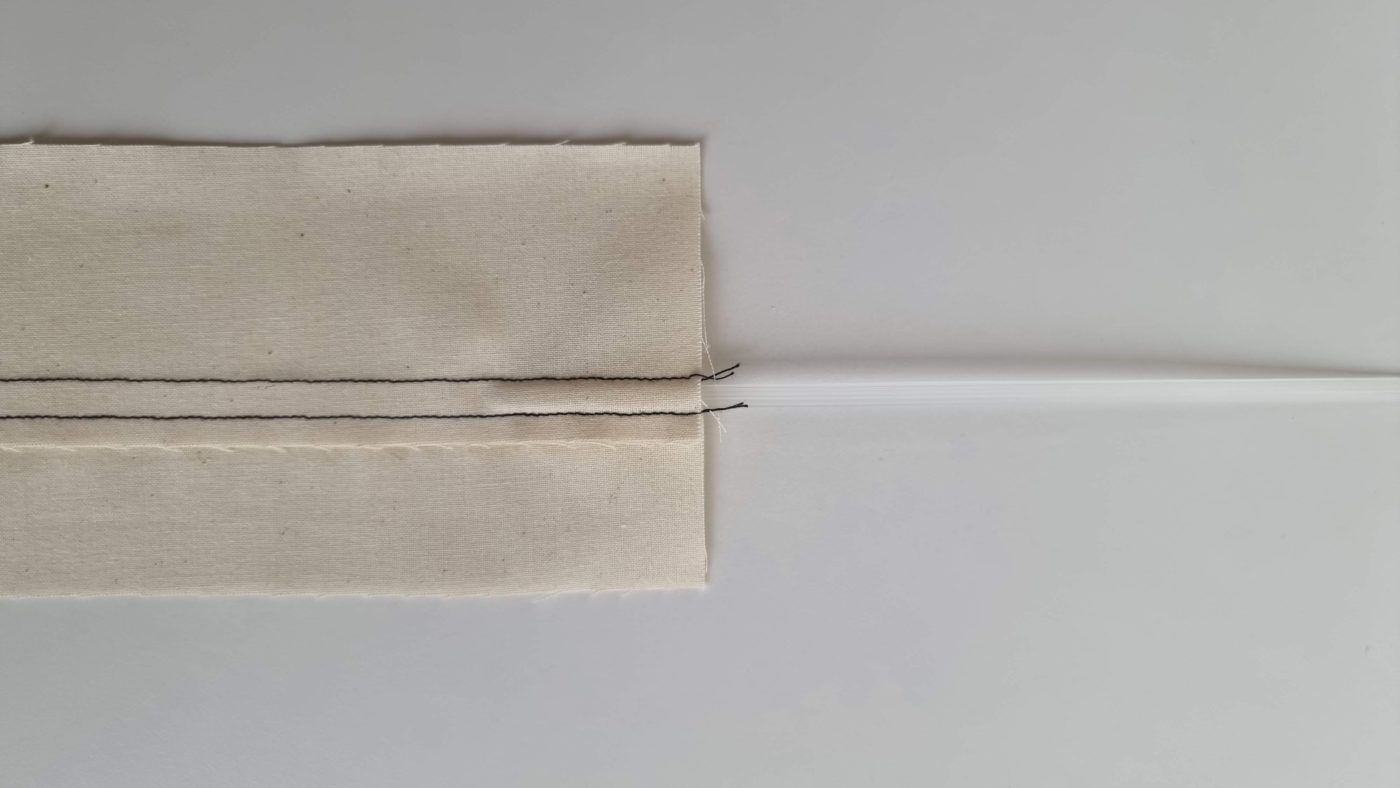
Inserting boning into the seam
If sewn correctly the boning should look like below.
Internal – boning inserted into the seam allowance 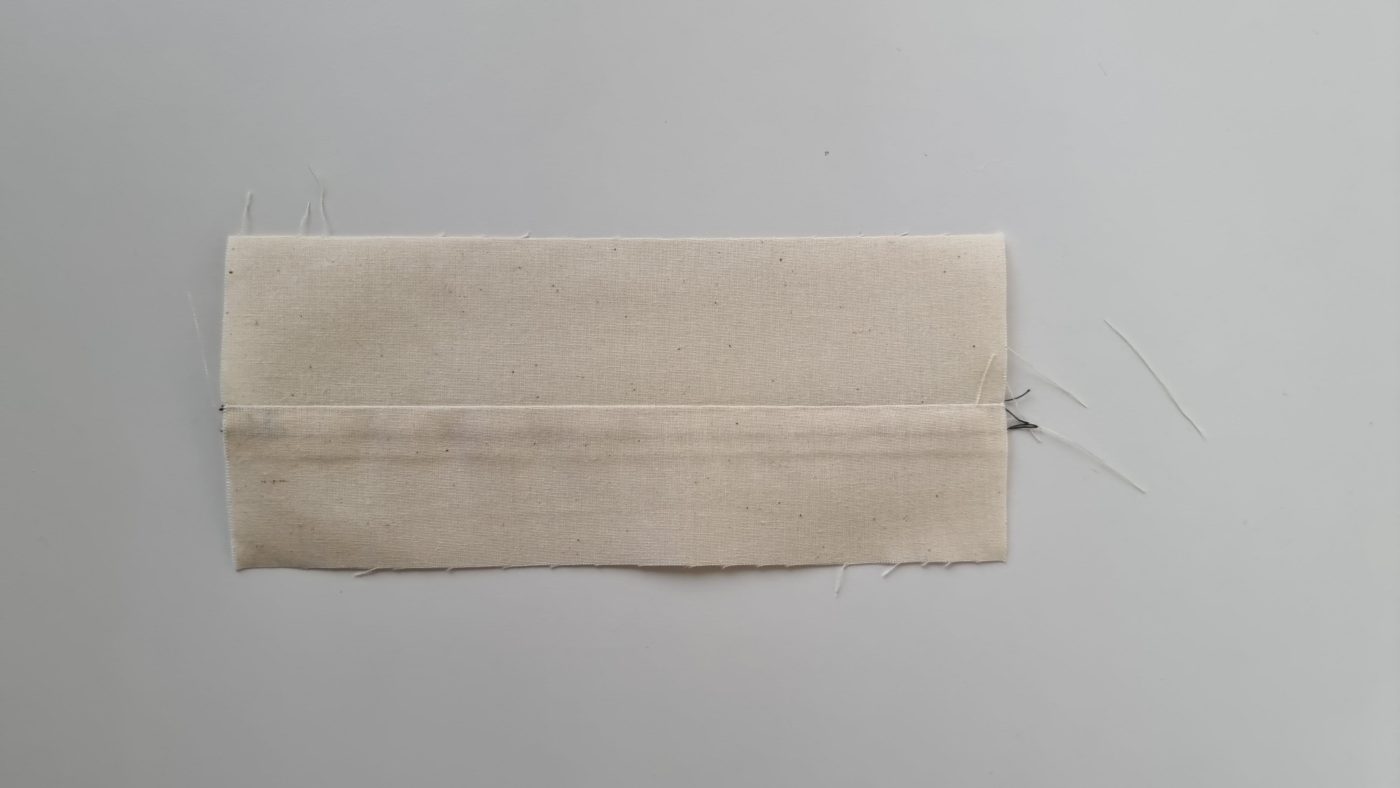
External – No stitching visible on the outside of the garment
If it is your first time sewing with boning I recommend double a couple of practice runs using some scrap fabric. It can be a little tricky but as with everything, practice makes perfect.
If you are looking for a style to use this sewing technique, I have designed 2 bodice styles that can be sewn with boning that can be found in my Esty store or if you need somewhere to purchase boning from I found Etsy to also be great for this.
Another basic sewing skill you might need to master is sewing a French seam or this quick and easy way of sewing a circular hem.
x