Sewing Tutorials, Sleepwear
Sewing Tutorial: Amy Pajama Short
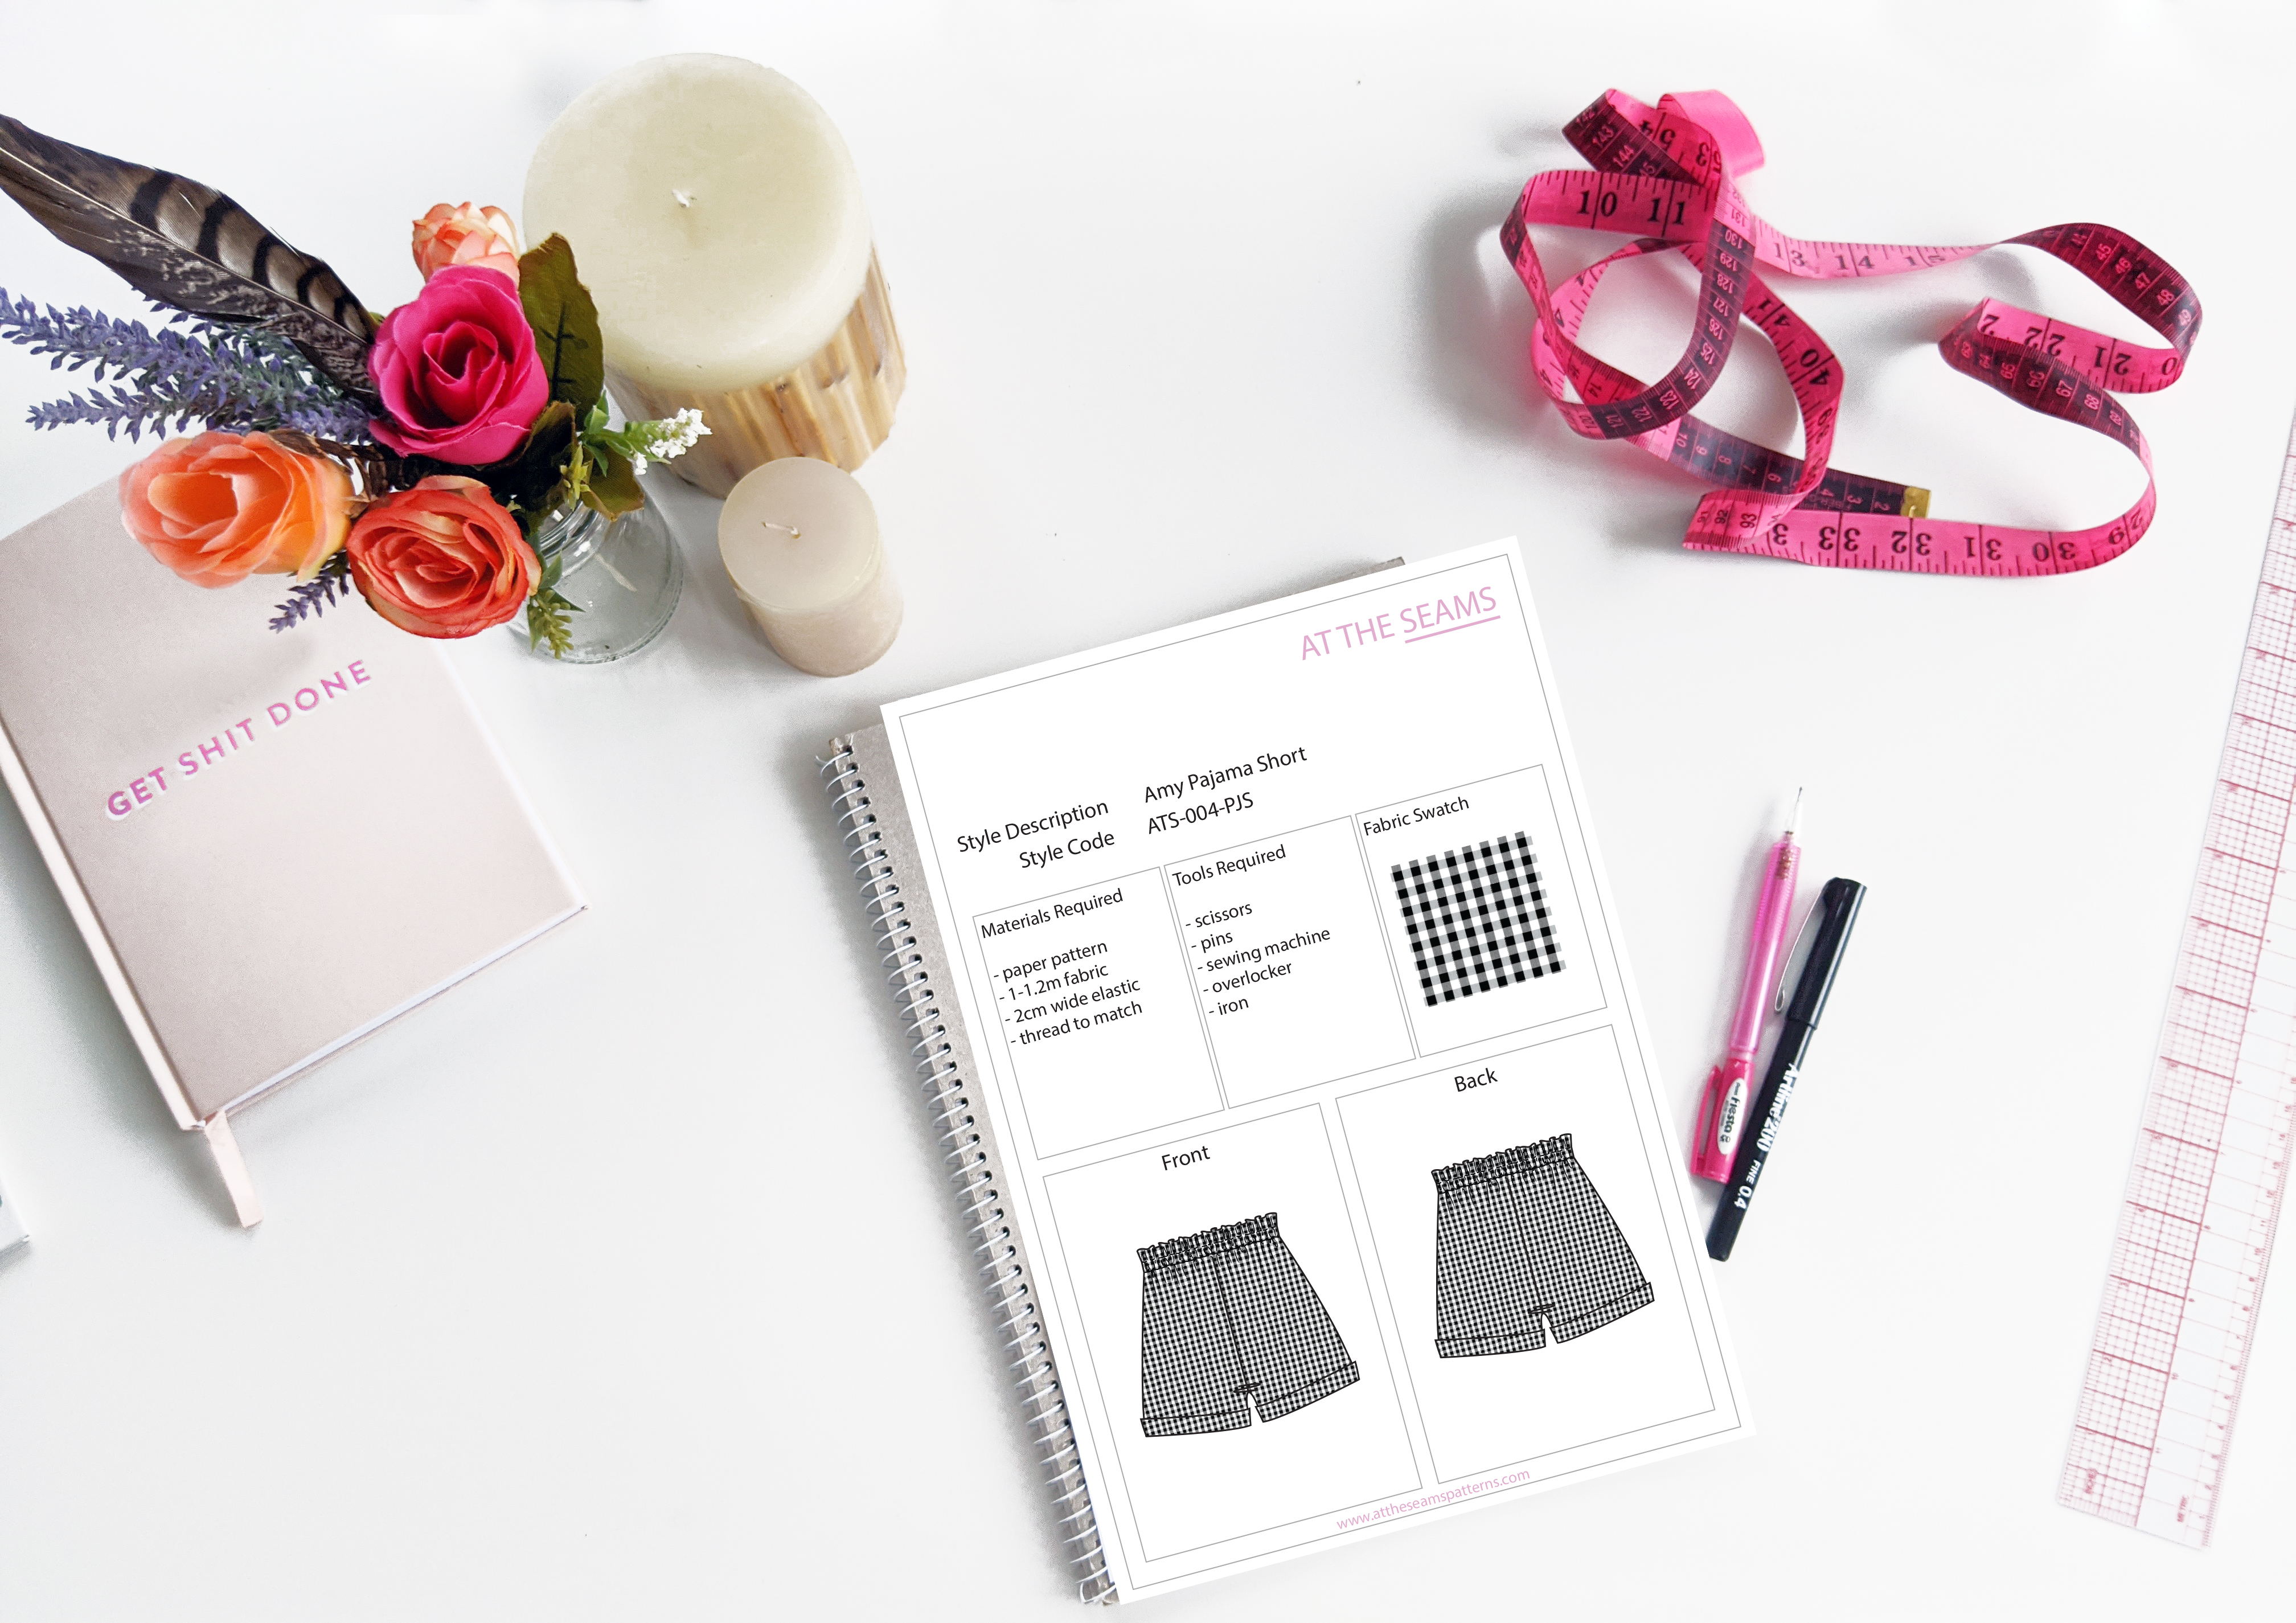
The Amy Pajama Short is a relaxed basic short with some added details to make them a little bit special. The short has a 4cm turned cuff on the hem and a 2cm wide frill above the elastic at the waist. They can be made as Pjs or for everyday wear as light summer beach shorts. The elastic waist allows for a relaxed comfortable fit meaning no need for fussy zippers or buttons
Also don’t be afraid to ask questions in the comments below if you need. I’m here to help. So let’s get started.
To begin you will need the following things
Materials
- Amy Pajama Short paper pattern
- 1-1.2m fabric
- cotton thread
- 2cm wide elastic
Tools
- scissors
- pins
- sewing machine
- overlocker
- iron
Tips
- Ensure your fabric is washed, dried, and pressed before you start cutting. For instance, there is nothing worse than washing your beautiful garment and it shrinks, or even more annoying the lining shrinks and the main doesn’t so your garment is all pulled out of shape and is unwearable.
Step 1
Cut all main and lining pieces accurately on the correct grain, ensuring all notches are clipped and dart points marked or pinned.
Beginner tip* If you can afford to purchase a rotary cutter and cutting mat, I find this more accurate and time-efficient.
Step 2
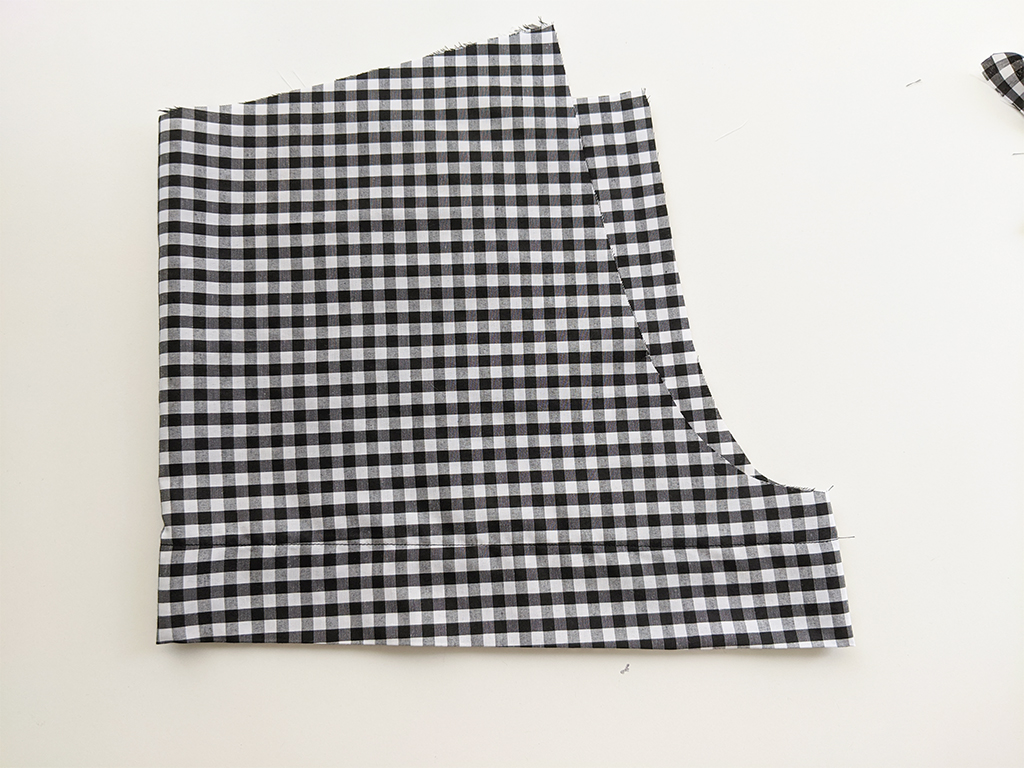
Pin and sew front and back together at side seams and inseams. Stitch then overlock closed and press back.
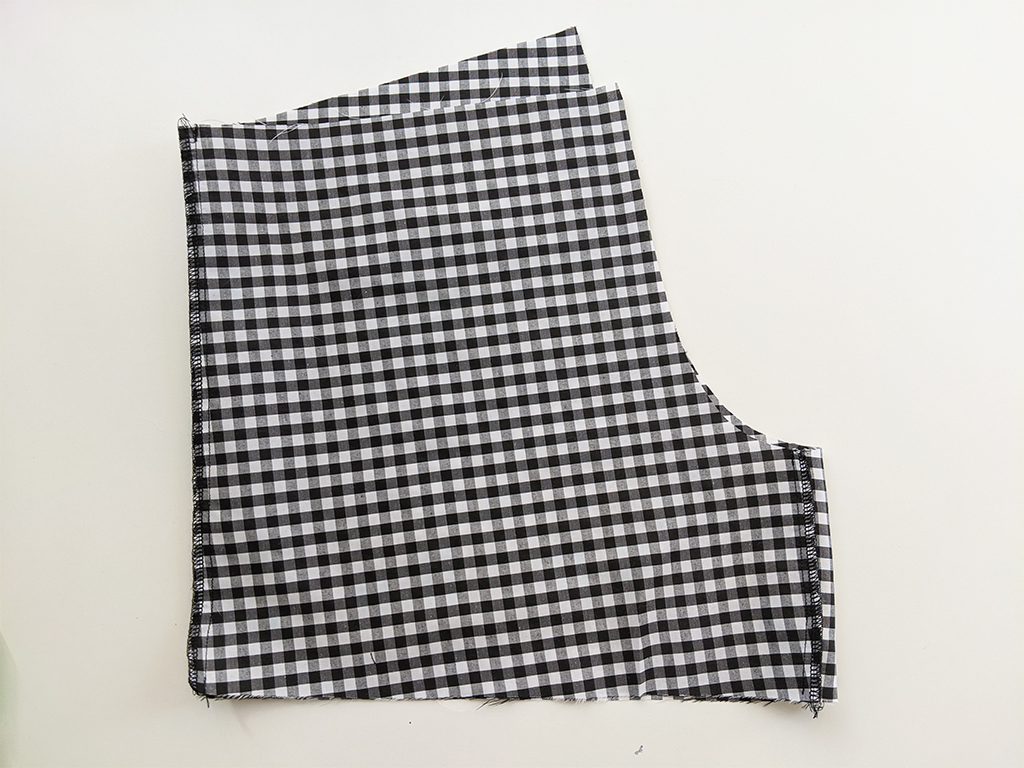
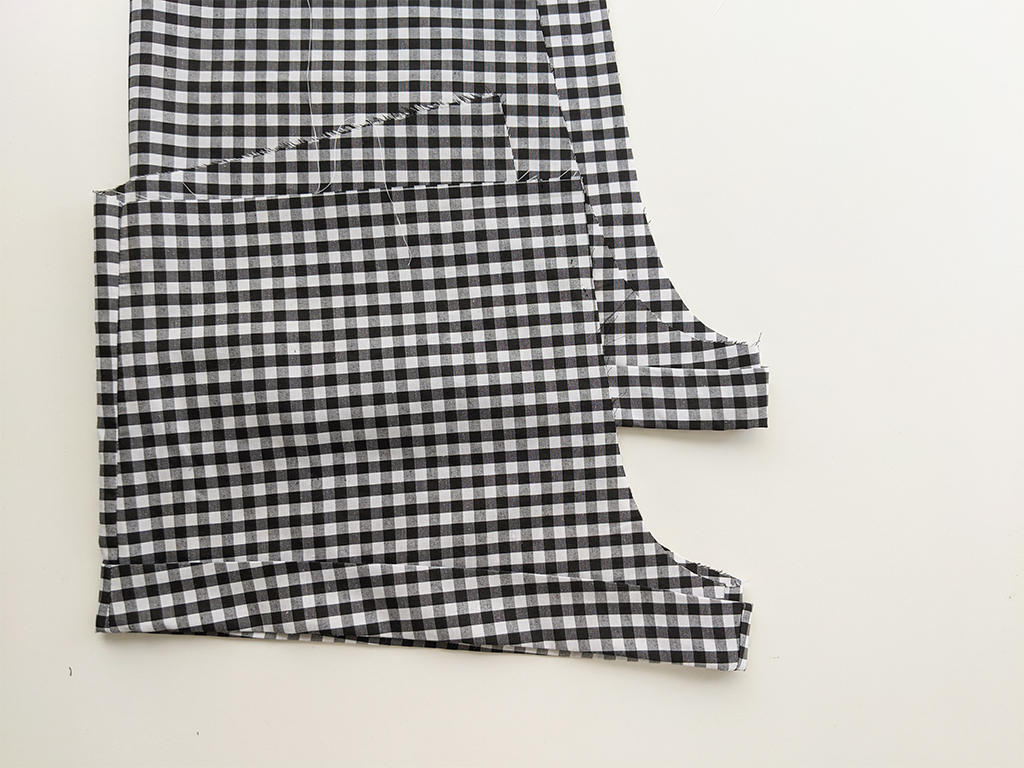
Step 3
You should now have 2 separate leg pieces. Overlock each leg piece from the right side of the fabric.
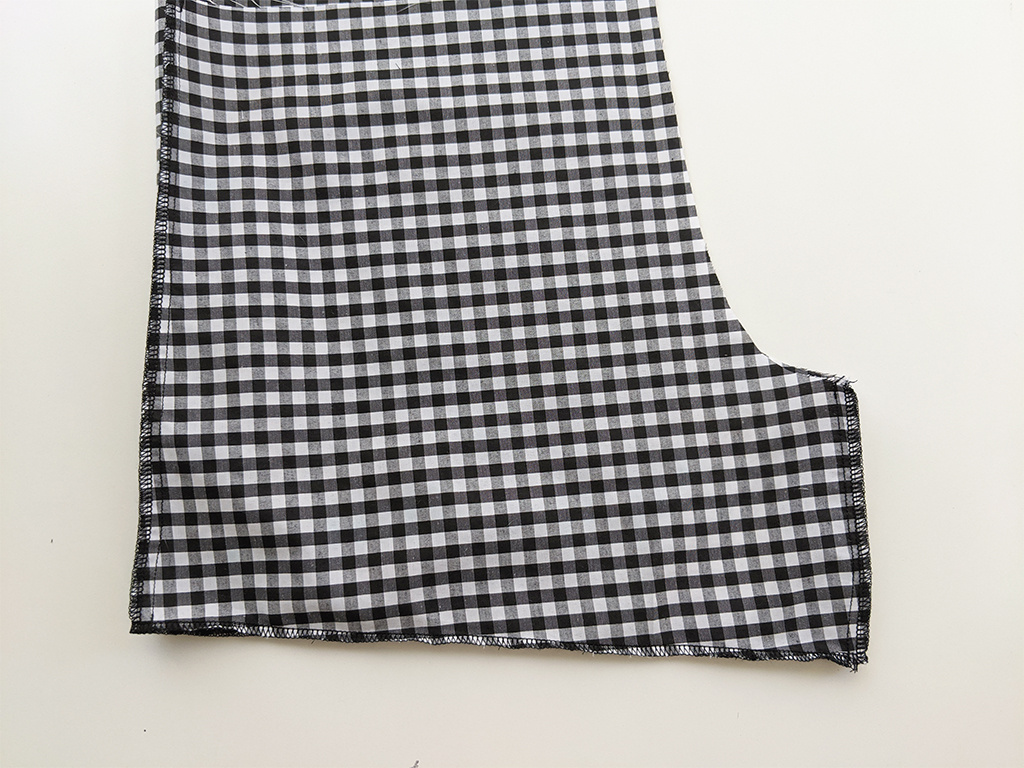
Step 4
Fold hem up 5.5cm and press (this will make it easier to stitch the hem) Then stitch the hem with a 5cm seam allowance.
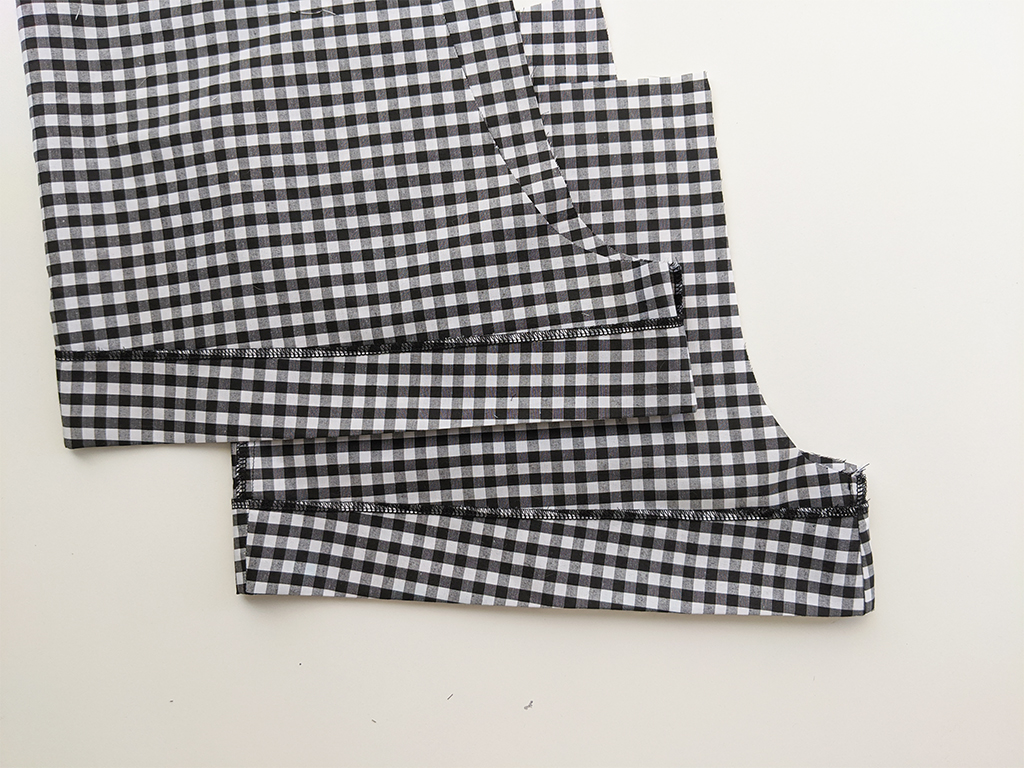
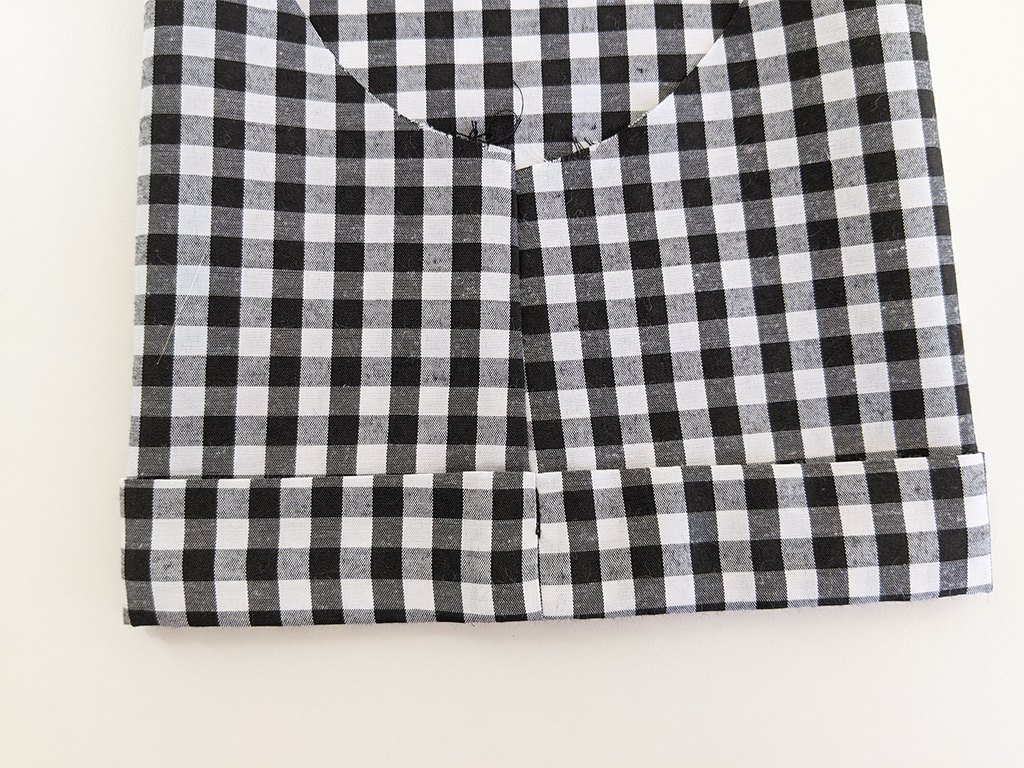
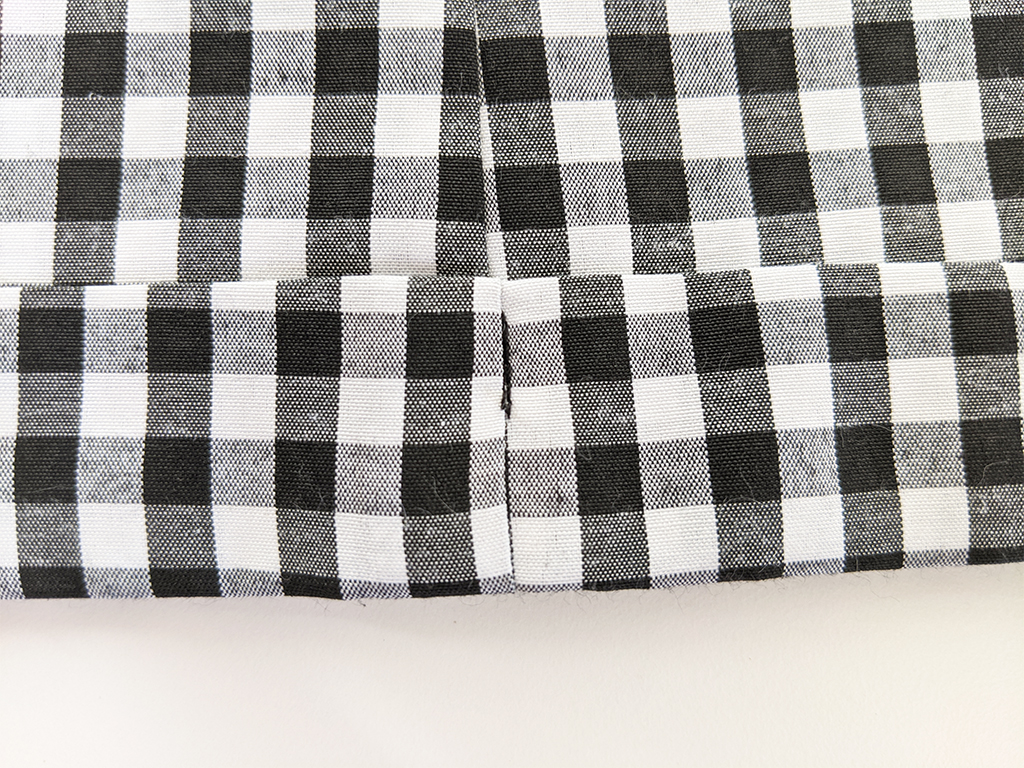
Step 5
Next, fold the hem up 4cm to create the cuff. Stich in the ditch of the side seam and inseam to hold the cuff in place.
Step 6
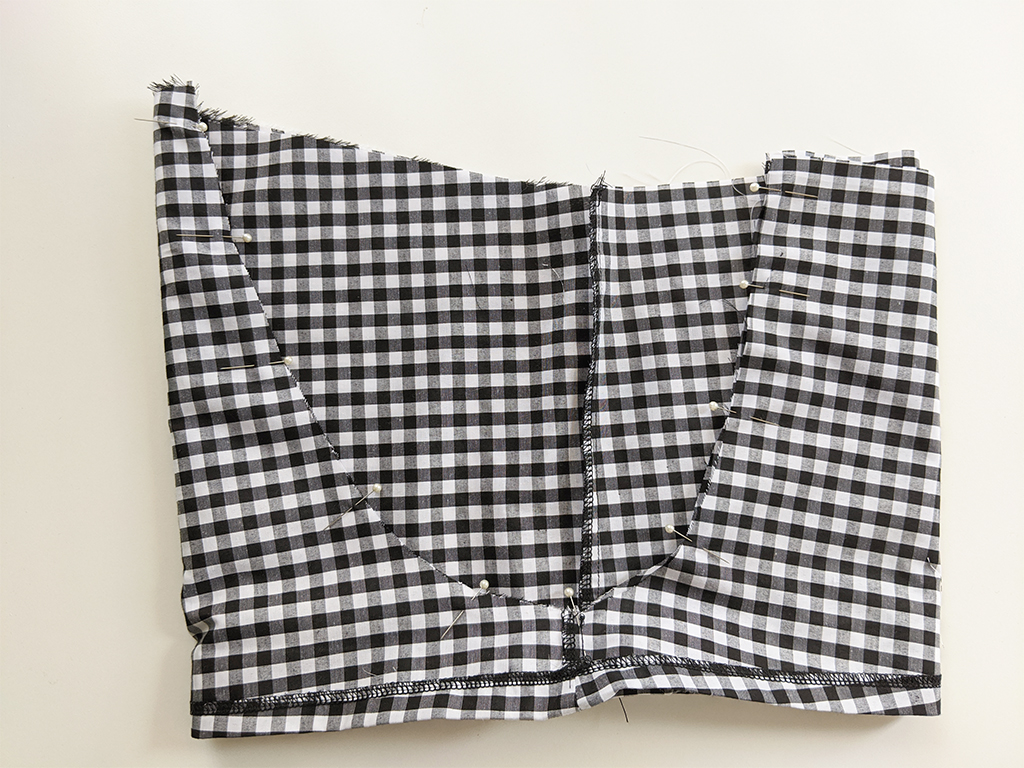
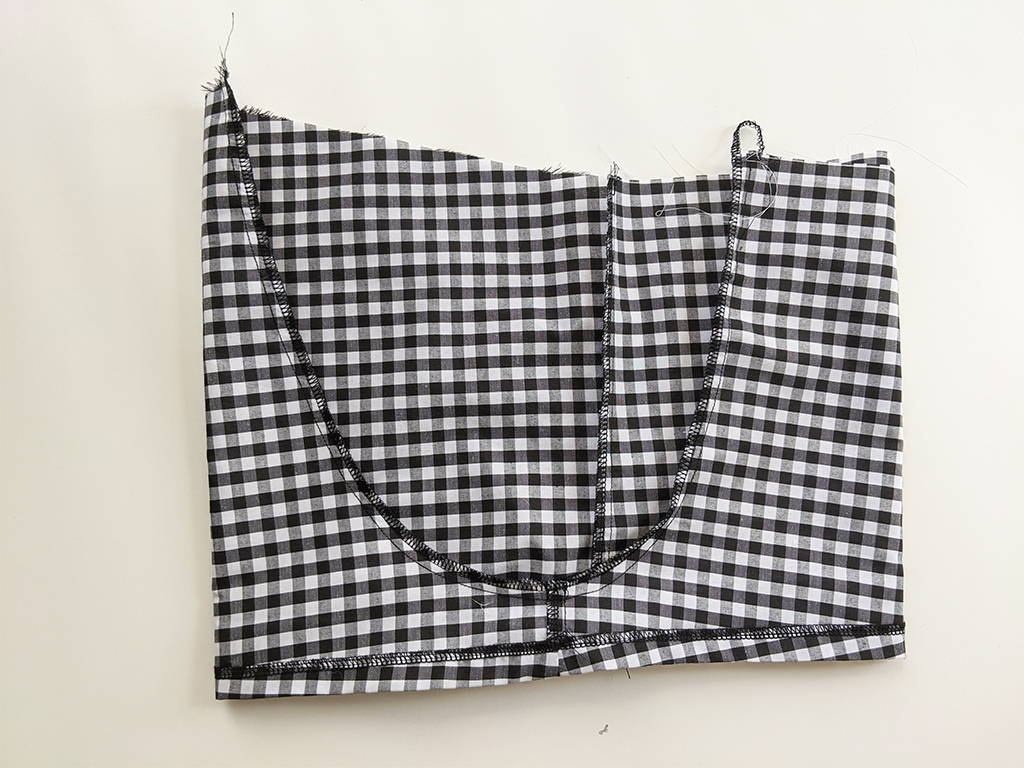
Turn one of the legs inside out and the other rise side out, place one inside the other so that right sides of the fabric are together. Then pin along the front and back rise. Sew and overlock closed and press to one side.
Step 7
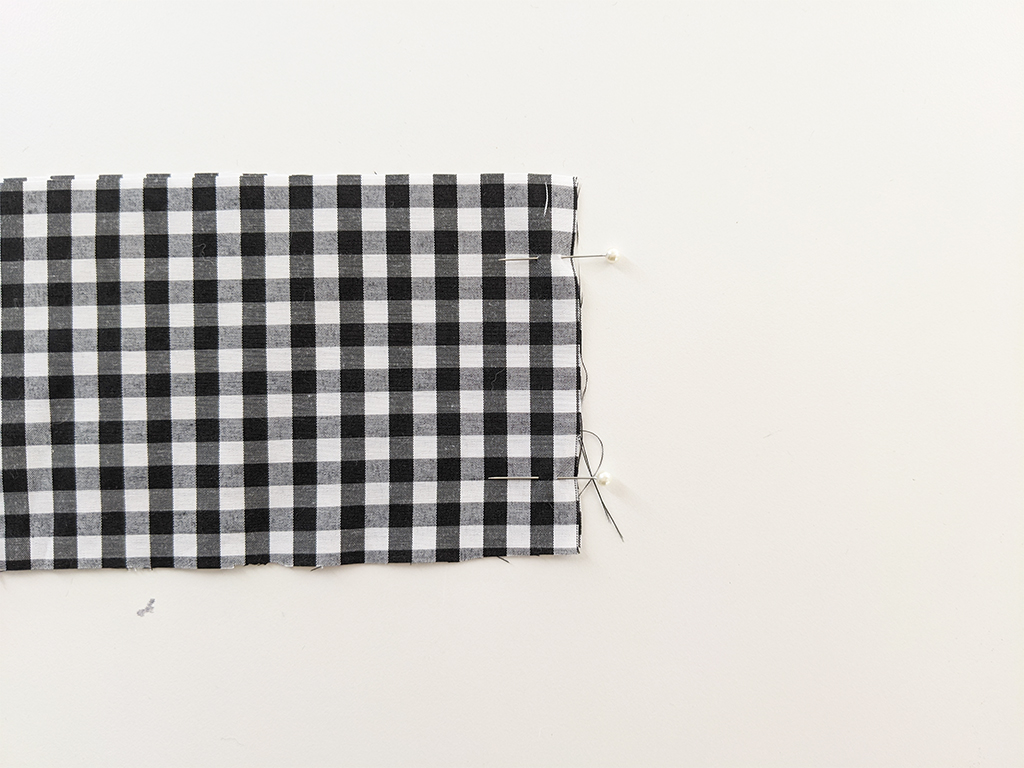
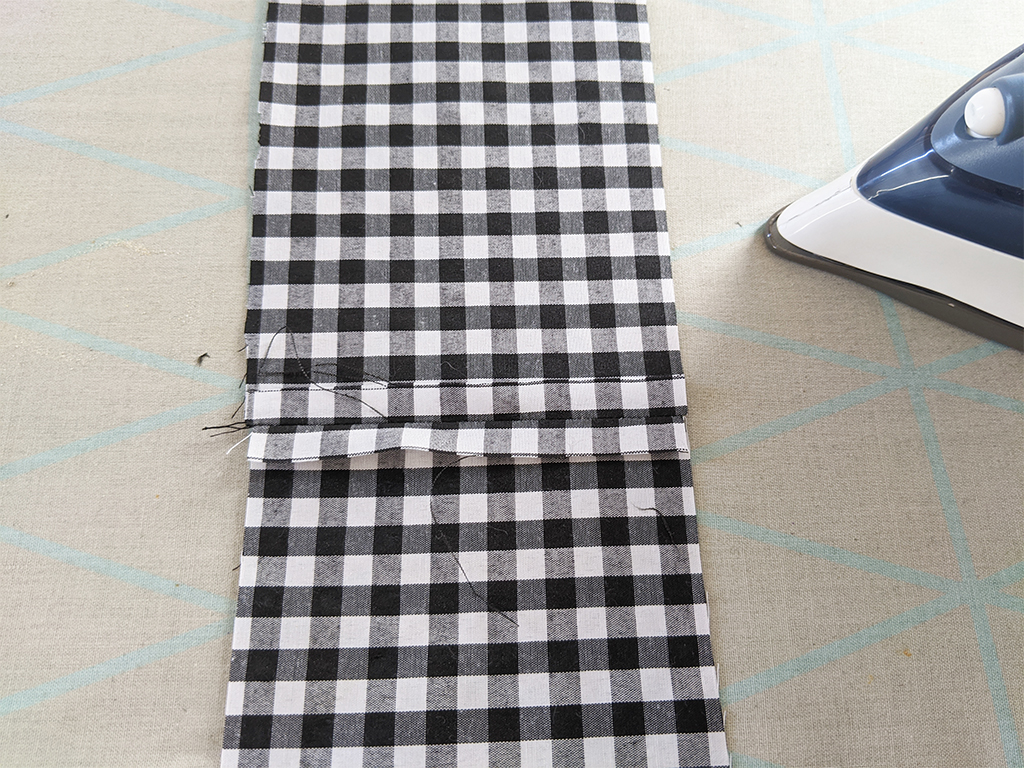
Taking the waistband, sew the front and back together at the side seams, right sides together and then press the seam allowance open.
Step 8
Fold the fabric in half right sides together and press flat so you have a sharp folded edge at the top.
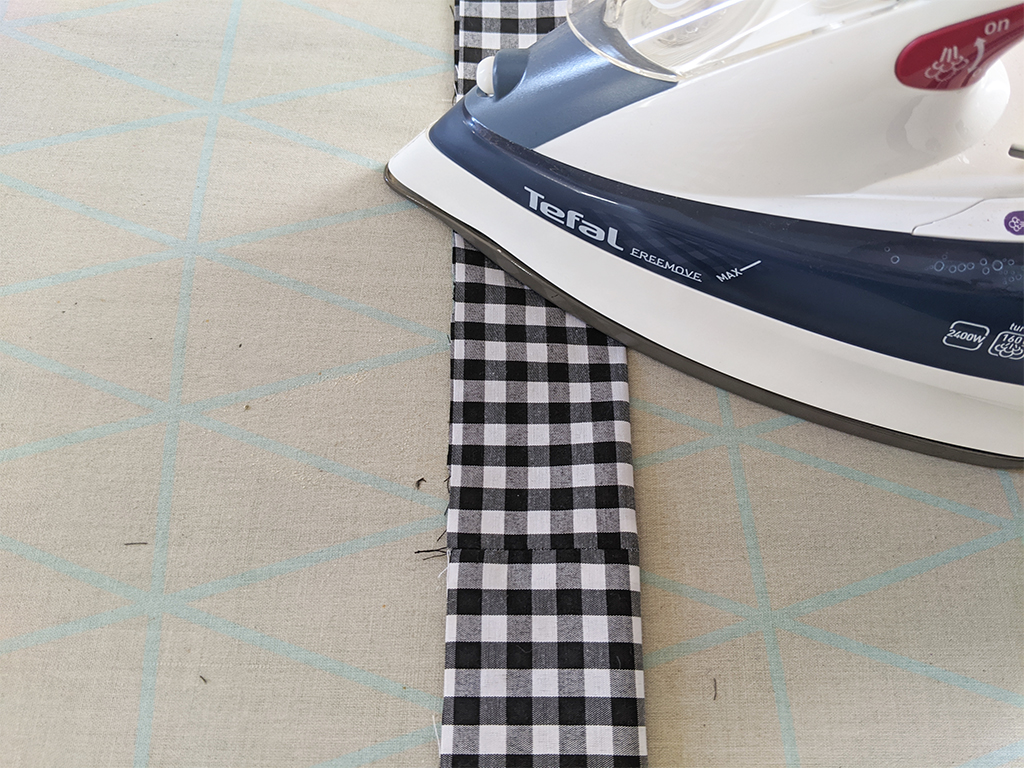
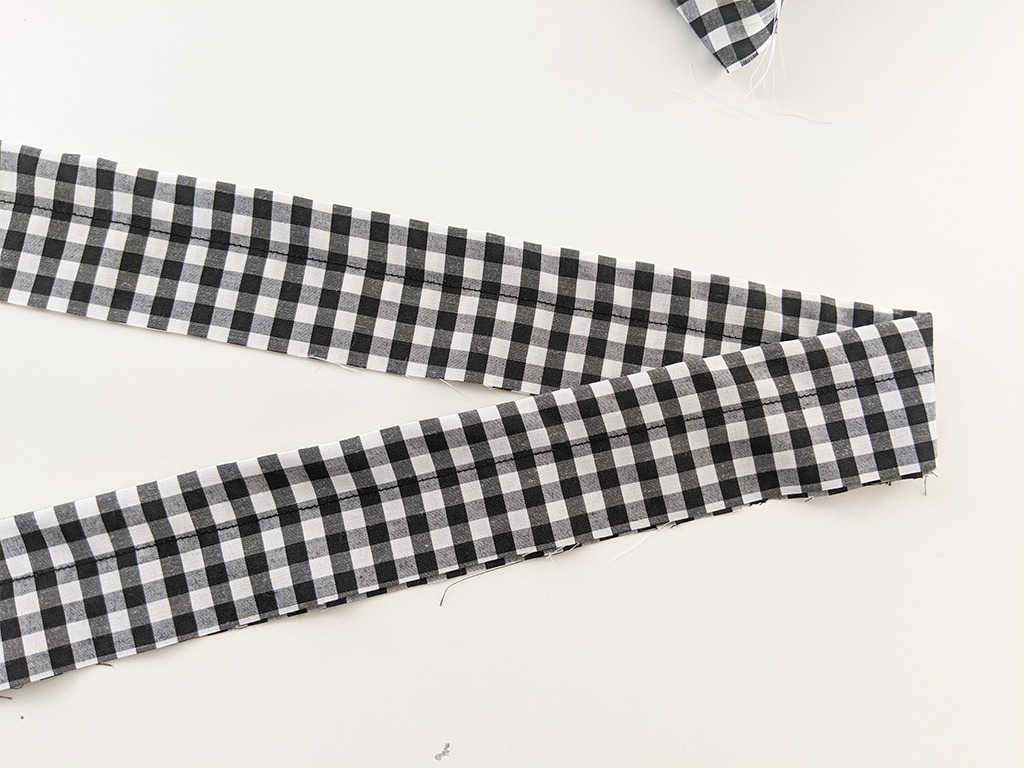
Step 9
Sew a straight stitch 2cm from the folded edge the whole way around the waistband. This will make your fill.
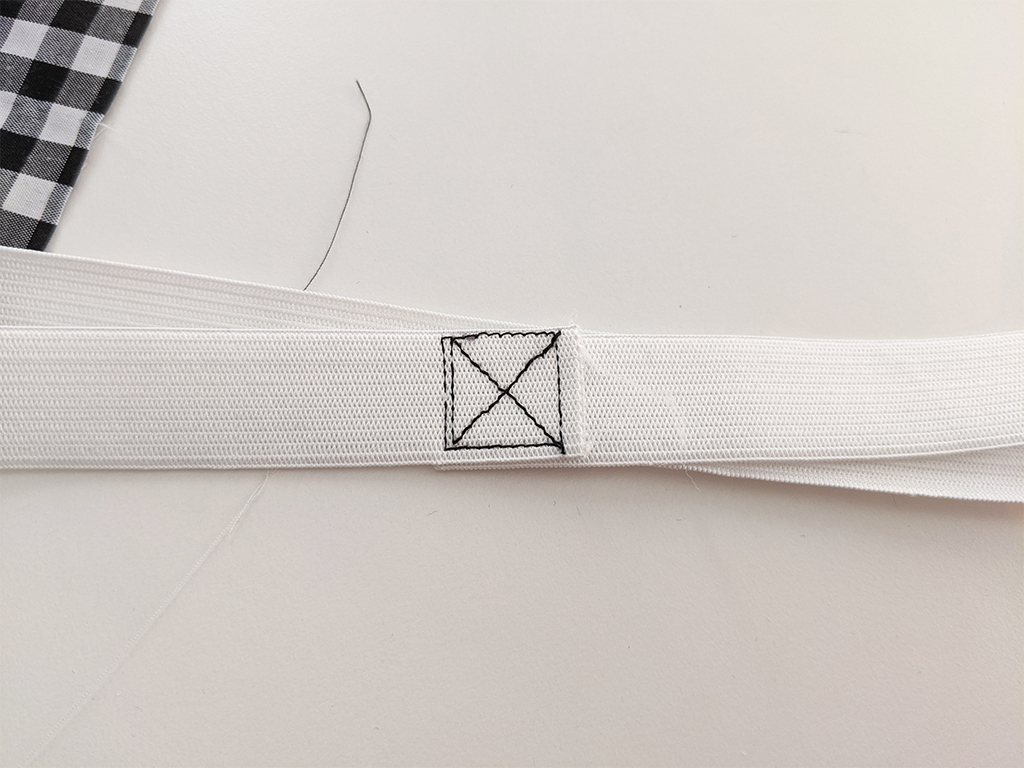
Step 10
Next we are going to add the elastic but first you will need to sew the ends together using a box stitch. (a straight stitch sewn into the shape of a square with a cross through it, see below)
Step 11
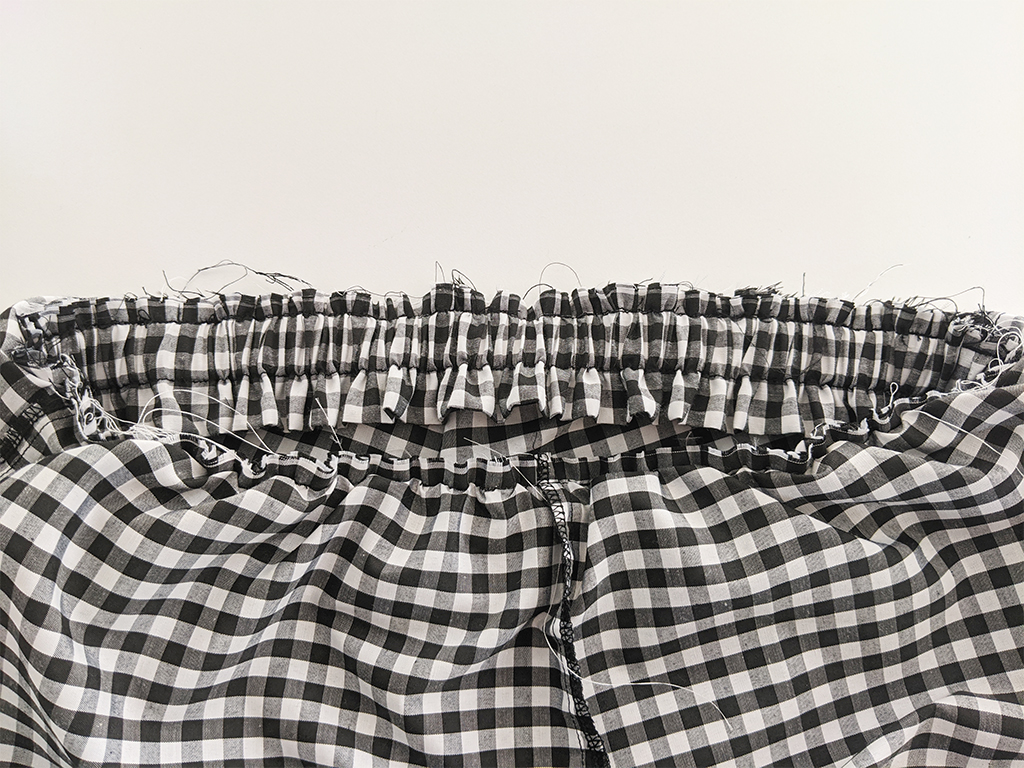
Place the elastic inside the waistband against the stitch made in step 9.
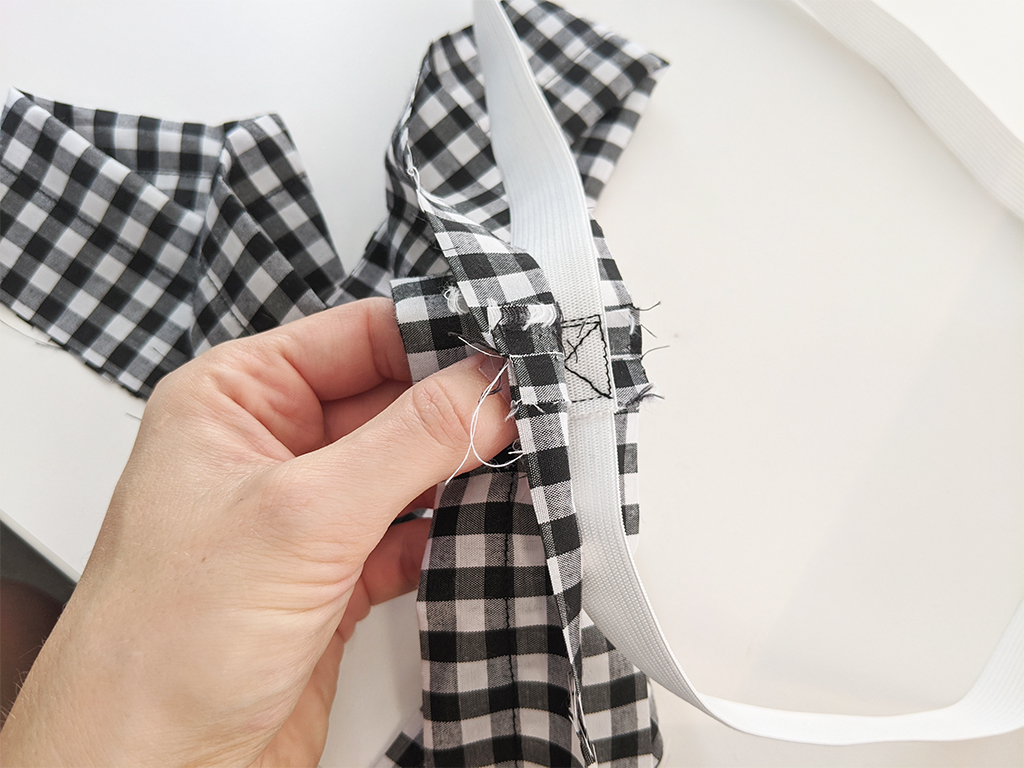
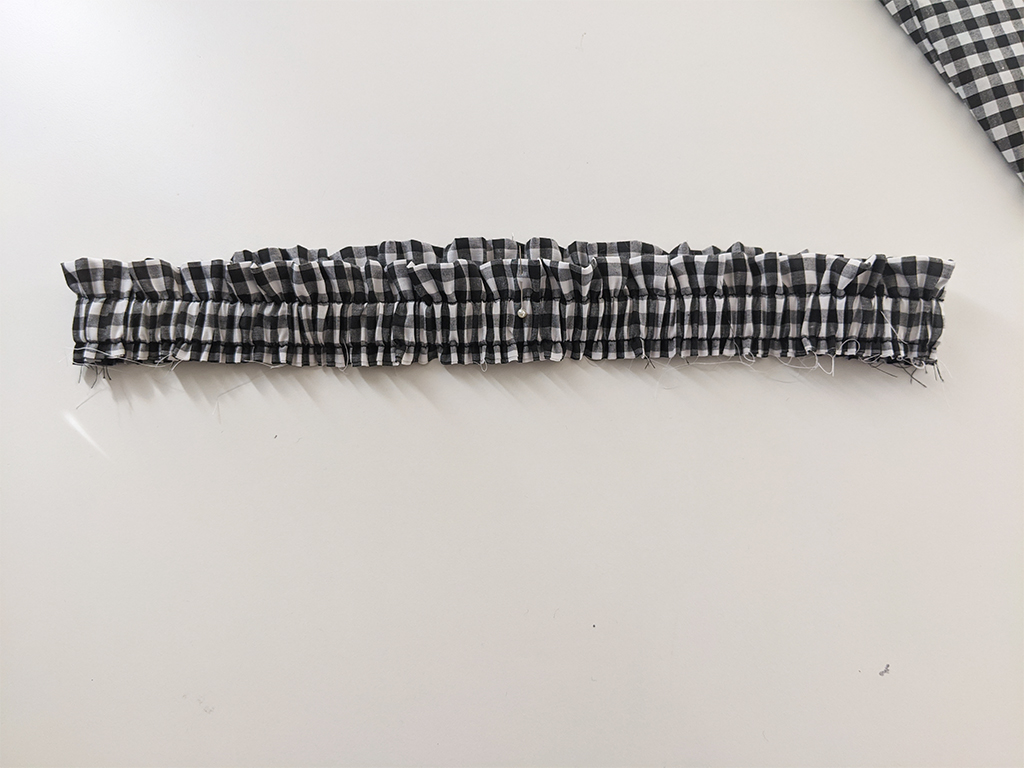
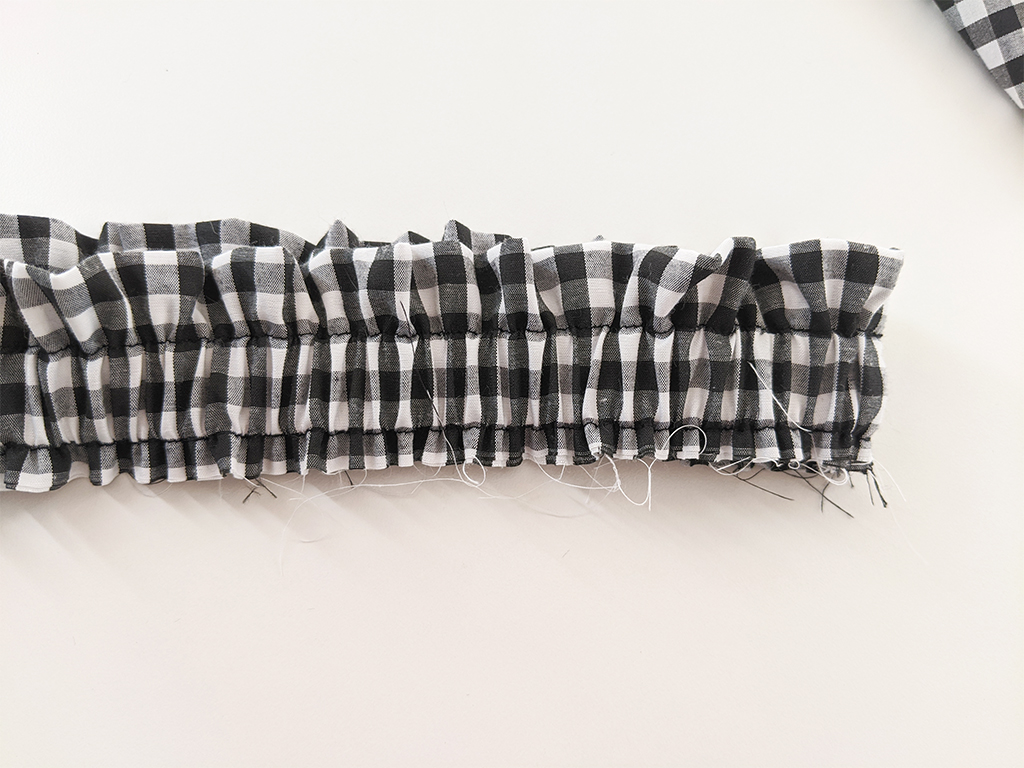
Step 12
Using a zipper foot, sew next to the elastic encasing it into the waistband. You will need to keep sliding the elastic through as you sew as the elastic measurement is smaller than the waistband so take care not to sew on top of the waistband.
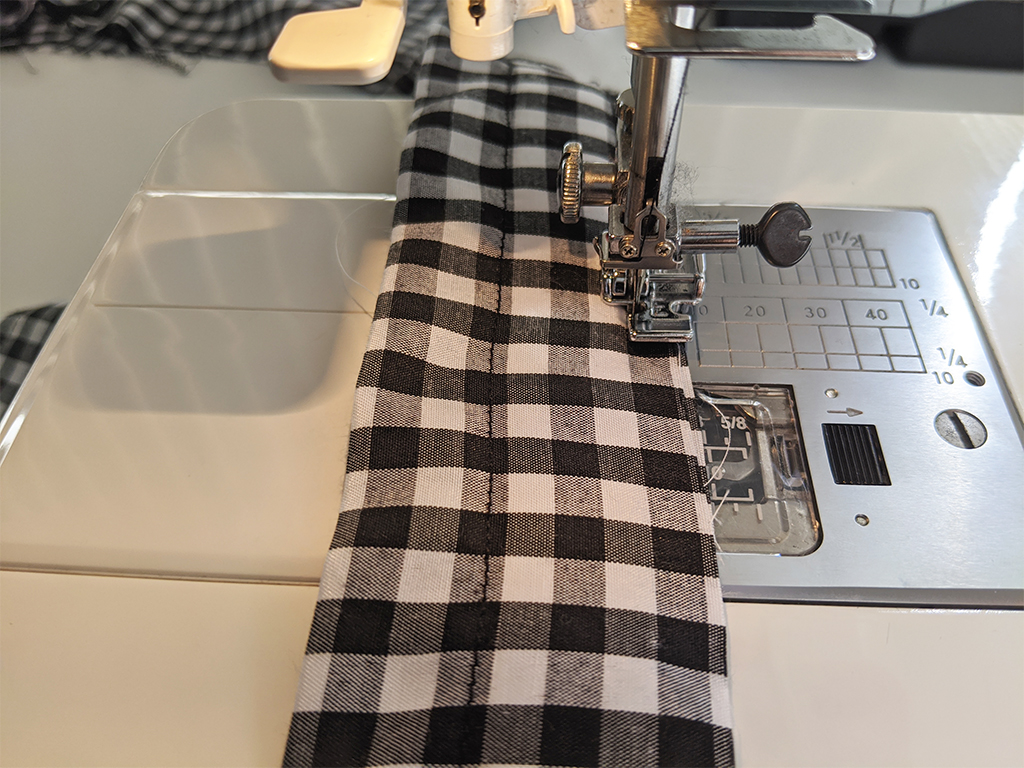
The waistband should now look like below.
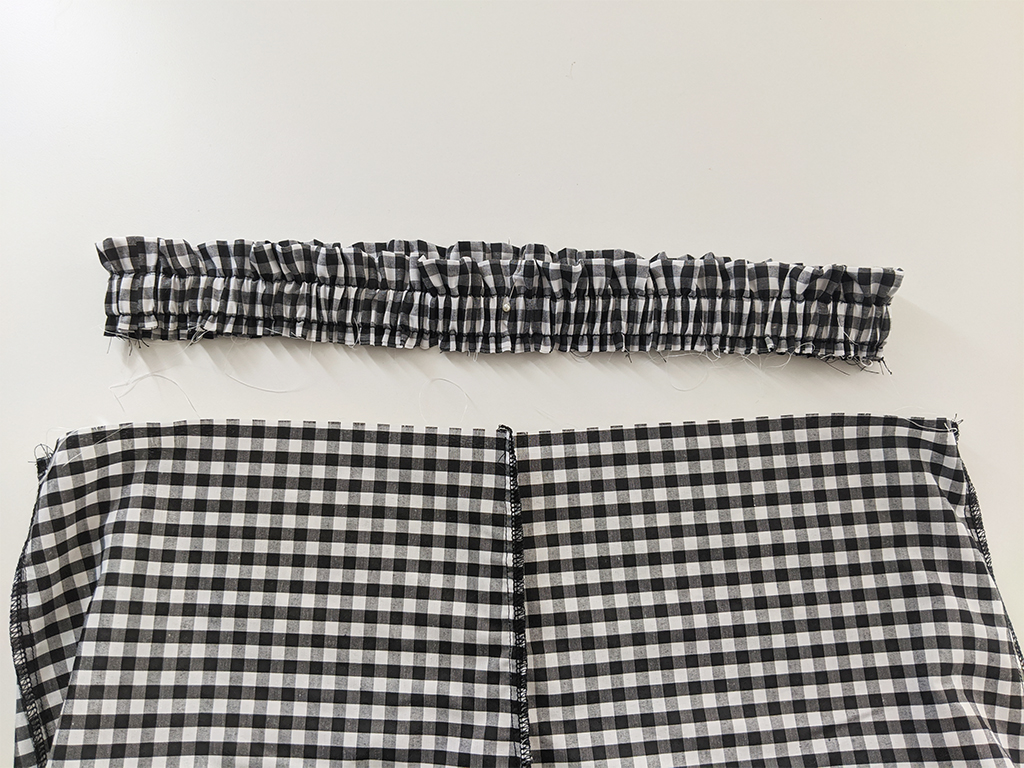
Step 13
Pin the waistband to the top of the short matching at the side seams and CF/CB seams with notches marked on the waistband. Then sew together by stretching the waistband to fit the top of the short. Overlocked closed and press down.
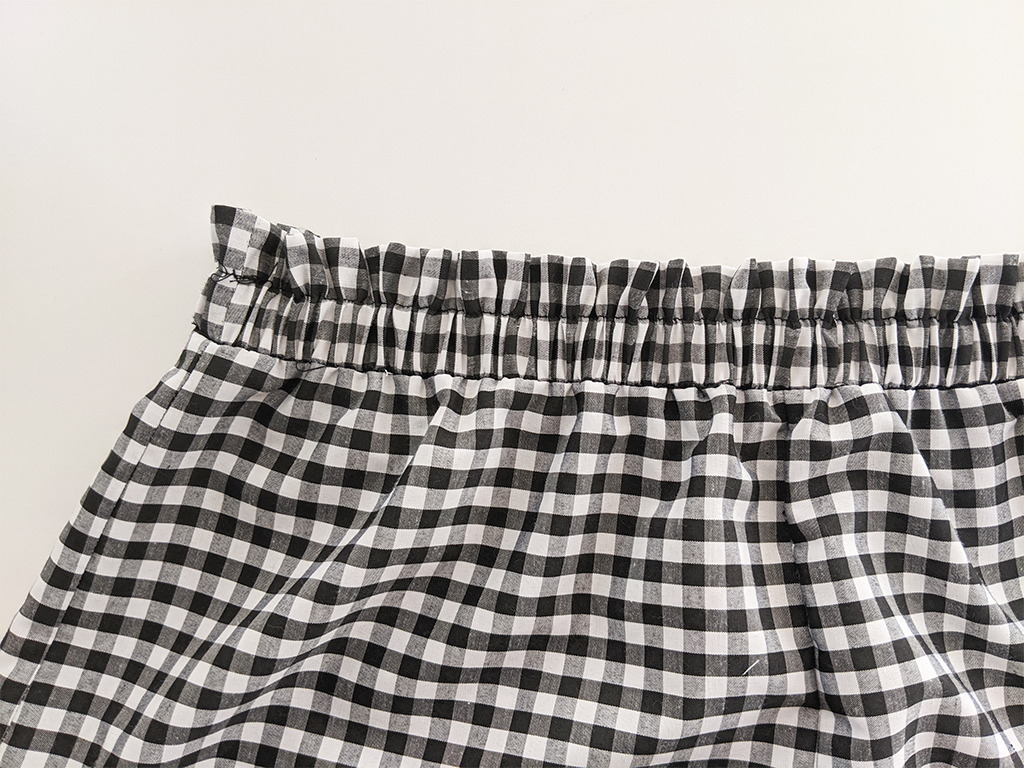
Give your garment a final press and steam and the Amy Pajama Short is now complete. Please feel free to contact me if you need any extra help.
If matching PJs are your thing you can also make the Amy Pj Top, or this Summer Sleepwear Set is also really cute.
x x