Sewing Tutorials, Sleepwear
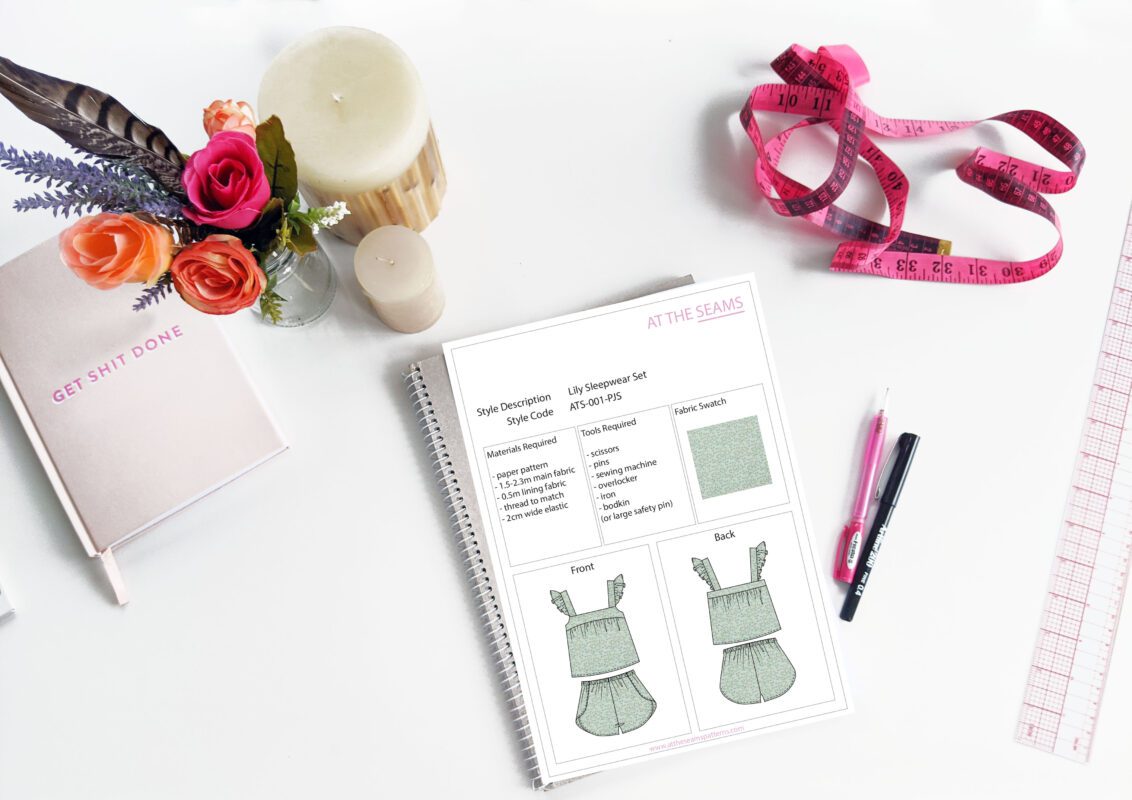
Sewing Tutorial: Lily Sleepwear Set
The Lily Sleepwear Set is the perfect feminine pattern for hot summer nights, designed to keep you cool, comfortable and cute. The top features a loose-fitting bodice for breathable comfort, finished with a playful circular shoulder frill. Paired with relaxed elastic-waist shorts, the set offers an easy pull-on fit with high-cut sides that elongate the legs — ideal for warm evenings and relaxed mornings.
Suitable for beginner to intermediate sewists, The Lily Sleepwear Set is a rewarding project that uses mostly straightforward construction techniques, with the circular shoulder frill hem offering a slightly more advanced finish to refine your skills.
To begin, you will need the following things
Materials
- Lily Summer Sleepwear Set paper pattern, or if you prefer to shop on Etsy
- 1.5-2.3m fabric
- 0.5m lining
- 2cm wide elastic
- cotton thread (enough to also thread your overlocker)
Tools
- scissors
- pins
- sewing machine
- overlocker
- iron
- bodkin or large safetypin
Tips
- If you are using a printed fabric for your main fabric, when choosing your lining colour, it helps to choose the thread at the same time. You want your thread to match your lining colour but to also blend as much as possible into the print you have chosen. Some thread colours disguise better on the print than others, so check a couple of colours.
- Ensure your fabric is washed, dried, and pressed before you start cutting. For instance, there is nothing worse than washing your beautiful garment and it shrinks, or even more annoying the lining shrinks and the main doesn’t so its all pulled out and shape and is unwearable.
If you prefer video instructions – please head over to youtube.
Top Sewing Instructions
Step 1
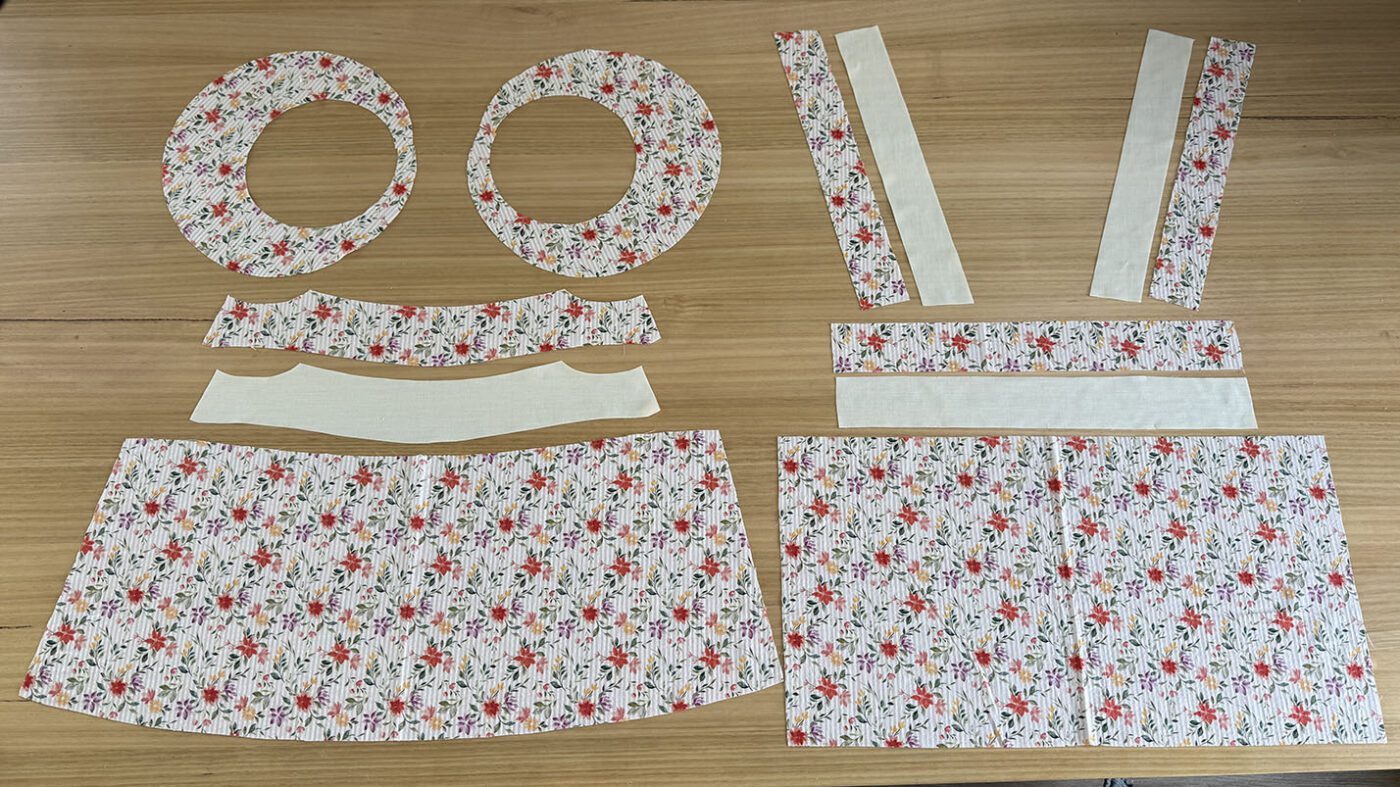
Cut all main and lining pieces accurately on the correct grain, ensuring all notches are clipped.
Please note that all seam allowance is marked on the pattern in a grey dashed line and can also be found on page 3 of the booklet provided with the purchased pattern.
Also, if you need help with pattern cutting instructions, these can be found in the same booklet.
Beginner tip* If you can afford to purchase a rotary cutter and cutting mat, I find this more accurate and time-efficient.
SHOULDER FRILL & STRAPS
Step 2
Overlock each outside edge of the frill from the right side of the fabric.
Fold the overlocked edge over and press in place.
Stitch to secure.
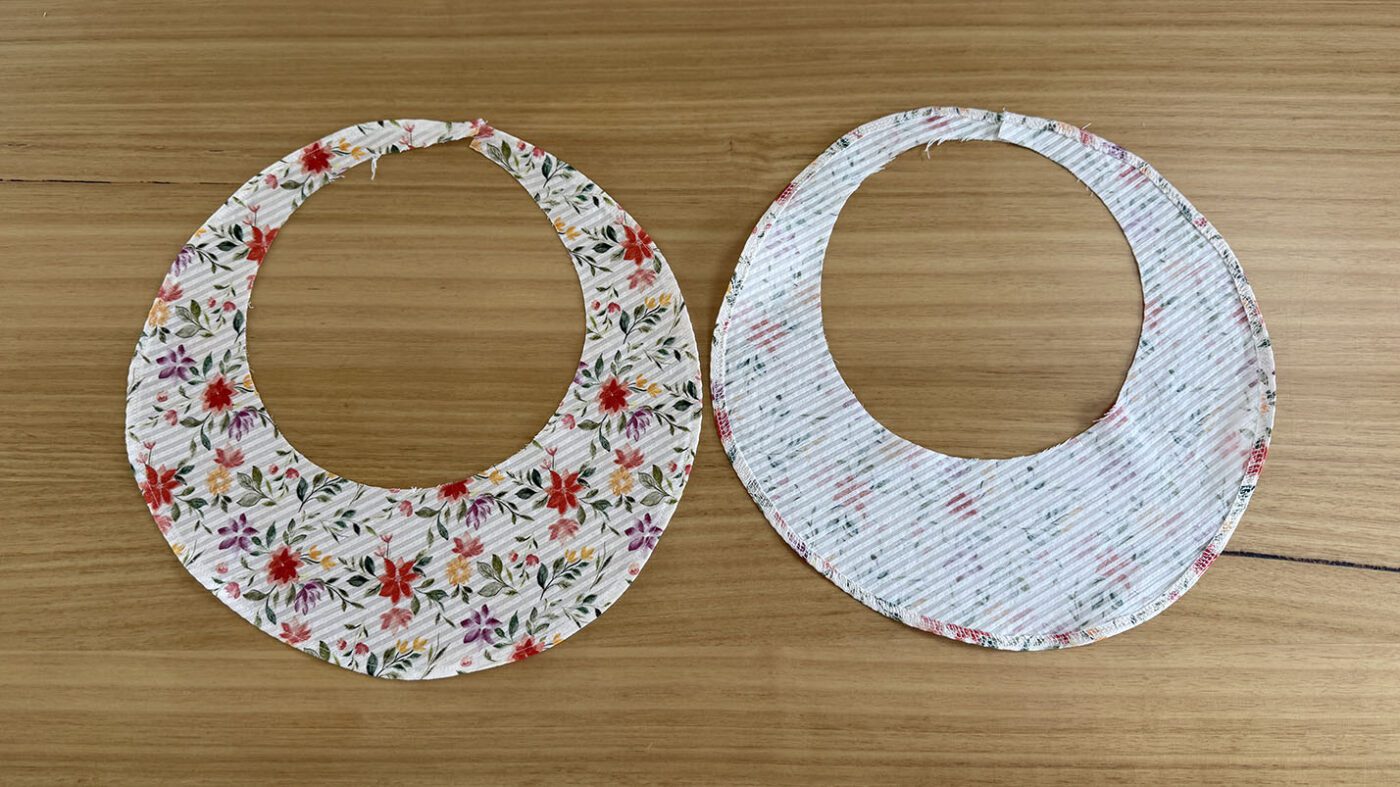
In-depth instructions for help on heming a circular hem can be found here.
Step 3
Then run 2 gathering stitches on the inside edge of each frill.
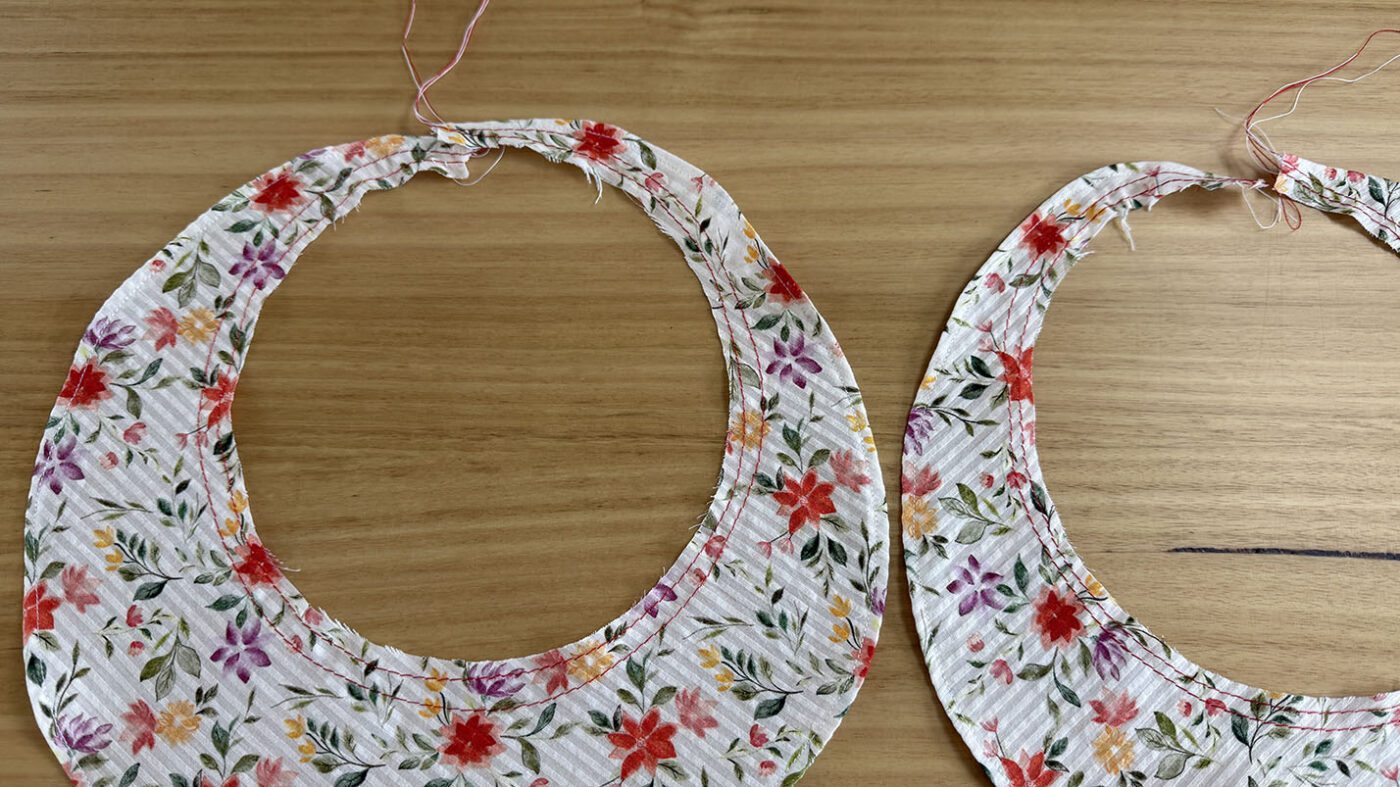
If you need extra help with gathering, please see the more in-depth gathering tutorial here.
Skip this step if you would prefer the style without the shoulder frill.
Step 4
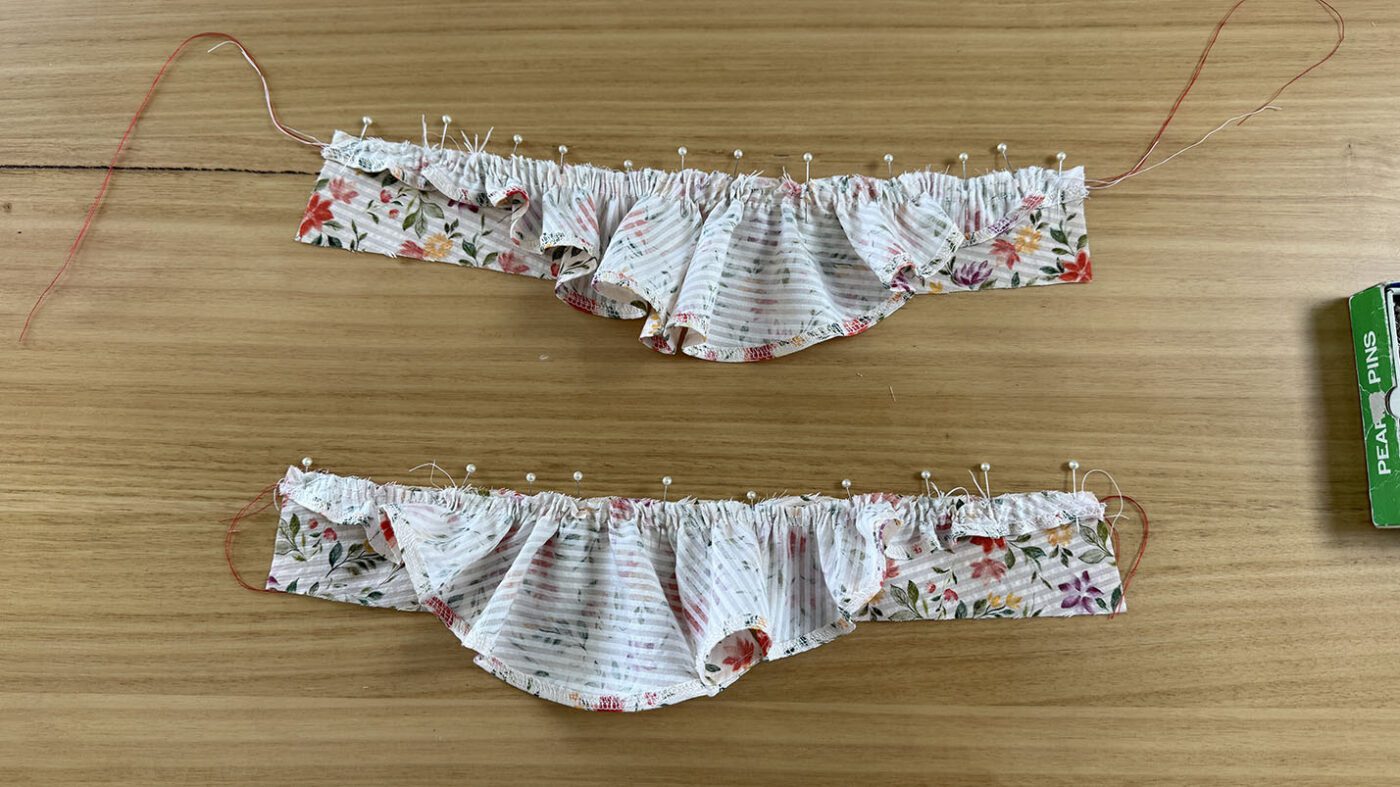
Gather the frills to each side of the straps so that right sides are facing. Pin in place. Use the notches to ensure the gathers are spread evenly.
Step 5
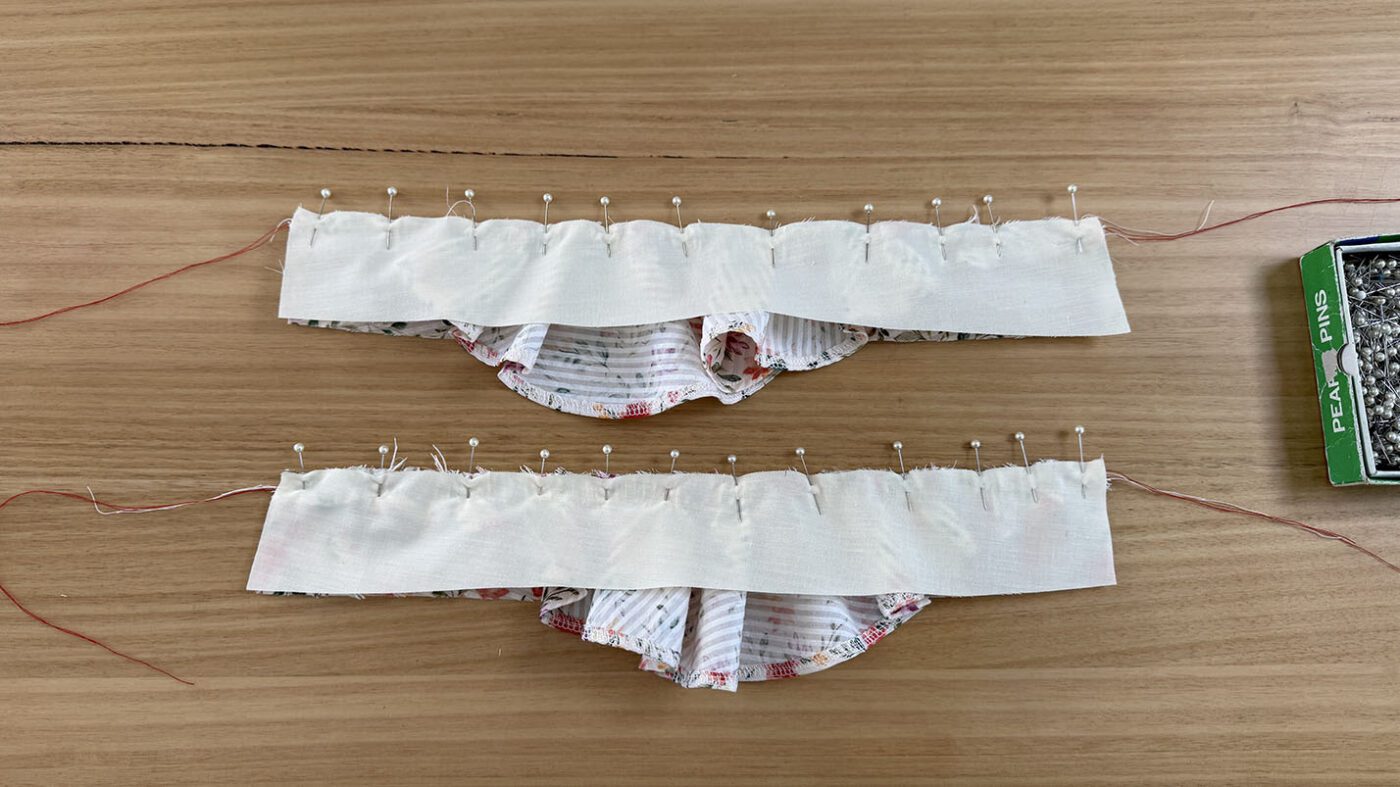
Then place the lining strap piece on top so that the frill is sandwiched between the strap pieces. Pin in place to hold.
Step 6
Stitch the seam using a 1cm seam allowance.
Step 7
Then remove the gathering threads.
Step 8
Then roll the frill into the strap and out of the way so that you can pin the other side of the strap together.
Step 9
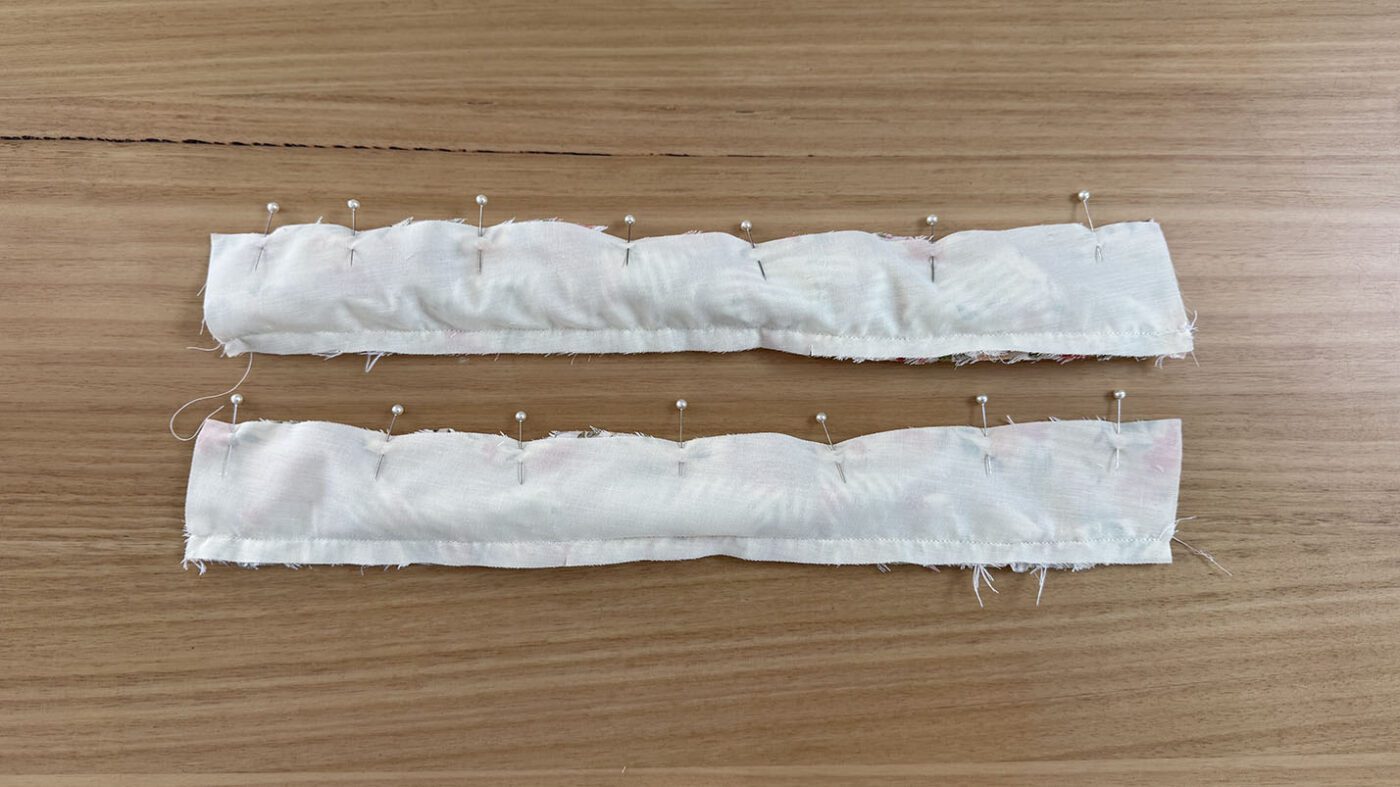
Then stitch closed with a 1cm seam allowance.
Step 10
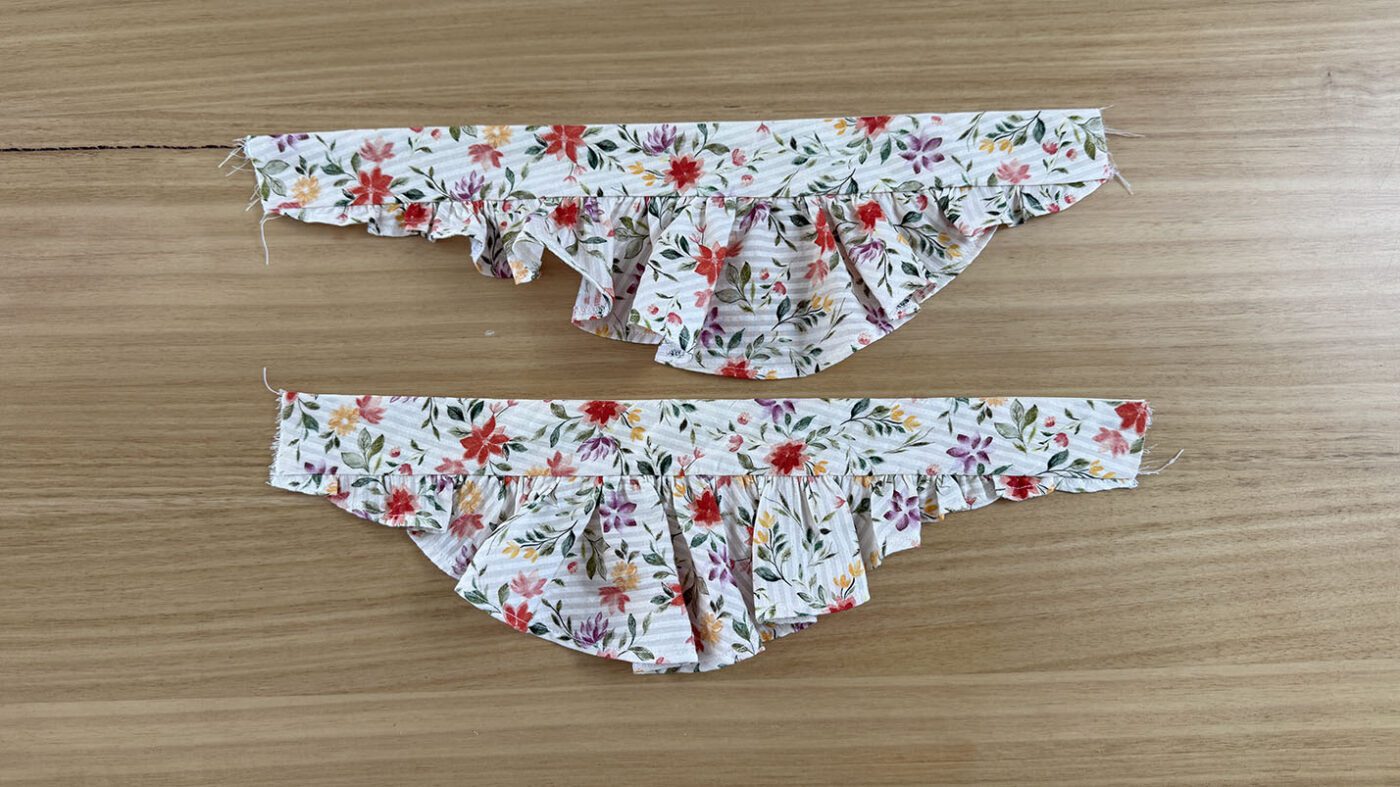
Pull the straps the right way through and press well and set adside.
BODICE YOKE
Step 11
Take front and back yoke of main and pin the side seams together. Repeat on lining.
Step 12
Stitch closed with a 1.5cm seam allowance
Step 13
Then press the seams open.


ATTACHING STRAPS – I recommend watching the video tutorial if this step is confusing.
Step 14
Pin the straps to the main fabric part of the yoke so that right sides are facing, using the notches as a placement guide. Double check to ensure the straps have been pinned with the frill facing outwards towards the shoulder. Check the paper pattern if you are confused about which end is the front or back of the strap.
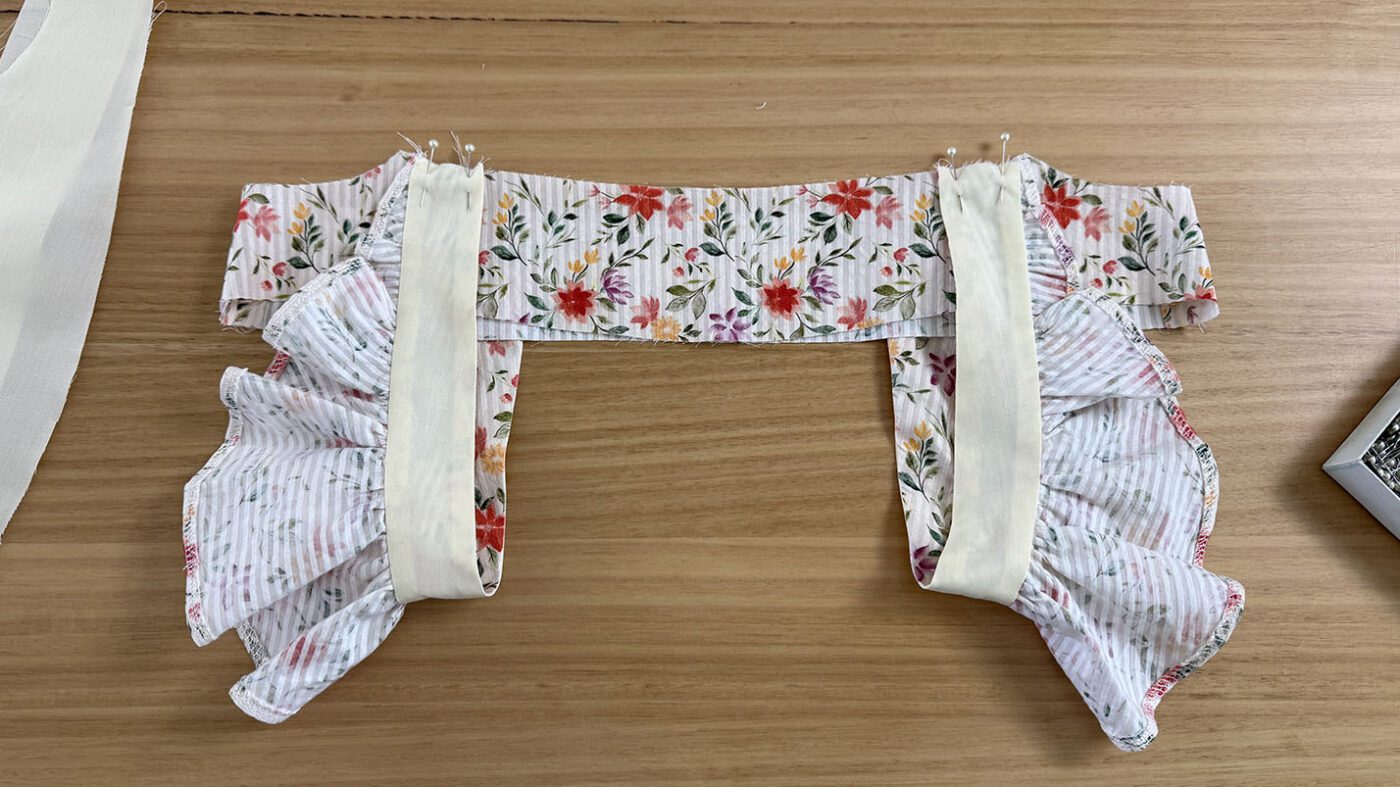
Step 15
Then pin the yoke lining in place so that right sides are facing and the straps are sandwiched between the main and lining. Ensure the pieces match at the side seams.
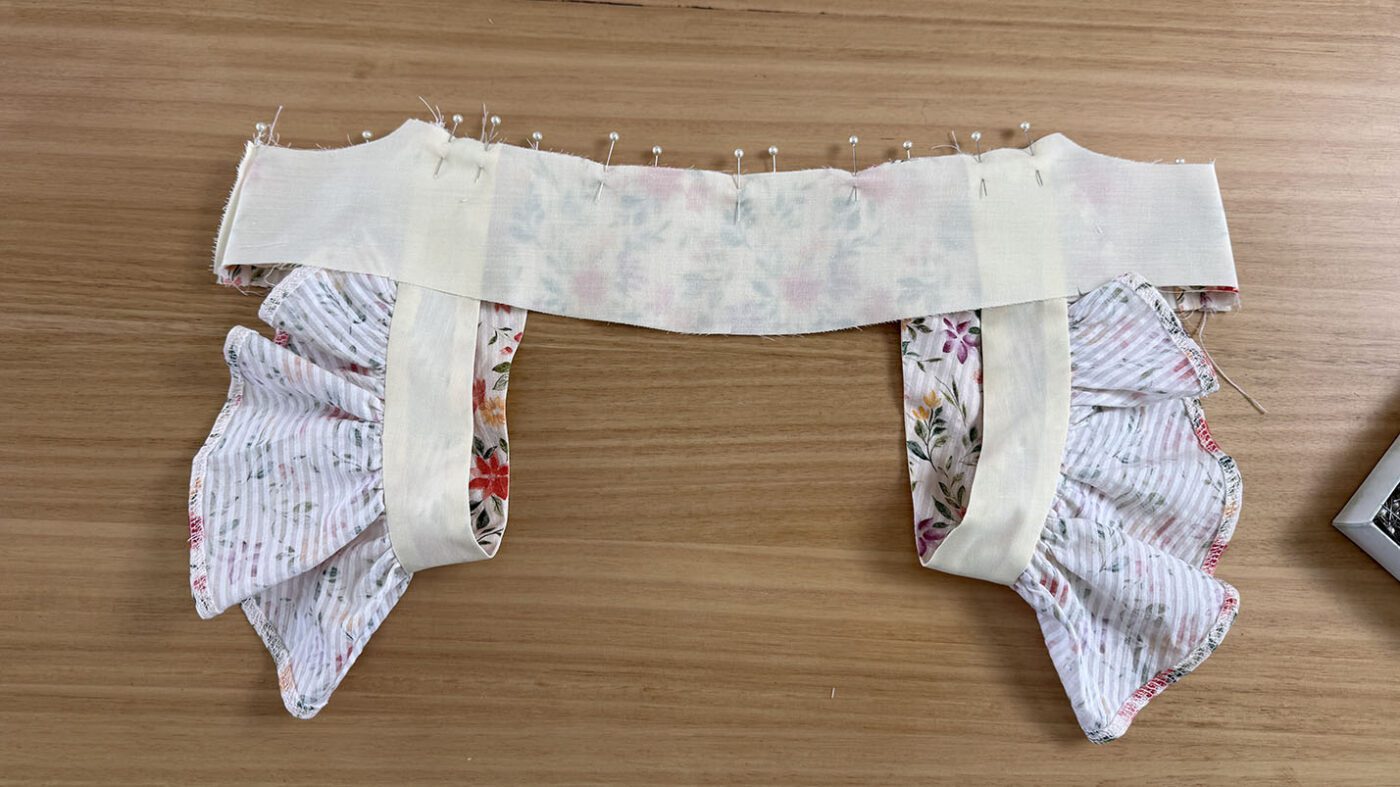
Step 16
Stitch closed using a 1cm seam allowance.
Step 17
Then clip the corners and front armhole curves.
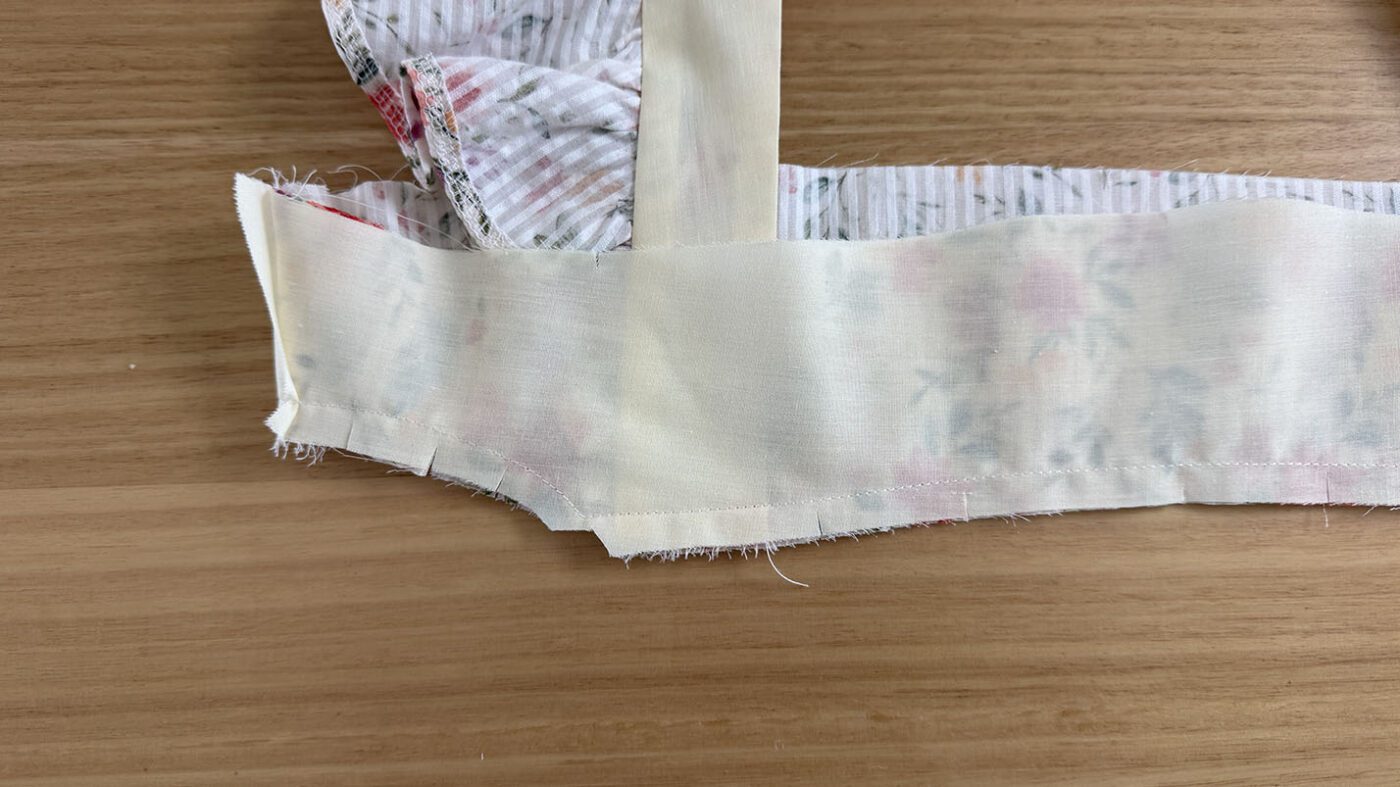
Step 18
Fold the yoke down and the straps up, and press the top edge well.
Step 19
Then, stay stitch the bottom edges of the yoke together using a 5mm seam allowance then set aside.
LOWER BODICE
Step 20
Place the front and back lower bodice right sides together and pin the side seams together.
Step 21
Stitch closed with a 1.5cm seam allowance
Step 22
Then overlock closed from the front side of the bodice.
Step 23
Press the seam allowance towards the back.


Step 24
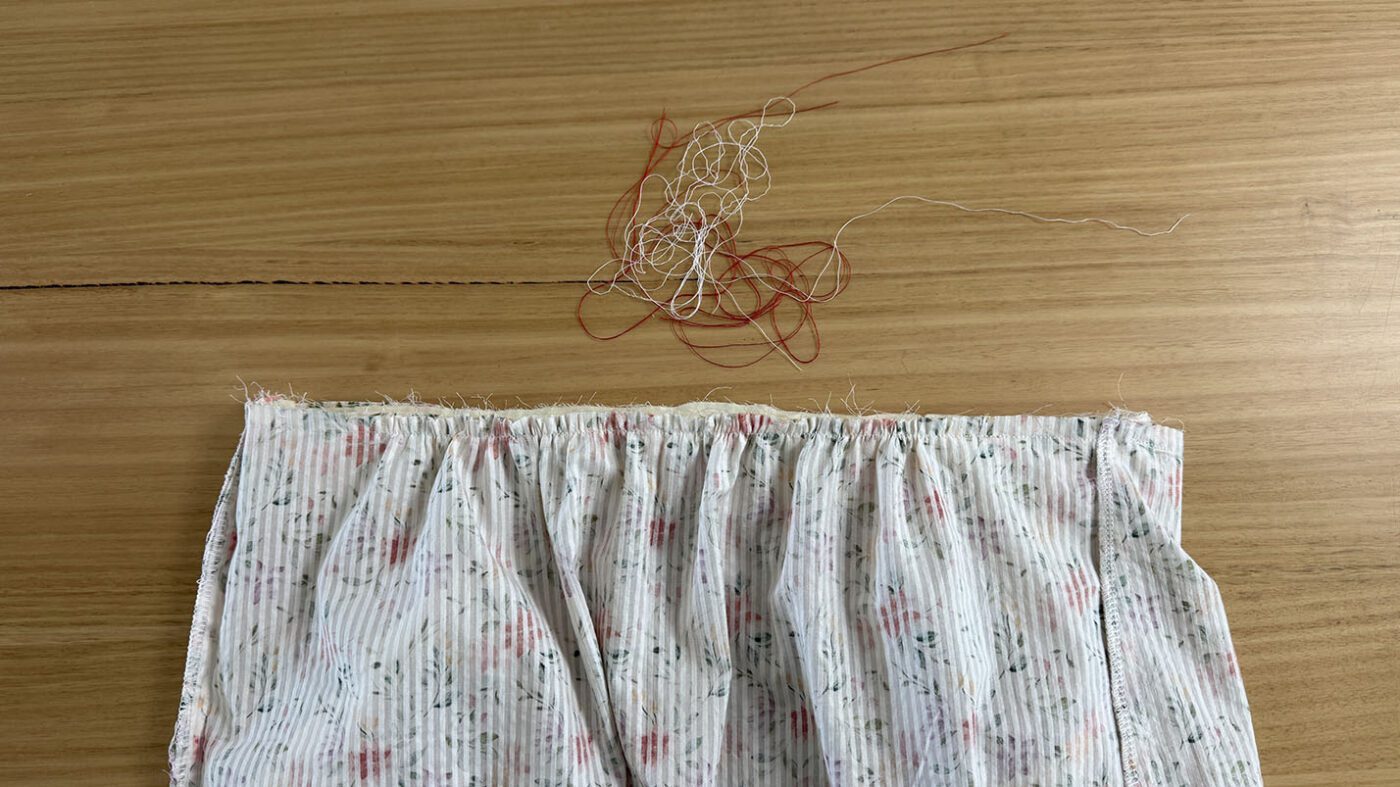
Then run 2 gathering stitches on the top edge of the front and back between the gathering notches.

Step 25
Pin the lower bodice to the yoke right sides together, gather the lower bodice to fit the yoke ensuring the gathers are distributed evenly.
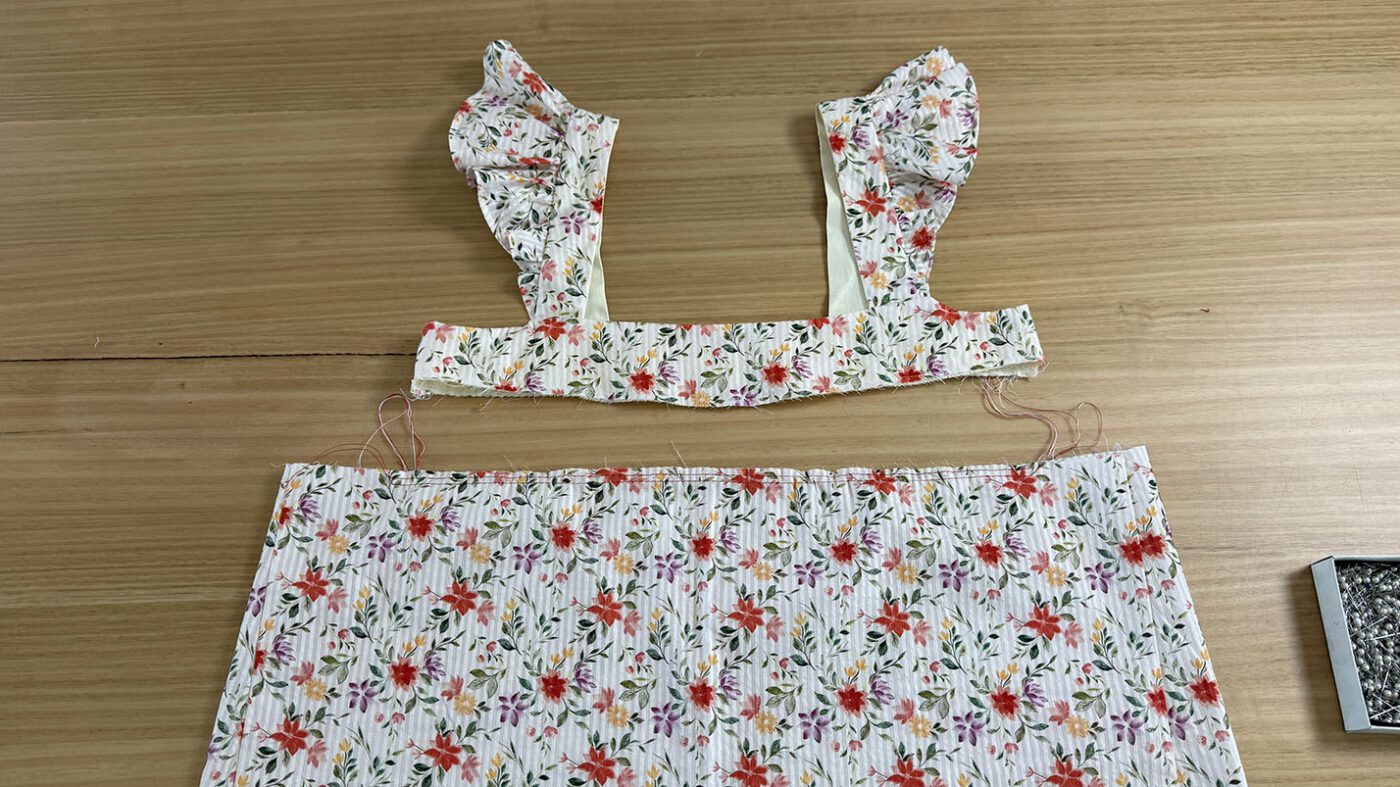
Step 26
Then stitch closed with a 1cm seam allowance.
Step 27
Then remove the gathering threads.
Step 28
Overlock the seam closed from the lower bodice side.
Step 29
Then press the seam allowance upwards.


HEM
Step 30
Overlock the hem edge from the right side of the fabric, ensuring the side seam allowances are stitched towards the back.

Step 31
Fold the hem and press in place.
Step 32
Then stitch to secure.

Your Top is now complete. Keep scrolling for the short instructions.
Shorts Sewing Instructions
Step 1
Cut all main and lining pieces accurately on the correct grain, ensuring all notches are clipped.

Please note that all seam allowance is marked on the pattern in a grey dashed line and can also be found on page 3 of the booklet provided with the purchased pattern.
Also, if you need help with pattern cutting instructions, these can be found in the same booklet.
Beginner tip* If you can afford to purchase a rotary cutter and cutting mat, I find this more accurate and time-efficient.
SHORT INSEAM
Step 2
Place the front and back of one side of the short right sides together and pin the inseam together.
Step 3
Repeat on the other side.

Step 4
Stitch the seams closed with a 1cm seam allowance.
Step 5
Overlock the seam from the front side of the short.
Step 6
Then press the seam allowance back.
HEM
Step 7
Overlock each side of the short hem from the right side of the fabric.
Fold the overlocked edge over and press in place.
Stitch to secure.


In-depth instructions for help on heming a circular hem can be found here.
CROTCH SEAM
Step 8
Place each side of the short right sides together and pin along the crotch seam ensuring the notches and inseams match.


Step 9
Stitch closed using a 1cm seam allowance.
Step 10
Overlock the seam closed.
Step 11
Then press to one side.
Step 12
Overlap the shorts (back over front) at the side using notches as guides, and pin the top edge in place to hold.
Step 13
Then stay stitch in place using a 5mm seam allowance then set aside.


WAISTBAND
Step 14
Place the waistband pieces right sides together and pin the short edges together, leaving a 2cm hole on one side (on the inside) to thread elastic through later.
Step 15
Stitch closed using a 1cm seam allowance.
Step 16
Press the seam allowance open.


Step 17
Then fold the waistband in half length ways with the wrong sides together and press along the top edge.

Step 18
Pin the waistband to the top edge of the shorts.

Step 19
Stitch closed using a 1cm seam allowance.
Step 20
Then overlock closed.
Step 21
Press the seam allowance towards the waistband.
Step 22
Thread the elastic through the 2cm hole in the waistband with a large safety pin or bodkin.

Step 23
Ensure the elastic is not twisted then overlap the ends by 2cm and secure with a box stitch.

Step 24
Sitch the 2cm wide hole closed with a hand sewing needle and thread.
Step 25
Stitch the waistband 3mm from each edge of the elastic to hold the waistband and the elastic in place. When sewing the lower edge ensure the overlocking in caught into this stitching.
Increase your stitch length to 3.5 when sewing this step, this will help prevent the elastic from warping.

Your summer sleepwear set is complete. How did you go?
I’d love to see your creations, if you would like to tag me on Instagram at @at_the_seams_patterns