Sewing Tutorials, Tops
Sewing Tutorial: Bella Triangle Bralette
The Bella Triangle Bralette is a cute summer style that is sewn to be fully reversible. This style is a girlie one, featuring frills and adjustable straps that tie into a bow at the back. This is a great style to use up any leftover fabric that you have as the fabric usage is minimal. Although designed to be beach wear this pattern could easily be used for lingerie in the right fabrics.
It’s a great shape for an intermediate sewer however even a beginner can tackle this if they follow the instructions carefully. So let’s get started.
To begin you will need the following things
Materials
- Bella Triangle Bralette XS- XL paper pattern,
- Bella Triangle Bralette XL- 5XL paper pattern
- 0.3m fabric
- 0.3m lining
- 10mm Elastic (56cm -76cm) – for size XS-XL
- 15mm Elastic (76cm -111cm) – for size XL-5XL
- Cord Ends x 4 (optional)
- Cotton thread
Tools
- Scissors or rotary cutter & mat
- Sewing machine with a regular foot
- Iron
- Scissors
- Pins
- Rouleau Turner
- Bodkin or Safety Pin
Tips
- Ensure your fabric is washed, dried, and pressed before you start cutting. There is nothing worse than washing your beautiful garment and it shrinks, or even more annoying the lining shrinks and the main doesn’t so it is all pulled out and shape and is unwearable.
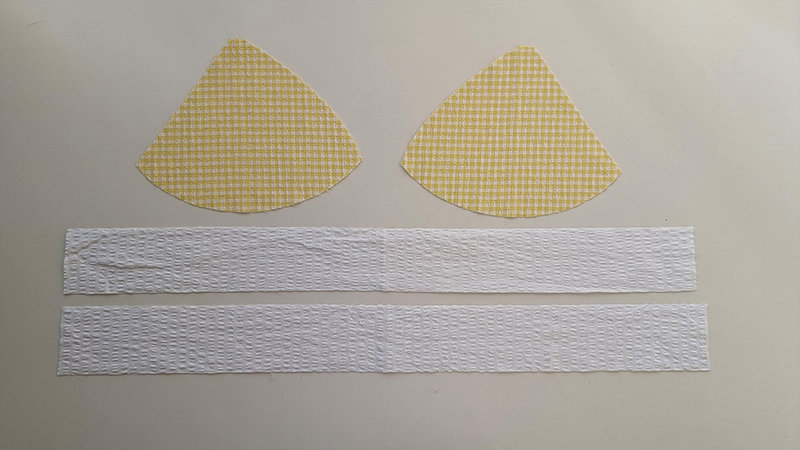
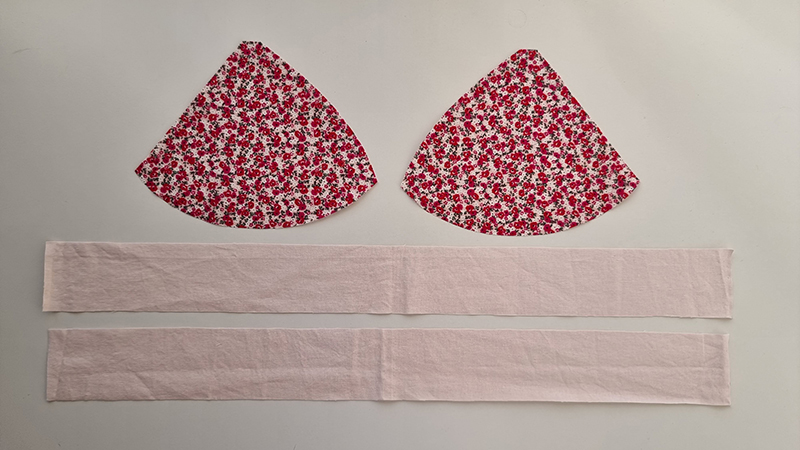
Step 1
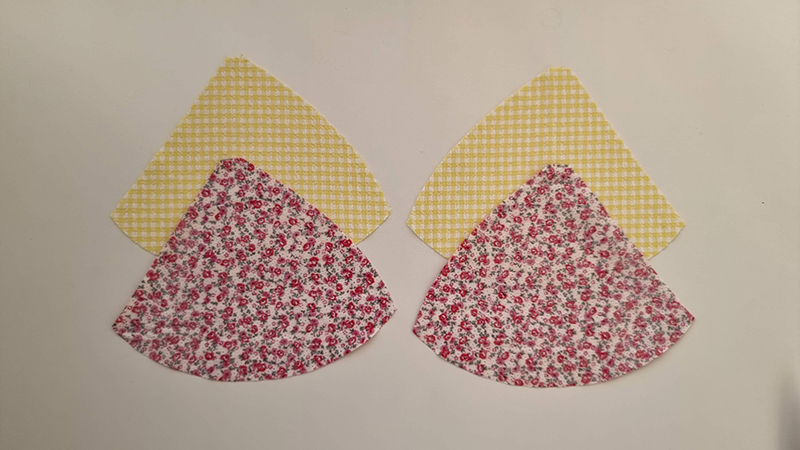
Cut all main and lining pieces accurately on the correct grain, ensuring all notches are clipped. Please note seam allowance is marked on the pattern.
Beginner tip* If you can afford to purchase a rotary cutter and cutting mat, I find this more accurate and time-efficient.
Beginner tip* It might help to pin the pattern pieces to your fabric once is cut out so you can easily work out what is what while you are sewing.
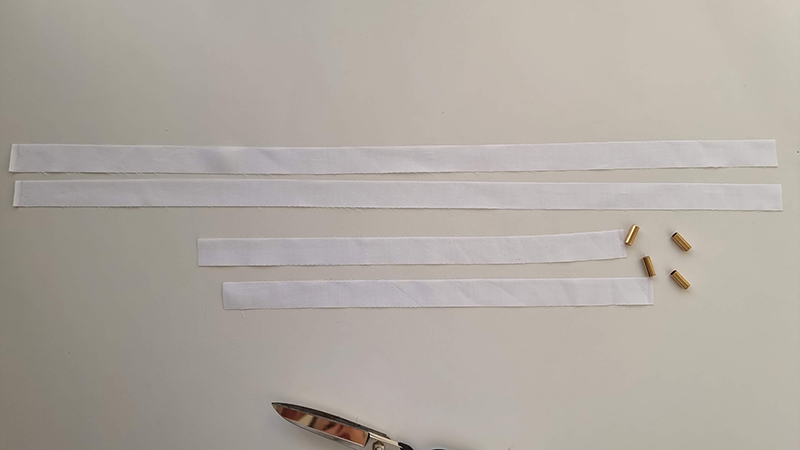
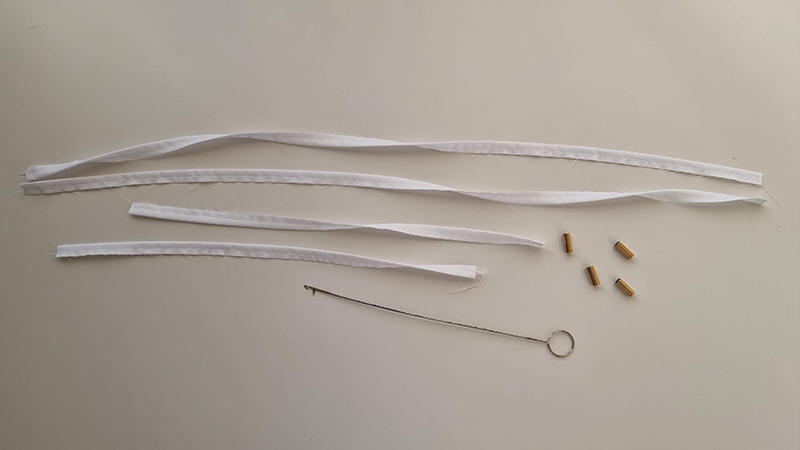
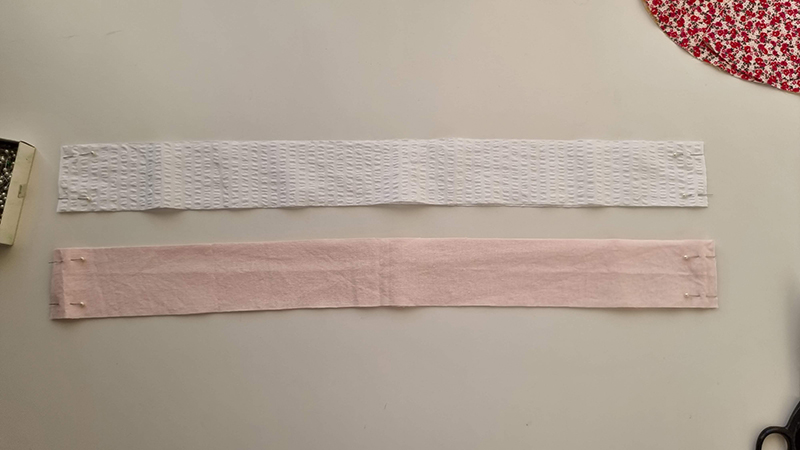
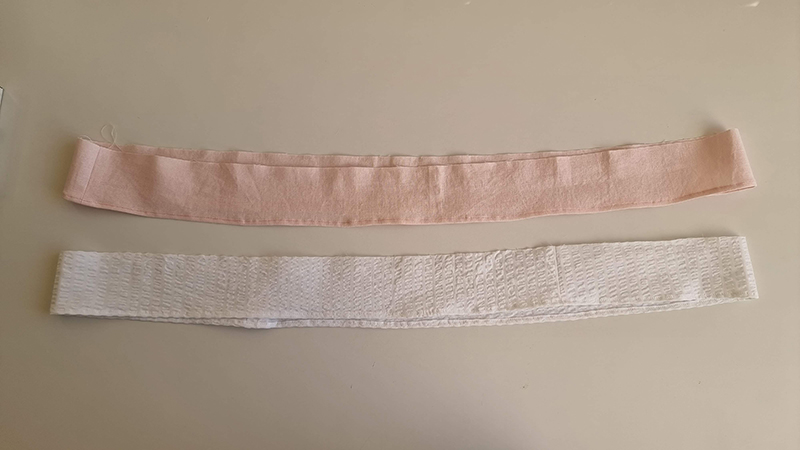
Step 2
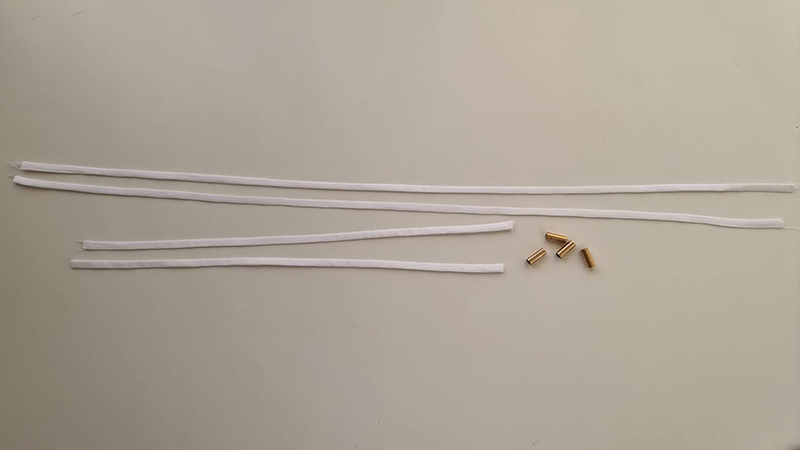
Starting with the straps, fold each piece in half right sides together and stitch from end to end 8mm from the fold of the fabric. Then turn through using a loop turner. (or your preferred method) Press well, then set aside, do not add the cord ends yet (this will be the final step)
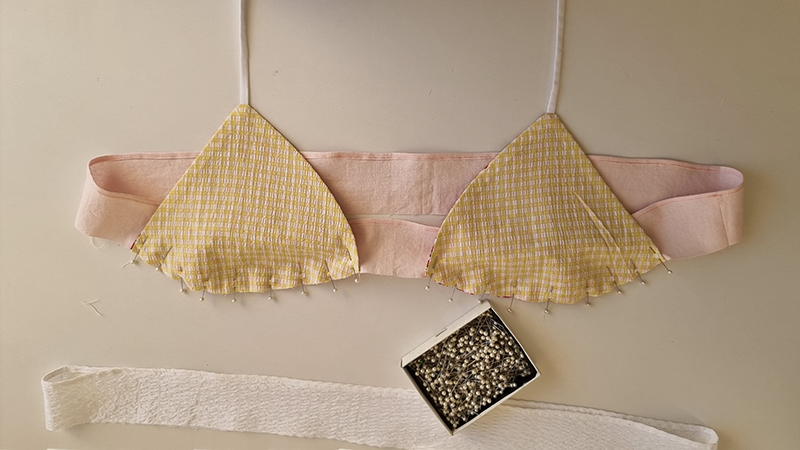
Step 3
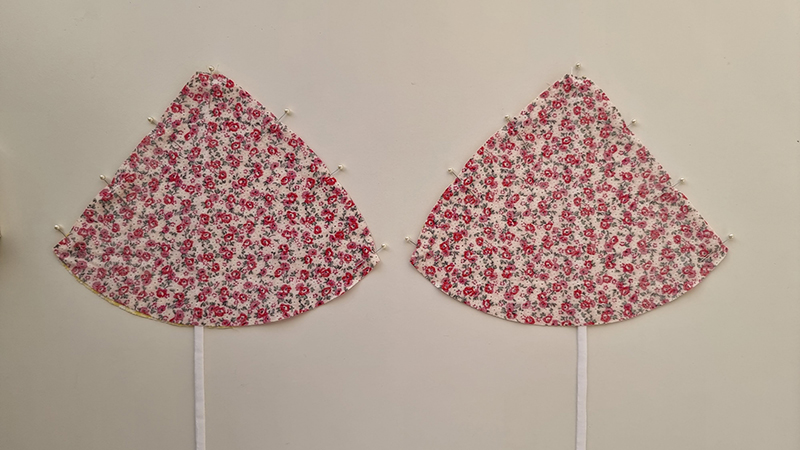
Place the bralette cups right sides together and pin the front straps to the top of the triangle as shown (be sure to pin the front straps – the shorter ones) Pin along the side and front neck edges. (top edges of the triangle)

Step 4
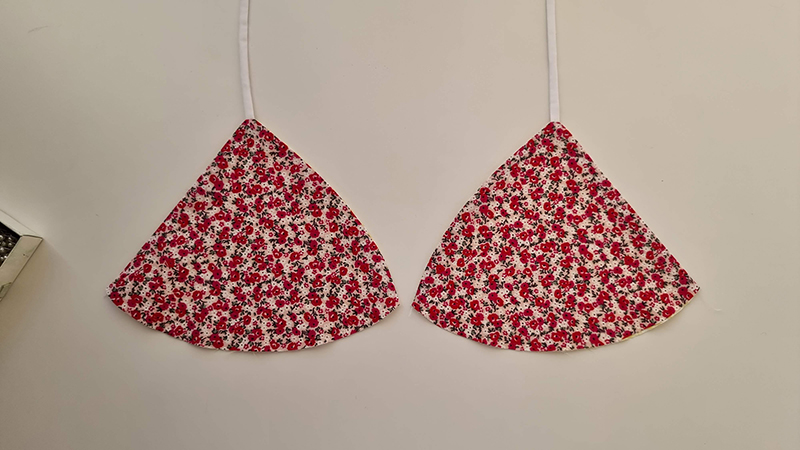
Stitch closed, then turn through and press the edges well. (If using a thicker fabric you will need to clip the seam allowance along the front curved edge)
Step 5
Next, take the frill and ‘lining’ frill and overlock the side edges from the right side of the fabric, then pin the side seams together, stitch closed and press the side seams open.
Step 6
Then hem each of the frill using a 5mm double turn finish.
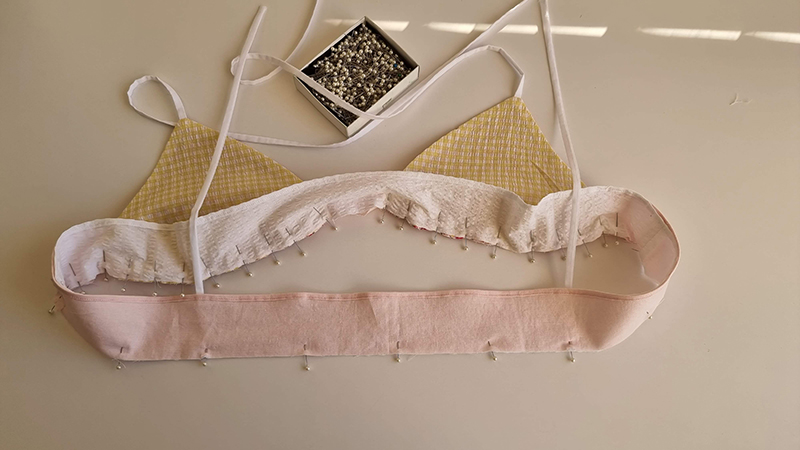
Step 7
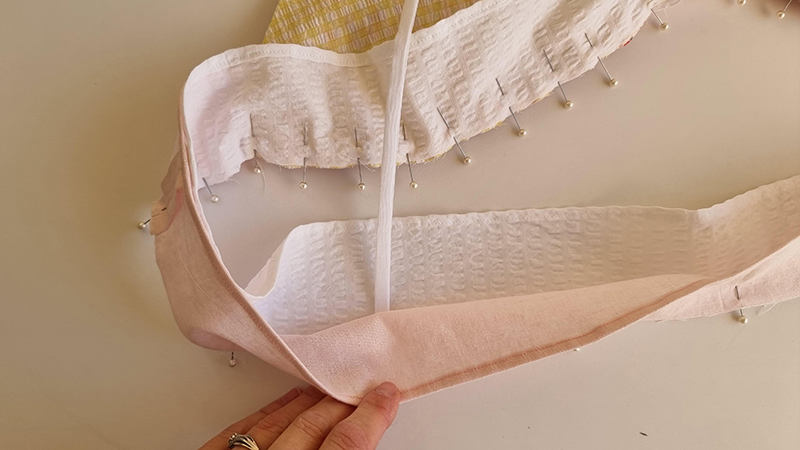
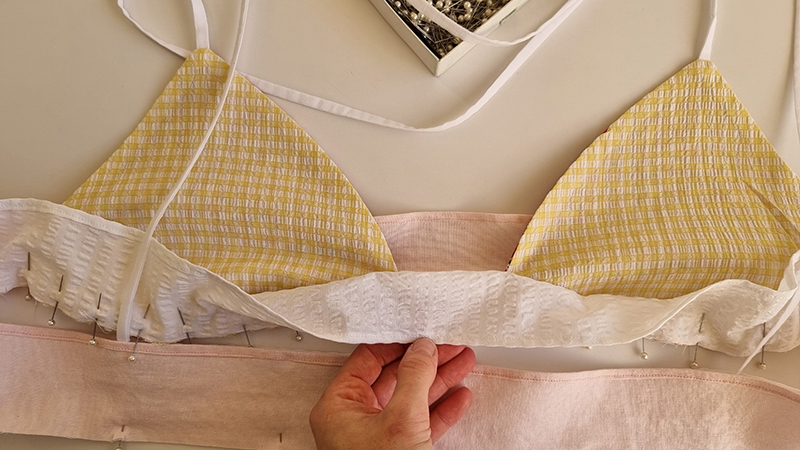
Picking up the bralette cups, pin them to the frill right sides together using the notches on the pattern as a guide. (Ensure the cups are the correct way, the straight edge is on the outside)
Then pin the other frill on top, so that the cups are sandwiched between the frills. The frills will also be right sides together.

Step 8
Continue to pin the top edges of the frill together across the back. Add in the back straps (the longer ones) at the notch points.
Step 9
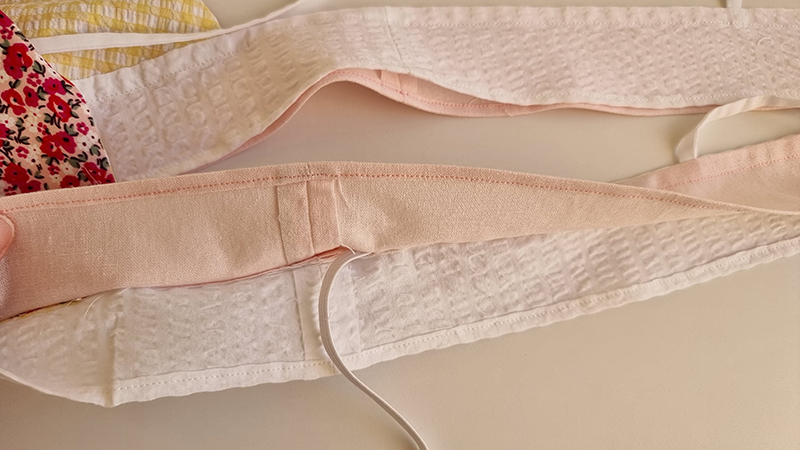
Stitch closed then turn through and press well.
Step 10 – Size XS-XL
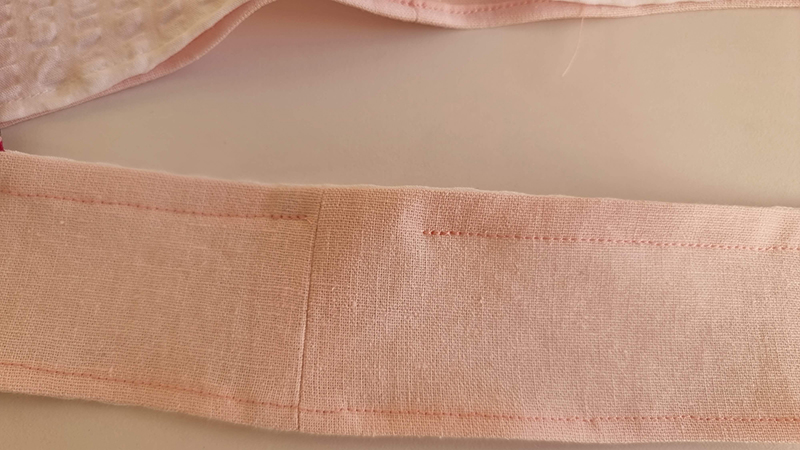
Then add a top stitch to the frill 12mm from the top edge (this will be your elastic casing) Leave a 3cm gap in the stitching to feed the elastic through.
Step 10 – Size XL-5XL
Then add a top stitch to the frill 17mm from the top edge (this will be your elastic casing) Leave a 3cm gap in the stitching to feed the elastic through.
Beginner tip* When sewing this stitch you will most likely need different coloured threads in your bobbin and top thread if your fabrics are contrasting like mine.

Step 11
Thread the elastic through the hole using a bodkin or safety pin. (elastic cut length can be found on page 3) This can take some time, be sure to thread slowly and be patient, it will also help to try and prevent the elastic from twisting.
Step 12
Once the elastic has been threaded through, ensure it is not twisted in any places and secure the ends together. Then close the 3cm gap left in step 10.
Step 13
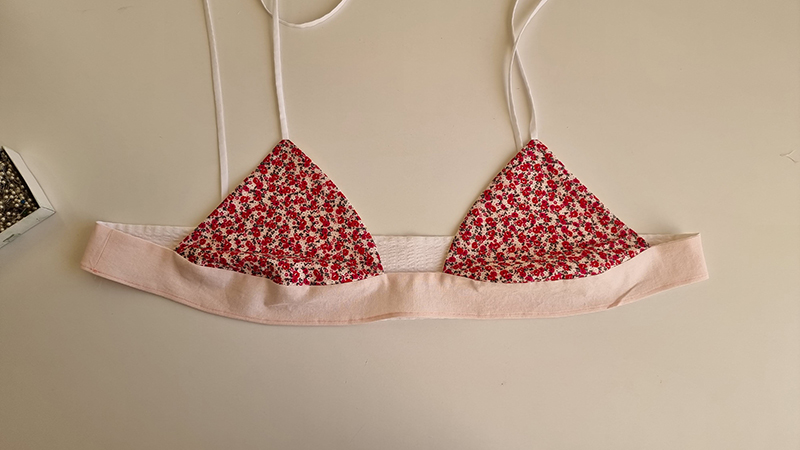
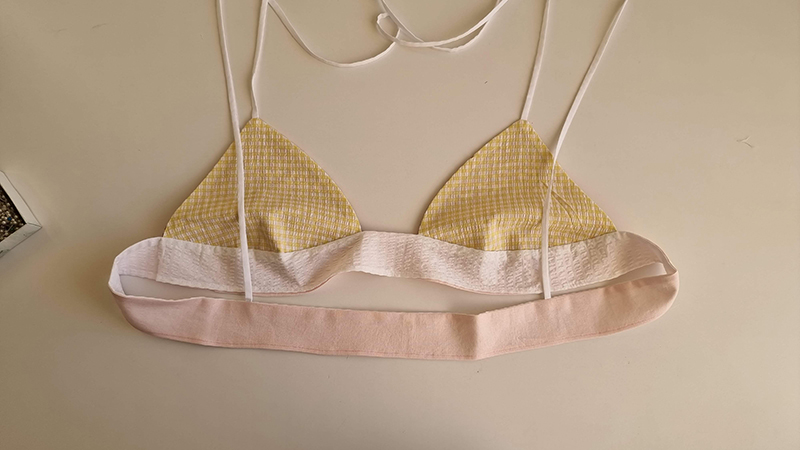
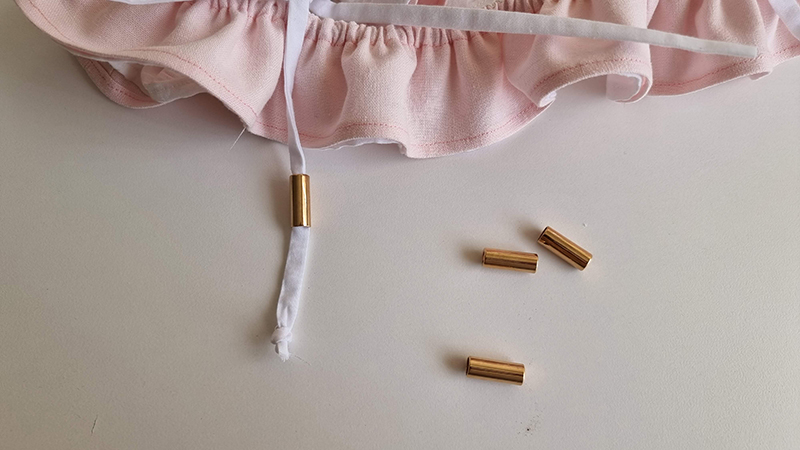
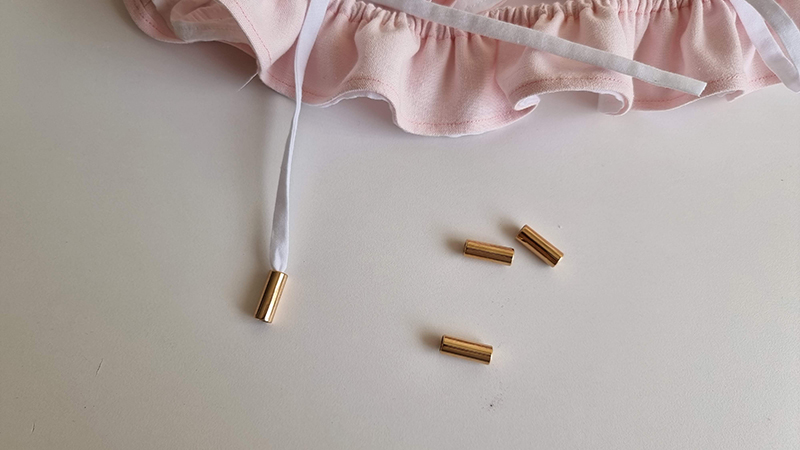
Thread your cord ends onto the straps then tie a knot to secure. Or if not using cord ends the ends can be folded and stitched to stop them from fraying, or even tied in a knot.

All done. I hope you love your brand new Bella Triangle Bralette.
Need a matching skirt to complete the look, try this maxi skirt tutorial or this mini skirt.
I’d love to see your creations, either drop an image in the comments below or tag me on Instagram at @at_the_seams_patterns
x