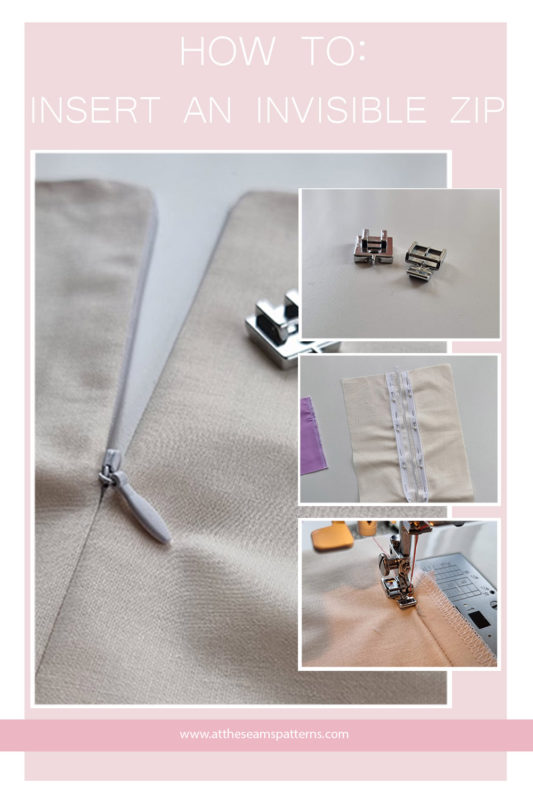
How To's
How to: Insert an Invisible Zipper
Zippers can be daunting to sew, invisible zippers can be even worse. However, learning to insert an invisible zipper is a skill that you will use constantly when sewing your own clothing. It’s a great skill to master to ensure your clothing has a professional and seamless look.
The below tutorial uses an invisible zipper foot, this isn’t absolutely needed however it will make the job a whole lot easier so I recommend purchasing one if you are going to be sewing a lot. I didn’t buy a fancy expensive one, I think mine was about $7 off Ebay. Money well spent!
Follow along below to learn how to easily insert an invisible zipper using a few basic tools.
Tools
- sewing machine
- regular zipper foot
- invisible zipper foot
- overlocker
- iron
- pins
Materials
- fabric (either your garment or just scrap to practice with)
- invisible zipper
- cotton thread
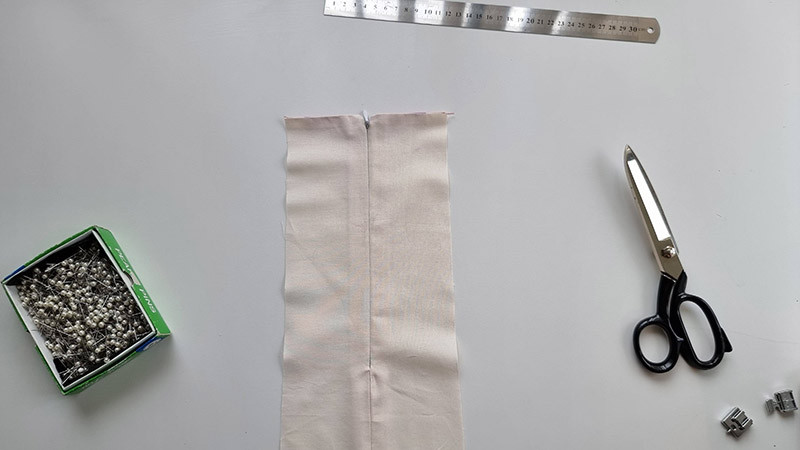
Step 1
You will need to prepare your zipper by pressing it flat. Unzip the zipper right to the end and using your fingers roll the teeth out and iron on a medium setting.
Take care not to melt your zipper.
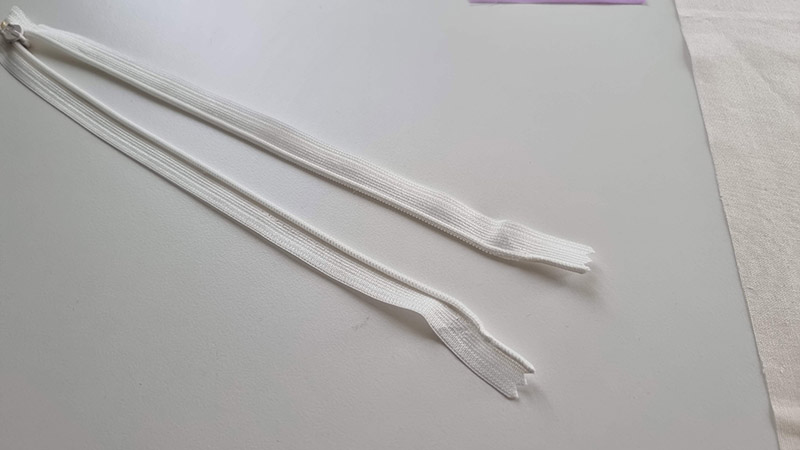
Invisible zipper before pressing 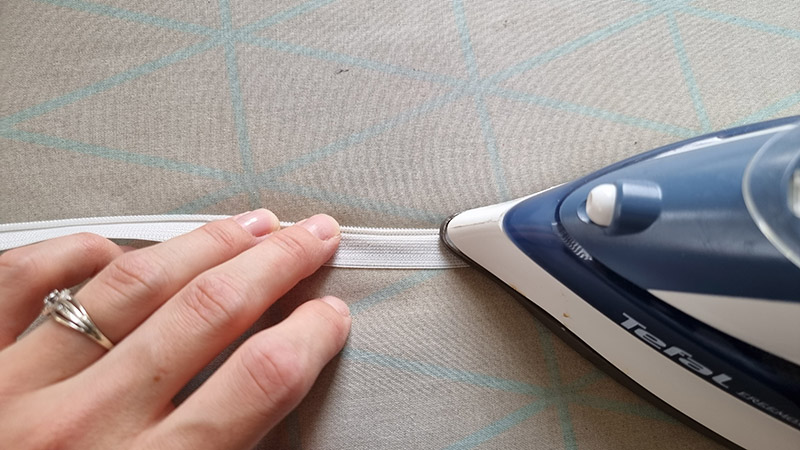
Rolling the teeth out and ironing flat 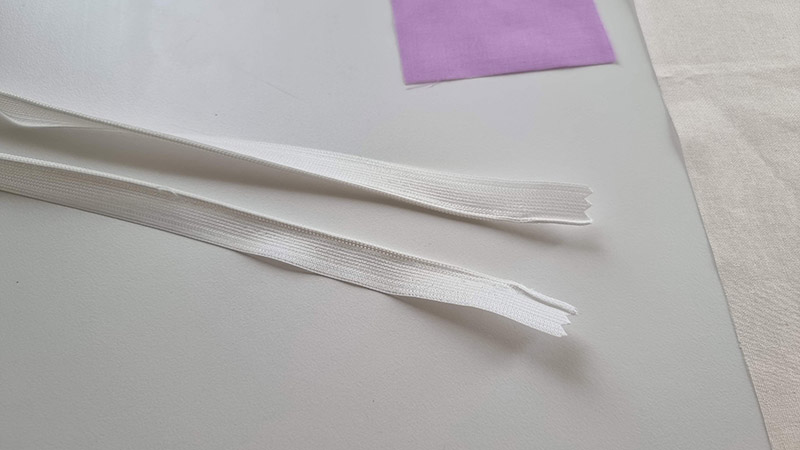
Invisible zipper after pressing
Step 2
Then, you will need to overlock the edges of the garment/fabric from the right side where the zipper will be inserted. Also, overlock the edge of the lining or facing, if there is one.
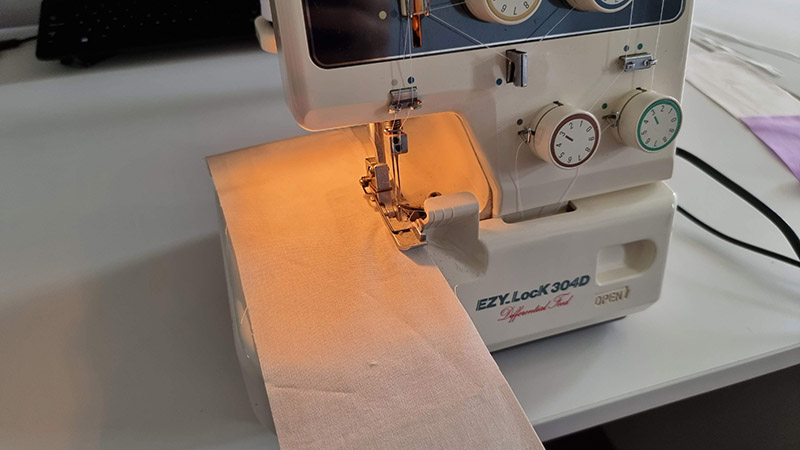
Overlocking fabric edge 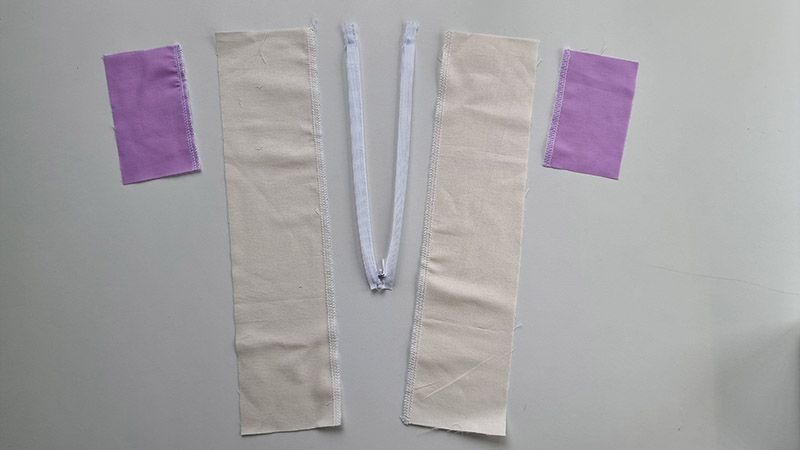
Fabric edges overlocked
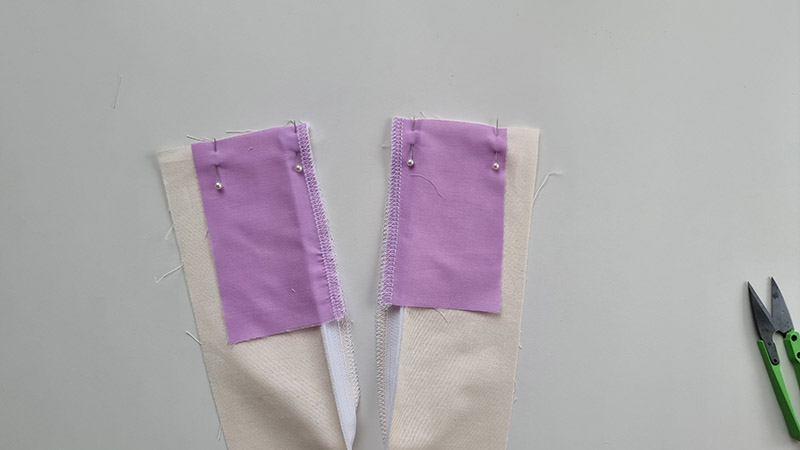
Step 3
Next, you will need to pin the zipper to the fabric as shown below. Check the seam allowance given for your garment (usually it is 1.5cm or 5/8 inch) and ensure you pin the zipper in the correct place.
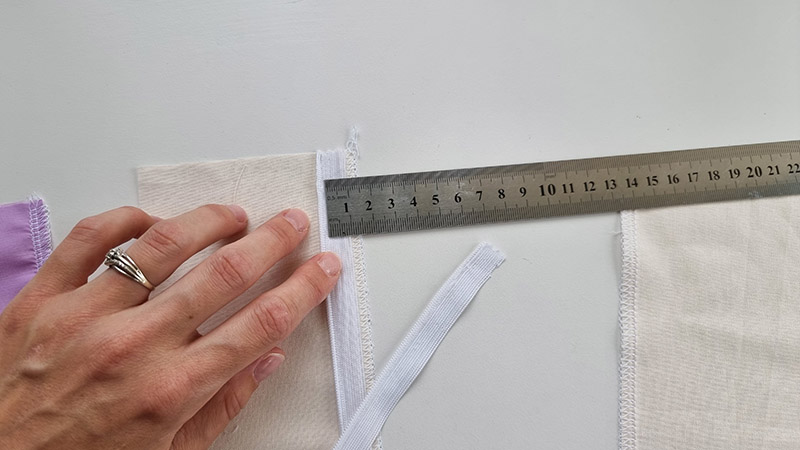
Checking seam allowance 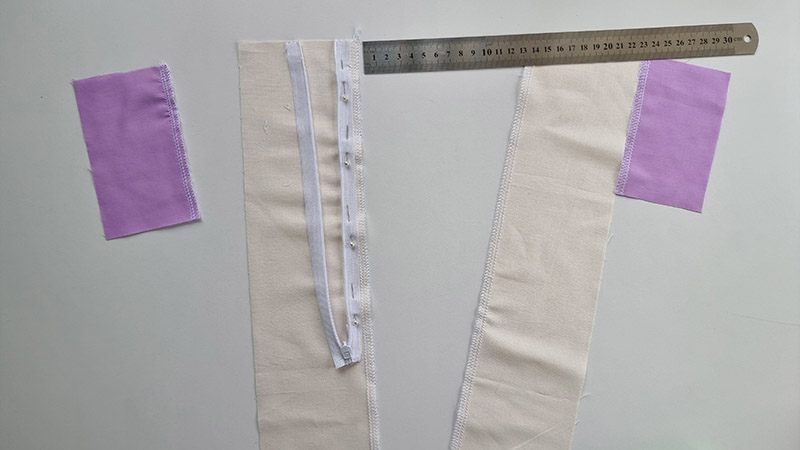
One side of the zipper pinned in place 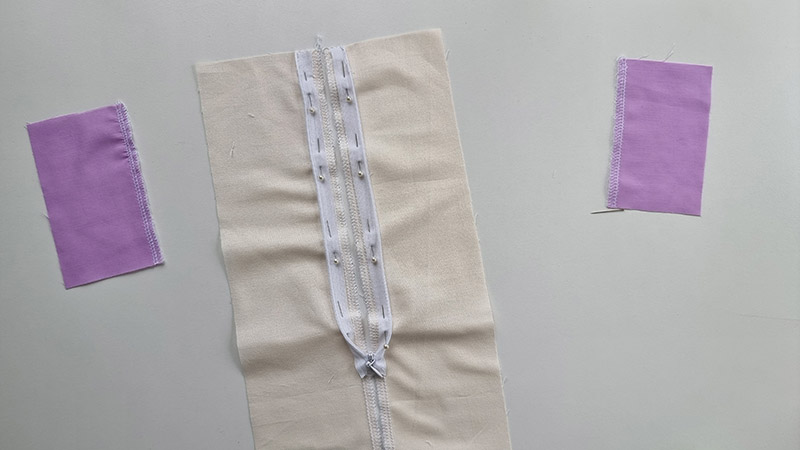
Both sides of the zipper pinned in place
Once pinned together zip the zipper closed to double-check you have pinned it to the correct side of the fabric.
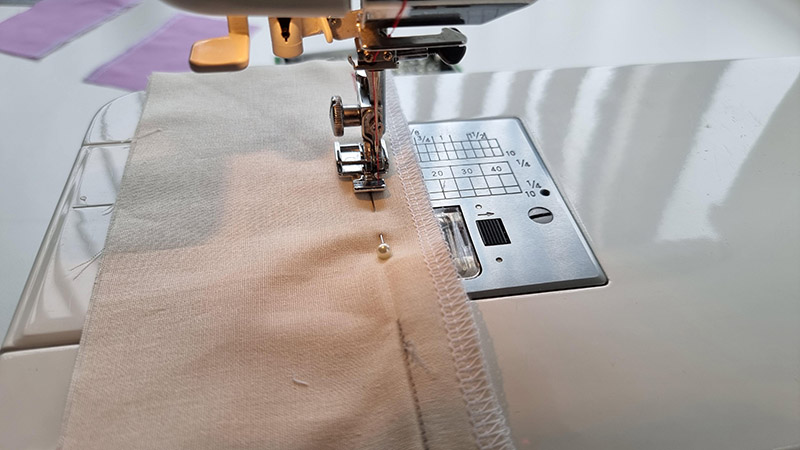
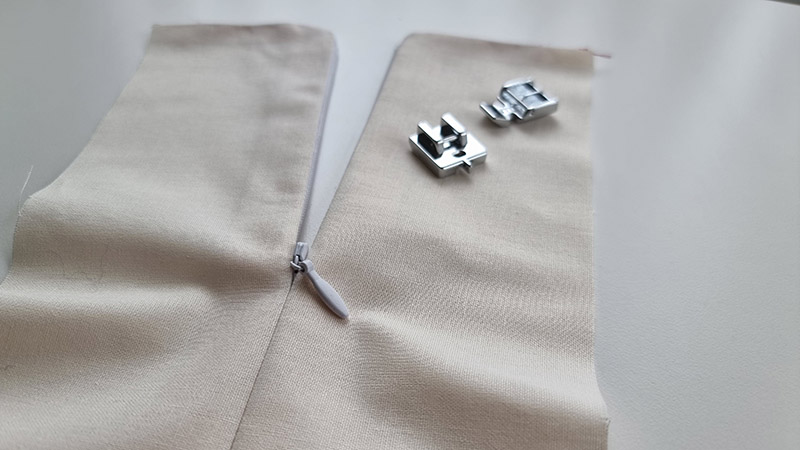
Step 3
Attach the invisible zipper foot to your machine and stitch down the zipper on each side, start at the top of the zipper and sew until the zipper foot runs into the zip puller then backstitch to secure.
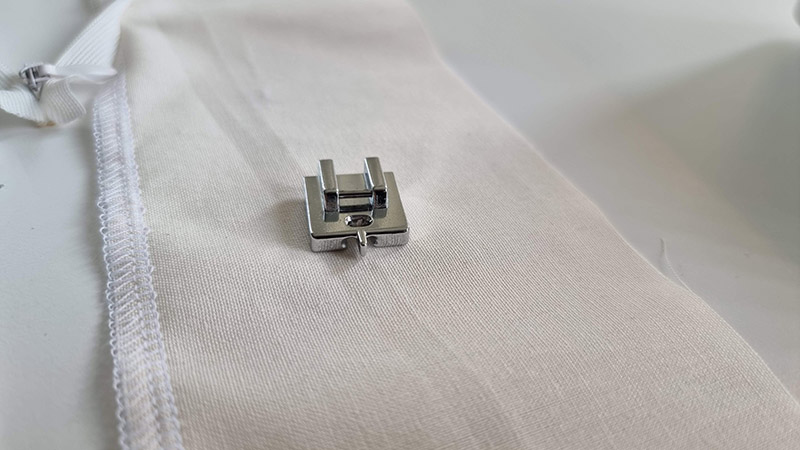
Invisible zipper foot 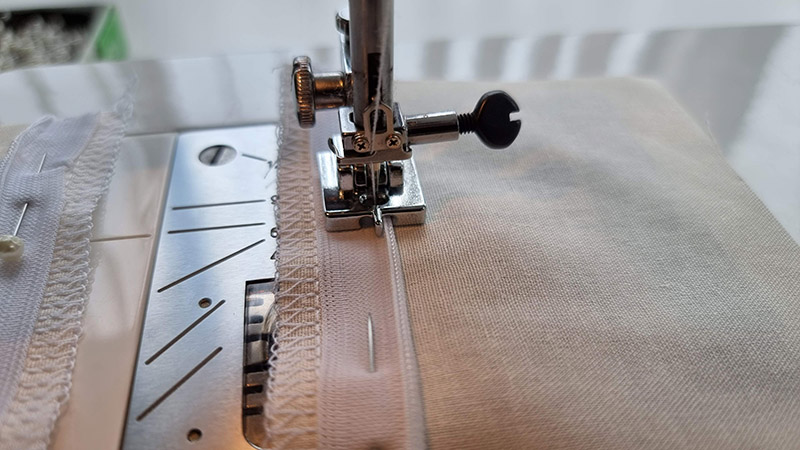
Zipper in the right side channel 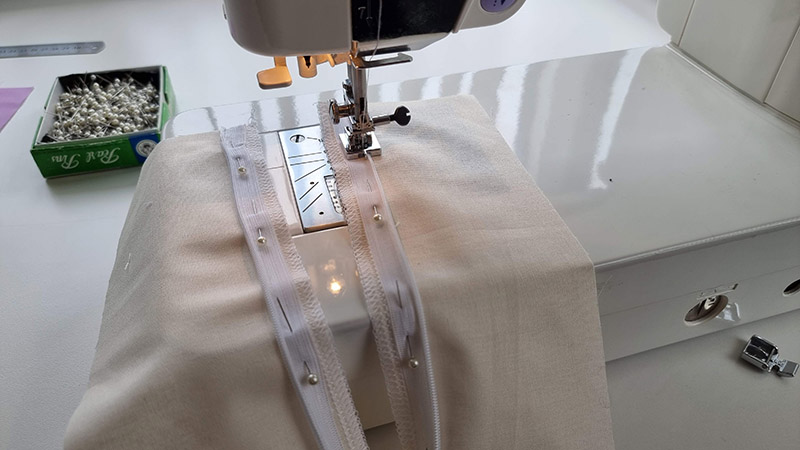
Sew from the top to the bottom
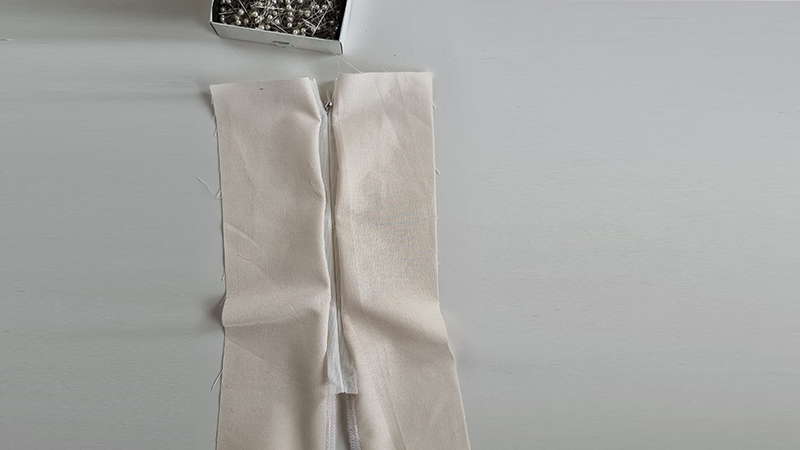
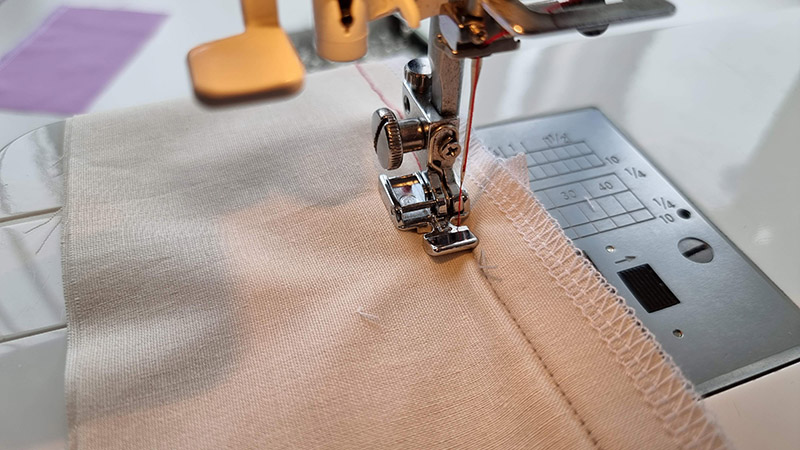
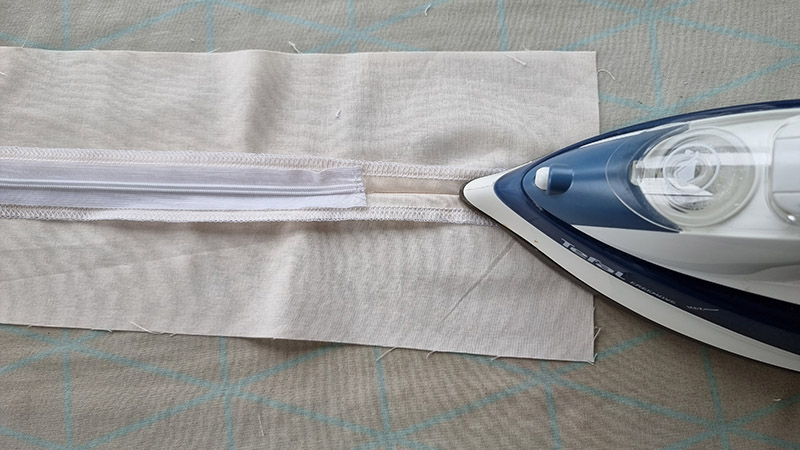
Step 4
Press the zipper from the right side of your fabric, the bottom of the seam should still be open like below.
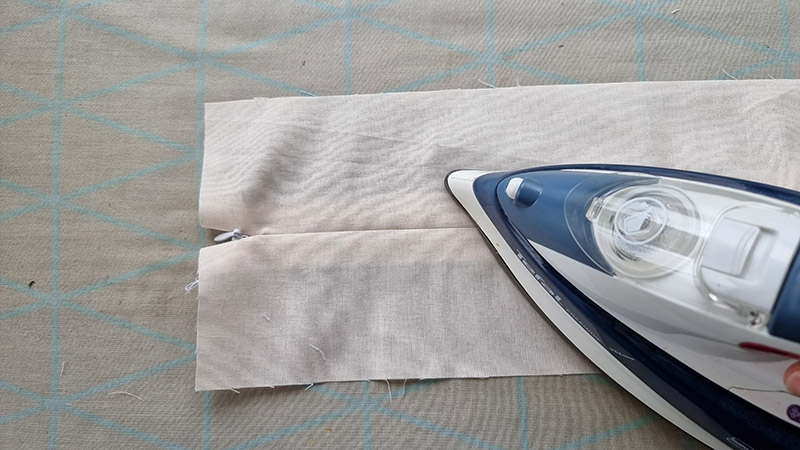
Pressing the seams of the fabric 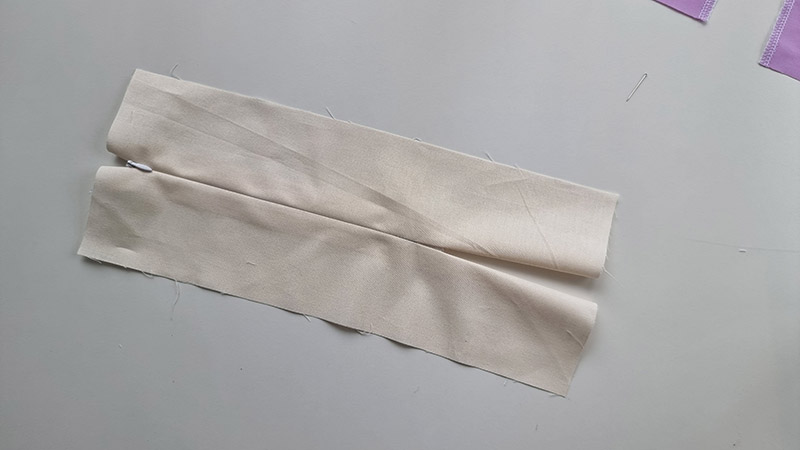
Zipper from the right side of the fabric 
Zipper on the inside of the fabric/garment
Step 5
Fold the fabric right sides together and pin the bottom of the seam closed.
Seam allowance at the bottom of the zipper pinned closed
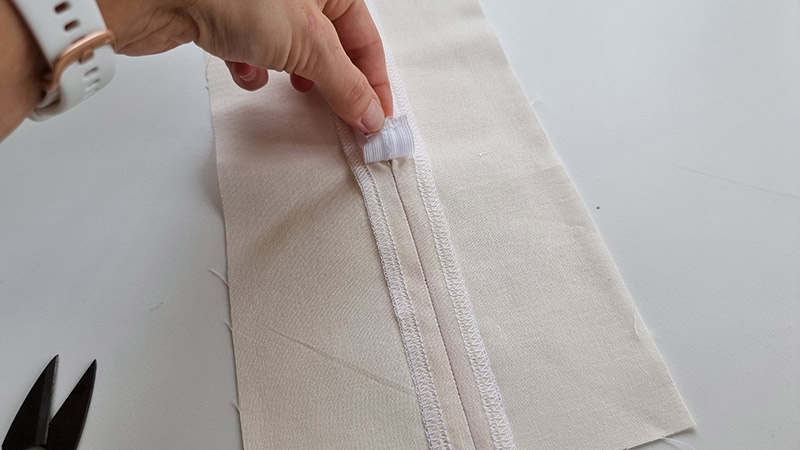
Step 6
Attach the regular zipper foot to your machine so that you are sewing to the right of the zipper foot.

Regular zipper foot 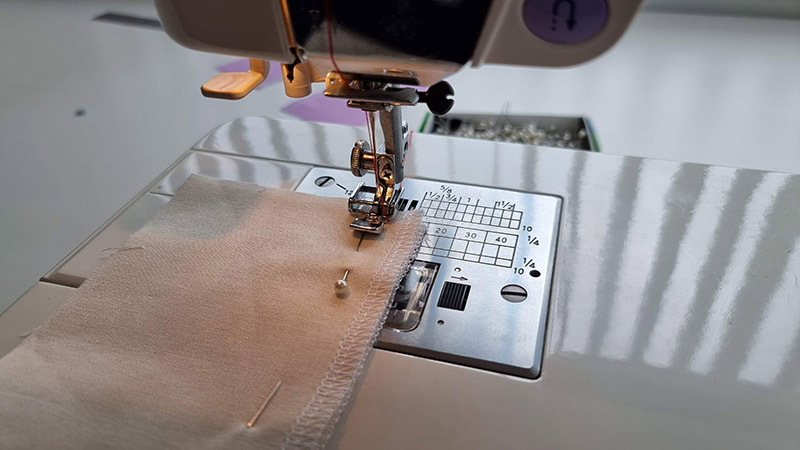
Sewing the bottom of the seam closed
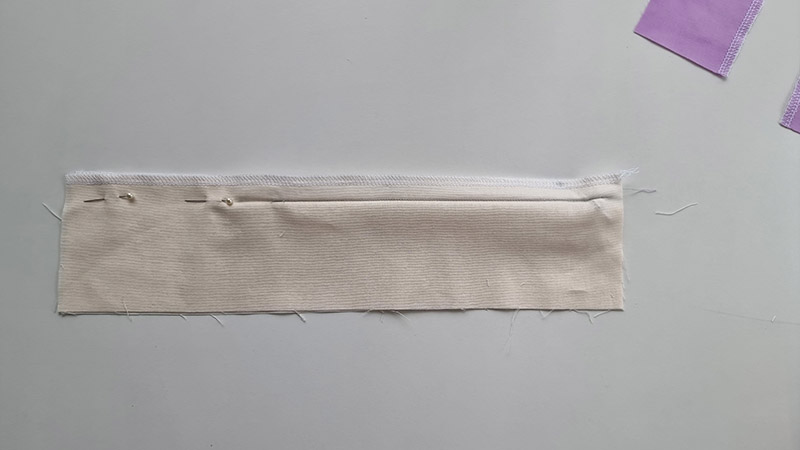
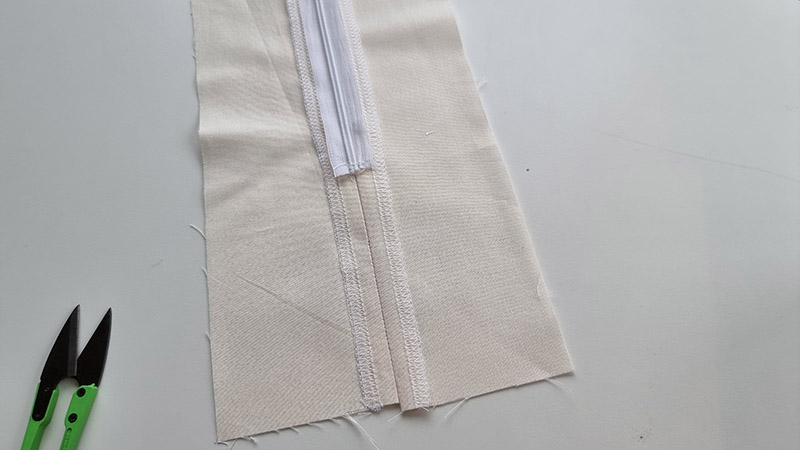
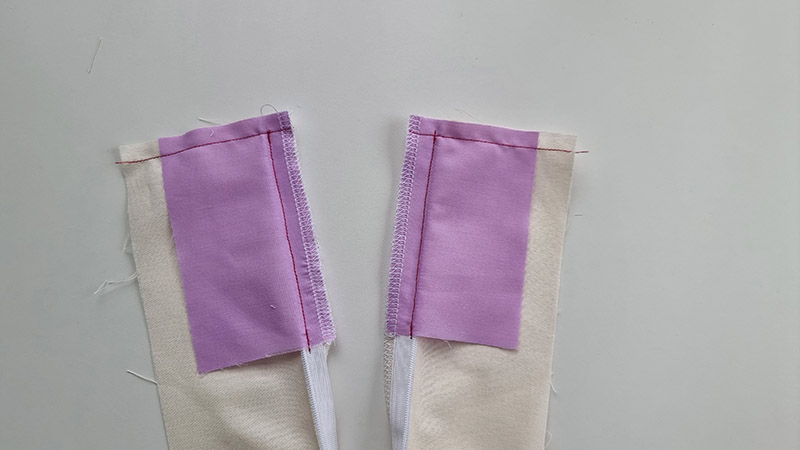
Step 7
Sew the seam closed from the bottom sewing towards the zipper. Stitch as close to you can to the bottom of the zipper stitching. This should meet if possible or be within 2/3mm.
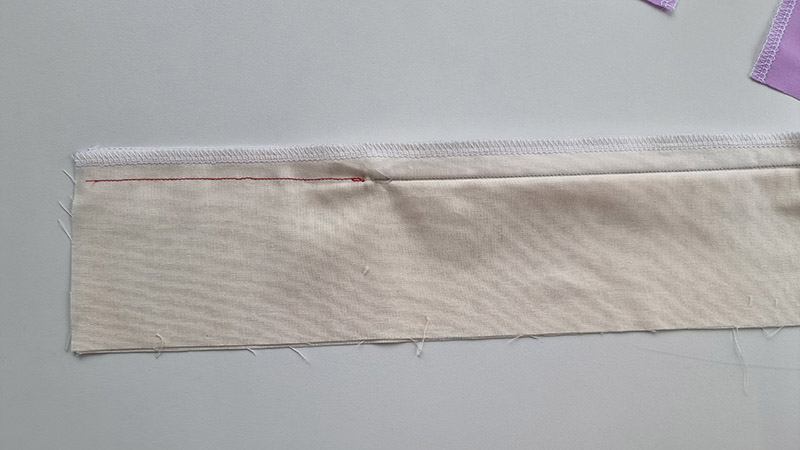
The red stitching is the seam below the zipper
Step 8
Press the seam below the zipper open.
Internal view of the bottom of the zipper
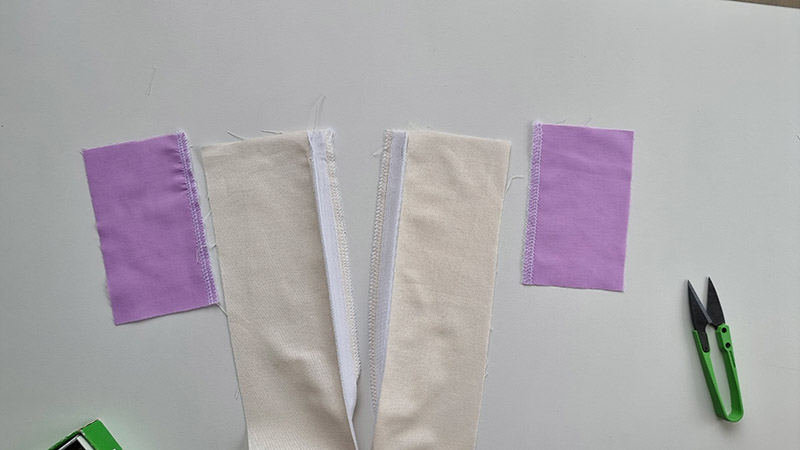
The following steps are if you garment has a facing or lining
Step 9
Pin your facing/lining and main right sides together at the top edge (this could be the waist edge or neck edge or something else depending on your garment type)
Stitched closed with a regular machine foot.
Top edge pinned together 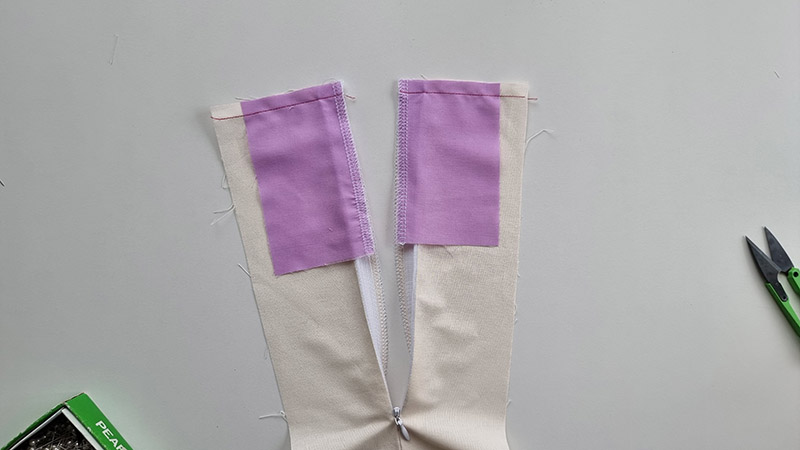
Top edge stitched together
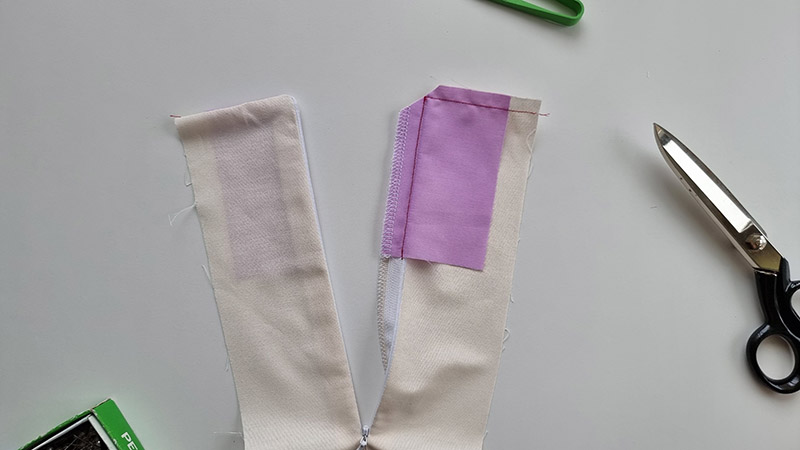
Step 10
Then pin the facing/lining to the zipper and stitch closed using your regular zipper foot.

Facing/Lining pinned to zipper 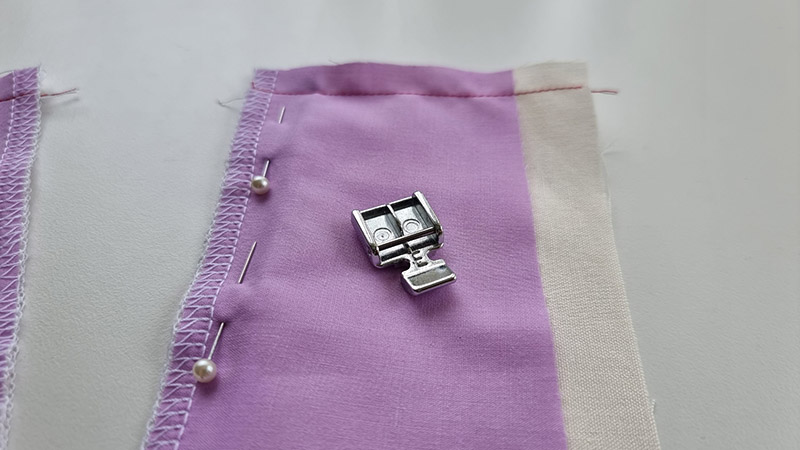
Facing/Lining stitched to zipper
Step 11
Clip the corners.
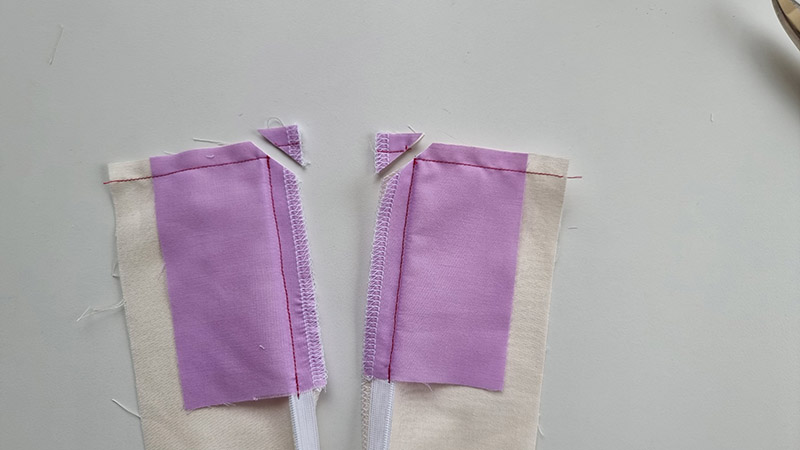
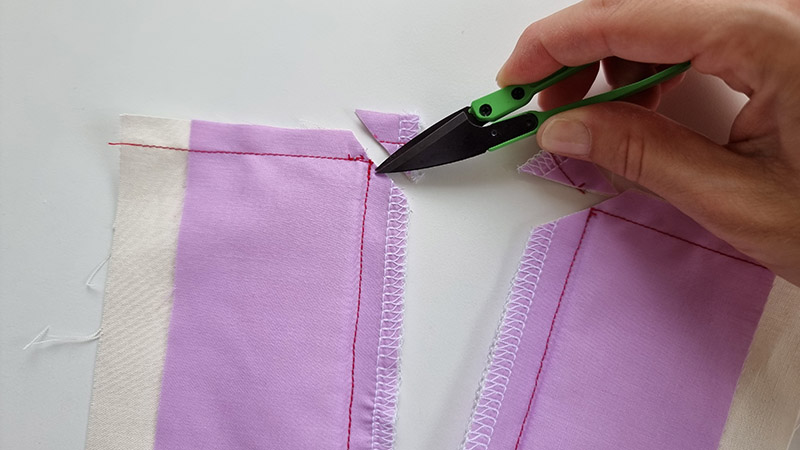
Ensure that you have a backstitch at the seam corner as shown so that your garment does not unravel.
Step 12
Turn through and press well.
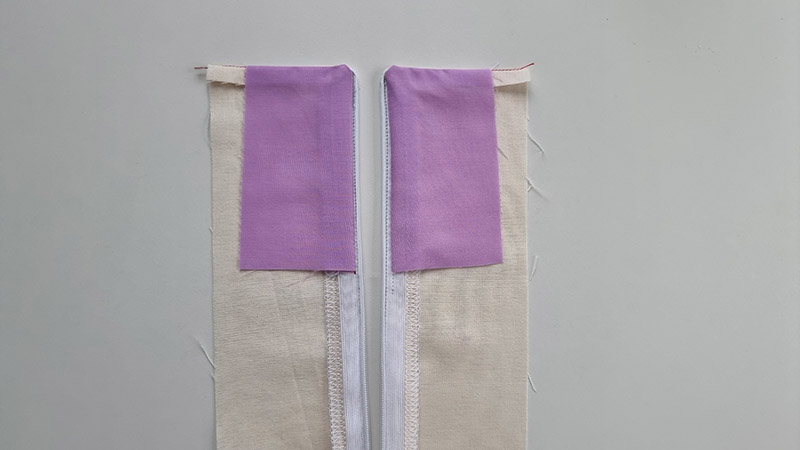
Internal view of zipper after being turned through
Outside view of zipper after being turned through
Once complete, from the outside of the garment the zipper should look like a seam with the exclusion of the zipper head.
If you are not confident with sewing invisible zippers it is a great idea to practice, you can unpick zippers from old damaged garments or pick them up from thrift stores. If you want to use the same zipper to practice with, just use a larger stitch length so it is easier to unpick at the end.
Another basic sewing skill you might need to master is sewing a French seam or this quick and easy way of sewing a circular hem.
Also, check out our Esty store for some great shapes to practice invisible zippers on.
x