Dresses, Sewing Tutorials
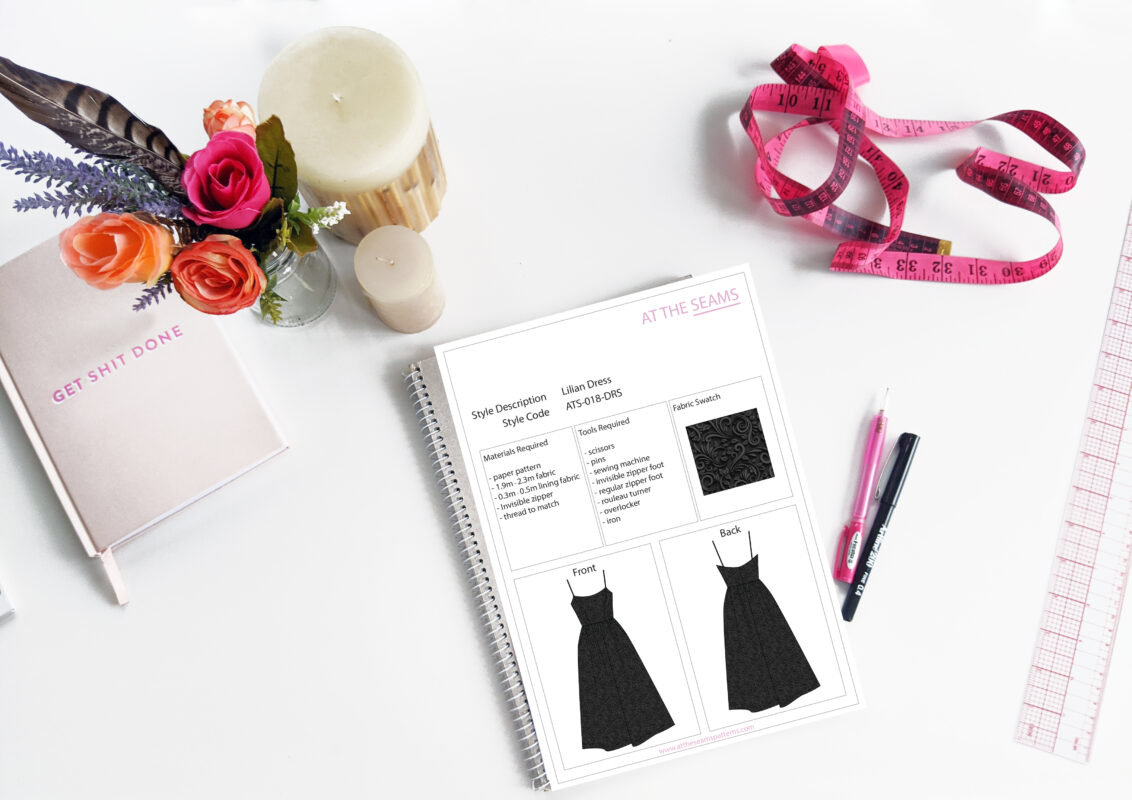
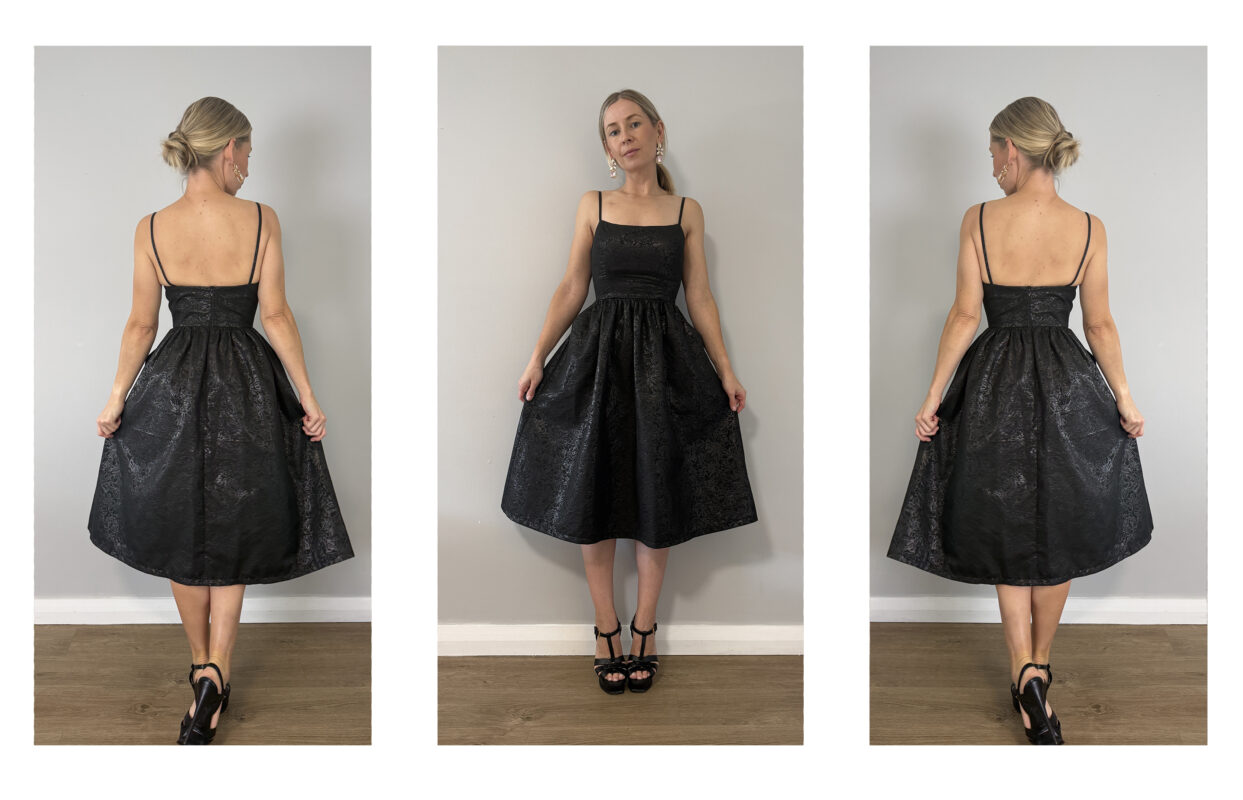
Sewing Tutorial: Lilian Dress
The bodice is fully lined and bagged out at the top edge, giving you a smooth, polished finish with no visible stitching. Delicate 5mm self-fabric straps add a barely-there elegance, perfectly balancing the soft, romantic shape of the dress. From the waist, the silhouette flows into a gathered skirt, creating movement, volume, and that dreamy, floaty feel we all love, made even better with pockets.

SEWING ABILITY
Intermediate
To begin, you will need the following things:
Materials
- Lilian Dress (XS-5XL) paper pattern , or if you prefer to shop on Etsy
- 1.9m – 2.3m fabric
- 0.3m – 0.5m lining fabric
- 28cm Invisible zipper
- cotton thread (enough to also thread your overlocker)
- horse hair braid (optional)
Tools
- scissors
- pins
- sewing machine with a standard foot
- regular zipper foot and invisible zipper foot
- rouleau loop turner
- overlocker
- iron
Fabric Requirements
Type: Woven
The Lilian Dress is best made with structured woven fabrics that hold the bodice shape and allow the
skirt to drape nicely. Cotton poplin, cotton sateen, linen blends, chambray, or lightweight denim for
casual looks, while tafeta or dupioni work well for formal versions. For lining use cotton, voile, or satin.
Tips
- Ensure your fabric is washed, dried, and pressed before you start cutting. There is nothing worse than washing your beautiful garment and it shrinks, or even more annoying, the lining shrinks and the main doesn’t, so it’s all pulled out of shape and is unwearable.
If you prefer video instructions – please head over to youtube.
Lilian Dress – Sewing Instructions
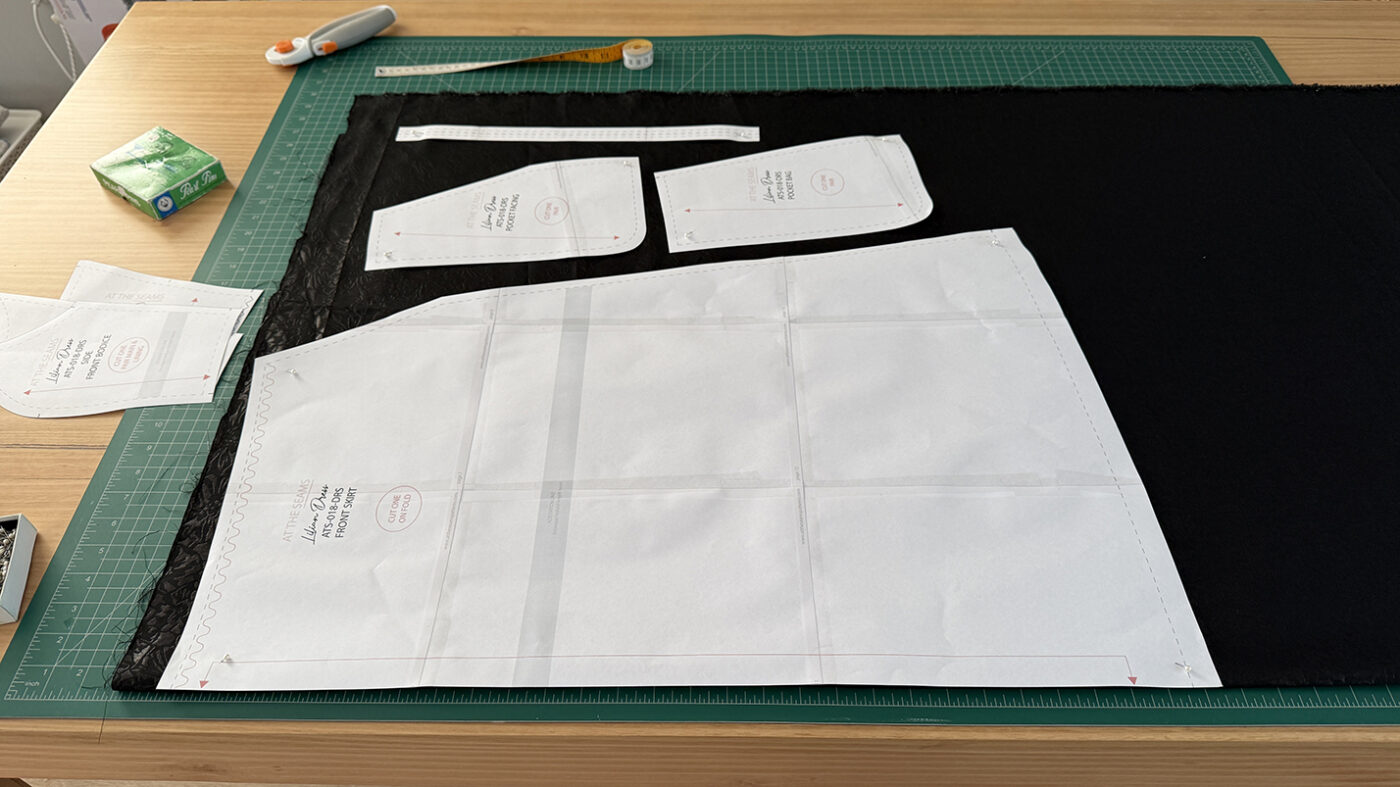
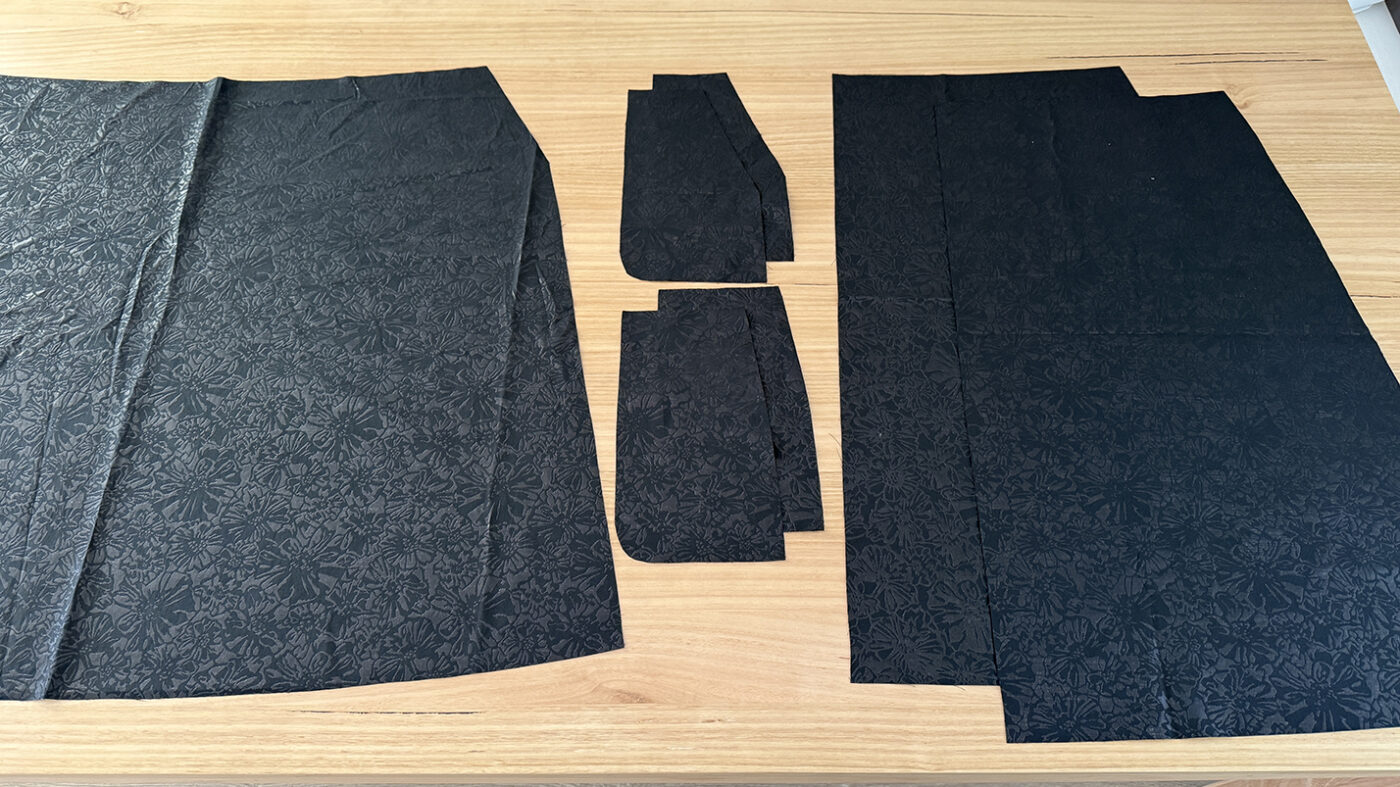
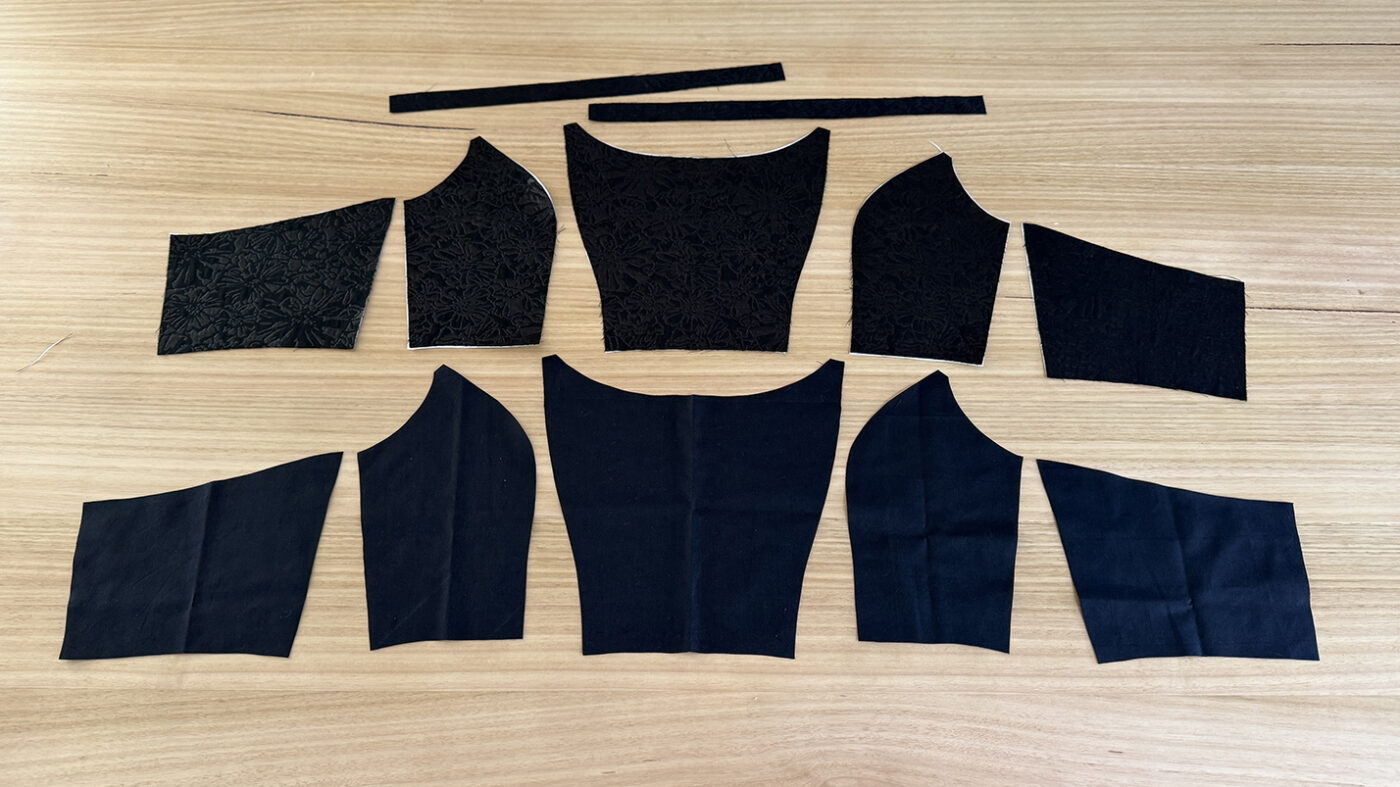
CUTTING
Step 1
Cut all main and lining pieces accurately on the correct grain, ensuring all notches are clipped. Also remember to notch the centre front of the bottom of the bodice and the top edge of the front of the skirt.
Please note that all seam allowance is marked on the pattern in a grey dashed line and can also be found on page 3 of the booklet provided. If you need help with pattern cutting instructions, these can be found in the same booklet.
Beginner tip* If you can afford to purchase a rotary cutter and cutting mat, I find this more accurate and time-efficient.
STRAPS
Step 2
Fold each strap right sides together and pin to hold.
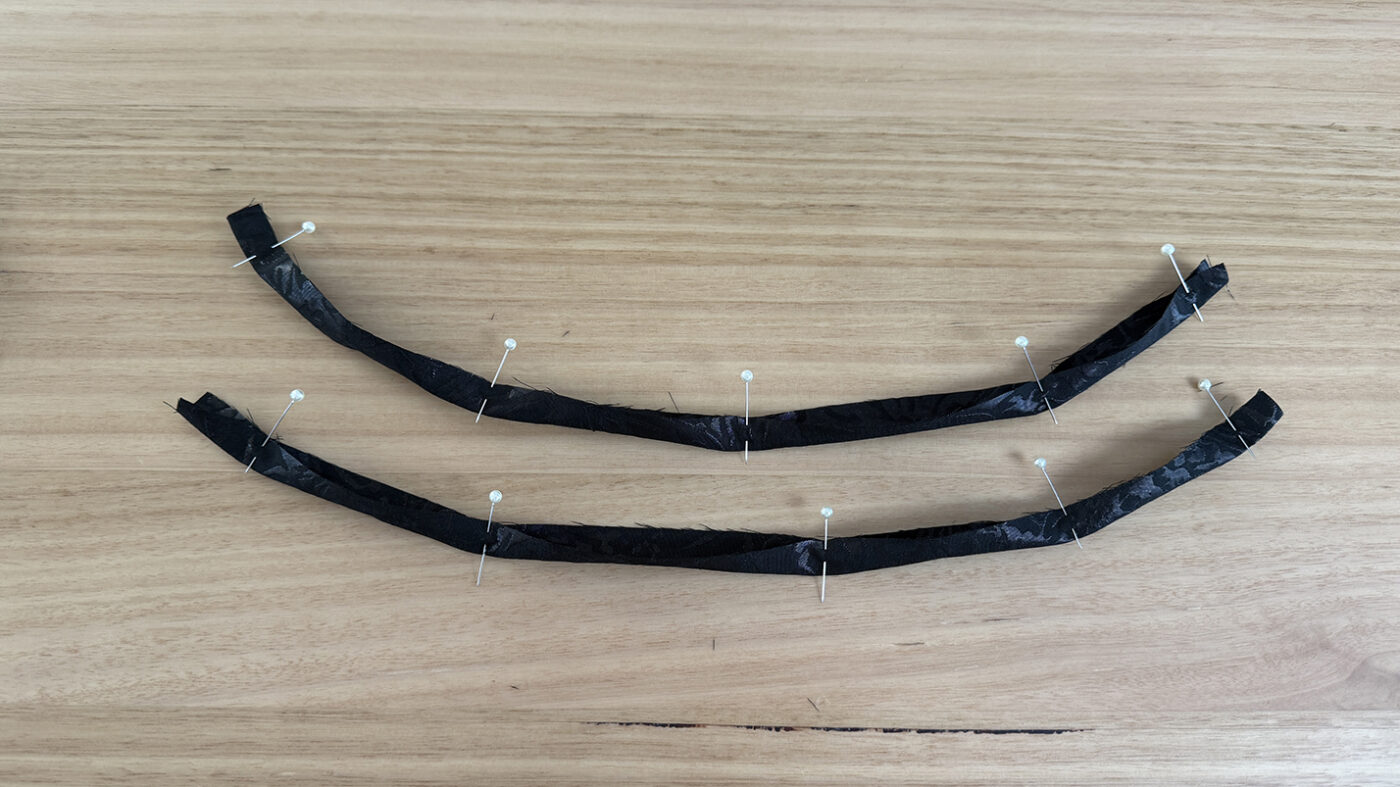
Step 3
Stitch closed with a 7mm seam allowance.
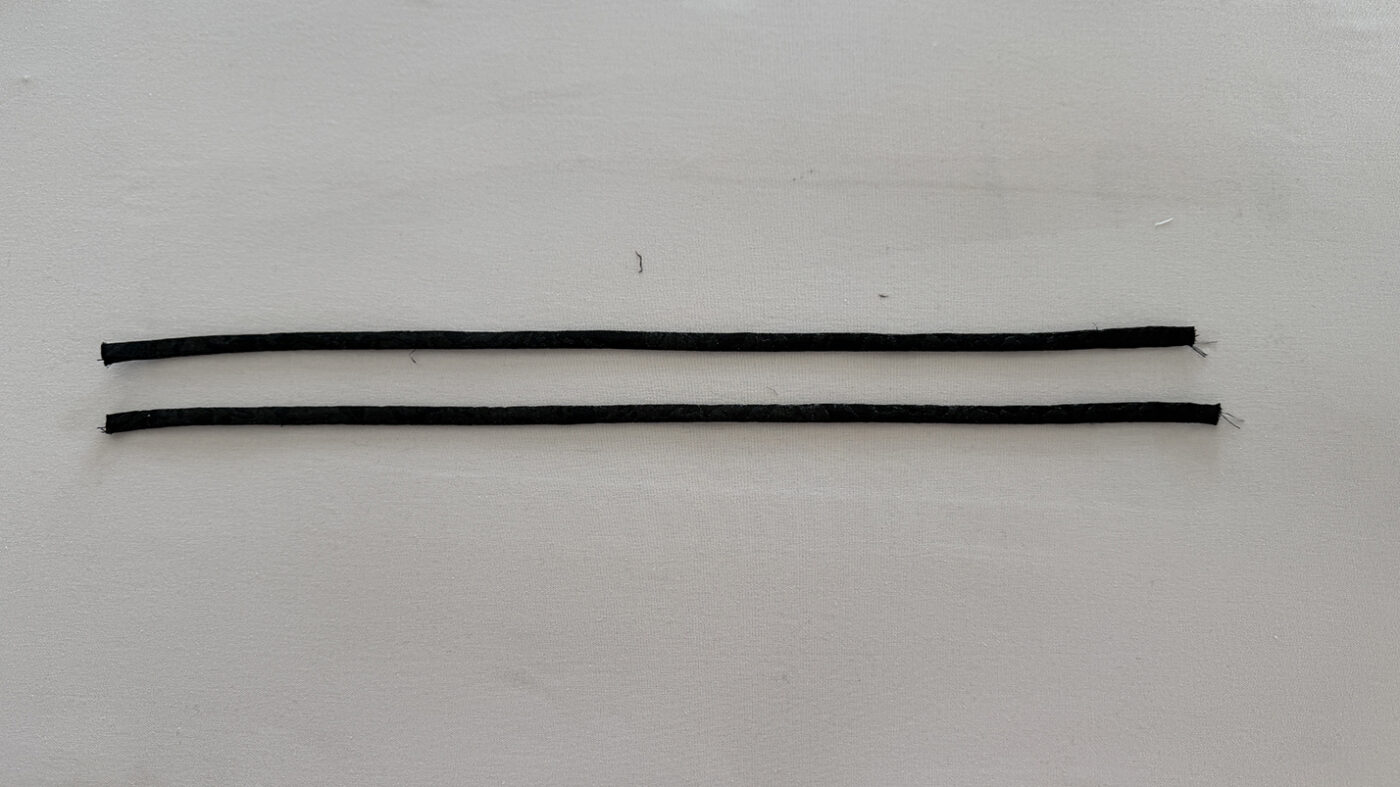
Step 4
Turn through with a loop turner, then press the straps flat.
BODICE
Step 5
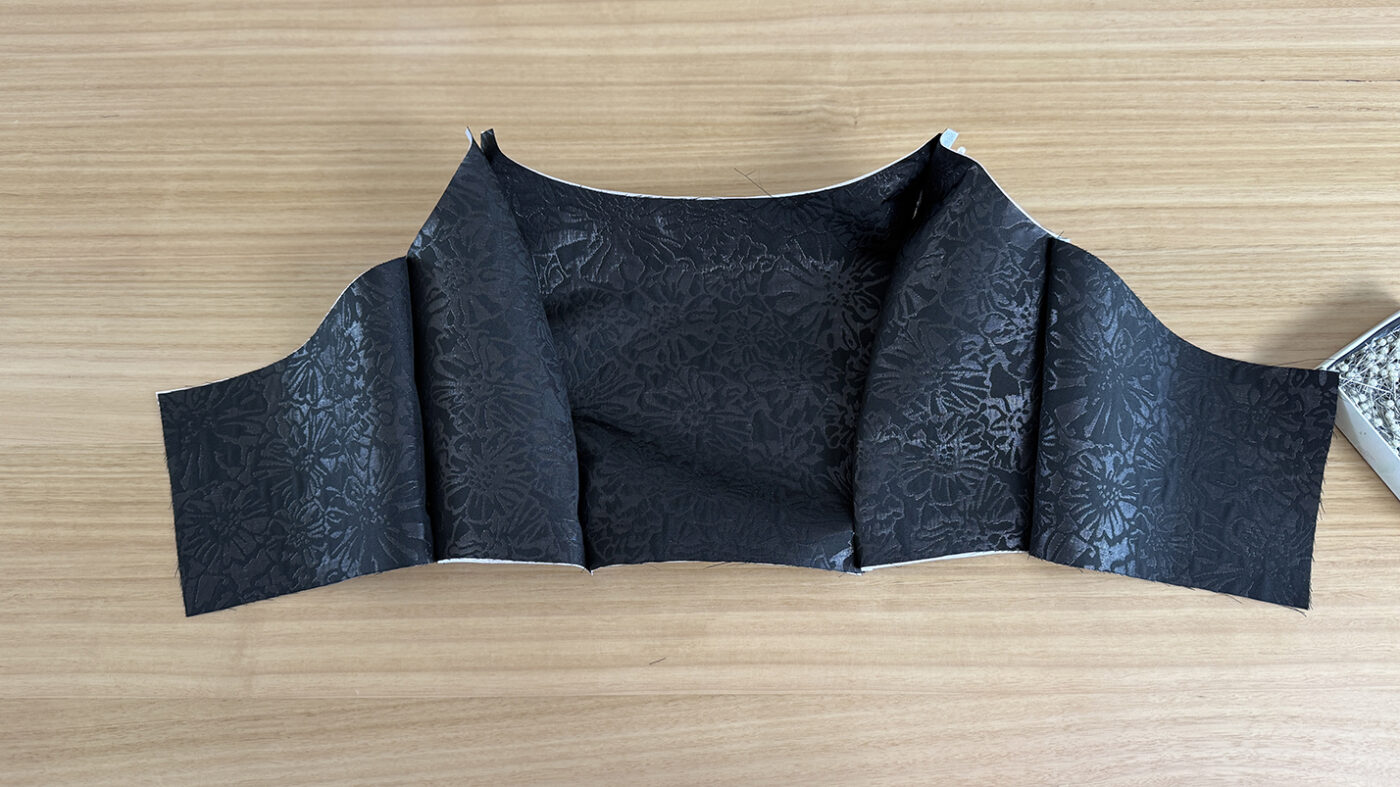
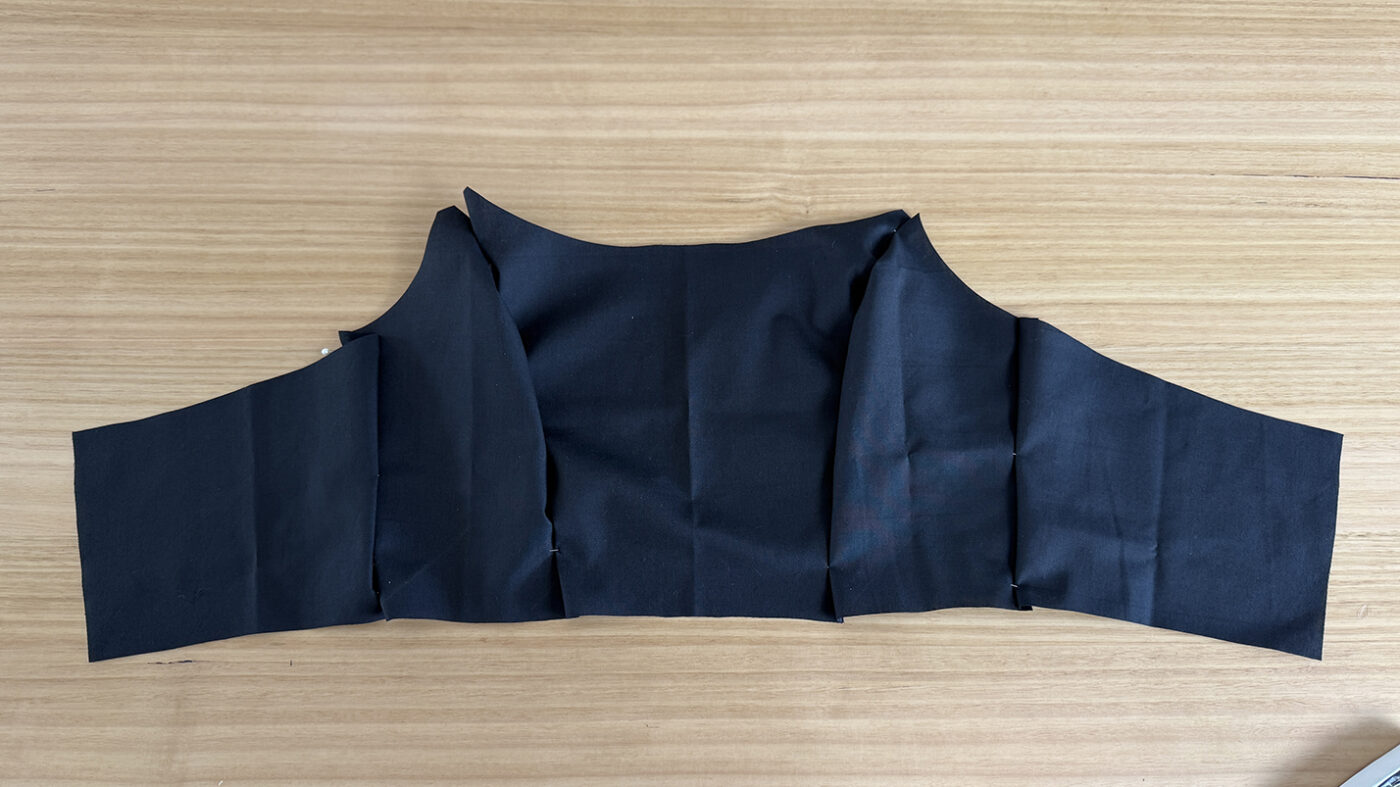
Pin the front bodice and side seams right sides together.
Step 6
Stitch closed with a 1cm seam allowance.
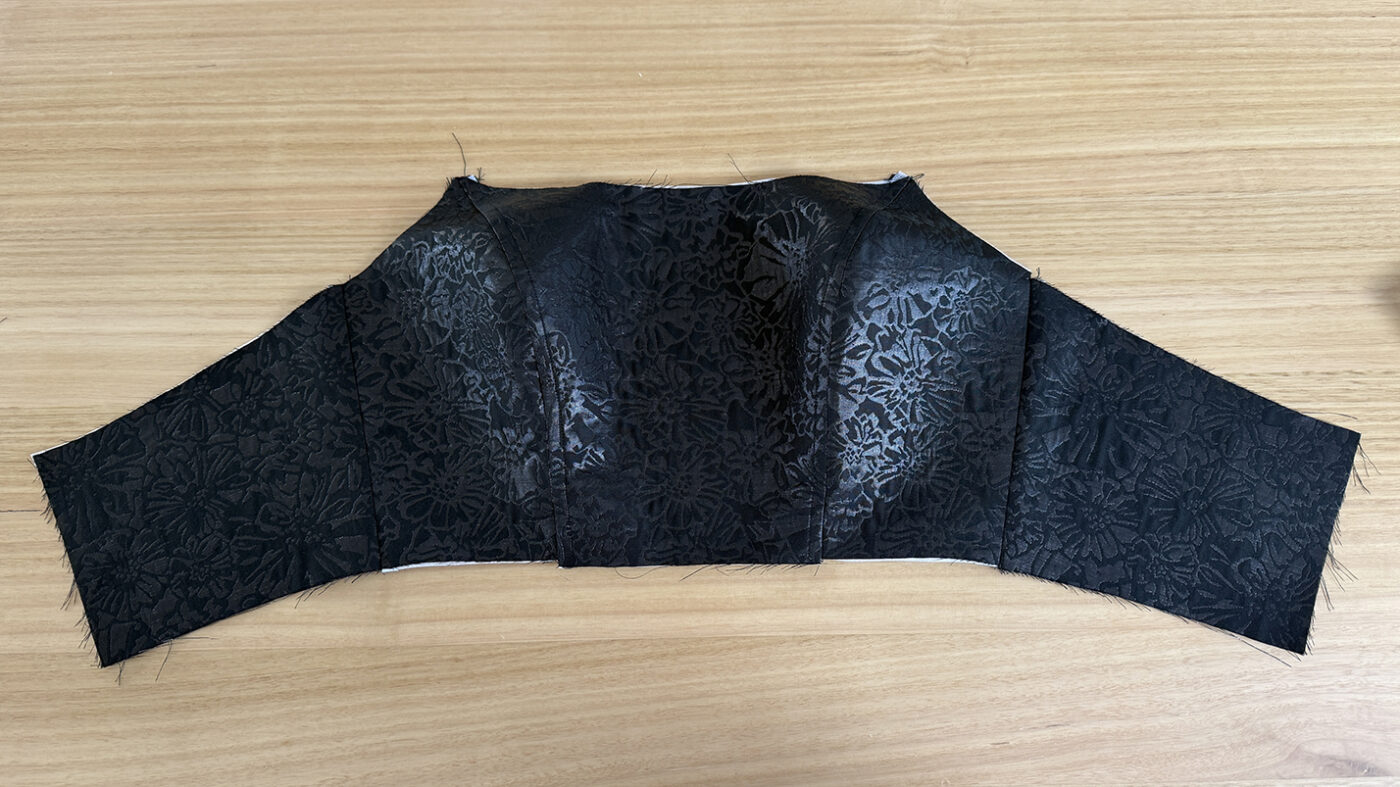
Step 7
Press the side seam open and front seams towards the center front.
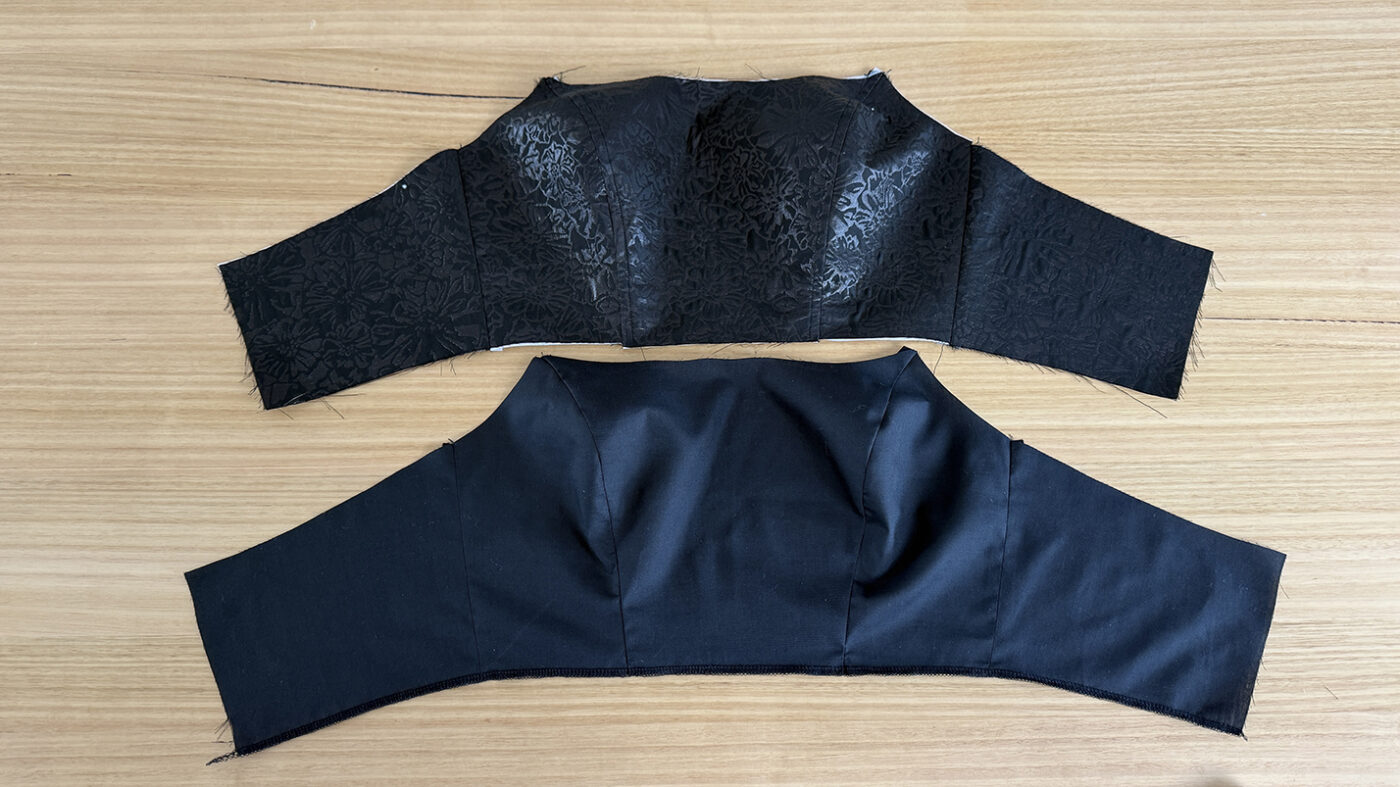
Step 8
Repeat on the lining pieces.
Step 9
Overlock the bottom edge of the lining from the right side.
SKIRT & POCKETS
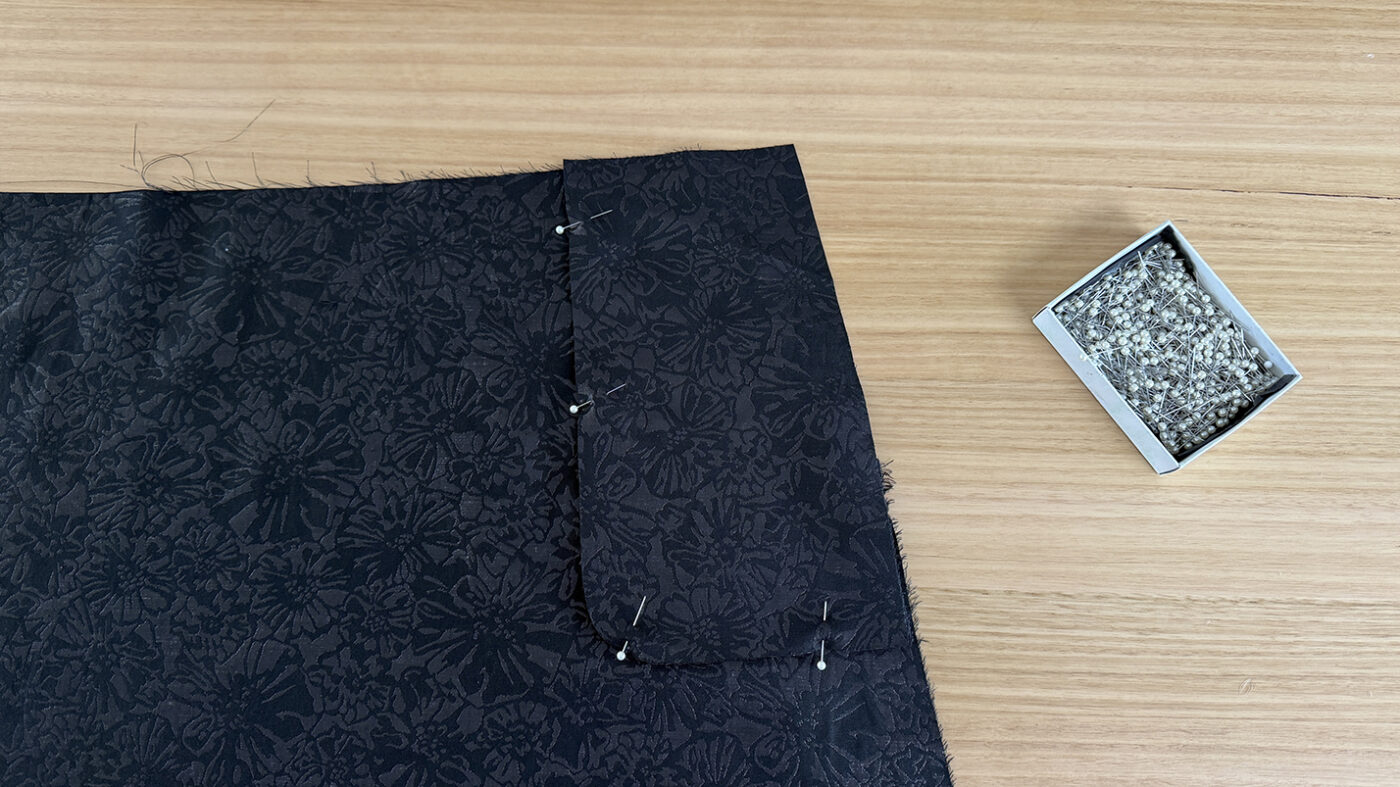
Step 10
Pin each pocket facing right side down onto the front of the skirt.
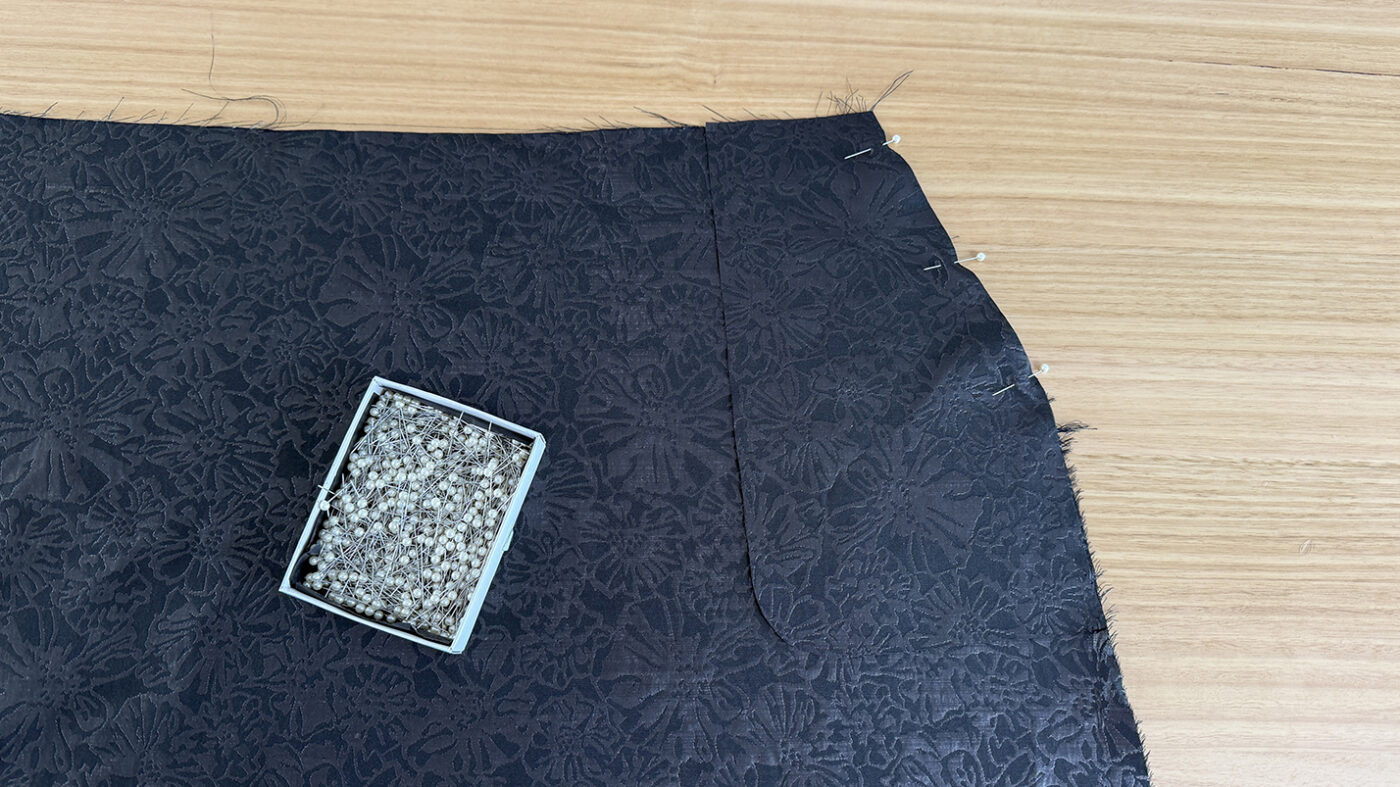
Step 11
Stitch closed with a 1cm seam allowance.
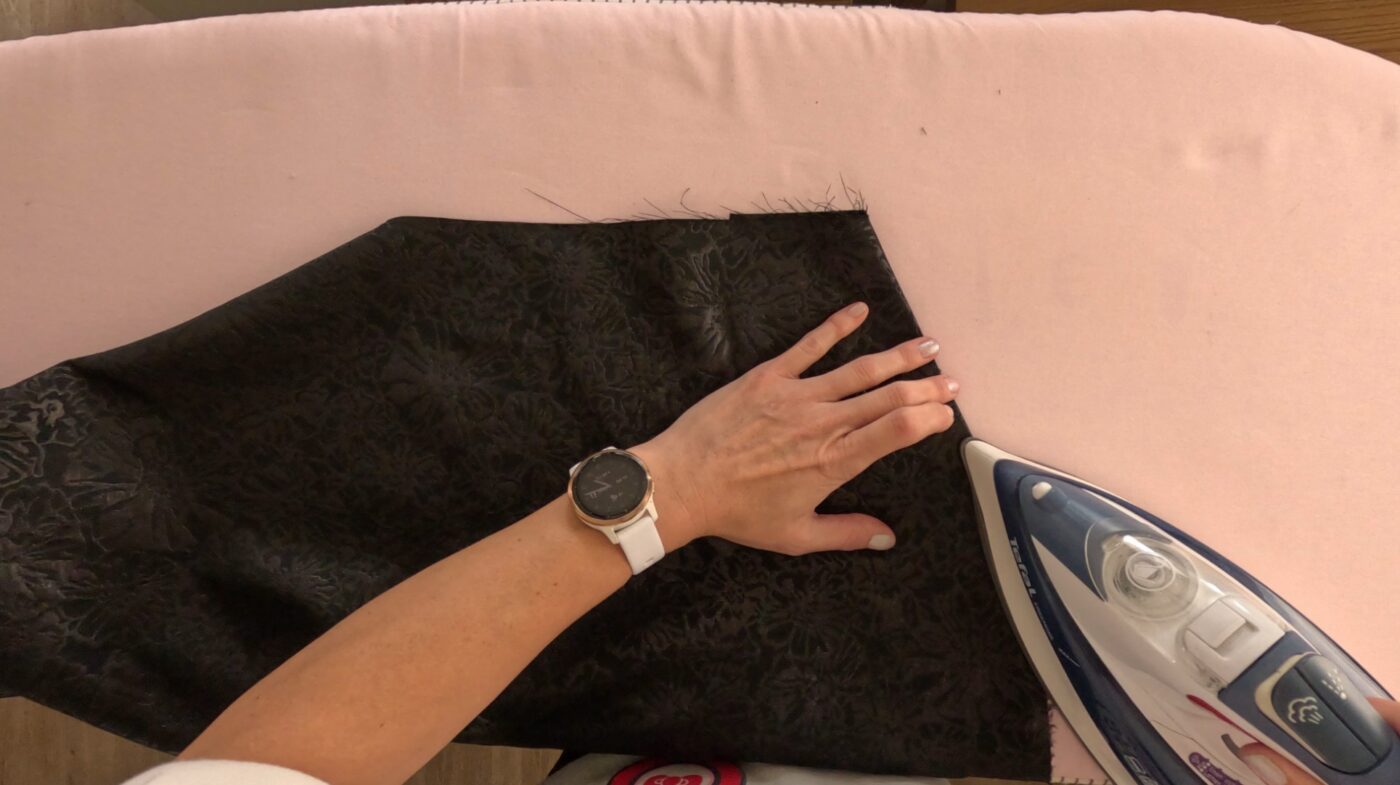
Step 12
Fold the pocket back behind the front of the skirt and press the pocket opening edge flat.
Step 13
Place the pocket facing and pocket bag right sides together. Repeat with the other pair.
Step 14
Pin along the rounded edge.
Step 15
Stitch closed with a 1cm seam allowance.
Step 16
Then overlock closed.
Step 17
Pin the side seams of the front and back of the skirt right sides together ensuring the pockets are also pinned in place.
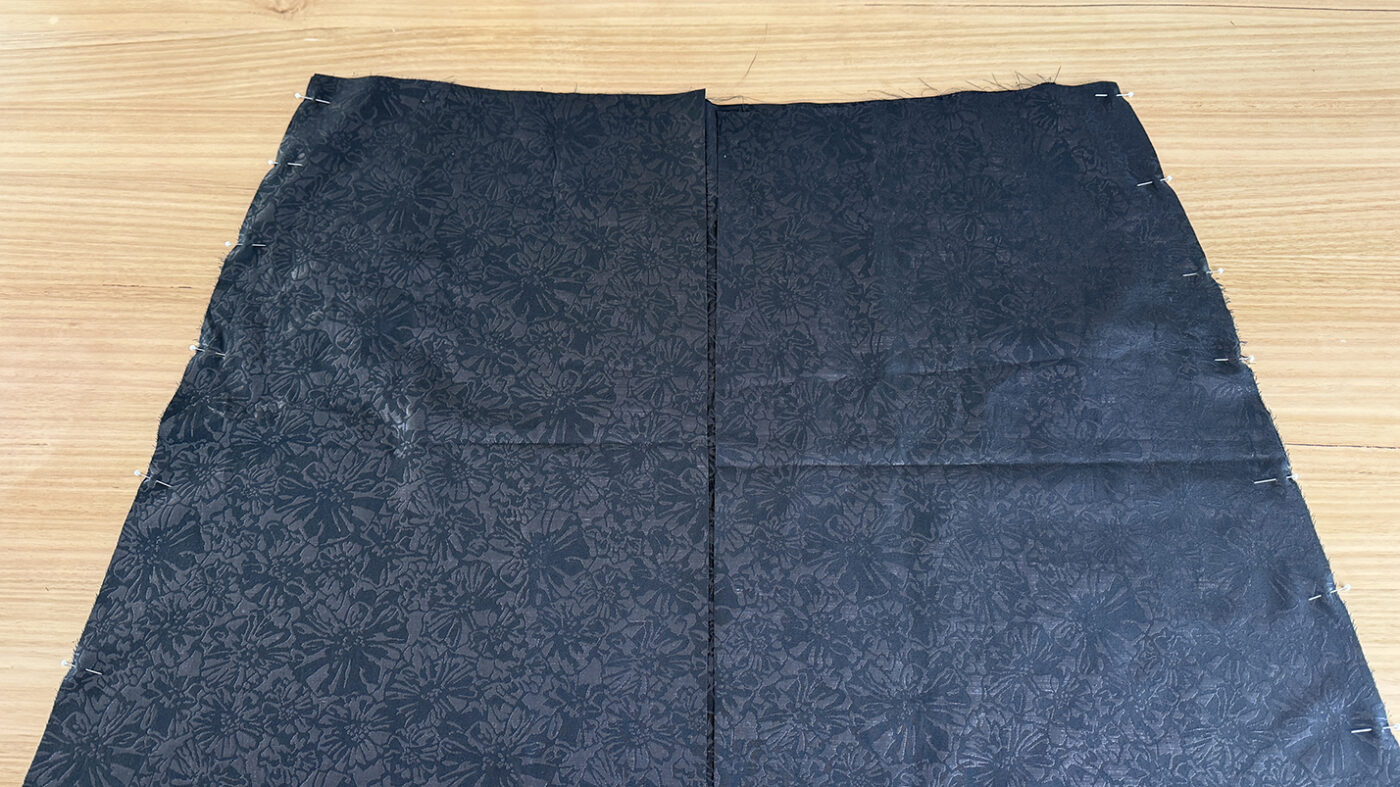
Step 18
Stitch closed with a 1cm seam allowance.
Step 19
Overlock the seams closed.
Step 20
Then press the seam allowances back.
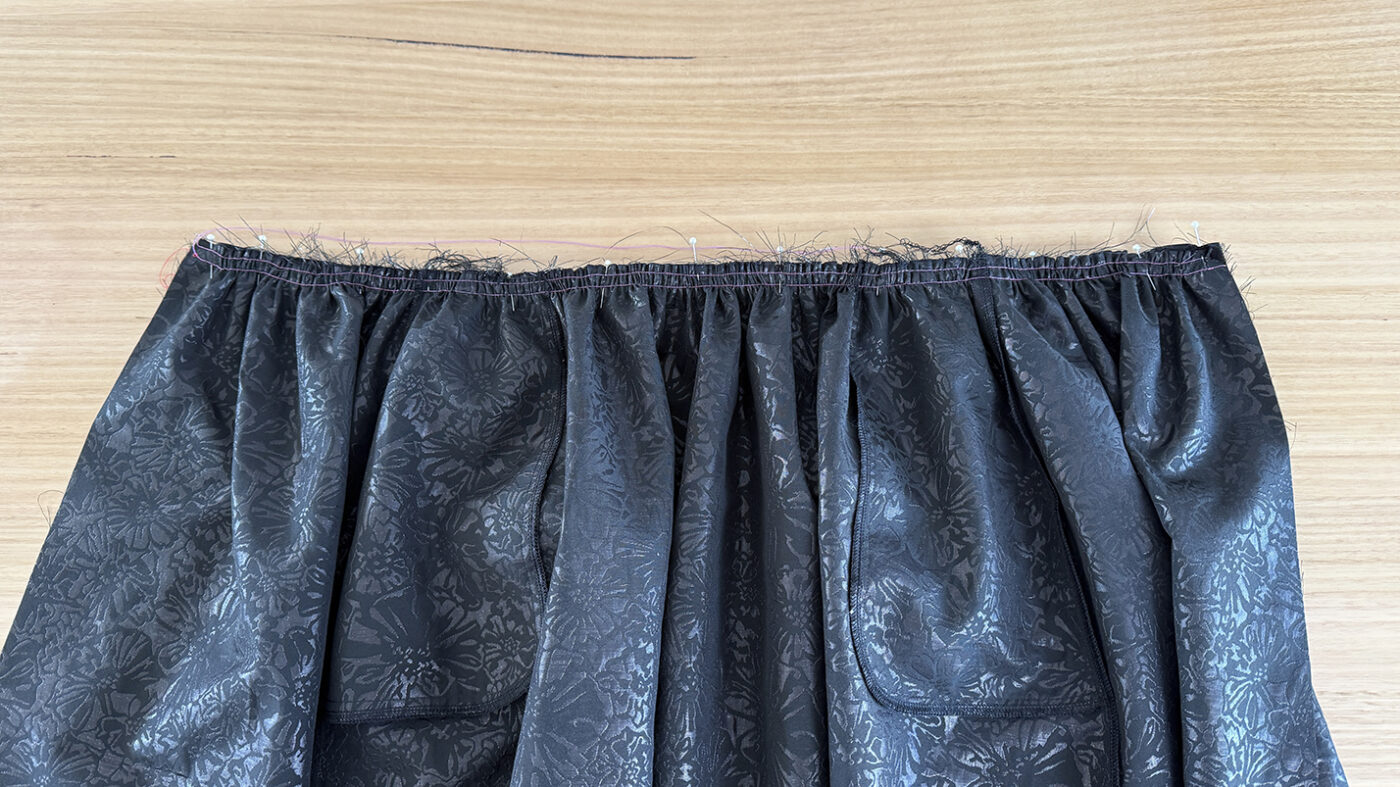
Step 21
Run 2 rows of gathering thread across the top of the skirt.

If you need extra help with gathers, there is a more in-depth tutorial here:
Step 22
Pin the skirt to the bodice right sides together.
Step 23
Gather the top of the skirt to match the bodice, ensuring the side seams and center front notches match.
Step 24
Stitch closed with a 1cm seam allowance.
Step 25
Remove the gathering thread.
Step 26
Overlock the waistband seam from the skirt side.
Step 27
Then press the seam allowance upwards.
INVISIBLE ZIPPER
If you need extra help with invisible zippers, there is a more in-depth tutorial here:
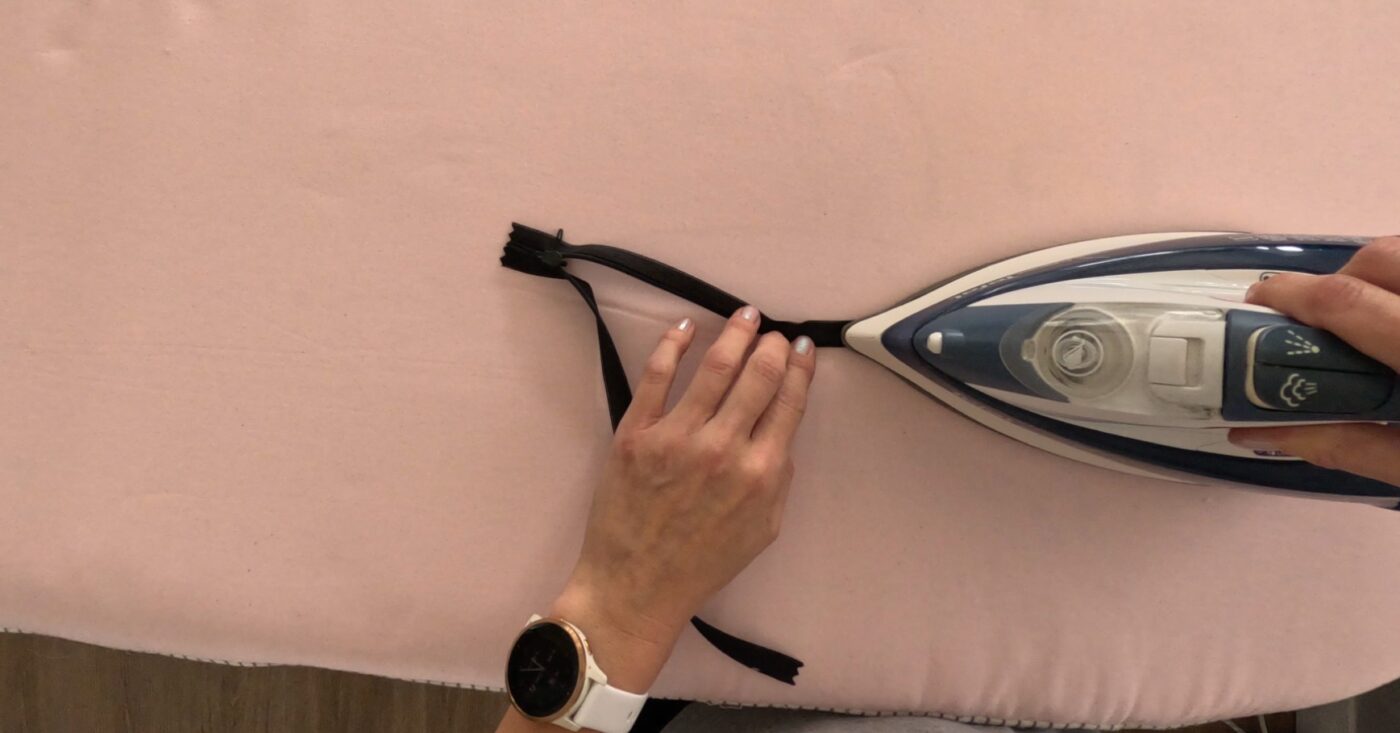
Step 28
Prepare your invisible zipper for sewing by pressing it open.
Step 29
Overlock each back edge of the dress separately from the right side of the garment.
Step 30
Lay the dress down on the table right side up and pin the zipper onto the edges. Ensure that your zipper is facing the correct way. It can help to mark the wrong side of the zipper with chalk.
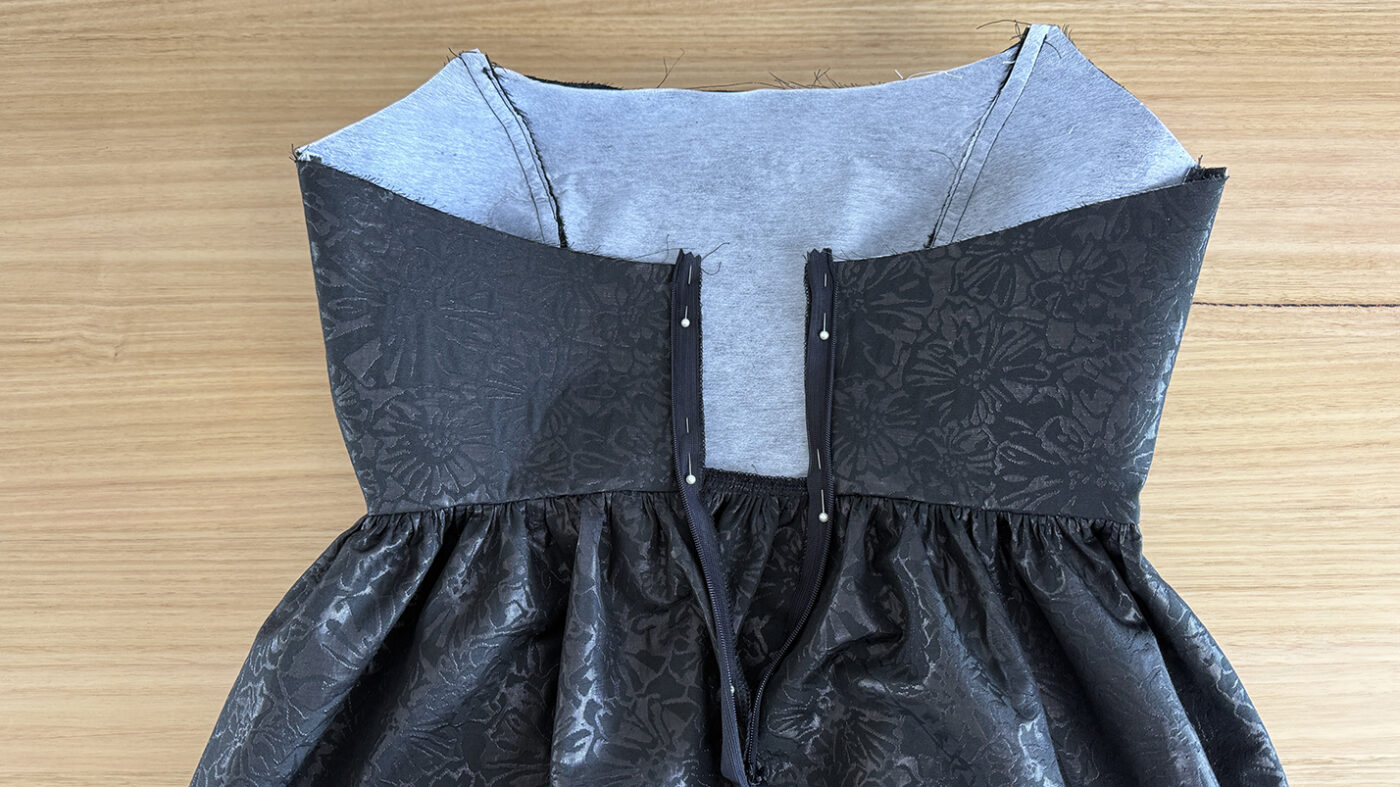
Step 31
Stitch to secure with an invisible zipper foot. Double-check the zipper has been attached the correct way. This is also a good time to check the fit of your garment and make any changes if required.
Step 32
Next, pin the seam allowance of the centre back seam closed below the zipper.
Step 33
Stitch closed with a 1cm seam allowance. Using a regular zipper foot will help you stitch closer to the bottom of the zipper stitching. This is explained in more detail in my invisible zipper tutorial.
Step 34
Then press the seam open. At the same time, press the zipper seams flat.
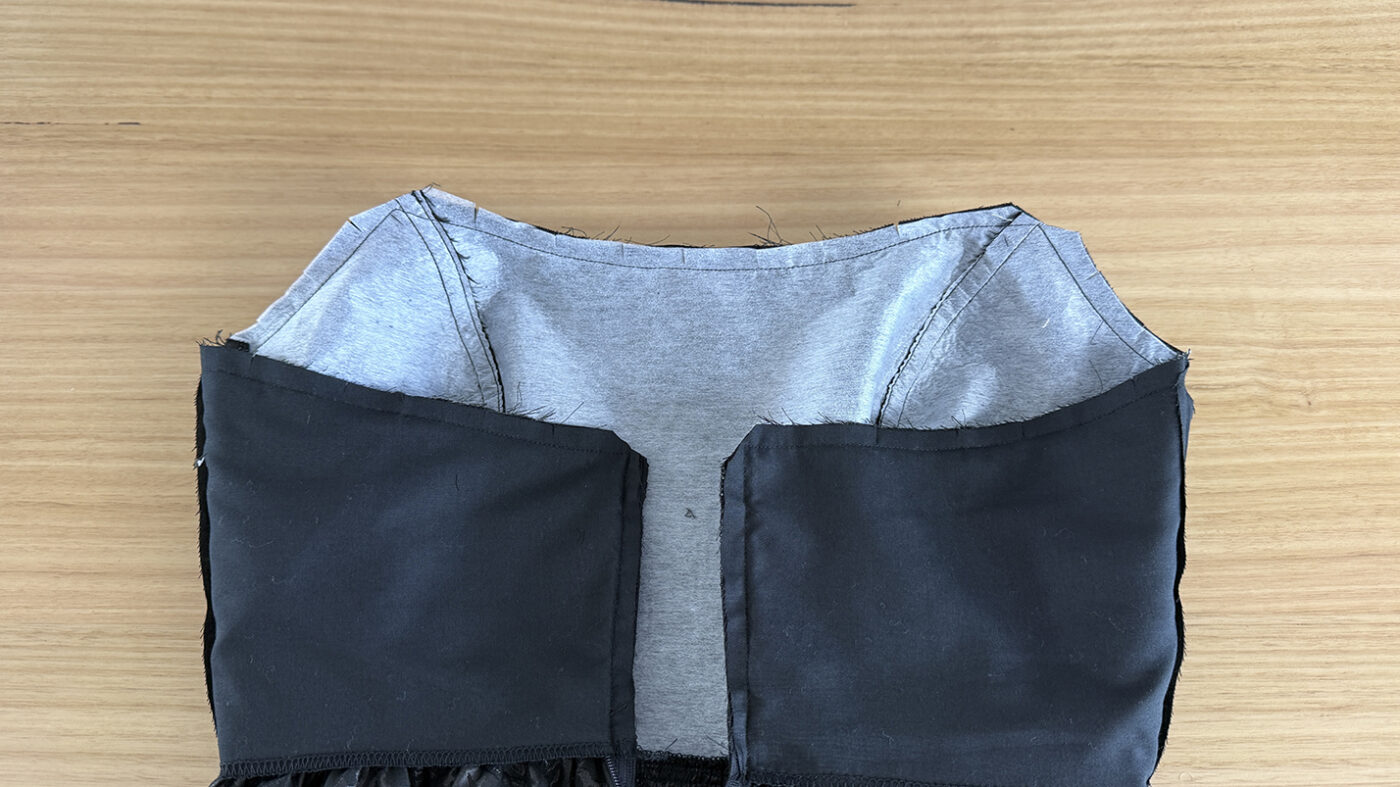
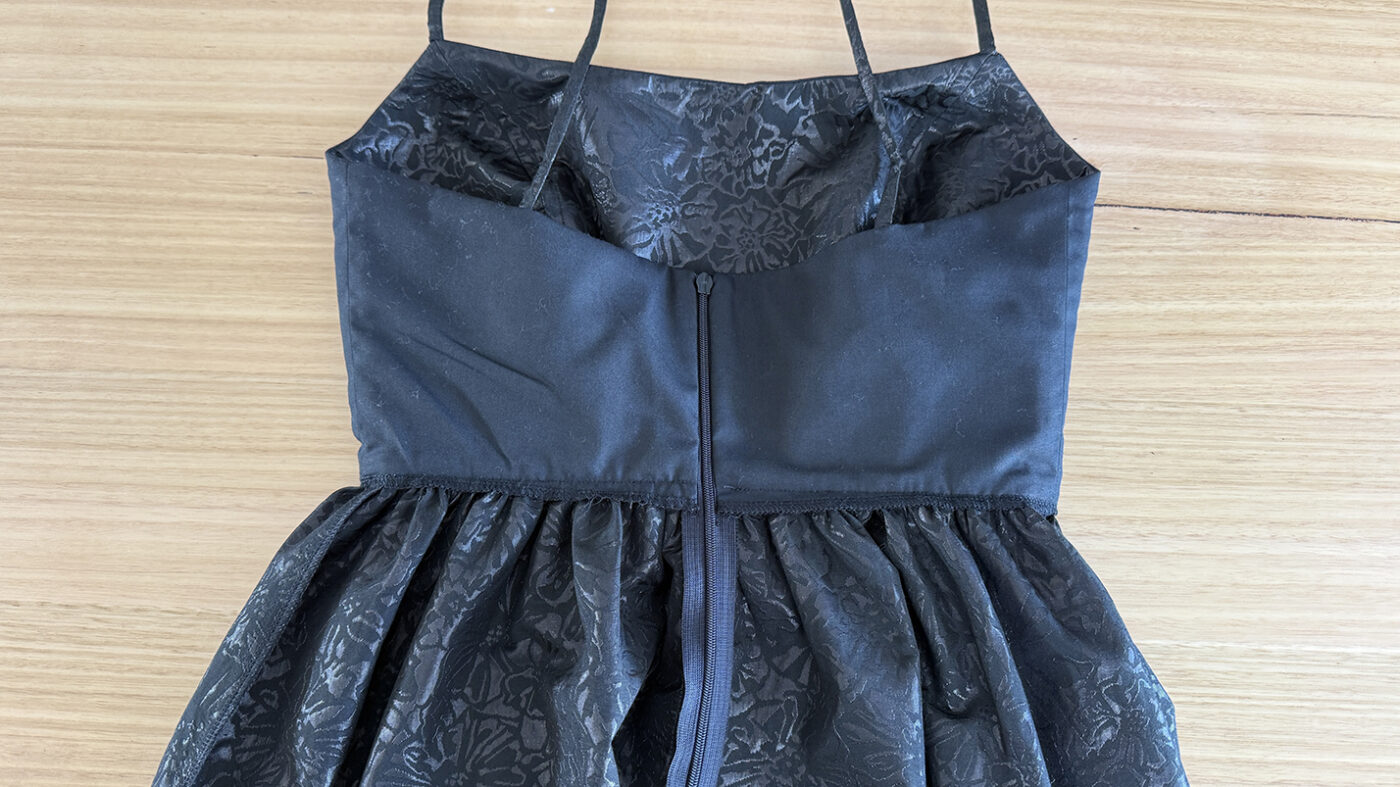
TOP EDGE
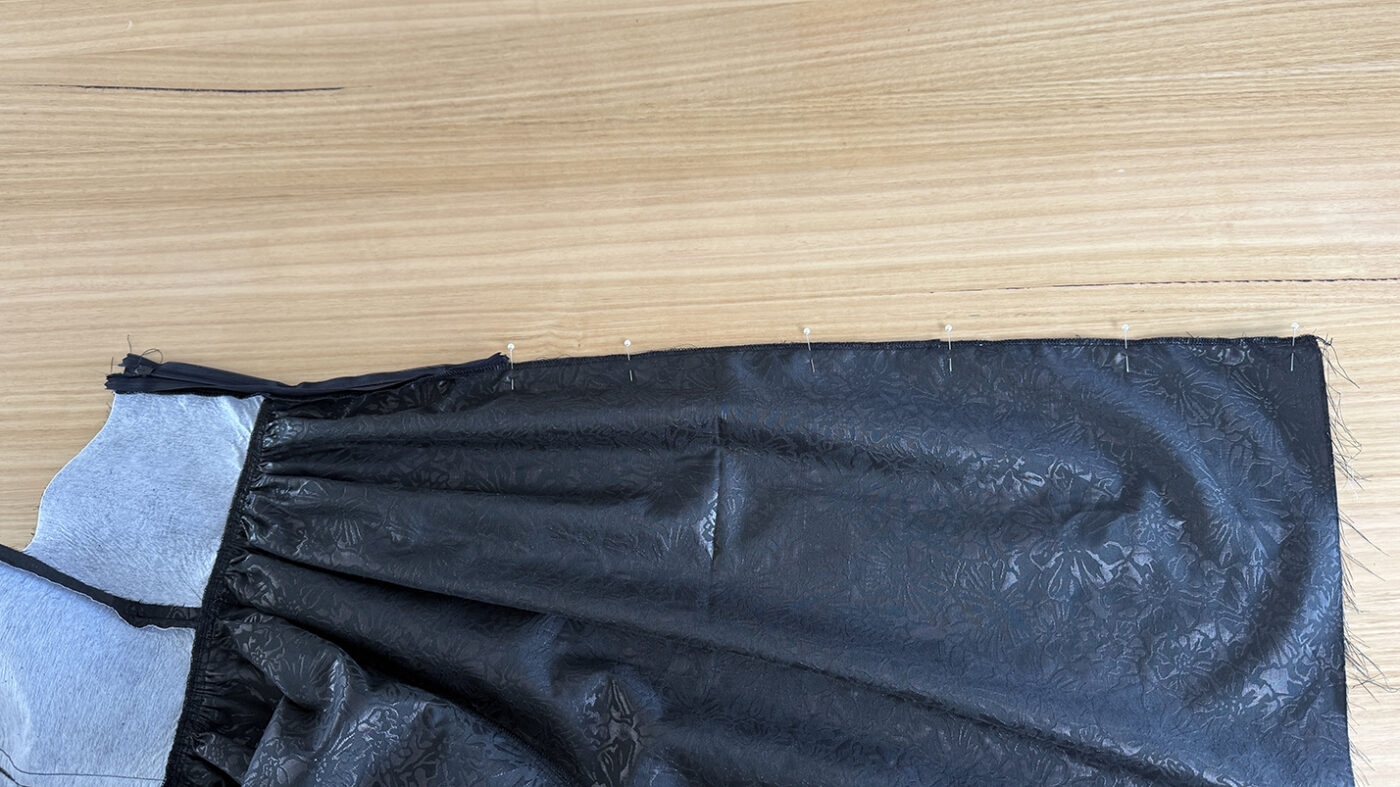
Step 35
Pin straps in place at the top of the front panel seams and back notches.
Step 36
Then pin the lining and bodice right sides together along the top edge so that the straps are sandwiched between.
Step 37
Also pin the lining to the center back zipper.
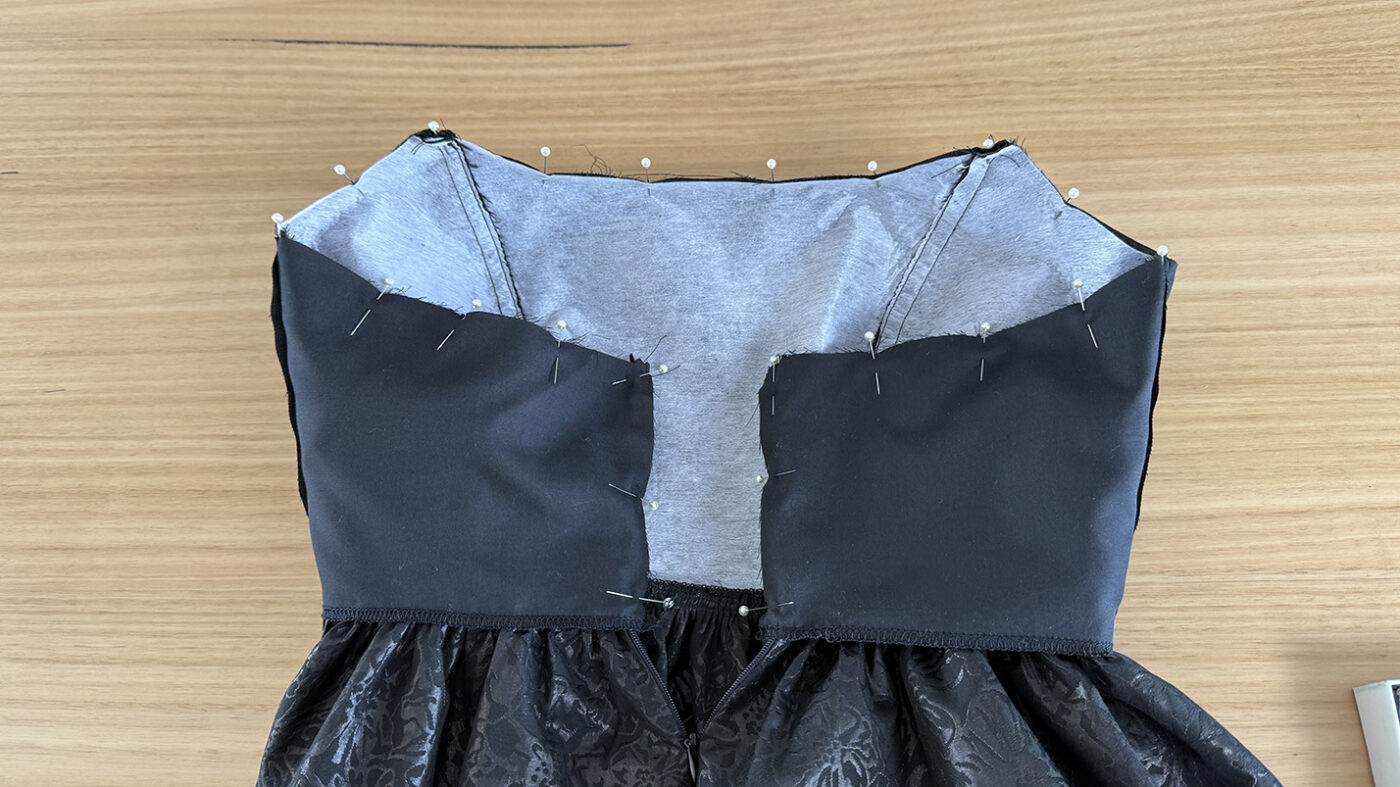
Step 38
Stitch closed with a 1cm seam allowance.
Step 39
Clip the front neck curve, armhole curves, top of the zipper and excess seam allowance.
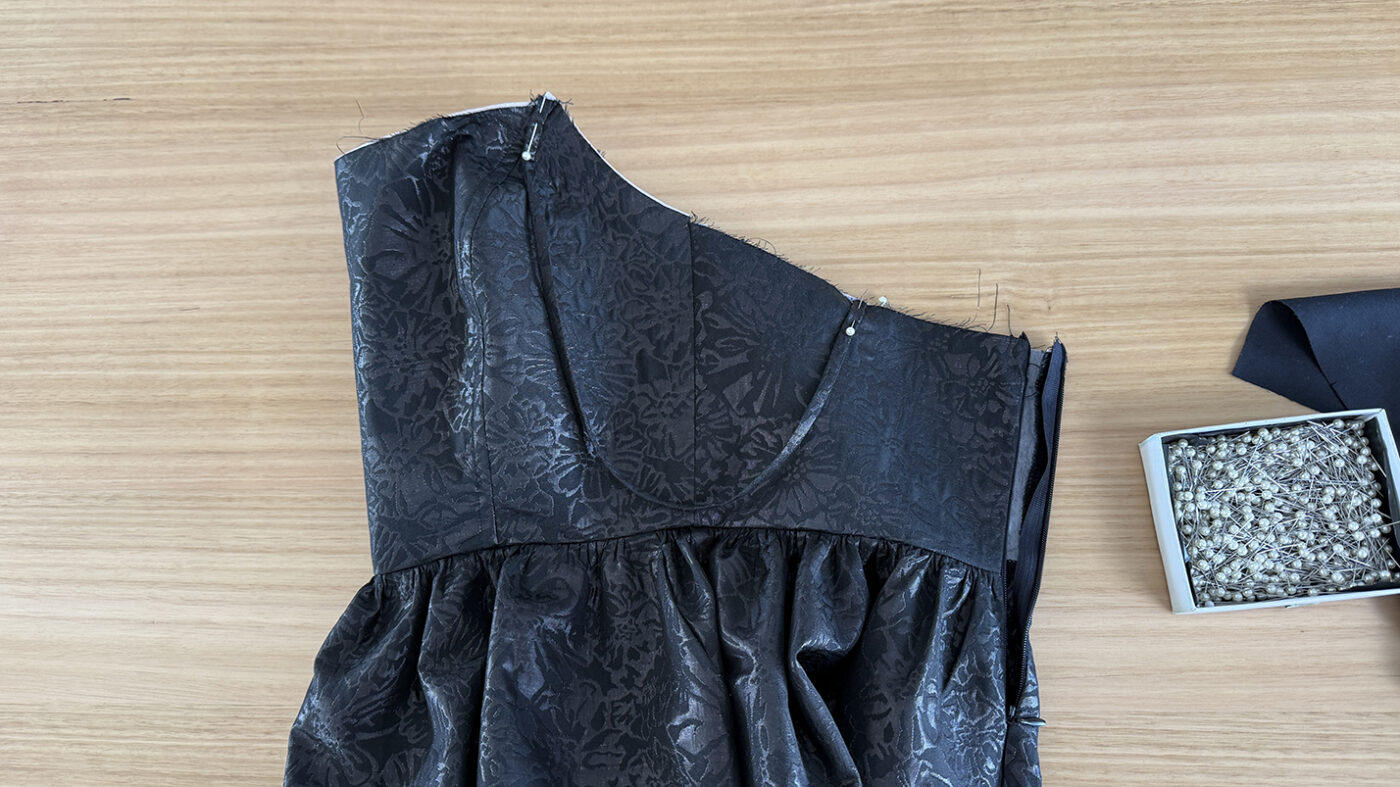
Step 40
Turn the bodice through and press the top edge flat.
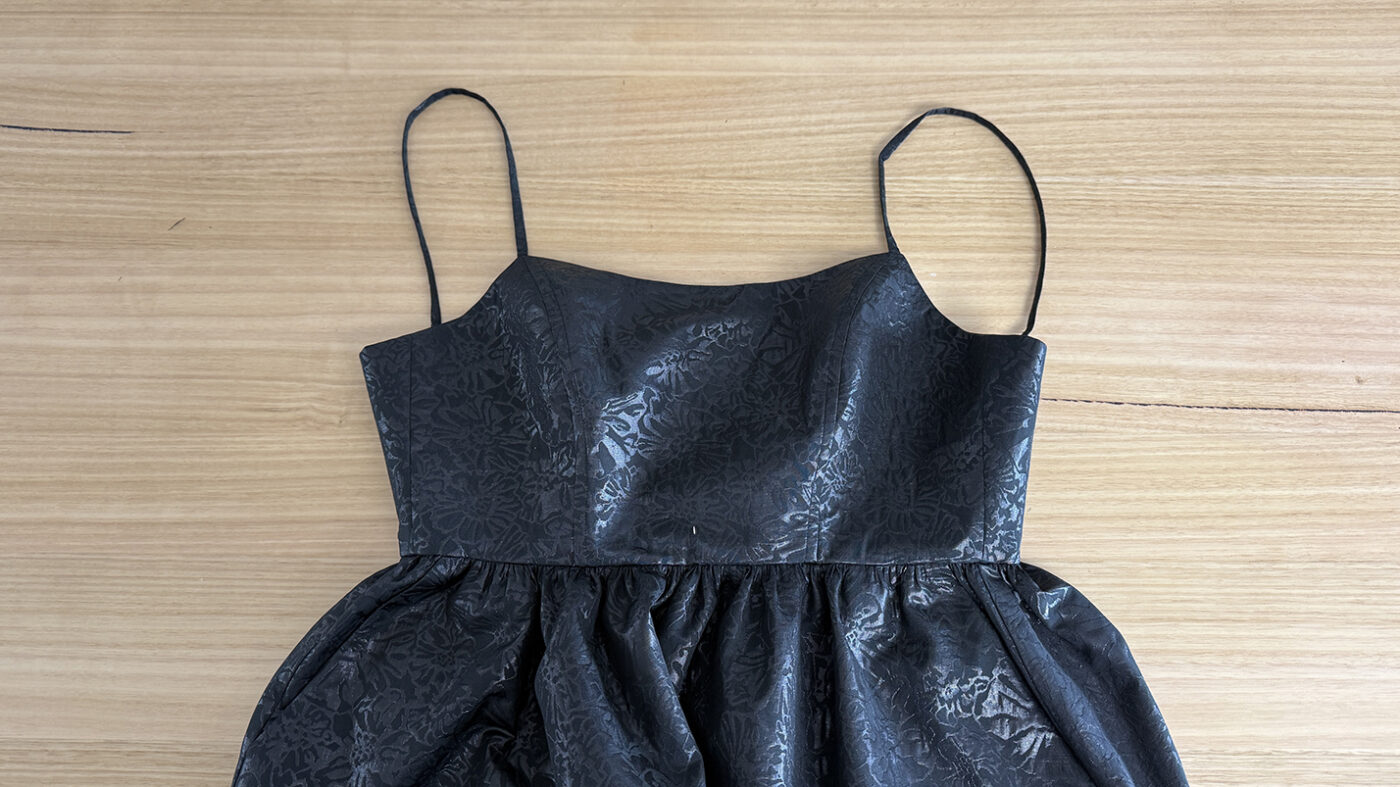
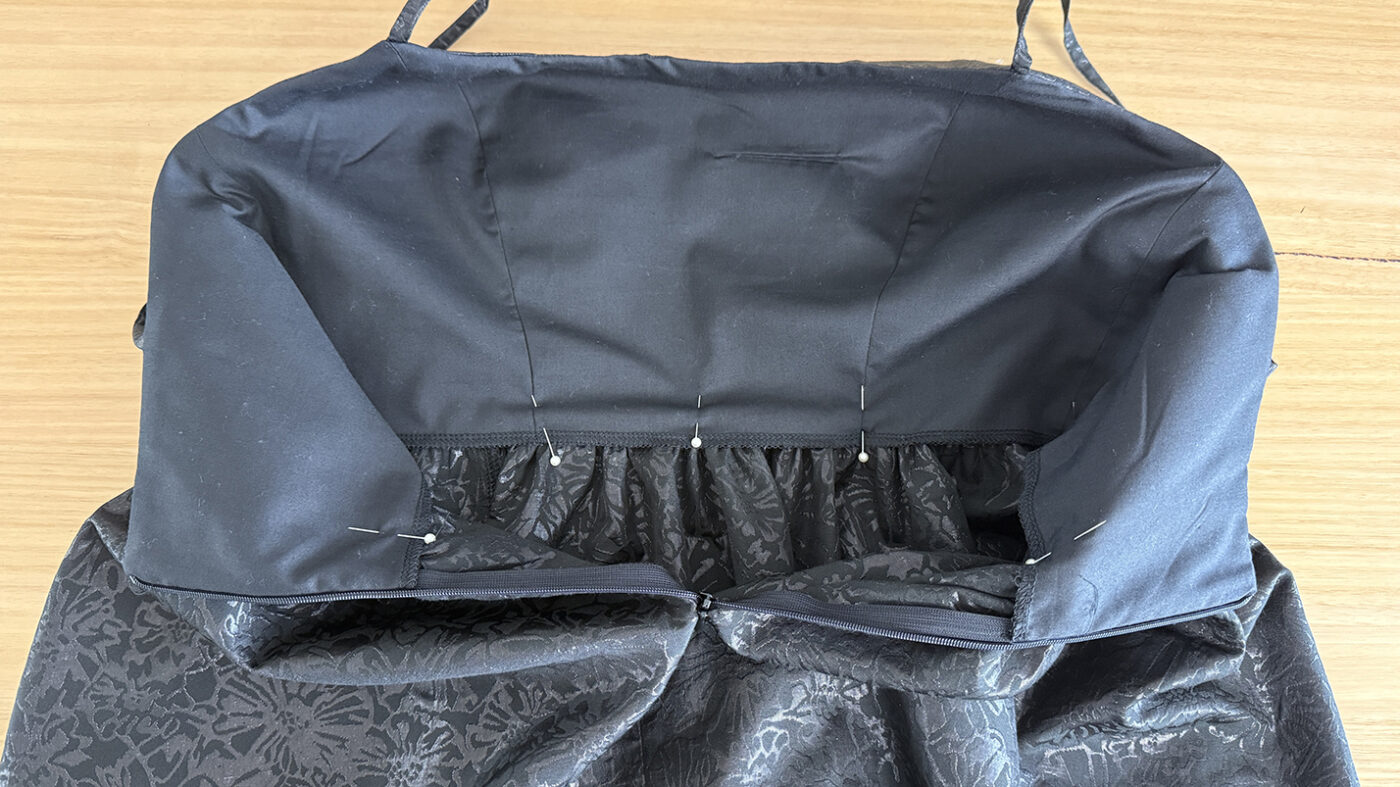
Step 41
Secure the bottom of the lining in place by pinning the bottom of the lining so that it covers the waist seam. Then stitch in the ditch of the waist seam to secure.
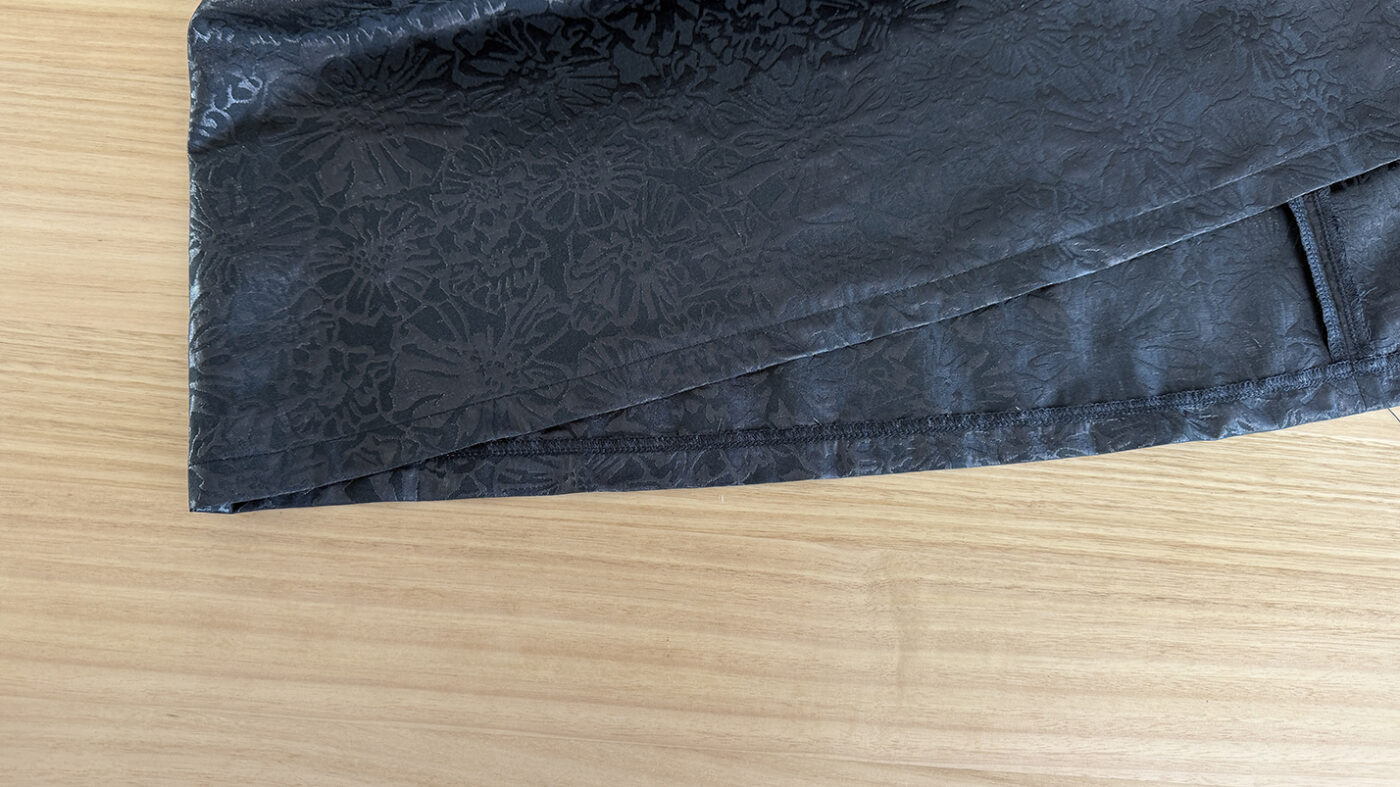
HEM
Step 42
Overlock the hem of the skirt from the right side of the fabric.
Step 43
Turn the hem 2cm and press in place.
Step 44
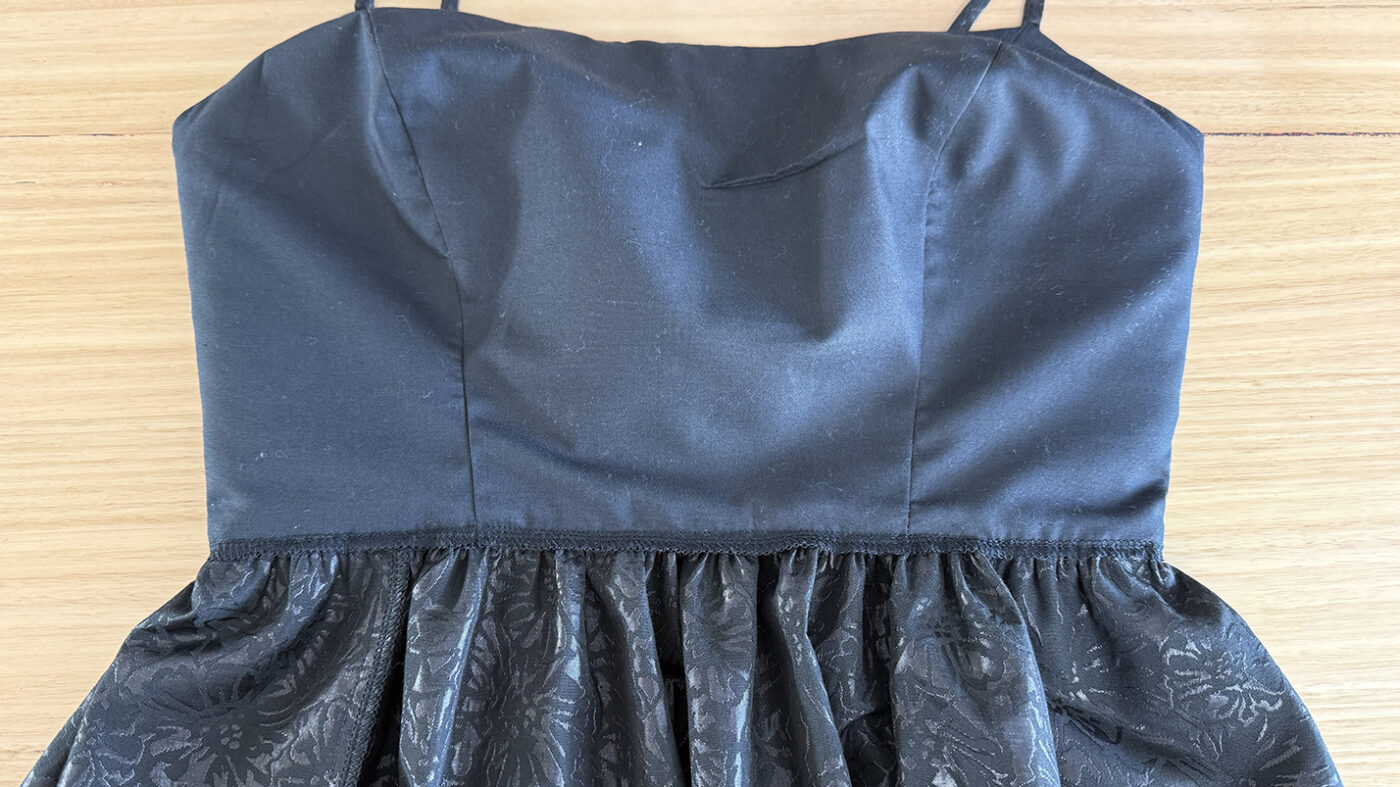
Stitch to secure.
The Lilian Dress is now complete.
I also have a number of other patterns where you can practice your sewing skills, which are available for purchase here.
I’d love to see your creations. Feel free to tag me on Instagram at @at_the_seams_patterns
x